Articles
How To Repair Ice Maker Line
Modified: October 19, 2024
Learn how to repair your ice maker line with our informative articles. Discover helpful tips and step-by-step guides to fix any issues with your ice maker.
(Many of the links in this article redirect to a specific reviewed product. Your purchase of these products through affiliate links helps to generate commission for Storables.com, at no extra cost. Learn more)
Introduction
An ice maker is a convenient appliance that provides a ready supply of ice for your everyday needs. However, over time, the ice maker line that supplies water to your ice maker may develop leaks or become damaged, causing it to malfunction. Fixing the ice maker line is a relatively simple task that can be done with a few basic tools and materials.
In this article, we will guide you through the process of repairing an ice maker line. We will cover the necessary steps, from gathering the tools and materials to testing the ice maker for proper functionality after the repair. Whether you are a seasoned DIYer or a novice in home repairs, you will find this guide helpful in restoring your ice maker line to working order.
Before we begin, it is important to note that safety should always be a priority when working with water supply lines and electrical connections. Make sure to read and follow the manufacturer’s instructions for your specific ice maker model, and if you are unsure about any step or encounter any difficulties during the repair process, it is recommended to consult a professional plumber.
Now, let’s dive into the step-by-step process of repairing an ice maker line and get your ice maker back up and running in no time.
Key Takeaways:
- Repairing an ice maker line is a manageable DIY task that requires basic tools and materials. By following the step-by-step guide, you can restore your ice maker’s functionality and enjoy a steady supply of ice.
- Prioritize safety, gather necessary tools, and turn off the water supply before repairing the ice maker line. Regular maintenance and monitoring will help prevent future issues and keep your ice maker running smoothly.
Read more: How To Unclog Water Line To Ice Maker
Step 1: Gather the necessary tools and materials
Before you begin repairing your ice maker line, it’s important to have all the necessary tools and materials on hand. This will help streamline the process and ensure that you have everything you need to complete the repair efficiently. Here’s a list of what you’ll need:
- Adjustable wrench
- Tube cutter or utility knife
- Pipe cutter (for copper pipes)
- Pipe fittings (if necessary)
- Teflon tape
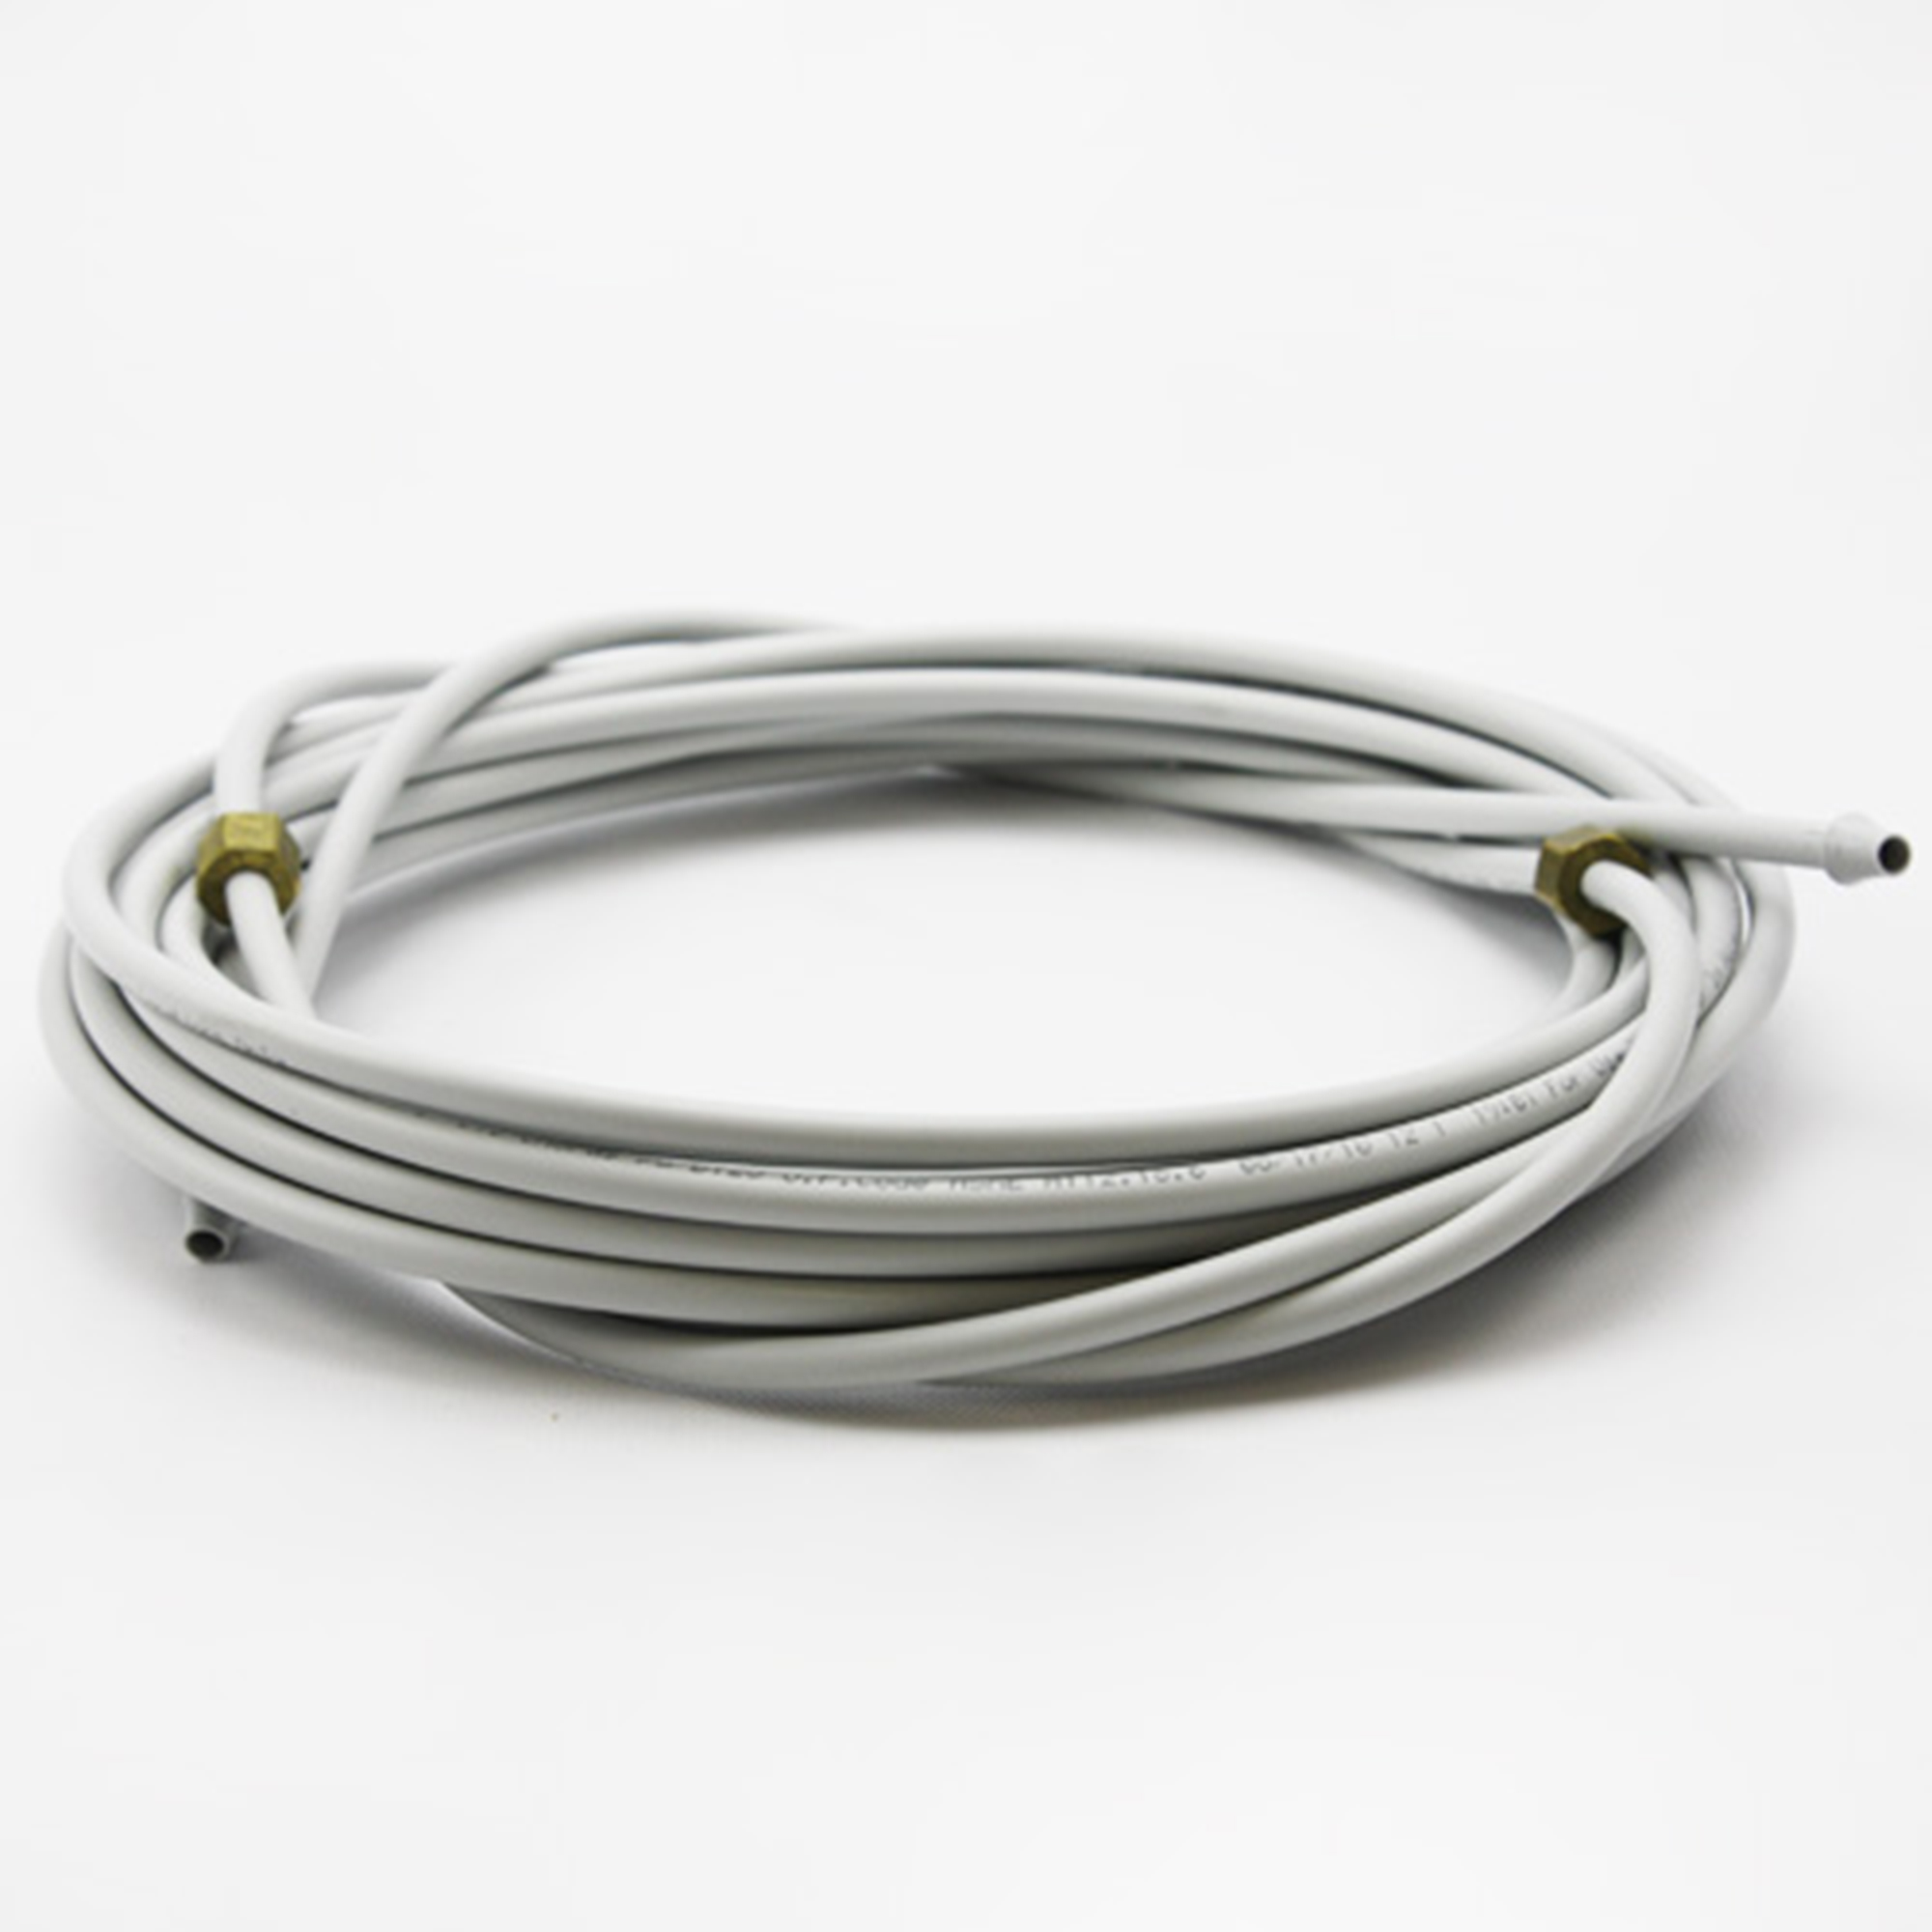
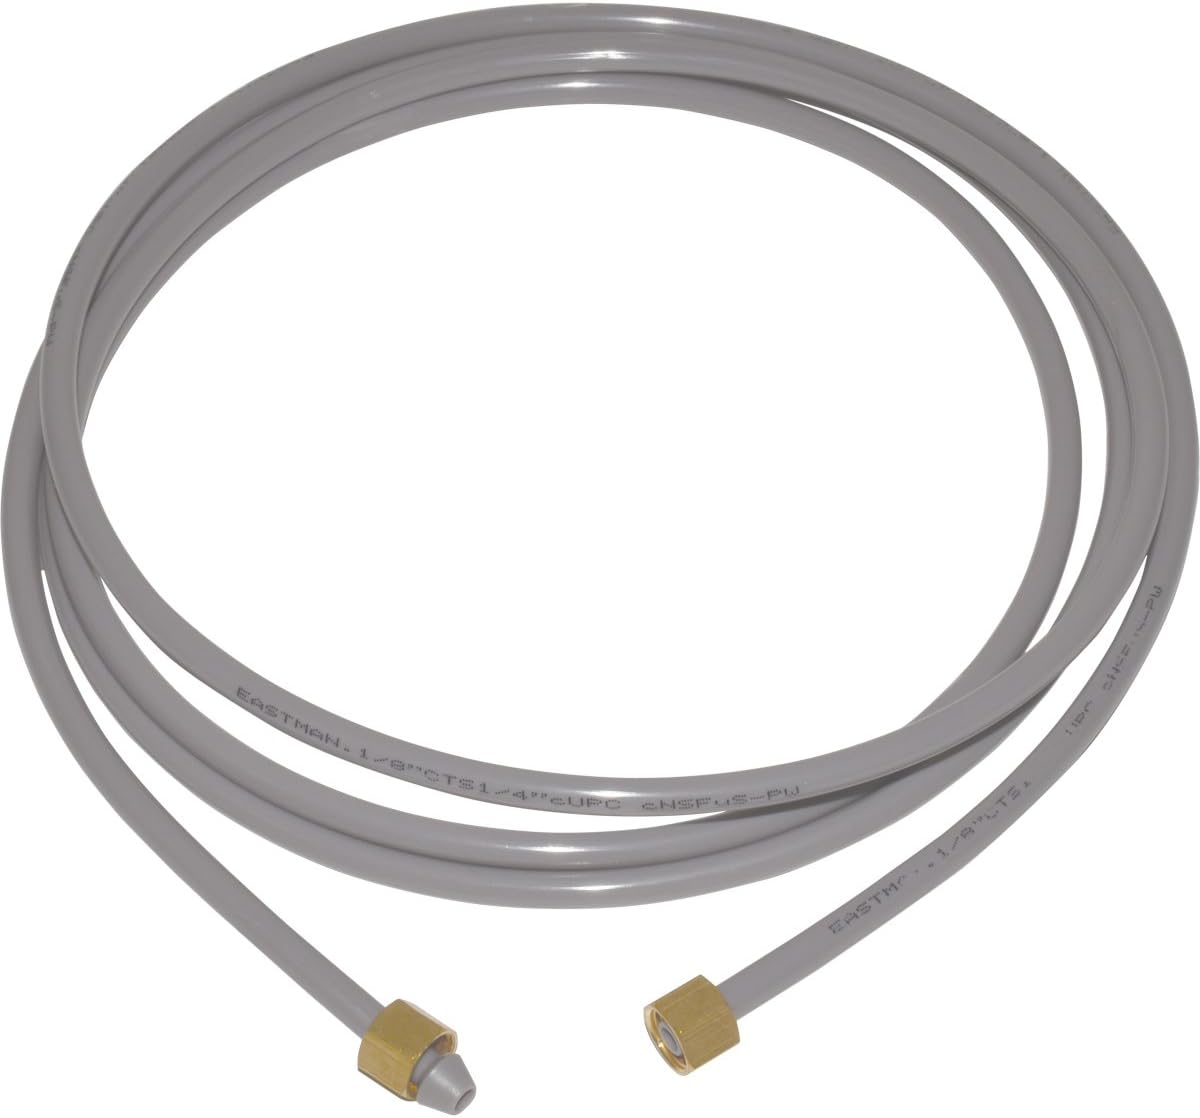
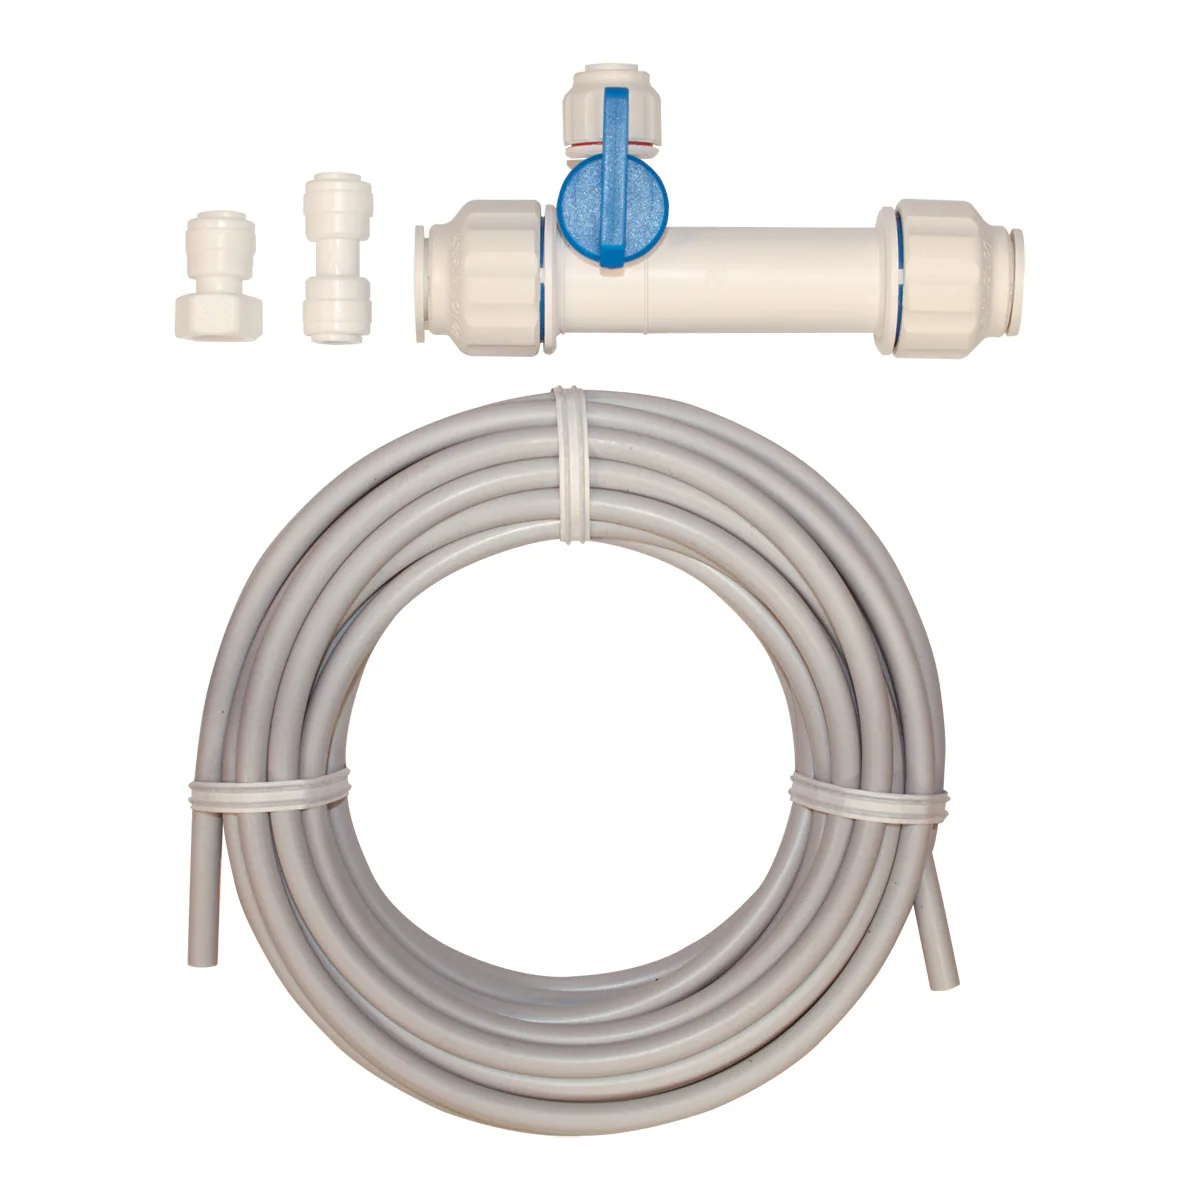
- Replacement ice maker line or ice maker tubing
- Bucket or towel to catch any leaking water
Make sure you have all these items readily available before you begin. This will save you time and frustration, and allow you to focus on the task at hand.
It’s also important to mention that depending on your specific ice maker model, there may be additional tools or materials required. Refer to the manufacturer’s instructions or consult the product’s manual to ensure you have everything you need.
Once you have gathered all the necessary tools and materials, you’re ready to move on to the next step: turning off the water supply.
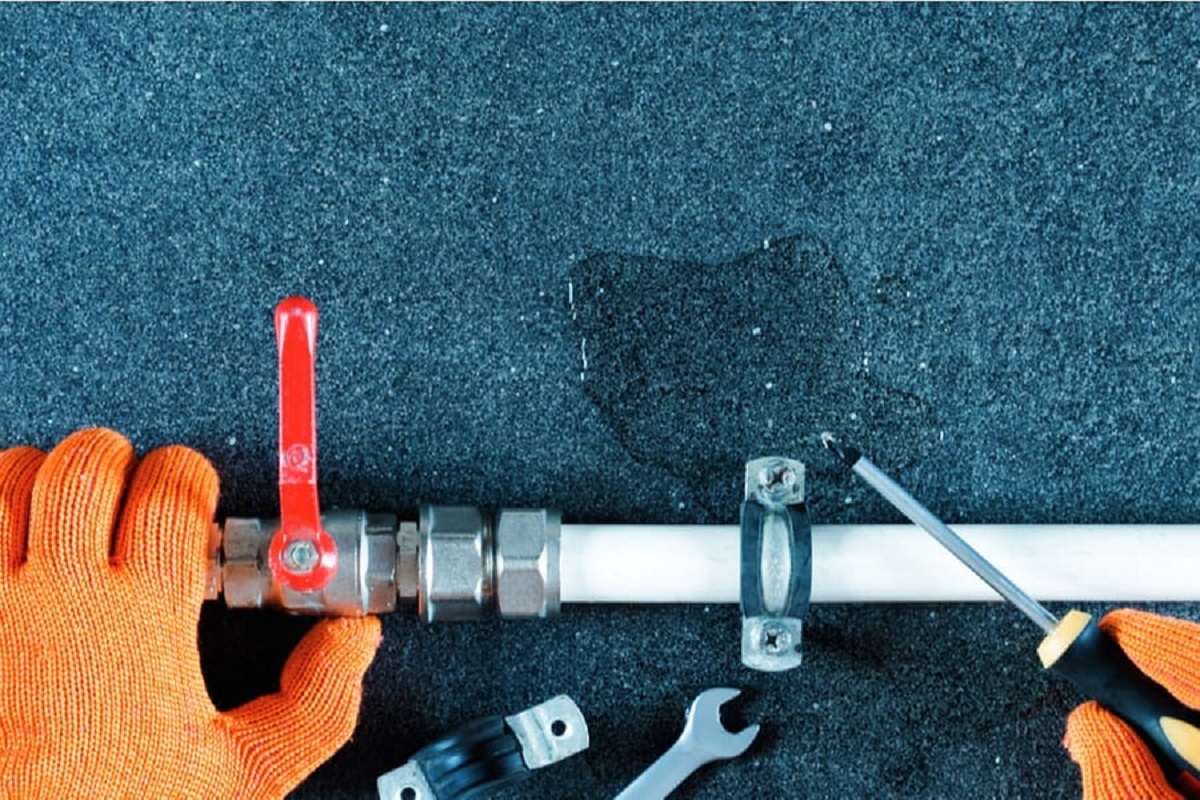
Step 2: Turn off the water supply
Before you begin working on the ice maker line, it’s important to turn off the water supply to prevent any leaks or water damage. Here’s how you can turn off the water supply:
- Locate the main water shut-off valve in your home. This may be located near your water meter, in the basement, or in an outdoor utility box.
- Turn the valve clockwise (or to the right) to shut off the water supply. You may need to use a wrench to turn the valve, depending on its design.
- After turning off the main water supply, open a faucet or valve in your home to relieve any residual pressure in the water lines.
By turning off the water supply, you ensure that no water flows through the ice maker line while you are repairing it. This helps to prevent any accidental leaks or damage.
It’s a good idea to check that the water supply is fully shut off by running the faucet or valve for a few seconds to confirm that no water is coming out. This will give you peace of mind as you move forward with the repair.
Once you have turned off the water supply, you’re ready to proceed to the next step: locating the ice maker line.
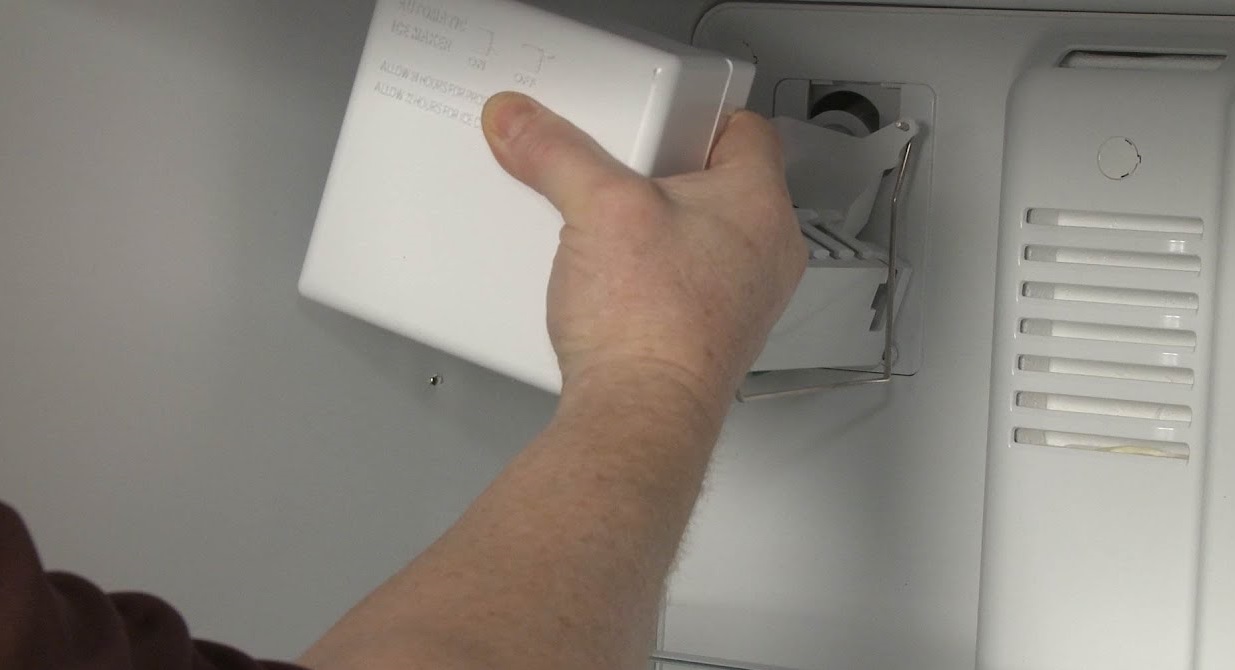
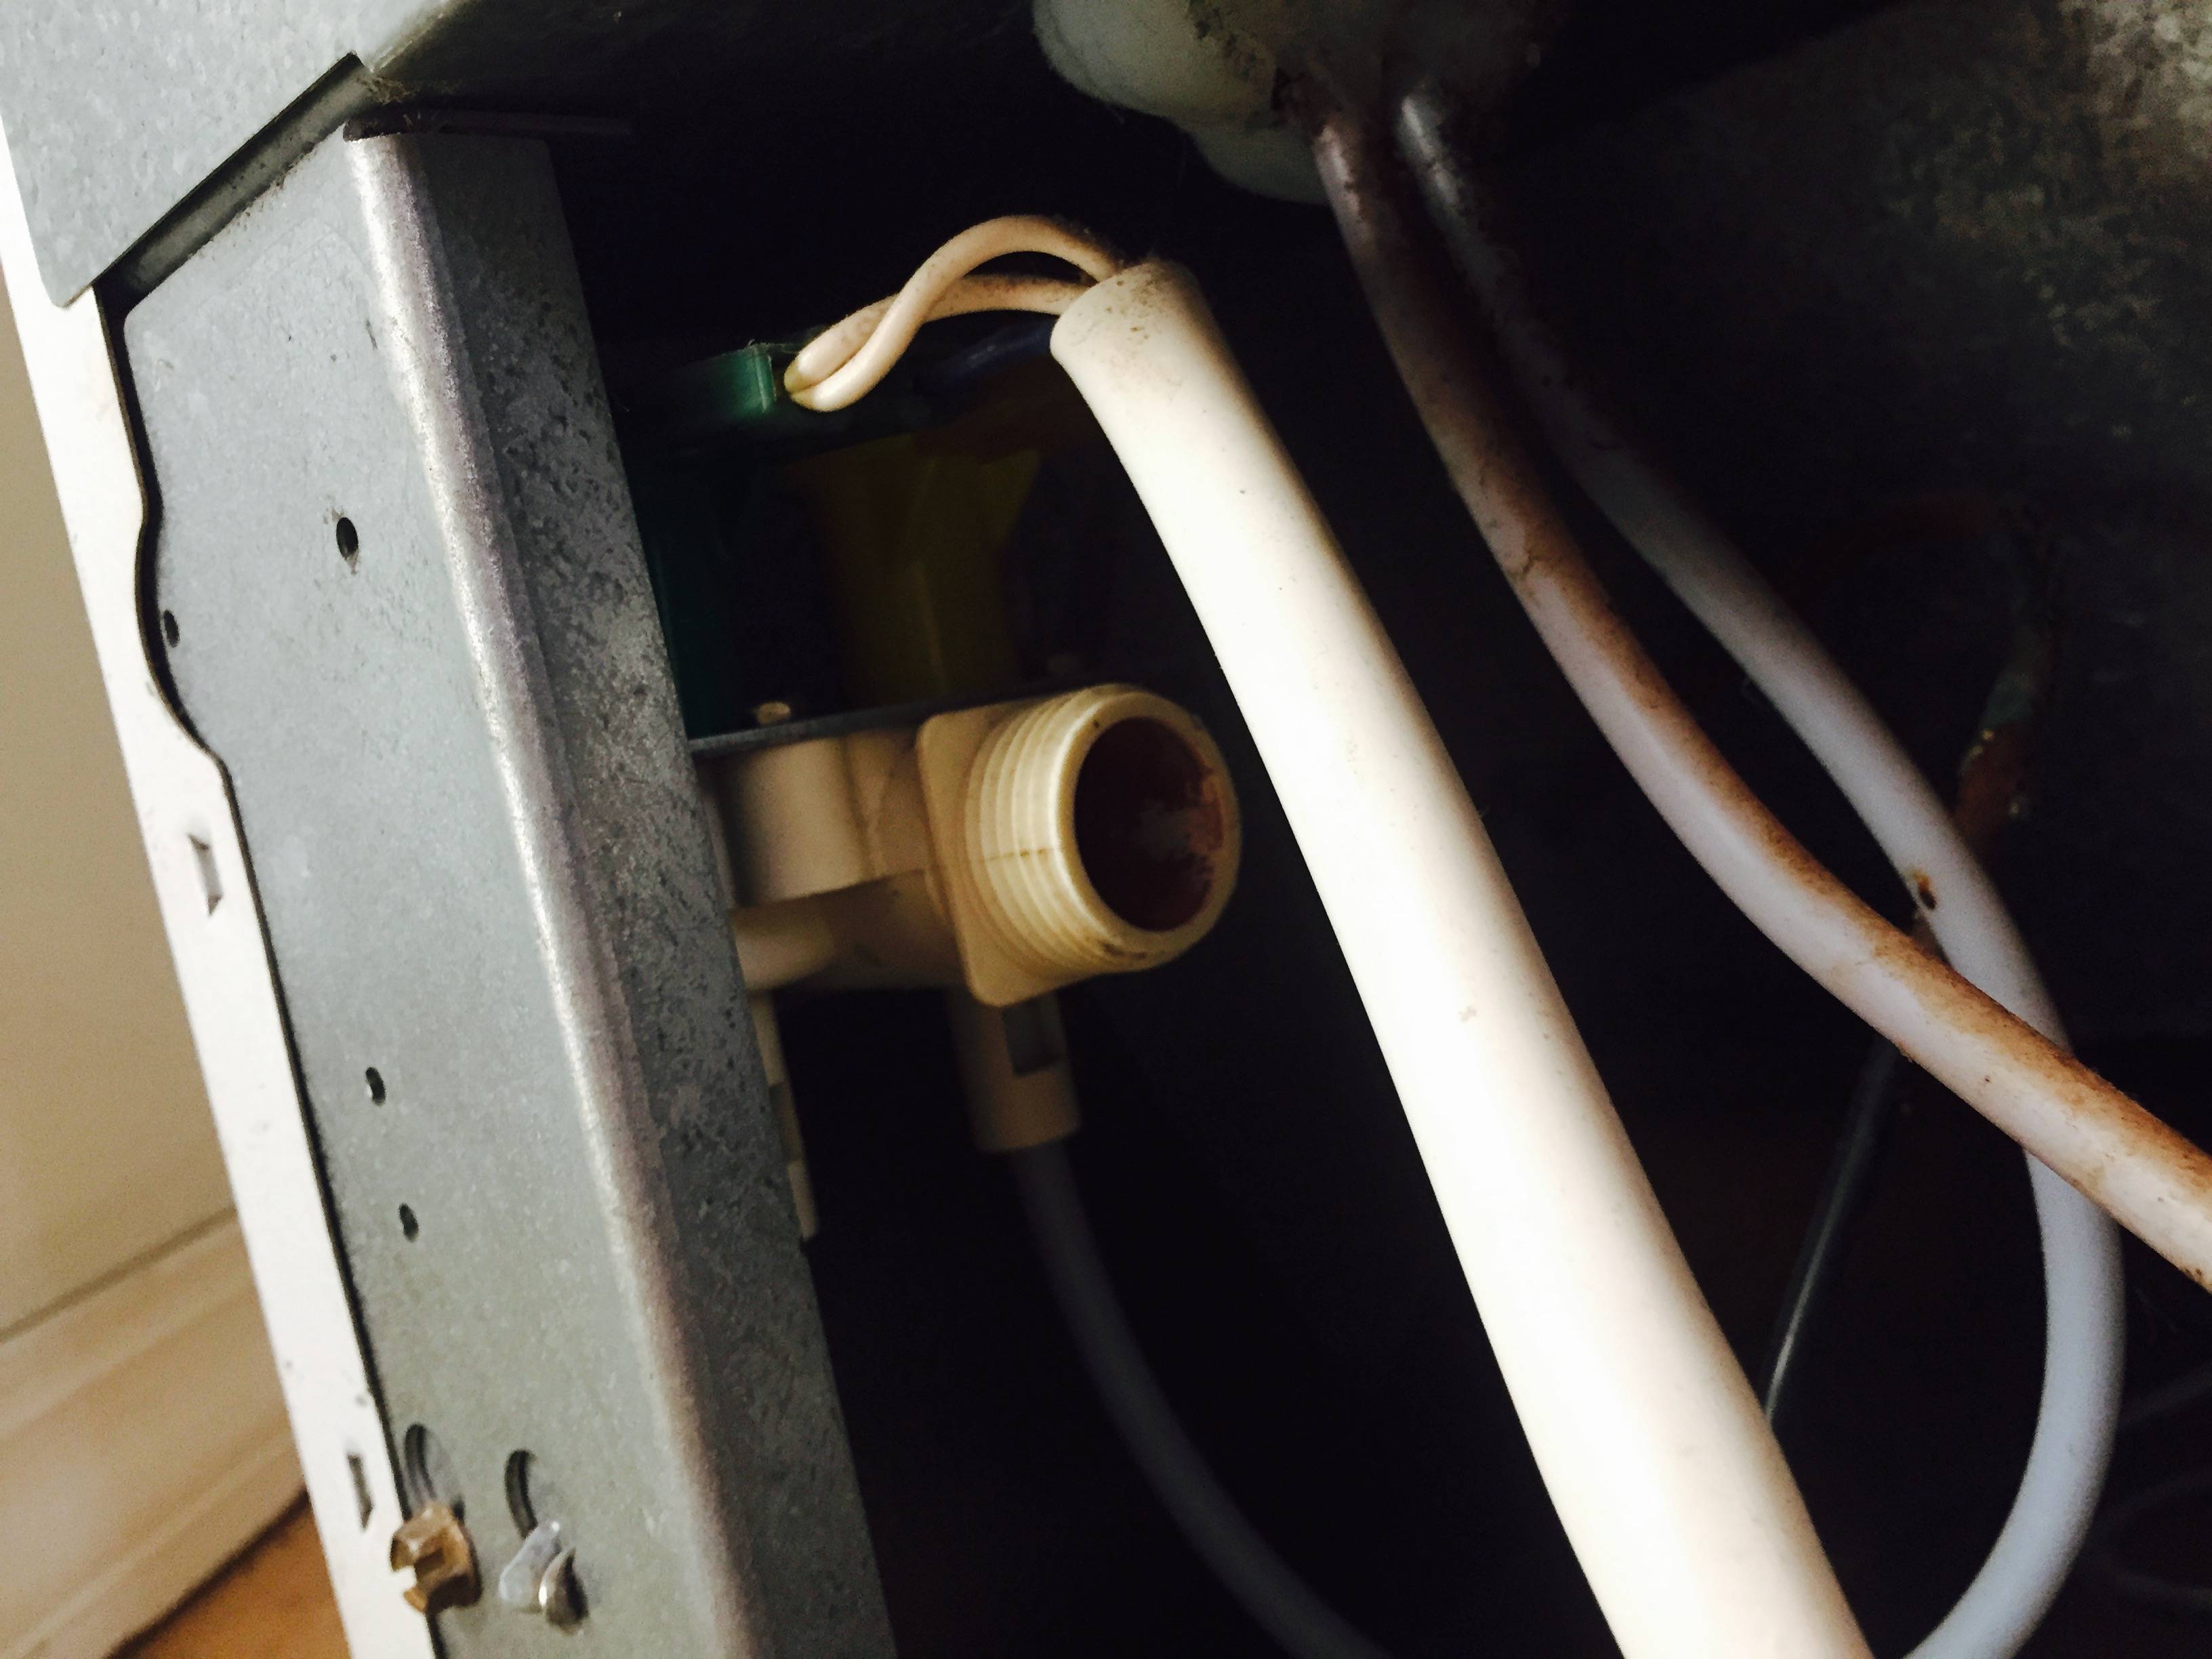
Step 3: Locate the ice maker line
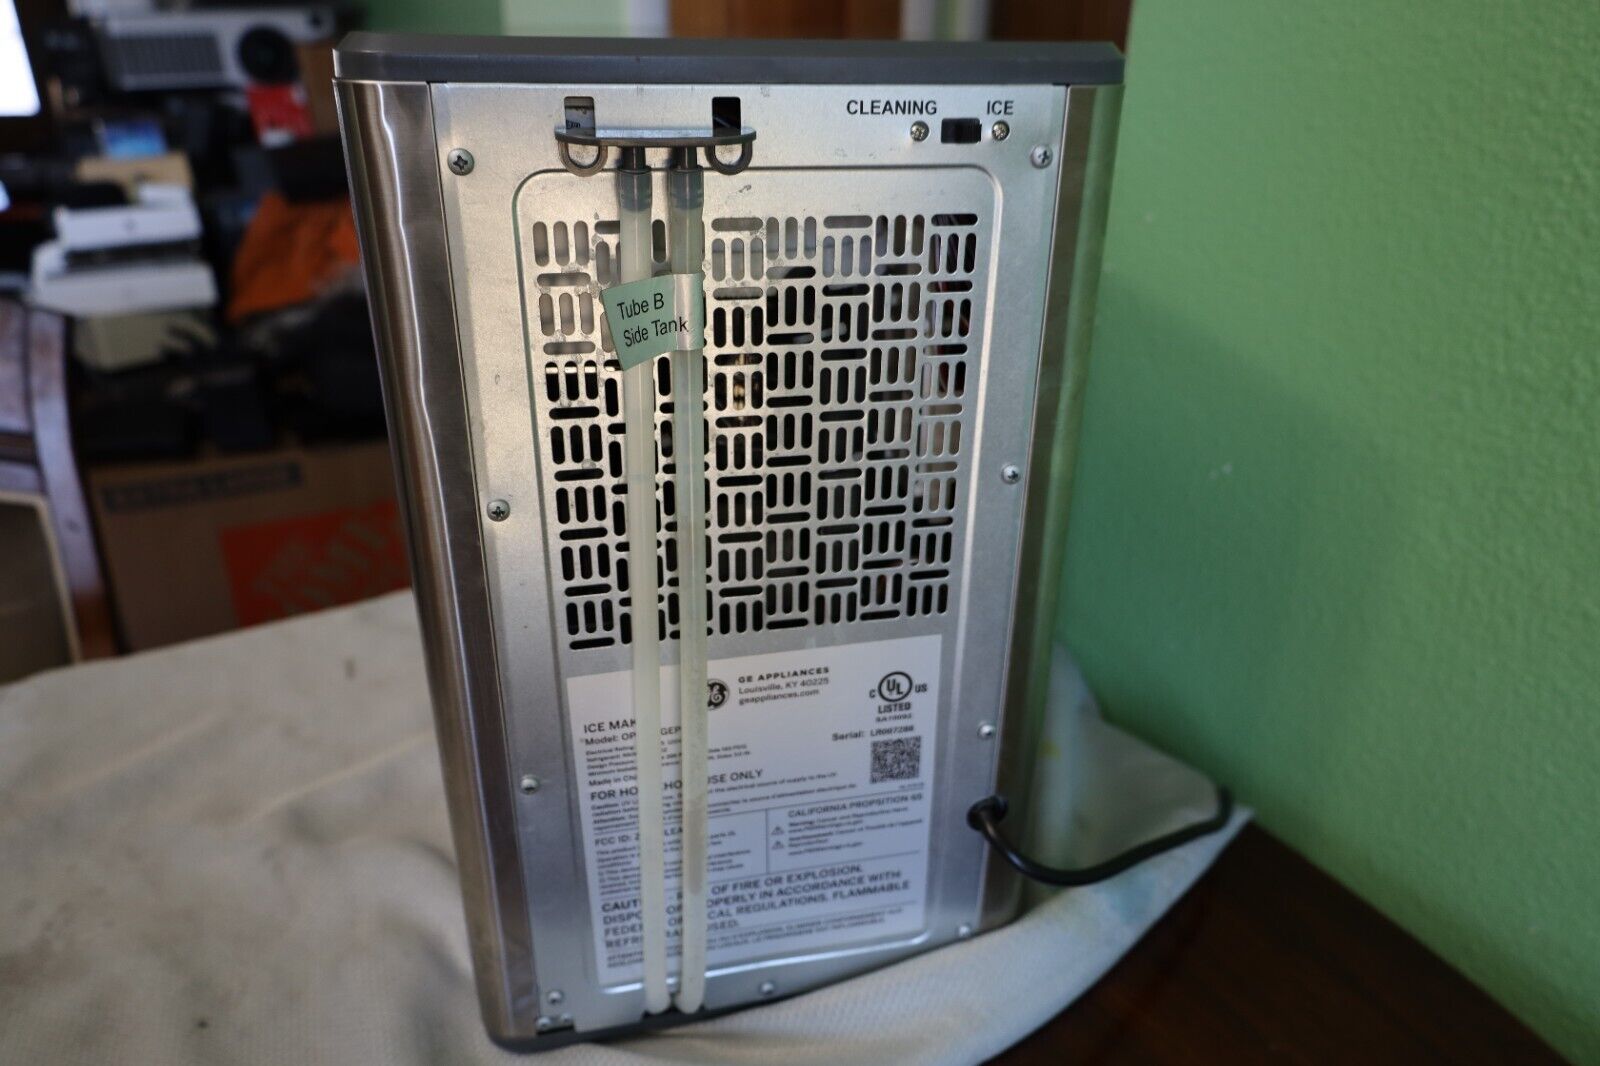
In order to repair the ice maker line, you first need to locate it. The ice maker line is the water line that connects your freezer or refrigerator to the water supply. Here’s how you can find the ice maker line:
- Start by checking the rear or bottom of your refrigerator or freezer. Look for a small, flexible tube that is typically made of plastic or copper.
- If you cannot find the ice maker line at the rear or bottom, consult the manufacturer’s instructions or the product’s manual for the exact location.
- In some cases, the ice maker line may be inside the freezer or refrigerator. If this is the case, you may need to remove drawers or shelving to gain access to it.
- Once you have located the ice maker line, visually inspect it for any signs of damage or leaks. Look for cracks, kinks, or obvious wear and tear.
It’s important to note that the ice maker line may be connected to a valve or coupling, which allows for easy disconnection. If this is the case, take note of how it is connected for future reference.
If you are unsure about the location of the ice maker line or encounter any difficulties, refer to the manufacturer’s instructions or consult a professional for assistance.
Once you have successfully located the ice maker line, you’re ready to move on to the next step: inspecting the ice maker line for leaks or damage.
Step 4: Inspect the ice maker line for leaks or damage
Before proceeding with the repair, take the time to carefully inspect the ice maker line for any signs of leaks or damage. This will help determine the extent of the repair needed and the necessary steps to fix it. Here’s how you can inspect the ice maker line:
- Visually examine the ice maker line for any signs of cracks, kinks, or wear and tear. Pay close attention to the sections of the line that are exposed and easily accessible.
- Feel along the length of the ice maker line with your hands to check for any abnormalities. Look out for any soft spots, bulges, or inconsistencies in the texture of the line.
- If there are any water stains or dampness around the ice maker line, this is a clear indication of a leak. Trace the source of the leak to pinpoint the exact location of the damage.
- If you have access to it, inspect the connections or fittings of the ice maker line. Look for any signs of looseness or corrosion.
It’s important to thoroughly inspect the ice maker line to ensure that all potential issues are identified. Even a small crack or minor damage can lead to leaks and cause the ice maker to malfunction.
If you discover any leaks or damage during the inspection, it’s time to move on to the next step: repairing or replacing the damaged section of the ice maker line.
Note: If you are unsure about the severity of the damage or how to proceed with the repair, it’s recommended to consult a professional for assistance.
To repair an ice maker line, start by turning off the water supply and unplugging the refrigerator. Check for any leaks or blockages in the line, and replace any damaged parts. Flush the line with clean water before reconnecting and testing the ice maker.
Read more: How To Replace Ice Maker Water Line
Step 5: Repair or replace the damaged section of the ice maker line
Once you have identified any leaks or damage in the ice maker line, it’s time to take the necessary steps to repair or replace the affected section. Here’s how you can proceed:
- If the damage is minor, such as a small crack or pinhole leak, you may be able to repair it using a patch or epoxy. Clean the area around the damage with a cloth or sponge and allow it to dry completely. Apply the patch or epoxy according to the manufacturer’s instructions, ensuring a tight and secure seal.
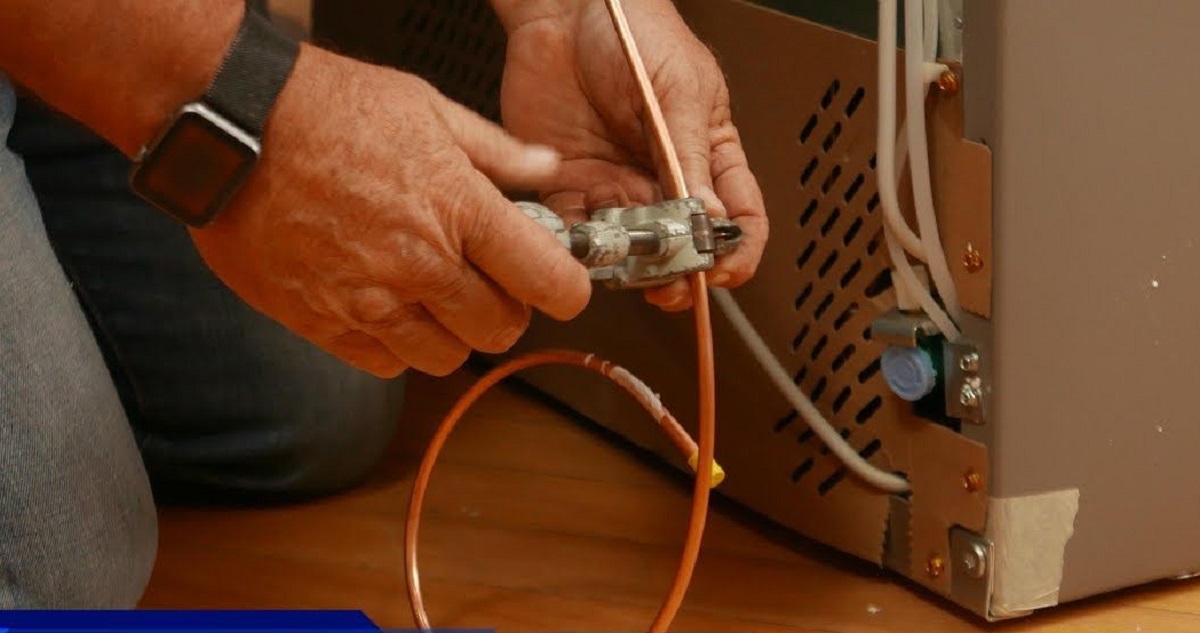
- For more significant damage or if the line is severely worn and cannot be effectively repaired, it may be necessary to replace the damaged section. Use a tube cutter or utility knife to cut out the damaged portion of the ice maker line.
- If you are working with a copper pipe, use a pipe cutter to make a clean and precise cut. Ensure that the cut is straight and smooth, without any burrs or rough edges.
- If you need to replace the entire ice maker line, carefully disconnect it from any valves or fittings. Refer to your manufacturer’s instructions or product manual for guidance.
- Once the damaged section is removed or disconnected, replace it with a new ice maker line of the same material and length. Make sure to use the appropriate fittings and connectors if necessary.
- Secure the connections tightly, ensuring a leak-free seal. If using a plastic line, use compression fittings or push-to-connect fittings for a secure attachment. If working with a copper pipe, use compression fittings or solder the connections for a tight seal.
Remember to follow the manufacturer’s instructions for the patch, epoxy, or fittings to ensure the repair is done correctly.
By repairing or replacing the damaged section of the ice maker line, you’ll restore proper water flow and prevent any further leaks or malfunctions.
Once the repair or replacement is complete, it’s time to move on to the next step: reconnecting the ice maker line.
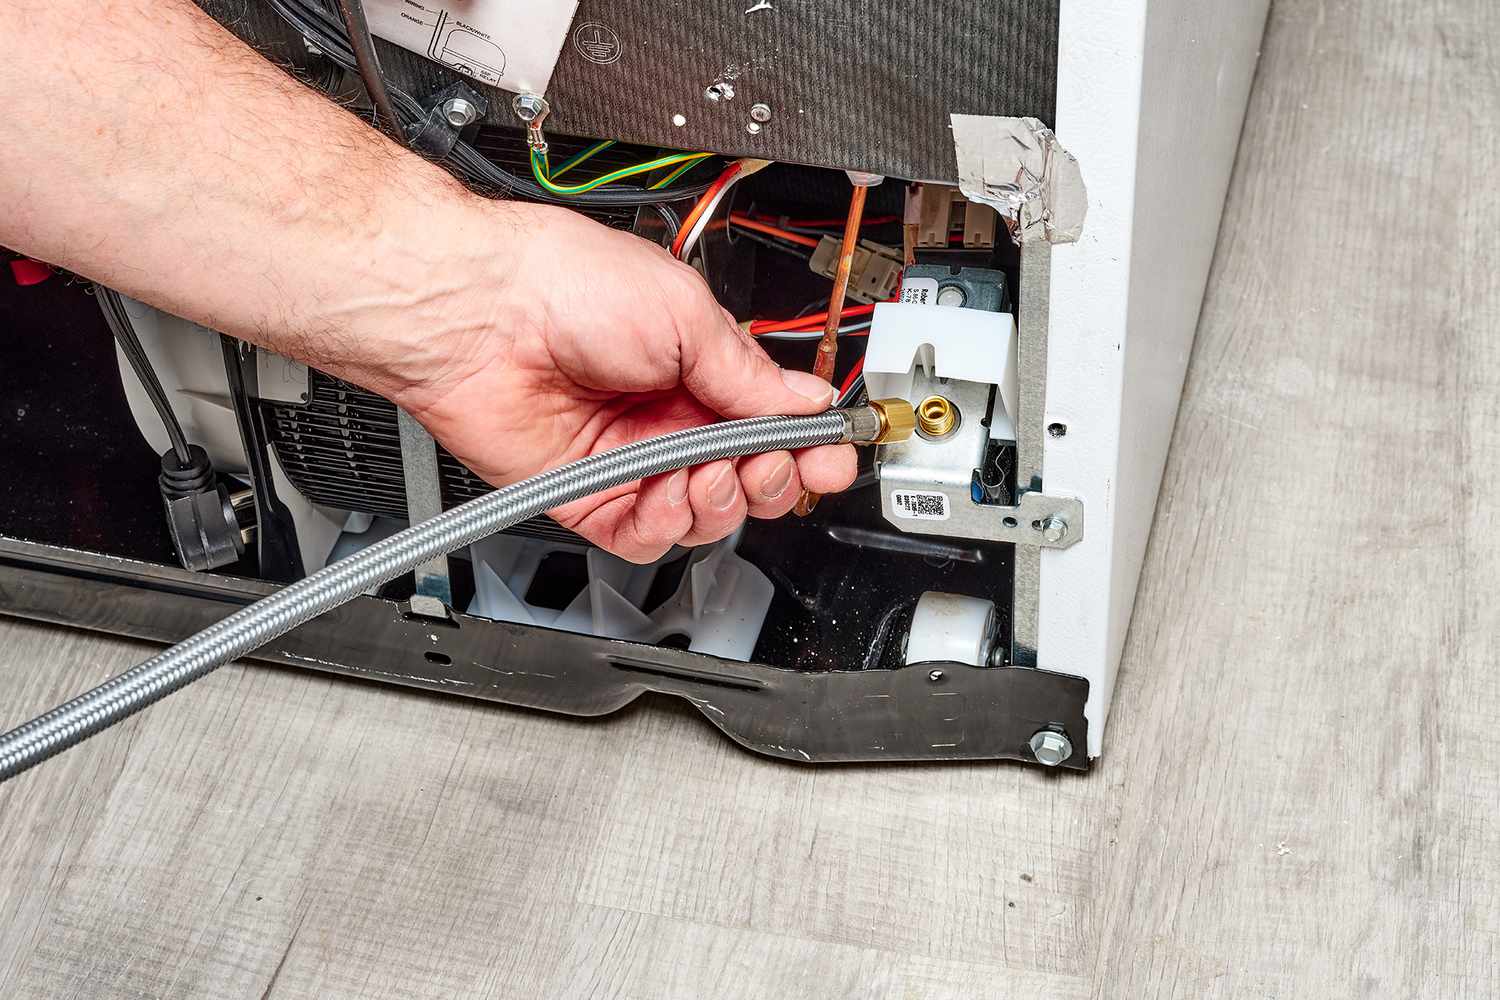
Step 6: Reconnect the ice maker line
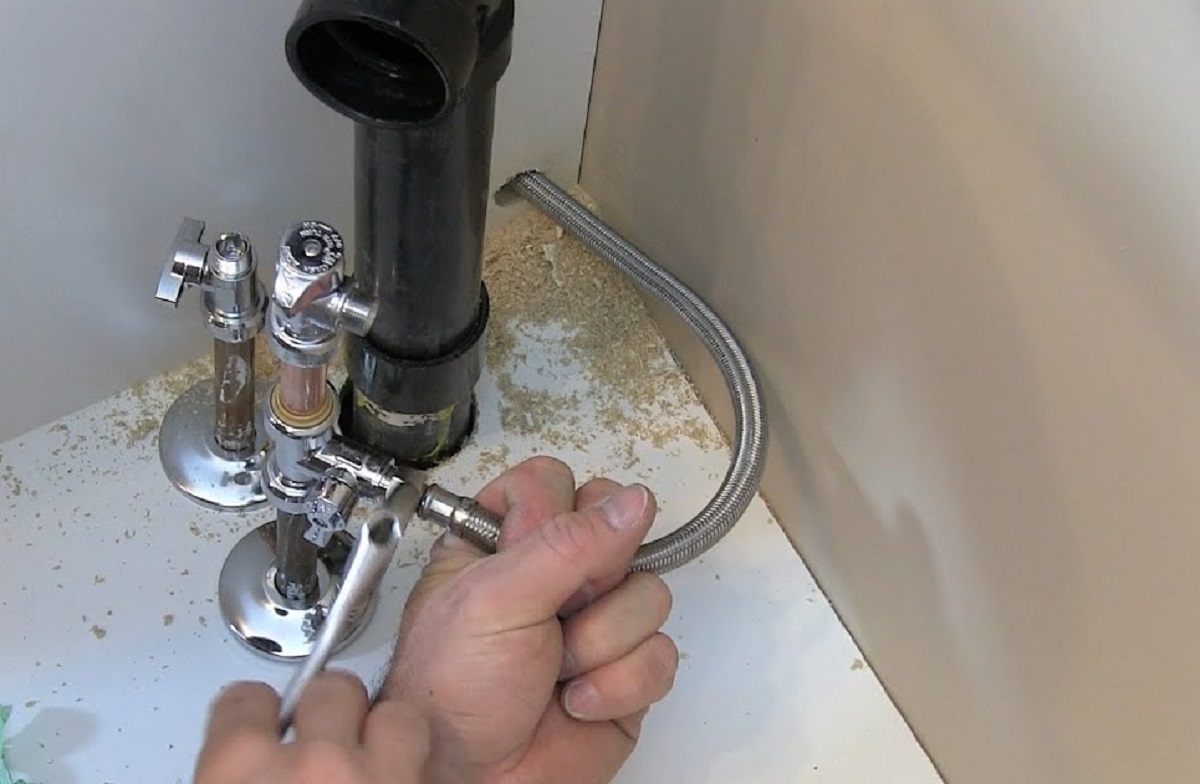
After repairing or replacing the damaged section of the ice maker line, it’s time to reconnect it and ensure a secure and tight connection. Here’s how you can proceed:
- Align the ends of the ice maker line with the appropriate valve or coupling that connects it to the water supply. Make sure the ends are clean and free from any debris or obstructions.
- If working with a plastic line, use compression fittings or push-to-connect fittings to reattach the line. Follow the manufacturer’s instructions to properly secure the connection.
- If working with a copper pipe, use compression fittings or solder the connections to ensure a tight seal. Make sure to clean the pipe and fittings thoroughly before soldering.
- Tightly secure the connections using the appropriate tools. Use an adjustable wrench to tighten compression fittings or a torch for soldering, following safety precautions and guidelines.
- Double-check that all connections are securely fastened and there are no visible gaps or leaks.
Properly reconnecting the ice maker line is essential to prevent leaks and ensure a consistent water supply to your ice maker. Take the time to ensure that all connections are tight and secure.
Once the ice maker line is reconnected, proceed to the next step: turning on the water supply.
Note: If you are unsure about the proper method of reconnecting the ice maker line or encounter any difficulties, it’s recommended to consult a professional plumber for assistance.
Step 7: Turn on the water supply
With the repaired or replaced ice maker line successfully reconnected, it’s time to turn on the water supply and ensure that water flows properly to your ice maker. Follow these steps to turn on the water supply:
- Locate the main water shut-off valve in your home where you previously turned it off.
- Slowly turn the valve counter-clockwise (or to the left) to gradually open the water supply. Be cautious not to force the valve or open it too quickly, as it may result in water hammer or other issues.
- Listen for any sounds or vibrations that could indicate a potential leak. Monitor the ice maker line closely for any signs of water leakage or drips.
- If you notice any leaks, immediately turn off the water supply and check the connections for a secure fit. Tighten any loose fittings or make necessary adjustments to ensure a watertight seal.
- Once you are confident that there are no leaks and the water supply is flowing smoothly, proceed to the final step: testing the ice maker for proper functioning.
It’s important to be attentive during this step to detect any potential leaks or issues with the water supply. Taking the time to ensure a proper water flow will help your ice maker operate efficiently and avoid any future problems.
Now that the water supply is turned on, let’s move on to the last step: testing the ice maker for proper functioning.
Step 8: Test the ice maker for proper functioning
Now that you have repaired the ice maker line and turned on the water supply, it’s time to test the ice maker to ensure it is functioning properly. Follow these steps to test your ice maker:
- Close the freezer or refrigerator door and wait for a few hours to allow the ice maker to start producing ice. The exact time may vary depending on the model of your ice maker.
- After the waiting period, open the freezer or refrigerator door and check the ice maker for any ice cubes. Verify that the ice maker is actively producing ice.
- If the ice maker is producing ice, allow it to continue running for a full ice-making cycle to ensure consistent production.
- Check for any leaks or unusual noises during the ice-making process. If you notice any issues, immediately turn off the water supply and inspect the ice maker line and connections for any problems.
- If the ice maker is not producing ice or is experiencing issues, refer to the manufacturer’s instructions or consult a professional for further troubleshooting steps or assistance.
By testing the ice maker, you can verify that your repairs have been successful and that the ice maker is functioning as intended. This ensures a steady supply of ice for your daily needs.
Remember to regularly monitor the ice maker for any signs of leaks or malfunctions, and promptly address any issues that arise. Regular maintenance and inspection of your ice maker line will help prevent future problems and keep your ice maker running smoothly.
Congratulations! You have successfully repaired your ice maker line and tested the ice maker for proper functioning. Enjoy the convenience of having a working ice maker in your home!
If you have any further questions or encounter any difficulties, don’t hesitate to seek professional assistance from a plumber or the manufacturer’s customer support.
Read more: How To Disconnect Water Line From Ice Maker
Conclusion
Repairing the ice maker line is a relatively straightforward task that can be accomplished with a few basic tools and materials. By following the step-by-step guide outlined in this article, you can successfully restore your ice maker line to working order and ensure a continuous supply of ice for your needs.
Throughout this process, it’s important to prioritize safety by following manufacturer guidelines and consulting professionals if needed. Working with water supply lines and electrical connections requires caution and attention to detail.
Remember to gather all the necessary tools and materials before starting the repair, and turn off the water supply to prevent any leaks or damage. Locate the ice maker line, inspect it for leaks or damage, and proceed to repair or replace the affected section as necessary.
Reconnect the ice maker line securely, ensuring a tight and leak-free connection. Finally, turn on the water supply and test the ice maker for proper functioning.
Regularly monitor the ice maker line for any signs of leaks, and promptly address any issues to prevent further damage. By maintaining your ice maker line, you can enjoy a well-functioning ice maker for years to come.
If you ever feel unsure about any step or encounter difficulties during the repair process, it’s always recommended to seek professional assistance from a plumber or the manufacturer’s customer support.
With the completion of the repair and testing, you can now sit back, relax, and enjoy the convenience of having a fully functional ice maker in your home. Cheers to refreshing cold drinks and hassle-free ice production!
Frequently Asked Questions about How To Repair Ice Maker Line
Was this page helpful?
At Storables.com, we guarantee accurate and reliable information. Our content, validated by Expert Board Contributors, is crafted following stringent Editorial Policies. We're committed to providing you with well-researched, expert-backed insights for all your informational needs.

0 thoughts on “How To Repair Ice Maker Line”