Articles
How To Hook Up An Ice Maker Water Line
Modified: February 20, 2024
Learn how to easily hook up an ice maker water line with these helpful articles. Get step-by-step instructions and expert tips for a hassle-free installation.
(Many of the links in this article redirect to a specific reviewed product. Your purchase of these products through affiliate links helps to generate commission for Storables.com, at no extra cost. Learn more)
Introduction
Welcome to our comprehensive guide on how to hook up an ice maker water line. Having a working ice maker in your refrigerator can be a great convenience, providing you with a constant supply of ice cubes for your drinks and everyday use. However, in order for your ice maker to function properly, it needs to be connected to a water source. This is where the ice maker water line comes into play.
Installing an ice maker water line may seem like a daunting task, but with the right tools and a step-by-step approach, you can do it yourself. In this article, we will walk you through the process of connecting an ice maker water line to your refrigerator. Whether you are a seasoned DIY enthusiast or just starting out, this guide will help you get your ice maker up and running in no time.
Before we dive into the installation process, let’s go over the materials you will need to complete this project:
Key Takeaways:
- DIY ice maker water line installation is achievable with the right tools and step-by-step approach. Ensure tight connections, use Teflon tape, and test the ice maker for a continuous supply of ice.
- Enjoy the convenience of a constant ice supply by following our guide. Monitor connections for leaks, test the ice maker, and maintain proper functionality for long-term use.
Materials Needed
Before you begin the process of hooking up an ice maker water line, make sure you have the following materials on hand:
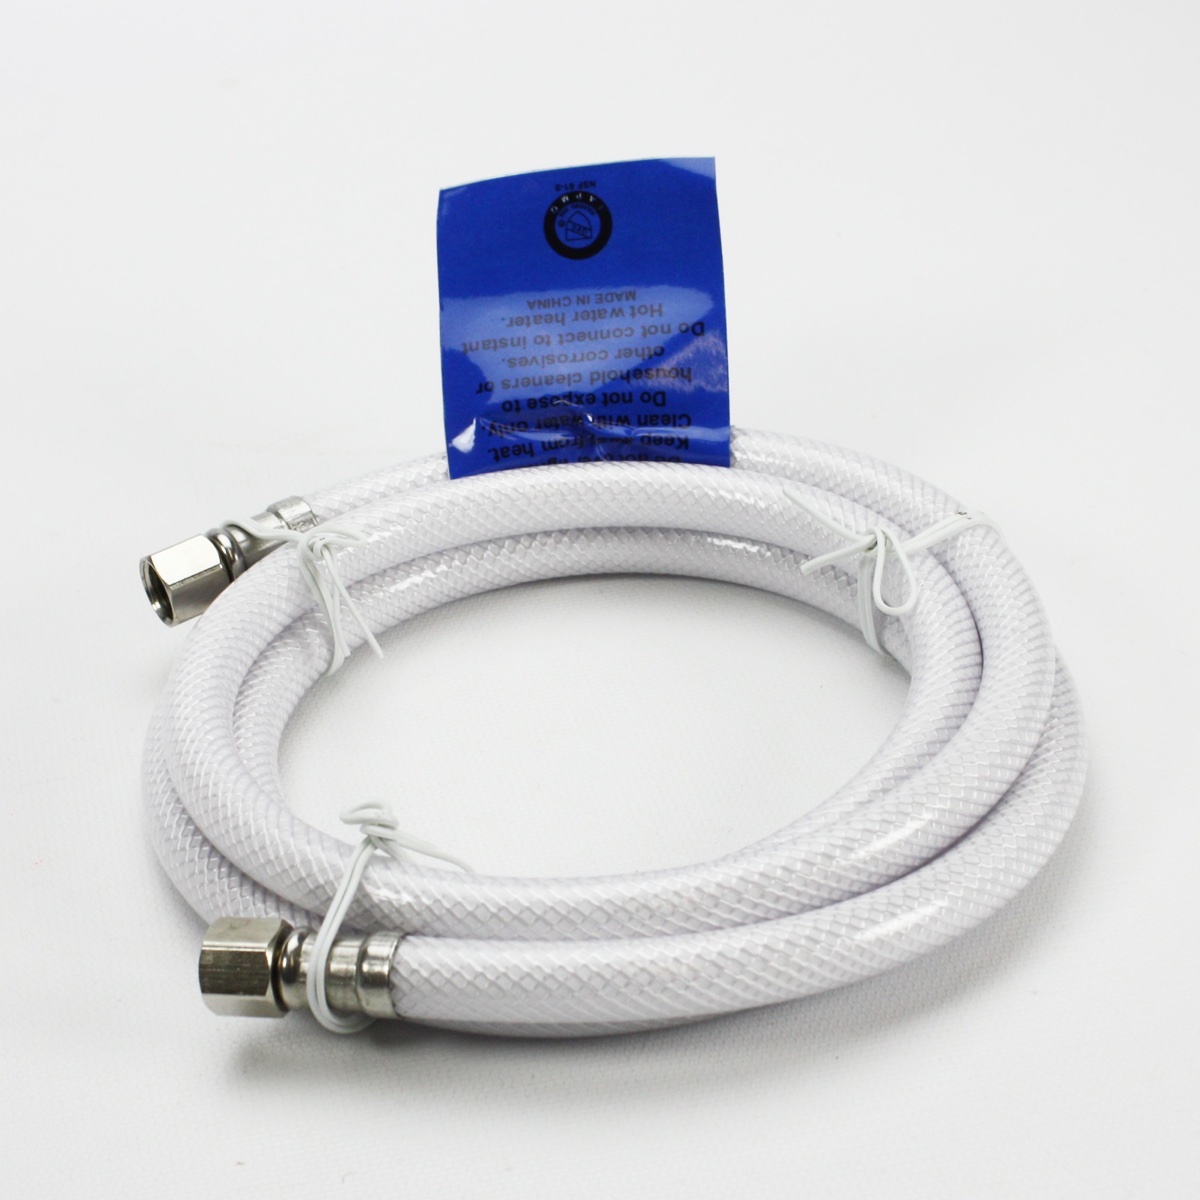
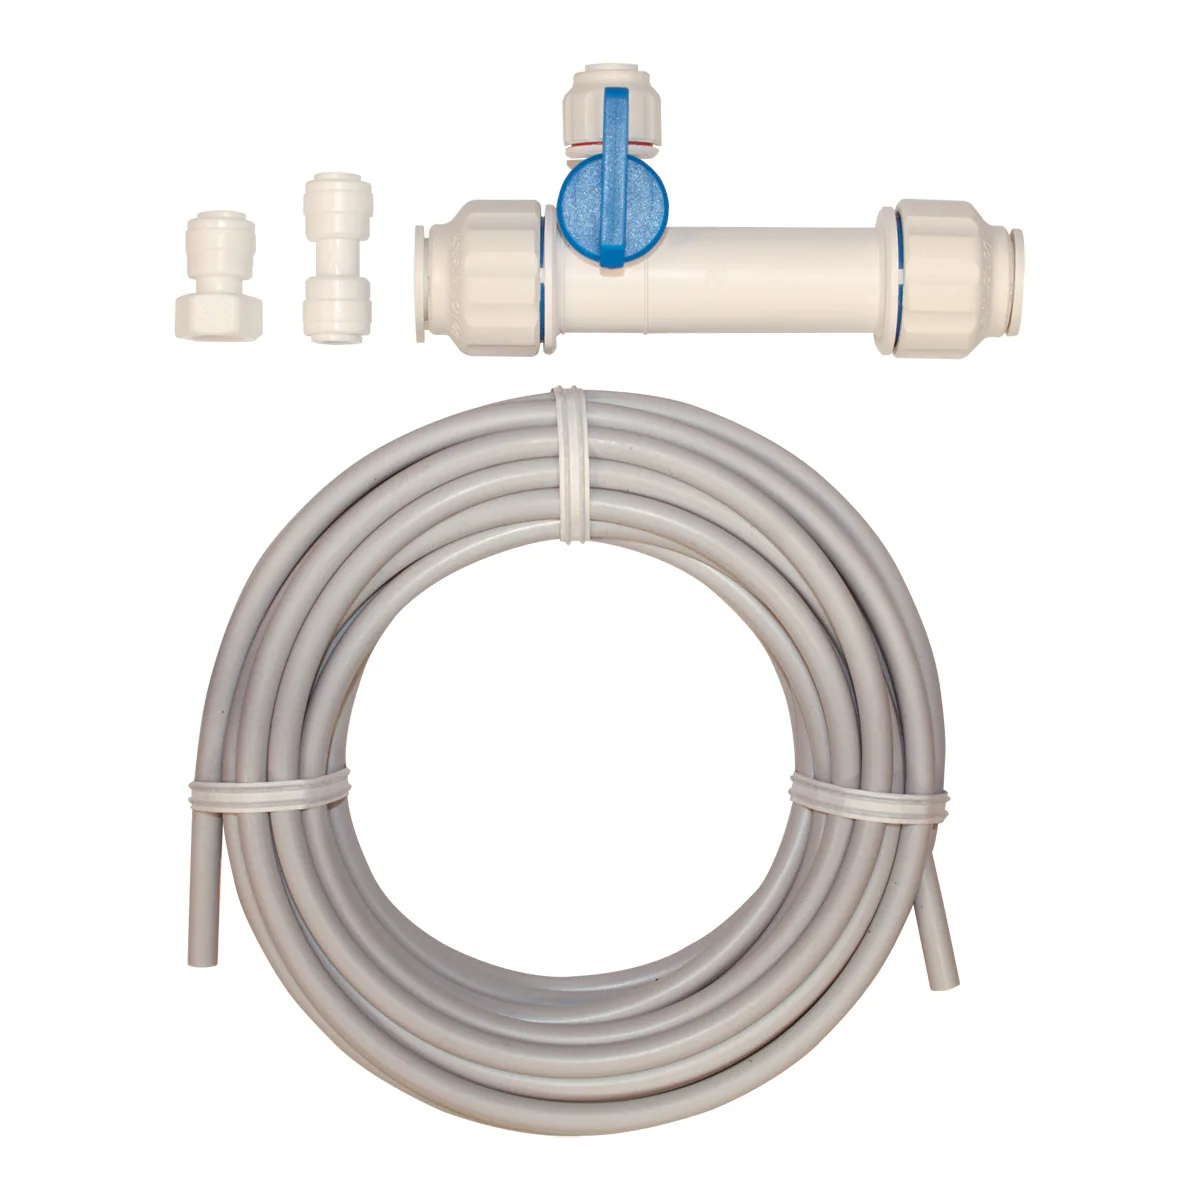
- Ice maker water line kit: This is a kit that contains all the necessary components to connect your ice maker to a water source. It typically includes a water line, compression fittings, and a shut-off valve.
- Tubing cutter: A tubing cutter is a tool that allows you to cut the water line with precision. Make sure you have one that is suitable for the size of your water line.
- Adjustable wrench: An adjustable wrench will come in handy when tightening and loosening the compression fittings.
- Teflon tape: Teflon tape is used to create a watertight seal on threaded connections. It is essential for preventing leaks.
- Bucket or towel: Having a bucket or a towel nearby will help you catch any water that may spill during the installation process.
- Measuring tape: A measuring tape will help you determine the length of the water line you need to connect your refrigerator to the water source.
It’s always a good idea to gather all the materials before you start the installation process. This way, you won’t have to pause midway to search for missing tools or supplies.
Now that you have all the necessary materials, let’s move on to the step-by-step process of hooking up an ice maker water line.
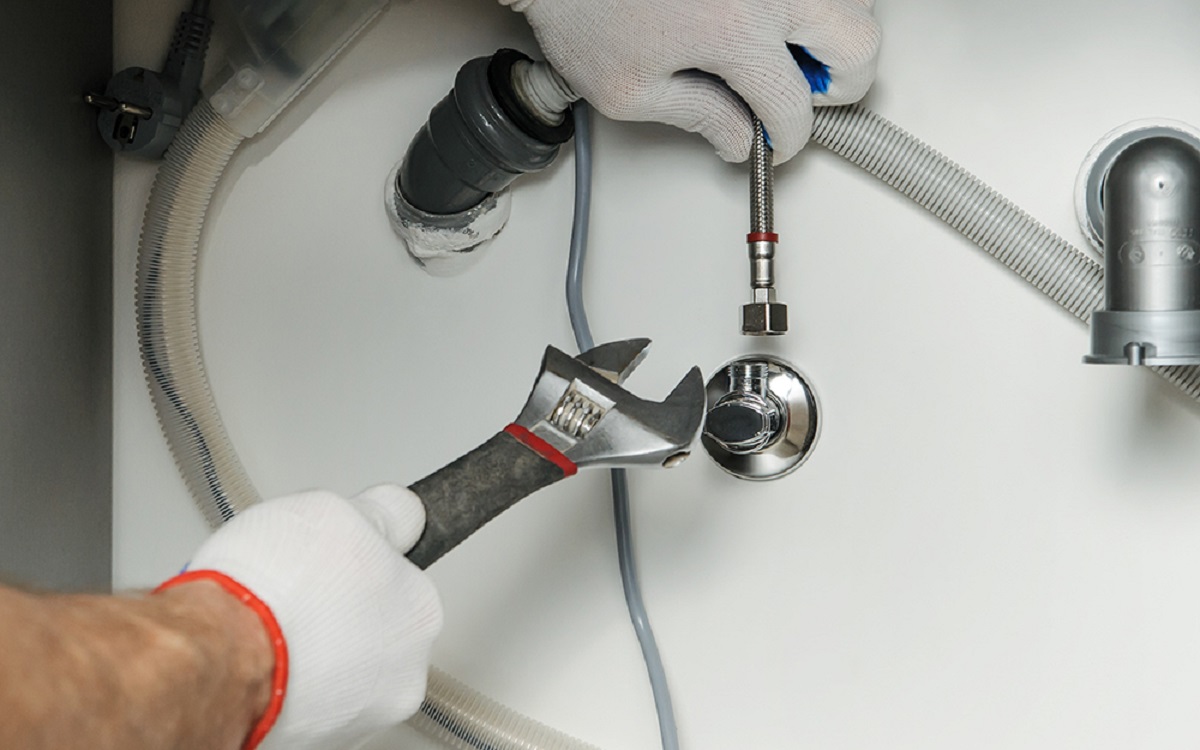
Step 1: Gather necessary tools
Before you begin the installation process, it’s important to gather all the necessary tools and have them readily available. This will save you time and ensure a smooth and efficient installation. Here are the tools you will need:
- Adjustable wrench: This will be used to tighten and loosen the compression fittings.
- Tubing cutter: A tubing cutter is essential for cutting the water line to the appropriate length.
- Measuring tape: Use a measuring tape to determine the length of the water line needed.
- Bucket or towel: Have a bucket or towel on hand to catch any water that may leak during installation.
- Pipe wrench: A pipe wrench may be needed if you encounter any stubborn connections.
- Teflon tape: Use Teflon tape to create a watertight seal on threaded connections.
By having these tools ready, you can ensure a smooth installation process with minimal interruptions. It’s always best to gather the necessary tools before starting the project to avoid delays and frustration.
Now that you have your tools ready, it’s time to move on to the next step: locating the water source.
Step 2: Locate water source
The next step in hooking up an ice maker water line is to locate the water source. You will need to find a suitable water supply line that is accessible and close to your refrigerator. Here’s how you can do it:
- Find the nearest plumbing line: Look for a water supply line that is closest to your refrigerator. This could be a line connected to your kitchen sink, a nearby water line in the basement, or even a line connected to your dishwasher.
- Turn off the water supply: Before you start working with the water line, it’s essential to turn off the water supply to prevent any water leakage. Locate the shut-off valve for the water supply line you have chosen and turn it off by turning the valve clockwise.
- Release the pressure: After turning off the water supply, it’s a good idea to release any residual pressure in the line. To do this, turn on the faucet connected to the water supply line and let the water run until it stops flowing.
Locating the water source is a crucial step in connecting an ice maker water line. By finding the nearest plumbing line and turning off the water supply, you can prepare to move on to the next step: preparing your refrigerator.
Step 3: Turn off water supply
Now that you have located the water source, it’s time to turn off the water supply before proceeding with the installation. This step is important to ensure your safety and prevent any water leakage. Follow these steps to turn off the water supply:
- Locate the shut-off valve: The shut-off valve is usually located near the water supply line you have chosen. It can be a small valve attached to the plumbing line or a separate valve nearby.
- Turn off the water supply: To turn off the water supply, rotate the valve clockwise until it is fully closed. This will stop the flow of water to the line.
It’s crucial to make sure the water supply is completely shut off before moving on to the next steps. This will prevent any water from flowing through the line and potentially causing leaks during the installation process.
Once the water supply is turned off, you can proceed to prepare your refrigerator for the ice maker water line installation.
Read more: How To Unclog Water Line To Ice Maker
Step 4: Prepare refrigerator
Before you can connect the ice maker water line to your refrigerator, it’s important to properly prepare the refrigerator for the installation process. Here are the steps to follow:
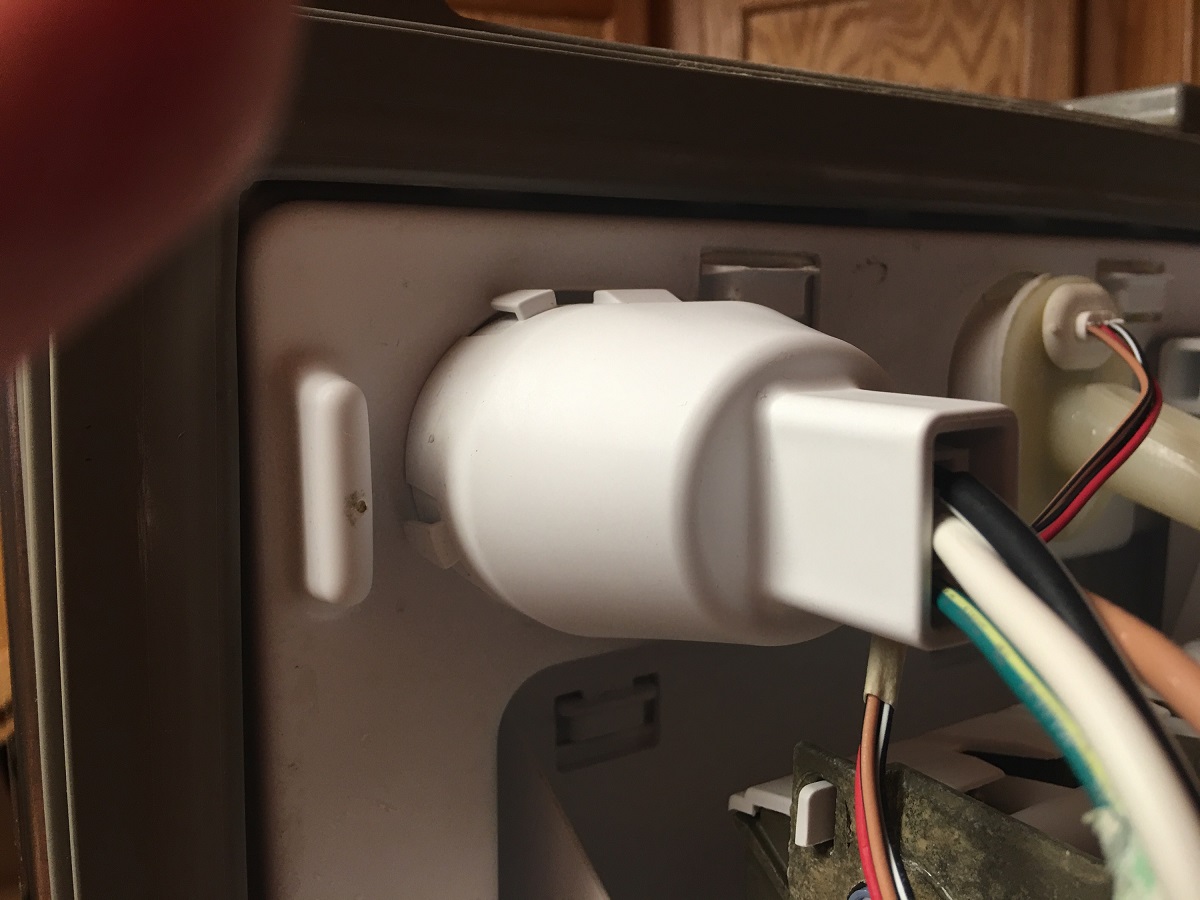
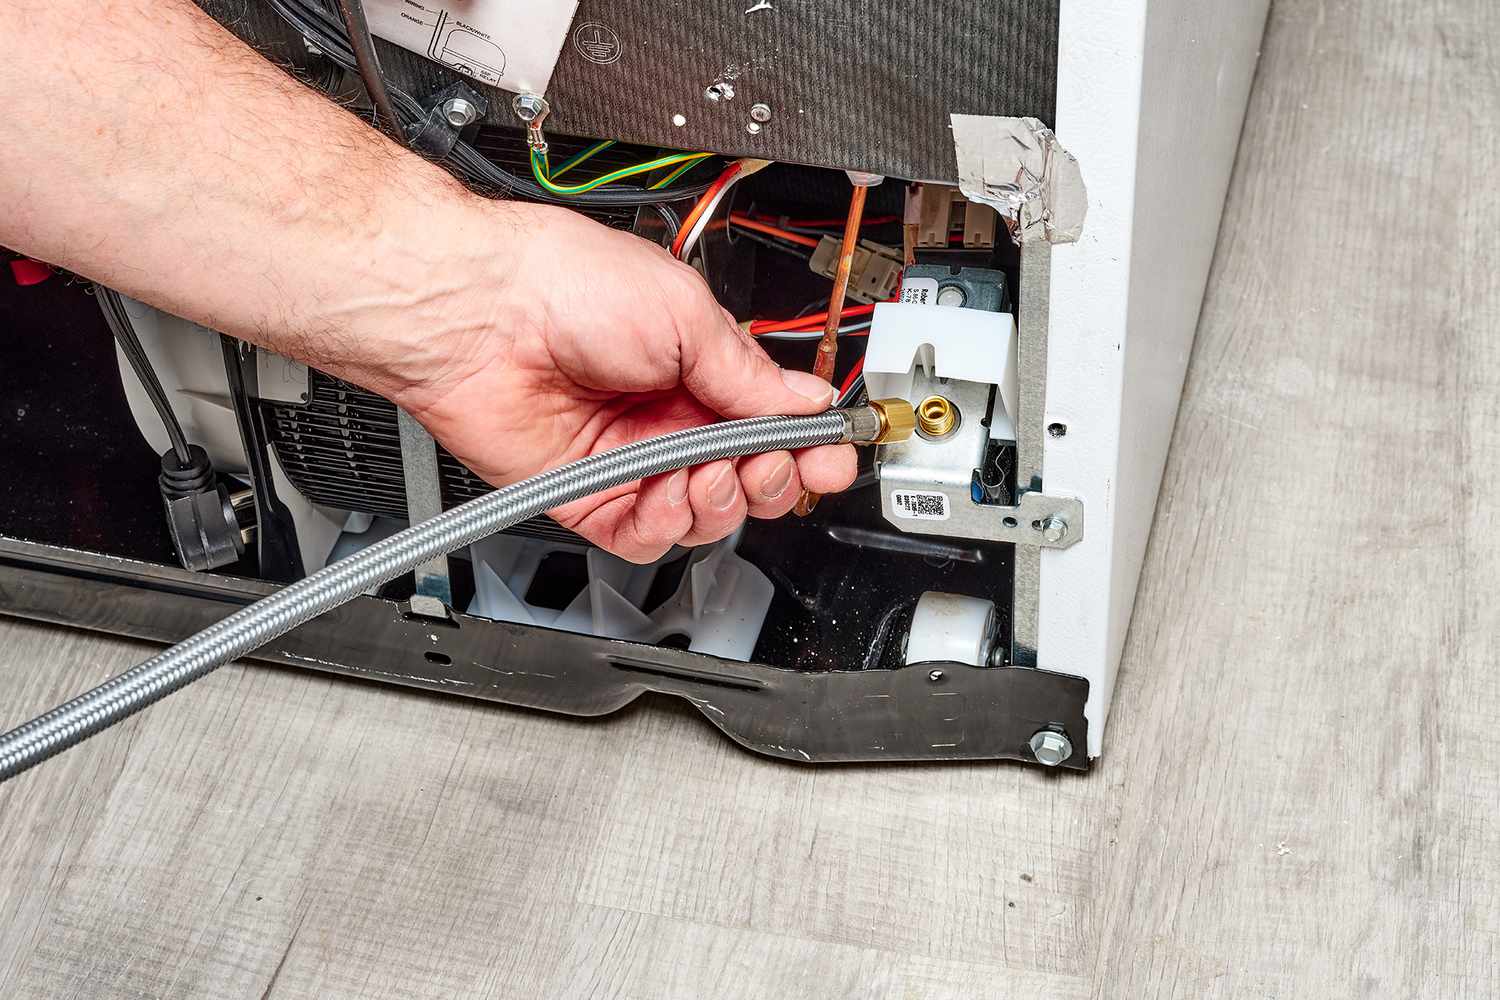
- Locate the water inlet valve: The water inlet valve is typically located at the back of the refrigerator, near the bottom. It is a small valve with a water line connection.
- Clear the area around the valve: Make sure the area around the water inlet valve is clear and accessible. Remove any obstructions or items that may hinder the installation process.
- Inspect the valve and connections: Take a moment to inspect the water inlet valve and the connections. Ensure there are no visible damages or leaks. If you notice any issues, it’s best to address them before proceeding.
Preparing your refrigerator for the installation is an important step to ensure a smooth and successful connection of the ice maker water line. By locating the water inlet valve and clearing the area, you can proceed with confidence to the next step: connecting the water line to the refrigerator.
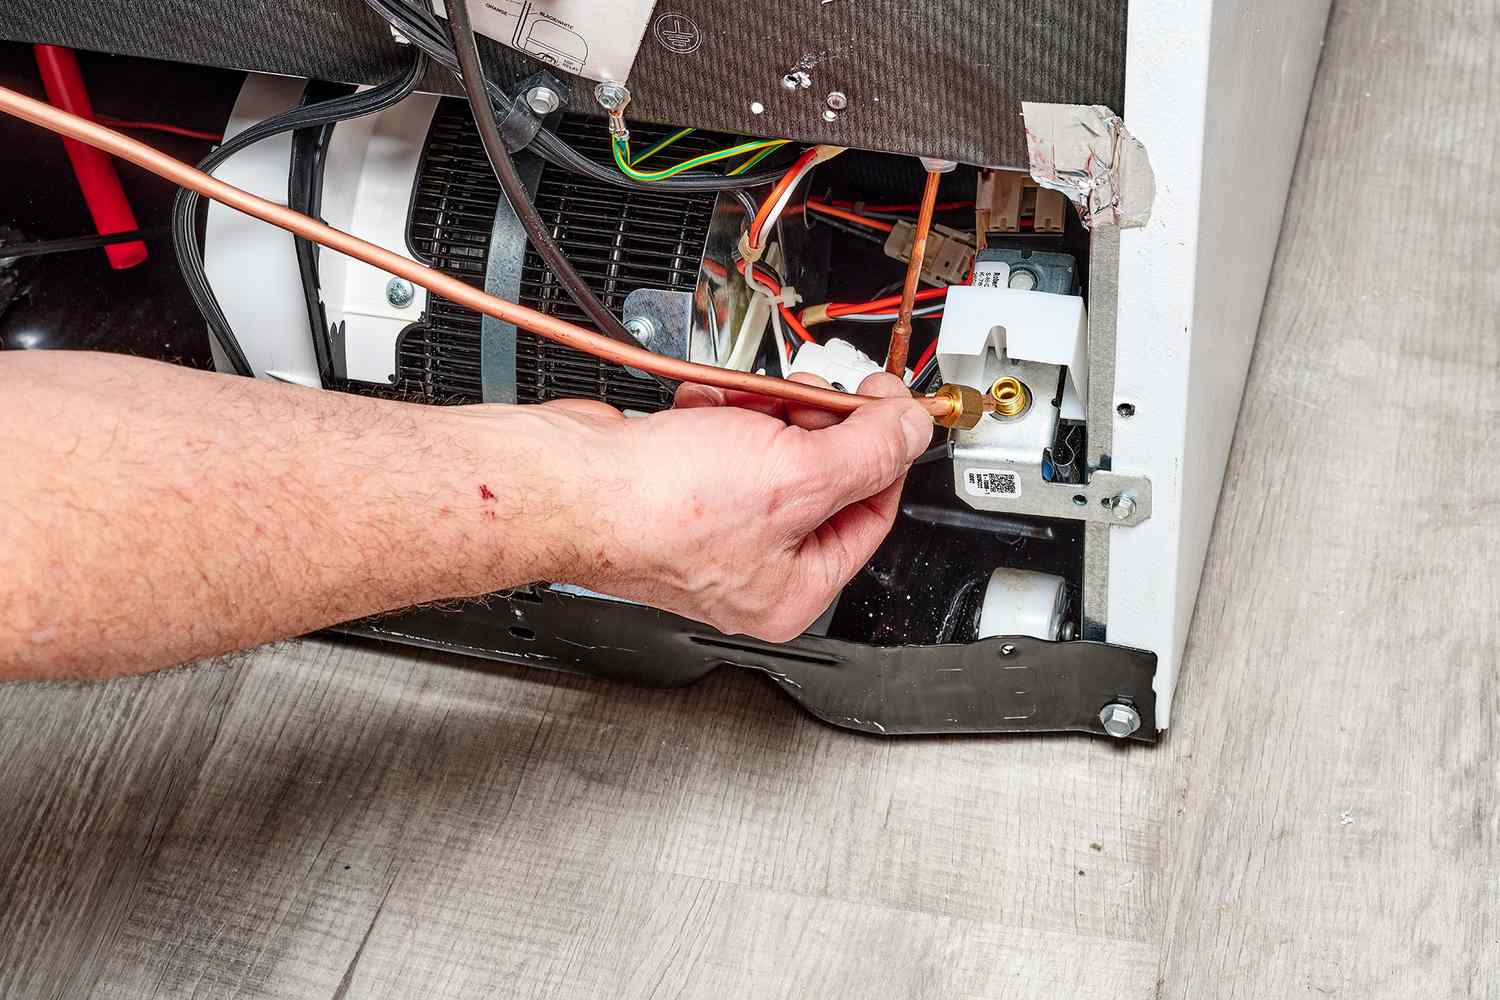
When installing an ice maker water line, make sure to use a compression fitting to connect the line to the water supply. This will ensure a secure and leak-free connection.
Step 5: Connect water line to refrigerator
Now that you have prepared your refrigerator, it’s time to connect the water line to the water inlet valve. Follow these steps:
- Measure and cut the water line: Using a tubing cutter, measure the length of the water line needed to connect the water inlet valve to the shut-off valve. Leave some extra length to allow for flexibility.
- Attach the compression fitting: Place a compression fitting onto each end of the water line. Ensure that the fittings are properly aligned and snugly fit onto the line.
- Connect the water line to the inlet valve: Take one end of the water line and connect it to the water inlet valve on the back of the refrigerator. Tighten the compression fitting using an adjustable wrench to create a secure and watertight connection.
It’s important to ensure that the fittings are tightly secured to prevent any leaks. A properly connected water line will ensure a continuous and reliable water supply to your ice maker.
With the water line connected to the refrigerator, it’s time to move on to the next step: connecting the water line to the water supply.
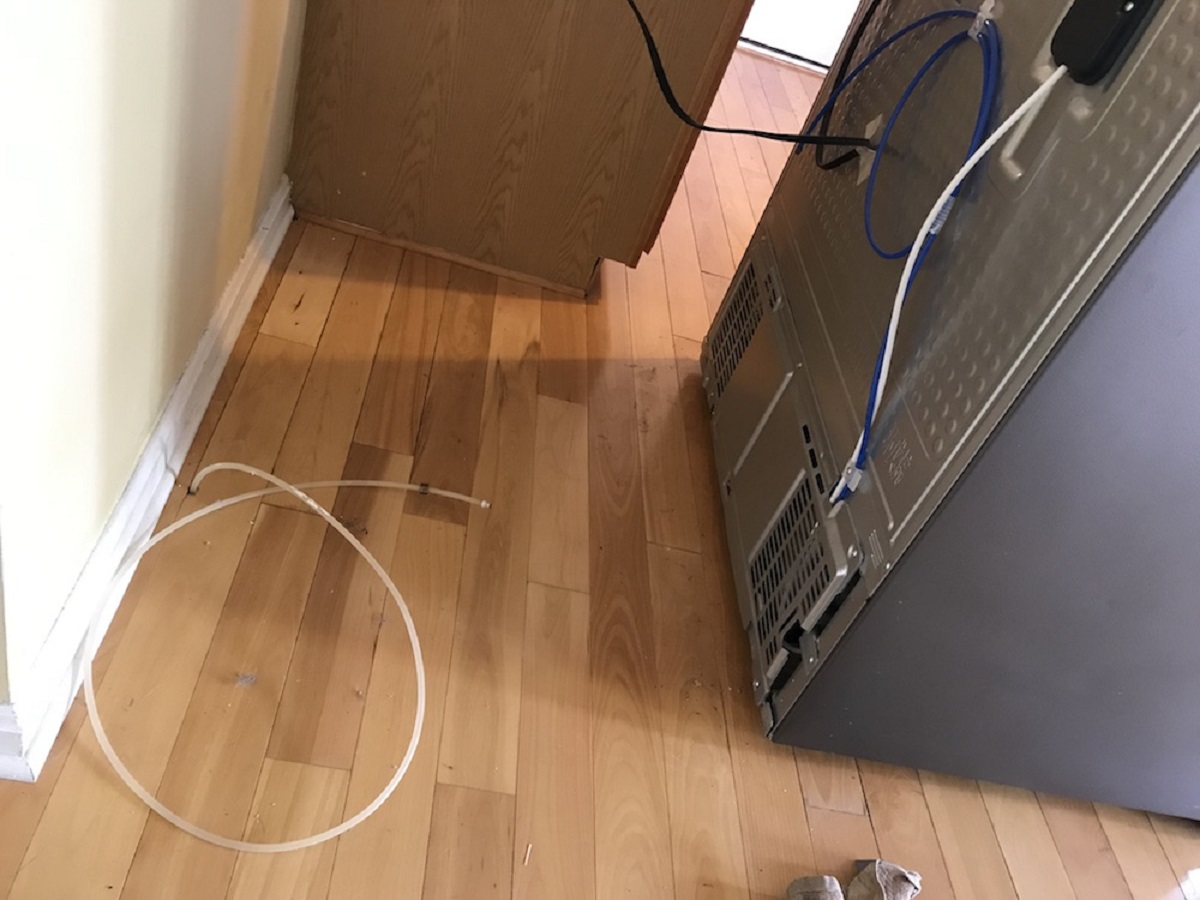
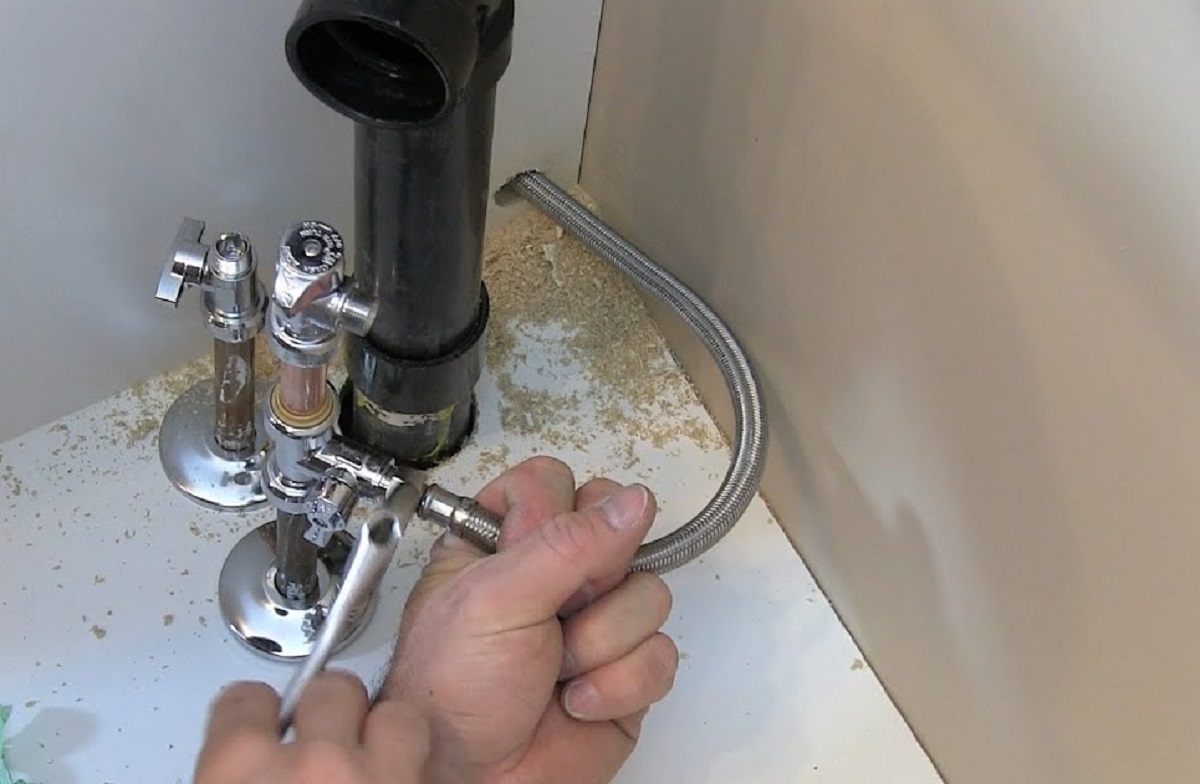
Step 6: Connect water line to water supply
Now that the water line is connected to your refrigerator, it’s time to connect the other end of the line to the water supply. Follow these steps:
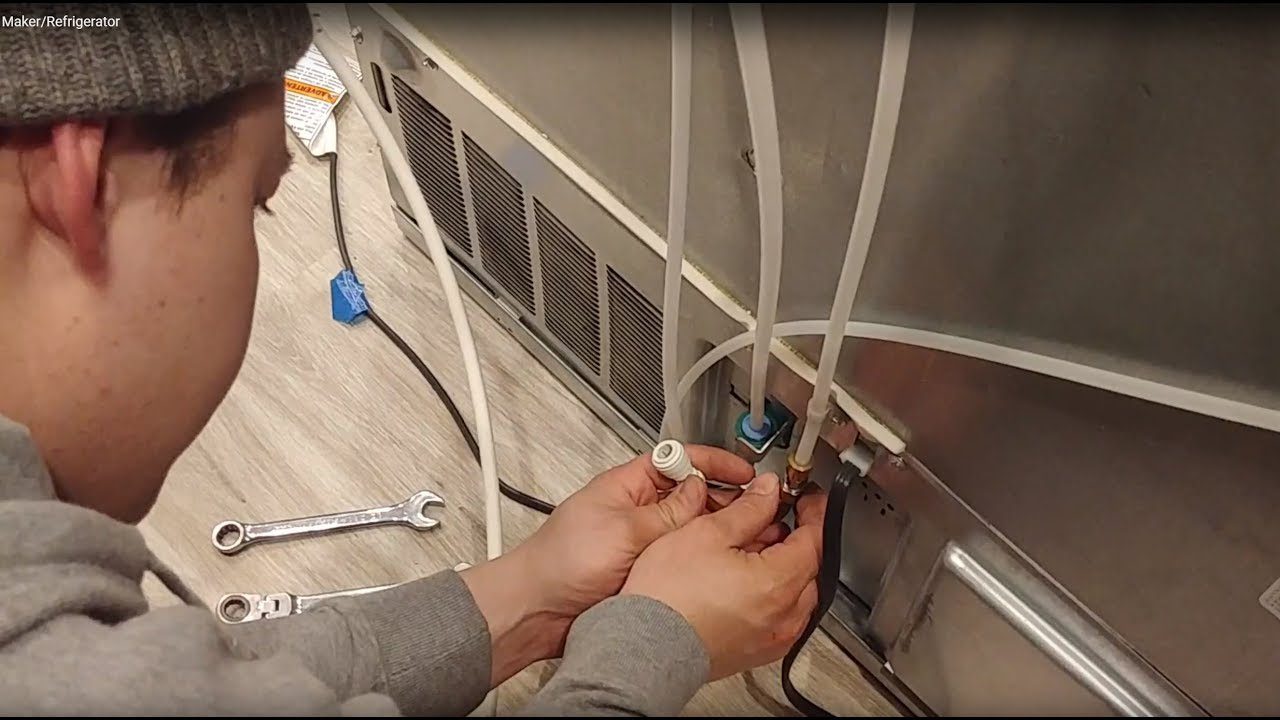
- Locate the shut-off valve: Take the other end of the water line and find the shut-off valve that you previously turned off.
- Attach the compression fitting: Place a compression fitting onto the end of the water line and make sure it is securely attached.
- Connect the water line to the shut-off valve: Position the compression fitting onto the shut-off valve and tighten it with an adjustable wrench. Ensure that the connection is tight to prevent any leaks.
It’s important to note that the shut-off valve should remain closed during this step to prevent any water flow while making the connection.
Once the water line is securely connected to the water supply, it’s time to move on to the final steps: turning on the water supply and testing the ice maker.
Step 7: Turn on water supply
With the water line securely connected to both the refrigerator and the water supply, it’s time to turn on the water supply. Follow these steps:
- Ensure all connections are tight: Before turning on the water supply, double-check that all connections, including the compression fittings, are properly tightened to prevent any potential leaks.
- Slowly turn on the shut-off valve: Gradually turn the shut-off valve counterclockwise to gradually open the water supply. This will help avoid any sudden rushes of water and reduce the risk of leaks.
- Check for leaks: Once the water supply is turned on, closely inspect all the connections for any signs of leaks. Look for any water drips or moisture around the fittings. If you notice any leaks, shut off the water supply and recheck the connections.
It’s essential to take your time and carefully monitor the connections for any leaks. Properly sealed and tightened connections will ensure a consistent water supply to your ice maker without any issues.
With the water supply turned on, you can now move on to the final step: testing the ice maker.
Read more: How To Replace Ice Maker Water Line
Step 8: Test the ice maker
Now that the water supply is connected and turned on, it’s time to test the functionality of your ice maker. Follow these steps:
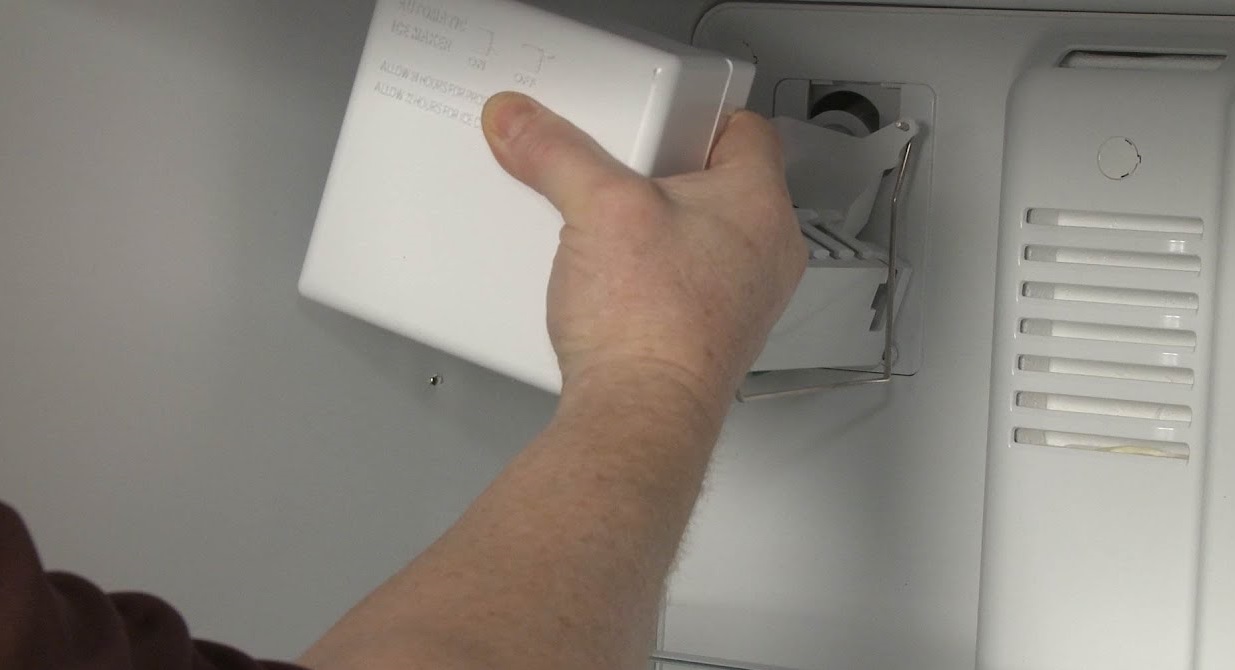
- Ensure ice maker is turned on: Check that the ice maker switch on the front of your refrigerator is turned on. This will activate the ice maker and allow it to start producing ice.
- Allow time for ice production: Depending on the model of your refrigerator, it may take some time for the ice maker to start producing ice. It’s normal to wait a few hours or even up to 24 hours for the first batch of ice to be ready.
- Check for ice production: After the waiting period, open your freezer and see if there is any ice in the ice maker bin. If there is, congratulations! Your ice maker is working properly. If not, double-check all the connections and make sure the water supply is turned on.
- Monitor ice production: In the coming days, keep an eye on the ice production. Ensure that the ice maker is continuously producing ice and that the ice bin is filling up properly. If you notice any issues, such as slow or no ice production, check the connections and consult the refrigerator’s manual.
Testing the ice maker will help ensure that everything is functioning correctly and that you can enjoy a constant supply of ice for your daily needs.
Congratulations! You have successfully hooked up the ice maker water line and tested your ice maker. Now, you can enjoy the convenience of having fresh ice readily available whenever you need it.
Remember to periodically check the connections and be vigilant for any signs of leaks or issues. With proper installation and maintenance, your ice maker will continue to serve you well for years to come.
Thank you for following our guide on how to hook up an ice maker water line. We hope this article has been helpful, and we wish you success in your ice maker installation!
Conclusion
In conclusion, connecting an ice maker water line to your refrigerator is a practical and achievable DIY project that can bring convenience to your everyday life. By following the step-by-step guide outlined in this article, you can successfully hook up your ice maker water line and enjoy a continuous supply of ice for your drinks and other cooling needs.
Throughout the installation process, it’s essential to gather the necessary tools, locate the water source, turn off the water supply, and prepare your refrigerator for the connection. By ensuring tight and secure connections, using Teflon tape for sealing, and taking your time to test the ice maker, you can minimize the risk of leaks and ensure proper functionality.
Remember to monitor the ice production and regularly check the connections for any signs of leaks. Addressing any issues promptly will help maintain the optimal performance of your ice maker and its water line.
We hope this comprehensive guide has provided you with the knowledge and confidence to successfully hook up your ice maker water line. Enjoy the convenience of having a constant supply of ice at your fingertips, and cheers to cool refreshments whenever you desire.
Thank you for choosing our guide, and happy ice making!
Frequently Asked Questions about How To Hook Up An Ice Maker Water Line
Was this page helpful?
At Storables.com, we guarantee accurate and reliable information. Our content, validated by Expert Board Contributors, is crafted following stringent Editorial Policies. We're committed to providing you with well-researched, expert-backed insights for all your informational needs.

0 thoughts on “How To Hook Up An Ice Maker Water Line”