
Articles
How To Remove Vanity Drawers
Modified: May 6, 2024
Learn various methods and tips to effectively remove vanity drawers in this comprehensive guide. Find step-by-step articles and expert advice for a hassle-free experience.
(Many of the links in this article redirect to a specific reviewed product. Your purchase of these products through affiliate links helps to generate commission for Storables.com, at no extra cost. Learn more)
Introduction
Having a vanity with drawers is a great way to keep your beauty and grooming products organized and easily accessible. However, there may come a time when you need to remove the vanity drawers, whether it’s for cleaning, maintenance, or replacing them entirely. In this article, we will guide you through the step-by-step process of removing vanity drawers effectively.
Before we begin, it is important to note that the process of removing vanity drawers may vary slightly depending on the specific design and construction of your vanity. It’s always a good idea to refer to any manufacturer’s instructions or guidelines that may have come with your vanity.
Now, let’s dive into the steps required to remove vanity drawers.
Key Takeaways:
- Keep your vanity drawers organized and accessible by following these steps to safely remove and clean them. Regular maintenance will ensure longevity and functionality.
- Engage the release mechanism carefully and remove each drawer with gentle pressure. Clean, lubricate, and inspect for damages to keep your vanity drawers in excellent condition.
Read more: How To Organize Vanity Drawers
Step 1: Empty the Vanity Drawers
Before you can remove the vanity drawers, you’ll need to empty them of any items they may contain. Start by taking out all the contents from each drawer and placing them in a safe and convenient location. This will not only make the removal process easier but also prevent any belongings from getting damaged or misplaced.
As you empty the drawers, it’s a good opportunity to declutter and organize your items. Take the time to sort through your belongings and discard any expired or unused products. Consider using drawer organizers or dividers to help keep your items categorized and easily accessible once you reinstall the drawers.
Once the drawers are empty, close them securely or remove them from the vanity if you prefer to work with them outside of the vanity structure.
With the vanity drawers emptied, we can now move on to the next step in the removal process.
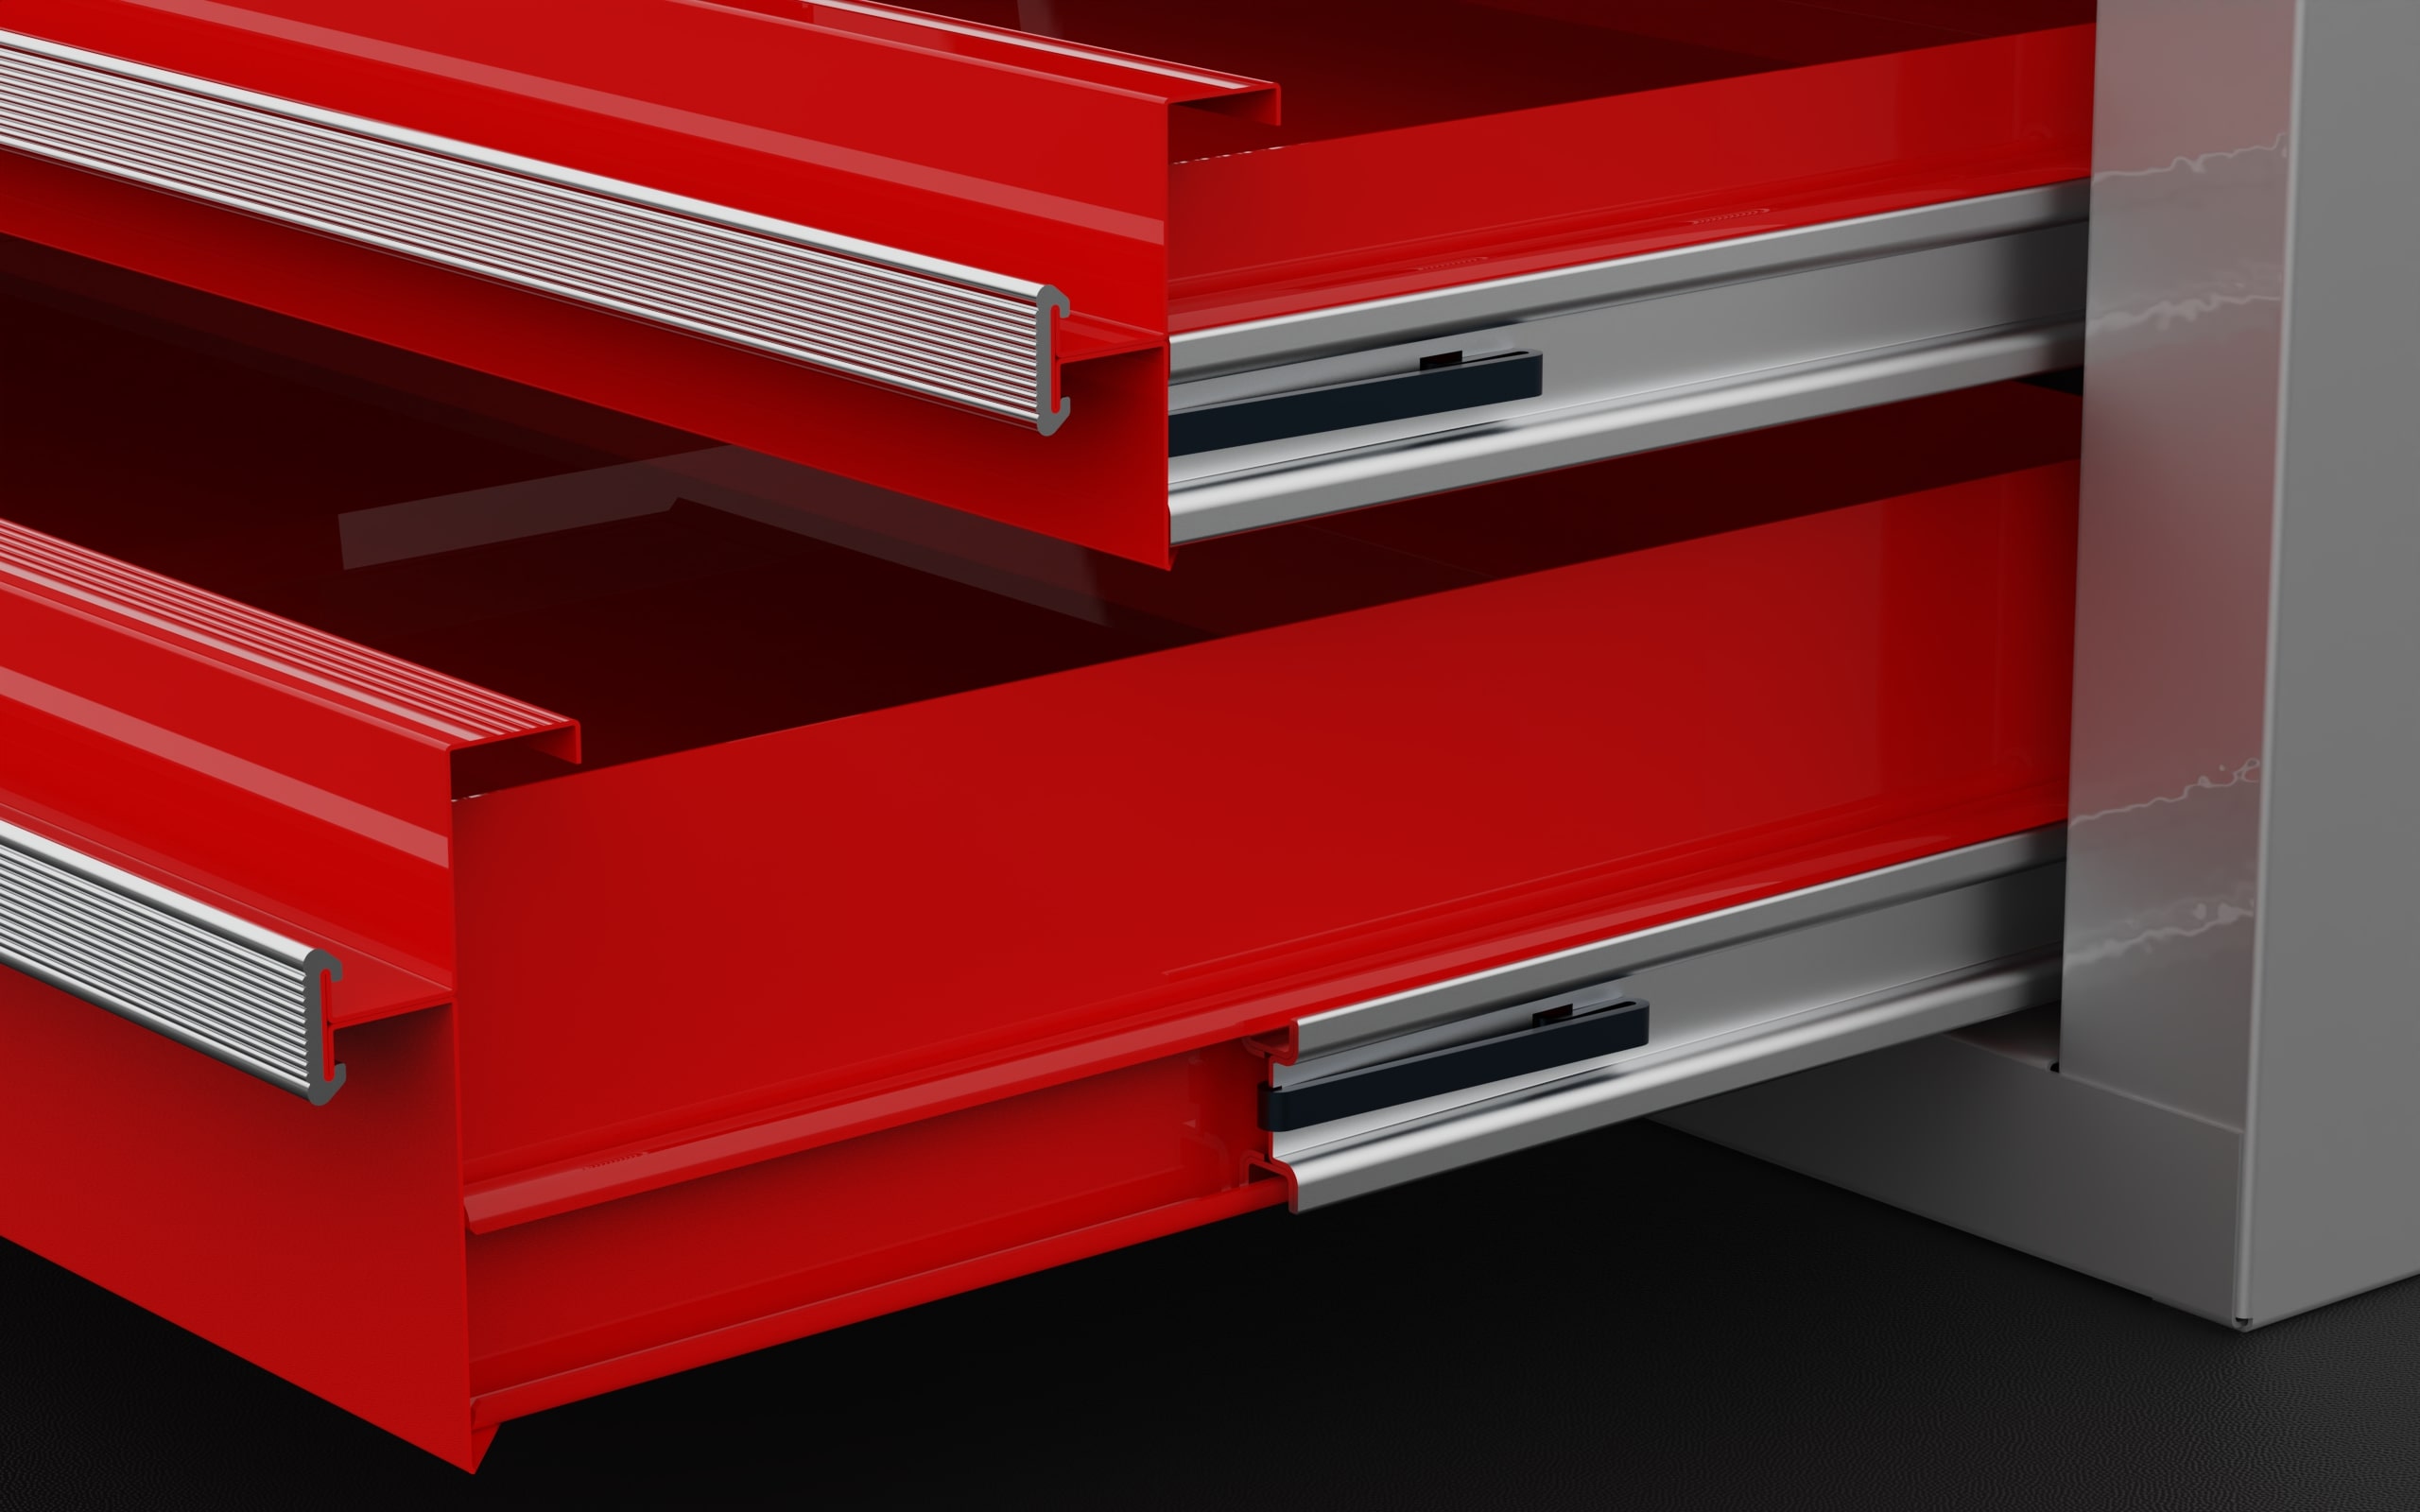
Step 2: Locate the Drawer Release Mechanism
Every vanity drawer has a release mechanism that allows it to be easily removed from the vanity. The exact location and type of release mechanism can vary, depending on the design of your vanity. Here are a few common types of drawer release mechanisms:
- Undermount slides: If your vanity has undermount slides, which are metal tracks on either side of the drawer, the release mechanism may be located near the front of the track. Look for a lever or tab that can be pressed or pulled to release the drawer.
- Side-mounted slides: For vanities with side-mounted slides, the release mechanism is typically located at the center or front of the drawer. It may be a lever, button, or push-to-release mechanism.
- Center-mounted slides: In the case of center-mounted slides, the release mechanism is often a lever or button located at the center of the drawer, underneath the front lip.
Take a closer look at your vanity drawers to identify the type of release mechanism they have. If you’re unsure, consult the manufacturer’s instructions or search for specific instructions online pertaining to your vanity model.
Once you have located the release mechanism, we can move on to the next step of engaging it to remove the drawers.
Step 3: Engage the Release Mechanism
Now that you have identified the release mechanism for your vanity drawers, it’s time to engage it to remove the drawers. Follow these general steps to properly engage the release mechanism:
- Determine the type of release mechanism: Based on the information gathered in the previous step, you should now know whether you need to press, pull, or push a specific part to release the drawers.
- Prepare to engage the release mechanism: Position yourself in front of the vanity, ensuring that you have enough space to access and manipulate the release mechanism easily.
- Engage the release mechanism: Depending on the type of release mechanism, use your fingers, a flathead screwdriver, or any other suitable tool to engage it. Press, pull, or push the designated part with gentle force, while keeping a firm grip on the drawer.
- Feel for resistance: As you engage the release mechanism, you may feel a slight resistance or hear a click. This indicates that the release mechanism has been activated.
- Repeat for each drawer: If your vanity has multiple drawers, repeat the process for each drawer individually. Some vanities may have a single release mechanism that releases all the drawers simultaneously, while others may require individual engagement for each drawer.
Take your time and be patient while engaging the release mechanism. Avoid using excessive force or applying sudden movements, as this may cause damage to the drawers or the vanity.
Once you have successfully engaged the release mechanism, it’s time to proceed to the next step and remove the vanity drawers.
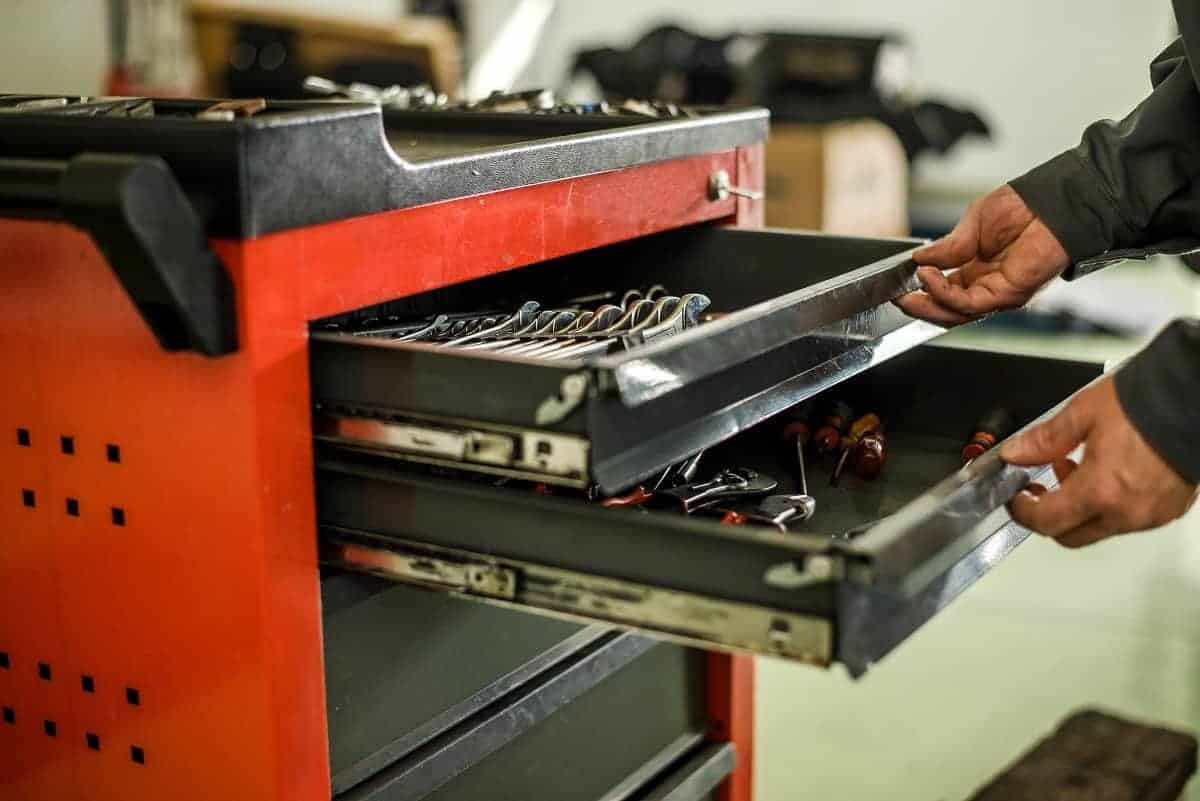
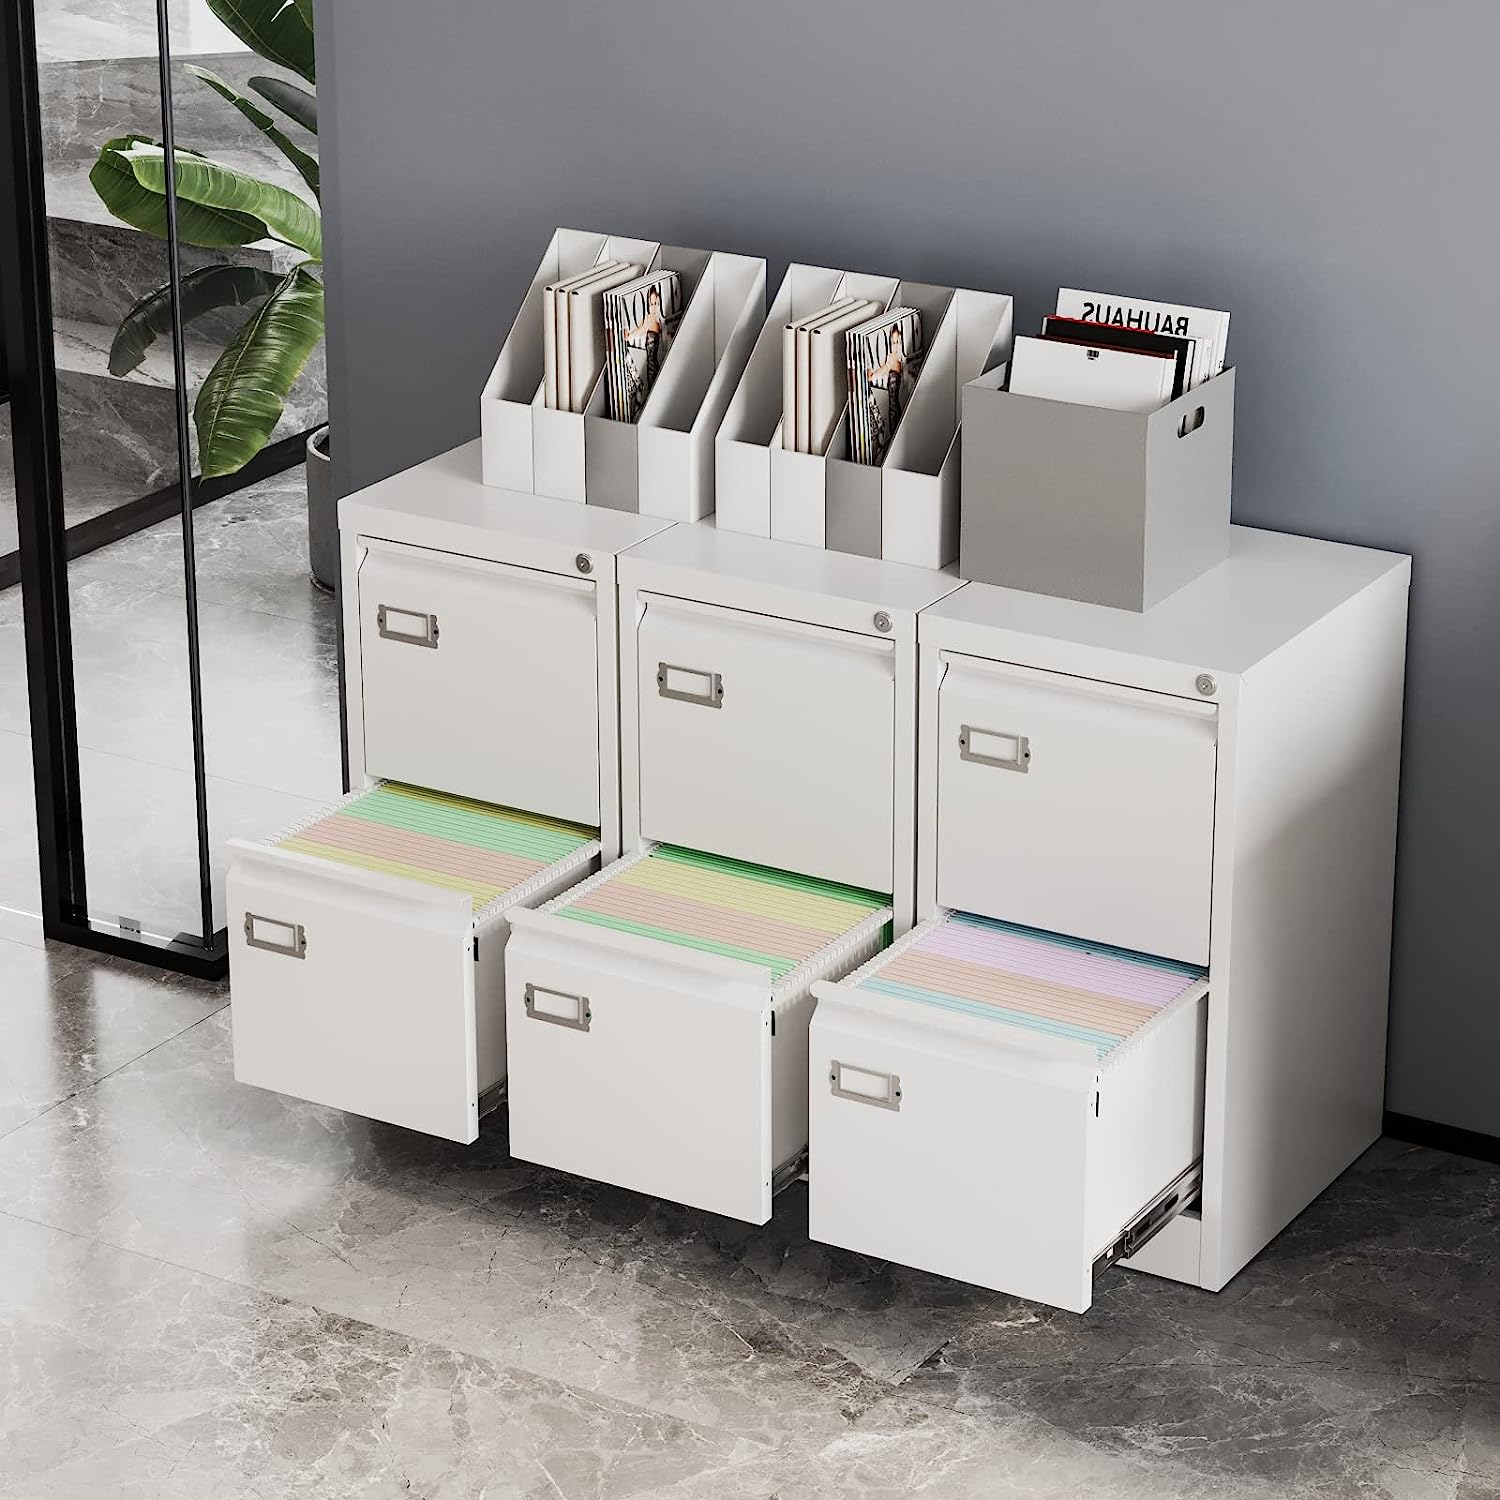
When removing vanity drawers, start by emptying them and then carefully pull them out one at a time. Look for any release mechanisms or screws that may be holding them in place. Keep track of any hardware for reassembly.
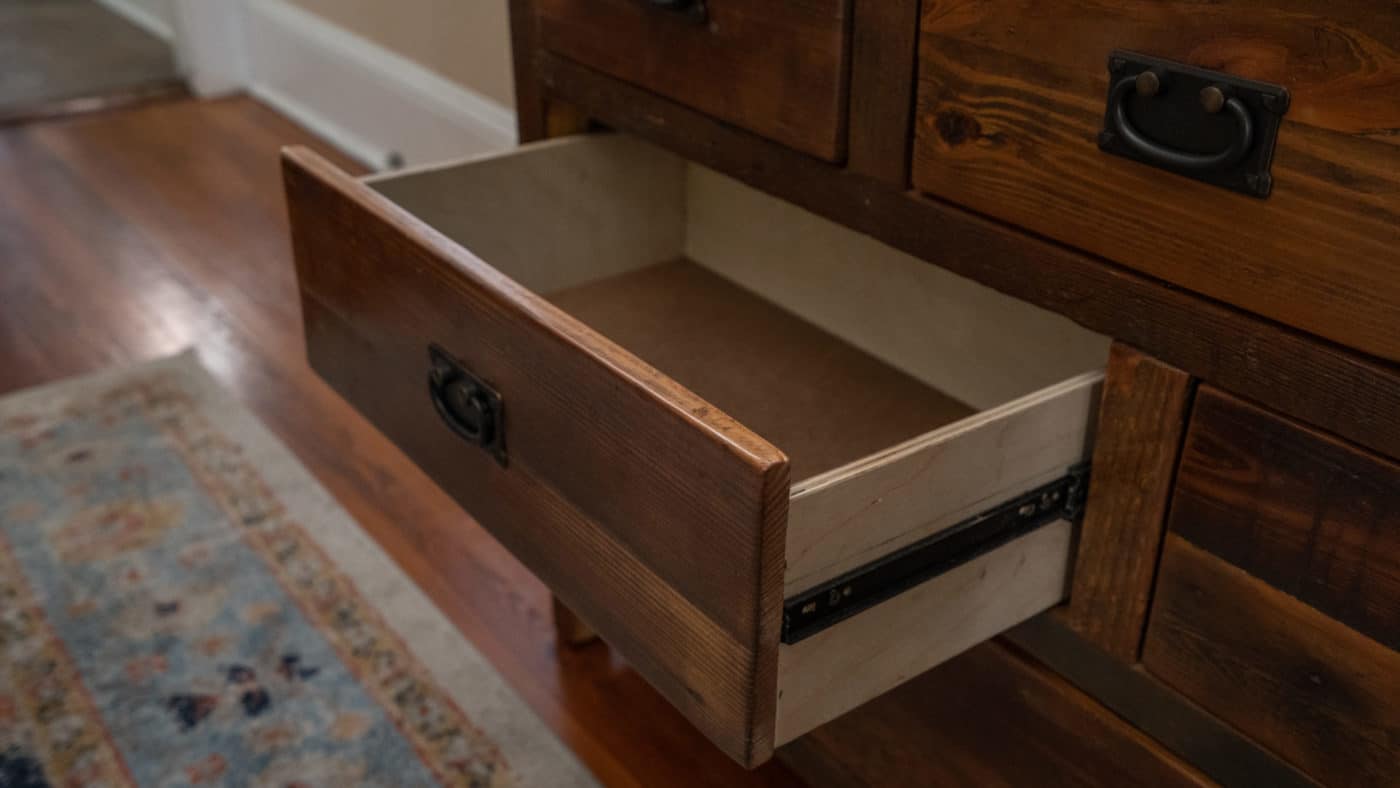
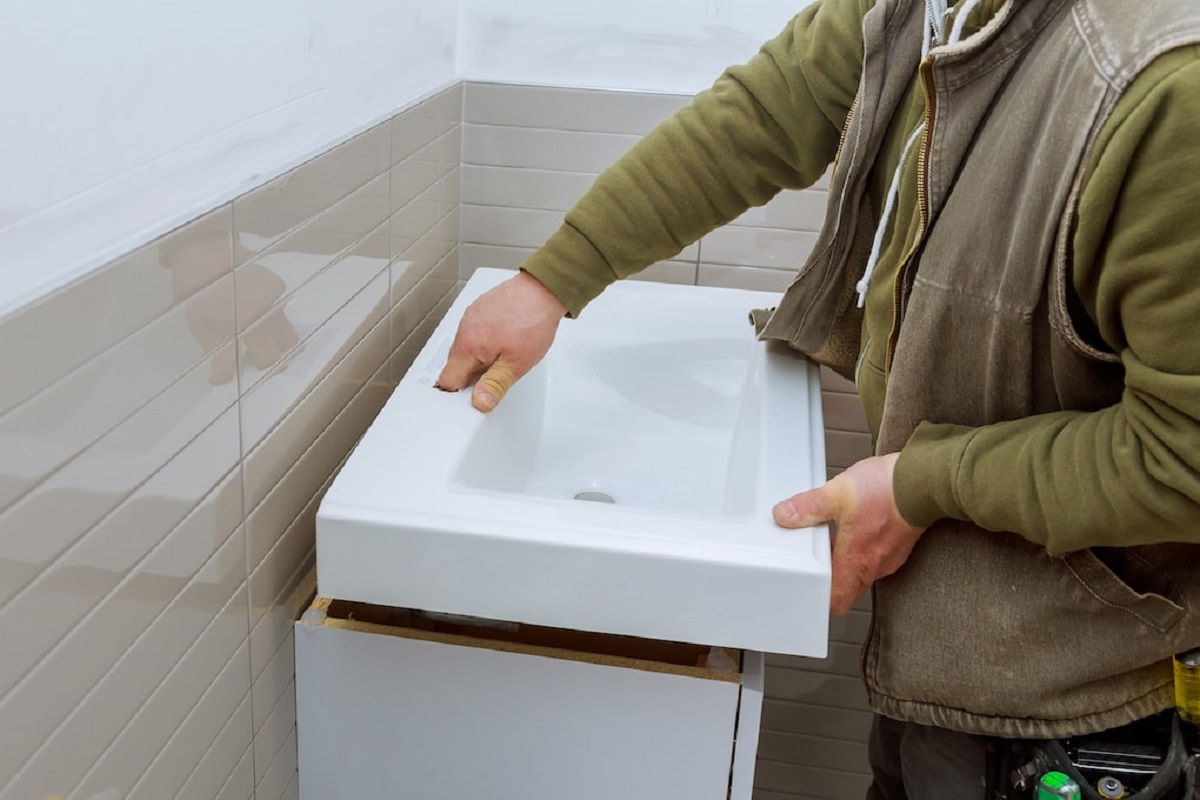
Step 4: Remove the Drawers
With the release mechanism engaged, it’s now time to remove the vanity drawers. Follow these steps to safely and effectively remove the drawers:
- Hold the drawer securely: Start by firmly holding the sides or edges of the drawer with both hands. Maintain a balanced grip to prevent the drawer from tilting or falling as you remove it.
- Apply gentle pressure: While holding the drawer, apply gentle and even pressure to pull it towards you. If the drawer is stuck, wiggle it slightly from side to side to loosen any obstructions.
- Slide the drawer out: Using the release mechanism and the physical force you apply, the drawer should start to slide out smoothly from the vanity. Continue pulling the drawer until it is completely out of the vanity.
- Set aside the removed drawer: Once the drawer is removed, set it aside in a safe and stable location. Take care not to place it where it can be tripped over or damaged.
- Repeat for each drawer: If your vanity has multiple drawers, repeat the removal process for each drawer, one by one.
During the process, pay attention to any unusual resistance or difficulty in removing a particular drawer. If you encounter any issues, double-check that the release mechanism is properly engaged and inspect for any obstructions that may be hindering the removal.
By following these steps, you will be able to successfully remove the vanity drawers without causing any damage to the drawers or the vanity itself.
Now that the drawers have been removed, you may need to clean or perform maintenance on them. Let’s explore some tips in the next step.
Read more: How To Build A Bathroom Vanity With Drawers
Step 5: Clean and Maintenance Tips for Vanity Drawers
After removing the vanity drawers, it’s a great opportunity to give them a thorough cleaning and perform any necessary maintenance. Follow these tips to keep your vanity drawers in excellent condition:
- Remove dust and debris: Use a soft cloth, microfiber duster, or vacuum cleaner with a brush attachment to remove any dust or debris from the interior and exterior of the drawers. Pay special attention to the corners, crevices, and drawer slides.
- Wipe down surfaces: Dampen a cloth with a mild cleaning solution or warm soapy water, and gently wipe down the surfaces of the drawers. Avoid using harsh chemicals or abrasive cleaners that may damage the finish of the drawers.
- Remove stains or sticky residue: If you encounter any stubborn stains or sticky residue, try using a gentle cleaner specifically designed for the type of material used in your vanity drawers. Follow the manufacturer’s instructions to safely remove the stains without causing damage.
- Lubricate drawer slides: If the drawer slides feel stiff or squeaky, consider applying a small amount of lubricant to help them operate smoothly. Be sure to use a lubricant that is compatible with the type of drawer slides you have, such as silicone-based or Teflon-based lubricants.
- Inspect and repair: Take the time to inspect the drawers for any damages, such as loose screws, cracked wood, or damaged hinges. Tighten any loose screws and consider repairing or replacing any damaged components to ensure the longevity of your vanity drawers.
Regular cleaning and maintenance will not only keep your vanity drawers looking pristine but also prolong their lifespan and functionality.
Once you have finished cleaning and maintaining the drawers, you can reinstall them into your vanity following the reverse order of the removal process. Make sure to engage the release mechanism before pushing the drawers back into place.
Congratulations! You have successfully learned how to remove vanity drawers and take care of them properly.
Conclusion
Removing vanity drawers may seem like a daunting task, but with the right knowledge and steps, it can be a straightforward process. By following the steps outlined in this guide, you can safely and effectively remove your vanity drawers for cleaning, maintenance, or replacement purposes.
Remember to empty the drawers and organize their contents before starting the removal process. Locate the release mechanism and engage it carefully to release the drawers. With a gentle and steady pull, remove the drawers one by one.
After removing the drawers, take the opportunity to give them a thorough cleaning, removing any dust, debris, or stains. Perform any necessary maintenance, such as lubricating the drawer slides or repairing any damages. This regular upkeep will help keep your vanity drawers in excellent condition for years to come.
When you’re finished cleaning and maintaining the drawers, reinsert them into the vanity by following the reverse order of the removal process. Ensure that the release mechanism is properly engaged before pushing the drawers back in.
By following these steps and incorporating regular cleaning and maintenance into your routine, you can keep your vanity drawers functioning smoothly and looking their best. Enjoy the organized and efficient use of your vanity space!
Now that you've mastered removing vanity drawers, why not tackle a bigger project? Upgrading your bathroom can refresh your home's feel, but knowing how long renovations take helps plan better. Our guide on bathroom overhauls provides insights and realistic timelines to ensure your next big project runs smoothly. Ready to transform your space? Check out our detailed breakdown on bathroom remodeling durations.
Frequently Asked Questions about How To Remove Vanity Drawers
Was this page helpful?
At Storables.com, we guarantee accurate and reliable information. Our content, validated by Expert Board Contributors, is crafted following stringent Editorial Policies. We're committed to providing you with well-researched, expert-backed insights for all your informational needs.


0 thoughts on “How To Remove Vanity Drawers”