
Articles
How To Install A Water Line For An Ice Maker
Modified: May 6, 2024
Learn step-by-step how to install a water line for an ice maker in this informative article. Discover expert tips and tricks for a successful installation.
(Many of the links in this article redirect to a specific reviewed product. Your purchase of these products through affiliate links helps to generate commission for Storables.com, at no extra cost. Learn more)
Introduction
Installing a water line for an ice maker is a practical and convenient addition to any home. Whether you”re upgrading your refrigerator or installing a brand new one, having a dedicated water line for the ice maker can save you the hassle of constantly refilling ice trays. Plus, it ensures a continuous supply of ice and eliminates the need for manual ice-making.
In this article, we will guide you through the step-by-step process of installing a water line for an ice maker. We will cover everything you need to know, from choosing the location to testing the water line. By following these instructions, you”ll be able to enjoy fresh ice cubes at the push of a button, making your life much more convenient.
Before we dive into the installation process, let”s go over the tools and materials you will need to complete the job. By gathering everything in advance, you can ensure a smooth and efficient installation process without any interruptions.
Key Takeaways:
- Enjoy the convenience of a continuous ice supply by installing a water line for your ice maker. Choose the right location, shut off the water supply, and test the line for leaks to ensure a successful installation.
- Elevate your refrigerator’s functionality with a DIY water line installation for your ice maker. Follow the step-by-step guide, from choosing the location to testing the water line, for a hassle-free process and a constant supply of fresh ice.
Read more: How To Unclog Water Line To Ice Maker
Tools and Materials Needed
Before you start installing a water line for an ice maker, make sure you have the following tools and materials on hand:
- Adjustable wrench
- Tubing cutter
- Drill with a hole saw attachment
- Teflon tape
- Bucket or towels
- Water supply shut-off valve
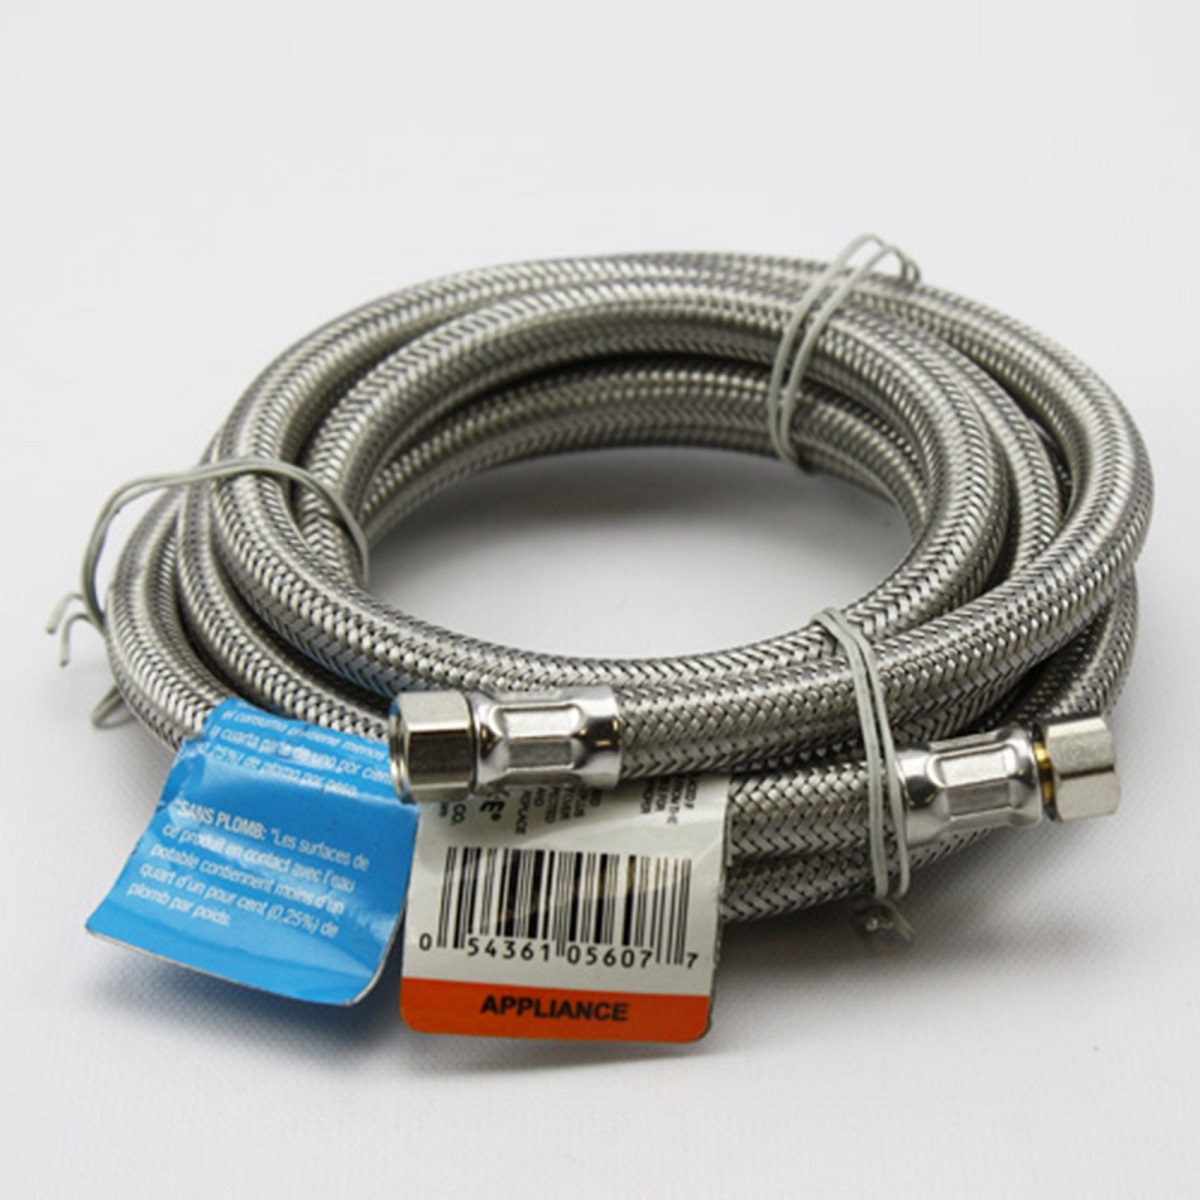
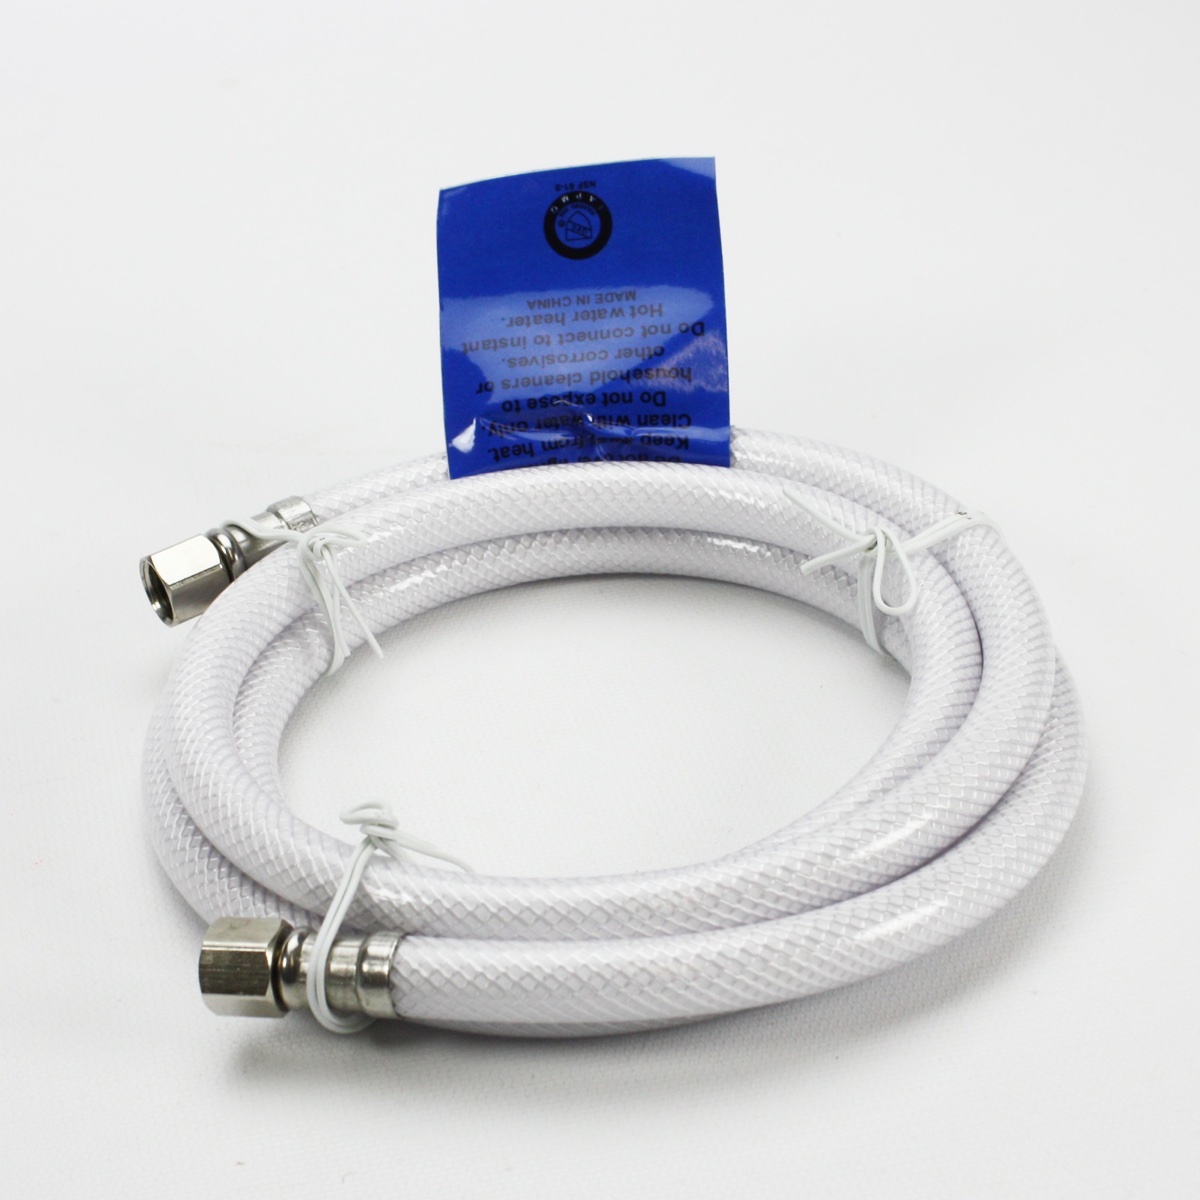
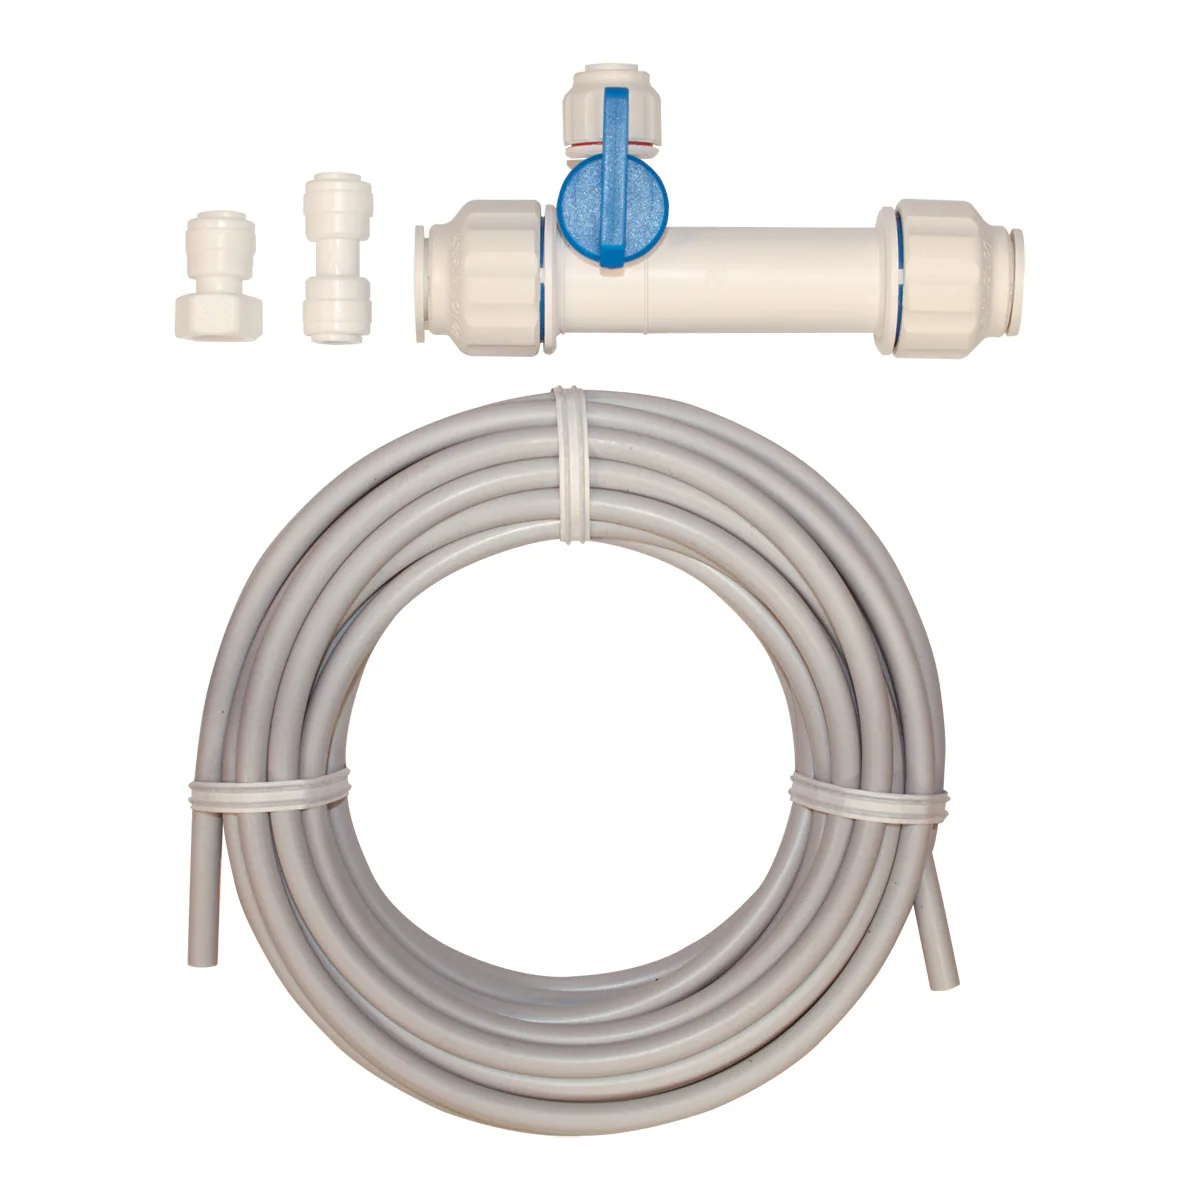
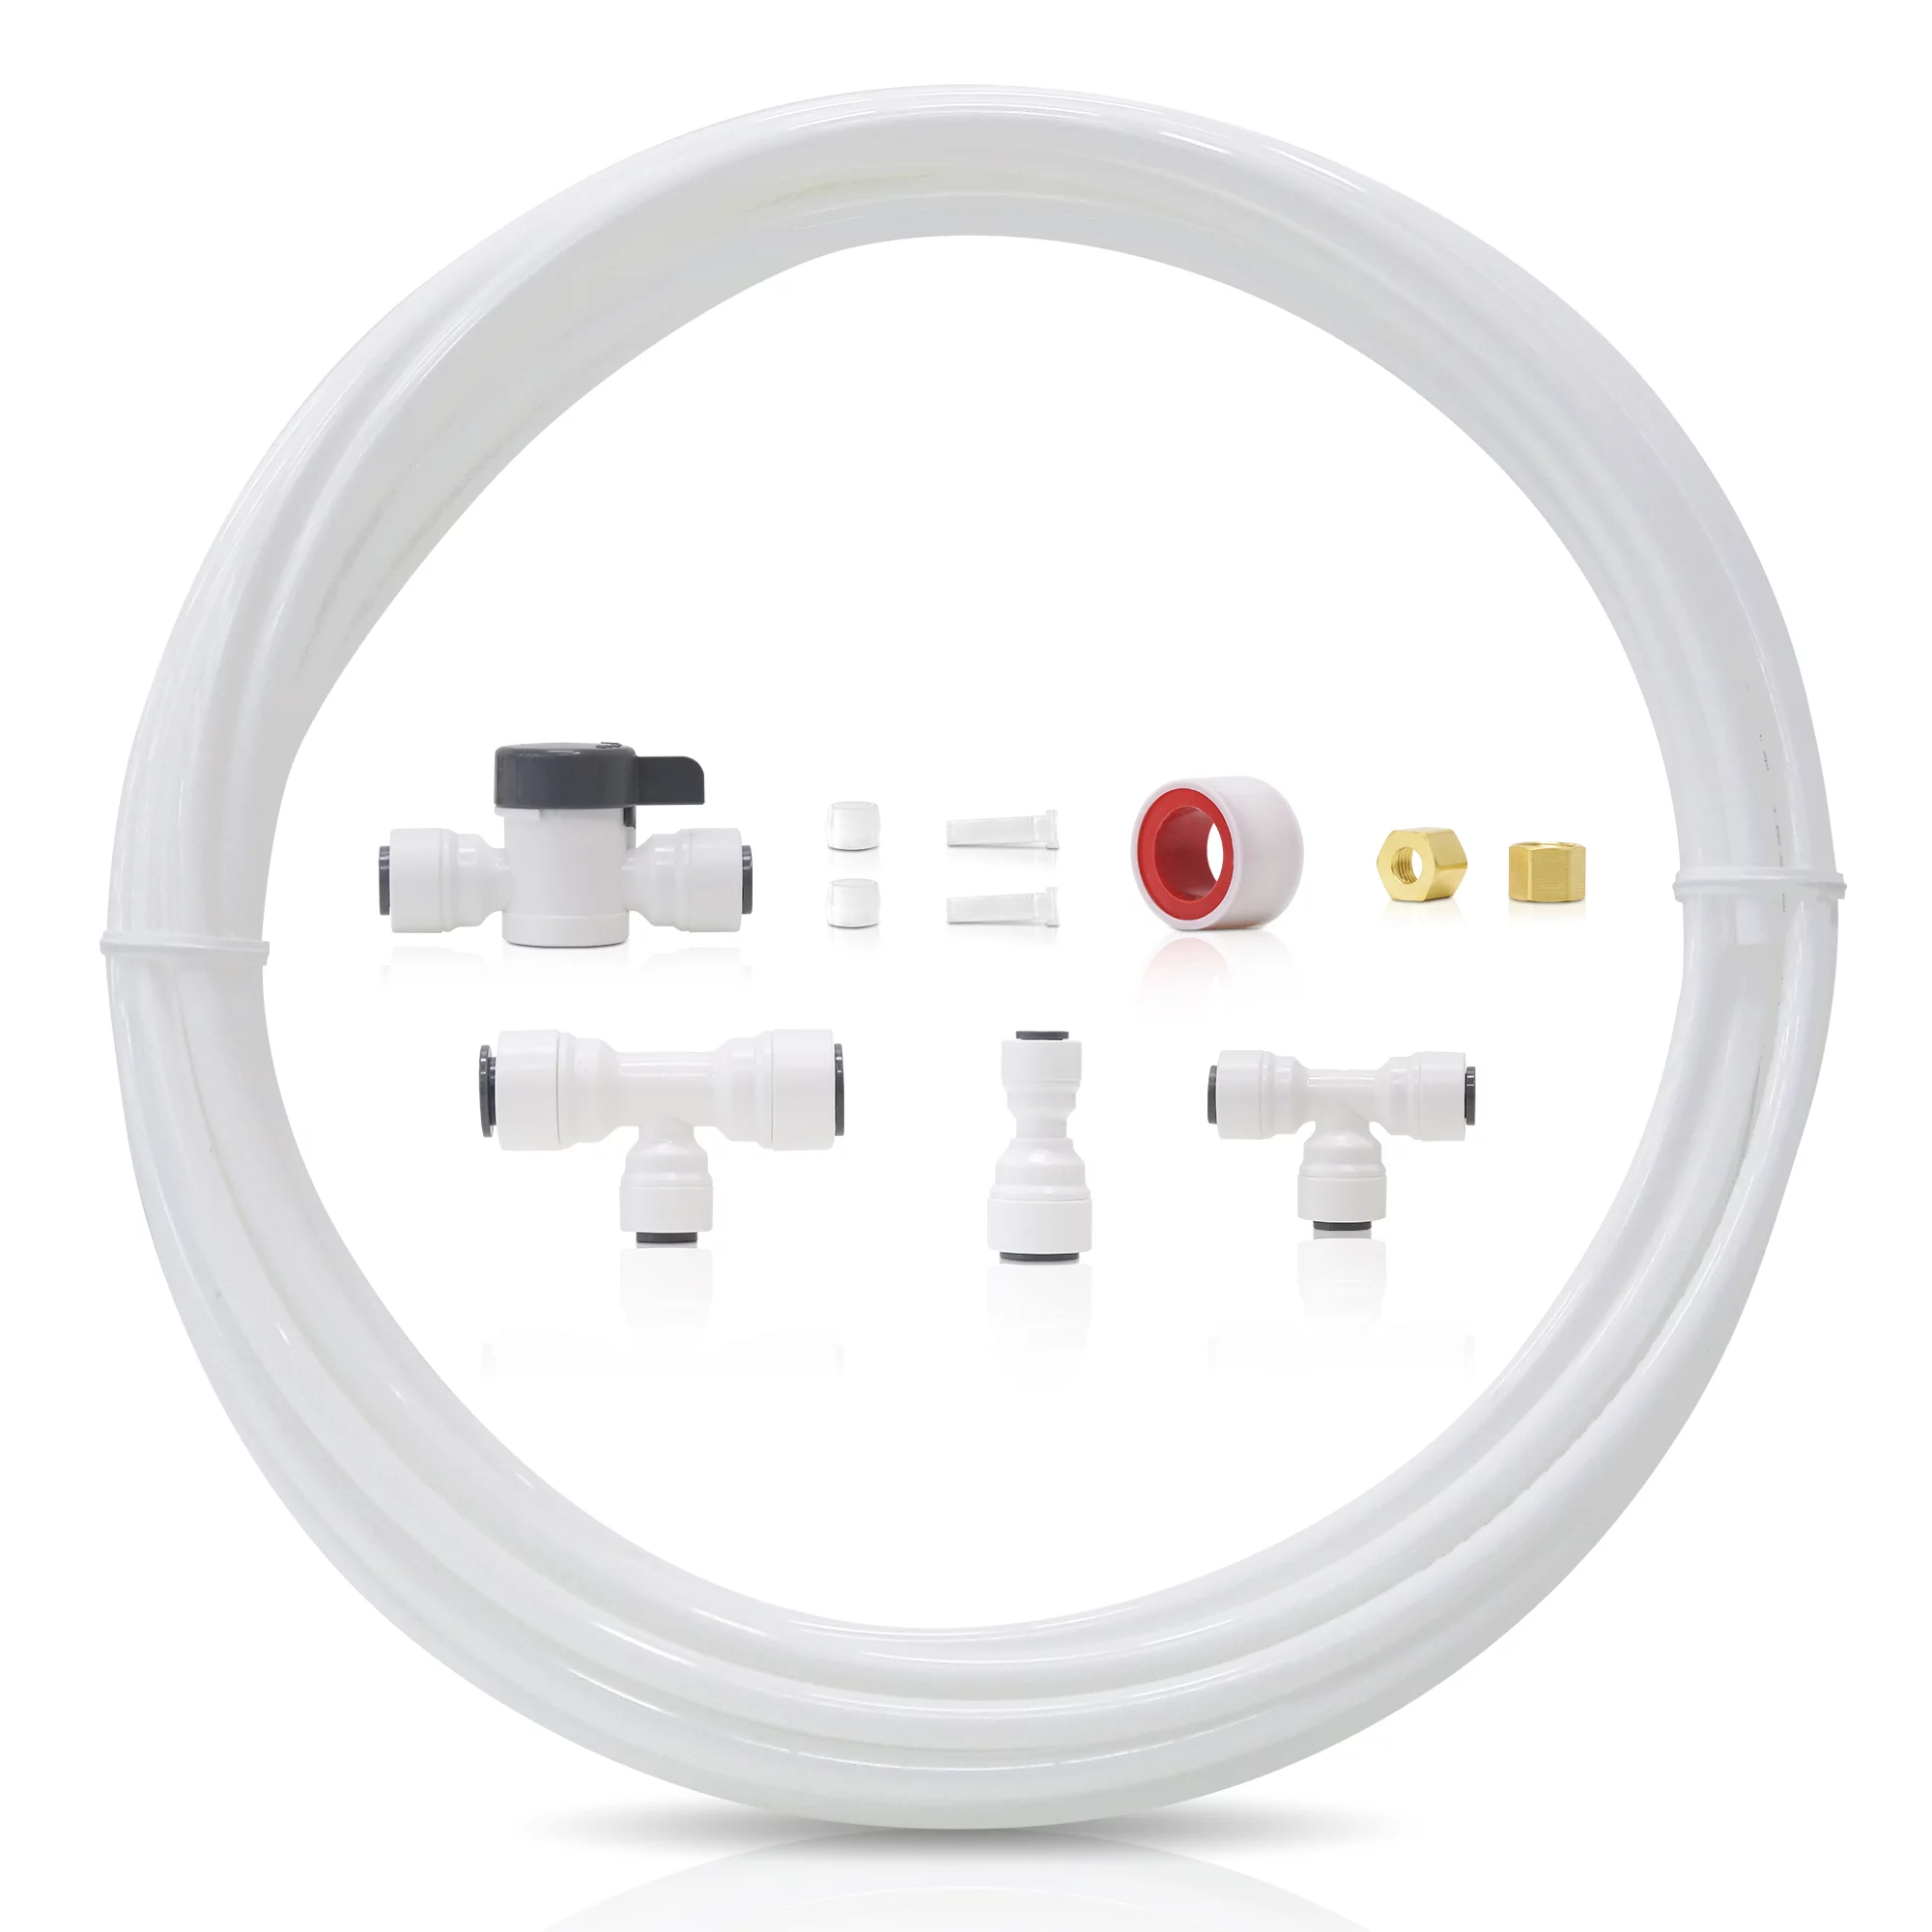
- Ice maker water line kit (this typically includes a supply tube, fittings, and a water valve)
The adjustable wrench is essential for tightening and loosening connections, while the tubing cutter will help you cut the supply tube to the correct length. The drill with a hole saw attachment is needed to create a hole in the cabinet or wall for the water line. Teflon tape is used to create a watertight seal on threaded connections.
It is also a good idea to have a bucket or towels handy to catch any water that may leak during the installation process. Remember, safety first!
Now that you have all the necessary tools and materials, let”s move on to the step-by-step instructions for installing a water line for your ice maker.
Step 1: Choose the Location
Choosing the right location for your ice maker is crucial for a successful installation. Here are a few factors to consider when selecting the location:
- Proximity to the water supply: Ideally, you want the ice maker to be located near a water source, such as a kitchen sink or a water line.
- Access to power: Make sure there is an electrical outlet nearby to power the ice maker.
- Level surface: Ensure that the surface where the ice maker will be placed is level and stable, to avoid any wobbling or water leakage.
- Avoiding heat sources: Keep the ice maker away from heat-generating appliances like ovens and stovetops, as this can affect its performance.
- Adequate space: Ensure that there is enough space for the ice maker to freely open and close its door, as well as for ventilation.
Once you have chosen the perfect location, you can proceed to the next step, which involves shutting off the water supply.
Step 2: Shut Off the Water Supply
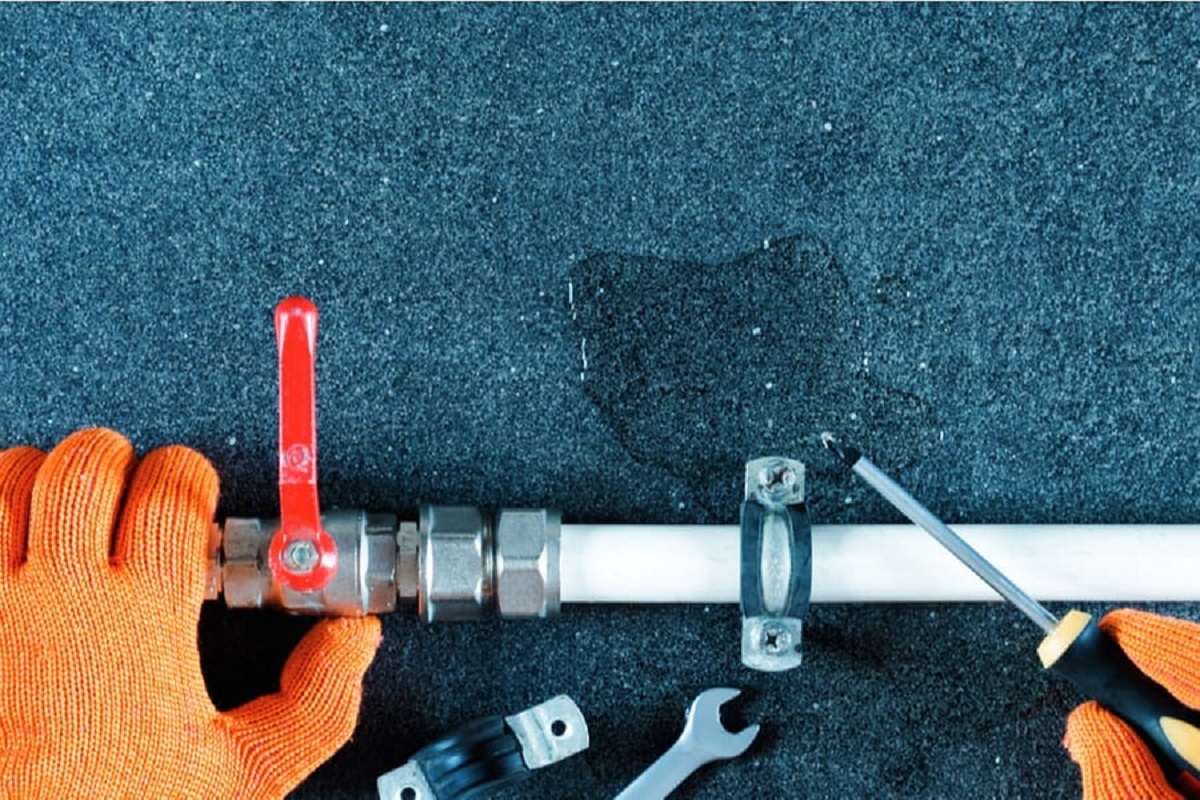
Before you begin installing the water line for your ice maker, it is important to shut off the water supply to avoid any leaks or water damage. Here’s how to shut off the water supply:
- Locate the main water supply valve for your home. It is typically located near the water meter or in the basement.
- Turn the valve clockwise to shut off the water supply. This will prevent water from flowing into the pipes as you install the water line for the ice maker.
- Once the water supply is shut off, open a faucet in the house to relieve any remaining pressure in the pipes.
It’s essential to ensure that the water supply is completely shut off before proceeding with the installation process. This will prevent any water leakage or accidents while you work on the plumbing.
After shutting off the water supply, you can move on to the next step, which involves installing the water valve for the ice maker.
Step 3: Install the Water Valve
Once you have shut off the water supply, you can now proceed to install the water valve for your ice maker. The water valve is responsible for controlling the flow of water to the ice maker. Here’s how to install it:
- Locate a suitable spot along the water line where you want to install the water valve. This spot should be accessible and close to your chosen location for the ice maker.
- Using a tubing cutter, cut the water line at the chosen spot. Be sure to make a clean, straight cut.
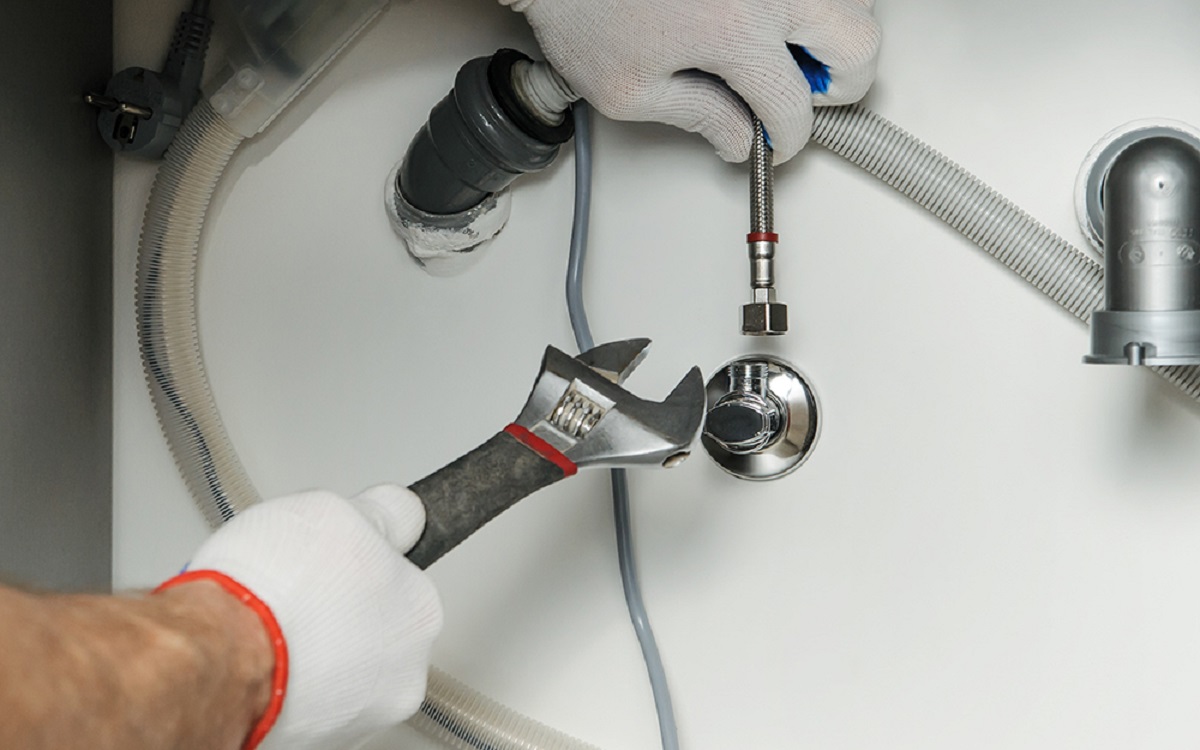
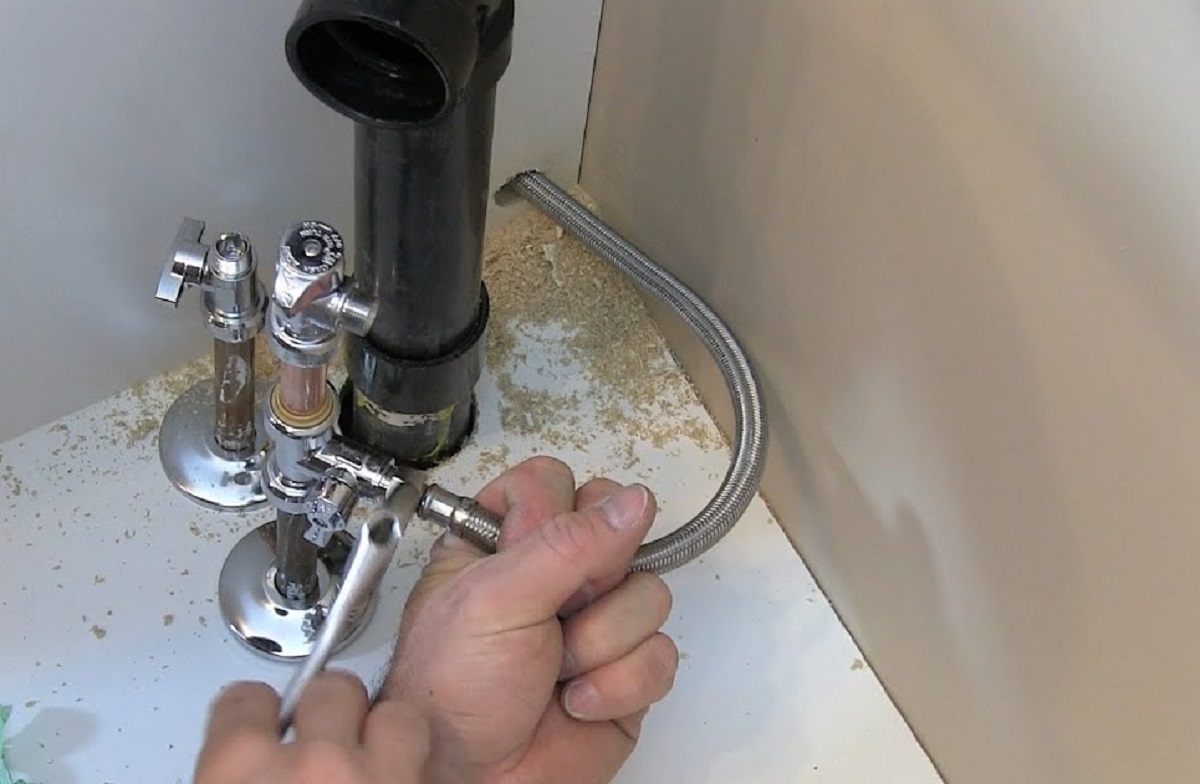
- Attach the water valve to the cut end of the water line, following the manufacturer’s instructions. This usually involves sliding a compression nut over the tubing, followed by a ferrule and then tightening the nut with an adjustable wrench.
- Make sure the water valve is securely attached and tighten any connections if necessary.
By installing the water valve, you have now created a point where the water line for the ice maker can be connected. In the next step, we will connect the water line to the valve.
When installing a water line for an ice maker, make sure to use a tubing cutter to ensure a clean and straight cut on the water line. This will help prevent leaks and ensure a secure connection.
Read more: How To Replace Ice Maker Water Line
Step 4: Connect the Water Line to the Valve
With the water valve installed, it’s time to connect the water line to the valve. The water line will supply water from your home’s water source to the ice maker. Follow these steps to complete the connection:
- Measure the distance between the water valve and the location where your ice maker will be installed. Add a few extra inches to ensure a proper fit.
- Using a tubing cutter, cut a piece of the water line from the ice maker water line kit to the measured length. Make sure the cut is straight and clean.
- Slide a compression nut and ferrule onto one end of the cut water line, then insert the end into the open end of the water valve.
- Tighten the compression nut onto the water valve using an adjustable wrench. Ensure that the connection is secure and watertight.
- If necessary, trim any excess length from the water line, leaving enough room for flexibility when connecting it to the ice maker.
By connecting the water line to the valve, you have established a direct water supply line for your ice maker. Now, let’s move on to the final step – connecting the water line to the ice maker itself.
Step 5: Connect the Water Line to the Ice Maker
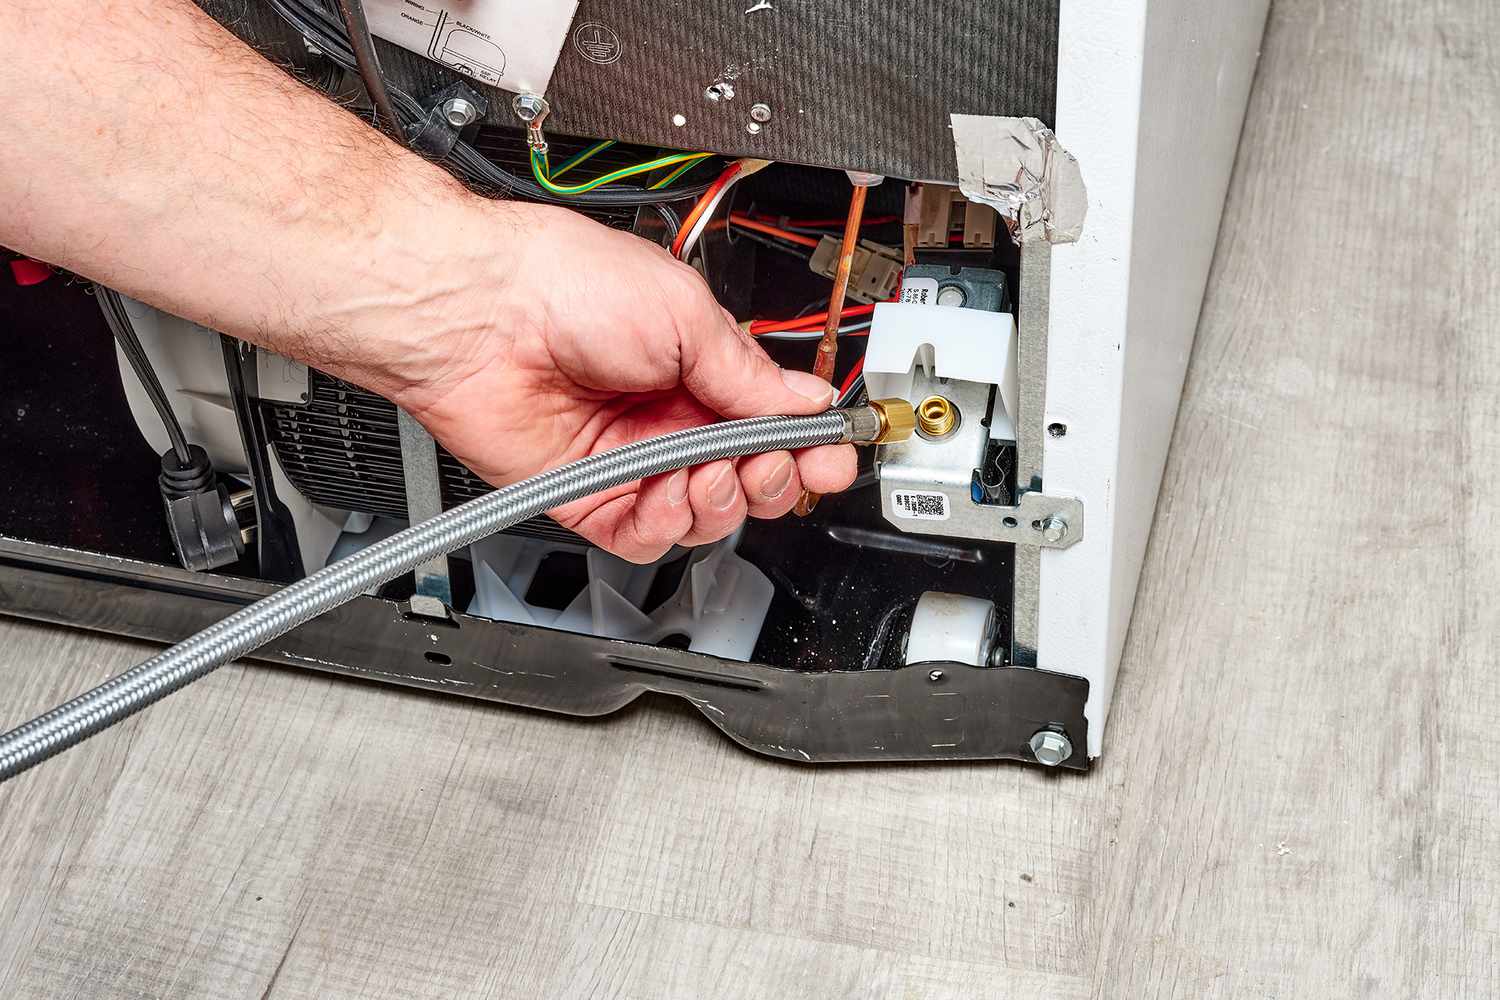
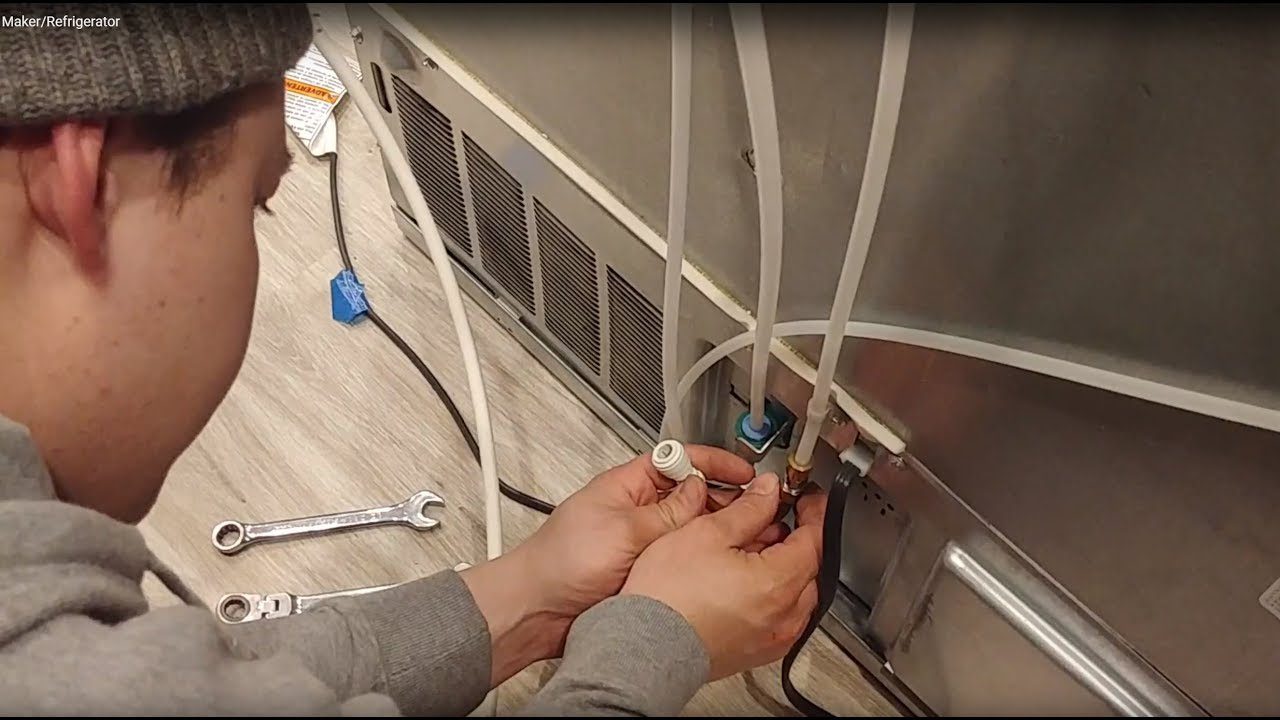
Now that you have successfully connected the water line to the valve, it’s time to connect the other end of the water line to the ice maker itself. This step will ensure that water flows from the supply line to the ice maker, allowing it to produce ice. Follow these steps to complete the connection:
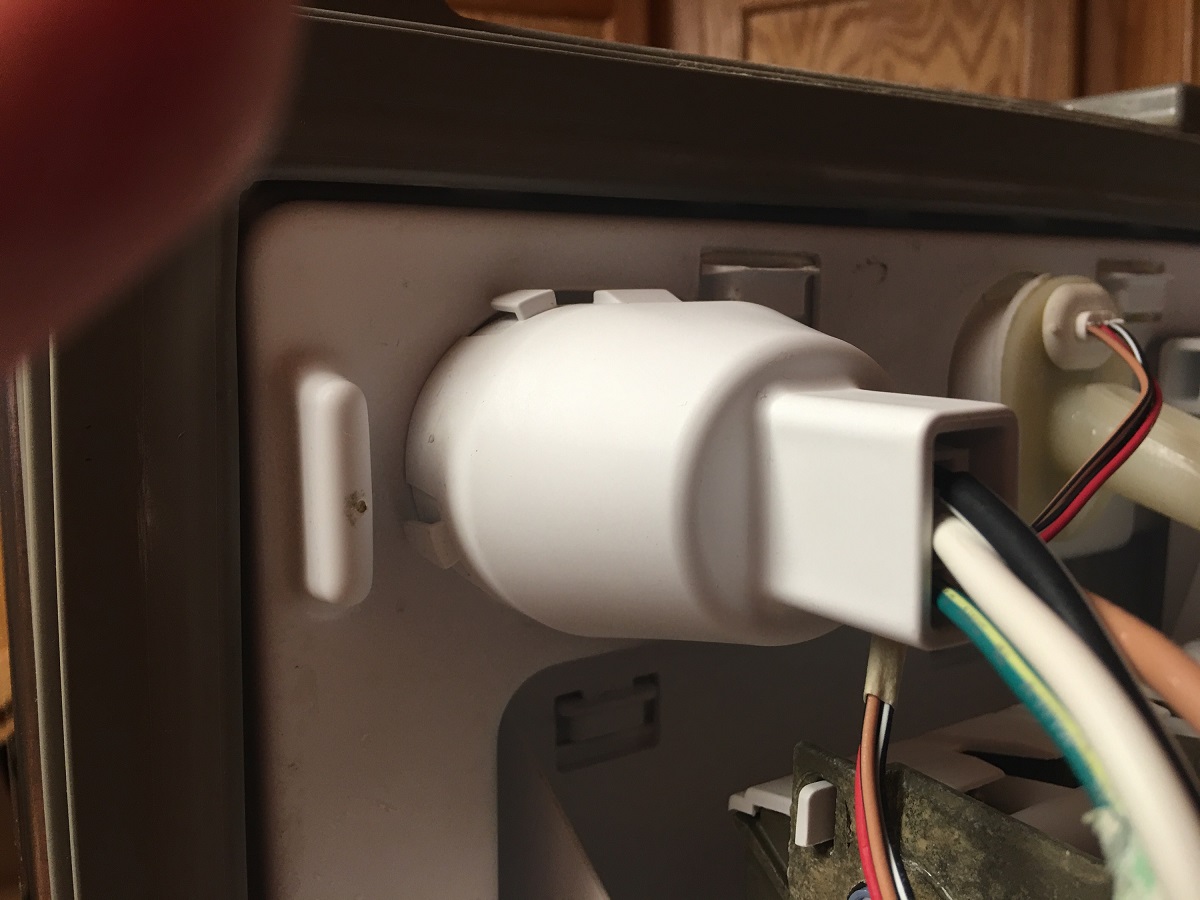
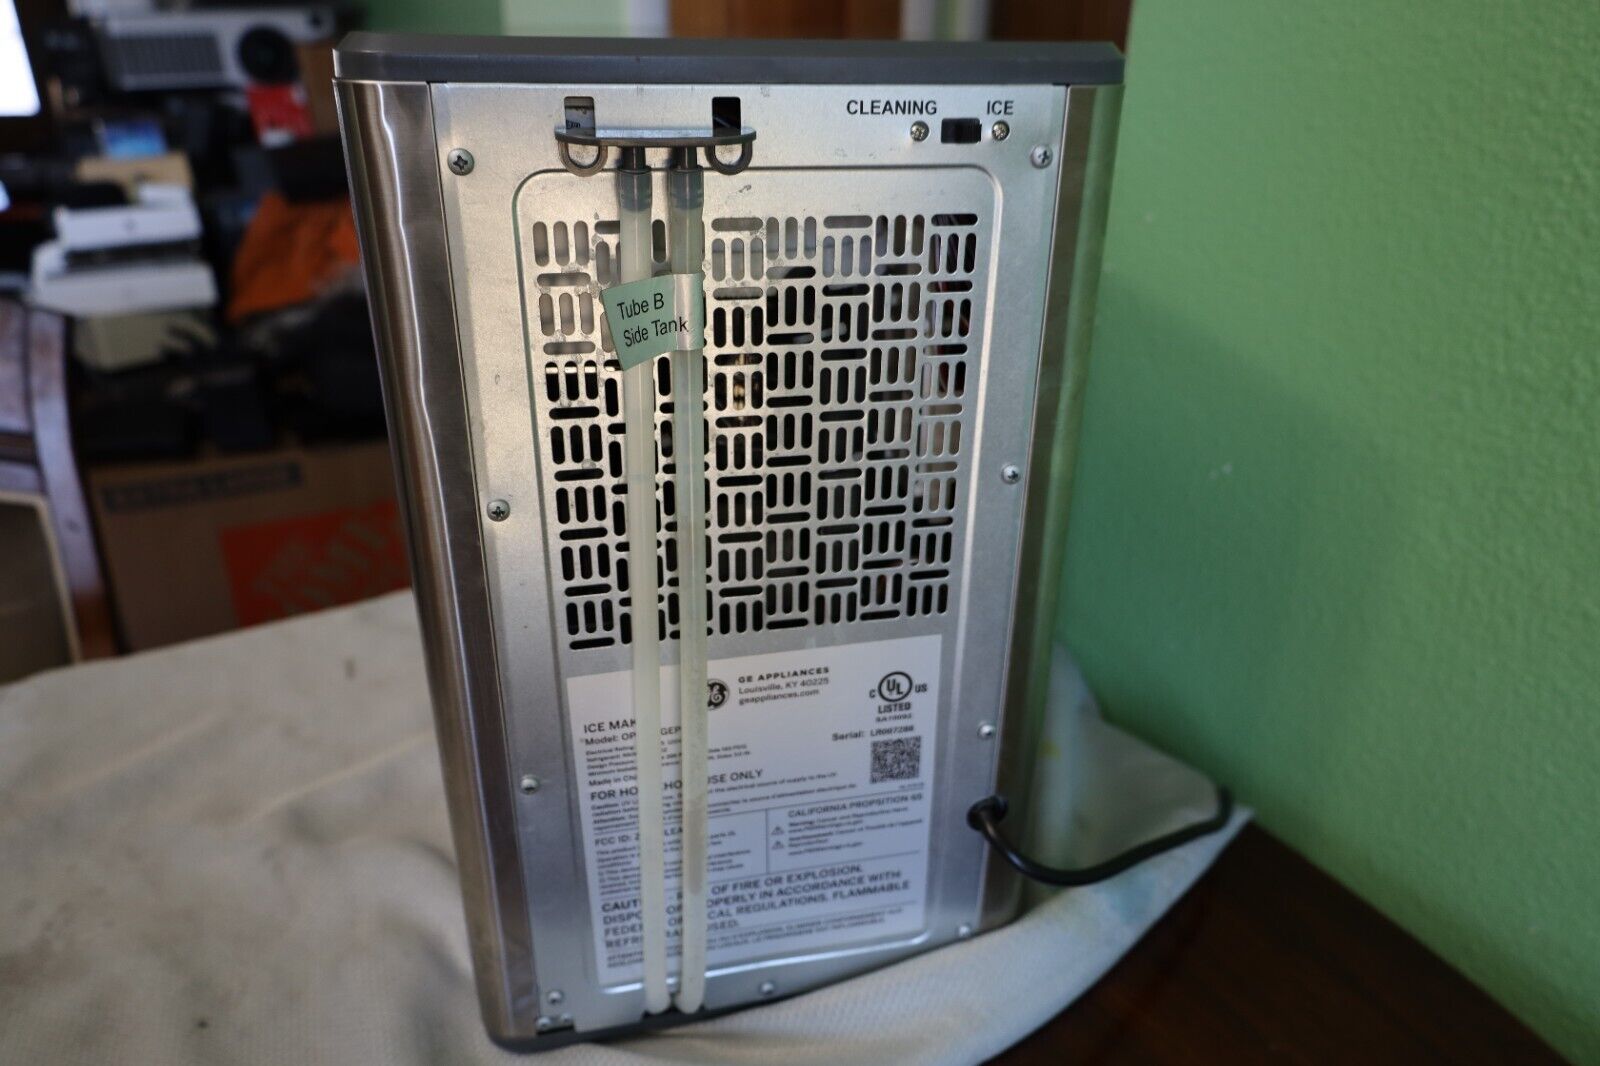
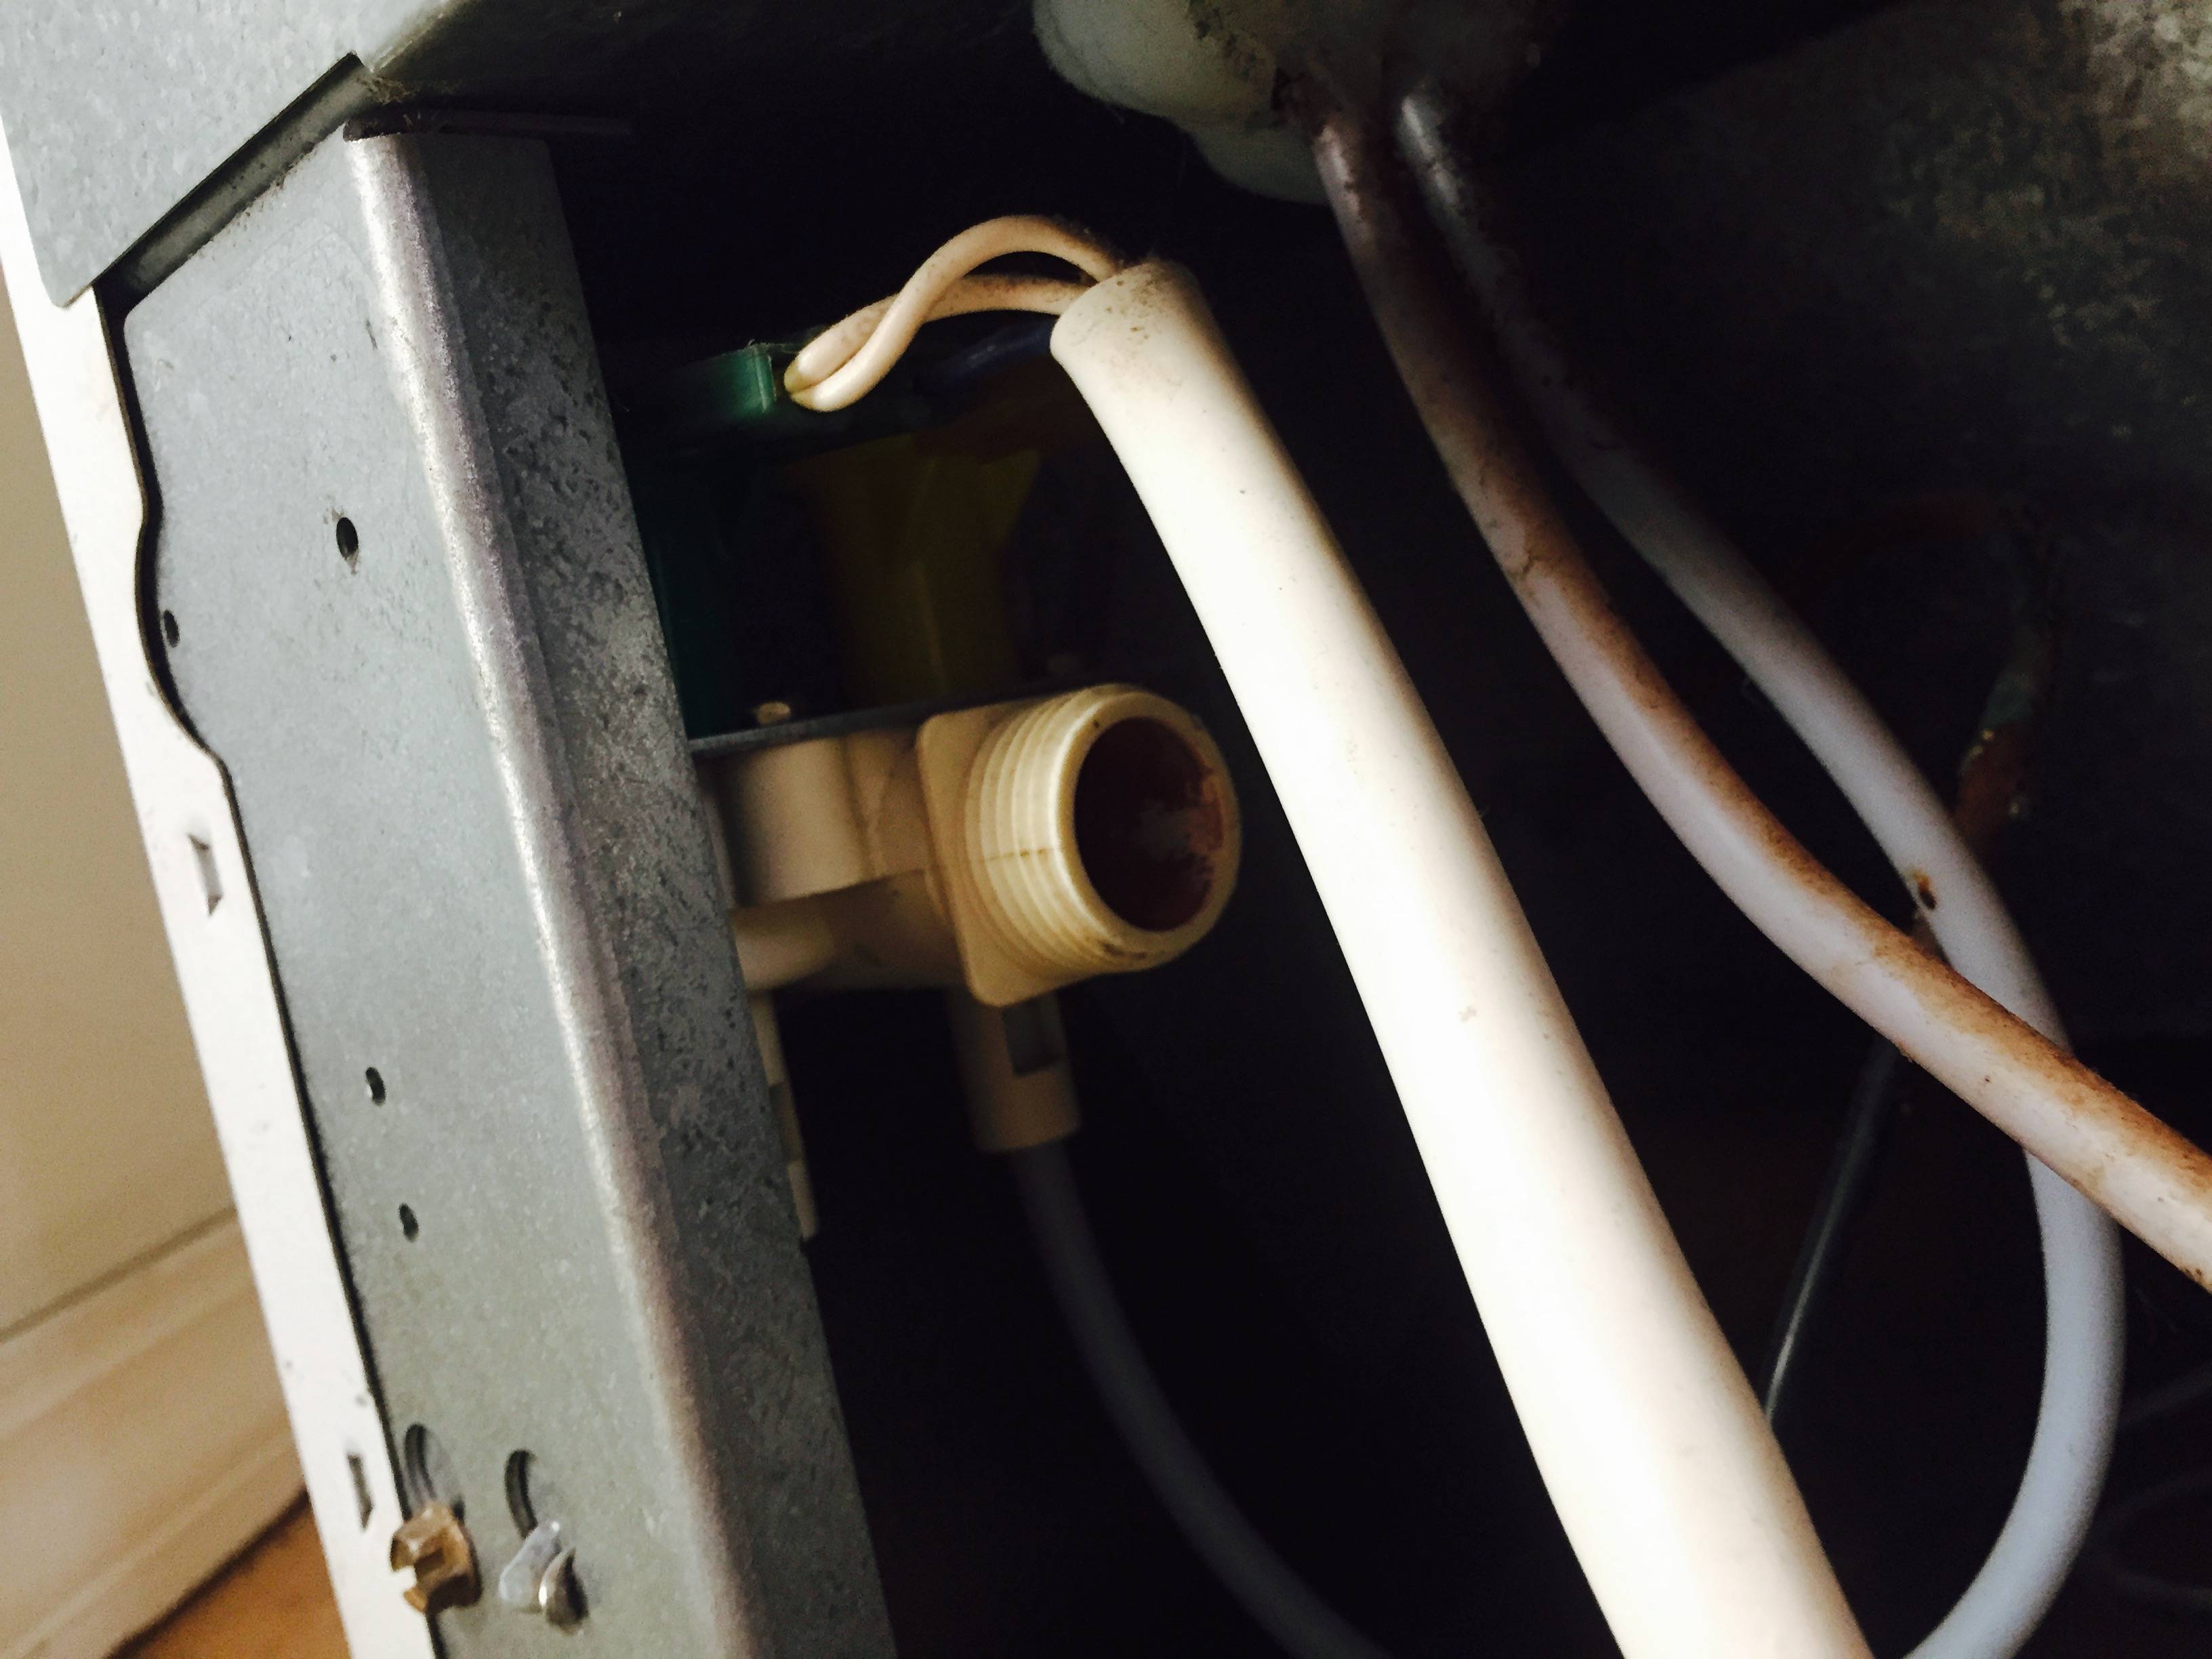
- Locate the water inlet valve on the back of the ice maker. It is typically labeled and easily identifiable.
- Insert the other end of the water line into the water inlet valve. Ensure it is inserted fully for a secure connection.
- Depending on the ice maker model, you may need to use a connector fitting or a compression nut and ferrule to secure the water line to the valve. Refer to the manufacturer’s instructions for the specific installation requirements.
- Tighten the connector or compression nut using an adjustable wrench. Make sure the connection is secure and watertight.
Once the water line is securely connected to the ice maker, you’re almost ready to enjoy a continuous supply of ice. Before you do that, though, it’s essential to test the water line to ensure there are no leaks and everything is functioning correctly.
Step 6: Test the Water Line
After connecting the water line to the ice maker, it’s crucial to test the water line to ensure that everything is working properly and there are no leaks. Follow these steps to test the water line:
- Slowly turn on the main water supply valve. This will allow water to flow through the newly installed water line.
- Check the connections at the water valve and the ice maker for any signs of leakage. Look for drips or moisture around the connections, and tighten them if necessary.
- Once you have confirmed that there are no leaks, observe the water flow into the ice maker. You should see water entering the ice maker’s water inlet valve.
- Allow the ice maker to run a complete cycle to ensure that it is functioning properly. This may take a few hours, so be patient. During this time, monitor the ice maker for any irregularities or issues.
- Once the ice maker has completed a cycle and produced ice, check the ice bin to ensure that ice cubes are being formed. This confirms that the water line is successfully delivering water to the ice maker.
If you notice any leaks or issues during the testing process, turn off the water supply and double-check all the connections. Make any necessary adjustments or repairs before testing again.
With the water line successfully installed and tested, you can now enjoy the convenience of a constant supply of ice from your refrigerator’s ice maker. Cheers!
Conclusion
Installing a water line for an ice maker is a relatively simple and rewarding DIY project that can enhance the functionality and convenience of your refrigerator. By following the steps outlined in this article, you can successfully install a water line and enjoy a continuous supply of ice at your fingertips.
Remember to choose an appropriate location for your ice maker, ensuring easy access to a water supply and power source. Shutting off the water supply before installation is crucial to prevent any leaks or water damage. Take your time to install the water valve securely and connect the water line to both the valve and the ice maker.
After completing the installation, it is essential to test the water line for any leaks or issues. Confirm that water is flowing properly into the ice maker and that it is producing ice cubes. If any leaks or problems are detected, make the necessary adjustments or repairs before using the ice maker.
Having a dedicated water line for your ice maker eliminates the need for manual ice-making and provides a continuous supply of ice for your everyday needs. It ensures convenience, whether you”re hosting a party, enjoying a cold beverage, or simply adding ice to your favorite recipes.
By following the step-by-step instructions in this article, you can confidently install a water line for your ice maker and enjoy the benefits of having fresh ice readily available. So go ahead, take on this DIY project, and elevate your refrigerator to new heights of functionality!
Now that you’ve mastered installing a water line for your ice maker, why not broaden your DIY horizons? For anyone curious about larger-scale projects, our next feature on commercial plumbing provides all the must-know details to get you started. Whether you're diving into renovations or simply seeking to understand more about complex plumbing systems, this article offers valuable insights that can help streamline any project.
Frequently Asked Questions about How To Install A Water Line For An Ice Maker
Was this page helpful?
At Storables.com, we guarantee accurate and reliable information. Our content, validated by Expert Board Contributors, is crafted following stringent Editorial Policies. We're committed to providing you with well-researched, expert-backed insights for all your informational needs.

0 thoughts on “How To Install A Water Line For An Ice Maker”