Articles
How To Replace Ice Maker Water Line
Modified: August 24, 2024
Learn how to replace your ice maker water line with step-by-step instructions and expert tips. Read our articles for a seamless DIY experience.
(Many of the links in this article redirect to a specific reviewed product. Your purchase of these products through affiliate links helps to generate commission for Storables.com, at no extra cost. Learn more)
Introduction
Replacing the ice maker water line in your refrigerator may seem like a daunting task, but with the right tools and proper guidance, it can be a straightforward process. Over time, the water line may develop leaks, become clogged, or simply wear out. When this happens, it’s important to replace it to ensure a continuous supply of clean and fresh ice.
In this article, we will guide you through the steps required to replace the ice maker water line in your refrigerator. We will provide you with a list of tools and materials you will need, as well as detailed instructions on how to safely and effectively carry out the replacement.
But before we dive into the process, it’s crucial to emphasize the importance of safety. Make sure to always follow proper safety precautions when working with any appliance, especially when dealing with water and electrical connections. If you are unsure about any step or don’t feel confident in your abilities, it is always recommended to seek professional assistance.
Now, let’s gather the tools and materials needed for this project.
Key Takeaways:
- Safely replace your refrigerator’s ice maker water line by following step-by-step instructions and prioritizing safety precautions. Enjoy a continuous supply of clean and refreshing ice with confidence.
- Gather the necessary tools and materials, shut off the water supply, unplug the refrigerator, and carefully install the new water line to ensure a successful replacement. Prioritize safety and enjoy the satisfaction of completing a DIY project.
Read more: How To Unclog Water Line To Ice Maker
Tools and Materials Needed
Before you begin replacing the ice maker water line in your refrigerator, gather the following tools and materials:
- Adjustable wrench
- Pliers
- Bucket or towels
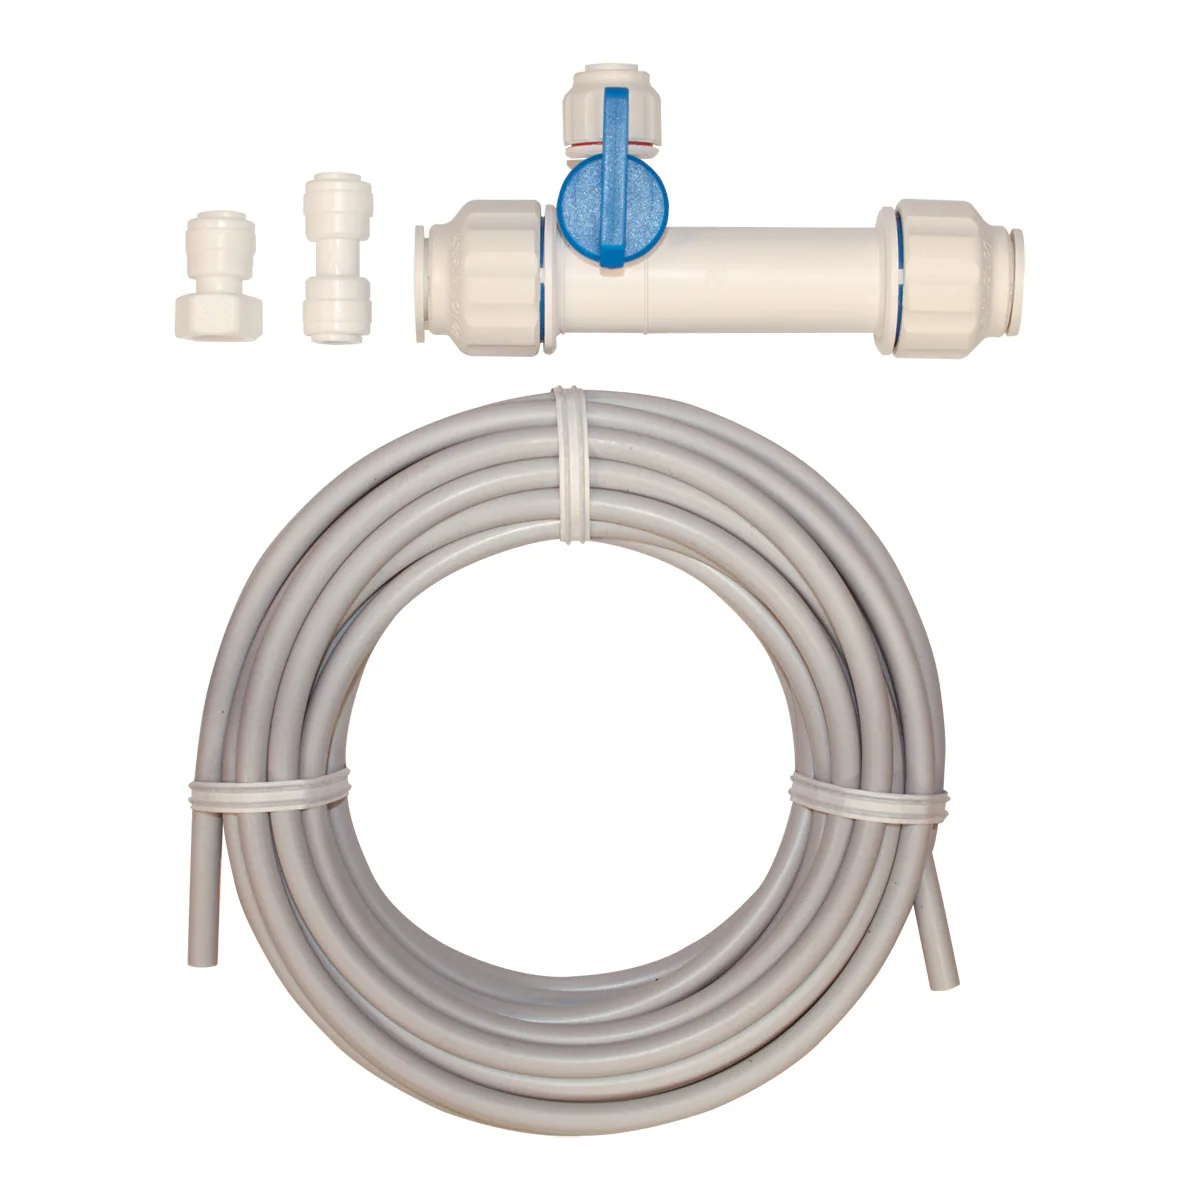
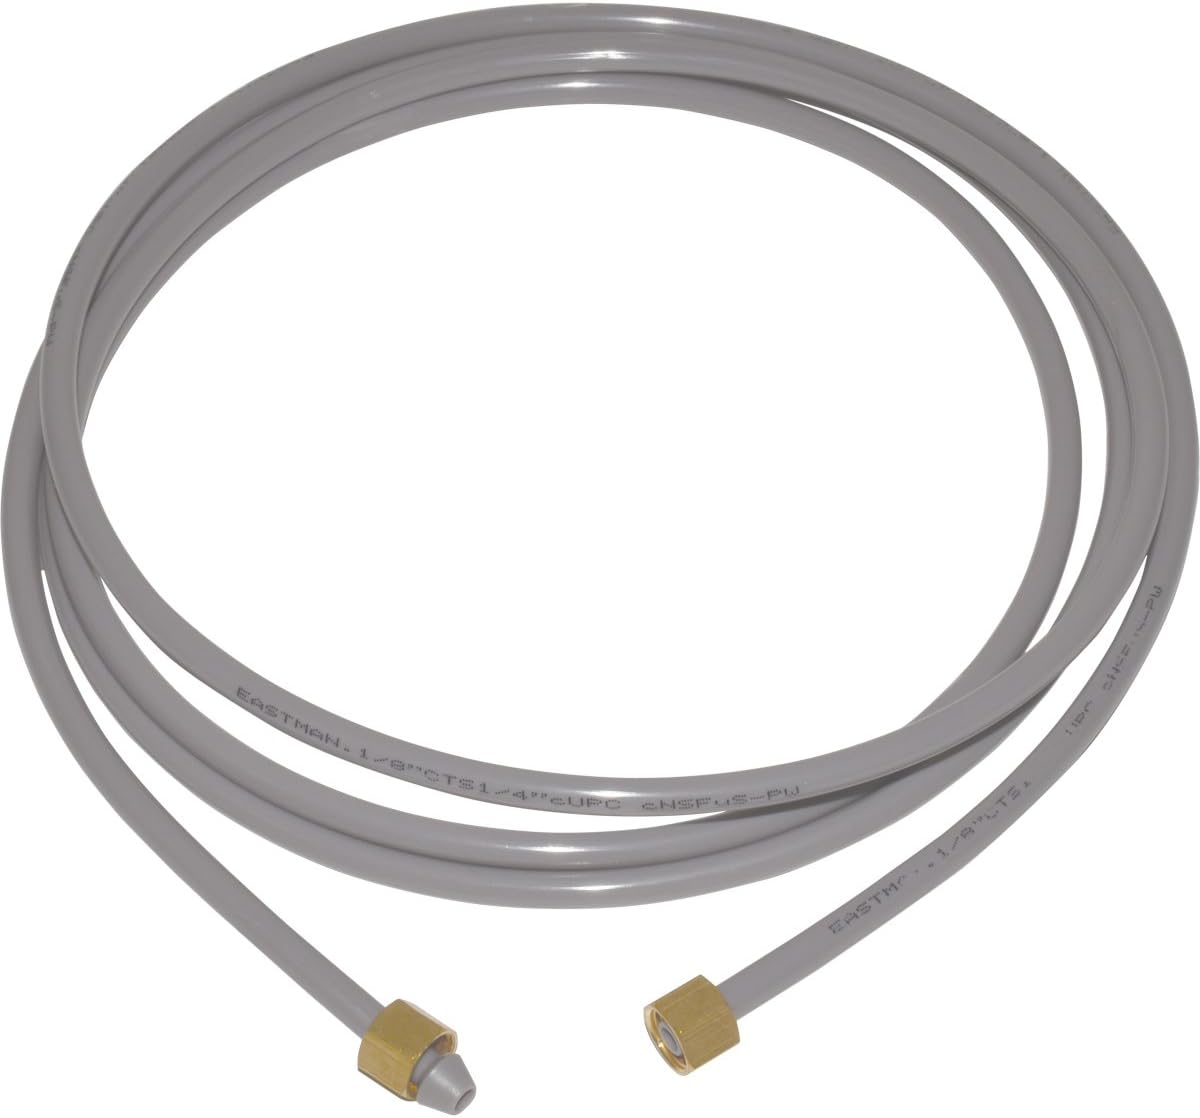
- New ice maker water line
- Teflon tape
- Water valve shut-off key or pliers
- Water supply valve
- Safety goggles
- Gloves
- Owner’s manual for your refrigerator (if available)
Make sure you have all the necessary tools and materials ready before you start the process. This will help streamline the replacement and ensure a smoother experience.
Now that you have everything you need, let’s move on to the step-by-step instructions for replacing the ice maker water line.
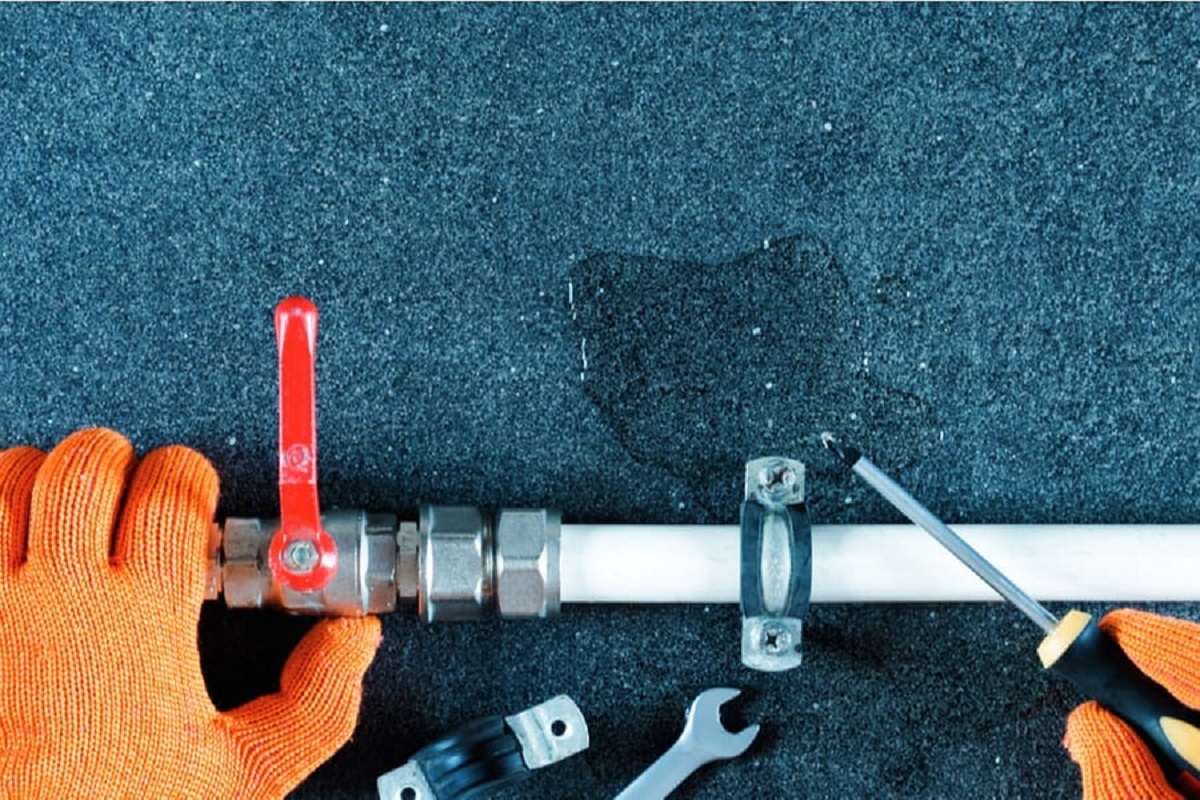
Step 1: Shut Off the Water Supply
The first step in replacing the ice maker water line is to shut off the water supply. This is crucial to prevent any water leakage during the replacement process.
Locate the water supply valve, which is usually located behind the refrigerator or in a nearby cabinet. Turn the valve clockwise until it is fully closed. If you cannot find a dedicated water supply valve for the refrigerator, you may need to shut off the main water supply to your home temporarily.
As an additional safety precaution, it’s recommended to place a bucket or towels underneath the refrigerator to catch any water that may still be in the line or connections.
Once the water supply is shut off and the necessary precautions are in place, you can proceed to the next step.
Step 2: Unplug the Refrigerator
Before working on any electrical parts of your refrigerator, it is crucial to unplug it from the power source. This step ensures your safety and prevents any potential damage to the appliance.
Locate the power cord at the back of the refrigerator and unplug it from the electrical outlet. Take care not to tug on the cord or damage it in any way.
Once the refrigerator is unplugged, you can proceed with the next steps of replacing the ice maker water line.
Remember, safety should always be your top priority when working with any electrical appliance.
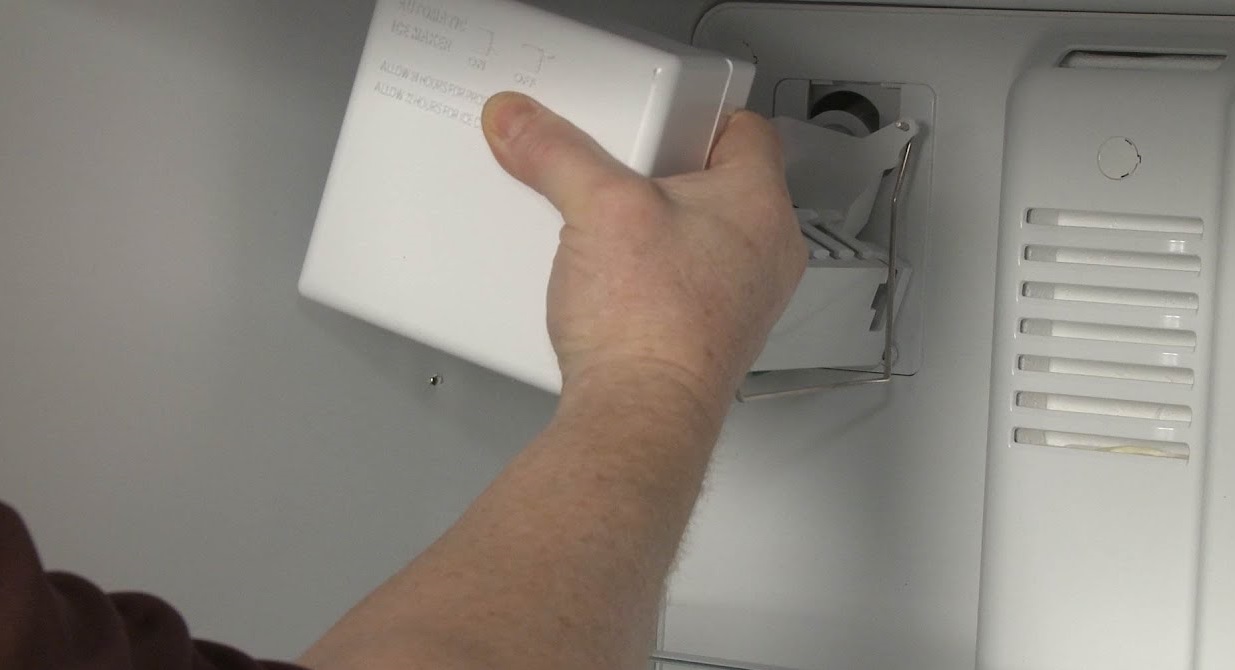
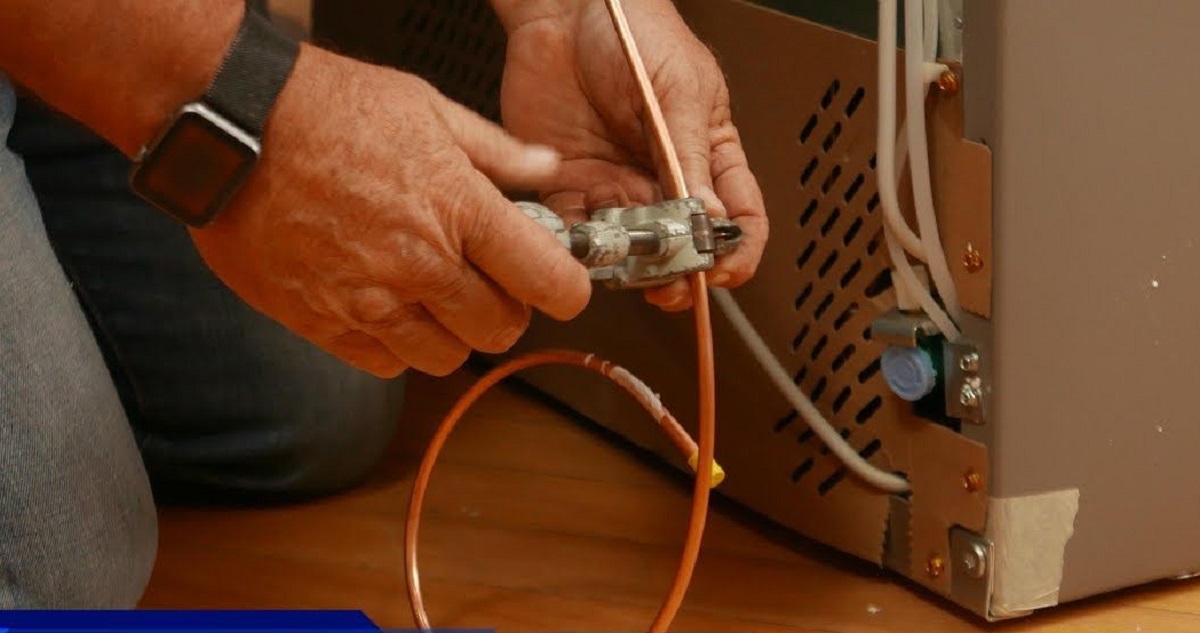
Step 3: Locate the Water Line
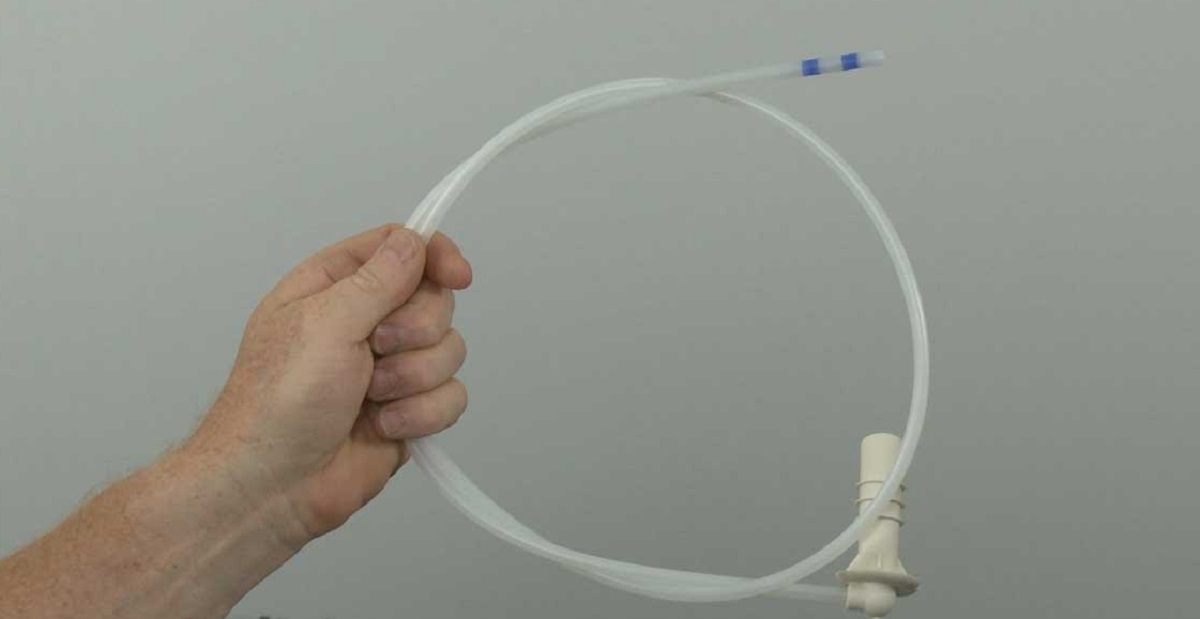
Now that the refrigerator is unplugged, it’s time to locate the water line that connects to the ice maker. The water line is usually located at the back of the refrigerator, near the bottom or on the side.
Take a moment to carefully inspect the area and identify the water line. It is usually a small, flexible tube made of plastic or metal. The water line may be connected to a water valve or directly to the refrigerator’s water inlet.
If you’re having trouble locating the water line, consult the owner’s manual for your refrigerator. The manual may provide specific instructions or diagrams to help you find the water line.
Once you have successfully located the water line, you can proceed to the next step of disconnecting it.
Read more: How To Disconnect Water Line From Ice Maker
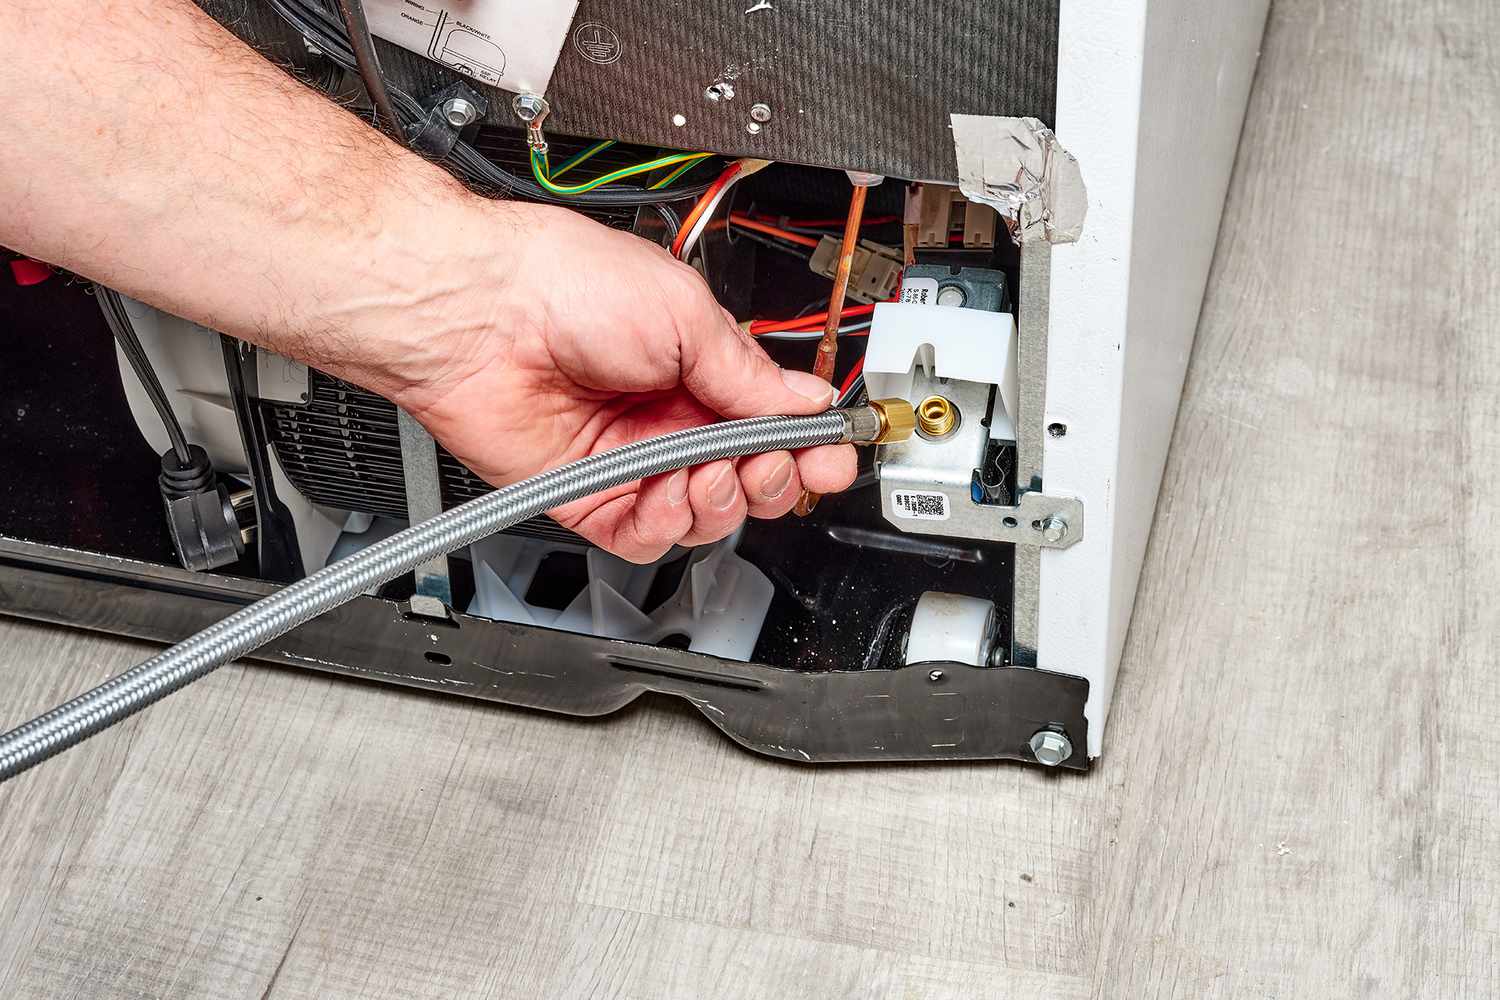
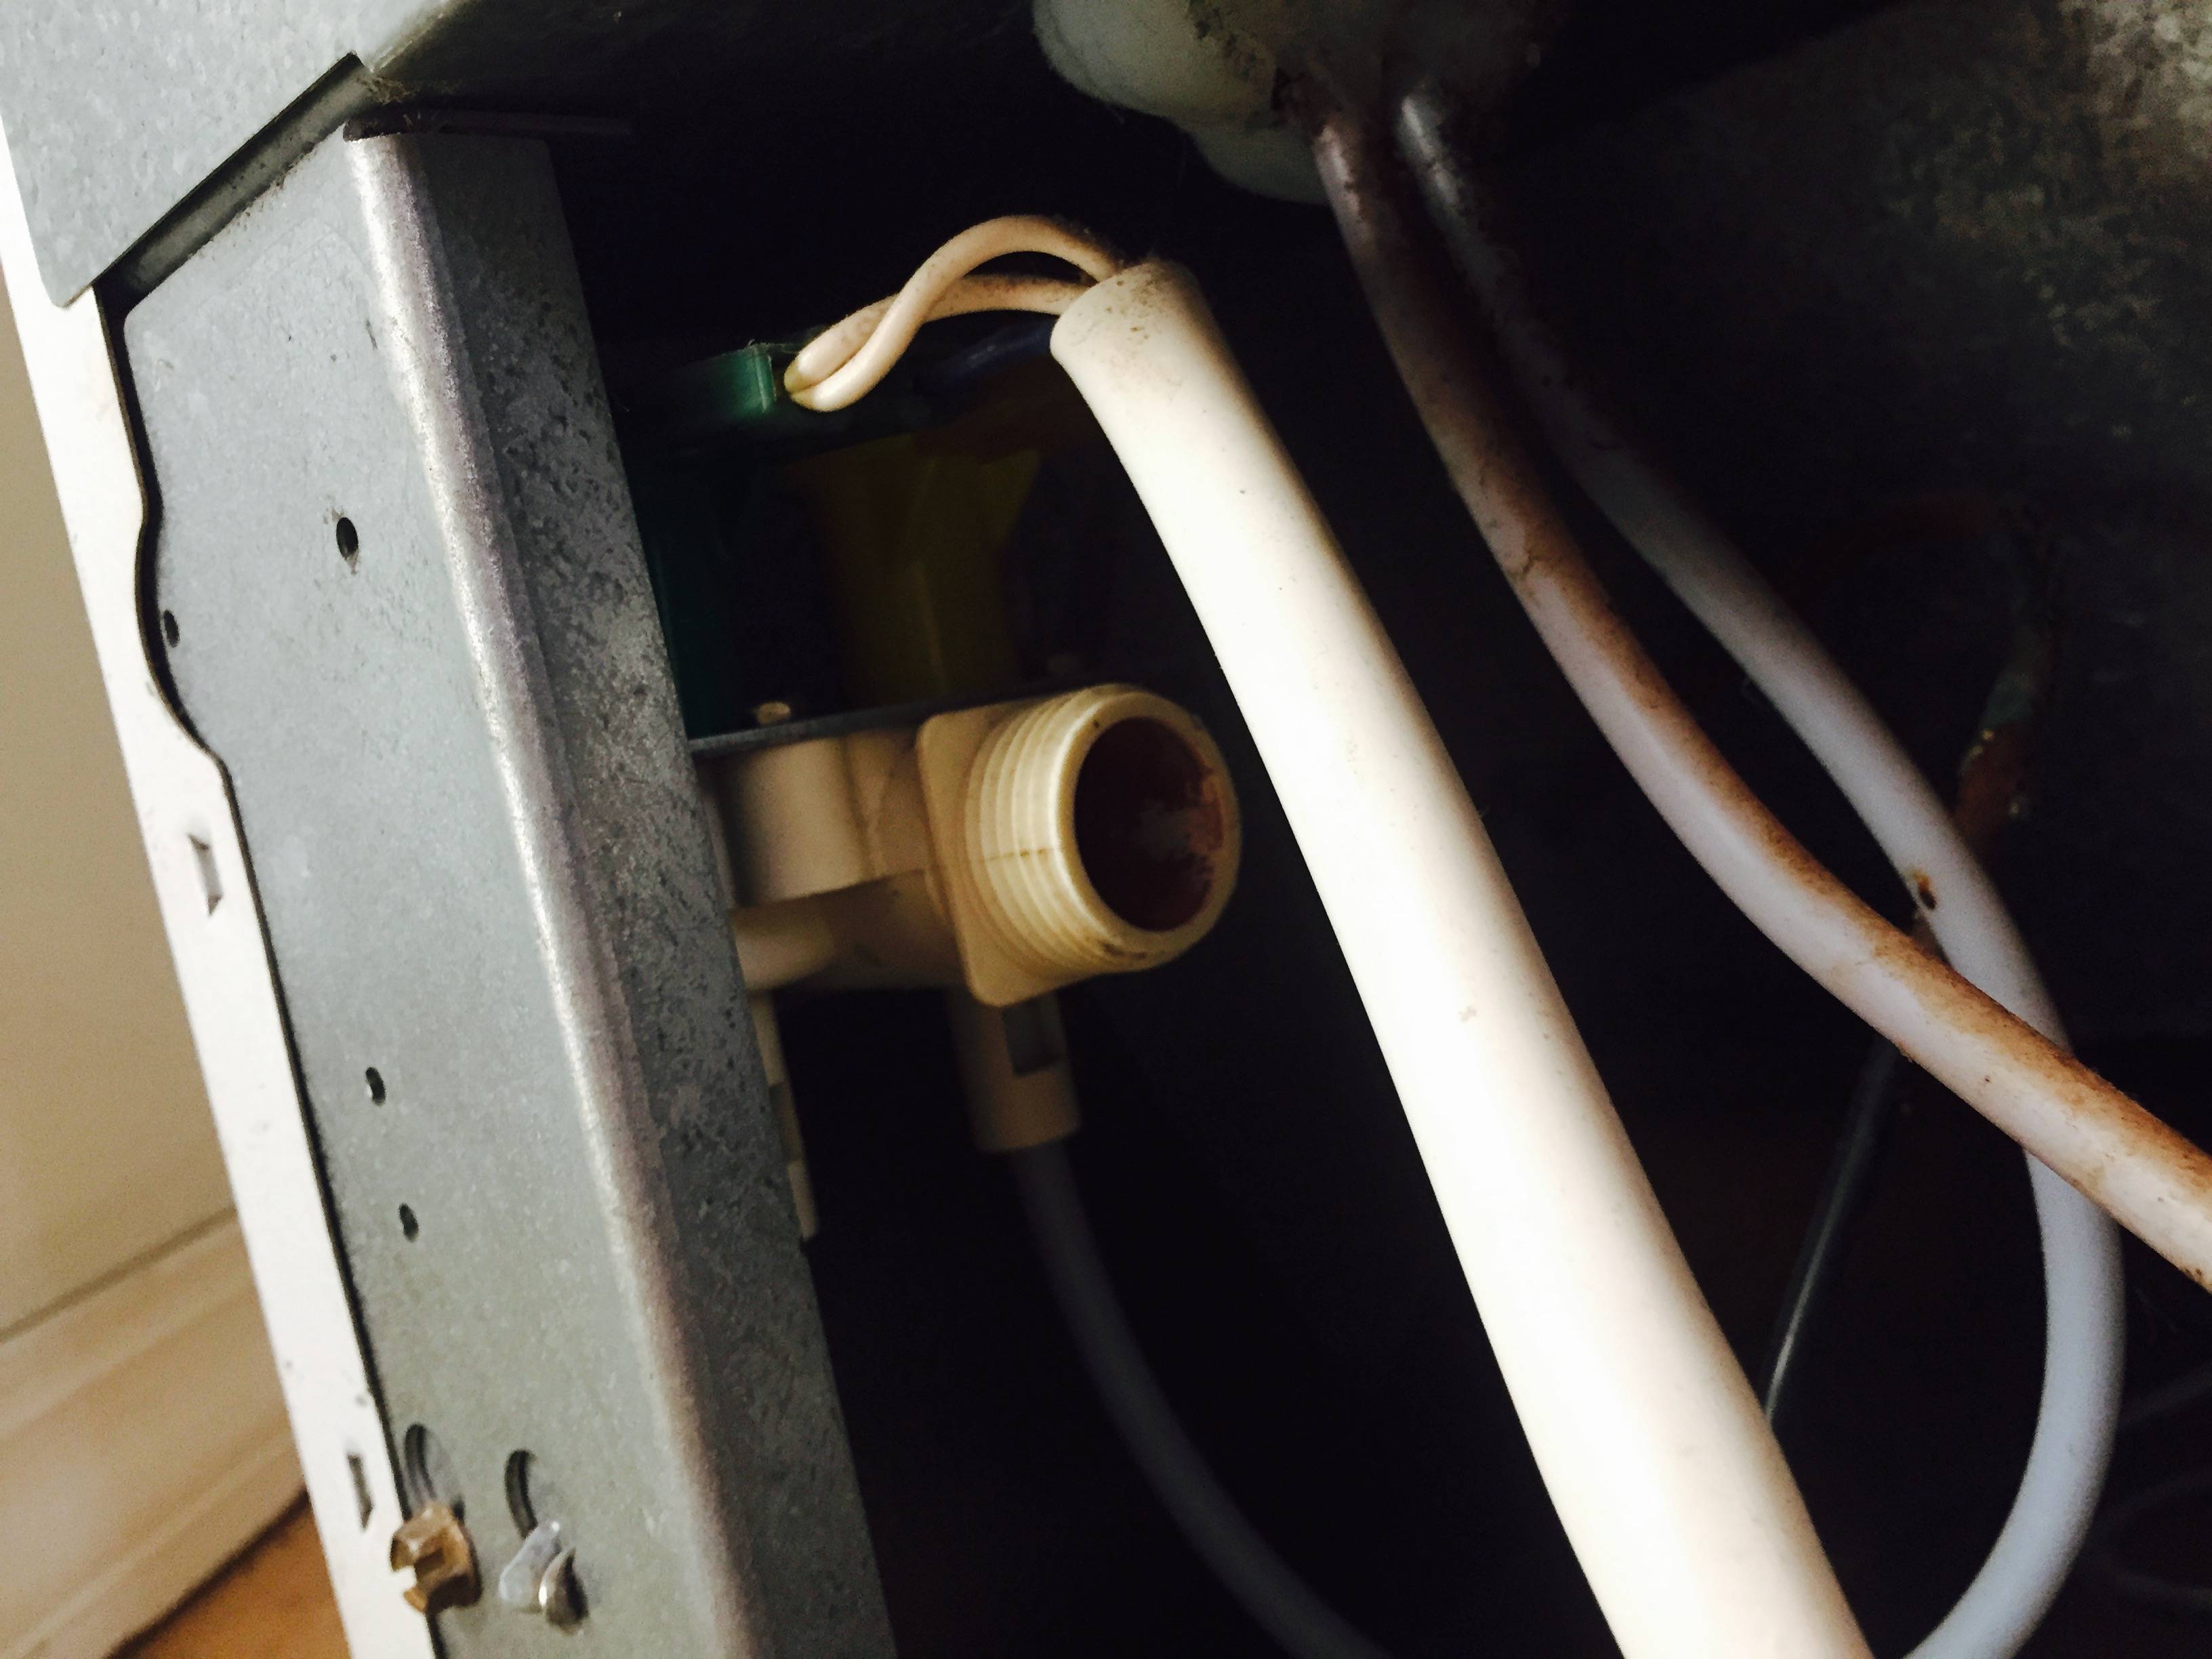
Step 4: Disconnect the Water Line
Now that you have located the water line, it’s time to disconnect it from the refrigerator. Follow these steps to safely disconnect the water line:
- Using pliers or an adjustable wrench, carefully loosen the compression nut or connector that is securing the water line to the refrigerator.
- Gently pull the water line out of the compression nut or connector. Be cautious not to pull too hard or twist the water line excessively, as this can cause damage.
- If the water line is connected to a water valve, locate the valve and use the pliers or wrench to loosen the connection.
- Once the water line is disconnected, place a towel or bucket underneath to catch any remaining water that may drip out.
Take a moment to inspect the water line for any signs of damage or wear. If you notice any cracks, leaks, or other issues, it is advisable to replace the entire water line for optimal performance and safety.
With the water line successfully disconnected, you can now proceed to the next step of installing the new water line.
When replacing the ice maker water line, make sure to turn off the water supply before disconnecting the old line. Use a tubing cutter to cut the new line to the correct length and ensure a secure connection with the fittings.
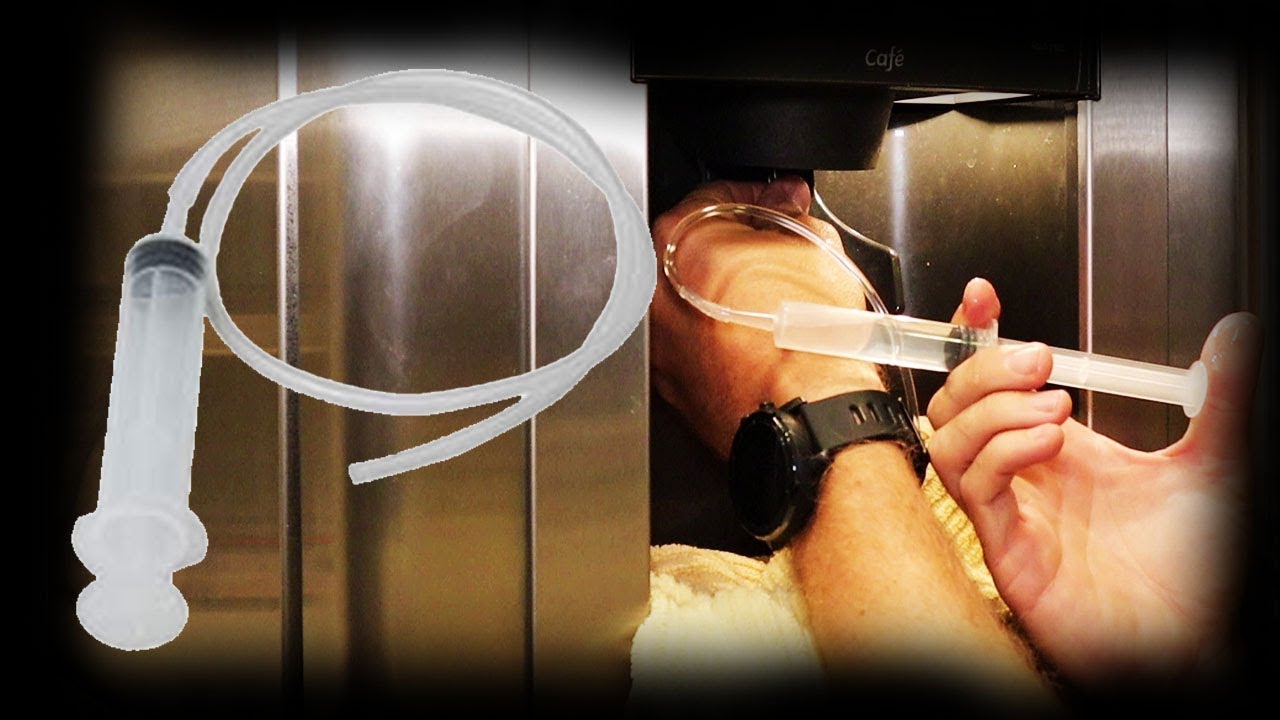
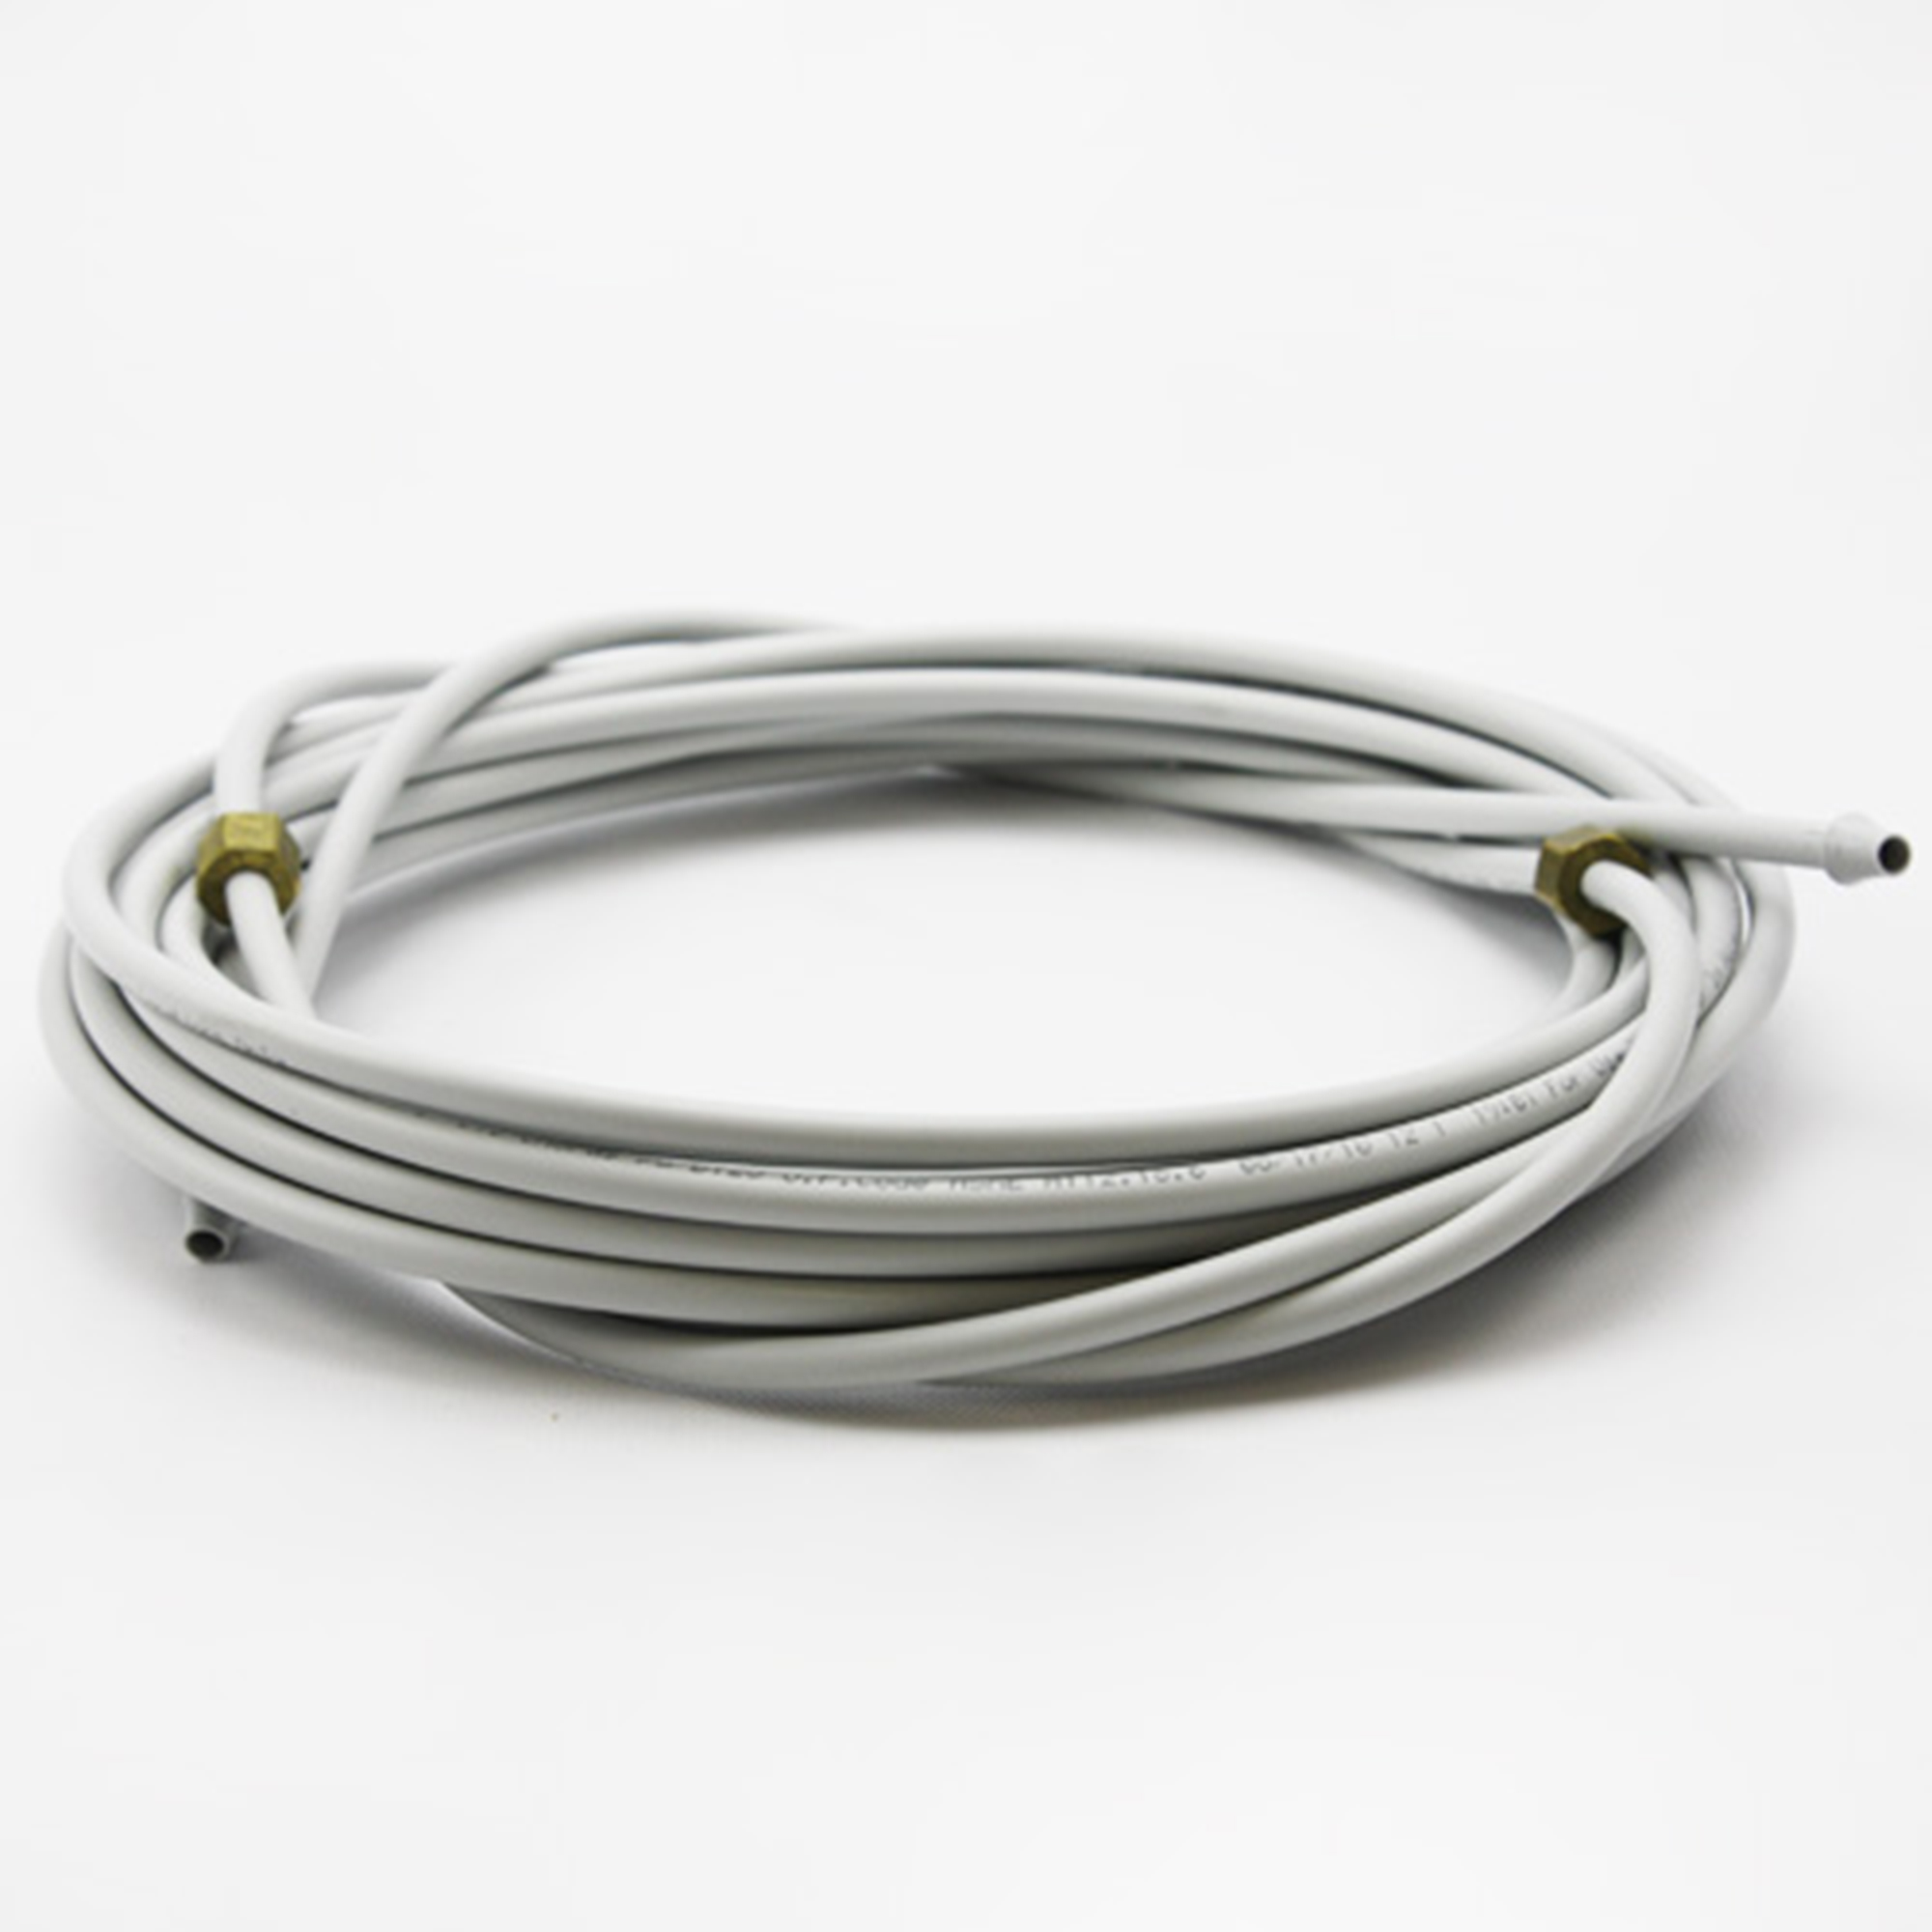
Step 5: Install the New Water Line
With the old water line removed, it’s time to install the new water line. Follow these steps to properly install the new line:
- Measure the length of the old water line or the distance from the water valve to the refrigerator to determine the length needed for the new water line. It’s important to have an accurate measurement to ensure a proper fit.
- Cut the new water line to the measured length using a sharp utility knife or pipe cutter. Make sure to trim the line evenly for a clean and secure connection.
- Once the new water line is cut, inspect the ends for any rough edges. If necessary, use sandpaper or a file to smooth out any sharp edges that may hinder the connection.
- Apply a layer of Teflon tape to the threaded end of the water line. This will provide a tight seal when connecting the line to the water valve or refrigerator inlet.
- If the water line is connected to a water valve, thread the taped end of the line onto the valve and tighten it securely using pliers or an adjustable wrench. Take care not to overtighten to avoid damaging the connection.
- If the water line connects directly to the refrigerator, carefully insert the taped end of the line into the inlet and push it in firmly until it is fully seated.
With the new water line properly installed, you’re one step closer to enjoying fresh ice from your refrigerator again. Move on to the next step to reconnect the water line.
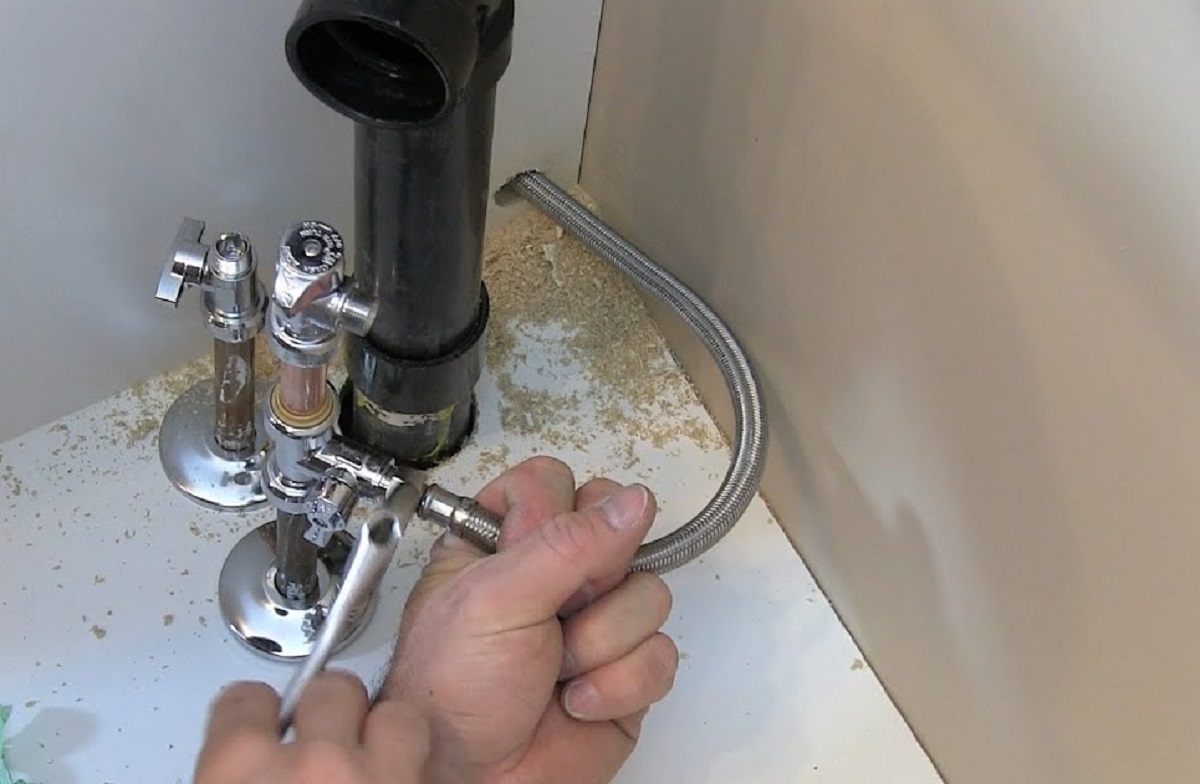
Step 6: Reconnect the Water Line
Now that the new water line is installed, it’s time to reconnect it to the refrigerator. Follow these steps to ensure a secure connection:
- If the water line is connected to a water valve, tighten the connection using pliers or an adjustable wrench. Ensure that the connection is snug, but do not overtighten.
- If the water line connects directly to the refrigerator, insert it into the inlet until it is fully seated. You may need to apply gentle pressure to ensure a proper fit.
- If the water line has a compression nut or connector, carefully slide it over the open end of the line. Make sure to align the nut or connector with the corresponding connection on the refrigerator.
- Tighten the compression nut or connector using pliers or an adjustable wrench. Again, be careful not to overtighten, as this can cause damage to the connection.
- Double-check all connections to ensure they are secure and leak-free. Inspect the water line for any signs of damage or leaks. If you notice any issues, adjust the connections as needed or replace the line if necessary.
Once you are confident that the water line is securely connected, move on to the next step to turn on the water supply.
Step 7: Turn On the Water Supply
Now that the water line is securely connected to the refrigerator, it’s time to turn on the water supply. Follow these steps to ensure a proper water flow:
- If you shut off the main water supply to your home, gradually turn it back on to restore the water flow. Take caution as the water pressure may build back up quickly.
- If you previously shut off a dedicated water supply valve for the refrigerator, locate and turn the valve counterclockwise to open it. This will allow water to flow into the ice maker and water dispenser.
- Listen and observe for any signs of water leaks or irregularities. If you notice any leaks, immediately shut off the water supply and check the connections for any issues.
- Allow the water to flow through the new water line and into the refrigerator for a few minutes. This will help clear any potential debris or air pockets that may be present in the line.
- Check the ice maker and water dispenser for proper functionality. If the ice maker begins to produce ice and the water dispenser dispenses water without any issues, then the water supply is successfully restored.
It’s important to monitor the water supply and connections for the first few hours after turning it back on. This will help identify any potential leaks or problems that may need to be addressed.
With the water supply turned on and functioning properly, you are ready to proceed to the final step of plugging in the refrigerator.
Read more: What Size Is An Ice Maker Water Line
Step 8: Plug in the Refrigerator
The final step in replacing the ice maker water line is to plug in the refrigerator. Follow these steps to safely restore power:
- Locate the power cord at the back of the refrigerator.
- Carefully insert the plug into the electrical outlet.
- Make sure the plug is securely inserted and that the refrigerator is stable.
- Do a quick inspection of the surrounding area to ensure there are no obstructions or potential hazards.
- Double-check that the water line connections are secure and there are no signs of leaks.
- Once you have completed these steps and feel confident in the setup, you can switch on the refrigerator.
Wait a few moments for the refrigerator to power up and initialize. You should hear it start to cool and begin its normal operation.
Now, sit back and enjoy the satisfaction of successfully replacing the ice maker water line in your refrigerator. You can now use the ice maker and enjoy a continuous supply of clean and fresh ice.
Remember to periodically check the water line and connections for any signs of damage or leaks. Regular maintenance and inspection will help ensure the ongoing performance and safety of your refrigerator’s water system.
Congratulations on completing this project!
Conclusion
Replacing the ice maker water line in your refrigerator is a task that may seem intimidating, but with the right tools, materials, and instructions, it can be easily accomplished. By following the step-by-step process outlined in this article, you can successfully replace the water line and ensure a continuous supply of clean and refreshing ice.
Throughout the process, it is crucial to prioritize safety. Always remember to shut off the water supply and unplug the refrigerator before starting any work. Take the necessary precautions to avoid water leakage and electrical hazards.
Gathering the appropriate tools and materials is essential for a smooth replacement. Ensure you have everything you need, such as an adjustable wrench, pliers, new water line, Teflon tape, and safety goggles. These tools will help you complete the task efficiently.
Each step of the replacement process is important. Shutting off the water supply, unplugging the refrigerator, locating the water line, disconnecting the old line, installing the new line, reconnecting the new line, turning on the water supply, and plugging in the refrigerator are all key steps to successfully replacing the water line.
Throughout the process, be observant for any signs of damage or leaks. Inspect the connections and ensure they are tight and secure. Address any issues immediately to prevent further problems and ensure the proper functioning of your refrigerator’s water system.
By carefully following these steps and prioritizing safety, you can confidently replace the ice maker water line in your refrigerator. Enjoy a continuous supply of fresh ice and appreciate the satisfaction of successfully completing a DIY project.
Remember, if at any point you feel unsure or uncomfortable, it is always advisable to seek professional assistance. They can provide guidance and expertise to ensure the task is completed correctly and safely.
Now, go ahead and embark on your ice maker water line replacement journey with confidence!
Now that you've mastered replacing your ice maker's water line, why stop there? Dive into our guide on refrigerator maintenance to ensure your appliance runs smoothly by learning effective cleaning techniques for your ice maker. For those planning a fresh installation, our detailed article on water line installation offers practical advice to tackle the task with confidence. And if you're up against a stubborn clog elsewhere in your home, our straightforward tips on using plumbing fixes with a plunger will get things flowing smoothly in no time.
Frequently Asked Questions about How To Replace Ice Maker Water Line
Was this page helpful?
At Storables.com, we guarantee accurate and reliable information. Our content, validated by Expert Board Contributors, is crafted following stringent Editorial Policies. We're committed to providing you with well-researched, expert-backed insights for all your informational needs.
0 thoughts on “How To Replace Ice Maker Water Line”