Articles
How To Repair Scratches On Dining Room Table
Modified: August 22, 2024
Learn how to repair scratches on your dining room table with these helpful articles. Get step-by-step instructions and expert tips to restore its original beauty.
(Many of the links in this article redirect to a specific reviewed product. Your purchase of these products through affiliate links helps to generate commission for Storables.com, at no extra cost. Learn more)
Introduction
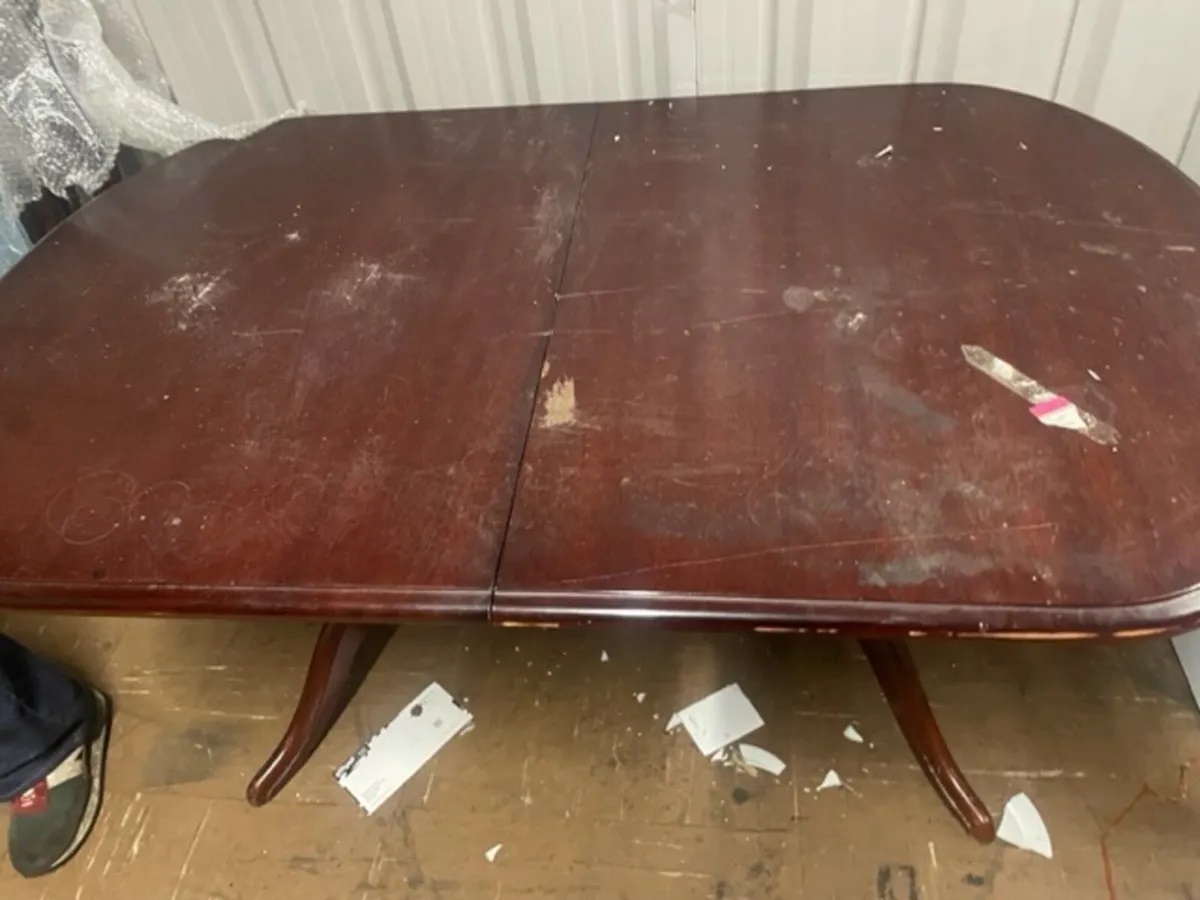
Having scratches on your dining room table can be disheartening. Over time, constant use and accidental bumps can leave unsightly marks, affecting the overall appearance of the table. However, there is no need to worry. With the right approach and some basic materials, you can easily repair those scratches and restore the beauty of your dining room table.
In this guide, we will walk you through the step-by-step process of repairing scratches on your dining room table. Whether you have a wooden, glass, or laminate table, these methods can help you achieve optimal results. So, let’s gather the necessary materials and get started!
Key Takeaways:
- Easily repair scratches on your dining room table by following a systematic approach and using the right materials, whether it’s a scratch repair kit or wood filler, to achieve a like-new appearance.
- Regular maintenance, proper cleaning, and applying a suitable finish can help protect your dining room table from future scratches, ensuring it looks beautiful and elegant for years to come.
Read more: How To Fix Scratches On A Dining Table
Materials Needed
Before you begin the process of repairing scratches on your dining room table, it’s important to gather all the necessary materials. Here’s a list of items you’ll need:
- Mild dish soap
- Soft cloth or sponge
- Clean, lint-free cloth
- Scratch repair kit or wood filler (depending on the type of table)
- Fine grit sandpaper
- Polishing compound or furniture wax
- Disposable gloves
- Protective eyewear
Make sure you have these materials on hand before you begin the repair process. It’s essential to use the right products for your specific table material to achieve the best results.
Step 1: Cleaning the Surface
Before you start repairing the scratches on your dining room table, it’s essential to clean the surface thoroughly. This ensures that there is no dirt or debris that might interfere with the repair process.
Begin by mixing a small amount of mild dish soap with warm water. Dip a soft cloth or sponge into the soapy water and gently clean the entire surface of the table. Be sure to remove any food crumbs, dust, or other particles that may be present.
Once you’ve cleaned the surface, rinse the cloth or sponge with clean water and wipe down the table again to remove any soap residue. Then, use a clean, lint-free cloth to dry the table completely.
By starting with a clean surface, you’ll ensure that the repair materials adhere properly and allow for a smooth and effective repair process.
Step 2: Evaluating the Scratches
After cleaning the surface of your dining room table, the next step is to evaluate the scratches and determine their depth and severity. This will help you decide the best approach for repairing them.
Take a close look at the scratches and assess whether they are minor or deep. Minor scratches are generally surface-level, while deep scratches may require more extensive repair. You can run your finger over the scratches to get an idea of their depth.
If the scratches are minor, you may be able to repair them using a scratch repair kit specifically designed for your table’s material. These kits typically contain a filler or compound that can help fill in the scratches and blend them with the surrounding surface.
On the other hand, if the scratches are deep and cannot be easily repaired with a scratch repair kit, you may need to use a wood filler. Wood fillers are suitable for wooden tables and can help fill in the deep scratches before sanding and refinishing the surface.
By evaluating the scratches, you can determine the most appropriate method for repairing them and achieve the best possible results.
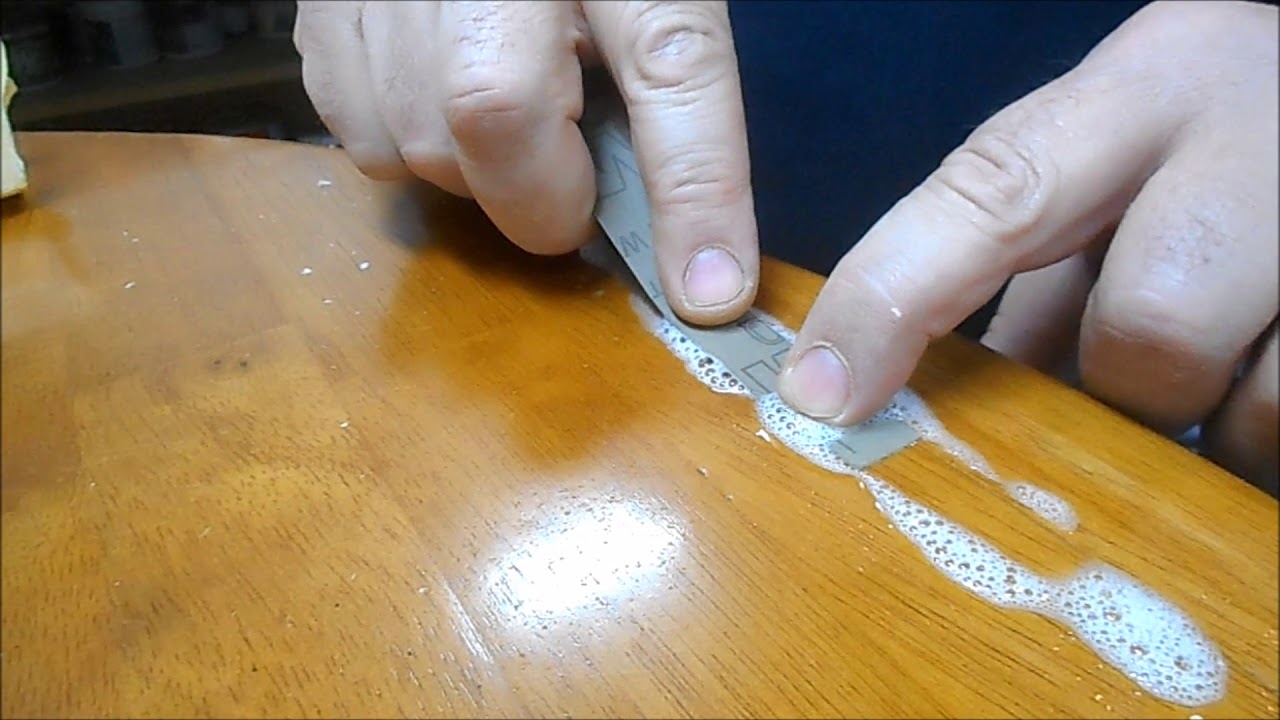
Step 3: Repairing Minor Scratches
If you have minor scratches on your dining room table, you can often repair them using a scratch repair kit specifically designed for your table’s material. These kits usually contain a filler or compound that can help fill in the scratches and blend them with the surrounding surface.
Start by applying a small amount of the scratch repair compound to a clean, lint-free cloth or applicator that comes with the kit. Gently rub the compound into the scratch, following the direction of the grain if you have a wooden table. Be sure to apply enough pressure to fill in the scratch but not so much that you damage the surrounding area.
After applying the compound, wait for the recommended amount of time specified by the kit instructions. This allows the compound to settle and harden, adhering to the surface of the table and blending with the surrounding area.
Next, use a clean, lint-free cloth to buff the area and remove any excess compound. This will help smooth out the repaired scratch and bring back the shine of the table’s surface.
Repeat the process for any additional minor scratches on your table, following the instructions provided with the scratch repair kit.
Repairing minor scratches on your dining room table is a relatively simple process. By using a scratch repair kit, you can effectively fill in the scratches and restore the appearance of your table’s surface.
Use a wood filler or a crayon that matches the color of your dining table to fill in the scratches. Gently sand the area and apply a wood polish to blend it in.
Read more: How To Repair Scratches On A Dining Table
Step 4: Filling in Deep Scratches
If you have deep scratches on your dining room table that cannot be easily repaired with a scratch repair kit, you may need to use a wood filler to fill in the scratches before sanding and refinishing the surface.
Start by selecting a quality wood filler that matches the color of your table’s surface. Using a putty knife or a small spatula, apply the wood filler to the deep scratches. Ensure that you fill the entire scratch, overfilling slightly to account for shrinkage during drying.
Smooth out the filled scratches using the putty knife or spatula, ensuring that the surface is level and flush with the rest of the table. Take care not to leave any excess filler on the surrounding area.
Allow the wood filler to dry completely as per the instructions provided by the manufacturer. Once dry, use a fine grit sandpaper to gently sand down the filled area until it is smooth and blends seamlessly with the rest of the table’s surface.
After sanding, wipe away any dust or debris using a clean, lint-free cloth. Evaluate the filled areas to ensure that they are adequately filled and level with the surrounding surface.
If necessary, repeat the process of applying wood filler, drying, and sanding until the deep scratches are completely filled and the surface is smooth.
Filling in deep scratches can be a bit more time-consuming and require more effort, but the end result will be a beautifully restored dining room table.
Step 5: Sanding and Buffing
Once you have repaired the scratches on your dining room table, the next step is to sand and buff the surface to achieve a smooth and even finish.
Begin by selecting a fine grit sandpaper, such as 220-grit. Wrap the sandpaper around a sanding block or use it with your hand to lightly sand the entire surface of the table. Sand in the direction of the grain for wooden tables and in a circular motion for other materials. The aim is to remove any imperfections and create a smooth surface.
Be gentle while sanding to avoid damaging the surrounding area or creating additional scratches. You should only sand until the repaired area is level with the rest of the table’s surface.
After sanding, wipe away any dust or debris using a clean, lint-free cloth. This will ensure a clean surface for the next step.
Next, apply a polishing compound or furniture wax to a clean cloth or applicator. Gently buff the entire surface of the table, using circular motions and applying even pressure. This will help restore the shine and enhance the overall appearance of your dining room table.
Continue buffing until you achieve the desired level of shine and smoothness. Take care not to apply too much pressure or leave any excess polish or wax on the surface.
Once you have finished buffing, use a separate clean, lint-free cloth to wipe away any residue and ensure a clean and polished surface.
Sanding and buffing are crucial steps in the repair process as they help create a flawless and well-finished surface, making your dining room table look as good as new.
Step 6: Applying a Finish
The final step in repairing scratches on your dining room table is to apply a finish to protect and enhance the surface. The type of finish you choose will depend on the material of your table.
For wooden tables, you can use a clear wood varnish, lacquer, or polyurethane to apply a protective coat. Follow the instructions on the product label for the specific finish you’re using. Apply the finish with a brush or cloth, following the grain of the wood, and allow it to dry according to the manufacturer’s recommendations.
If you have a glass table, you can use a glass cleaner or glass polish to clean and add shine to the surface. Simply apply the cleaner or polish to a clean cloth and gently wipe the table in circular motions until it is thoroughly cleaned and polished.
For laminate or other non-wood tables, you can use a furniture polish specifically designed for those surfaces. Apply the polish to a clean cloth and gently buff the surface of the table until it is shiny and well-protected.
After applying the finish, allow it to dry completely before using your dining room table. This will ensure that the finish adequately protects the surface and minimizes the risk of future scratches.
It’s essential to regularly maintain and clean your dining room table to keep it looking its best. Avoid placing hot objects, sharp utensils, or abrasive materials directly on the table’s surface to prevent scratches and damage.
By following these steps and applying a suitable finish, you can successfully repair scratches on your dining room table and enjoy a beautiful, like-new piece for years to come.
Conclusion
Repairing scratches on your dining room table doesn’t have to be a daunting task. With the right materials and a systematic approach, you can restore the beauty of your table and make it look as good as new.
Start by cleaning the surface of the table thoroughly, removing any dirt or debris that might interfere with the repair process. Evaluate the scratches to determine whether they are minor or deep, and choose the appropriate method for repair – whether it’s using a scratch repair kit or wood filler.
Take your time to properly fill in the scratches and allow the repair materials to dry and settle. Sand the surface gently to achieve a smooth finish, then buff it with a polishing compound or furniture wax to restore its shine.
Finally, apply a suitable finish to protect the surface and prevent future scratches. Whether it’s a wood varnish, a glass cleaner, or a furniture polish, follow the instructions provided and let it dry completely before using your dining room table again.
Maintain your table’s appearance by regularly cleaning and avoiding placing hot objects or abrasive materials directly on the surface. By following these steps and practicing proper maintenance, you can keep your dining room table looking its best for years to come.
Remember, each dining room table may require a slightly different approach, depending on its material and the severity of the scratches. Always refer to the manufacturer’s instructions and choose the right products for your specific table.
Now that you have the knowledge and tools to repair scratches on your dining room table, you can confidently tackle this task and enjoy a beautifully restored piece that adds elegance and charm to your dining space.
Frequently Asked Questions about How To Repair Scratches On Dining Room Table
Was this page helpful?
At Storables.com, we guarantee accurate and reliable information. Our content, validated by Expert Board Contributors, is crafted following stringent Editorial Policies. We're committed to providing you with well-researched, expert-backed insights for all your informational needs.


0 thoughts on “How To Repair Scratches On Dining Room Table”