Home>Dining>Tableware>How To Repair Scratches On A Dining Table
Tableware
How To Repair Scratches On A Dining Table
Modified: December 7, 2023
Learn how to repair scratches on a dining table with our expert tips and tricks. Keep your tableware looking brand new and free from unsightly marks.
(Many of the links in this article redirect to a specific reviewed product. Your purchase of these products through affiliate links helps to generate commission for Storables.com, at no extra cost. Learn more)
Introduction
Welcome to our comprehensive guide on how to repair scratches on a dining table. Whether your dining table is made of wood, glass, or some other material, over time it’s bound to develop scratches and wear marks. But there’s no need to fret! With some simple techniques and a little bit of patience, you can restore your table to its former glory.
A scratched dining table not only affects its aesthetic appeal but also diminishes its value. By taking the time to repair scratches, you can not only improve the appearance of your table but also prolong its lifespan. So let’s dive in and learn how to assess the damage, gather the necessary supplies, and embark on the journey of repairing minor and deep scratches.
Before we begin, it’s essential to determine the extent of the scratches on your dining table. Some scratches may be superficial, while others may be more severe and require additional steps for repair. By carefully assessing the damage, we can plan and execute the appropriate repair methods.
Now that we understand the importance of repairing scratches on a dining table, let’s move on to the next section and explore how to assess the damage in detail.
Key Takeaways:
- Assess the extent of scratches on your dining table and gather the necessary supplies before attempting repairs. Simple techniques can address minor scratches, while deep scratches may require filling, sanding, and touch-up products for a seamless repair.
- Proper maintenance, such as using coasters, regular cleaning, and reapplying protective coatings, is essential to preserve the beauty and longevity of your repaired dining table. Seek professional help for extensive damage beyond your expertise.
Read more: How To Fix Scratches On A Dining Table
Assessing the Damage
When it comes to repairing scratches on a dining table, the first step is to assess the extent of the damage. This will help you determine the appropriate course of action and ensure that you don’t undertake unnecessary repairs.
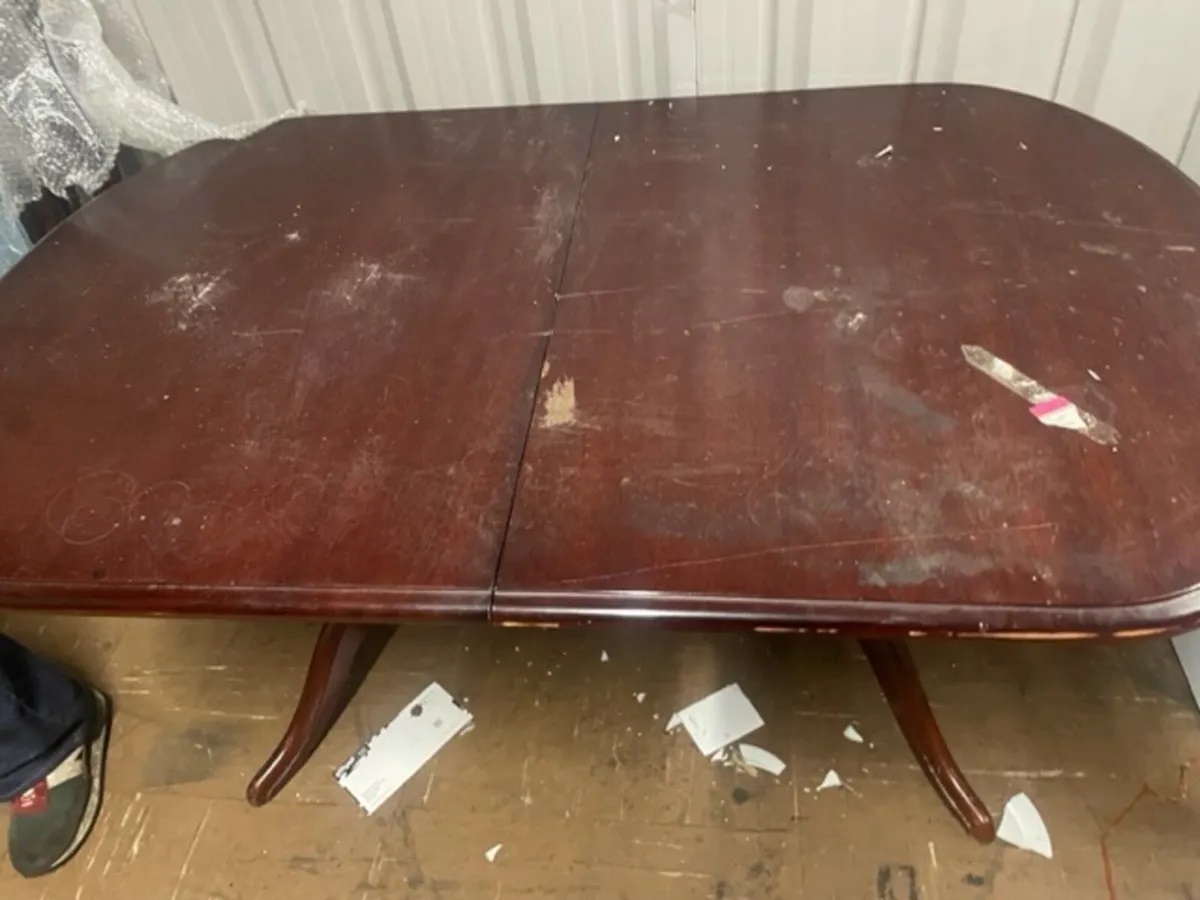
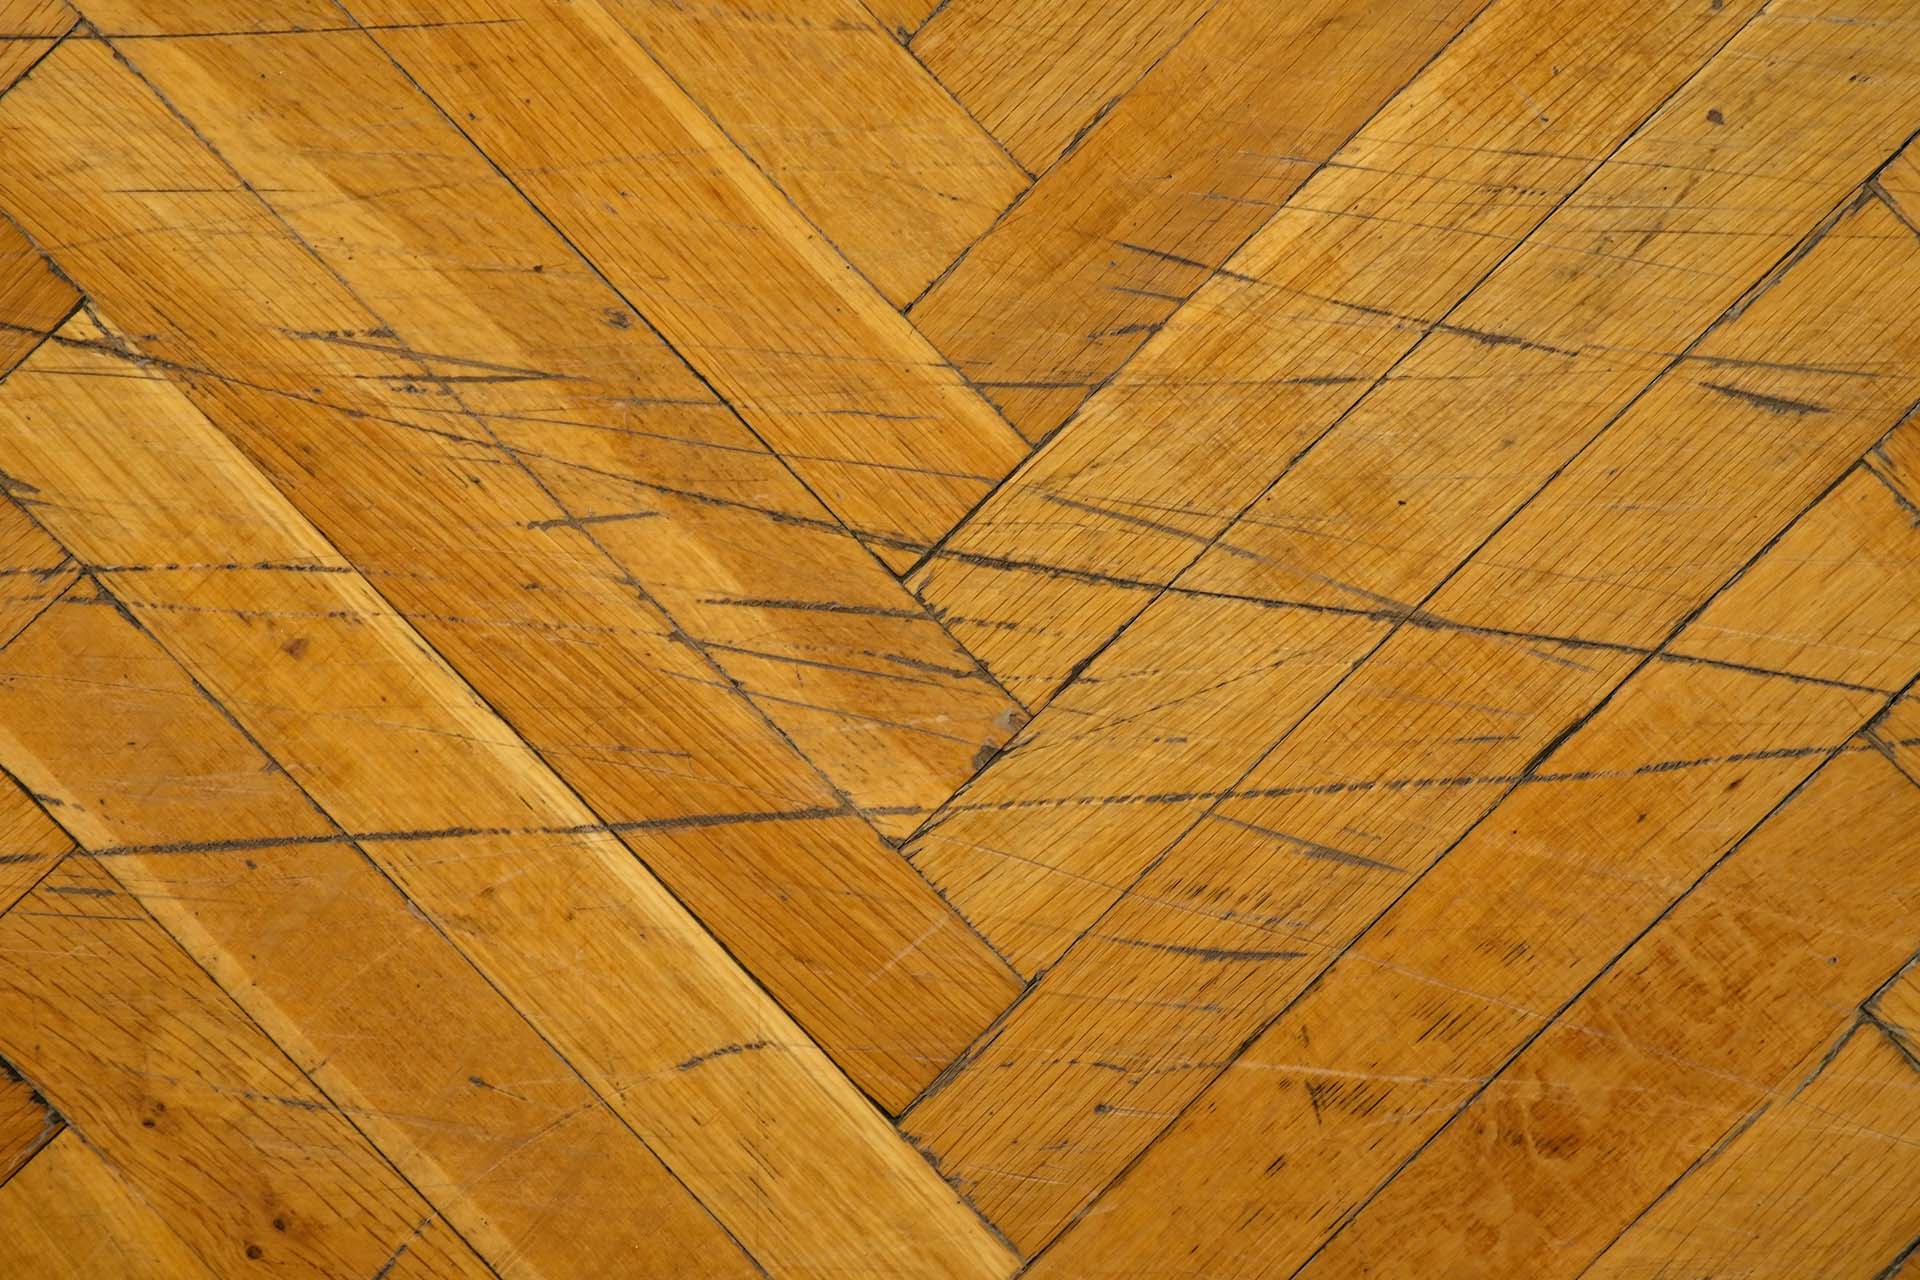
Begin by inspecting the scratches on your table. Are they light surface scratches or deep gouges? Light surface scratches typically appear as thin lines on the table’s surface, while deep gouges are more noticeable and can be felt when you run your fingers over them.
Next, examine the finish of your table. Different materials, such as wood, glass, or laminate, may have different types of finishes. For example, a wooden table may have a varnish, lacquer, or oil finish, while a glass table may have a protective coating. Understanding the type of finish will help you choose the appropriate repair method.
Once you have assessed the type and depth of the scratches, it’s time to determine whether you can repair them yourself or if professional assistance is needed. Superficial scratches that only affect the surface finish can often be fixed using DIY methods. However, if the scratches are too deep or extensive, it may be best to consult a professional furniture restorer.
Additionally, consider the overall condition of your dining table. Are there any other signs of damage, such as dents, cracks, or discoloration? If so, it may be necessary to address these issues along with the scratches to achieve a seamless and uniform appearance.
Remember, every dining table is unique, and the repair process may vary depending on the material, finish, and severity of the scratches. Understanding the extent of the damage will help you make informed decisions and ensure the best possible outcome for your table’s repair.
Now that you have assessed the damage, it’s time to gather the necessary supplies to begin the repair process. In the next section, we will discuss the essential tools and materials you’ll need to successfully repair scratches on your dining table.
Gathering the Necessary Supplies
Before you can start repairing the scratches on your dining table, it’s essential to gather the necessary supplies. Having the right tools and materials at hand will ensure a smooth and effective repair process. Here are some items you’ll need:
- Microfiber cloth: This soft cloth is perfect for cleaning and prepping the surface of your table.
- Mild dish soap: Use a gentle dish soap to clean the table before beginning the repair process.
- Water: You’ll need water for both cleaning the table and rinsing off cleaning solutions.
- Soft-bristled brush: A soft-bristled brush can help remove dirt and debris from the scratches.
- Fine-grit sandpaper: For deeper scratches, you’ll need fine-grit sandpaper to smooth out the surface.
- Wood filler: If you have a wooden table with deep scratches or gouges, wood filler can be used to fill in the damaged areas.
- Stain marker or touch-up pen: These handy tools can be used to match the color of your table’s finish and hide any remaining scratches.
- Clear coat or varnish: To protect the repaired area and blend it with the surrounding surface, you’ll need a clear coat or varnish that matches your table’s finish.
- Protective gloves: It’s always a good idea to protect your hands while working with chemicals and materials.
These supplies should cover most repair scenarios, but keep in mind that the specific needs may vary depending on the material and finish of your dining table. For example, if you have a glass table, you may require glass cleaner and a glass scratch repair kit.
Once you have gathered all the necessary supplies, you’re ready to move on to the next steps, where we will discuss repairing both minor and deep scratches on your dining table. Remember to read and follow the instructions on the products you’re using, as different brands may have specific guidelines for application.
Now that you have everything you need, let’s dive into the techniques for repairing minor scratches on your dining table in the next section.
Repairing Minor Scratches
Minor scratches on a dining table’s surface can often be repaired using simple methods. These techniques are designed to address light surface scratches that do not penetrate deep into the material. Here’s a step-by-step process to repair minor scratches:
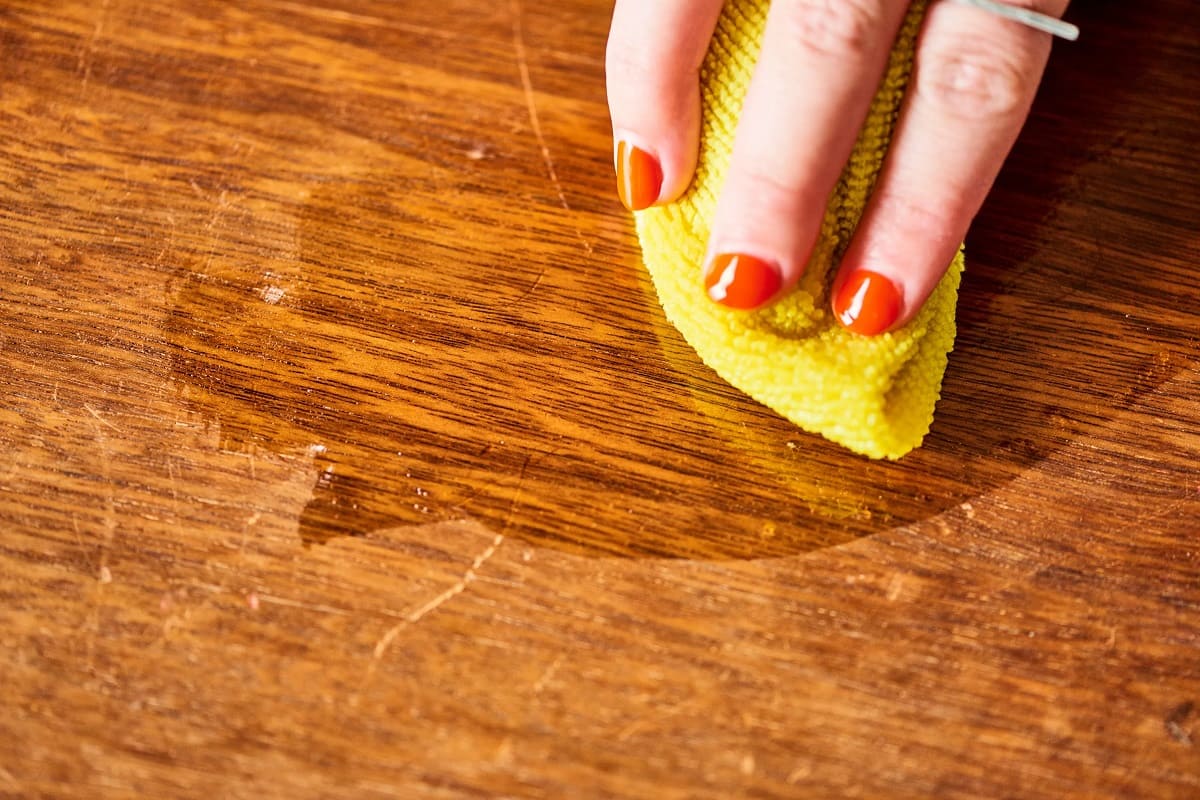
- Clean the surface: Start by cleaning the table with a microfiber cloth and mild dish soap. Remove any dirt, debris, or residue that may be present on the surface.
- Dampen the cloth: Dampen a clean cloth with water and wring out any excess moisture. Gently rub the scratched area in a circular motion to smooth out the scratch. This technique helps to blend the scratch with the surrounding surface.
- Apply a scratch remover: If the scratch is still noticeable after dampening the cloth, you can apply a specialized scratch remover to the affected area. Follow the instructions on the product and use a soft cloth to gently rub the scratch in a circular motion.
- Buff the surface: After using the scratch remover, gently buff the surface of the table with a clean, dry cloth. This helps to restore the shine and further blend the repaired area with the rest of the table.
These methods are generally suitable for repairing minor scratches on various materials, including wood, laminate, or glass. However, it’s always a good idea to test any cleaning or repair product on a small, inconspicuous area of the table first to ensure compatibility and avoid any potential damage.
If the scratch is more severe and cannot be fixed using the above methods, it may be considered a deep scratch. In the next section, we will discuss how to deal with deep scratches on your dining table.
Now that you know how to repair minor scratches, it’s time to move on to the techniques for repairing deep scratches on your dining table. We will cover that in the following section.
Dealing with Deep Scratches
Deep scratches on a dining table can be more challenging to repair compared to minor surface scratches. These scratches are usually more noticeable and may require additional steps to effectively restore the table’s appearance. Here’s a step-by-step process for dealing with deep scratches:
- Clean the surface: Begin by cleaning the table’s surface with a microfiber cloth and mild dish soap. This will remove any dirt or debris that may interfere with the repair process.
- Assess the depth of the scratch: Use your fingers or a soft-bristled brush to determine the depth of the scratch. If the scratch is too deep, it may require additional steps beyond surface repair.
- Fill in the scratch: For wooden tables, use a wood filler that matches the color of the table to fill in the deep scratch. Apply the filler using a putty knife, ensuring that it completely fills in the damaged area. Allow the filler to dry according to the product’s instructions.
- Sand the filled area: Once the filler is fully dry, use fine-grit sandpaper to carefully sand the filled area. This will smooth out the surface and blend it with the surrounding edges.
- Clean and inspect: After sanding, clean the surface of the table again to remove any dust or debris. Inspect the repaired area to ensure that it’s level and smooth.
- Apply a touch-up product: To further blend the repaired area with the rest of the table, you can use a stain marker or touch-up pen that matches the color of your table’s finish. Apply the product to the repaired area and feather it out to create a seamless transition.
- Protect the repaired area: Finally, to protect the repaired area and provide a consistent finish, apply a clear coat or varnish that matches the table’s original finish. Follow the product’s instructions to apply the clear coat evenly and allow it to dry completely.
It’s important to note that the process for repairing deep scratches can vary depending on the material and finish of your dining table. For example, a glass table may require a different approach or specialized products for repair. Always refer to the manufacturer’s instructions and test any products on a small, inconspicuous area first.
Now that you know how to deal with deep scratches, the next step is to ensure a smooth and uniform surface. In the following section, we will discuss how to sand the table surface to achieve the desired result.
Use a wood filler or a crayon that matches the color of your dining table to fill in the scratches. Gently sand the area and apply a wood polish to blend it in.
Sanding the Table Surface
Sanding the table surface is an important step in the scratch repair process, especially for deep scratches or when dealing with wooden tables. Sanding helps to even out the surface, remove imperfections, and prepare the table for staining or finishing. Here’s how you can sand the table surface effectively:
- Inspect the repaired area: Before sanding, carefully inspect the repaired area to ensure that the filler has dried completely and is level with the surrounding surface. If necessary, use a fine-grit sandpaper to further smooth out the repaired area.
- Select the right sandpaper: Choose fine-grit sandpaper (around 220 to 320 grit) to avoid removing too much material and creating unnecessary scratches.
- Sand by hand or with a sander: Depending on the size of the table and personal preference, you can sand the table surface by hand or use a power sander. If using a power sander, make sure to follow the manufacturer’s instructions and be mindful of the pressure applied to prevent over-sanding.
- Sand in the direction of the grain: When sanding a wooden table, always sand in the direction of the wood grain. This helps to avoid creating visible scratches or damaging the wood fibers.
- Apply even pressure: Whether sanding by hand or with a sander, apply even pressure to ensure a consistent finish. Avoid pressing too hard as it may result in uneven areas or further damage.
- Check frequently: Regularly check the surface of the table as you sand to monitor your progress and ensure that you are achieving a smooth and uniform surface.
- Clean the surface: Once you have finished sanding, use a clean cloth or vacuum to remove any dust or particles from the table surface.
After sanding, you will have a smooth and even surface ready for the next steps in the scratch repair process, such as staining or finishing. However, keep in mind that not all tables require sanding, especially those with non-wooden surfaces. Always consider the specific requirements of your table material when deciding whether or not to sand.
In the next section, we will discuss how to stain and finish the repaired area to seamlessly blend it with the rest of the table.
Staining and Finishing the Repaired Area
Staining and finishing the repaired area of your dining table is crucial to achieve a seamless blend with the rest of the table’s surface. This step helps to restore the color and sheen, ensuring that the repaired area does not stand out. Here’s how you can stain and finish the repaired area effectively:
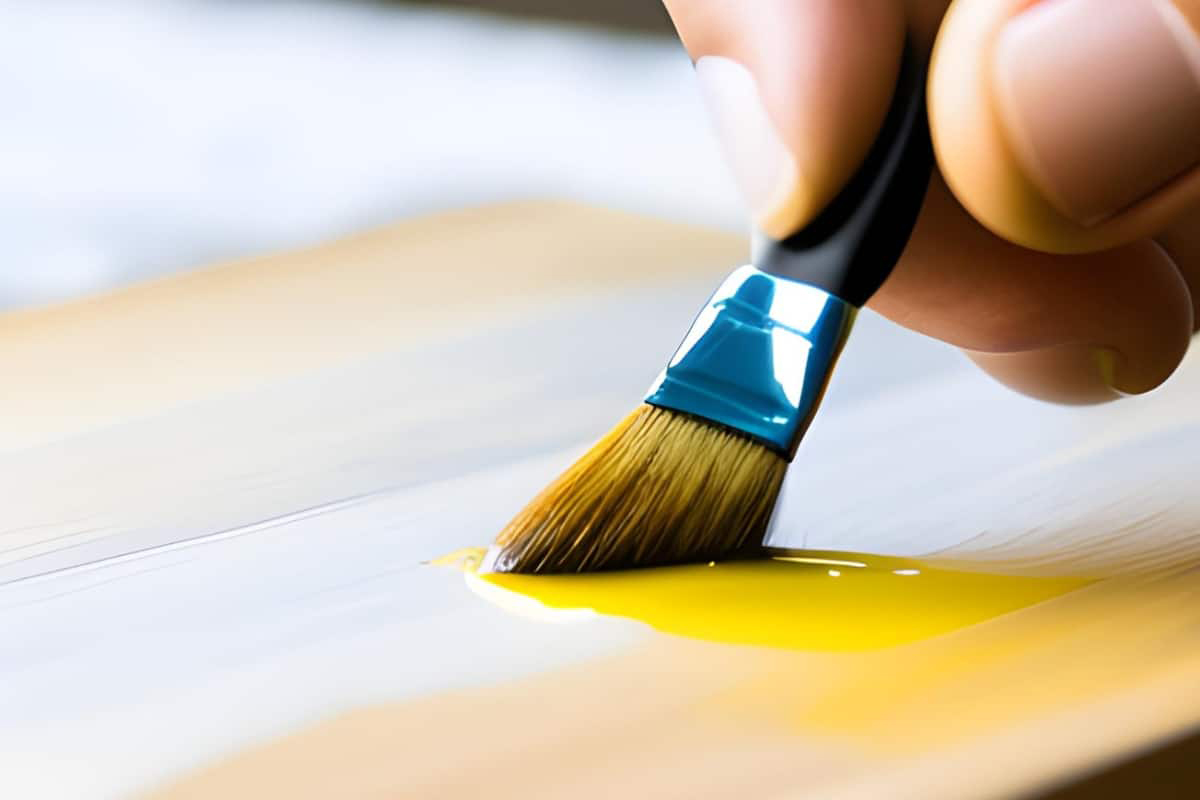
- Select a matching stain: Choose a stain that closely matches the color of your table’s existing finish. Test the stain on a small, inconspicuous area first to ensure the desired color match.
- Prepare the surface: Clean the repaired area and ensure it is free from dust or debris. If necessary, lightly sand the area with fine-grit sandpaper to smooth out any imperfections.
- Apply the stain: Use a clean cloth or brush to apply the stain to the repaired area, following the manufacturer’s instructions. Apply the stain evenly and in thin coats, blending it with the surrounding surface for a seamless finish.
- Allow the stain to dry: Give the stain sufficient drying time according to the product’s instructions. This will ensure that the color properly sets and adheres to the table’s surface.
- Apply the finish: Once the stain is dry, apply a clear coat or varnish that matches the finish of your table. This protective layer will enhance the appearance of the repaired area and provide long-lasting durability.
- Follow drying and curing instructions: Allow the finish to dry and cure fully before using the table. This typically takes a few days, but refer to the product’s instructions for precise drying times.
While staining and finishing are primarily relevant for wooden tables, other materials may have their own specific instructions for achieving a consistent look. For example, a laminated table may require a touch-up pen or specialized coating to restore its appearance.
Once you have completed the staining and finishing process, take a step back and admire your work. The repaired area should now seamlessly blend in with the rest of the table, leaving no trace of the previous scratches.
In the final section, we will share some additional tips for the final touches and maintenance of your repaired dining table.
Final Touches and Maintenance Tips
With the scratches on your dining table successfully repaired, it’s time to add some final touches and implement proper maintenance to keep your table looking its best. Here are some tips to consider:
- Polish the table: After the repairs are complete, polish the entire table to restore its shine and give it a fresh look. Use a furniture polish suitable for your table’s material and follow the product’s instructions for best results.
- Use coasters and placemats: To prevent future scratches and damage, use coasters for glasses and placemats for dishes and hot plates. These protective accessories will help preserve the table’s surface and minimize the risk of scratches.
- Avoid dragging heavy objects: When moving objects on the table, avoid dragging them, as this can cause scratches. Lift and place items gently and use a tablecloth or felt pads on the bottom of heavy items to minimize friction.
- Regularly clean and dust: Proper maintenance includes regularly cleaning and dusting your dining table. Use a soft, lint-free cloth to remove dust and wipe spills immediately to prevent stains and damage to the surface.
- Apply touch-ups as needed: Over time, your dining table may develop minor scratches or wear marks. Address these issues promptly by using touch-up products like stain markers or touch-up pens to keep the table looking its best.
- Reapply protective coatings: Depending on the type of finish on your table, it may be necessary to periodically reapply protective coatings like varnish or clear coat. Follow the manufacturer’s instructions for the frequency of reapplication to maintain the table’s durability.
- Seek professional help if needed: If you encounter deep scratches or extensive damage beyond your expertise, don’t hesitate to seek professional assistance. Professional furniture restorers have the skills and tools to tackle complex repairs and ensure the best outcome for your table.
By following these tips, you can not only maintain the repaired areas but also preserve the overall condition and longevity of your dining table. Regular care and attention will help keep your table looking beautiful for years to come.
Congratulations! You have successfully learned how to repair scratches on a dining table. With the knowledge and techniques acquired, you can confidently restore the appearance of your table and enjoy its renewed beauty.
Now it’s time to put your newfound skills into practice and give your dining table the care it deserves. Happy repairing!
Conclusion
Repairing scratches on a dining table may seem like a daunting task, but with the right knowledge and techniques, you can successfully restore its appearance and extend its lifespan. By following the step-by-step methods outlined in this guide, you can assess the damage, gather the necessary supplies, and repair both minor and deep scratches.
Remember to assess the extent of the scratches and determine whether you can handle the repairs yourself or if professional assistance is needed. Additionally, gathering the necessary supplies and understanding the type of finish on your table is essential for a successful repair.
For minor scratches, simple techniques like dampening the surface, using scratch removers, and buffing can effectively improve the appearance. When faced with deep scratches, filling them with wood filler, sanding, and applying a touch-up product are crucial steps to achieve a seamless repair.
Sanding the table surface helps to create an even and smooth surface, which is especially important for wooden tables. Staining and finishing the repaired area ensures a uniform appearance and protects the table from future damage.
Once the repairs are complete, implementing proper maintenance techniques like using coasters, regularly cleaning and dusting, and reapplying protective coatings as needed will help preserve the table’s beauty and longevity.
Remember, it’s important to seek professional help if the damage is extensive or if you are uncertain of the repair process. Furniture restorers have the expertise and tools to handle complex repairs and ensure the best possible outcome for your dining table.
With the skills and knowledge gained from this guide, you can confidently take on the task of repairing scratches on your dining table. Remember to approach each step with patience and care, and enjoy the satisfaction of seeing your table restored to its former glory.
Now, go ahead and give your dining table the attention it deserves. Happy repairing!
Frequently Asked Questions about How To Repair Scratches On A Dining Table
Was this page helpful?
At Storables.com, we guarantee accurate and reliable information. Our content, validated by Expert Board Contributors, is crafted following stringent Editorial Policies. We're committed to providing you with well-researched, expert-backed insights for all your informational needs.


0 thoughts on “How To Repair Scratches On A Dining Table”