Articles
How To Patch Large Hole In Wood Siding
Modified: May 6, 2024
Learn how to patch large holes in wood siding with these helpful articles. Fixing your siding has never been easier!
(Many of the links in this article redirect to a specific reviewed product. Your purchase of these products through affiliate links helps to generate commission for Storables.com, at no extra cost. Learn more)
Introduction
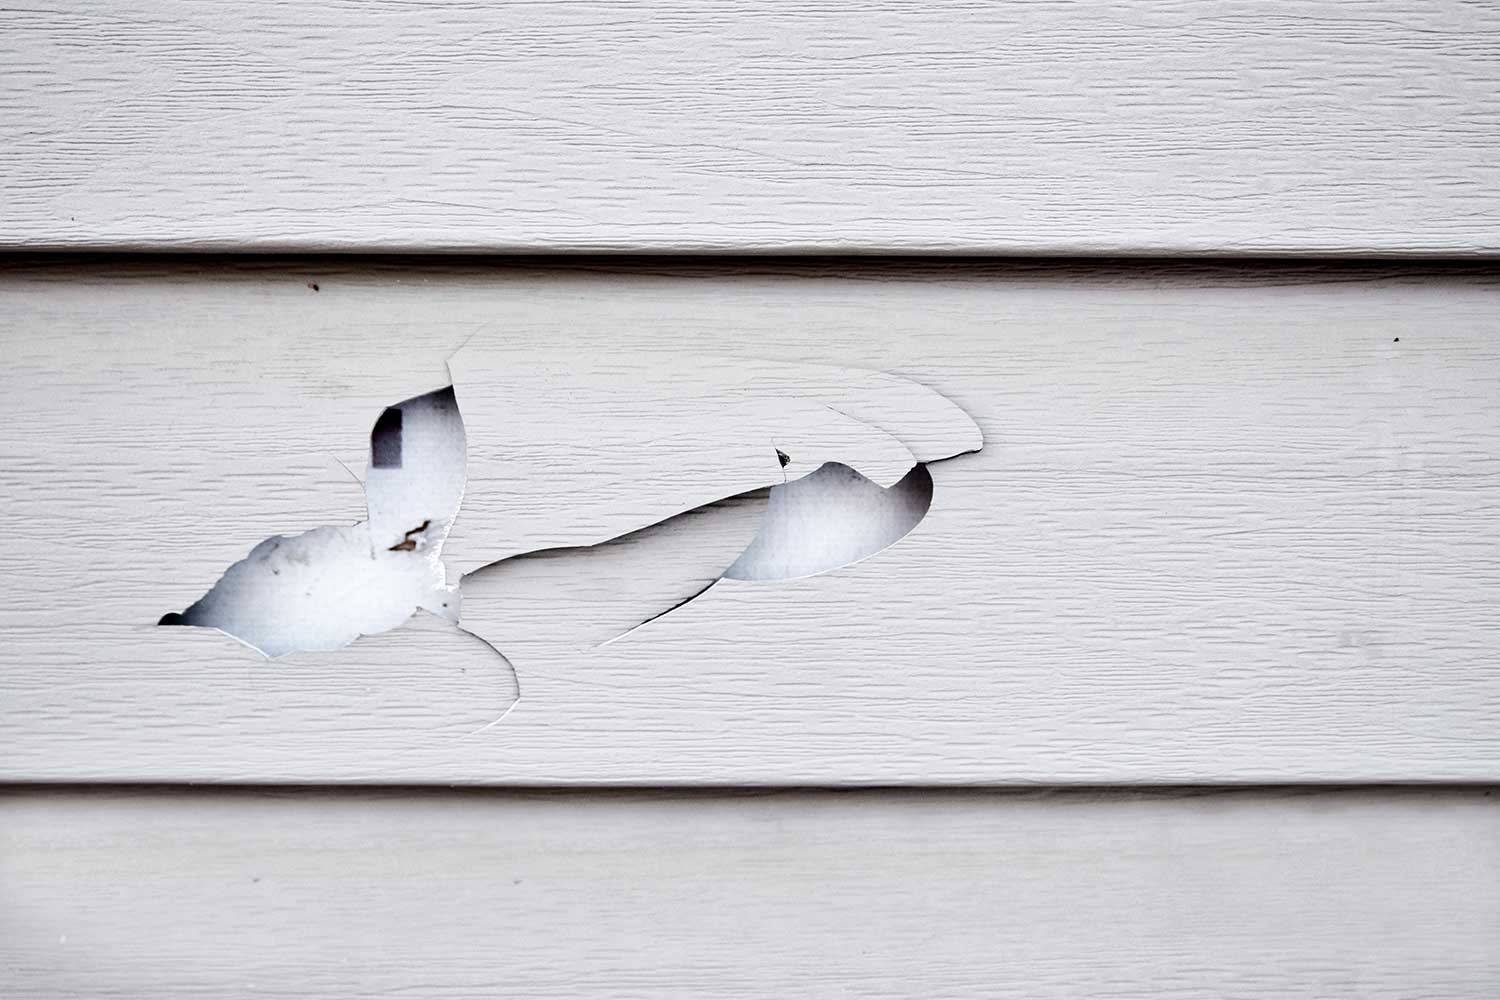
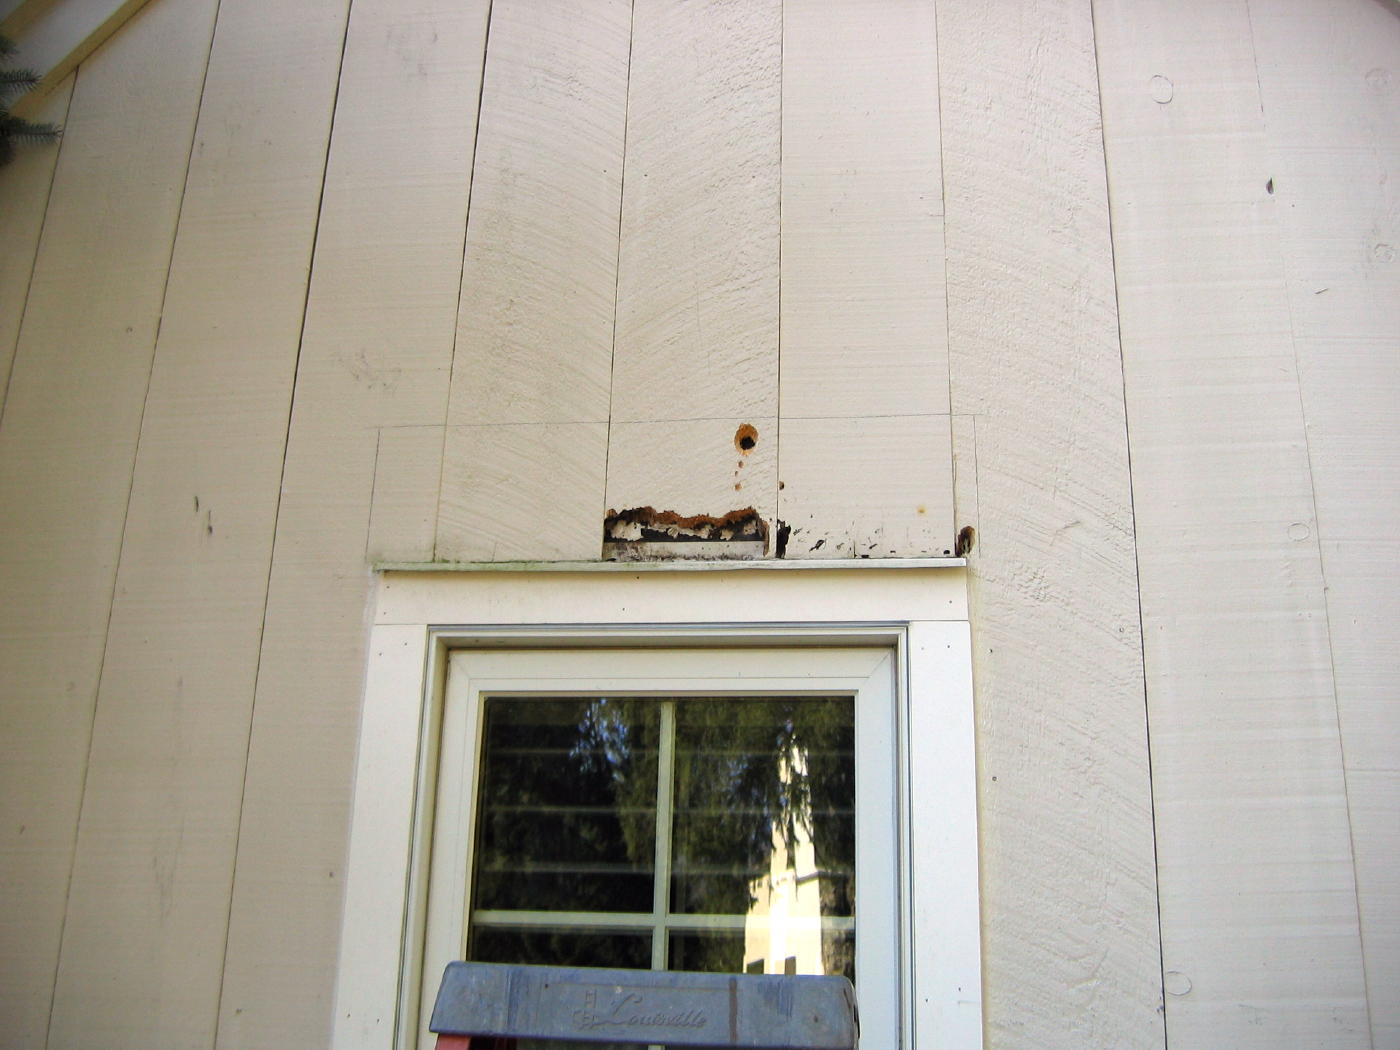
Wood siding is a popular choice for homeowners due to its natural beauty and durability. However, over time, it can become damaged, especially in high-traffic areas such as around doorways and windows. Large holes in wood siding can be a cause of concern, as they not only compromise the appearance of your home but can also lead to further damage if left untreated.
The good news is that patching a large hole in wood siding is a relatively straightforward process that can be done by most homeowners with basic DIY skills and a few tools. In this article, we will guide you through the step-by-step process of patching a large hole in wood siding, allowing you to restore the beauty and integrity of your home’s exterior.
Key Takeaways:
- Patching large holes in wood siding is a manageable DIY project for homeowners, requiring basic tools and materials. Assessing the damage, preparing the area, and securing the replacement patch are crucial steps for a successful repair.
- Properly priming and painting the repaired area not only enhances its appearance but also protects the wood siding from the elements, ensuring a long-lasting and durable finish. Take your time and follow safety precautions for a seamless repair.
Materials Needed
Before you get started on patching a large hole in wood siding, gather the following materials:
- Wood filler or epoxy putty
- Replacement wood or siding
- Saw (circular or jigsaw)
- Screwdriver or pry bar
- Sandpaper (medium and fine grit)
- Primer
- Paintbrush
- Exterior paint in the desired color
- Putty knife
- Tape measure
- Pencil
- Safety goggles
- Dust mask
- Gloves
Having these materials on hand will make the patching process easier and ensure that you have everything you need to seamlessly repair the large hole in your wood siding.
Step 1: Assess the Damage
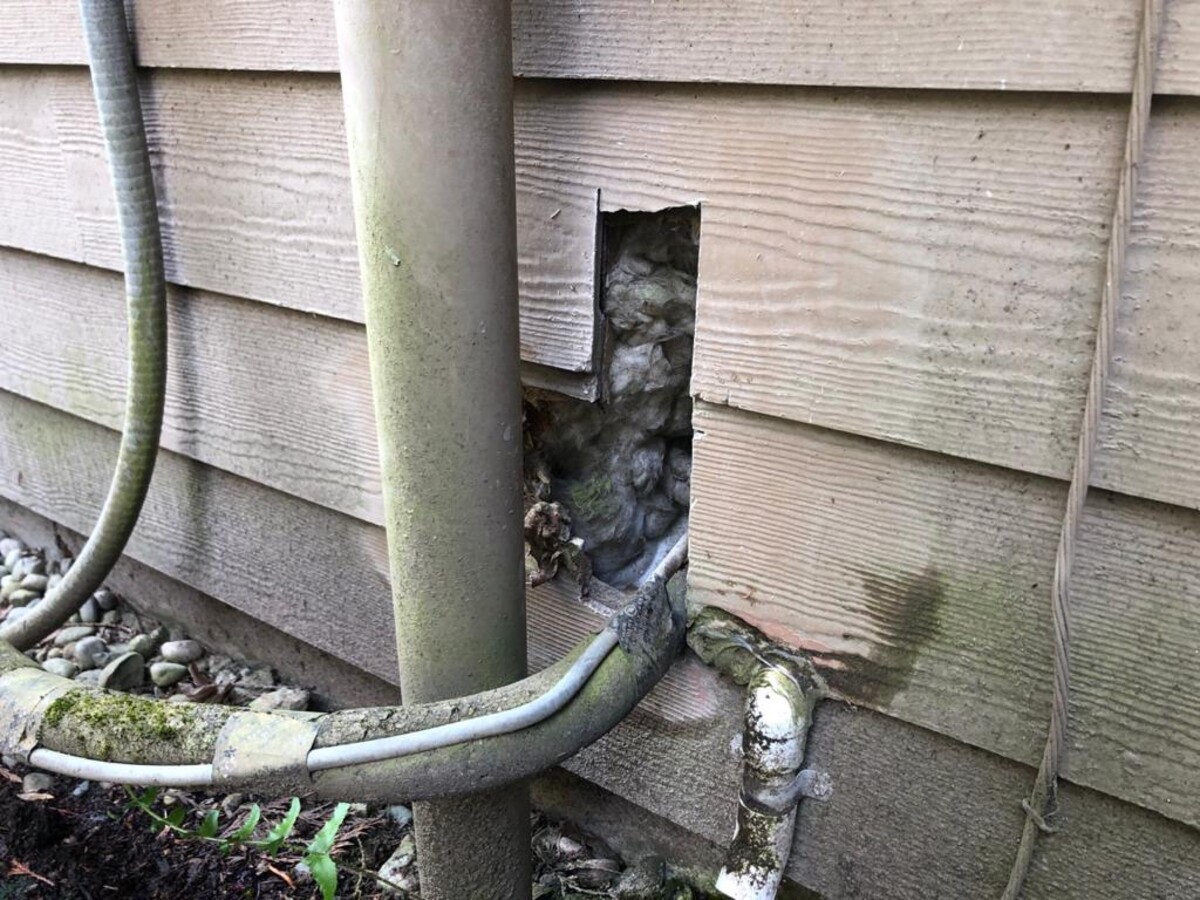
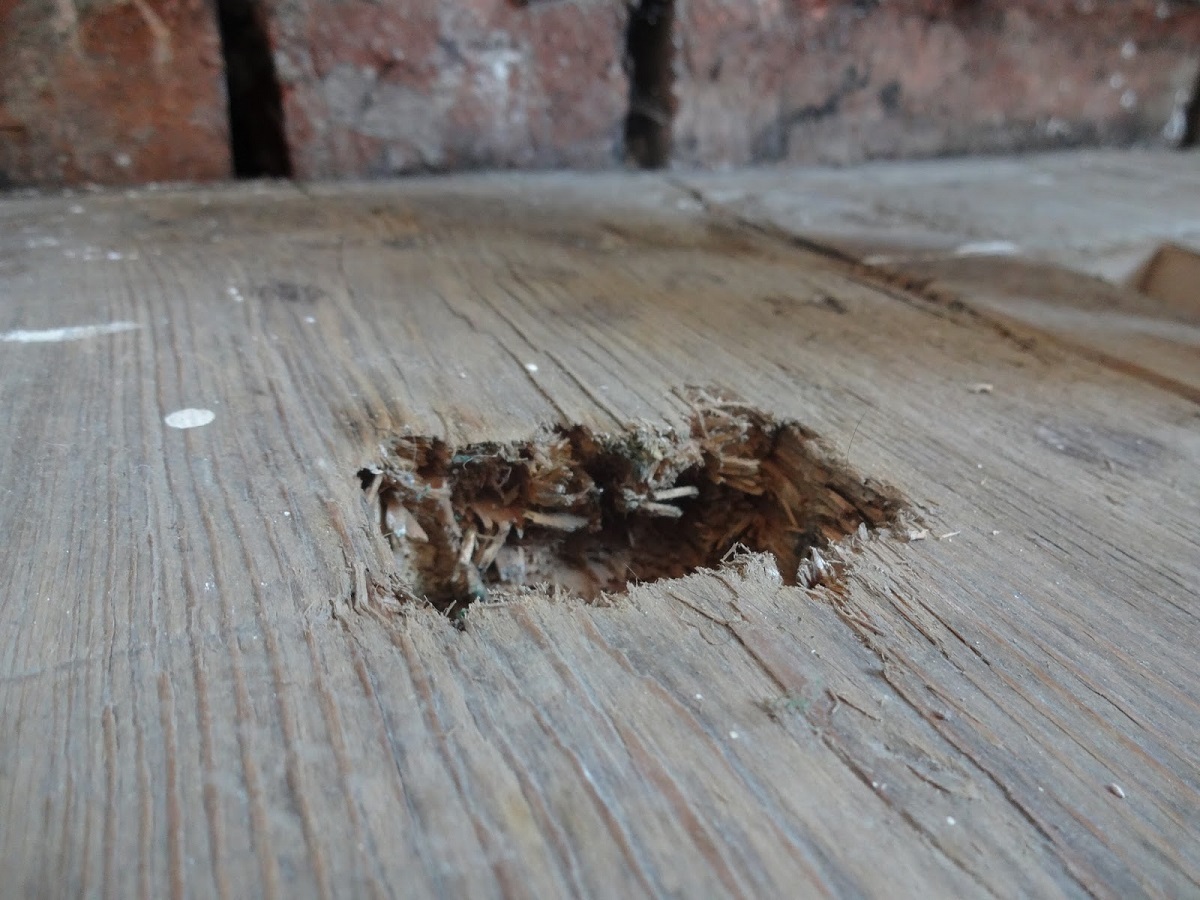
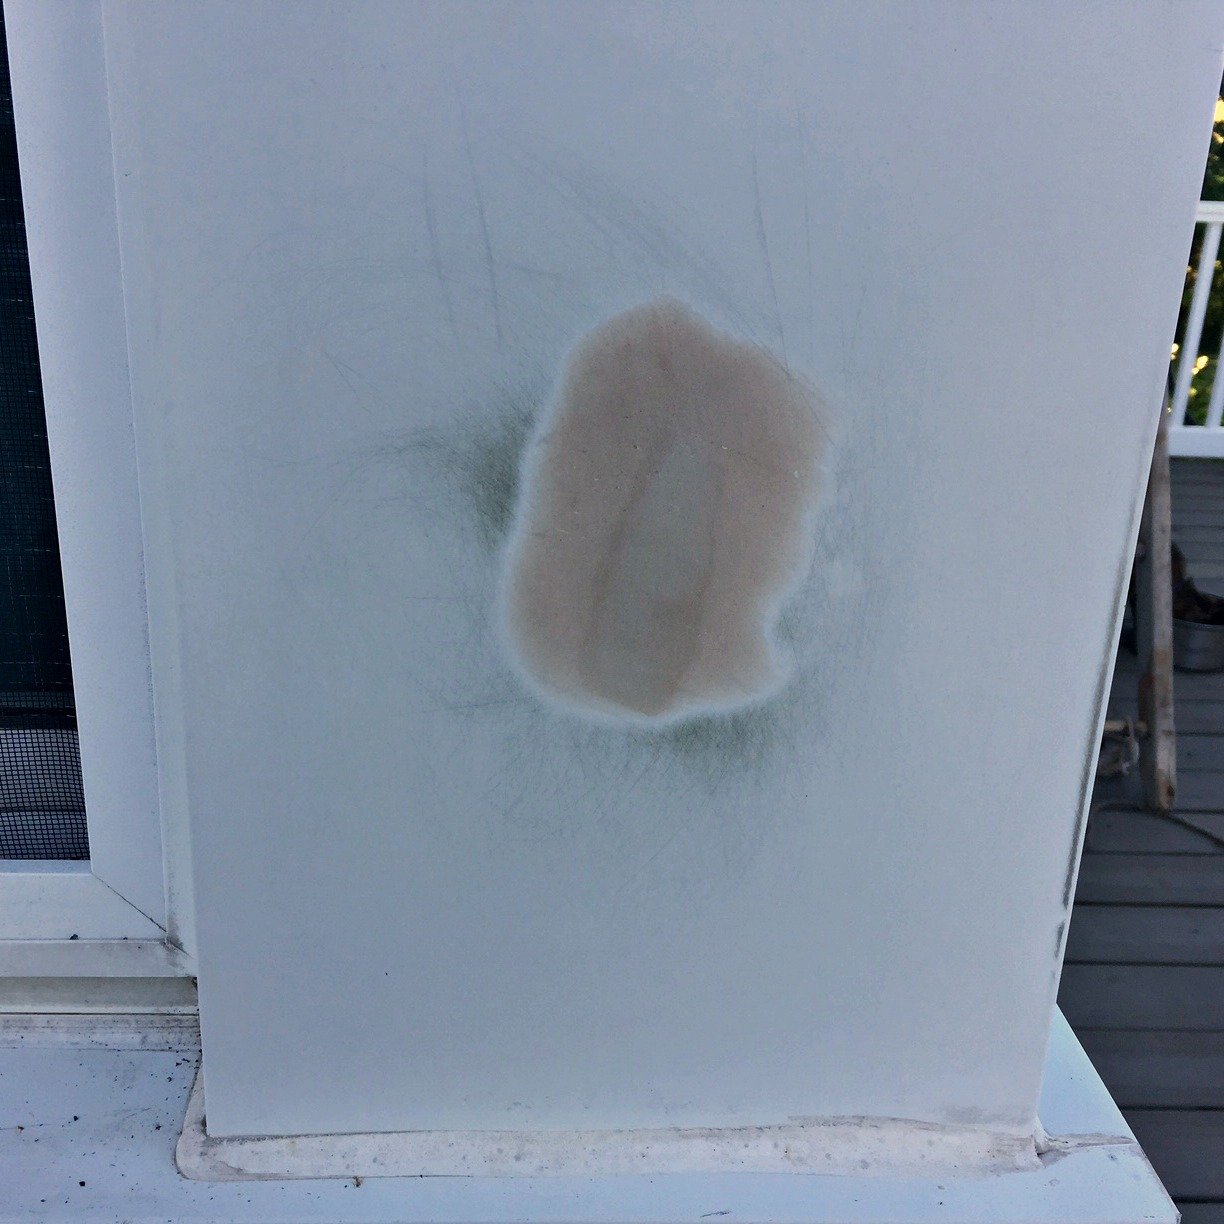
The first step in patching a large hole in wood siding is to assess the extent of the damage. Take a close look at the hole and surrounding area to determine the size of the hole and whether any additional damage or rot has occurred. This will help you determine the best approach for repairing the hole.
If the hole is relatively small, you may be able to fill it with wood filler or epoxy putty. However, if the hole is larger or if there is significant damage to the surrounding area, it may be necessary to cut out the damaged section and replace it with a new piece of wood or siding.
Assessing the damage will also give you an idea of the tools and materials you will need for the repair. For example, if you need to cut out and replace a section of siding, you will need a saw and replacement wood or siding. If you are just filling a small hole, you may only need wood filler and sandpaper.
Take your time to thoroughly assess the damage and gather the necessary tools and materials before moving on to the next step. This will ensure that you have everything you need to complete the repair and achieve the best possible results.
Step 2: Prepare the Area
Before you begin patching the large hole in your wood siding, it’s important to prepare the surrounding area to ensure a smooth and seamless repair. Here’s how to do it:
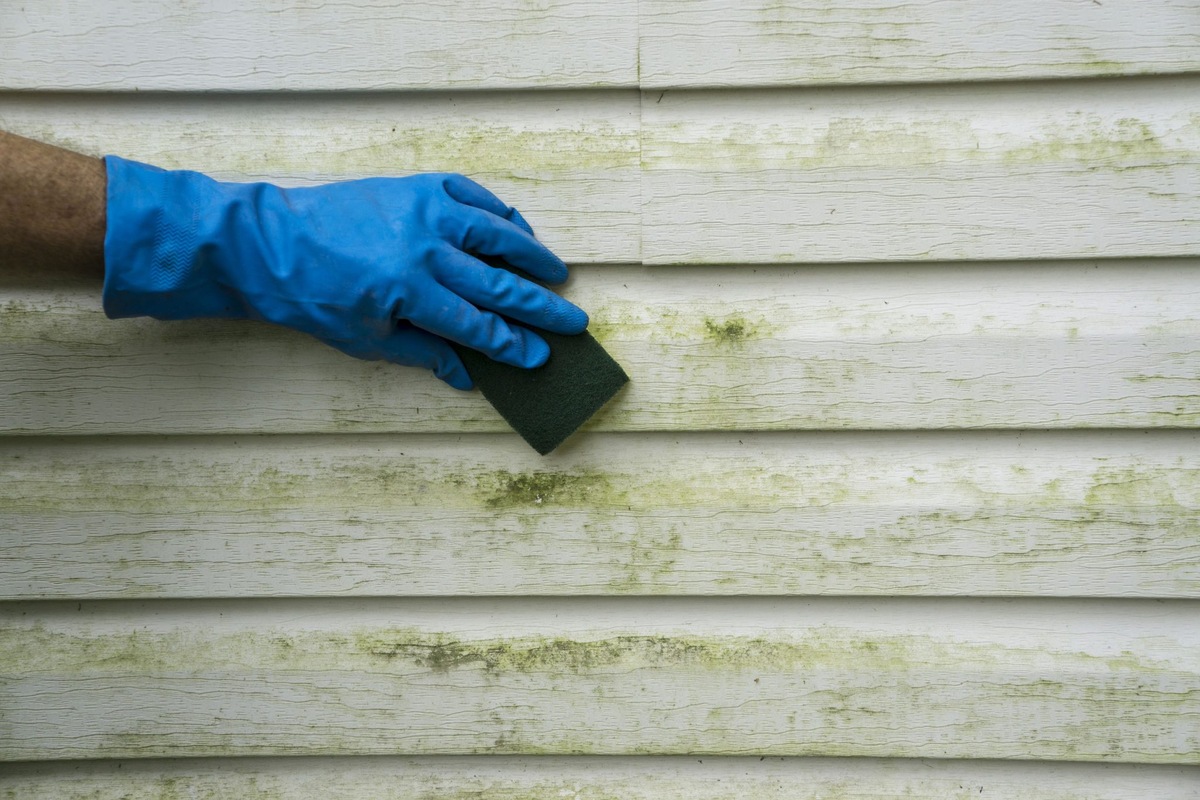
- Clear the area: Remove any debris, dirt, or loose paint around the hole. This will create a clean surface for the patching materials.
- Clean the siding: Use a mild soap and water solution to clean the siding around the hole. This will remove any dirt or grime that may interfere with the adhesion of the patching materials.
- Protect adjacent surfaces: If there are nearby surfaces that you want to protect from paint or primer, use painter’s tape and plastic sheeting to cover them.
- Remove any loose or damaged wood: If the hole has caused any surrounding wood to become loose or damaged, use a screwdriver or pry bar to carefully remove it. This will ensure a solid base for the patching materials.
By properly preparing the area, you will create a clean and stable foundation for the patch, resulting in a more durable and long-lasting repair. Take your time during this step to ensure that the area is ready for the patching process.
Step 3: Cut Out the Damaged Section
If the large hole in your wood siding requires a replacement patch, you will need to cut out the damaged section. Follow these steps to do so:
- Measure the damaged area: Use a tape measure to determine the dimensions of the damaged section. This will help you cut the replacement piece to the correct size.
- Mark the cut lines: Use a pencil to mark the cut lines on the siding. Make sure to include a margin around the damaged area to ensure a clean and precise cut.
- Safety precautions: Put on safety goggles and a dust mask to protect your eyes and lungs from any debris that may be generated during the cutting process.
- Cut out the damaged section: Using a saw (such as a circular saw or jigsaw), carefully cut along the marked lines to remove the damaged section. Take your time and make slow, steady cuts to ensure accuracy.
- Remove any remaining nails or screws: If there are any nails or screws holding the damaged section in place, use a screwdriver or pry bar to remove them. This will allow for a smooth installation of the replacement patch.
Once you have cut out the damaged section, you will be ready to proceed to the next step: cutting the replacement patch. It’s important to be careful and precise during this step to ensure a clean and well-fitted replacement piece.
Read more: How To Patch Holes In Driveway
Step 4: Cut Replacement Patch
After cutting out the damaged section of wood siding, it’s time to cut a replacement patch that will seamlessly fit into the hole you created. Follow these steps to cut a replacement patch:
- Measure the hole: Use a tape measure to determine the dimensions of the hole. Make sure to measure both the width and height.
- Select replacement wood or siding: Choose a piece of wood or siding that matches the material and thickness of the existing siding. Ideally, it should also be the same color or finish.
- Mark the replacement patch: On the replacement piece, mark the measurements you took for the hole. Use a pencil or a fine-tip marker to make clear and precise markings.
- Double-check the measurements: Before cutting, double-check your measurements to ensure that the replacement patch will fit accurately into the hole.
- Cut the replacement patch: Using a saw (such as a circular saw or jigsaw), carefully cut along the marked lines to create the replacement patch. Follow the manufacturer’s instructions for the specific type of saw you are using.
It’s important to take your time and make precise cuts to create a replacement patch that fits seamlessly into the hole. A well-fitted replacement patch will ensure a professional-looking repair and help maintain the integrity of your wood siding.
Use a piece of plywood to create a backing for the patch. Cut a patch to fit the hole, apply wood glue, and secure with screws. Fill any gaps with wood filler and sand smooth before painting.
Step 5: Apply Wood Filler
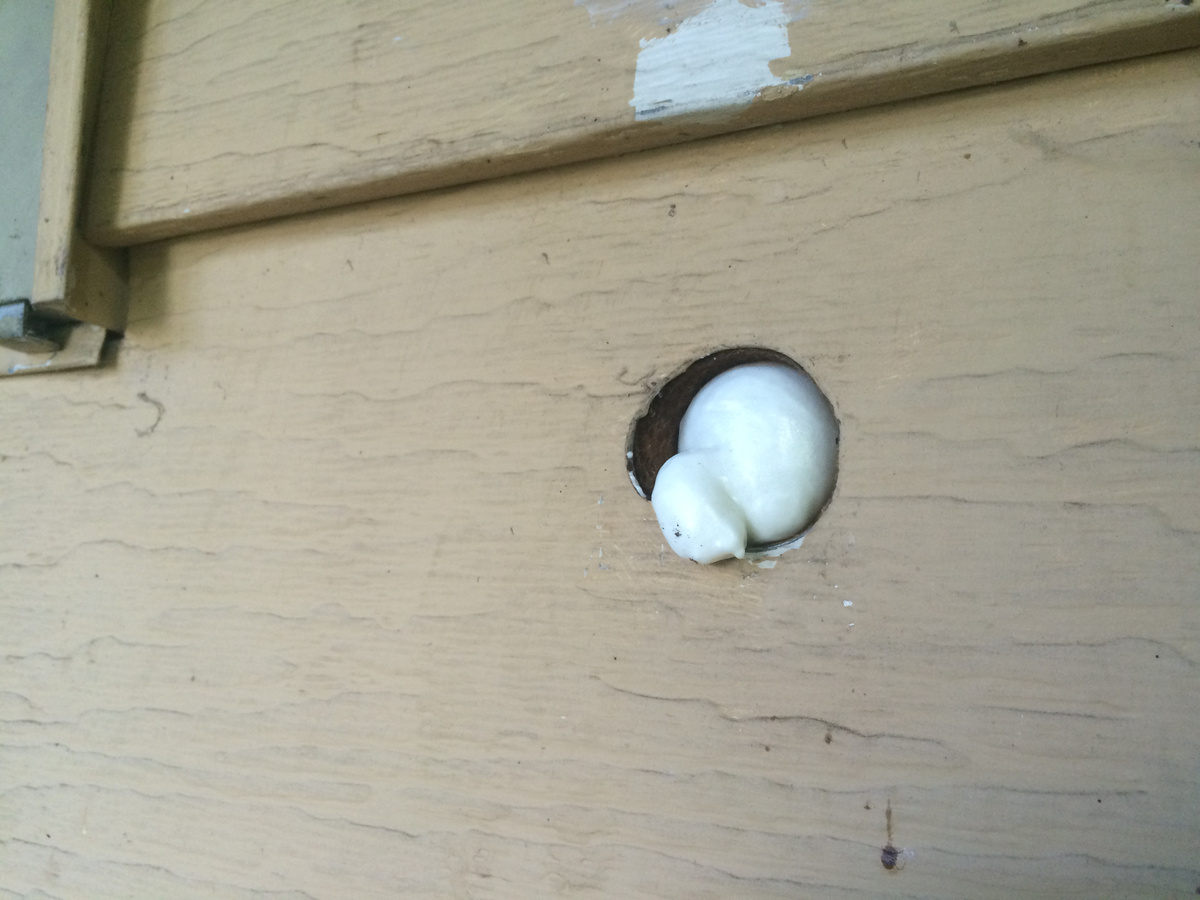
If the large hole in your wood siding does not require a replacement patch, you can fill it with wood filler or epoxy putty. Here’s how to apply wood filler:
- Clean the hole: Remove any debris or loose wood particles from the hole. Use a brush or compressed air to ensure that the hole is clean and free of dust.
- Prepare the wood filler: Follow the manufacturer’s instructions to prepare the wood filler. Mix it thoroughly until it reaches a smooth and even consistency.
- Apply the filler: Use a putty knife to apply the wood filler into the hole. Press it firmly into the hole, ensuring that it completely fills the void. Smooth the surface of the filler with the putty knife, removing any excess material.
- Allow it to dry: Let the wood filler dry according to the manufacturer’s instructions. This may take several hours or more, depending on the product and the temperature and humidity conditions.
- Sand the filled area: Once the wood filler is completely dry, use sandpaper (medium grit) to sand the filled area. This will help to smooth out any uneven surfaces and ensure a seamless blend with the surrounding siding.
Applying wood filler is a great way to repair smaller holes in wood siding. It provides a strong and durable surface that can be painted and blended with the existing siding. Be sure to follow the manufacturer’s instructions for the specific wood filler product you are using for the best results.
Step 6: Attach Replacement Patch
If you are replacing a large damaged section of wood siding, it’s time to attach the replacement patch. Follow these steps to securely attach the patch:
- Apply adhesive (optional): Depending on the type of replacement wood or siding you are using, you may need to apply adhesive to ensure a secure bond. Follow the adhesive manufacturer’s instructions for the specific product you are using.
- Position the replacement patch: Carefully position the replacement patch over the hole, aligning it with the surrounding siding. Ensure that it fits snugly and is flush with the existing siding.
- Secure the patch: Use screws or nails to secure the replacement patch in place. Make sure to use fasteners that are appropriate for the type of wood or siding and follow the recommended spacing and placement.
- Counter-sink the fasteners: If using screws, use a countersink bit to create a indentation for the screw heads. This will allow you to fill and conceal them later during the finishing steps.
By securely attaching the replacement patch, you ensure that it remains in place and blends seamlessly with the surrounding siding. Take your time during this step to ensure a proper fit and alignment.
Step 7: Sand and Smooth the Patched Area
After attaching the replacement patch, it’s time to sand and smooth the patched area to create a seamless finish. Follow these steps to achieve a professional look:
- Allow for drying time: If you used adhesive or any other materials that need time to dry, make sure to follow the manufacturer’s instructions and allow sufficient drying time before sanding.
- Start with coarse sandpaper: Begin by using medium-grit sandpaper to smooth any rough edges or uneven surfaces on the patched area. Sand in a circular motion, applying even pressure.
- Switch to fine-grit sandpaper: Once the rough patches have been smoothed out, switch to fine-grit sandpaper. Continue sanding in a circular motion to further refine the surface and create a seamless transition between the patch and the surrounding siding.
- Blend in the edges: Pay special attention to blending the edges of the patch with the surrounding siding. Feather the sanding towards the edges to create a gradual transition and minimize any noticeable lines or bumps.
- Remove dust: After sanding, wipe down the patched area with a clean, damp cloth to remove any dust or debris. This will ensure a smooth surface for the next step.
Sanding and smoothing the patched area is crucial for achieving a seamless repair. Proper sanding techniques will help blend the patch with the surrounding siding and create a professional finish. Take your time during this step to ensure a precise and smooth result.
Read more: How To Patch A Hole In A Roof
Step 8: Prime and Paint
Once the patched area has been sanded and smoothed, it’s time to prime and paint the wood siding to complete the repair process. Follow these steps to ensure a long-lasting and visually appealing result:
- Choose the right primer: Select a high-quality exterior primer that is suitable for the type of wood or siding you have. Read the manufacturer’s instructions to ensure compatibility with the paint you will be using.
- Apply the primer: Use a paintbrush or roller to apply a thin, even coat of primer to the patched area. Make sure to cover the entire repaired section and feather the edges for a seamless blend with the surrounding siding.
- Allow the primer to dry: Follow the manufacturer’s instructions for the recommended drying time. This may vary depending on the type of primer used and the environmental conditions.
- Choose the paint color: Select an exterior paint that matches the color and finish of the existing siding. Consider using a quality paint that is formulated for durability and weather resistance.
- Apply the paint: Use a paintbrush or roller to apply the paint to the patched area. Apply multiple thin coats rather than a single thick coat, allowing each coat to dry completely before applying the next one.
- Blend with the surrounding area: Feather the paint onto the surrounding siding to ensure a seamless transition between the repaired section and the rest of the siding. This will help the patch blend in and appear as part of the original siding.
Properly priming and painting the repaired area will not only enhance its appearance but also protect it from the elements, ensuring a long-lasting and durable finish. Take care to follow the manufacturer’s instructions for both the primer and paint products to achieve the best possible results.
Conclusion
Patching a large hole in wood siding may seem like a daunting task, but with the right materials, tools, and step-by-step instructions, it is a manageable DIY project for most homeowners. By following the steps outlined in this guide, you can restore the beauty and integrity of your wood siding, effectively repairing any large holes or damaged sections.
Assessing the damage, preparing the area, and cutting out the damaged section are crucial initial steps in the repair process. Whether you fill the hole with wood filler or attach a replacement patch, it’s important to ensure a solid and secure repair.
Sanding and smoothing the patched area will help create a seamless transition between the patch and the surrounding siding, providing a professional finish. Priming and painting the repaired area is the final step, enhancing the appearance and protecting the wood siding from the elements.
Remember to take your time, follow safety precautions, and use the appropriate materials and tools for the job. If you encounter any complex or extensive damage, it may be best to consult a professional for assistance.
By successfully patching large holes in your wood siding, you can not only save money on potential replacements but also maintain the overall aesthetics and value of your home. So, roll up your sleeves, gather your materials, and get ready to patch and restore your wood siding to its former glory!
Now that you've mastered patching large holes in wood siding, why not broaden your home maintenance skills? Our guide on how to do home repair offers straightforward advice on tackling various household fixes, ensuring your home stays in top shape. If your interest in woodwork has been piqued, our article on 9 Superior Wood Siding for 2024 reviews the best materials available, helping you make informed decisions for future projects. Both articles provide practical tips and insights, perfect for any DIY enthusiast looking to enhance their home's durability and appeal.
Frequently Asked Questions about How To Patch Large Hole In Wood Siding
Was this page helpful?
At Storables.com, we guarantee accurate and reliable information. Our content, validated by Expert Board Contributors, is crafted following stringent Editorial Policies. We're committed to providing you with well-researched, expert-backed insights for all your informational needs.


0 thoughts on “How To Patch Large Hole In Wood Siding”