
Articles
How To Install Wood Siding
Modified: December 7, 2023
Learn how to properly install wood siding with our informative articles. Enhance the look and durability of your home exterior with this step-by-step guide.
(Many of the links in this article redirect to a specific reviewed product. Your purchase of these products through affiliate links helps to generate commission for Storables.com, at no extra cost. Learn more)
Introduction
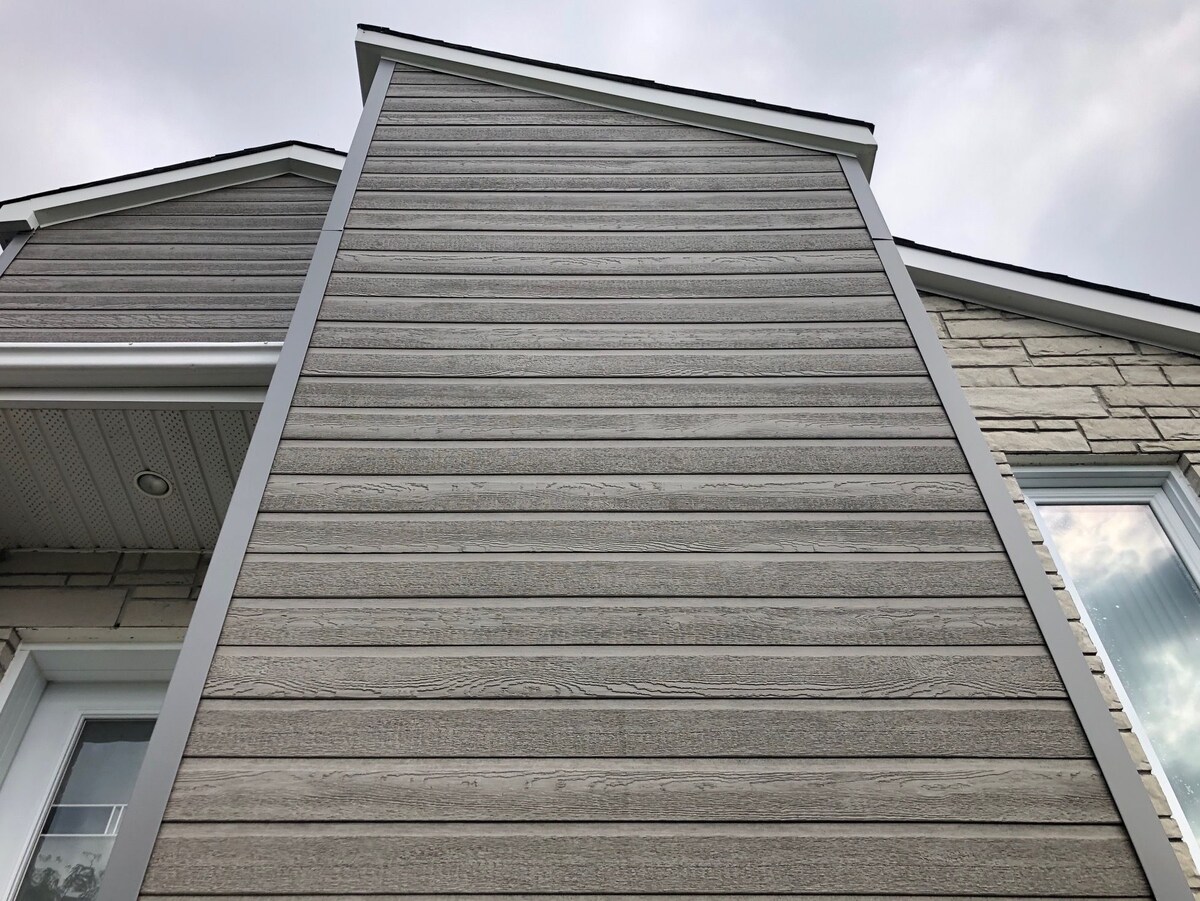
Wood siding is a popular choice among homeowners due to its timeless beauty and durability. Whether you’re looking to update the exterior of your home or add a touch of rustic charm to a new construction, installing wood siding can be a rewarding and satisfying project. In this article, we will guide you through the process of installing wood siding, from preparing the surface to finishing touches.
Before you begin the installation, it’s important to gather all the necessary tools and materials. You will need a tape measure, circular saw or miter saw, level, pry bar, hammer, nails, starter strip, and of course, the wood siding itself. It’s recommended to choose a high-quality wood species like cedar or redwood that is naturally resistant to rot and decay.
Installing wood siding requires careful planning and precision to achieve a professional result. It’s essential to ensure that the surface is properly prepared before starting the installation. This includes removing any old siding, repairing damaged areas, and applying a weather-resistant barrier.
In the following sections, we will guide you through the step-by-step process of installing wood siding, ensuring your project goes smoothly and produces stunning results. Let’s get started!
Key Takeaways:
- Properly preparing the surface, measuring and cutting the wood siding accurately, and installing the starter strip are crucial steps for a successful wood siding installation.
- Attention to detail, precision, and patience are key to achieving a professional and visually appealing wood siding installation that enhances the curb appeal and value of your home.
Read more: How To Clean Wood Siding
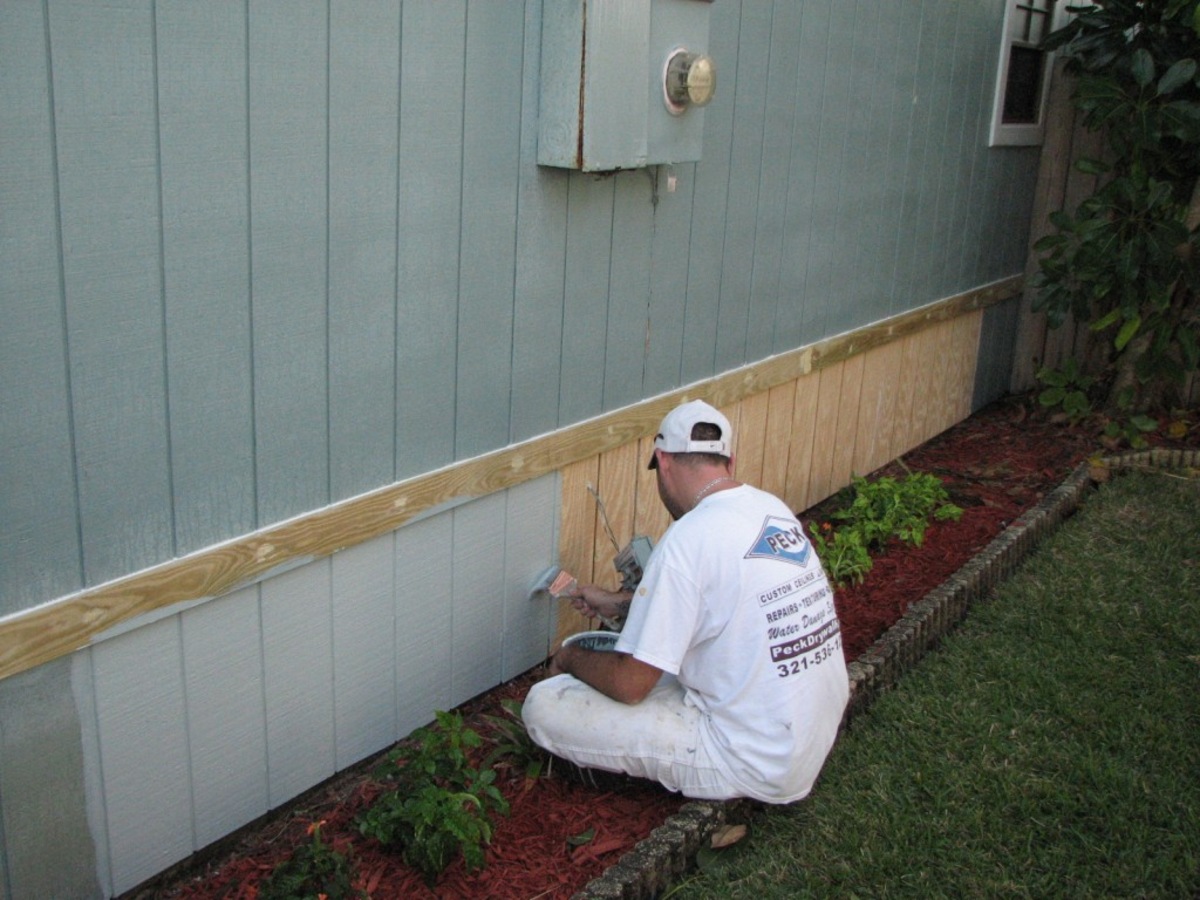
Step 1: Prepare the Surface
Before you can start installing wood siding, it’s crucial to prepare the surface properly. This step is essential for ensuring a stable and long-lasting installation. Here’s what you need to do:
- Remove any existing siding: If there is old siding on the exterior of your home, you’ll need to remove it before installing the wood siding. Use a pry bar to carefully remove the old siding, taking care not to damage the underlying structure.
- Inspect and repair the sheathing: Once the old siding is removed, inspect the sheathing for any signs of damage or rot. Replace any damaged or rotting sheathing to create a solid foundation for the wood siding.
- Apply a weather-resistant barrier: To protect your home from moisture and ensure proper insulation, it’s important to apply a weather-resistant barrier. This barrier, such as house wrap or building paper, will help prevent water infiltration while allowing the siding to breathe.
- Flash around windows and doors: Proper flashing around windows and doors is crucial for preventing water penetration. Install flashing tape around the openings, ensuring it extends beyond the edges and overlaps with the weather-resistant barrier.
- Install furring strips: If the sheathing is uneven or doesn’t provide an adequate nailing surface, you may need to install furring strips. These strips create a level surface and improve the overall stability of the wood siding. Measure and cut the furring strips to the desired length, then attach them horizontally to the sheathing using nails or screws.
By taking the time to properly prepare the surface, you will set the stage for a successful wood siding installation. This step ensures that the siding will be properly supported, protected from moisture, and have a smooth and level surface to be attached to.
Step 2: Measure and Cut the Wood Siding
Accurate measurements and precise cuts are crucial for a seamless and professional-looking wood siding installation. In this step, we will guide you through the process of measuring and cutting the wood siding to ensure a perfect fit.
- Measure the length of each wall: Using a tape measure, carefully measure the length of each wall where the wood siding will be installed. Take into account any windows, doors, or other architectural features that may affect the measurements.
- Add a small gap for expansion: It’s important to leave a small gap between each piece of siding to allow for expansion and contraction due to changes in temperature and humidity. Typically, a 1/4-inch gap is sufficient. Factor this gap into your measurements when determining the length of each siding piece.
- Calculate the number of siding boards: Divide the total length of each wall by the width of the siding boards you plan to use. This will give you an estimate of the number of siding boards needed for each wall.
- Cut the siding boards: Using a circular saw or miter saw, carefully cut the wood siding boards according to the measurements you have taken. Ensure that each cut is straight and accurate for a precise fit.
- Label the cut pieces: To keep track of the cut pieces and ensure that they are installed in the correct order, label each piece with a pencil or marker. You can indicate the wall it corresponds to or simply number them sequentially.
When cutting the wood siding, it’s important to use appropriate safety precautions and follow the manufacturer’s guidelines. Ensure that the saw blade is sharp and in good condition for clean and smooth cuts. Take your time and double-check your measurements before making any cuts to avoid any mistakes.
By accurately measuring and cutting the wood siding, you will ensure a tight fit and minimize the need for adjustments during the installation. This step sets the stage for a visually appealing and professional-looking wood siding project.
Step 3: Install the Starter Strip
The starter strip is an essential component of the wood siding installation process. It provides a level base for the first row of siding and helps to create a clean and finished appearance. In this step, we will guide you through the process of installing the starter strip.
- Choose the right starter strip: There are different types of starter strips available, including J-channel and flat starter strips. Choose the one that best suits your siding style and preferences.
- Measure and cut the starter strip: Measure the length of the wall where the starter strip will be installed. Cut the starter strip to the correct length using a saw or utility knife.
- Position the starter strip: Place the starter strip along the bottom edge of the wall, making sure it is level. Use a level to ensure that the strip is straight and adjust as necessary.
- Secure the starter strip: Attach the starter strip to the sheathing using nails or screws. Make sure to place the fasteners along the top edge of the strip, leaving a small gap between them for expansion.
- Overlap the starter strip: If you have multiple sections of starter strip, overlap them by about an inch to ensure a seamless transition.
The starter strip serves as the foundation for the wood siding installation and helps to create a smooth and professional-looking finished product. Taking the time to properly install the starter strip will ensure that the siding is secure and provides a polished appearance.
When installing wood siding, make sure to properly prepare the surface by removing any old siding, repairing any damaged areas, and applying a weather-resistant barrier to protect against moisture. This will ensure a long-lasting and durable installation.
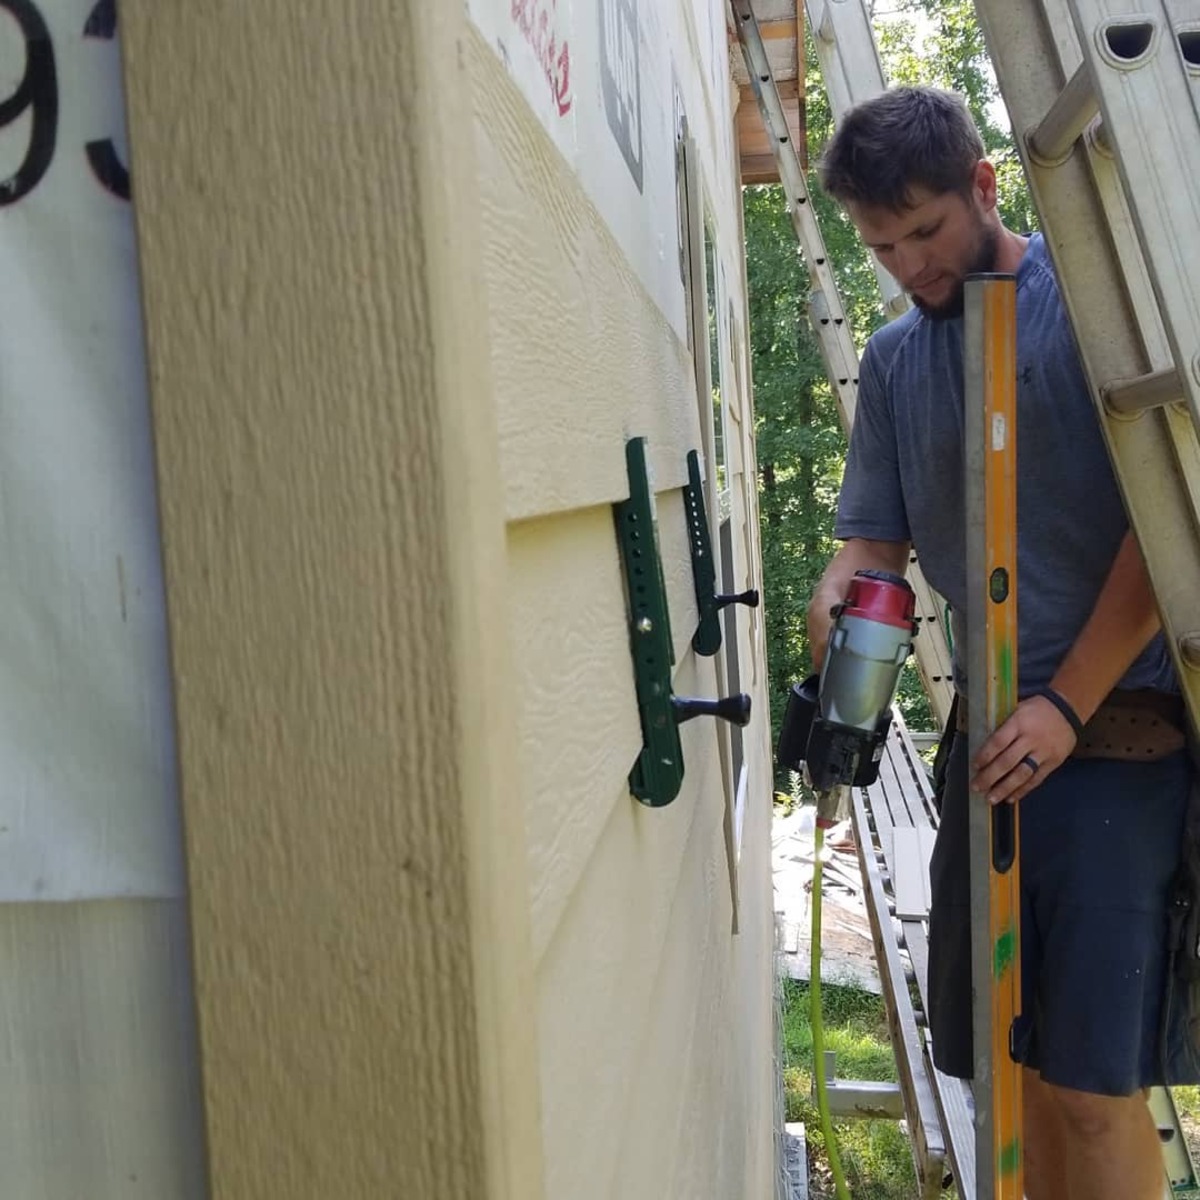
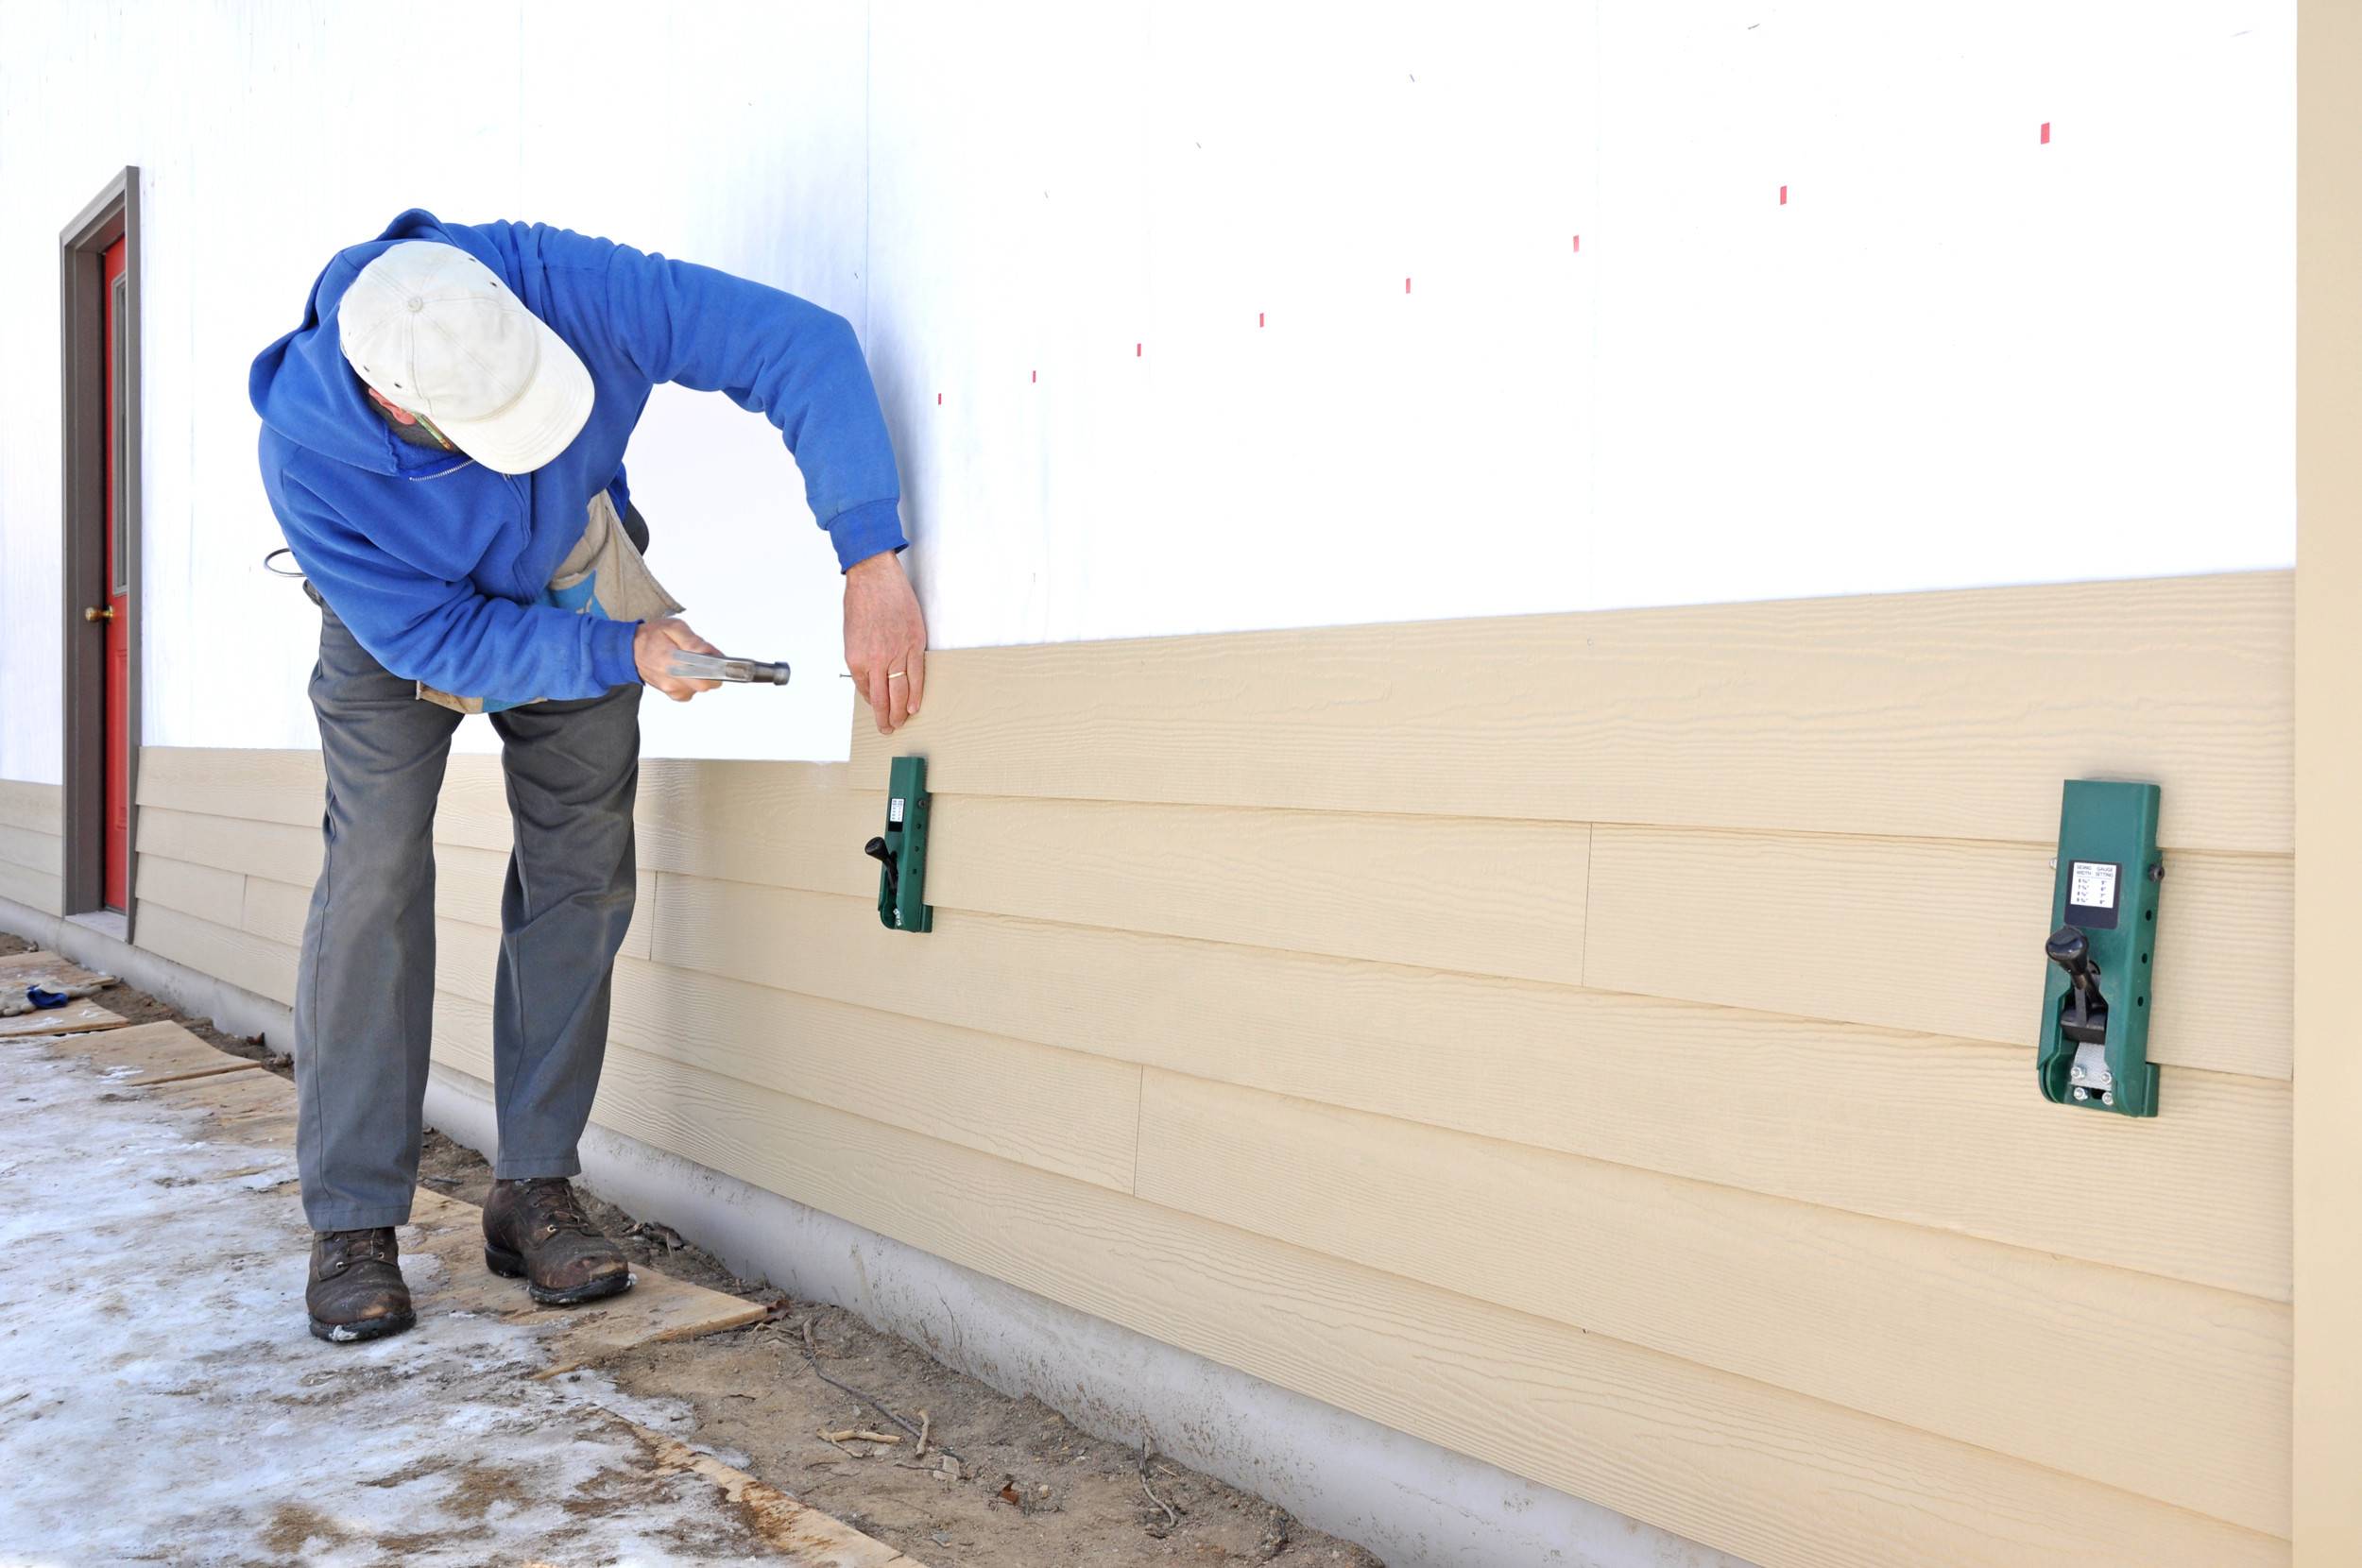
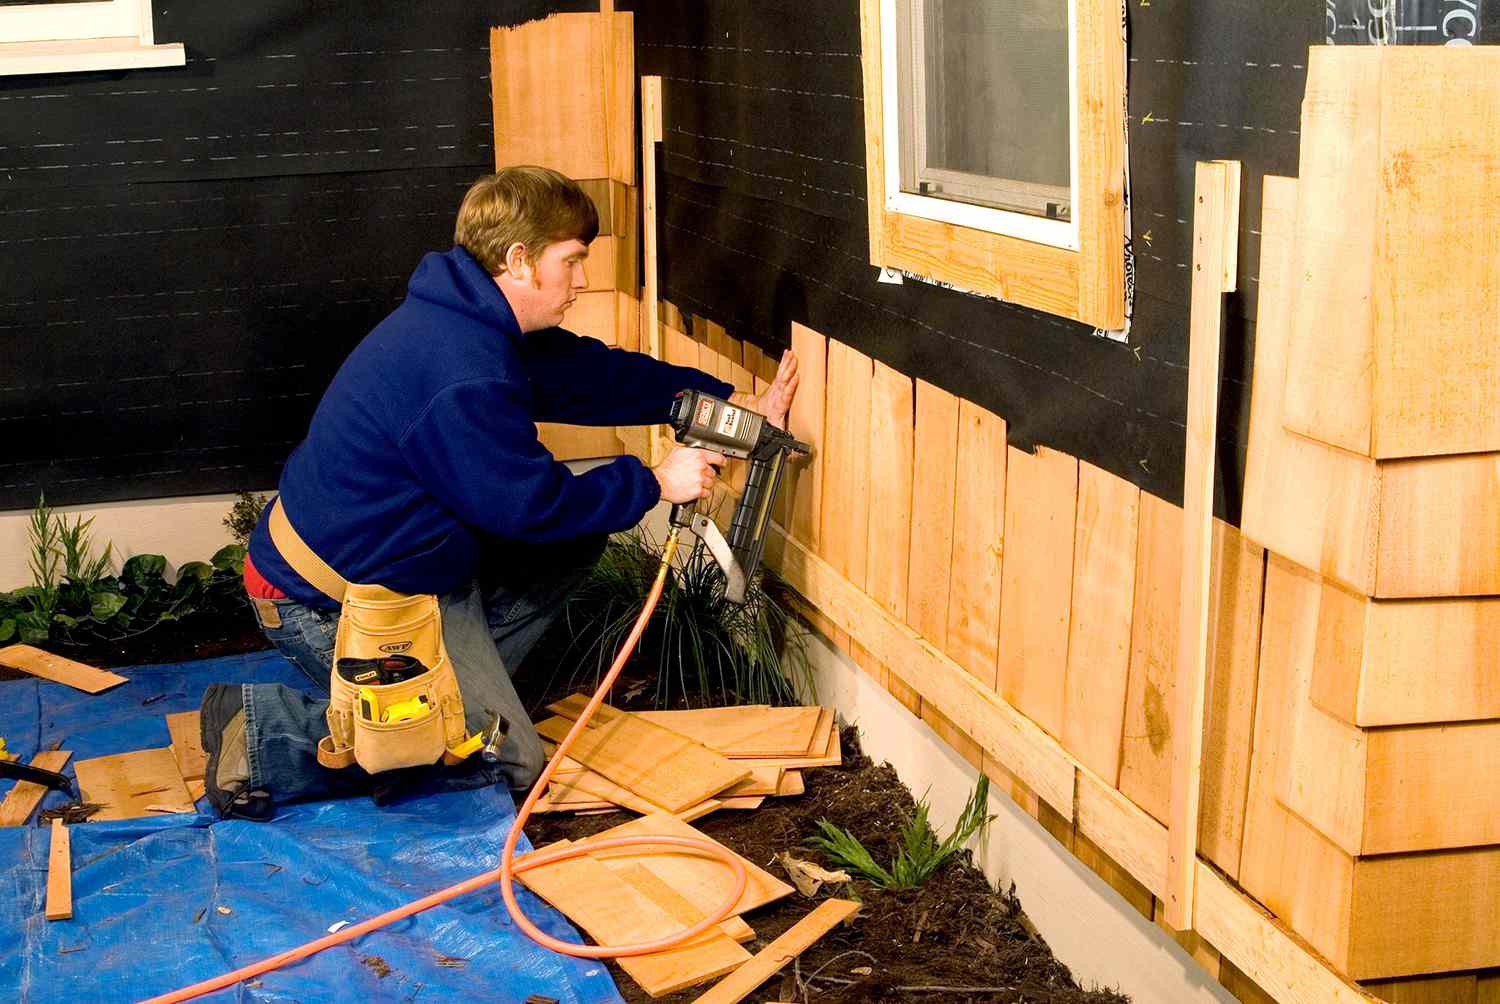
Step 4: Attach the First Row of Wood Siding
Now that you have prepared the surface and installed the starter strip, it’s time to start attaching the first row of wood siding. This step sets the foundation for the rest of the siding installation process. Follow these steps for a successful and secure attachment:
- Position the first siding board: Place the first siding board on the starter strip, ensuring that it is level and aligned with the edge of the wall. Use a level to check for straightness and make any necessary adjustments.
- Leave a gap for expansion: Just like with the starter strip, it’s important to leave a small gap between each siding board to allow for expansion and contraction. Typically, a 1/4-inch gap is sufficient. Use spacers or your fingers to create the gap as you position the boards.
- Secure the siding board: Using nails or screws, attach the siding board to the wall. Place the fasteners near the top of the board, leaving room for expansion. Make sure to follow the manufacturer’s guidelines for spacing and fastener placement.
- Continue with the remaining siding boards: Repeat the process for the remaining siding boards in the first row. Make sure each board is level, aligned, and has the proper gap between them.
- Overlap the siding boards: If your siding boards are designed to overlap, make sure each board properly overlaps the previous one. This helps to prevent moisture from seeping in and ensures a tight and secure fit.
During the installation of the first row, it’s important to ensure that the boards are correctly aligned and securely fastened. This will provide the framework for the rest of the siding installation and contribute to the overall strength and durability of the wood siding.
Take your time during this step to ensure that each siding board is properly positioned and attached. Double-check your work and make any necessary adjustments to achieve a neat and professional installation.
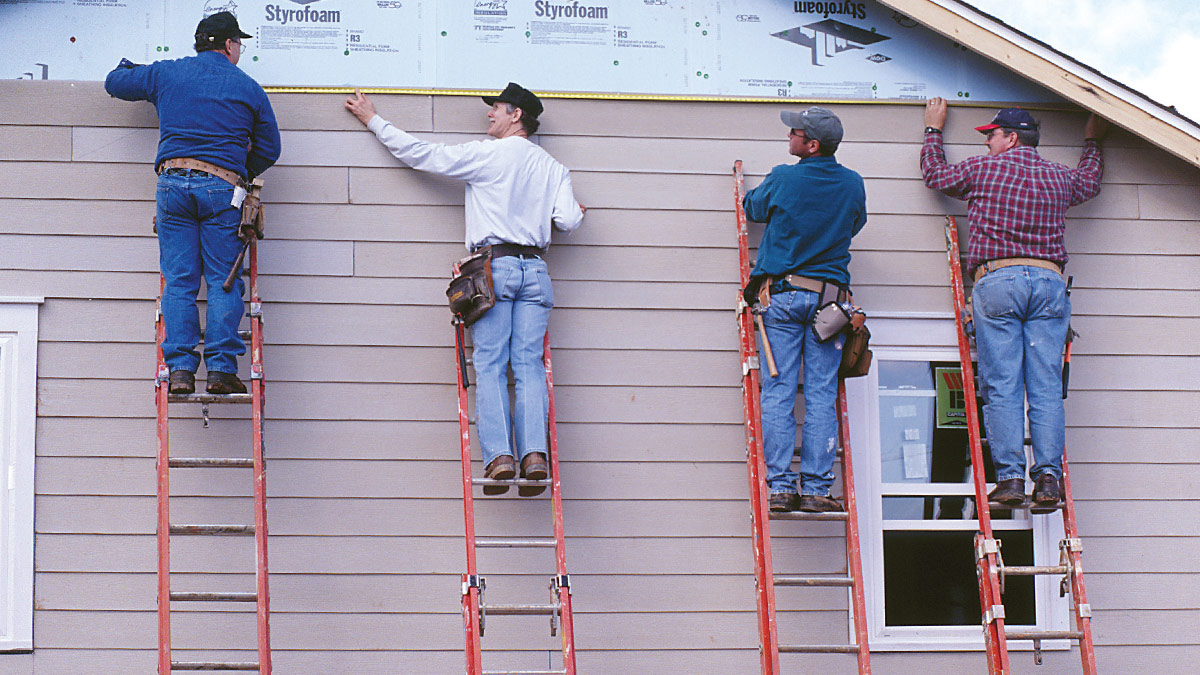
Step 5: Continue Installing the Wood Siding Rows
With the first row of wood siding securely in place, it’s time to proceed with the installation of the remaining rows. This step will involve repeating the process of positioning, securing, and overlapping the siding boards. Follow these steps to continue installing the wood siding rows:
- Position the next siding board: Place the next siding board above the first row, overlapping it according to the manufacturer’s recommendations. Confirm that it is level and aligned with the previous row.
- Create the proper gap: As you position each siding board, remember to leave a small gap between them for expansion. Use spacers or your fingers to maintain a consistent gap throughout the installation.
- Secure the siding board: Attach the siding board to the wall, making sure to place the fasteners near the top of the board. Follow the manufacturer’s guidelines for the appropriate number of fasteners and spacing.
- Repeat the process for the remaining rows: Continue positioning, securing, and overlapping the siding boards for each subsequent row. Take care to maintain alignment and proper spacing to ensure a cohesive and visually pleasing installation.
- Trim the siding as needed: Along the edges of the wall or around windows and doors, you may need to trim the siding boards to fit properly. Measure and cut the boards carefully to achieve clean and precise cuts.
As you progress with the installation, periodically step back to assess the overall appearance and ensure that the siding is straight and evenly aligned. Making small adjustments along the way will result in a more polished and professional-looking finished project.
Continue the installation process until you have completed all the rows of wood siding. Each row should be secured and properly overlapped to ensure a tight and weather-resistant seal.
Remember to reference the manufacturer’s instructions and recommendations specific to your type of wood siding for the best results.
Step 6: Trim and Finish the Wood Siding
After installing all the rows of wood siding, it’s time to add the finishing touches to complete the project. This step involves trimming the siding and addressing any remaining details to ensure a clean and professional appearance. Follow these steps to trim and finish the wood siding:
- Trim the siding edges: Using a saw or utility knife, carefully trim any excess siding along the edges of the wall. This will create a neat and finished look.
- Address corner trim: If your wood siding has corner trim, apply it to the corners of the walls. This trim provides both protection and aesthetic appeal. Cut the corner trim to the appropriate length and secure it using nails or screws.
- Install window and door trim: Measure and cut the wood siding trim pieces to fit around windows and doors. Attach them using nails or screws, taking care to align them properly and creating a seamless transition.
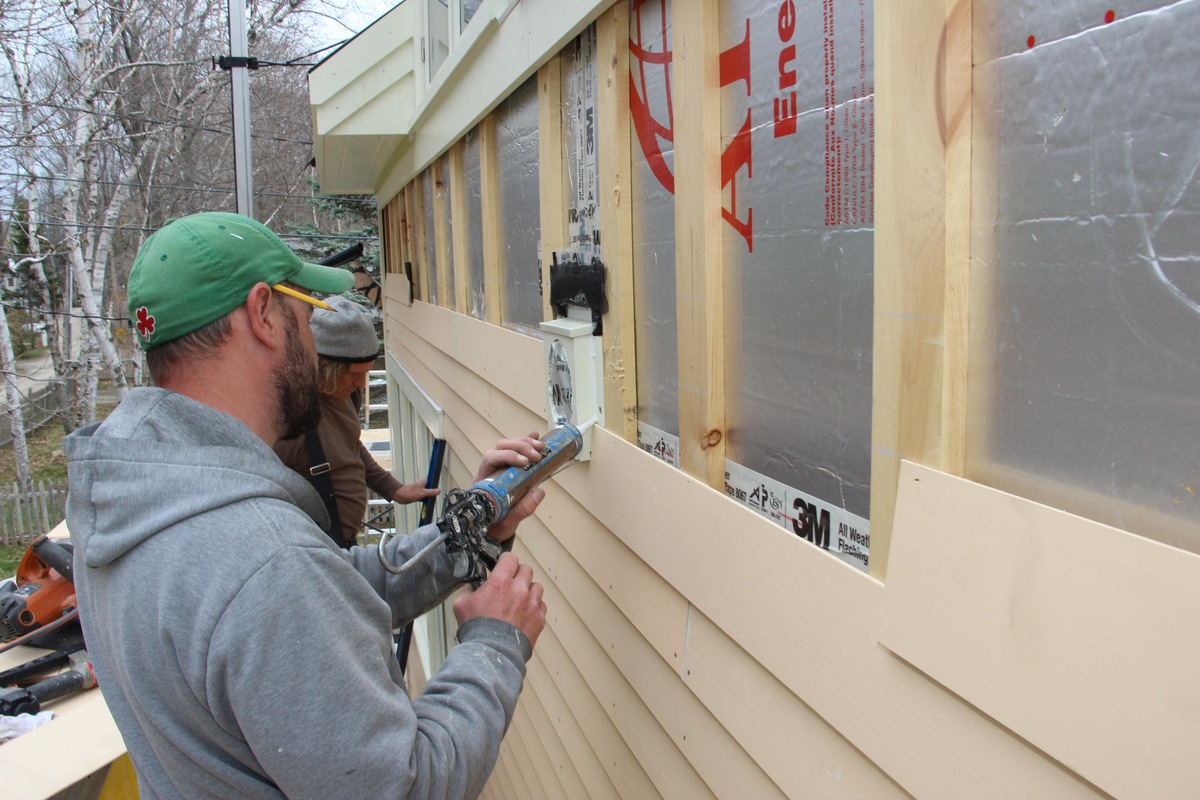
- Seal any gaps: Inspect the siding for any gaps or areas where moisture could seep in. Use caulk or weather-resistant sealant to fill these gaps and ensure a watertight seal.
- Apply a protective finish: Depending on the type of wood siding you have installed, it may require a protective finish. Apply a coating of weather-resistant paint, stain, or sealer according to the manufacturer’s instructions. This will enhance the longevity and appearance of the wood siding.
During this step, pay close attention to detail and make sure that all trim pieces are properly aligned and secure. Take the time to ensure that any gaps or vulnerable areas are properly sealed to protect your home from the elements.
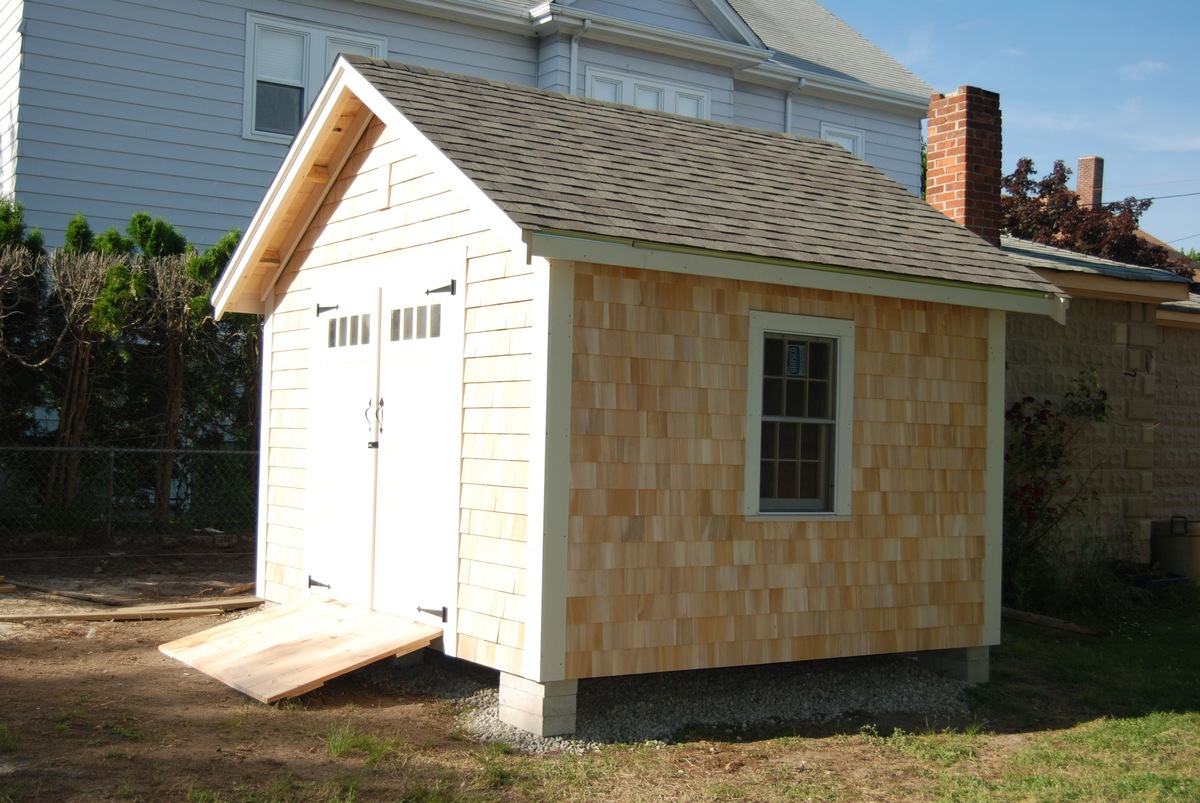
Lastly, step back and admire your completed wood siding installation. The trim and finishing details will enhance the overall look and provide a refined and polished appearance to your home’s exterior.
Remember to follow any specific instructions or recommendations provided by the manufacturer for your particular type of wood siding and finishing materials.
Congratulations! You have successfully installed and finished your wood siding, transforming the look of your home and adding charm and durability for years to come.
Conclusion
Installing wood siding can be a rewarding project that adds beauty and durability to your home’s exterior. By following the step-by-step guide outlined in this article, you can achieve a professional-looking installation that will stand the test of time. Here are the key takeaways to remember:
1. Prepare the surface: Properly prepare the surface by removing existing siding, inspecting and repairing the sheathing, applying a weather-resistant barrier, and flashing around windows and doors.
2. Measure and cut the wood siding: Accurate measurements and precise cuts are crucial for a seamless fit. Calculate the number of siding boards needed, leave a small gap for expansion, and label the cut pieces for easy installation.
3. Install the starter strip: Choose the appropriate starter strip and secure it along the bottom edge of the wall to provide a level base for the first row of siding.
4. Attach the first row of wood siding: Position each siding board, leave a gap for expansion, and securely fasten the boards to the wall. Ensure that each board is level and aligned with the previous row.
5. Continue installing the wood siding rows: Repeat the process of positioning, securing, and overlapping the siding boards for each subsequent row. Maintain proper spacing and alignment throughout the installation.
6. Trim and finish the wood siding: Trim any excess siding, install corner and window/door trim, seal any gaps, and apply a protective finish to enhance the appearance and durability of the wood siding.
In conclusion, installing wood siding requires careful planning, precise measurements, and attention to detail. By following the steps outlined in this article, you can achieve a professional and visually appealing installation that will enhance the curb appeal and value of your home. Enjoy the process and admire the transformation as your home proudly showcases its new wood siding.
Frequently Asked Questions about How To Install Wood Siding
Was this page helpful?
At Storables.com, we guarantee accurate and reliable information. Our content, validated by Expert Board Contributors, is crafted following stringent Editorial Policies. We're committed to providing you with well-researched, expert-backed insights for all your informational needs.


0 thoughts on “How To Install Wood Siding”