Articles
How to Replace a CPU Fan
Modified: December 6, 2023
Learn how to replace a CPU fan with step-by-step instructions. Read our informative articles for valuable tips on CPU fan replacement and maintenance.
(Many of the links in this article redirect to a specific reviewed product. Your purchase of these products through affiliate links helps to generate commission for Storables.com, at no extra cost. Learn more)
Introduction
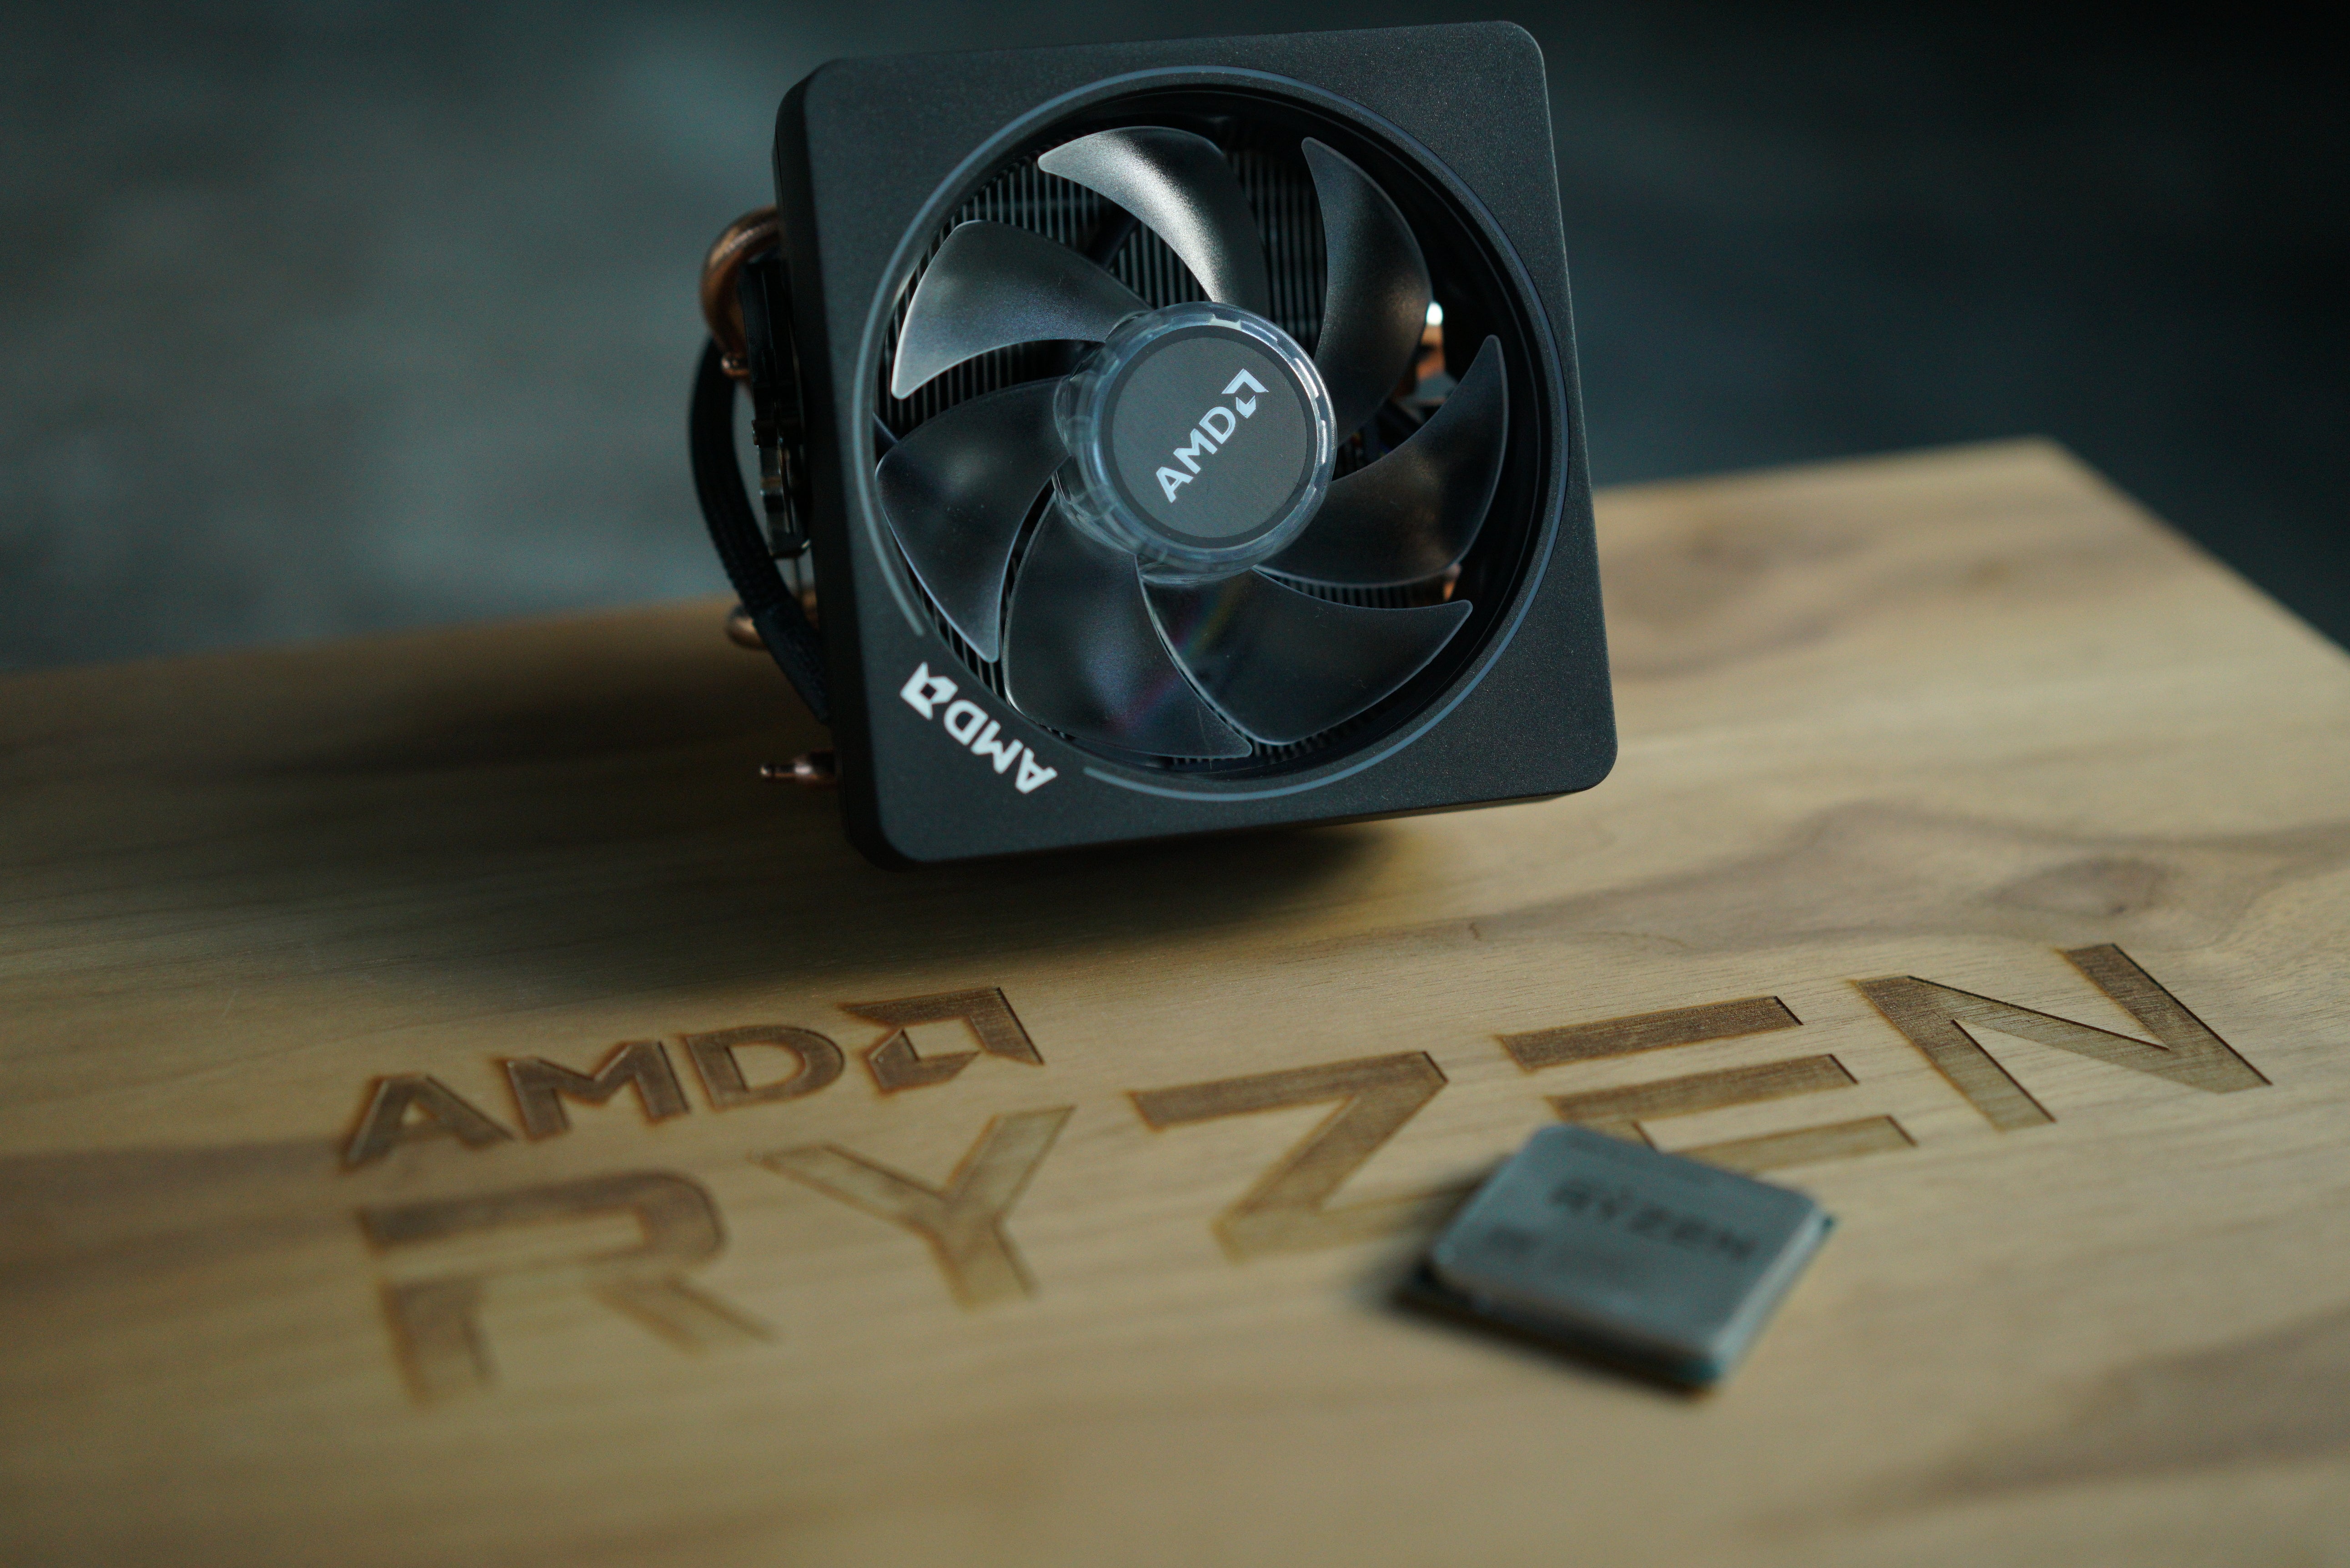
Welcome to the world of computer hardware maintenance! If you’ve noticed that your CPU fan is malfunctioning or making strange noises, it may be time to replace it. The CPU fan plays a crucial role in keeping your processor cool and preventing overheating, so it’s important to address any issues promptly.
In this step-by-step guide, we will walk you through the process of replacing a CPU fan. Whether you’re a seasoned computer enthusiast or a curious beginner, we’ve got you covered. Grab your tools and let’s get started!
Before we dive into the installation process, it’s worth noting that different computer models may have varying fan replacement methods. We will provide a general overview that should apply to most cases, but be sure to consult your computer’s user manual or online resources for specific instructions related to your system.
Replacing a CPU fan might seem like a daunting task, especially if you are new to computer hardware. But don’t worry! With a little patience and attention to detail, you’ll be able to replace your fan and have your computer running smoothly again in no time.
Before proceeding, make sure you have a new CPU fan ready for installation. It’s always a good idea to purchase a fan that is compatible with your specific CPU socket and offers sufficient cooling capabilities. Consult your computer or motherboard documentation for the appropriate specifications.
Additionally, gather the necessary tools and materials for the task. You will need a Philips screwdriver, thermal paste (if you plan to clean and reapply it), a small brush or compressed air for cleaning, and a soft cloth. Keep these handy as we progress through the steps.
Now that you are prepared, it’s time to shut down your computer and unplug it from the power source. Safety first!
In the next step, we will guide you through the process of opening the computer case.
Key Takeaways:
- Replacing a CPU fan is a manageable process that ensures proper cooling for your processor and prevents overheating. Prioritize safety, gather the necessary tools, and follow the step-by-step guide for a smooth installation.
- Regular maintenance of your computer’s components, including the CPU fan, is vital for optimal performance and longevity. Address any signs of a malfunctioning fan promptly and enjoy a reliable and efficient computer system.
Read more: What Is a CPU Fan
Step 1: Gather Necessary Tools and Materials
Before you begin the process of replacing your CPU fan, it’s important to gather all the necessary tools and materials. This will ensure that you have everything you need at hand and minimize any interruptions during the installation.
Here are the essential tools and materials you will need:
- Philips screwdriver: This will be used to remove screws and secure the new fan in place.
- Thermal paste: If you plan on cleaning your CPU and applying fresh thermal paste, make sure you have some on hand. Thermal paste helps to improve heat transfer between the CPU and the fan.
- Small brush or compressed air: You will need this to remove any dust or debris that may have accumulated on the CPU and surrounding components.
- Soft cloth: Use a soft cloth to wipe away any residue or excess thermal paste during the cleaning process.
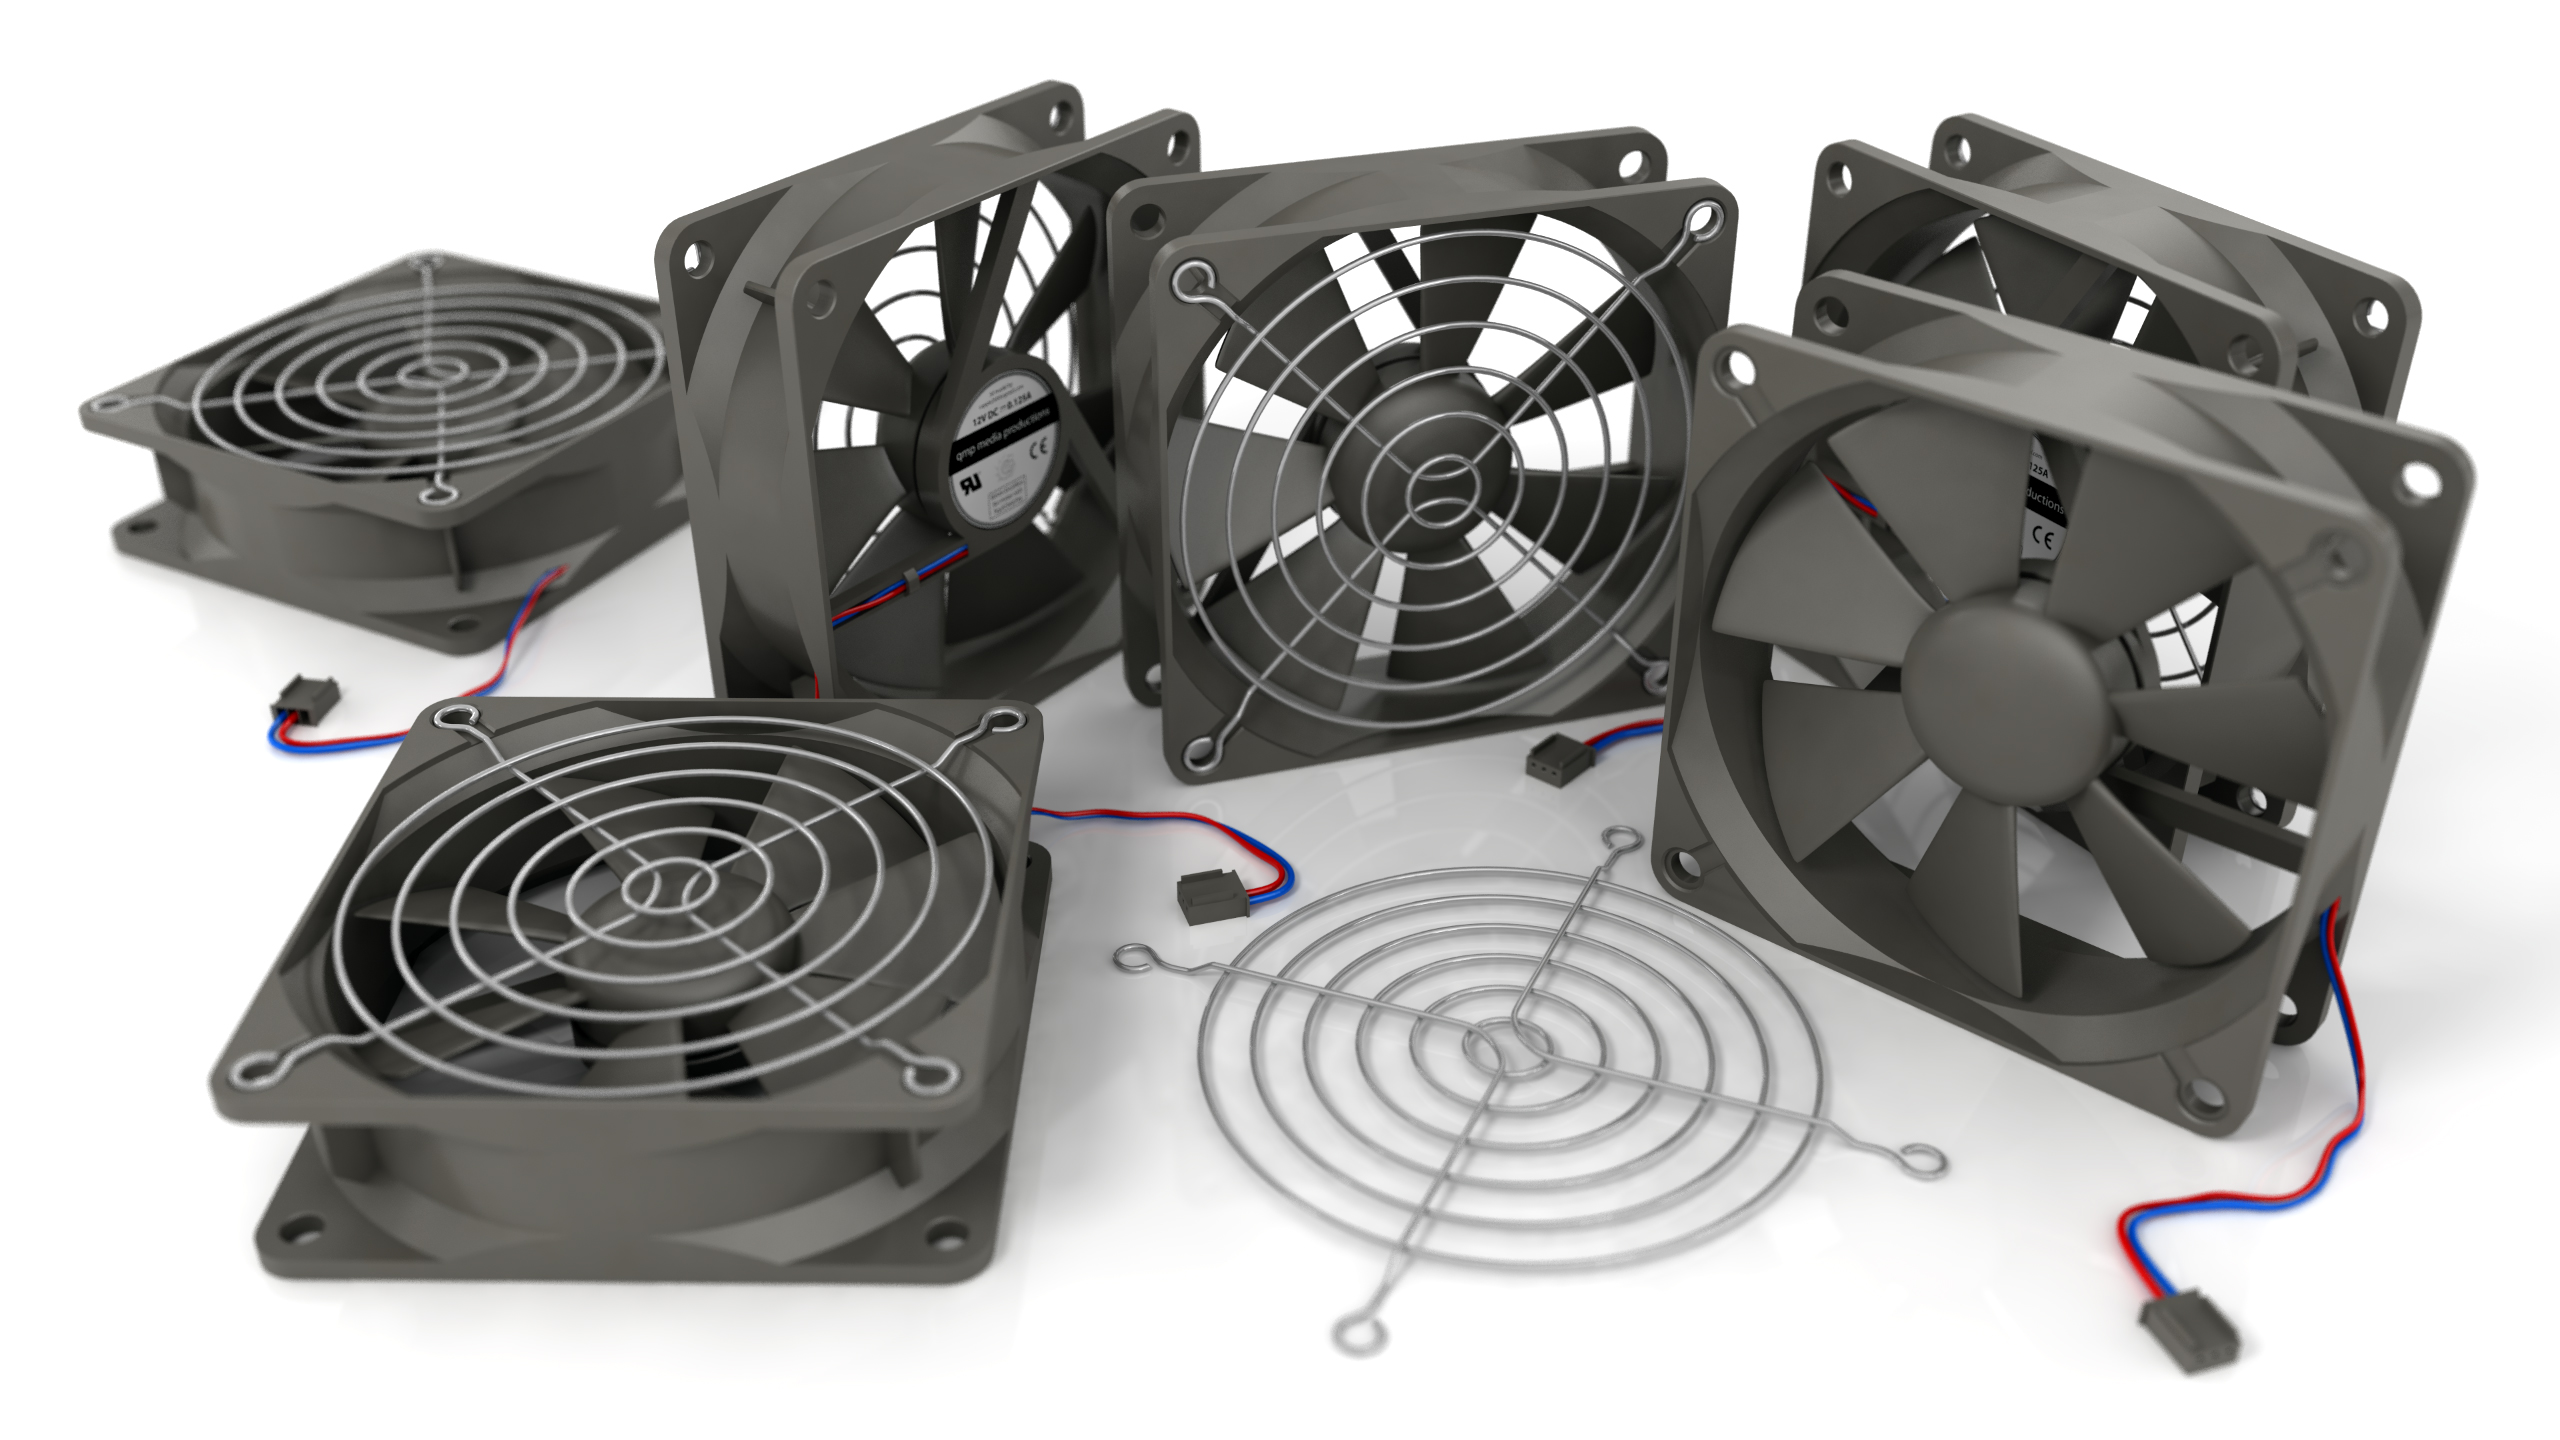
- New CPU fan: Ensure that you have a replacement CPU fan that is compatible with your CPU socket and offers adequate cooling performance. Refer to your computer or motherboard documentation for compatible models.
Having these tools and materials ready before starting will save you time and make the replacement process much smoother.
Once you have gathered all the necessary tools and materials, you’re ready to move on to the next step: shutting down and unplugging your computer.
Step 2: Shut Down and Unplug Your Computer
Before you begin working on your computer’s internals, it’s crucial to shut down the system properly and disconnect it from the power source. This step is essential for your safety and to ensure that you don’t cause any damage to the components.
Follow these steps to shut down and unplug your computer:
- Save your work: Make sure to save any open files or projects you are working on. Closing all applications will prevent data loss or corruption.
- Shut down the computer: Go to the Start menu or press the Windows key, then click on “Shut down” or select the power icon and choose “Shut down”. Wait for the computer to completely shut down before proceeding to the next step.
- Unplug the power cord: Locate the power cord connected to the back of your computer tower or the power adapter of a laptop. Gently pull the plug out of the wall socket or power strip. Ensure that there is no power running to the computer.
- Ground yourself: Before working inside the computer case, it’s essential to discharge any static electricity to prevent damage to sensitive components. You can do this by touching a metal surface on the computer case or using an anti-static wristband.
By following these steps, you have now shut down your computer and disconnected it from the power source, ensuring a safe working environment.
Now that you have taken the necessary precautions, it’s time to move on to the next step: opening the computer case.
Step 3: Open the Computer Case
Now that your computer is powered down and unplugged, it’s time to open the computer case. Opening the case will give you access to the internal components, including the CPU fan that needs to be replaced.
Follow these steps to open the computer case:
- Locate the screws: Look for the screws that secure the side panel of the computer case. These screws are usually located at the back of the case.
- Use the screwdriver: Take your Phillips screwdriver and carefully unscrew the screws holding the side panel in place. Put the screws in a safe place where you won’t lose them.
- Remove the side panel: Gently slide or pull the side panel away from the case. Some cases have a latch or release button that you may need to manipulate to remove the panel fully.
Once you have removed the side panel, you will have a clear view of the internal components of your computer. Take a moment to familiarize yourself with the layout, and locate the CPU and the existing CPU fan that needs to be replaced.
Keep in mind that the internal components of your computer are delicate, so it’s important to handle them with care. Avoid touching the circuit boards or other sensitive parts unless necessary, and always ground yourself before touching any components.
Now that the computer case is open, you’re ready to move on to the next step: locating and removing the CPU fan.
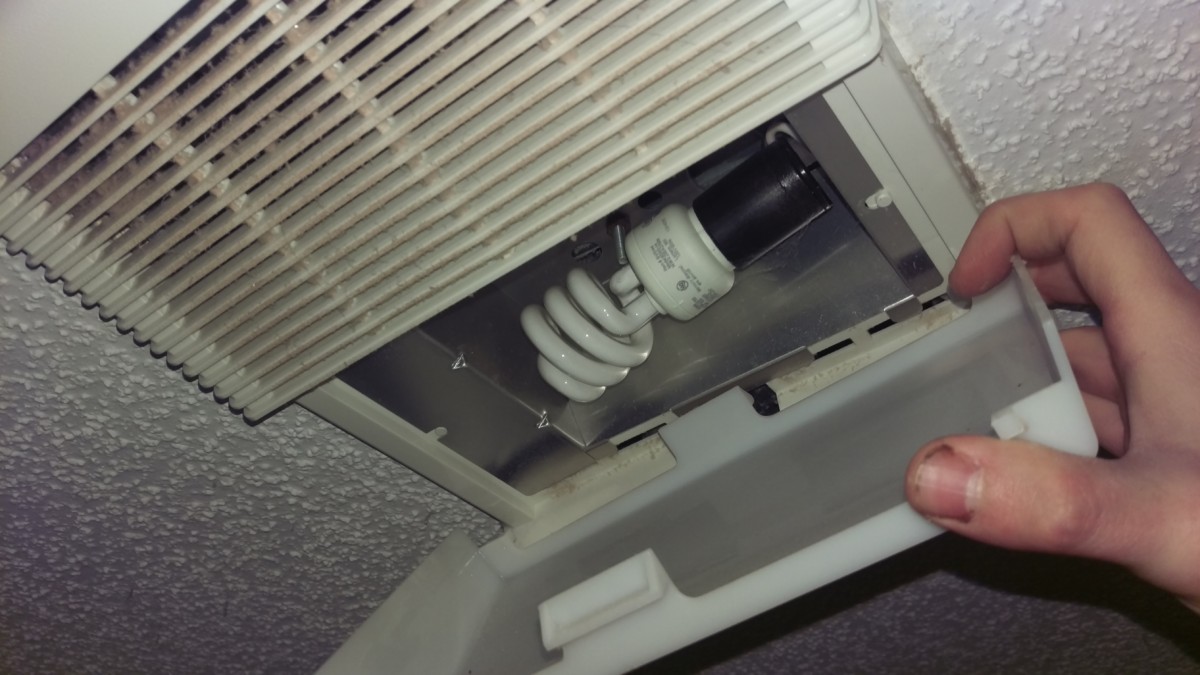
Step 4: Locate and Remove the CPU Fan
With the computer case open, it’s time to locate and remove the existing CPU fan. The CPU fan is typically located on top of the CPU heatsink and is responsible for cooling the processor.
Follow these steps to locate and remove the CPU fan:
- Identify the CPU fan: Look for the fan sitting on top of the CPU heatsink. It is usually connected to the motherboard with a cable.
- Disconnect the fan cable: Locate the cable connecting the CPU fan to the motherboard. Gently detach the cable from the motherboard’s fan header by pulling it straight out. Be careful not to pull on the wires or put excessive pressure on the motherboard.
- Remove the fan screws: Take your Phillips screwdriver and carefully unscrew the screws securing the CPU fan to the heatsink. The number of screws may vary depending on the fan model. Set the screws aside in a safe place.
- Lift and remove the fan: Once the screws are removed, gently lift the CPU fan off the heatsink. Be cautious not to damage any other components in the process. Place the fan aside for disposal or future use.
After removing the fan, take a moment to inspect the heatsink and clean it if necessary. Use a small brush or compressed air to remove any accumulated dust or debris. Wipe away any residue with a soft cloth.
It’s important to note that some CPU fans may have additional clips or brackets securing them to the motherboard. If your fan has these, carefully remove them according to the manufacturer’s instructions before lifting the fan off the heatsink.
Now that you have successfully removed the old CPU fan, it’s time to consider cleaning the CPU and applying thermal paste (optional) in the next step.
Read also: 9 Best Cpu Cooling Fan for 2025
Step 5: Clean the CPU and Apply Thermal Paste (Optional)
Before installing the new CPU fan, it’s a good idea to clean the CPU and apply fresh thermal paste. Cleaning the CPU ensures that there is no dust or debris on the surface, while applying thermal paste helps improve heat transfer between the CPU and the new fan.
Please note that cleaning the CPU and applying thermal paste is optional. If you recently cleaned your CPU or if it is relatively clean, you may choose to skip this step. However, if you haven’t cleaned or replaced the thermal paste in a while, it’s recommended to do so for optimal performance.
Follow these steps to clean the CPU and apply thermal paste:
- Clean the CPU: Use a small brush or compressed air to carefully remove any dust or debris from the surface of the CPU. It’s important to avoid applying too much pressure or touching the delicate pins on the CPU.
- Apply thermal paste: Take a small amount of thermal paste (about the size of a grain of rice) and apply it to the center of the CPU. Avoid applying too much paste as it can lead to overheating. The thermal paste will spread out naturally when you install the new CPU fan.
- Spread the thermal paste (optional): If you prefer a more evenly distributed layer of thermal paste, you can use a plastic card or your finger (with gloves or a plastic bag) wrapped in a soft cloth to spread the paste thinly and evenly across the surface of the CPU.
Remember to follow the manufacturer’s instructions for applying thermal paste. Different types of thermal paste may have specific recommendations and guidelines.
Once you have cleaned the CPU and applied thermal paste (if desired), you’re ready to move on to the next step: installing the new CPU fan.
When replacing a CPU fan, make sure to clean the old thermal paste from the CPU and apply a new layer before installing the new fan. This will ensure proper heat transfer and cooling efficiency.
Step 6: Install the New CPU Fan
With the CPU cleaned and thermal paste applied (if you chose to do so), it’s time to install the new CPU fan. Make sure you have the new fan ready, along with any additional components that may be required for installation.
Follow these steps to install the new CPU fan:
- Align the fan: Place the new CPU fan onto the heatsink, aligning the screw holes on the fan with the holes on the heatsink.
- Secure the fan screws: Take your Phillips screwdriver and carefully insert and tighten the screws to secure the new fan in place. Make sure not to overtighten the screws, as it may damage the fan or the heatsink.
- Connect the fan cable: Locate the fan header on the motherboard and connect the cable from the new CPU fan. Ensure a secure connection, making sure the cable is properly seated in the header.
If your new CPU fan requires additional mounting brackets or clips, refer to the manufacturer’s instructions for installation. Follow the provided guidelines to attach the fan securely to the motherboard or heatsink.
Take your time during this step and double-check that the fan is properly aligned and secured. Any loose connections may lead to reduced cooling performance or even damage to the fan or CPU.
Now that you have installed the new CPU fan, it’s time to move on to the next step: securing the CPU fan in place.
Step 7: Secure the CPU Fan in Place
With the new CPU fan installed, it’s important to secure it in place to ensure stability and optimal cooling performance. Properly securing the fan will prevent any vibrations or movement that could potentially damage the components or affect airflow.
Follow these steps to secure the CPU fan in place:
- Check mounting holes: Ensure that the fan screws are properly seated in the mounting holes provided on the fan and the heatsink. Verify that the fan is aligned correctly and sits flush against the heatsink surface.
- Tighten the screws: Take your Phillips screwdriver and carefully tighten the screws on all sides of the fan. Tighten each screw in a staggered pattern, applying equal pressure to ensure the fan is securely fastened.
- Double-check the connections: Ensure that the fan cable is securely connected to the motherboard’s fan header. Check for any loose or disconnected cables and reattach them if necessary.
It’s important to note that overtightening the screws can cause damage to the fan or heatsink. Use caution and tighten the screws just enough to ensure a secure connection without putting excessive pressure on the components.
Once you have secured the CPU fan in place, give it a gentle wiggle to check for any movement. If there is no movement or vibration, you can proceed to the next step.
Now that the CPU fan is securely fastened, it’s time to close the computer case in the next step.
Step 8: Close the Computer Case
Now that you have successfully installed and secured the new CPU fan, it’s time to close the computer case. Closing the case will protect the internal components from dust, debris, and accidental damage. It also ensures that the fan operates efficiently by maintaining proper airflow.
Follow these steps to close the computer case:
- Align the side panel: Take the side panel that you removed earlier and align it with the openings on the computer case.
- Slide or push the panel into place: Gently slide or push the side panel back onto the computer case. Make sure it fits snugly and aligns properly with the screw holes.
- Secure the screws: Retrieve the screws that you set aside earlier and use your Phillips screwdriver to tighten them back into place. Be careful not to overtighten the screws, as it may strip the screw holes.
Once you have secured the side panel with the screws, give it a gentle shake to ensure that it’s firmly in place and doesn’t have any excessive movement. The case should now be securely closed.
Closing the computer case marks the completion of the installation process. However, before you can power on the computer, there is one more step to perform: plugging in and testing the computer.
Read more: How To Store CPU
Step 9: Plug In and Test the Computer
Now that the computer case is closed, it’s time to plug in and test your computer to ensure that the new CPU fan is functioning properly. This step is crucial to verify that the fan is providing sufficient cooling and that the computer is running smoothly.
Follow these steps to plug in and test the computer:
- Connect the power cord: Locate the power cord that came with your computer or the power adapter for your laptop. Plug it back into the power socket or power strip.
- Power on the computer: Press the power button on your computer tower or laptop to start the system. Wait for the computer to boot up and enter the operating system.
- Monitor the CPU temperature: Keep an eye on the CPU temperature to ensure that it remains within safe operating limits. You can use monitoring software or access the BIOS/UEFI settings to check the CPU temperature readings.
- Listen for abnormal noises: Pay attention to any unusual noises coming from the new CPU fan. A properly functioning fan should operate quietly without any grinding, buzzing, or rattling sounds.
- Check the airflow: Feel the airflow around the CPU fan area to ensure that it is consistent and steady. Proper airflow is essential for cooling the CPU effectively.
- Run stress tests (optional): If you want to further verify the performance of the new CPU fan, you can run stress tests or benchmarking software to put the processor under heavy load. Monitor the temperatures during this process to ensure they remain within safe limits.
If the computer powers on smoothly, the CPU fan is running quietly, and the temperatures are within safe ranges, then congratulations! You have successfully replaced the CPU fan and completed the installation process.
If you notice any issues such as high temperatures, abnormal noises, or the computer not functioning properly, it’s recommended to double-check the installation steps and ensure that everything is connected correctly.
With the computer plugged in and tested, you can now enjoy a cool and well-functioning system without any worries of overheating or fan malfunctions.
Conclusion
Replacing a CPU fan may seem like a daunting task, but with the right tools and step-by-step guidance, it can be a manageable process. By following the steps outlined in this guide, you have successfully learned how to replace a CPU fan, ensuring proper cooling for your processor and preventing overheating.
Throughout the process, it’s essential to prioritize safety and take the necessary precautions. Remember to shut down and unplug your computer before starting, ground yourself to discharge static electricity, and handle the components with care.
Gathering the necessary tools and materials, opening the computer case, locating and removing the old CPU fan, cleaning the CPU and applying thermal paste (if desired), installing and securing the new CPU fan, closing the computer case, and finally, plugging in and testing the computer are the key steps involved in this process.
Regular maintenance of your computer’s components, including the CPU fan, is vital for optimal performance and longevity. If you notice any signs of a malfunctioning fan, such as excessive heat or unusual noises, it’s crucial to address the issue promptly and replace the fan if necessary.
Remember to consult your computer’s documentation or online resources for any specific instructions relating to your computer model. The general steps outlined in this guide should apply to most cases, but it’s always best to double-check for any unique considerations.
By replacing your CPU fan and ensuring proper cooling for your processor, you can enjoy a reliable and efficient computer system. So don’t hesitate to tackle this task when needed, and be proud of your newfound knowledge and skills in hardware maintenance.
Disclaimer: The information provided in this article is for educational purposes only. We recommend following manufacturer guidelines and consulting professional assistance if you are unsure about any step or aspect of replacing a CPU fan.
Frequently Asked Questions about How To Replace A CPU Fan
Was this page helpful?
At Storables.com, we guarantee accurate and reliable information. Our content, validated by Expert Board Contributors, is crafted following stringent Editorial Policies. We're committed to providing you with well-researched, expert-backed insights for all your informational needs.


0 thoughts on “How to Replace a CPU Fan”