Articles
How To Replace A Radon Fan
Modified: February 27, 2024
Learn how to replace a radon fan with step-by-step instructions and helpful tips. Check out our articles for expert advice and guidance.
(Many of the links in this article redirect to a specific reviewed product. Your purchase of these products through affiliate links helps to generate commission for Storables.com, at no extra cost. Learn more)
Introduction
Welcome to our guide on how to replace a radon fan. Radon is a colorless and odorless gas that can pose serious health risks when accumulated in high levels within a home. Radon mitigation systems, including radon fans, are designed to expel this harmful gas from your living space and ventilate it safely outside.
Over time, the radon fan may become worn out or malfunction, requiring a replacement. However, before you dive into the process of replacing a radon fan, it is important to have a clear understanding of what a radon fan is and how it works.
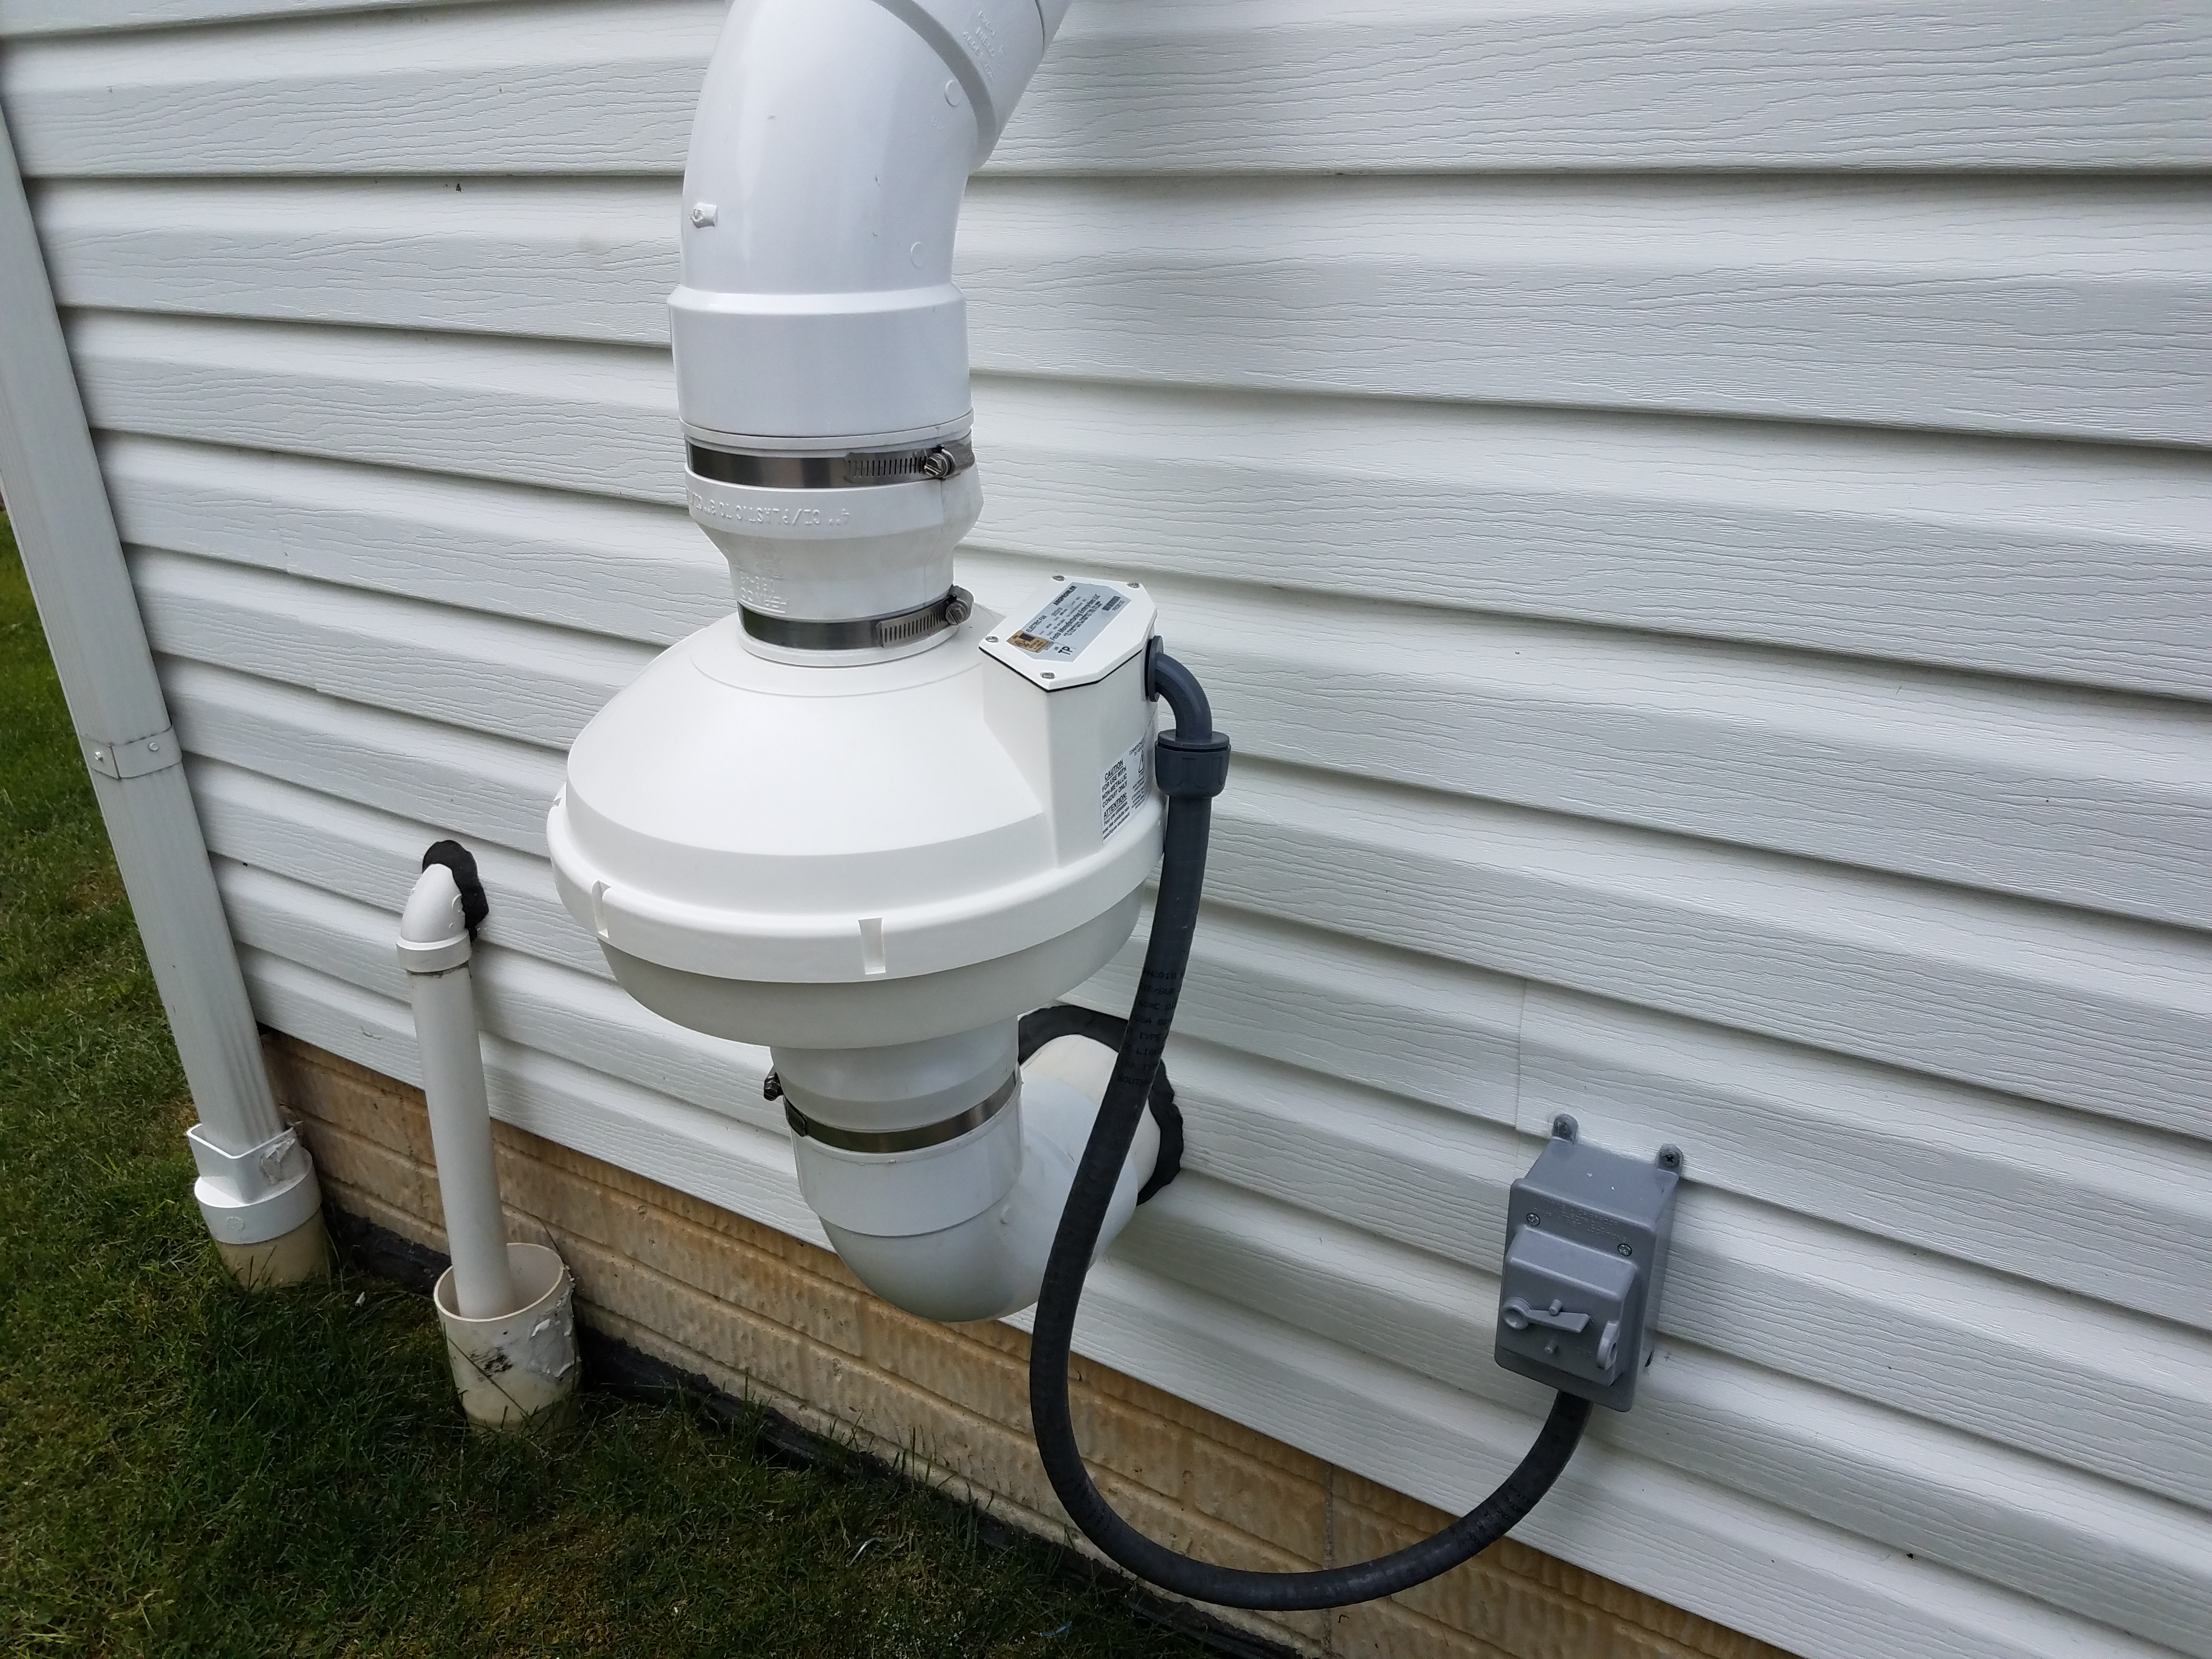
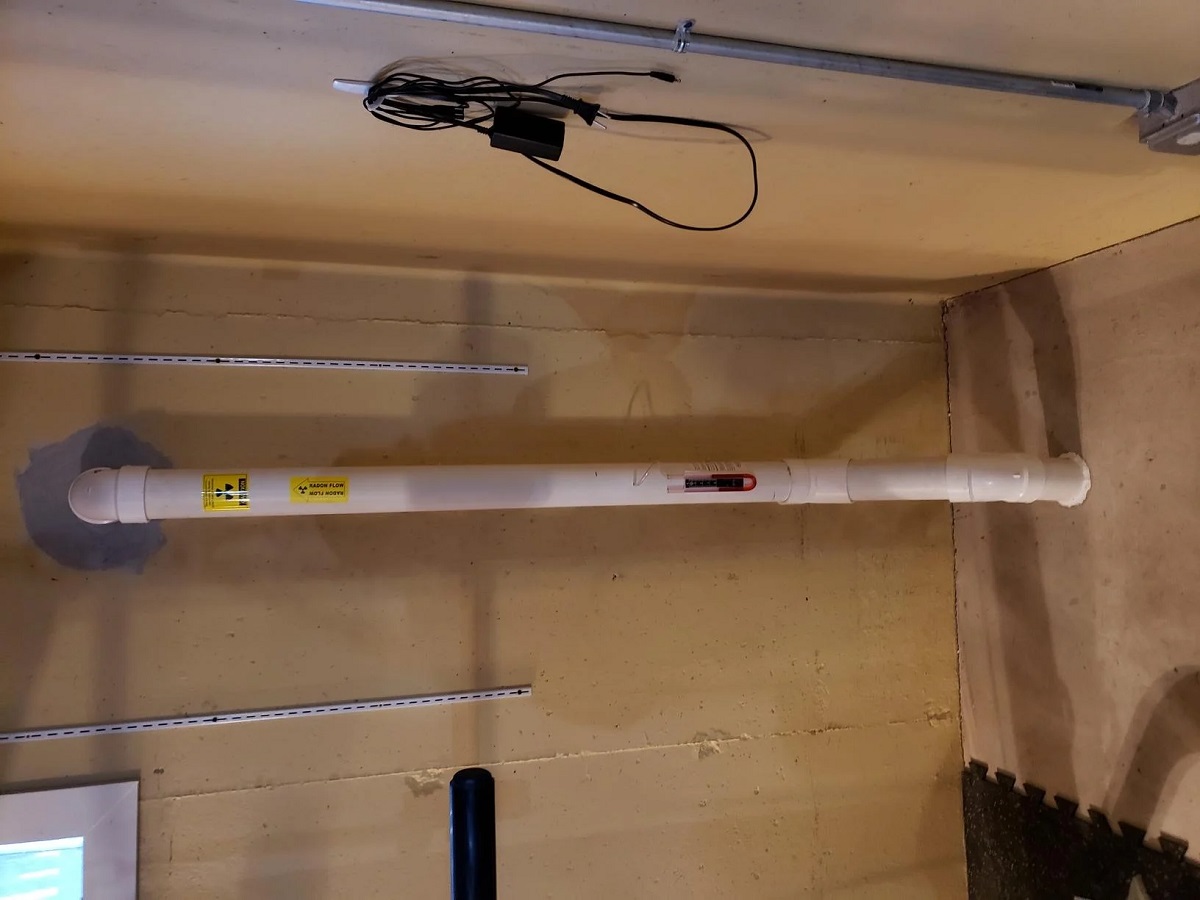
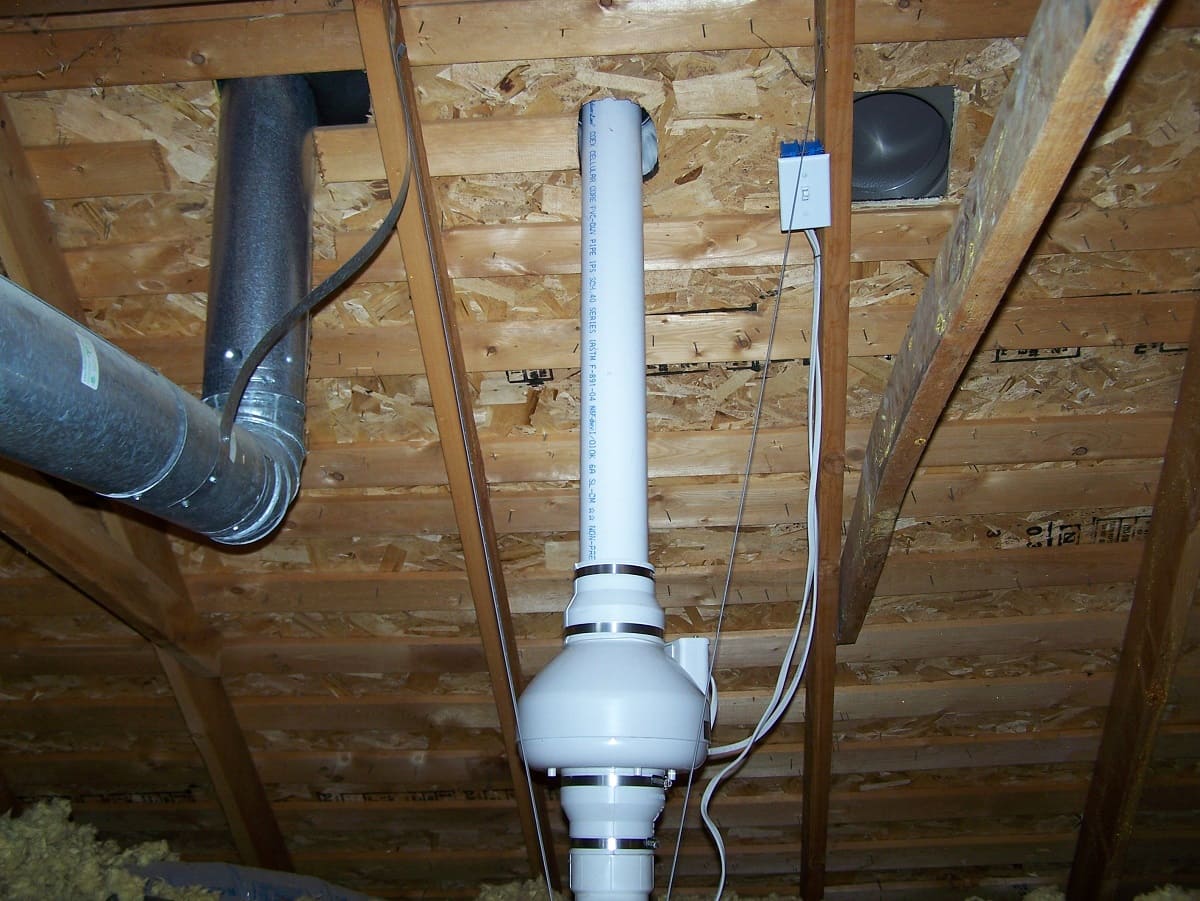
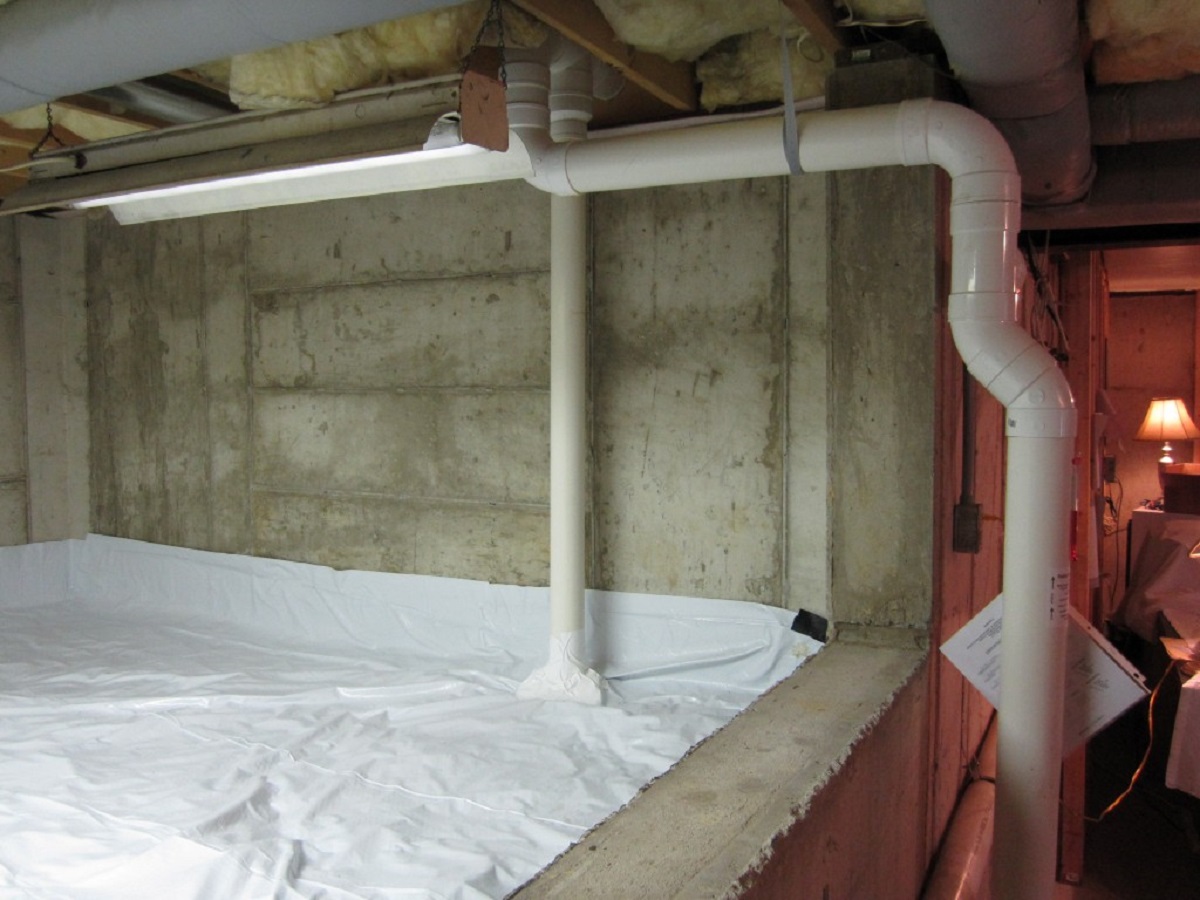
A radon fan is a crucial component of a radon mitigation system. It is responsible for drawing the radon gas from beneath the foundation of your home and dispersing it safely outdoors. The fan creates a negative pressure in the soil below your home, preventing the radon gas from seeping into your living space.
Now that you have a basic understanding of radon fans, let’s move on to the next section, where we will discuss how to assess the need for a replacement.
Key Takeaways:
- Regular maintenance and inspection of radon fans are crucial for identifying signs of wear or malfunction that may necessitate replacement. Consult a professional if you notice decreased suction, increased noise, or maintenance issues.
- When replacing a radon fan, ensure proper positioning, mounting, electrical connections, and sealing for optimal functionality. Testing the new fan is essential to verify its effectiveness in mitigating radon levels.
Read more: How To Install Radon Fan
Understanding Radon Fans
Before diving into the process of replacing a radon fan, it’s important to have a solid understanding of how these fans function and their importance in radon mitigation.
A radon fan is a vital component of a radon mitigation system. It works by creating negative pressure beneath your home, drawing the radon gas from the soil and expelling it safely outdoors. This helps to prevent radon gas from infiltrating your living space and reduces the risk of harmful radon exposure.
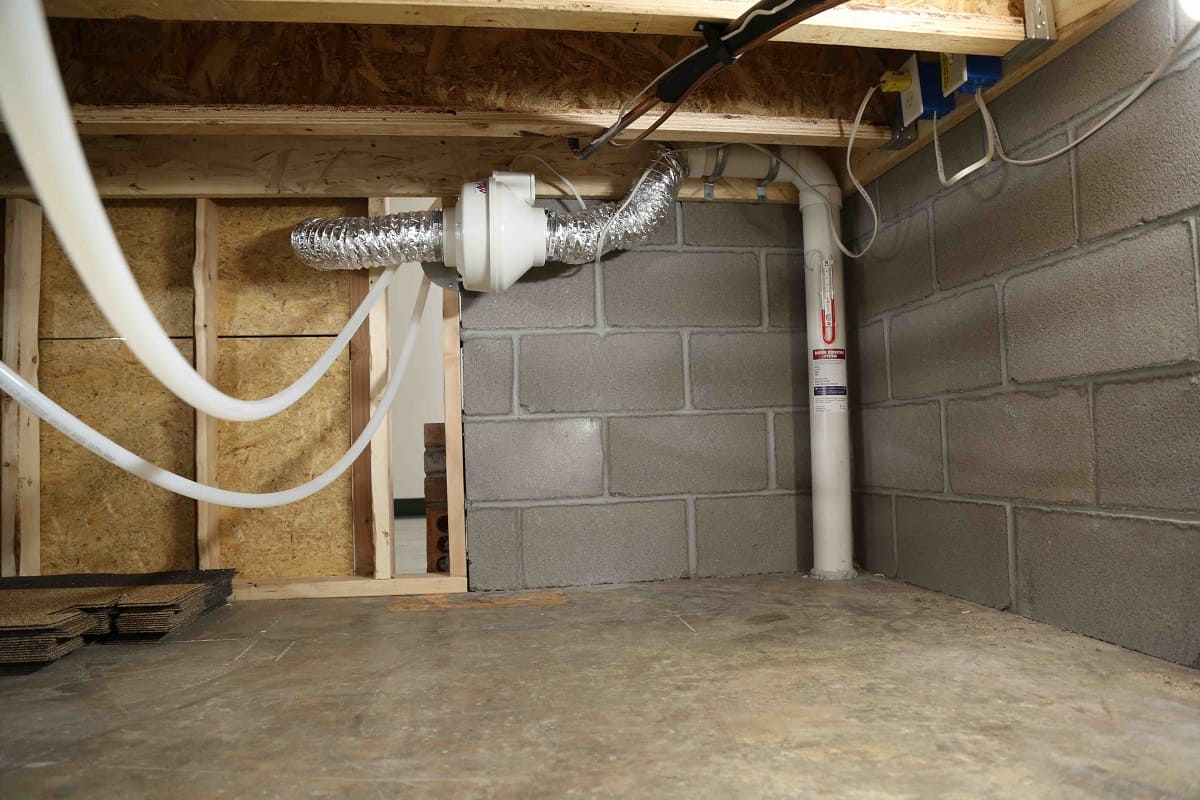
Radon fans are typically installed in the attic or outside of the house. They are connected to the piping system that extends from below the foundation and collects radon gas from the soil. The fan helps to create a vacuum-like effect, pulling the radon gas through the pipes and directing it outside.
There are two common types of radon fans: inline fans and exterior-mounted fans. Inline fans are installed within the piping system itself, usually in the attic or crawl space. On the other hand, exterior-mounted fans are located outside the home, often on the roof or side wall. The choice between the two depends on factors such as the layout of your home and the preference of your radon mitigation professional.
Radon fans come in different sizes and specifications, and you must ensure that you choose a replacement fan that is compatible with your existing system. It’s important to consult with a radon mitigation professional to determine the appropriate size and type of fan for your specific needs.
Regular maintenance and inspections are essential to ensure the effectiveness of your radon fan. It’s recommended to have your radon mitigation system inspected at least once every two years. This includes checking the fan motor, impeller, and housing for wear and tear. If any issues are detected, it may be necessary to replace the fan to maintain the system’s efficiency and functionality.
Now that you have a better understanding of radon fans and their role in radon mitigation, let’s move on to the next section, where we will discuss how to assess the need for a fan replacement.
Assessing the Need for Replacement
Before proceeding with the replacement of your radon fan, it’s important to assess whether or not a replacement is necessary. Here are some factors to consider:
1. Age of the fan: Radon fans typically have a lifespan of 5 to 10 years, depending on the brand and model. If your fan is approaching or exceeding this timeframe, it may be time to consider a replacement.
2. Noise or vibration: If you notice unusual noises or excessive vibrations coming from your radon fan, it could indicate that the motor or blades are worn out or damaged. This can affect the fan’s efficiency and warrant a replacement.
3. Decreased suction: A decrease in the suction of your radon fan may indicate a blockage or damage to the fan motor. This can result in reduced effectiveness in radon mitigation. If you notice a significant drop in suction, a replacement may be necessary.
4. Increased radon levels: If you have recently conducted a radon test and found that the levels have increased despite having a radon mitigation system in place, it could be an indication that your fan is failing or not functioning optimally. In such cases, it’s important to consult with a radon mitigation professional to determine if a replacement is needed.
5. Maintenance issues: If you have been experiencing frequent maintenance issues with your radon fan, such as frequent breakdowns or recurring repairs, it may be a sign that the fan is reaching the end of its lifespan and a replacement is necessary.
To determine whether a radon fan needs to be replaced, it’s advisable to consult with a qualified radon mitigation professional. They will be able to assess the condition of your fan and advise you on the best course of action.
In the next section, we will discuss the tools and materials you will need for the radon fan replacement process.
Gathering the Necessary Tools and Materials
Before you begin the process of replacing your radon fan, it’s essential to gather all the necessary tools and materials. Having everything ready beforehand will save you time and ensure a smooth replacement process. Here’s a list of the tools and materials you will need:
1. Safety equipment: Ensure you have the appropriate safety equipment, including gloves, safety glasses, and a mask to protect yourself from dust and debris.
2. Screwdrivers: Have both flathead and Phillips screwdrivers on hand, as you may need to remove screws during the fan replacement.
3. Adjustable wrench: You will need an adjustable wrench to loosen and tighten nuts and bolts.
4. Pliers: Pliers are useful for gripping and holding components during the replacement process.
5. Wire connectors: Depending on the wiring setup, you may need wire connectors to secure the electrical connections.
6. Electrical tester: An electrical tester is essential for ensuring that the power is properly disconnected before starting the replacement.
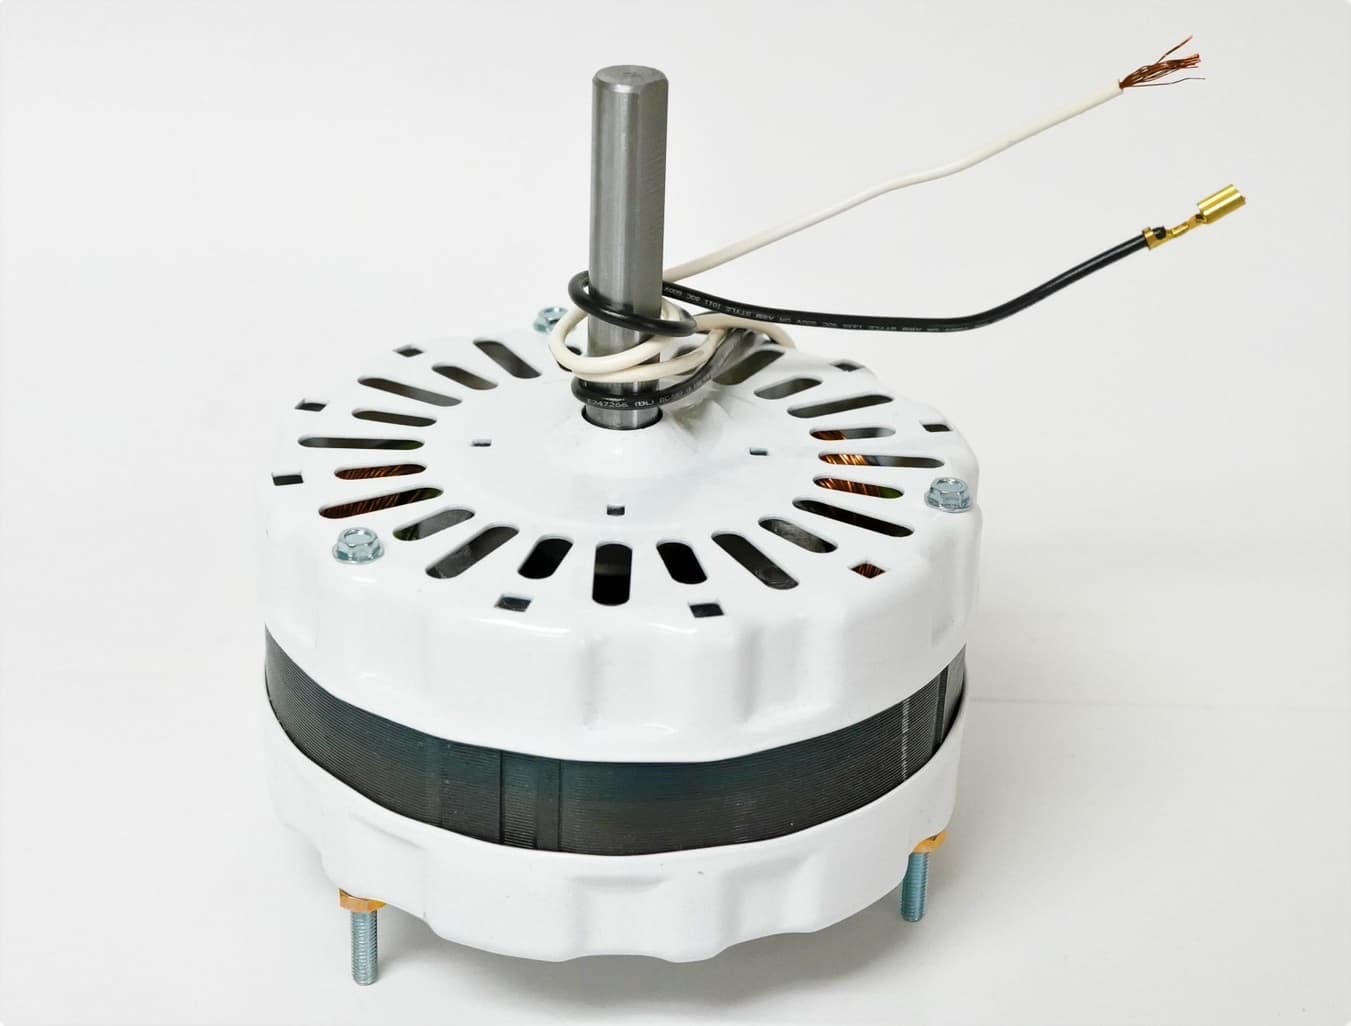
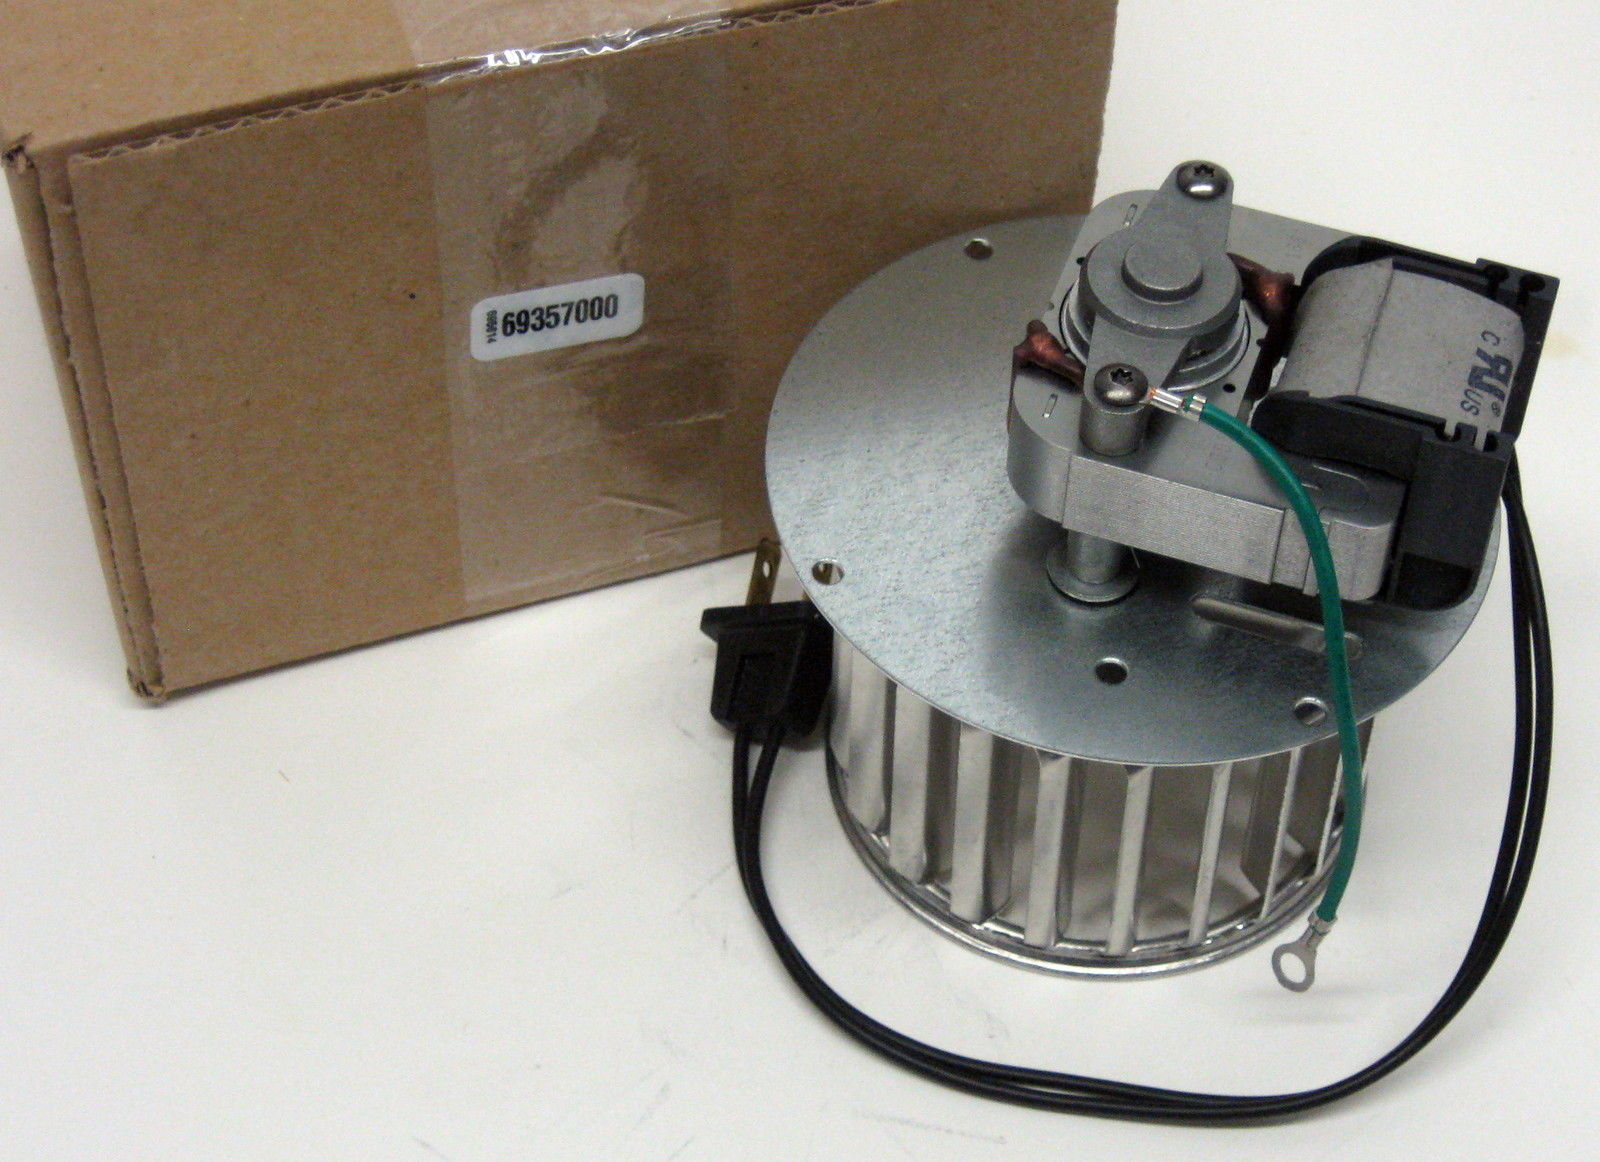
7. New radon fan: Purchase a new radon fan that is compatible with your existing radon mitigation system. Consult with a radon mitigation professional to ensure you select the right size and type of fan.
8. Piping and fittings: If necessary, gather the appropriate piping and fittings for connecting the new fan to the existing radon mitigation system.
9. Sealants and adhesives: Depending on the installation setup, you may need sealants or adhesives to secure connections and prevent air leaks.
10. Extension cord (optional): If the power outlet is not conveniently located near the installation area, you may need an extension cord to power the fan during the replacement process.
Make sure to double-check the specific requirements for your radon fan replacement based on the manufacturer’s instructions and the advice of a radon mitigation professional.
Having all the necessary tools and materials on hand will help you complete the replacement process efficiently and minimize the chances of any delays or complications.
In the next section, we will discuss the steps involved in turning off the power and removing the old radon fan.
When replacing a radon fan, make sure to turn off the power to the fan before starting the replacement process to ensure safety.
Turning off the Power and Removing the Old Radon Fan
Before you begin the process of replacing your radon fan, it is crucial to turn off the power supply to ensure your safety. Follow these steps to turn off the power and remove the old radon fan:
1. Locate the power source: Identify the circuit breaker or electrical disconnect switch that controls the power supply to the radon fan. Typically, the circuit breaker panel is located in the basement or utility room of your home.
2. Switch off the power: Locate the circuit breaker or electrical disconnect switch that is connected to the radon fan. Flip the switch to the “off” position to cut off the power supply.
3. Verify the power is off: Use an electrical tester to confirm that the power is indeed turned off and that there is no electrical current flowing to the fan. This step is crucial for your safety and helps prevent accidents or electrical shocks.
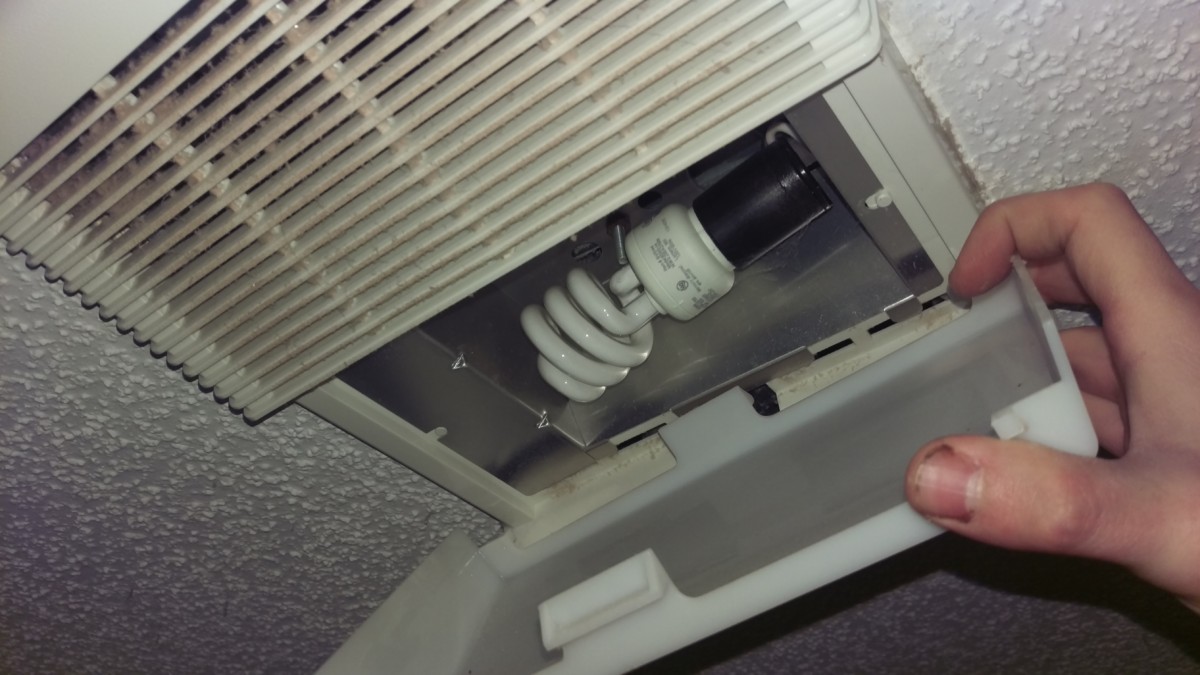
4. Remove the fan housing: Depending on the installation setup, the radon fan may be housed in a protective case or enclosure. Remove any screws or fasteners securing the housing and carefully detach it from the fan unit.
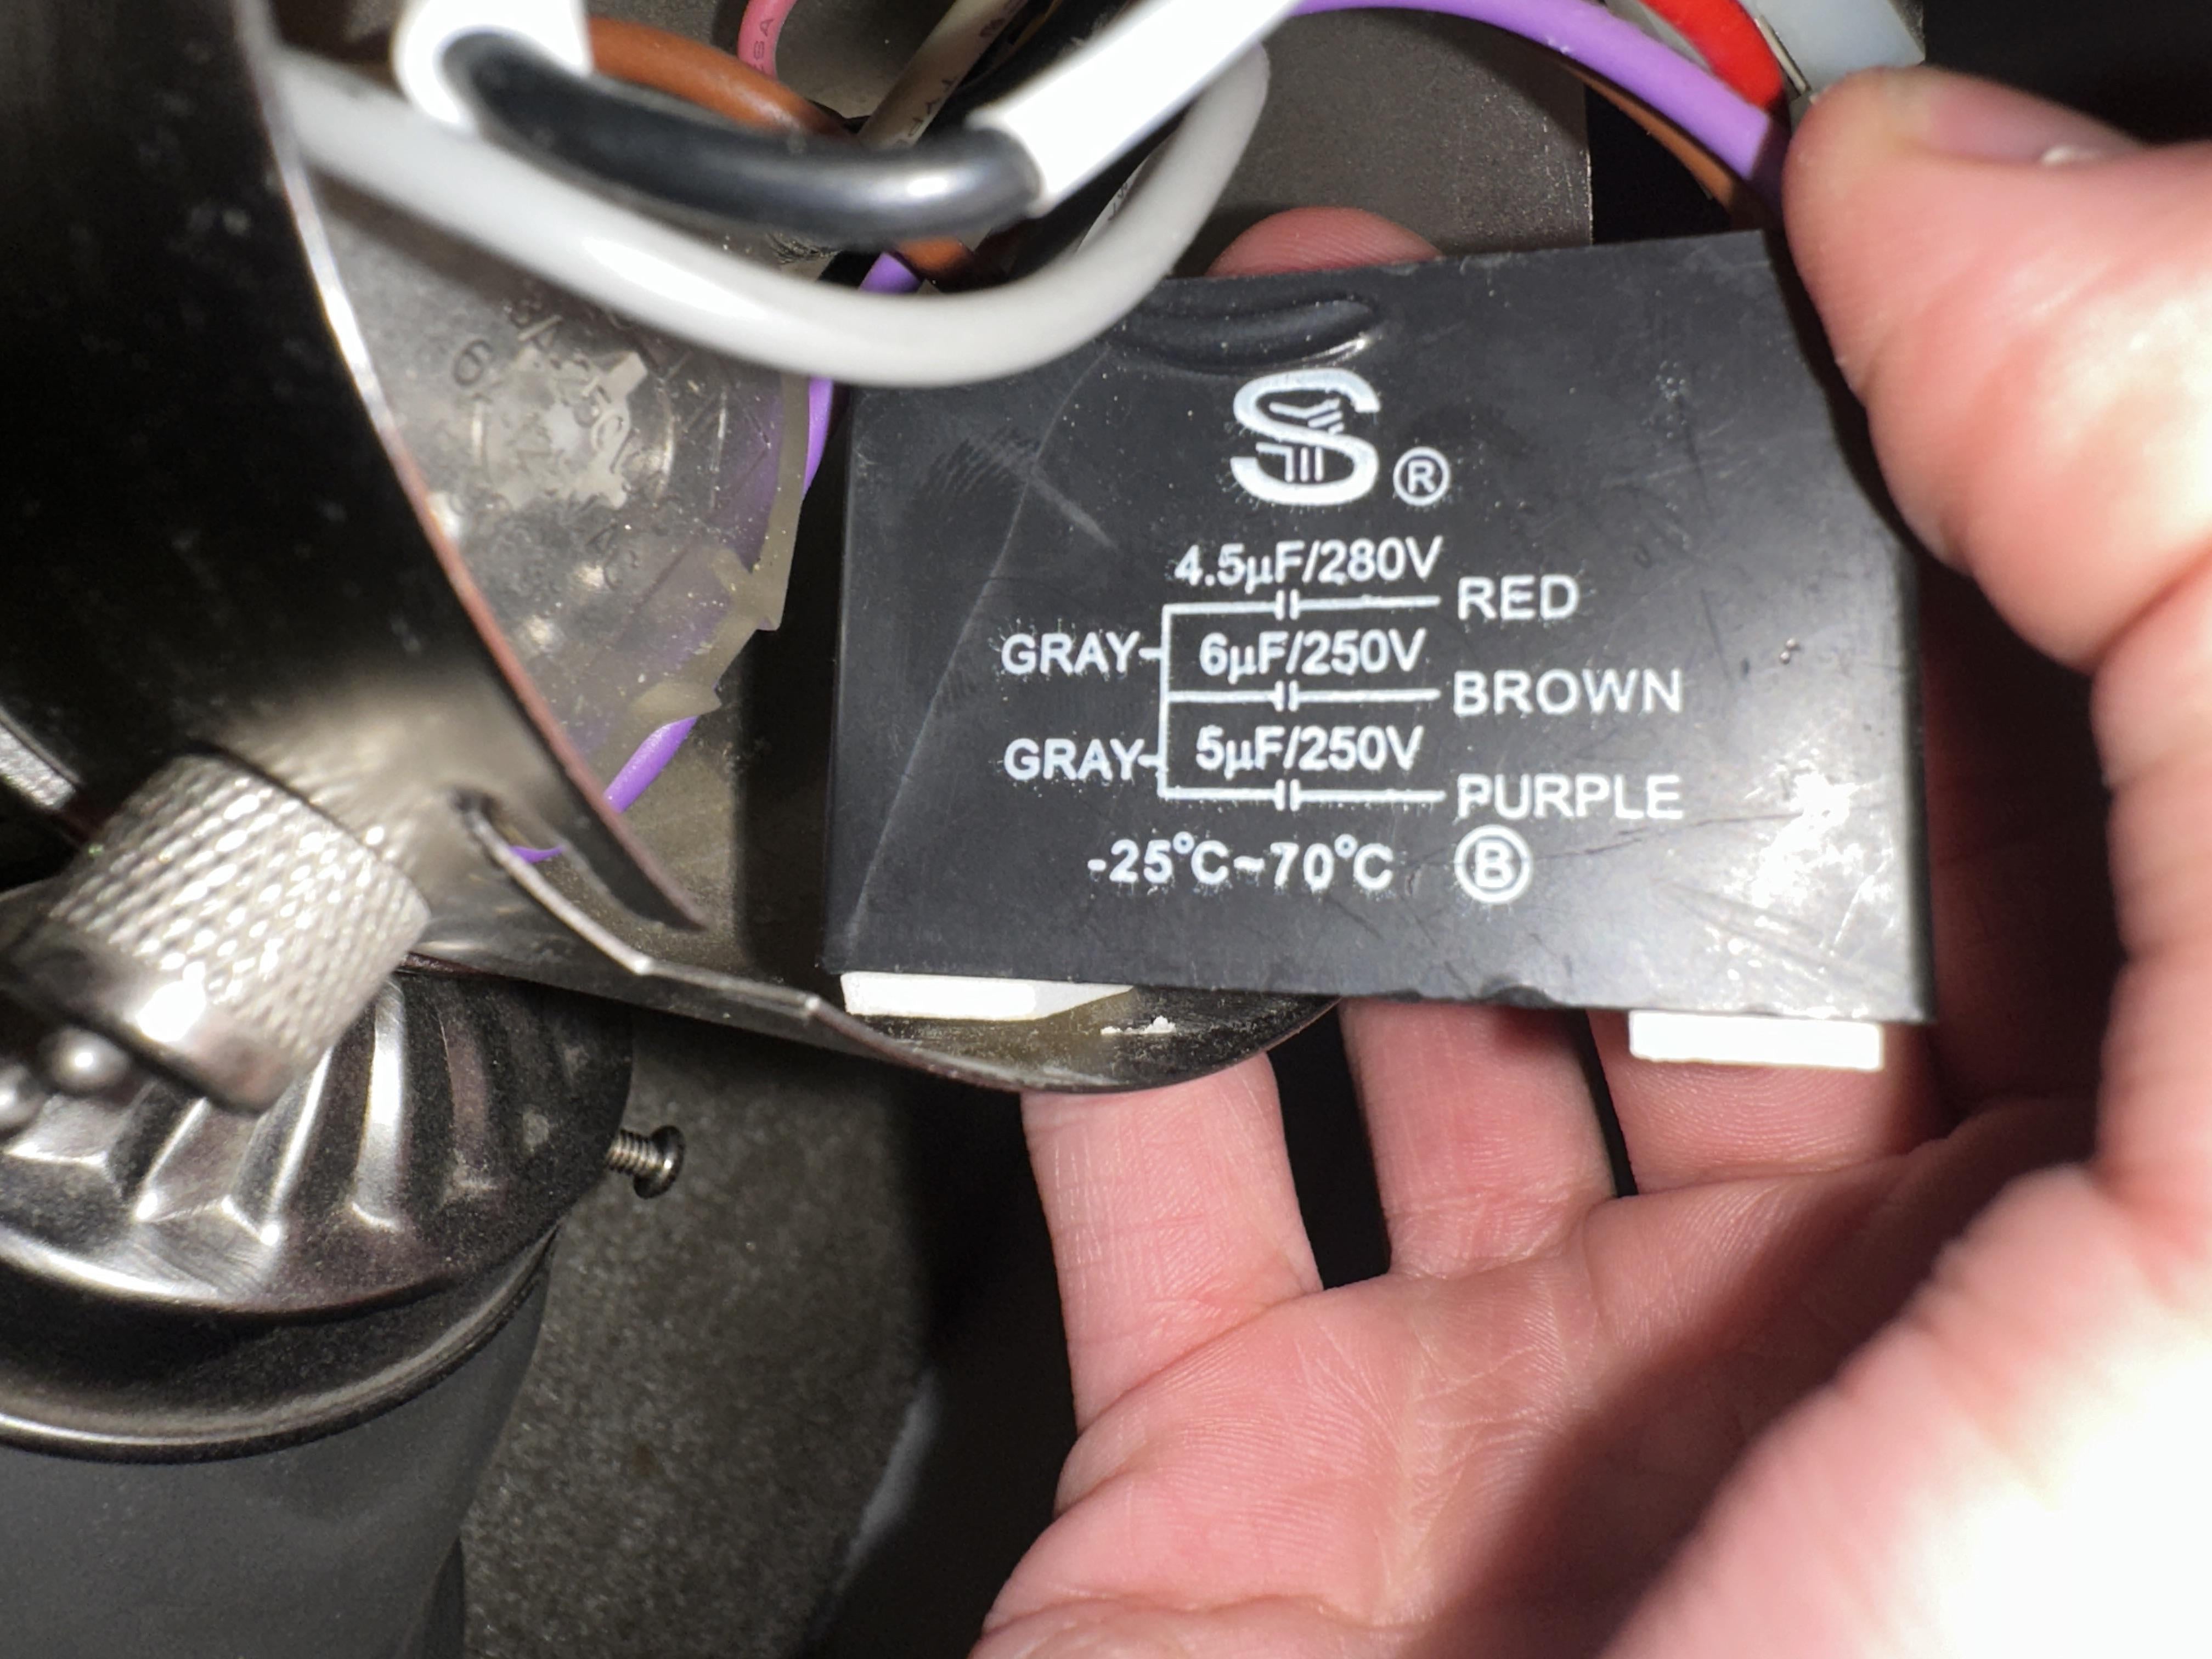
5. Disconnect the electrical connections: Identify the electrical connections leading to the fan and disconnect them. This may involve removing wire connectors or unscrewing terminal screws. Take note of the connections and wire colors for reinstallation later.
6. Detach the fan from the mounting bracket: In most cases, the radon fan is attached to a mounting bracket using screws or clamps. Remove these attachments and detach the fan from the bracket.
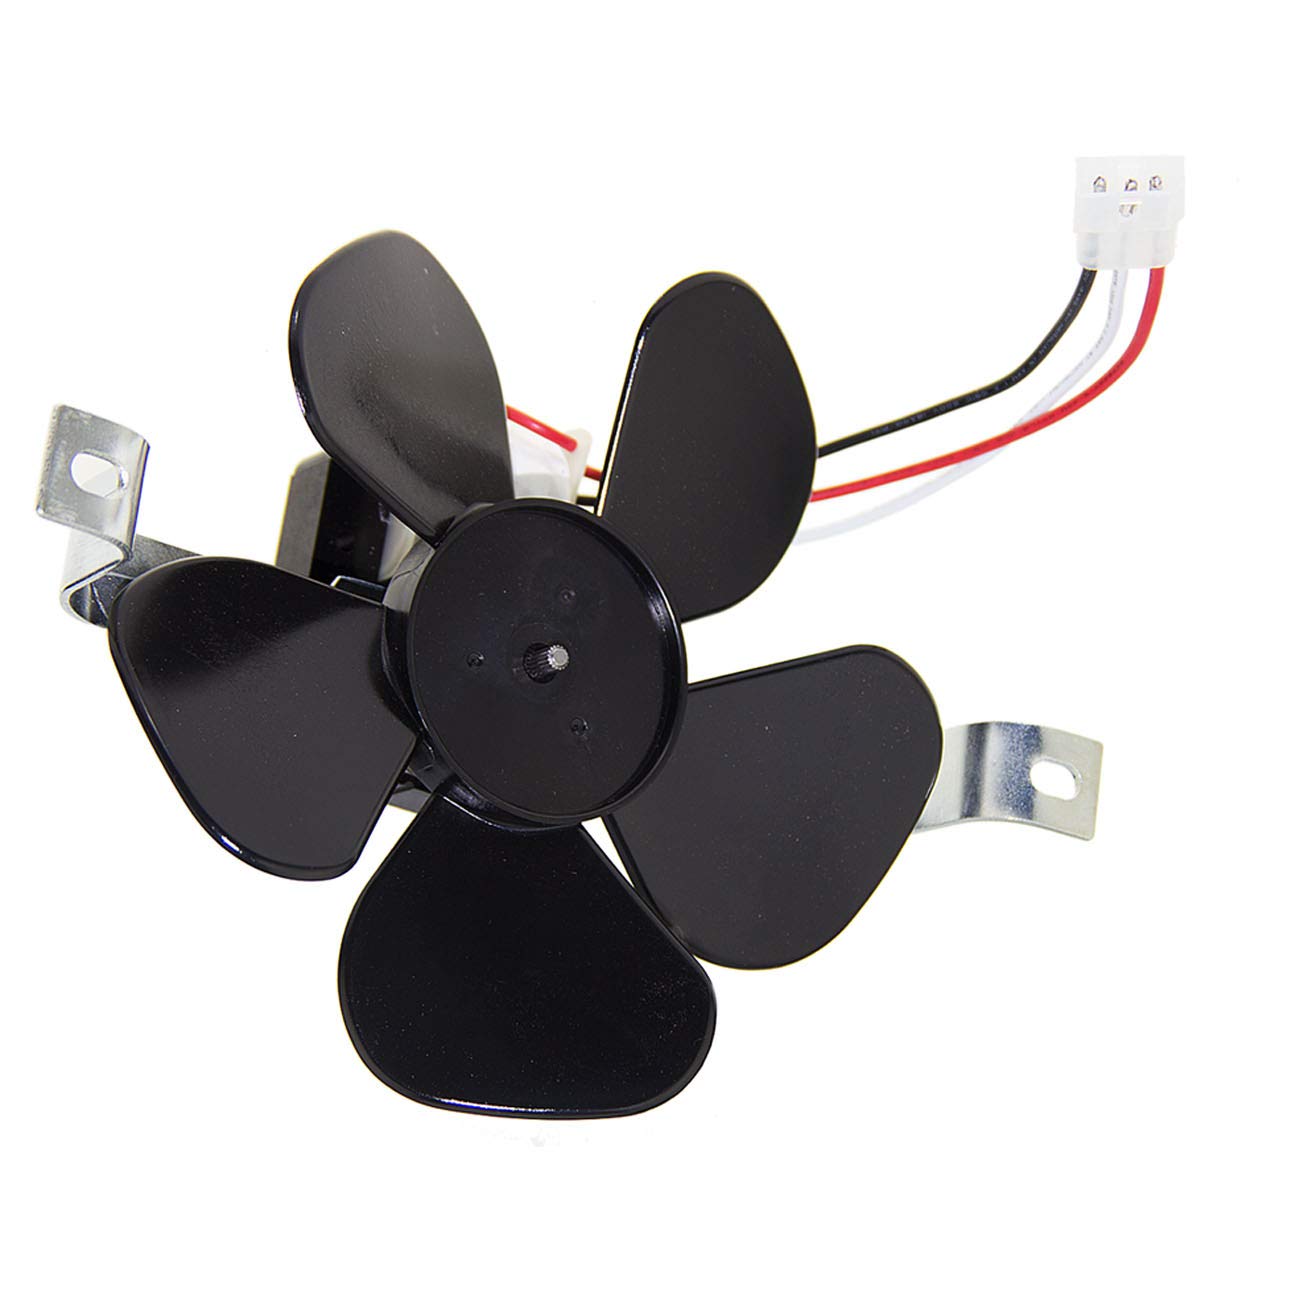
7. Inspect the fan and motor: Take a moment to inspect the old radon fan and its motor for any signs of wear, damage, or malfunctions. This will give you a better understanding of why the replacement is necessary and help you identify any potential issues to address during the installation of the new fan.
By following these steps, you can safely turn off the power and remove the old radon fan. Remember to exercise caution and refer to the manufacturer’s instructions or seek professional guidance if you encounter any difficulties.
In the next section, we will discuss the process of installing the new radon fan.
Read also: 11 Best Radon Fan for 2024
Installing the New Radon Fan
With the old radon fan removed, it’s time to install the new radon fan. Follow these steps to ensure a successful installation:
1. Preparation: Before installing the new radon fan, ensure that the installation location is clean and free from any debris or obstructions. Take this opportunity to inspect the existing piping and connections for any signs of damage or leaks. Repair or replace any damaged components if needed.
2. Positioning: Place the new radon fan in the desired location, such as the attic or outside of the house, depending on the type of fan you are installing. Ensure that the fan is securely positioned and level to ensure proper operation.
3. Mounting: Attach the new radon fan to the mounting bracket or base. Use screws or clamps provided with the fan to secure it in place. Follow the manufacturer’s instructions for proper mounting technique and torque specifications.
4. Electrical connections: Connect the electrical wires from your radon mitigation system to the corresponding terminals on the new radon fan. Use wire connectors or screw terminals to ensure secure connections. Follow the wiring diagram provided by the manufacturer to ensure correct wiring.
5. Sealing: If necessary, use sealants or adhesives around the connections to prevent air leaks. This helps to maintain the efficiency of the radon mitigation system.
6. Reinstallation: If you had to remove any piping or fittings during the removal of the old fan, now is the time to reconnect them to the new radon fan. Ensure that all connections are secure and properly aligned to maintain airtightness.
7. Power on: Once all the connections are made and everything is securely in place, it’s time to restore the power supply. Go back to the circuit breaker or electrical disconnect switch and flip it to the “on” position to power up the radon fan.
8. Test and monitor: After installing the new radon fan, it’s essential to test and monitor the system to ensure it is functioning properly. Conduct a radon test to verify that the fan is effectively mitigating radon levels. It’s recommended to perform a follow-up test a few weeks after installation to ensure continued effectiveness.
By following these steps, you can successfully install the new radon fan and ensure the proper function of your radon mitigation system. If you encounter any difficulties during the installation process, consult a radon mitigation professional for assistance.
In the next section, we will discuss the importance of testing the new radon fan to ensure its effectiveness.
Testing the New Radon Fan
Testing the new radon fan is crucial to ensure its effectiveness in mitigating radon gas. Follow these steps to properly test the new fan and verify its functionality:
1. Wait for stabilization: After installing the new radon fan, it’s important to allow some time for the system to stabilize. This typically takes around 24 to 48 hours. During this time, the fan will adjust to the airflow and pressure changes in the radon mitigation system.
2. Choose a testing device: Select a reliable radon testing kit or device to measure the radon levels in your home. There are various options available, including short-term and long-term testing devices. Consult a radon mitigation professional to determine the best option for your specific needs.
3. Follow testing instructions: Carefully read and follow the instructions provided with the testing device. This includes placing the device in the appropriate location within your home and ensuring it remains undisturbed for the specified testing period.
4. Record the test duration: Note the start and end times of the testing period. This information will be necessary when interpreting the test results.
5. Avoid interfering with the fan: During the testing period, refrain from making any adjustments to the new radon fan or the radon mitigation system. This ensures accurate test results and allows for a proper assessment of the fan’s effectiveness.
6. Collect the test device: Once the designated testing period is complete, carefully collect the testing device according to the instructions provided. Be cautious not to disturb or damage the device in the process.
7. Send for analysis: If required, send the collected test device to a certified laboratory for analysis. Follow the provided instructions for packaging and shipping the device to ensure accurate results.
8. Interpret the results: Once you receive the test results, review them to determine the radon levels in your home. If the radon levels are within acceptable limits (usually below 4.0 picocuries per liter), it indicates that the new radon fan is effectively mitigating radon gas. If the levels are above the acceptable limit, additional measures may be necessary, such as consulting a radon mitigation professional for further inspection and adjustments.
By properly testing the new radon fan, you can ensure its effectiveness in reducing radon levels in your home and protecting you and your family from potential health risks.
In the final section, we will conclude our guide on replacing a radon fan and summarize the key points discussed throughout the article.
Conclusion
Replacing a radon fan is an important step in ensuring the effectiveness of your radon mitigation system and maintaining a healthy indoor environment. Understanding radon fans, assessing the need for replacement, gathering the necessary tools and materials, turning off the power, removing the old fan, and installing the new one are all essential aspects of the replacement process.
By understanding how radon fans work and the role they play in radon mitigation, you can appreciate their significance in safeguarding your home against radon gas. Regular maintenance and inspection of the fan can help identify signs of wear, damage, or malfunction that may require a replacement.
Gathering the necessary tools and materials beforehand will streamline the replacement process and ensure that you have everything needed to complete the task effectively. Turning off the power is crucial for your safety, and removing the old fan requires careful disconnection of electrical connections and detachment from the mounting bracket.
Installing the new fan involves proper positioning, mounting, electrical connections, and sealing to ensure the fan functions optimally. Testing the new radon fan is critical to determine its effectiveness in mitigating radon levels in your home. Following the instructions provided with the testing device and sending it for analysis, if necessary, will help you assess the performance of the new fan.
In conclusion, replacing a radon fan is a straightforward process that requires careful planning, proper tools, and following the necessary steps. If you are uncertain about any aspect of the replacement process, it is always advisable to consult a radon mitigation professional for guidance and assistance.
Remember, radon gas is a serious health risk, and ensuring the proper functioning of your radon mitigation system, including the radon fan, is crucial for maintaining a safe indoor environment for you and your loved ones.
Frequently Asked Questions about How To Replace A Radon Fan
Was this page helpful?
At Storables.com, we guarantee accurate and reliable information. Our content, validated by Expert Board Contributors, is crafted following stringent Editorial Policies. We're committed to providing you with well-researched, expert-backed insights for all your informational needs.


0 thoughts on “How To Replace A Radon Fan”