Articles
How To Build A Fireplace Hearth
Modified: October 20, 2024
Learn the step-by-step process of building a beautiful and functional fireplace hearth with our informative articles. Transform your space with expert guidance and tips.
(Many of the links in this article redirect to a specific reviewed product. Your purchase of these products through affiliate links helps to generate commission for Storables.com, at no extra cost. Learn more)
Introduction
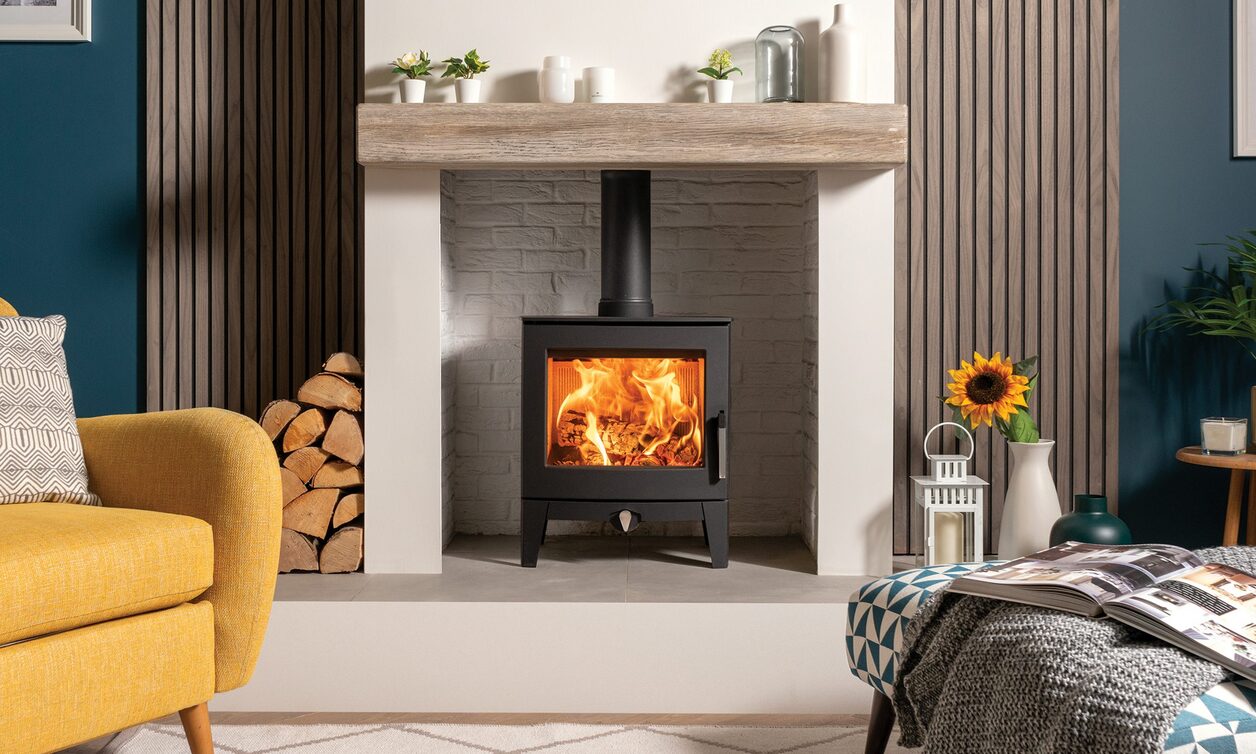
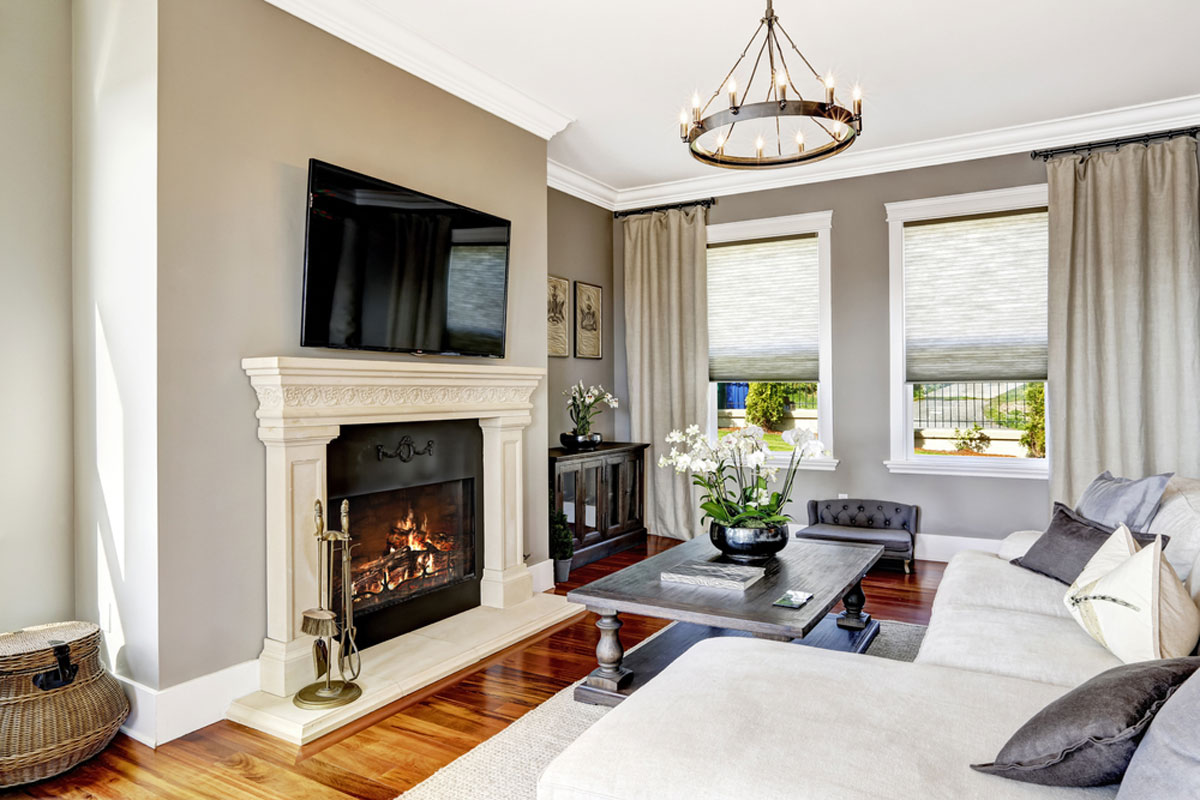
Building a fireplace hearth can add a touch of warmth and elegance to your home. Whether you’re looking to upgrade an existing fireplace or create a cozy ambiance in a new space, a well-crafted hearth can completely transform the look and feel of a room.
In this article, we will guide you through the step-by-step process of building a fireplace hearth. From planning and gathering materials to the final finishing touches, we will provide you with all the information and tips you need to create a beautiful and functional hearth.
Before we dive into the details, it’s important to note that building a fireplace hearth requires careful planning and adherence to local building codes and regulations. Always consult with professionals or experts if you’re unsure about any aspect of the project.
Now that we’ve covered the necessary precautions, let’s get started on our journey to building a fireplace hearth that will become the centerpiece of your home.
Key Takeaways:
- Plan carefully, gather fireproof materials, and prepare the area before building a fireplace hearth. Follow the step-by-step process to create a stunning and functional centerpiece for your home.
- Attention to detail is key when building a fireplace hearth. From leveling the base to adding finishing touches, each step contributes to the beauty, functionality, and safety of the hearth.
Read more: What Is The Hearth On A Fireplace
Step 1: Planning
Proper planning is essential for a successful fireplace hearth project. Before you begin, consider the following factors:
- Location: Determine where you want to install your fireplace hearth. Consider factors such as the existing layout of the room, proximity to flammable materials, and accessibility for maintenance.
- Size and Shape: Measure the dimensions of the desired hearth area. The size and shape of your hearth should complement the overall aesthetics of the room while adhering to safety guidelines.
- Building Codes: Research and familiarize yourself with the building codes and regulations for fireplace installations in your area. Different regions may have specific guidelines on clearance requirements, materials, and venting.
- Materials: Consider the materials you want to use for your hearth. Common options include brick, tile, stone, or concrete. Research the pros and cons of each material to determine what best suits your style and budget.
- Budget: Determine your budget for the project. This will help you make decisions regarding materials, labor, and additional features or design elements.
Once you have these factors in mind, you can move on to the next step of gathering the necessary materials.
Step 2: Gathering Materials
Now that you have a clear plan in place, it’s time to gather the materials you’ll need for building your fireplace hearth. Here are some essential items you should consider:
- Fireproof Base Material: Depending on your design preference, you will need a fireproof material to serve as the base of your hearth. This can be a cement board, fire-rated brick, or heat-resistant concrete slab.
- Hearth Facing Material: Choose the material that will be visible on the front and top surface of your hearth. Options include ceramic or stone tiles, natural stone slabs, or brick veneer.
- Adhesive and Mortar: Select the appropriate adhesive or mortar for securing the base and facing materials. Consult with the manufacturer’s recommendations and ensure it is heat-resistant.
- Tools: Gather tools such as a measuring tape, level, trowel, tile cutter, notched trowel, grout float, and sponge. You may also need safety equipment like goggles and gloves.
- Finishing Materials: Consider if you want to add any additional elements such as trim, molding, or a mantel to enhance the overall look of the fireplace hearth.
Once you have all the necessary materials, you can proceed to the next step of preparing the area where the hearth will be installed.
Step 3: Preparing the Area
Before you start building the fireplace hearth, it’s important to properly prepare the area. Follow these steps to ensure a solid foundation:
- Clear the Space: Remove any furniture, rugs, or existing materials from the area where the hearth will be installed. Create a clean and empty space to work with.
- Protect the Surrounding Surfaces: Place plastic sheets or drop cloths over the floor and nearby surfaces to protect them from dust, debris, and potential damage during the construction process.
- Locate and Mark the Hearth Placement: Using your measurements from the planning phase, mark the exact location of the hearth on the floor. Use a chalk line or painter’s tape to outline the dimensions.
- Prepare the Subfloor: Ensure the subfloor is clean, level, and structurally sound. Remove any loose or damaged flooring material and repair as necessary.
- Install the Base Material: Based on your chosen fireproof base material, cut it to fit within the marked outlines on the subfloor. Secure it to the subfloor using screws or adhesive, following the manufacturer’s instructions.
- Ensure Proper Ventilation: If your fireplace requires ventilation, ensure that the necessary openings and pathways are in place before continuing with the construction of the hearth.
Once these preparatory steps are completed, you’re ready to move on to the next phase – building the base of the fireplace hearth.
When building a fireplace hearth, make sure to use fire-resistant materials such as brick, stone, or concrete to ensure safety and durability.
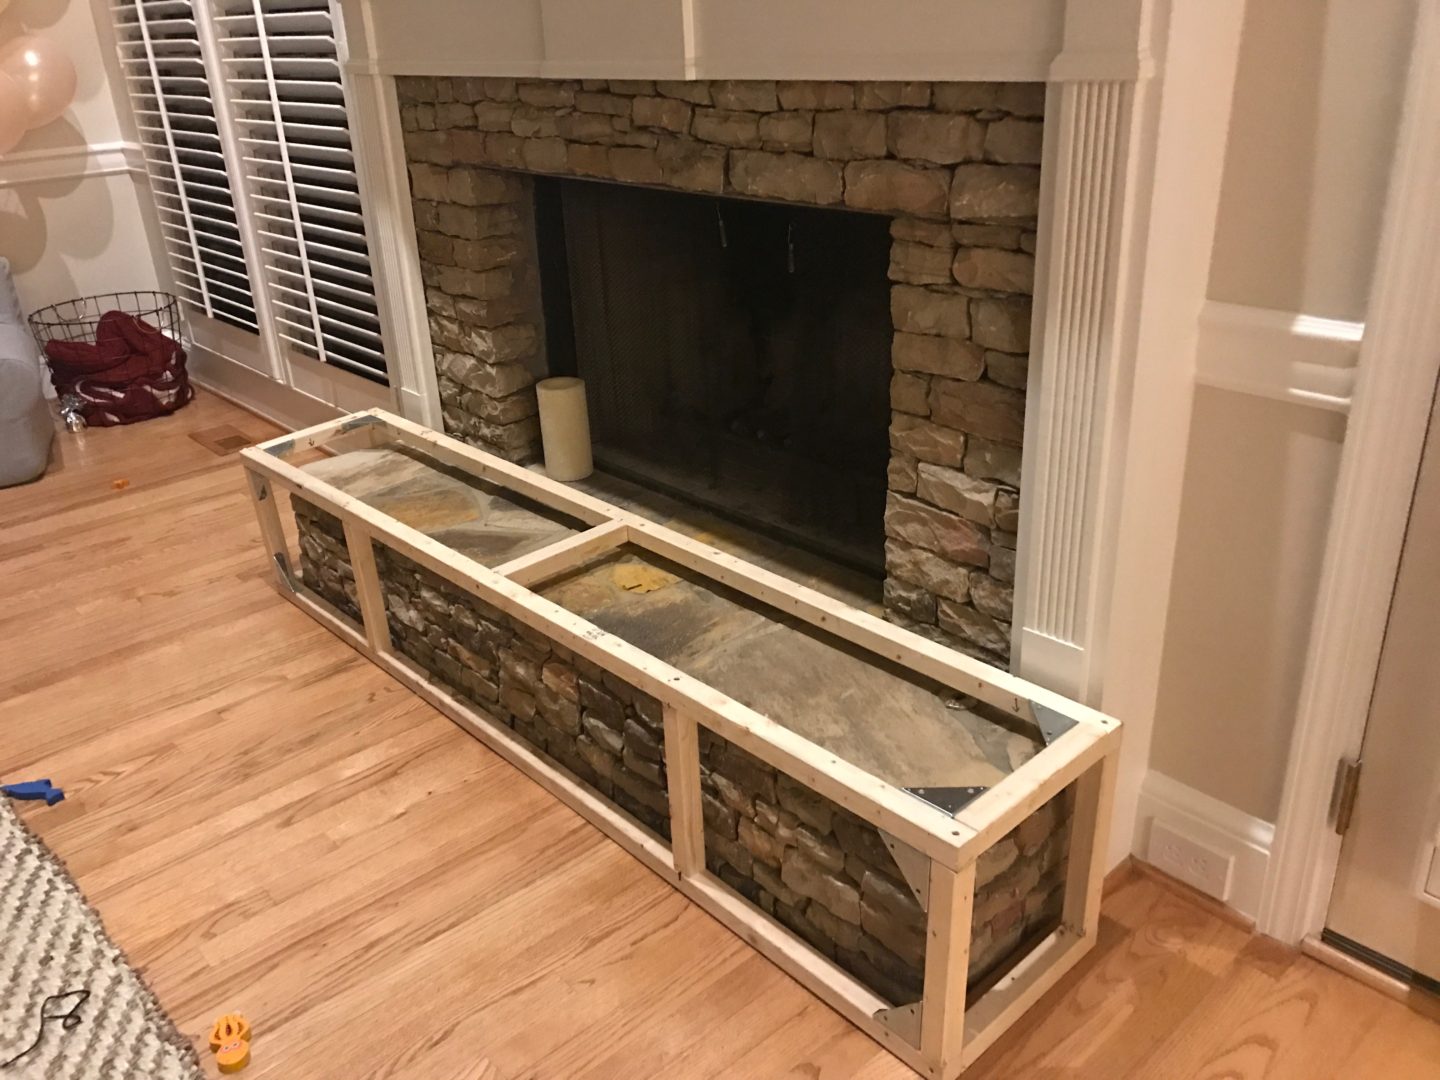
Step 4: Building the Base
With the area prepared, it’s time to start building the base of the fireplace hearth. Follow these steps to create a solid and level foundation:
- Apply Adhesive or Mortar: Using a notched trowel, apply a layer of adhesive or mortar onto the base material. Make sure to cover the entire surface evenly.
- Lay the First Row of Facing Material: Begin by placing the first row of your chosen facing material onto the adhesive or mortar. Press down firmly to ensure a secure bond.
- Check for Level: Use a level to ensure that the first row is perfectly level. Adjust as necessary by adding or removing adhesive or mortar underneath the facing material.
- Continue Building the Rows: Repeat the process for each subsequent row of facing material. Apply adhesive or mortar, press the material in place, and check for levelness after each row.
- Allow for Proper Expansion: Leave a small gap (around 1/8 inch) between each piece of facing material to allow for expansion due to heat. This will prevent cracking or shifting in the future.
- Trim and Shape: Use a tile cutter or saw to trim and shape the facing material as needed to fit the desired dimensions and design of the fireplace hearth.
Continue building the base rows until you reach the desired height. Remember to check for levelness after each row and make any necessary adjustments. Once the base is complete, you can proceed to the next step – installing the hearth on top.
Read more: How To Decorate Fireplace Hearth
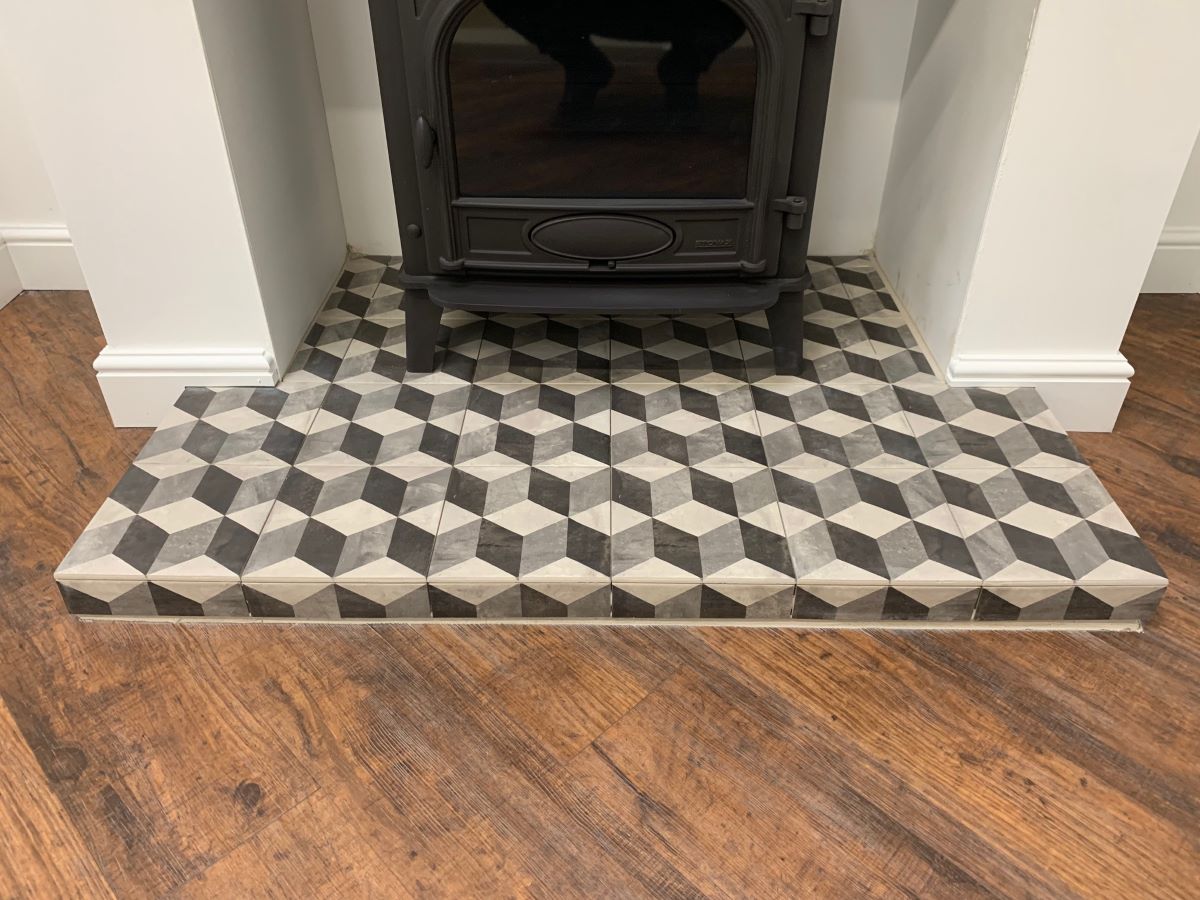
Step 5: Installing the Hearth
Now that the base of the fireplace hearth is built, it’s time to install the hearth itself. Follow these steps to ensure a secure and visually appealing installation:
- Measure and Cut the Hearth Material: Measure the dimensions of the hearth area and cut your chosen hearth material (such as a stone slab or tile) to fit.
- Prepare the Surface: Ensure that the base is clean and free of any debris. Apply a layer of adhesive or mortar on top of the base, covering the entire surface where the hearth will be placed.
- Place the Hearth Material: Carefully place the hearth material onto the adhesive or mortar, pressing it down firmly. Use a level to ensure it is perfectly horizontal and adjust as necessary.
- Secure the Hearth Material: Depending on the material and design, use screws, clips, or additional adhesive to securely fasten the hearth material to the base. Follow the manufacturer’s instructions for the specific material being used.
- Allow for Proper Curing Time: Depending on the adhesive or mortar being used, allow sufficient time for it to cure and set before moving on to the next step. This will ensure a strong and durable bond.
Once the hearth is securely installed, you can proceed to the final step – adding the finishing touches to complete the fireplace hearth.
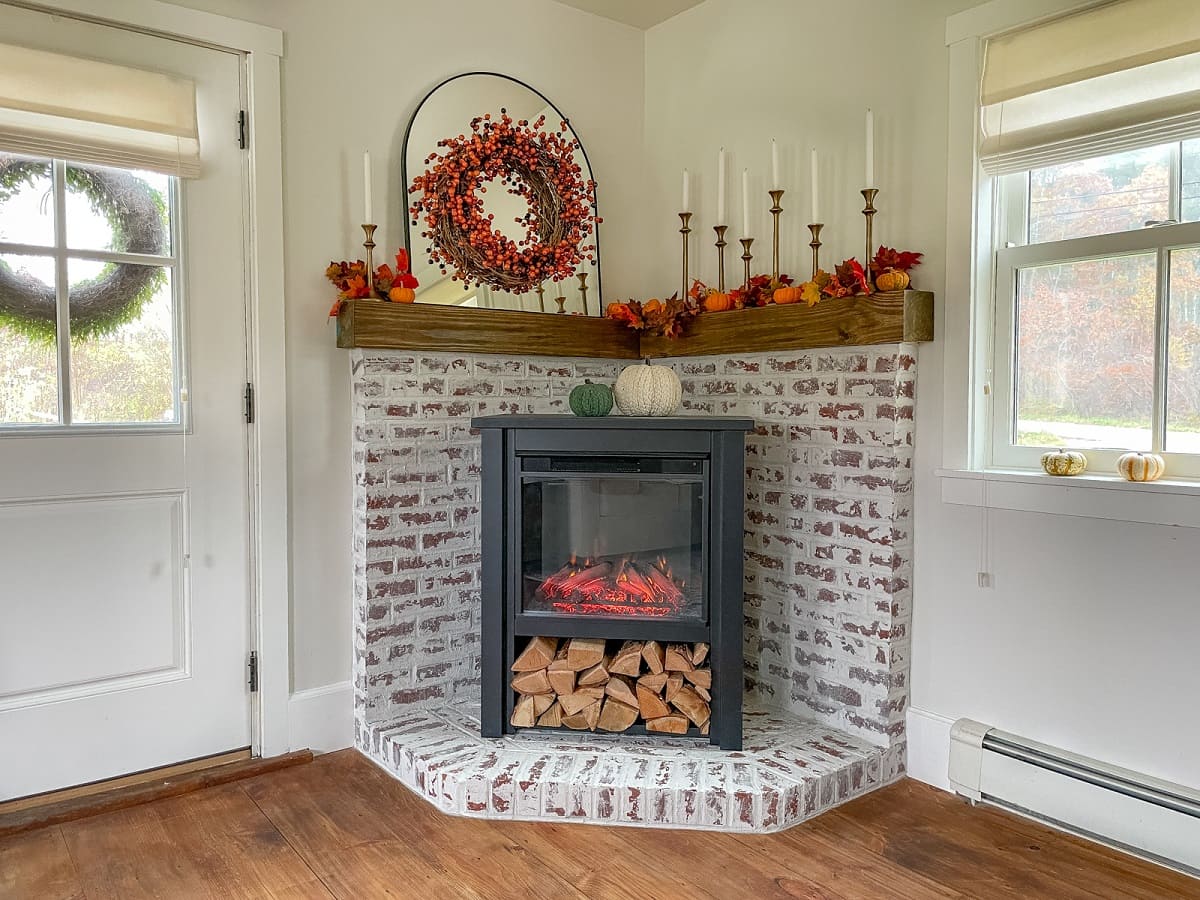
Step 6: Finishing Touches
The finishing touches of your fireplace hearth will add the final touches of elegance and style. Follow these steps to complete the project:
- Grouting: If you’ve used tiles for the facing material, fill in the gaps between the tiles with grout. Use a grout float to push the grout into the gaps, then wipe away any excess with a damp sponge.
- Clean and Seal: Clean the hearth and facing material to remove any dust, debris, or grout residue. Once clean and dry, apply a sealant to protect the material and enhance its longevity.
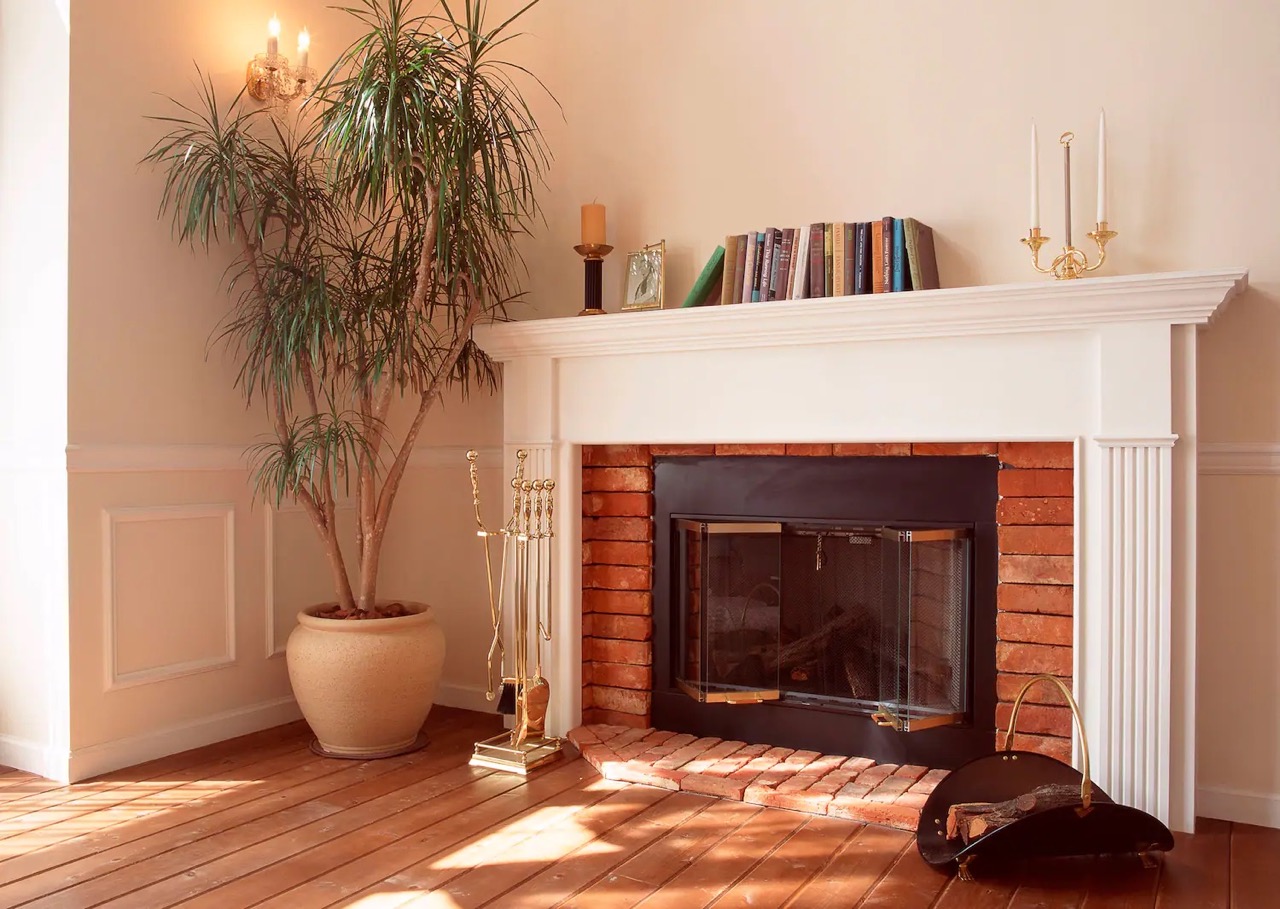
- Add Trim or Molding: If desired, install trim or molding around the edges of the fireplace hearth to give it a polished and finished look. Choose materials that complement the overall style of the room.
- Install a Mantel: Consider adding a mantel above the fireplace hearth to complete the focal point. Choose a mantel design that suits your style and complements the hearth and surrounding decor.
- Accessorize: Personalize your fireplace hearth by adding accessories such as a decorative grate, fireplace tools, or a screen. These elements not only add functionality but also enhance the overall aesthetic appeal.
- Final Inspection: Once all the finishing touches are in place, thoroughly inspect the fireplace hearth to ensure everything is secure, level, and visually pleasing. Make any necessary adjustments or repairs as needed.
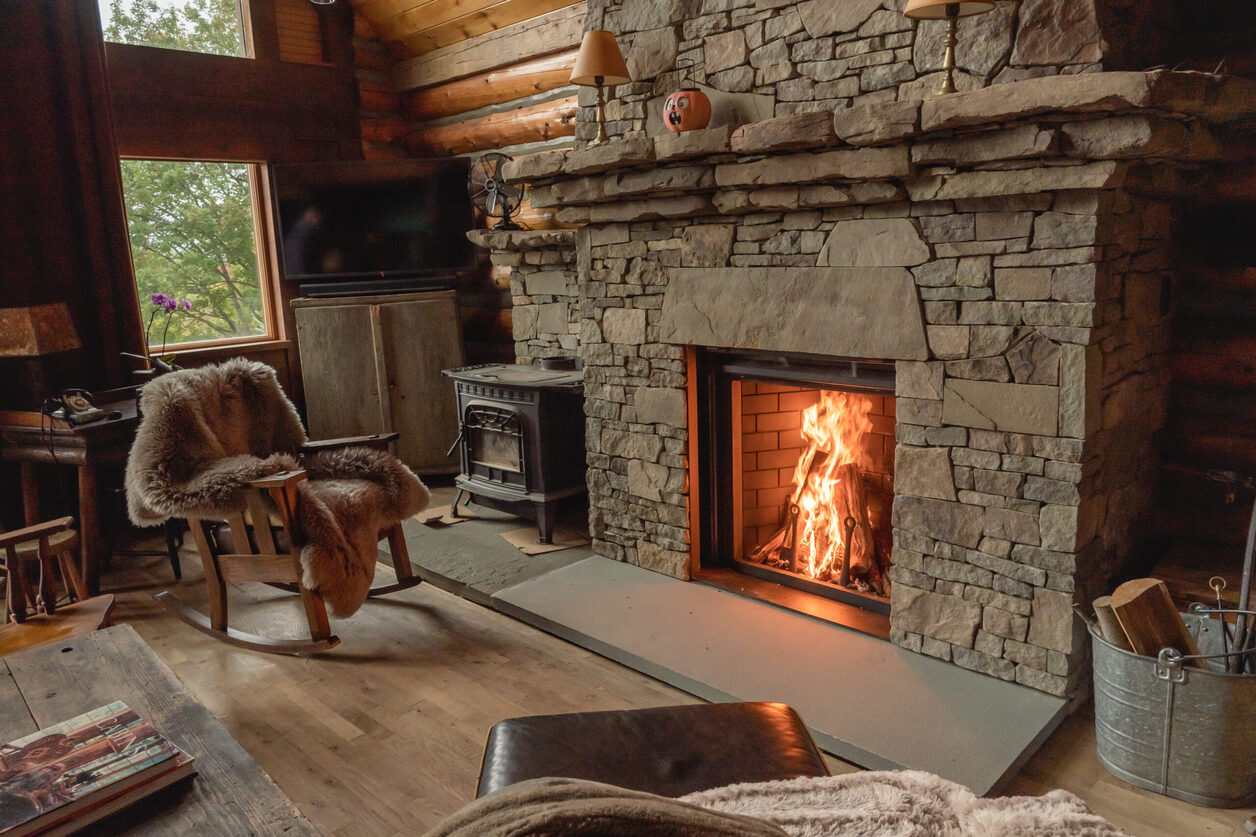
With the completion of these finishing touches, your fireplace hearth is now ready to be enjoyed. Gather around the warm glow and cozy ambiance it provides, and bask in the satisfaction of a project well done.
Conclusion
Building a fireplace hearth is a rewarding and fulfilling project that can elevate the look and feel of your home. By following the steps outlined in this guide, you can create a beautiful and functional hearth that will be the centerpiece of any room.
From the initial planning phase to the finishing touches, each step is crucial in ensuring a successful outcome. Take your time to carefully plan the location, size, and materials for your hearth. Adhere to local building codes and regulations to prioritize safety.
Gathering the right materials is essential for a sturdy and visually appealing hearth. Whether you choose brick, tile, stone, or concrete, selecting the appropriate materials will play a significant role in the durability and aesthetics of your hearth.
Preparing the area and building a solid base are fundamental steps that lay the foundation for the rest of the construction process. Take extra care to ensure a level and secure base, as it will contribute to the long-term stability of the hearth.
Installing the hearth itself requires precision and attention to detail. A properly installed hearth will not only enhance the beauty of the fireplace but also ensure its functionality and safety. Remember to use the appropriate adhesive or mortar and allow for sufficient curing time.
Finally, adding the finishing touches will truly complete your fireplace hearth. From grouting and sealing to adding trim or a mantel, these details will add a touch of sophistication and personalize the hearth to match your style.
Now that you have learned the step-by-step process of building a fireplace hearth, it’s time to embark on your own project. Enjoy the warmth, beauty, and cozy atmosphere that your newly constructed fireplace hearth brings to your home.
Now that you've got the scoop on crafting your own fireplace hearth, why not take inspiration to the next level? Dive into our collection of stunning fireplace design ideas that can transform any living space into a cozy, stylish haven. Wondering about the safety of your current setup? Don't fret; we also have a handy guide that'll help you determine fireplace safety, ensuring peace of mind with every warm, crackling fire you enjoy.
Frequently Asked Questions about How To Build A Fireplace Hearth
Was this page helpful?
At Storables.com, we guarantee accurate and reliable information. Our content, validated by Expert Board Contributors, is crafted following stringent Editorial Policies. We're committed to providing you with well-researched, expert-backed insights for all your informational needs.

0 thoughts on “How To Build A Fireplace Hearth”