Home>Construction & Tools>Building Materials>How To Remove A Brick Hearth
Building Materials
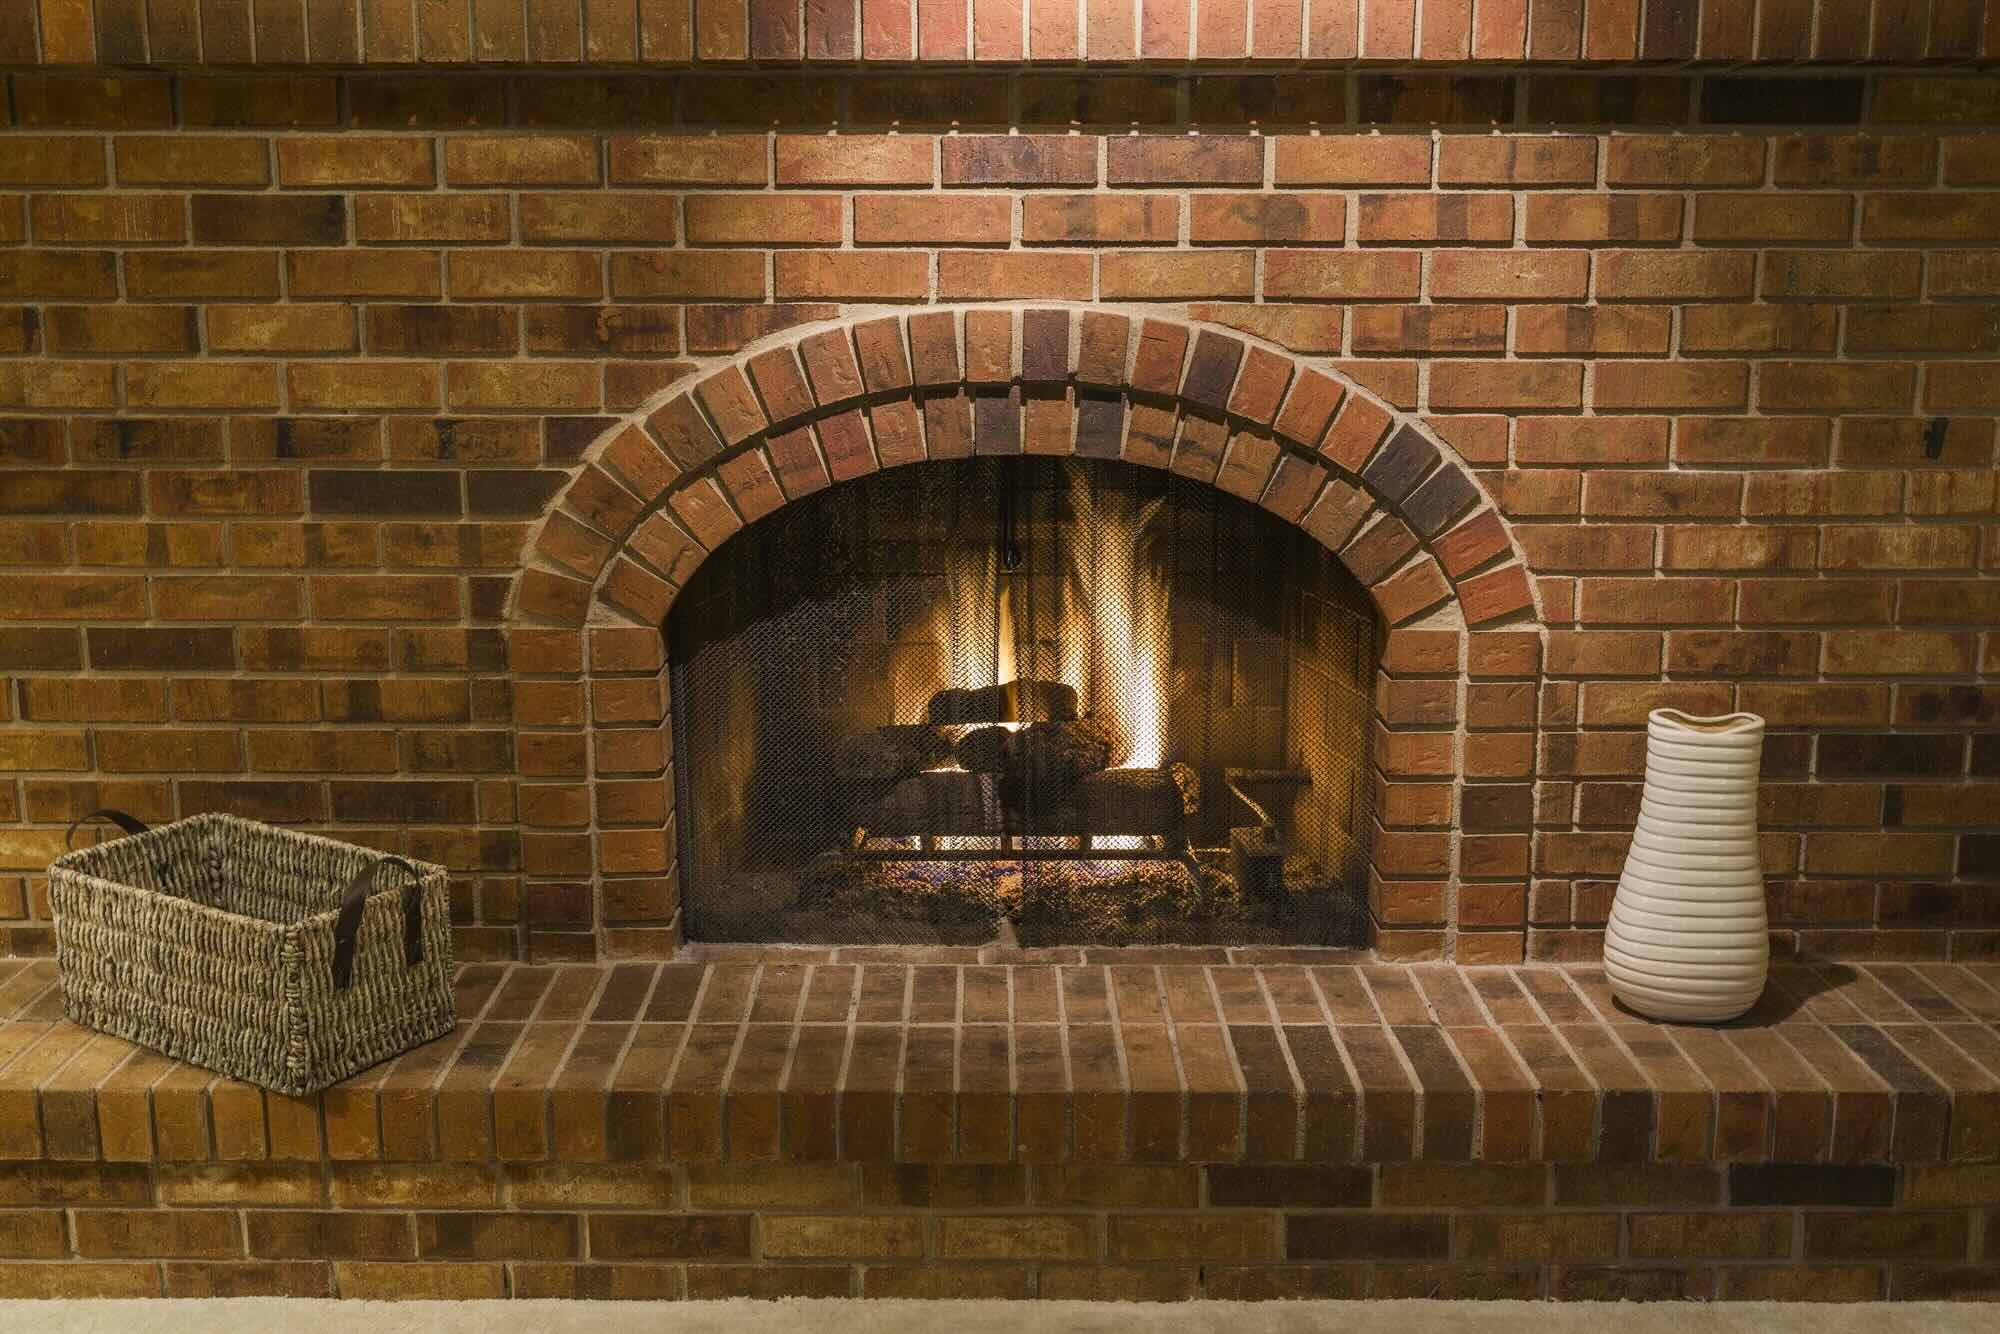
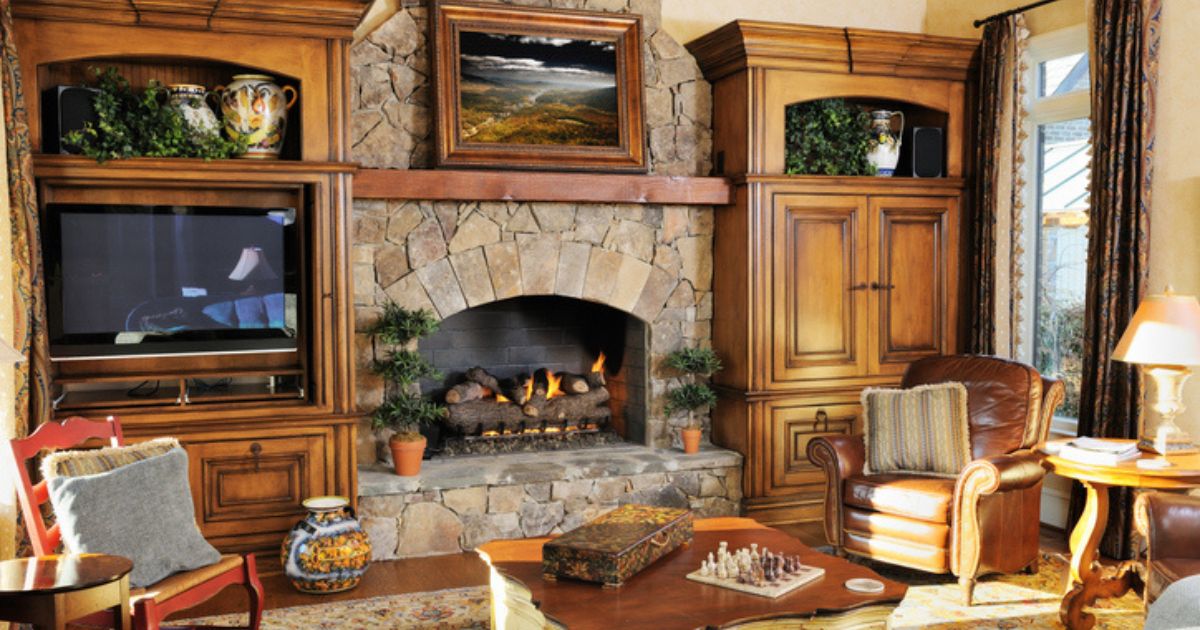
How To Remove A Brick Hearth
Published: January 23, 2024
Learn how to remove a brick hearth with our step-by-step guide. Safely dismantle this building materials feature with expert tips and techniques.
(Many of the links in this article redirect to a specific reviewed product. Your purchase of these products through affiliate links helps to generate commission for Storables.com, at no extra cost. Learn more)
Introduction
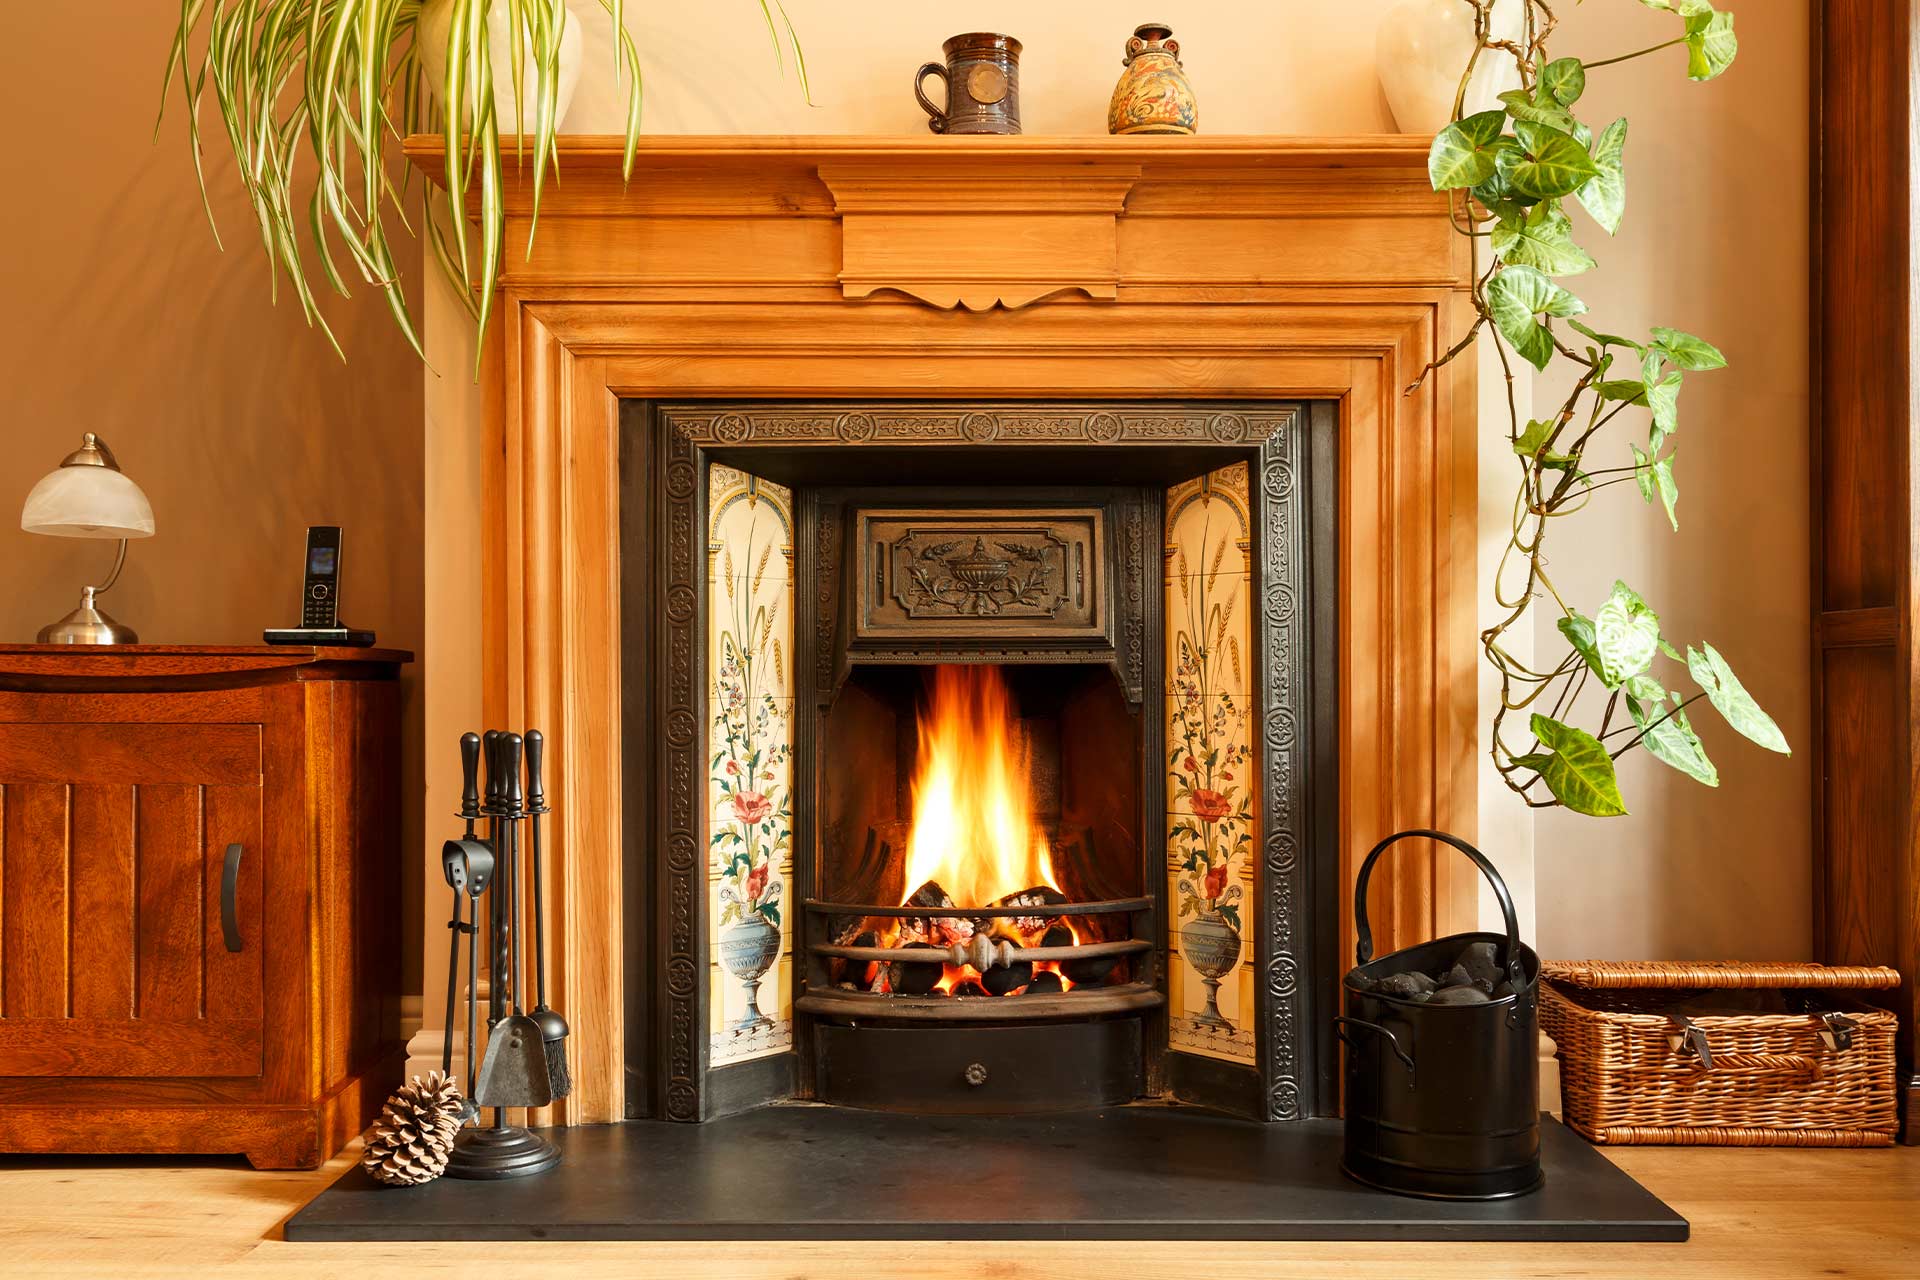
Removing a brick hearth can be a daunting task, but with the right tools and know-how, it’s a project that can be tackled with confidence. Whether you’re renovating your home or simply looking to update the look of your fireplace, removing a brick hearth is a significant step in the process. By following a few key steps and safety precautions, you can successfully remove a brick hearth and prepare the area for the next phase of your project.
In this comprehensive guide, we’ll walk through the essential steps to safely and effectively remove a brick hearth. From gathering the necessary materials to cleaning up the work area, you’ll gain valuable insights into the process. By the end of this guide, you’ll have the knowledge and confidence to tackle this project with ease.
Key Takeaways:
- Safety first! Gather the right tools and materials, protect the area, and dispose of debris properly to remove a brick hearth safely and efficiently.
- Careful planning and attention to detail are crucial. Inspect, clean, and prepare the area thoroughly for a successful brick hearth removal project.
Read more: How To Build A Brick Hearth
Step 1: Gather Your Materials
Before you begin the process of removing a brick hearth, it’s crucial to gather the necessary materials and tools. Having the right equipment at your disposal will not only make the job easier but also contribute to a safer work environment. Here’s a list of essential materials and tools you’ll need:
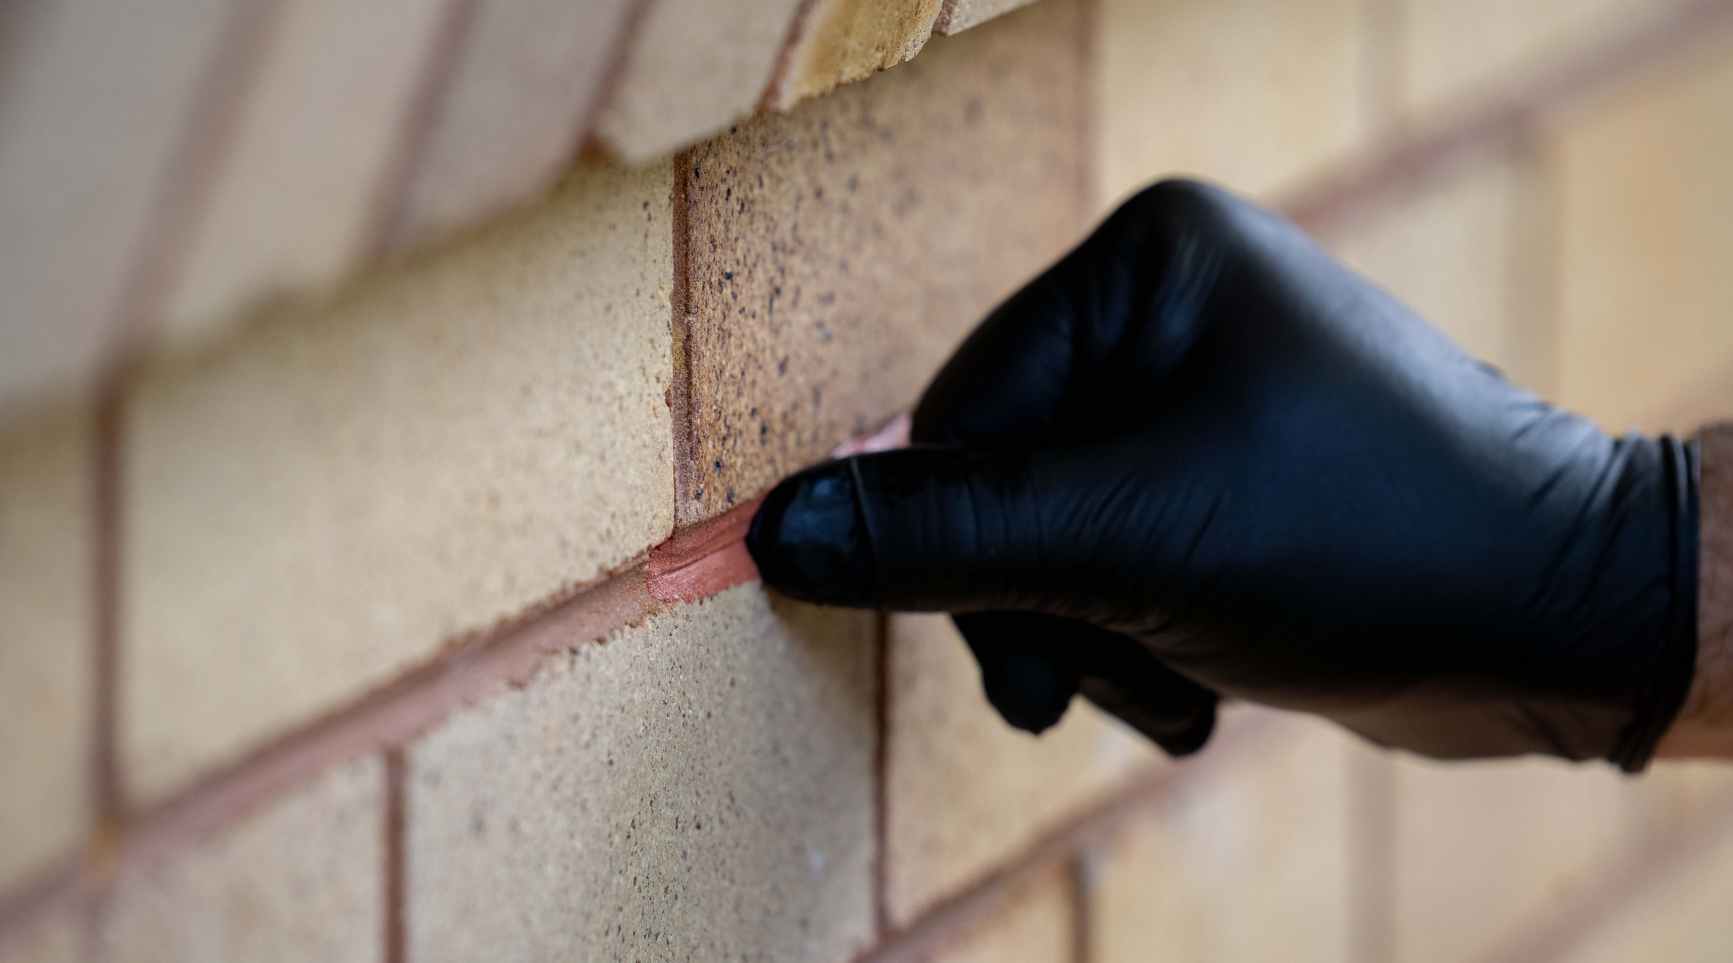
- Safety Gear: Prioritize safety by wearing protective gear, including safety goggles, work gloves, and a dust mask. This will shield you from potential eye injuries, dust, and debris.
- Demolition Tools: Equip yourself with a sledgehammer and a pry bar. These tools are essential for breaking and removing the bricks efficiently.
- Container for Debris: Prepare a sturdy container or heavy-duty bags to collect and dispose of the removed bricks and debris. Keeping the work area clean and organized is key to a smooth removal process.
- Utility Knife: A utility knife will come in handy for cutting and removing any caulking or sealant around the hearth.
- Protective Coverings: Safeguard surrounding surfaces and flooring by using drop cloths or plastic sheeting to prevent damage during the demolition process.
- Waste Disposal: Arrange for proper waste disposal, whether through a dumpster rental or a designated debris disposal service. Compliance with local waste disposal regulations is essential.
By ensuring that you have all the necessary materials and tools in place, you’ll be well-prepared to begin the process of removing the brick hearth efficiently and safely.
Step 2: Prepare the Area
Before diving into the removal of the brick hearth, it’s crucial to prepare the surrounding area to minimize potential damage and ensure a smooth demolition process. Here are the essential steps to prepare the area:
- Clear the Surrounding Space: Remove any furniture, decor, or objects near the hearth to create a clear, unobstructed workspace. This will prevent accidental damage and provide ample room to maneuver during the removal process.
- Protect Adjacent Surfaces: Safeguard nearby walls and flooring by covering them with heavy-duty drop cloths or plastic sheeting. This precaution will prevent accidental scratches, dents, or debris accumulation on surrounding surfaces.
- Turn off Utilities: If your hearth is connected to gas lines or electrical sources, ensure that these utilities are safely turned off before proceeding with the removal. Safety should always be a top priority when working around utilities.
- Ventilation: Ensure proper ventilation in the work area by opening windows and using fans to minimize dust accumulation. This will create a more comfortable and safer environment for the removal process.
- Secure Work Zone: Establish a designated work zone around the hearth and communicate the boundaries to others in the household. Clear communication and restricted access to the work area will enhance safety and focus during the removal process.
By thoroughly preparing the area before initiating the removal process, you’ll create a safer and more organized environment for the task at hand. These preparatory steps are essential for a successful and efficient brick hearth removal project.
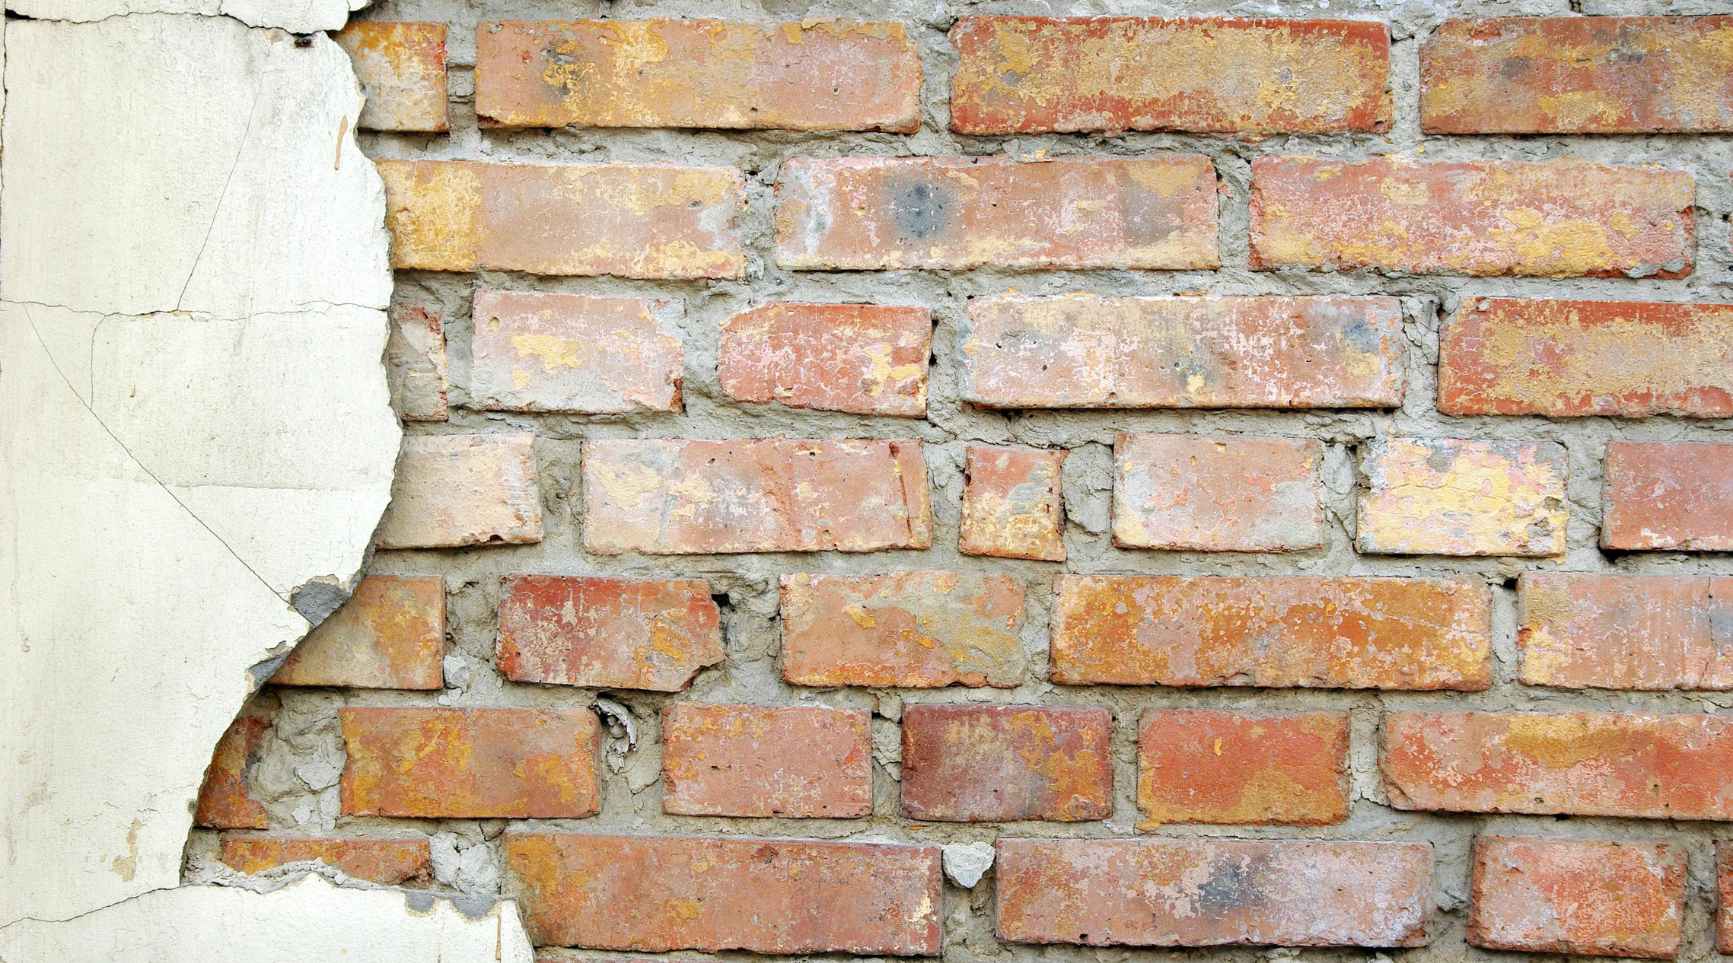
Before removing a brick hearth, make sure to wear protective gear such as gloves and goggles. Use a sledgehammer to carefully break up the bricks, starting from the top and working your way down. Dispose of the debris properly.
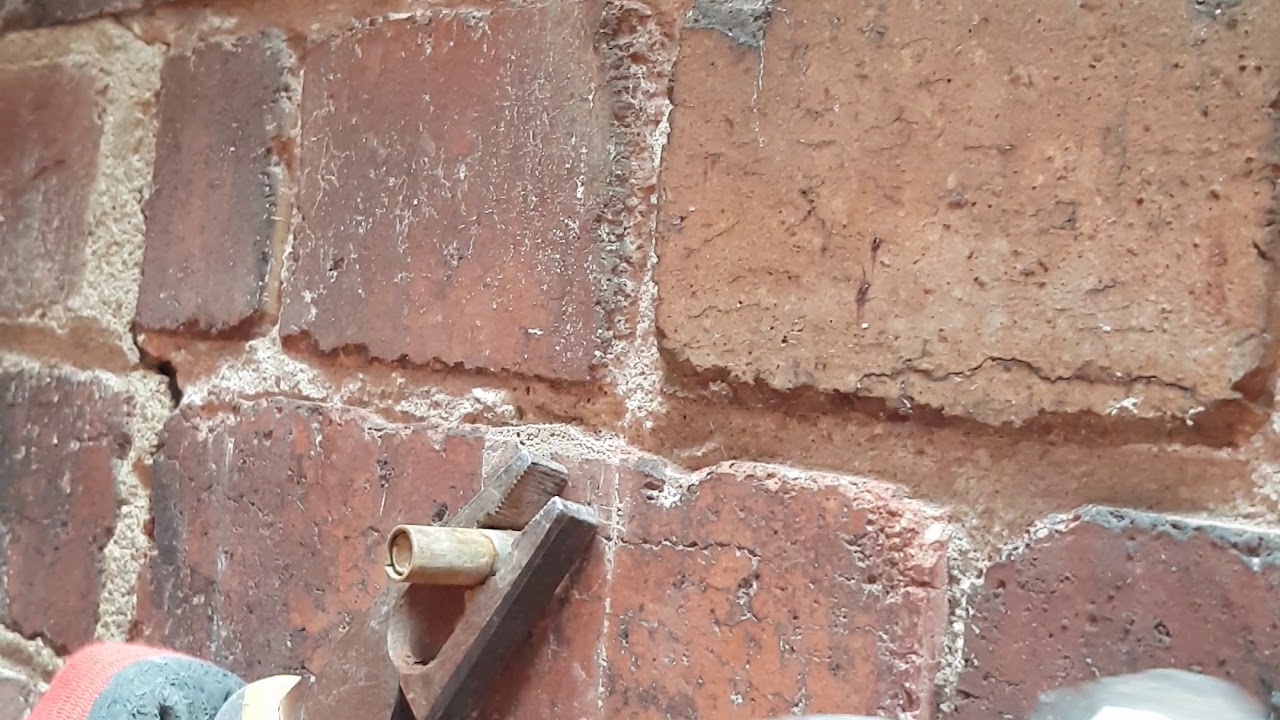
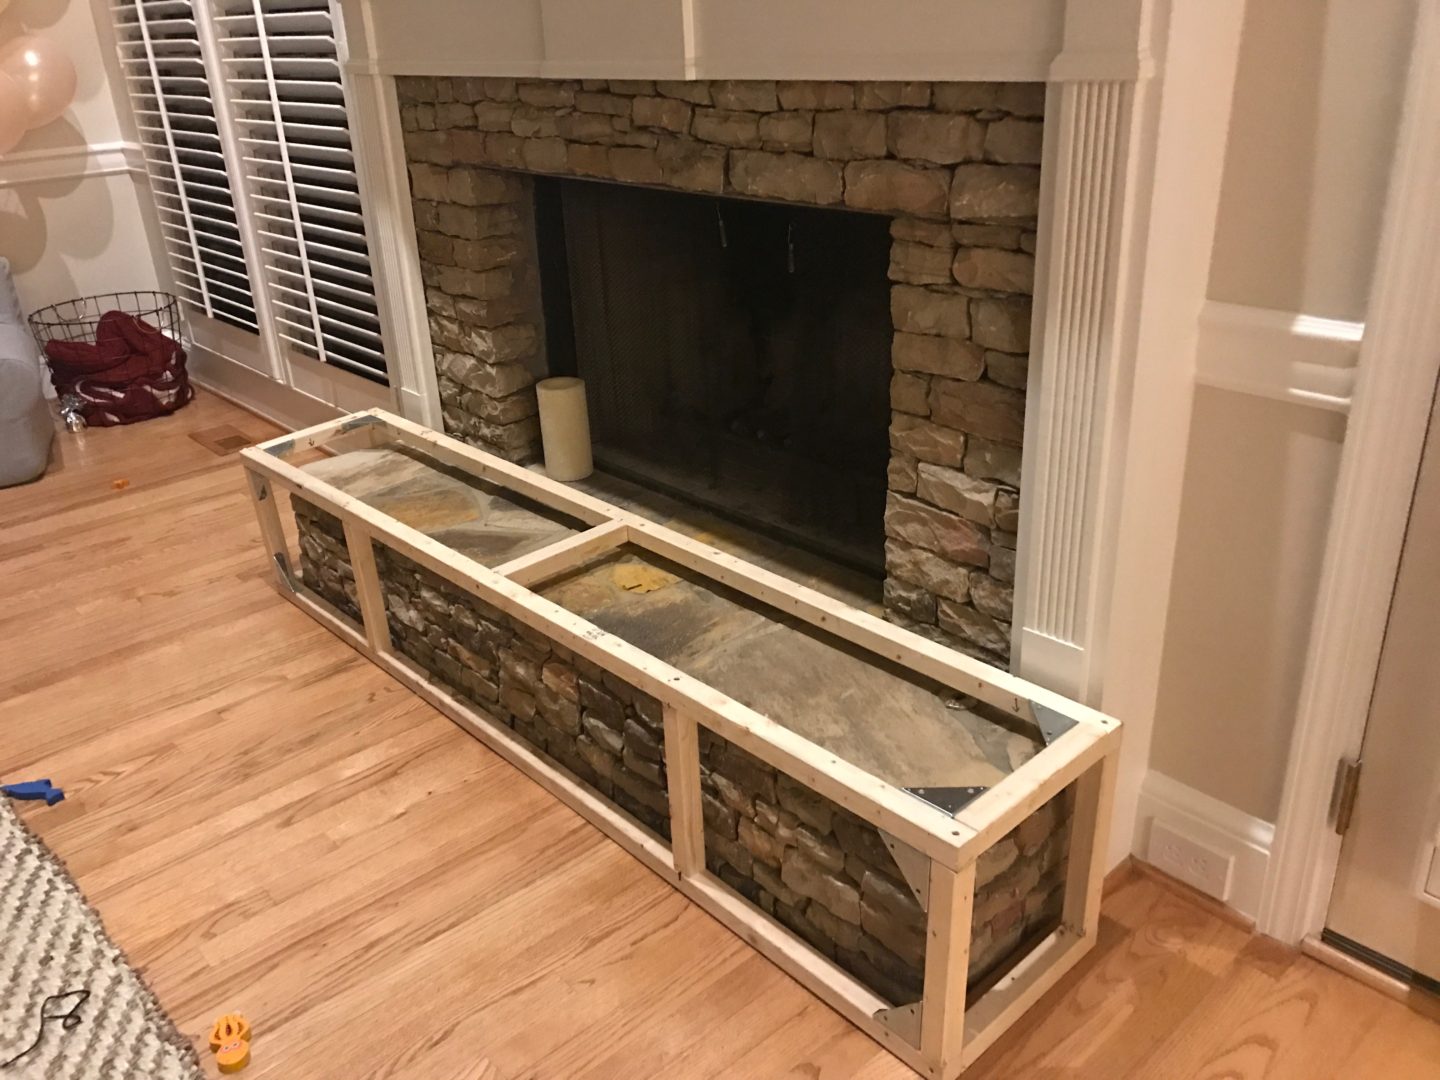
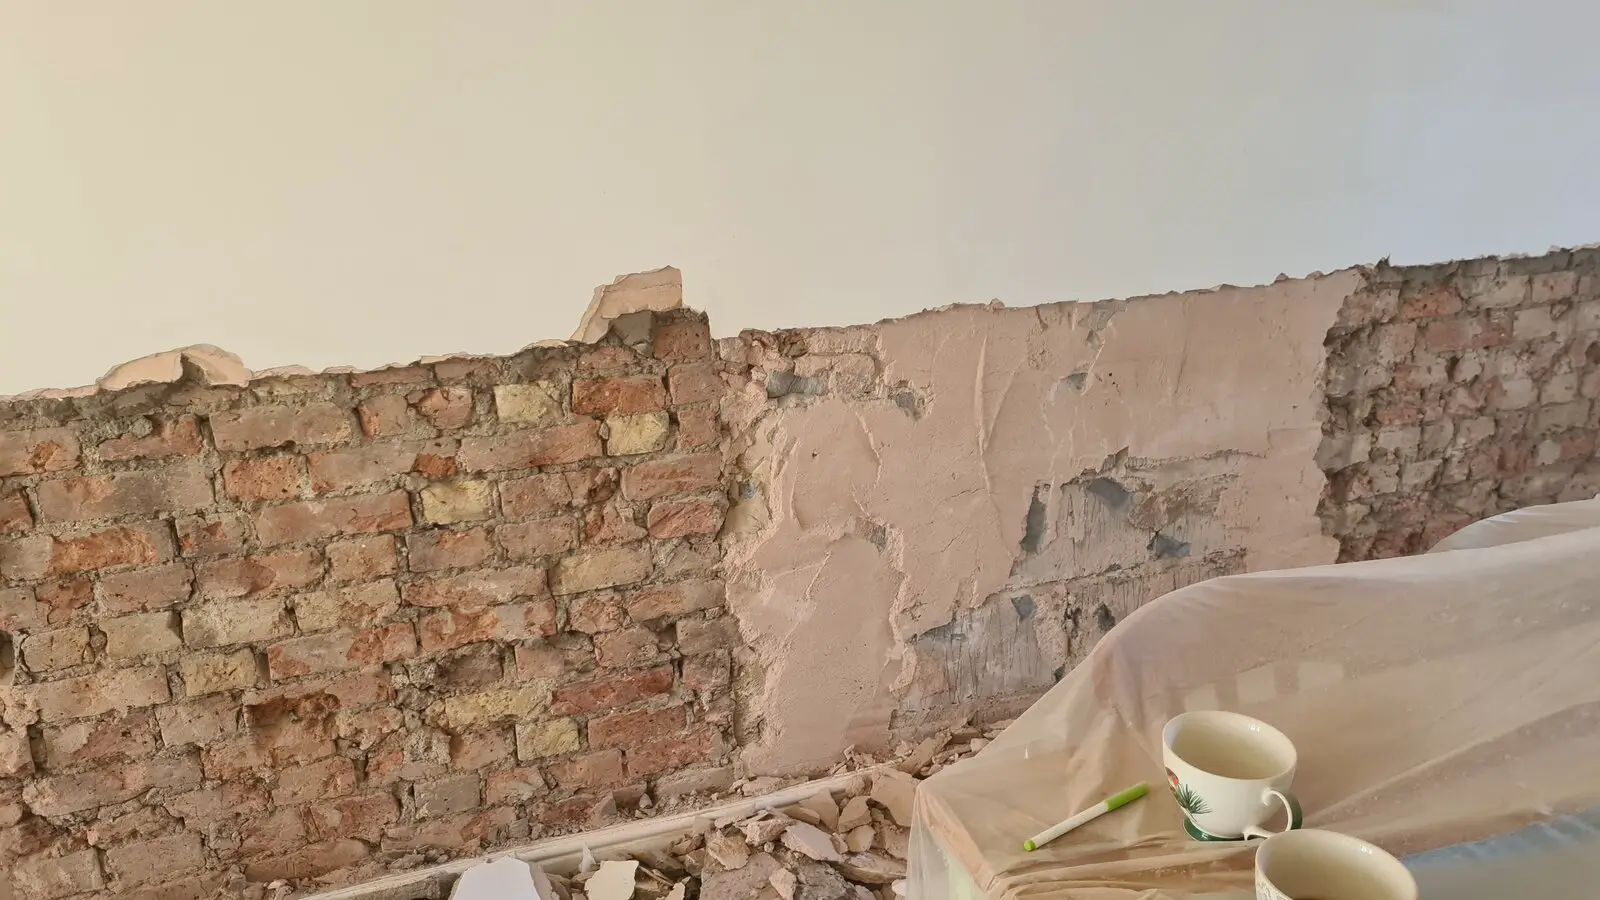
Step 3: Remove the Bricks
With the area prepared and the necessary materials at hand, it’s time to embark on the removal of the bricks comprising the hearth. This step requires careful execution and attention to detail to ensure a smooth and effective demolition process. Here’s a comprehensive guide to removing the bricks from the hearth:
- Inspect and Clear Surrounding Grout: Begin by inspecting the grout between the bricks. Use a utility knife to carefully cut and remove any caulking or sealant around the perimeter of the hearth. This will facilitate the subsequent brick removal process.
- Start with the Top Layer: Using a pry bar, gently start removing the top layer of bricks. Exercise caution to avoid unnecessary force that may damage the surrounding area. Once the top layer is loosened, carefully lift and remove the bricks, placing them in the designated debris container.
- Continue to Lower Layers: Proceed to remove the subsequent layers of bricks by employing the same method of using the pry bar to loosen the bricks and then carefully lifting and disposing of them. Exercise patience and precision to prevent unnecessary damage to the underlying structure.
- Clear Debris and Clean: As the bricks are removed, periodically clear away debris to maintain a tidy work area. Once all the bricks are successfully removed, thoroughly clean the area to prepare it for the next phase of your project.
- Dispose of Debris: Properly dispose of the removed bricks and debris in accordance with local waste disposal regulations. If the bricks are salvageable, consider recycling or repurposing them for future projects.
By following these steps with care and precision, you can effectively remove the bricks from the hearth, setting the stage for the next phase of your renovation or remodeling project.
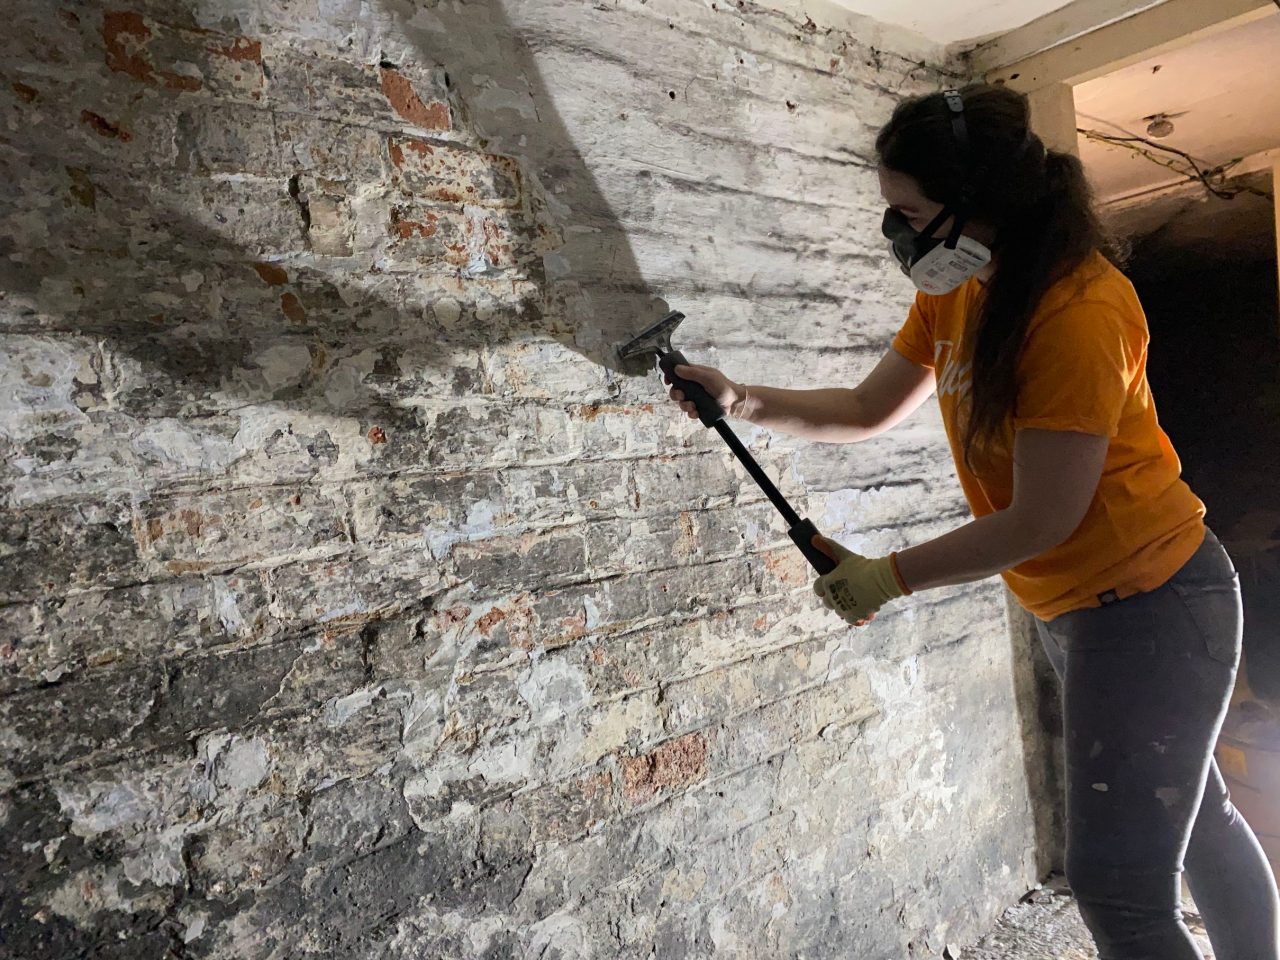
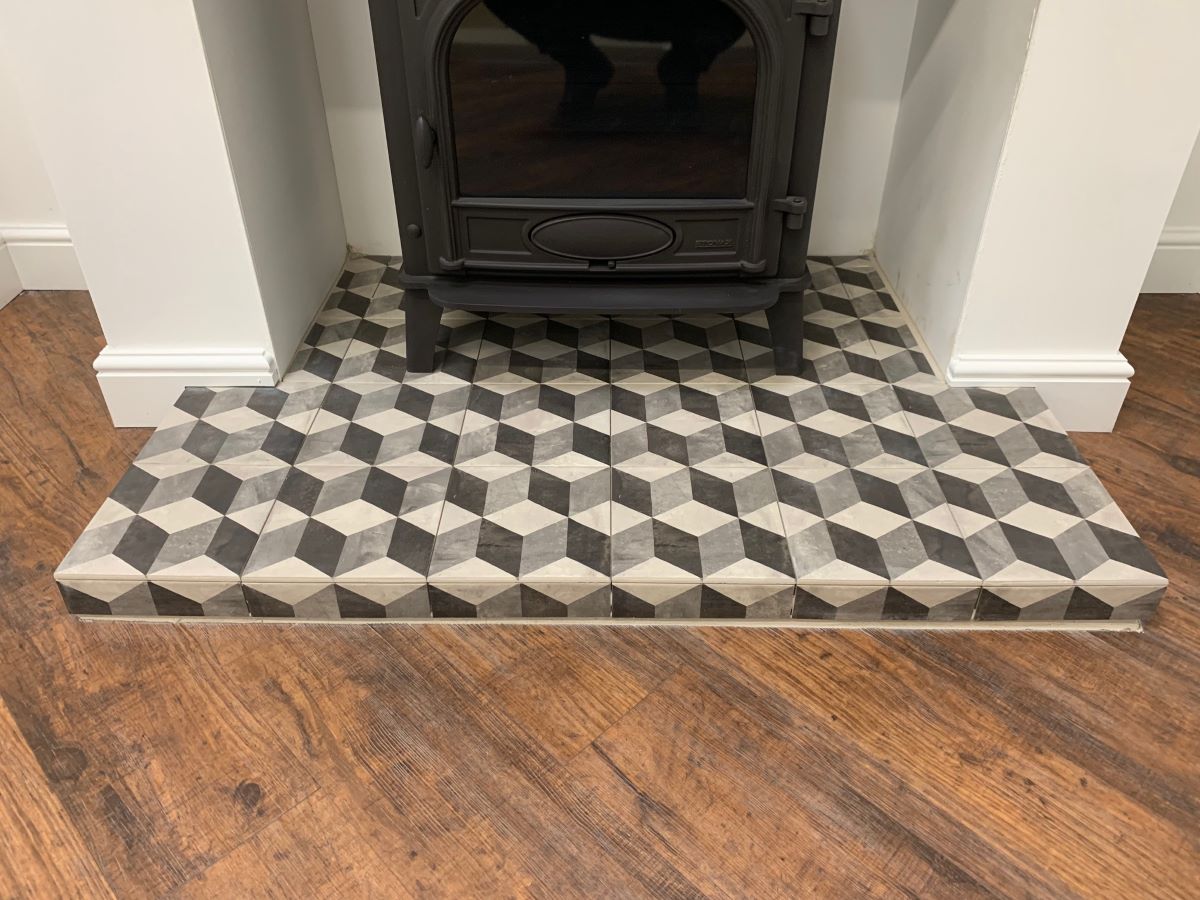
Step 4: Clean Up
After the bricks have been successfully removed, it’s essential to focus on thorough clean-up to ensure that the work area is restored to its pre-demolition state. Effective clean-up not only enhances the visual appeal of the space but also sets the stage for the subsequent phases of your project. Here’s a detailed guide to the clean-up process:
- Remove Residual Debris: Begin by clearing any remaining debris, dust, and loose particles from the work area. Use a broom and dustpan to sweep the floor and surrounding surfaces, ensuring that all traces of debris are effectively removed.
- Inspect for Residue: Thoroughly inspect the area for any residual grout, adhesive, or caulking that may have been left behind during the brick removal process. Use a scraper or appropriate solvent to remove any stubborn residue from the surfaces.
- Clean Surfaces: Once the debris and residue have been cleared, proceed to clean the surfaces surrounding the hearth. Depending on the material of the flooring and adjacent walls, use appropriate cleaning agents to restore the cleanliness of the area.
- Inspect for Structural Integrity: Take this opportunity to inspect the underlying structure for any signs of damage or wear. Address any concerns promptly to ensure that the area is structurally sound for the next phase of your project.
- Dispose of Waste: Ensure that all debris and waste materials are disposed of in compliance with local regulations. If there are salvageable materials, consider recycling or repurposing them to minimize environmental impact.
By meticulously executing the clean-up process, you’ll not only restore the area to its original condition but also pave the way for a seamless transition to the subsequent stages of your renovation or remodeling endeavor.
Read more: How To Remove A Paver Brick
Conclusion
Removing a brick hearth is a significant undertaking that requires careful planning, attention to detail, and a focus on safety. By following the essential steps outlined in this guide, you can confidently tackle the task of removing a brick hearth while ensuring a successful outcome. From gathering the necessary materials to preparing the area, removing the bricks, and conducting a thorough clean-up, each step plays a crucial role in the overall process.
Throughout the project, prioritizing safety and maintaining a clean and organized work environment are paramount. By wearing appropriate safety gear, protecting surrounding surfaces, and adhering to proper waste disposal practices, you can enhance both the safety and efficiency of the brick hearth removal process.
Additionally, taking the time to inspect the surrounding area for any structural concerns and addressing them promptly contributes to the overall success of the project. Whether you’re renovating your home or updating the look of your fireplace, the careful execution of each step ensures that the removal of the brick hearth sets the stage for the next phase of your project.
By following this comprehensive guide, you’ve gained valuable insights into the process of removing a brick hearth, equipping you with the knowledge and confidence to undertake this project with ease. With the hearth removed and the area cleaned and prepared, you’re now ready to proceed with the subsequent stages of your renovation or remodeling endeavor, bringing your vision to life.
Remember, each step of the process contributes to the overall success of your project, and by approaching the removal of a brick hearth with patience, precision, and a focus on safety, you’re well on your way to achieving your desired results.
Frequently Asked Questions about How To Remove A Brick Hearth
Was this page helpful?
At Storables.com, we guarantee accurate and reliable information. Our content, validated by Expert Board Contributors, is crafted following stringent Editorial Policies. We're committed to providing you with well-researched, expert-backed insights for all your informational needs.


0 thoughts on “How To Remove A Brick Hearth”