Articles
How To Remove A Fireplace Hearth
Modified: December 7, 2023
Learn how to remove a fireplace hearth with these helpful articles. Get step-by-step instructions and expert tips for a successful fireplace hearth removal.
(Many of the links in this article redirect to a specific reviewed product. Your purchase of these products through affiliate links helps to generate commission for Storables.com, at no extra cost. Learn more)
Introduction
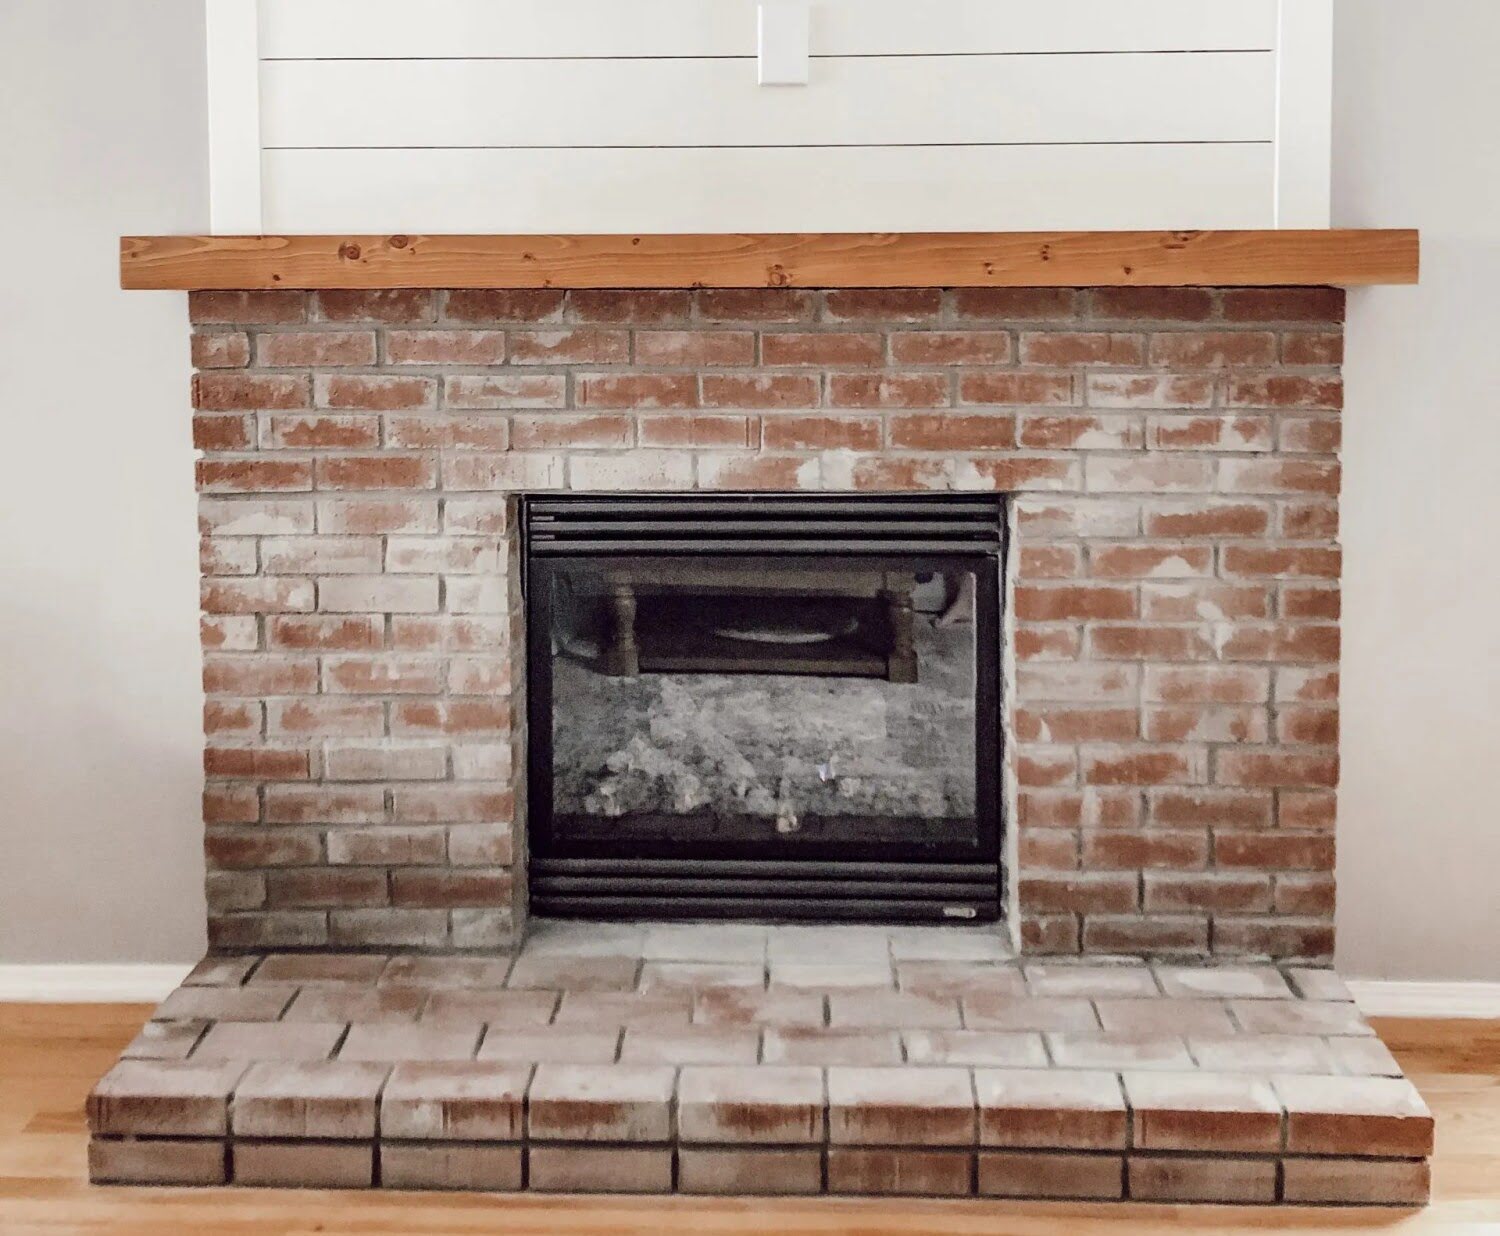
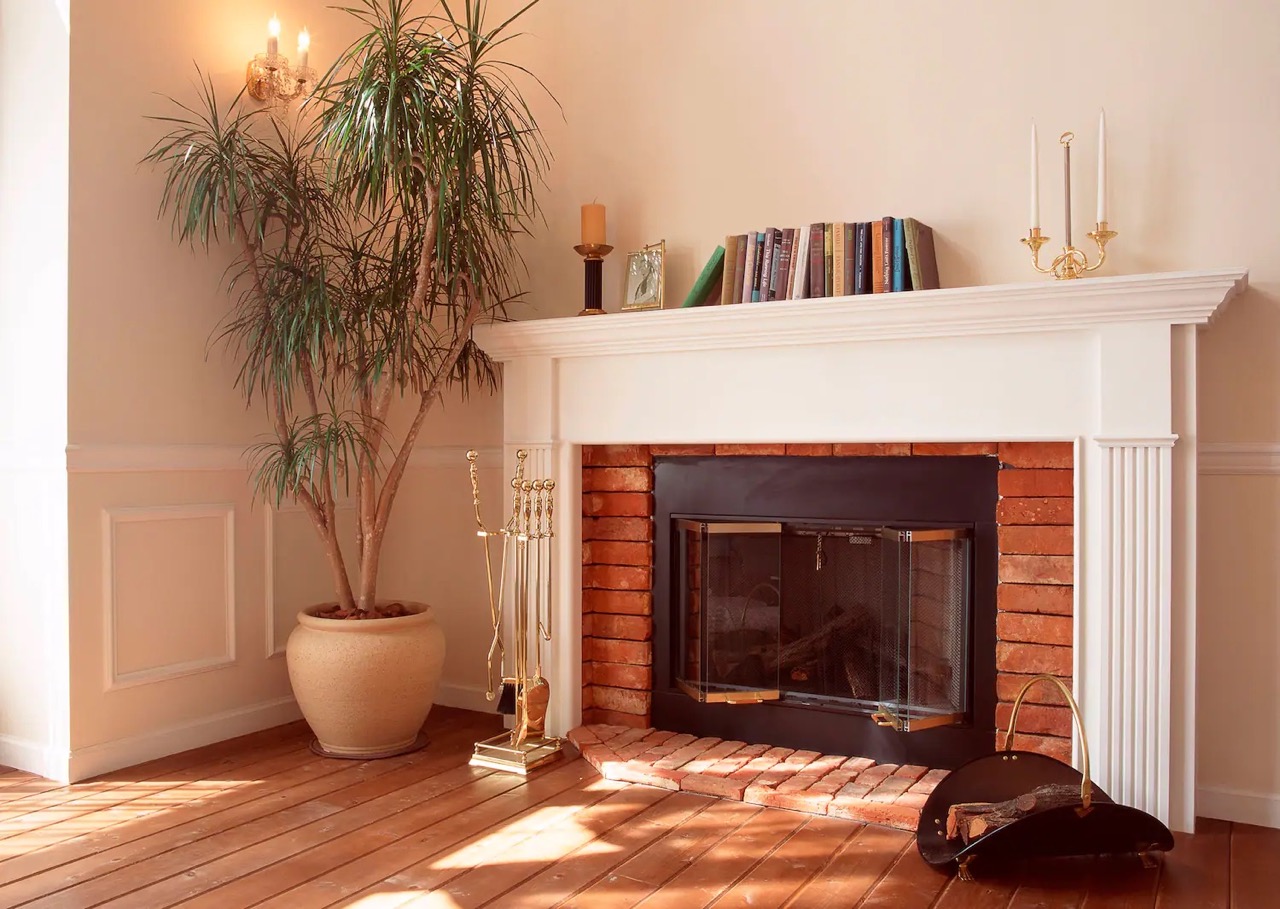
The fireplace hearth is an integral part of any fireplace, providing both functionality and aesthetic appeal. However, there may come a time when you need to remove the hearth for various reasons, such as renovating your living space or replacing a worn-out hearth. While the process of removing a fireplace hearth may seem daunting, with the right tools and steps, it can be easily accomplished.
In this article, we will guide you through the step-by-step process of removing a fireplace hearth. From gathering the necessary tools to cleaning up after the removal, we will cover all the essential details to ensure a smooth and successful project. So, grab your safety goggles and gloves, and let’s get started!
Key Takeaways:
- Easily remove a fireplace hearth by gathering tools, preparing the area, disconnecting gas/electric connections, and lifting the hearth with caution. Clean up and restore the fireplace for a polished finish.
- Prioritize safety and patience when removing a fireplace hearth. Prepare the area, assess flooring, and finish the fireplace to create a visually appealing and functional space.
Read more: What Is The Hearth On A Fireplace
Step 1: Gather the necessary tools and materials
Before you begin removing the fireplace hearth, it’s important to gather all the necessary tools and materials. Having everything on hand will make the process more efficient and ensure your safety throughout the project. Here are the tools and materials you will need:
- Safety goggles: Protect your eyes from any flying debris or dust that may occur during the removal process.
- Gloves: Wear gloves to provide a barrier between your hands and any sharp edges or potential hazards.
- Pry bar: This tool will be used to gently pry and loosen the hearth from the surrounding area.
- Hammer: A hammer will come in handy for tapping the pry bar and helping to loosen stubborn parts of the hearth.
- Measuring tape: Use a measuring tape to determine the size and dimensions of the hearth, which may be useful for future replacements.
- Drop cloth: Lay down a drop cloth or protective covering to prevent any damage or debris from getting onto the surrounding floor or furniture.
- Vacuum cleaner: Keep a vacuum cleaner nearby to quickly clean up any debris or dust as you work.
Gathering these tools and materials in advance will ensure that you have everything you need to safely and effectively remove the fireplace hearth.
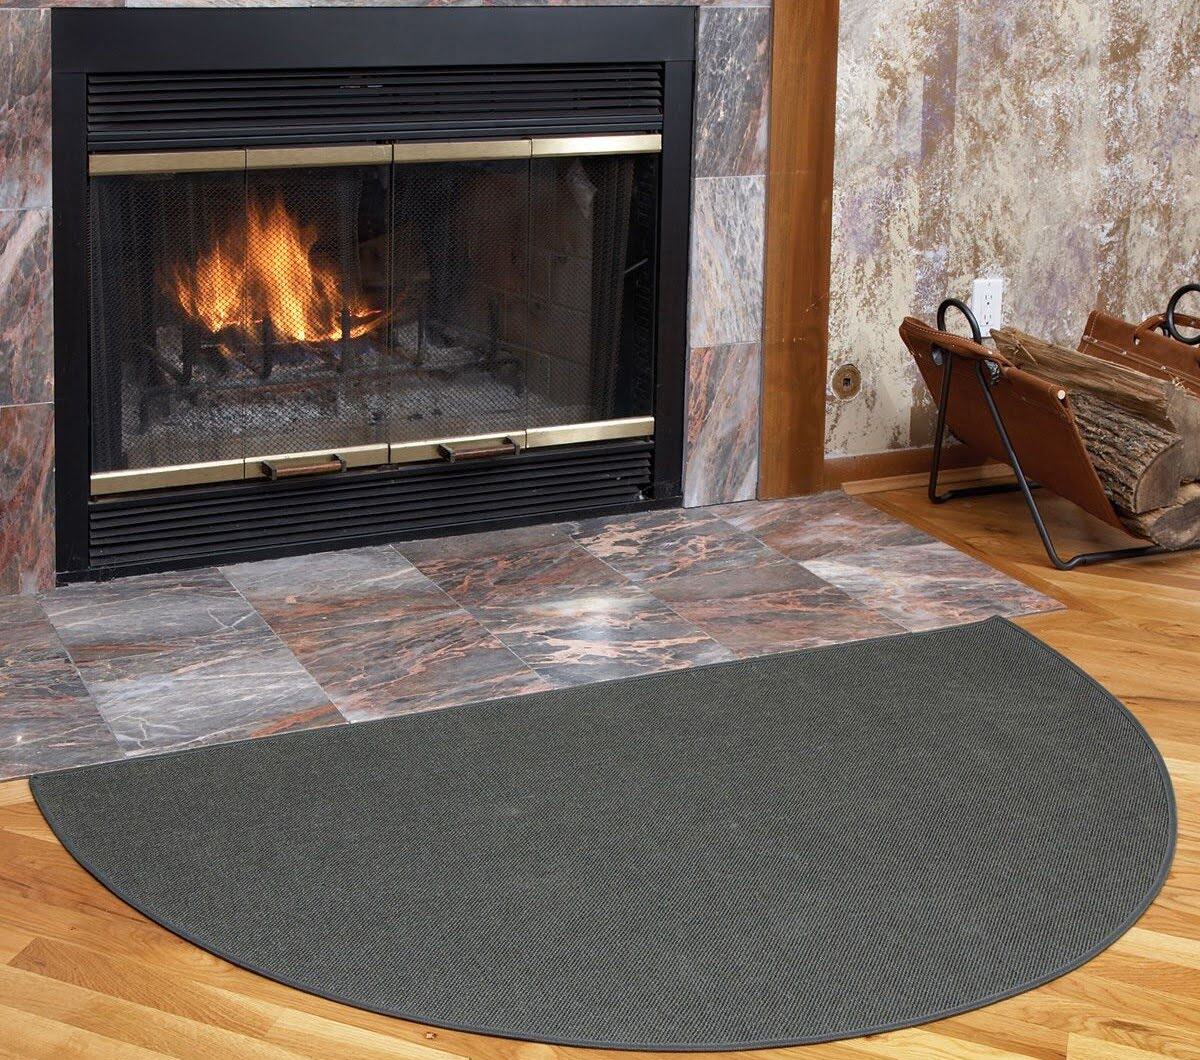
Step 2: Prepare the area
Before you start removing the fireplace hearth, it’s important to prepare the surrounding area. This will help prevent any damage to furniture, rugs, or the floor itself. Here’s what you need to do:
- Clear out any furniture or rugs around the fireplace hearth: Move any nearby furniture, decorations, or rugs away from the hearth. This will create a clear workspace and prevent any accidental damage or obstruction during the removal process.
- Lay down a drop cloth to protect the floor: Place a drop cloth or protective covering on the floor around the hearth area. This will catch any debris, dust, or adhesive that may fall during the removal process, ensuring that your floor remains clean and undamaged.
By taking the time to prepare the area, you’ll create a safe and organized workspace for removing the fireplace hearth. This will make the process easier and help preserve the condition of the surrounding items and flooring.
Step 3: Disconnect gas or electric connections (if applicable)
Before proceeding with the removal of the fireplace hearth, it’s crucial to disconnect any gas or electric connections if your fireplace has them. This step ensures your safety and prevents any potential accidents. Here’s what you need to do:
- Turn off the gas supply valve or disconnect the electric power source: If your fireplace is connected to a gas supply, locate the gas supply valve and turn it off. This will prevent any gas leakage during the hearth removal. If your fireplace is electric, find the power source and disconnect it to cut off the electricity. This step will ensure that there is no risk of electrical shock.
- If unsure, consult a professional for assistance: If you are uncertain about how to safely disconnect the gas or electric connections, it’s best to seek the help of a professional. They have the expertise and knowledge to handle these tasks safely and can guide you through the process.
By disconnecting the gas or electric connections, you eliminate any potential hazards and ensure a safe working environment during the removal of the fireplace hearth. Safety should always be a top priority when working with gas or electricity, so take the necessary precautions before proceeding.
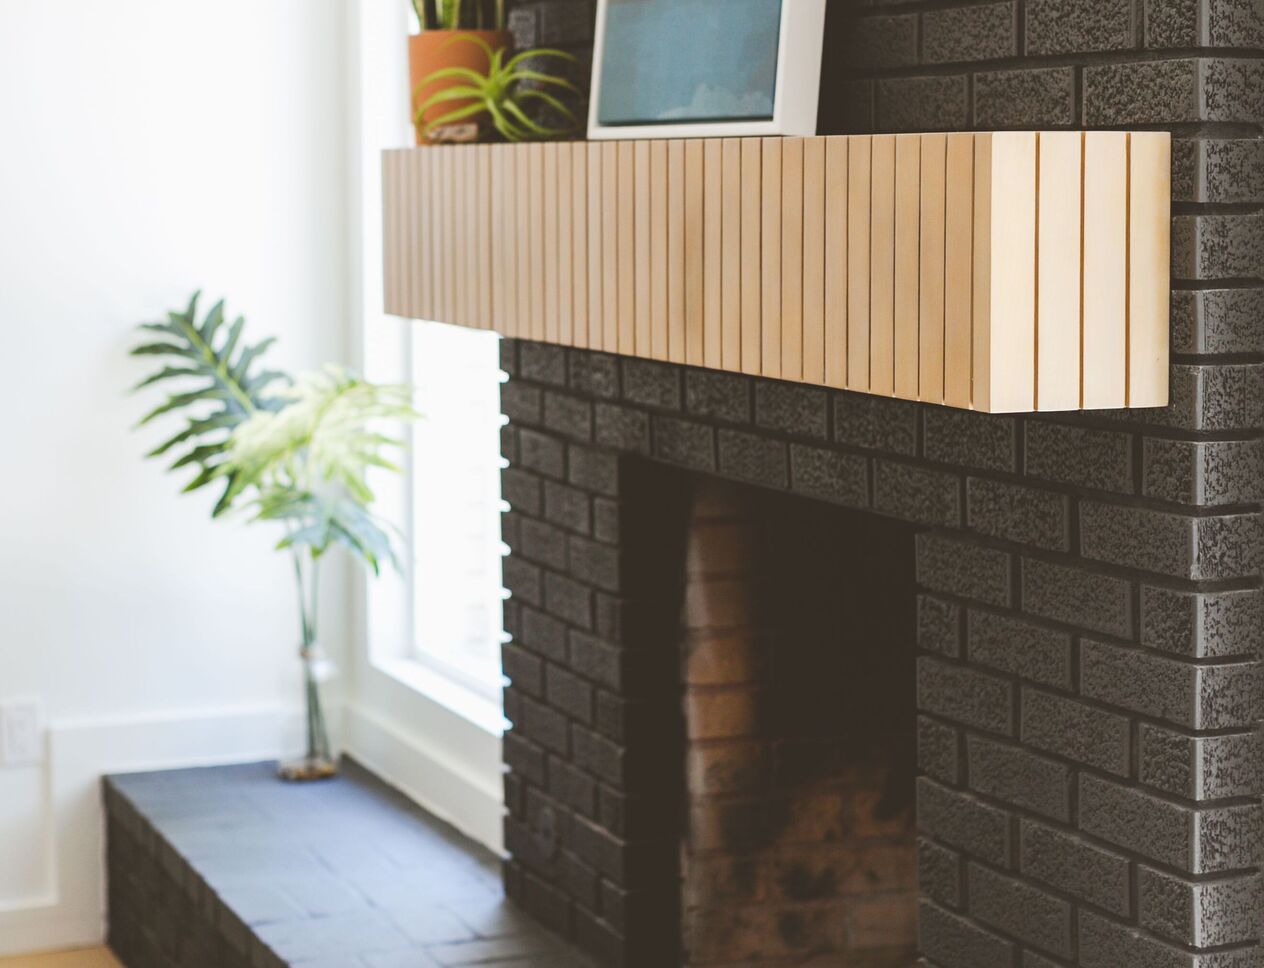
Step 4: Remove the mantel (if applicable)
If your fireplace has a mantel, it’s necessary to remove it before proceeding with the hearth removal. Removing the mantel will make it easier to access and remove the hearth. Here’s how you can do it:
- Use a pry bar and hammer to gently remove the mantel: Start by inserting the pry bar between the mantel and the wall, positioning it at one end. Apply gentle pressure on the pry bar with the hammer to create a gap between the mantel and the wall. Slowly work your way along the length of the mantel, repeating this process until it comes loose.
- Be careful to avoid damaging the surrounding walls and fireplace structure: Take your time while removing the mantel and be cautious not to cause any damage to the surrounding walls or the fireplace structure. Gently pry and lift the mantel to loosen it without applying excessive force.
The mantel removal process may vary depending on its installation method. If you encounter any difficulties or are unsure about how to proceed, consult a professional to ensure a safe and proper removal.
Once the mantel is removed, you’ll have clear access to the fireplace hearth, allowing you to proceed with its removal without any obstructions.
Read more: How To Replace A Fireplace Hearth
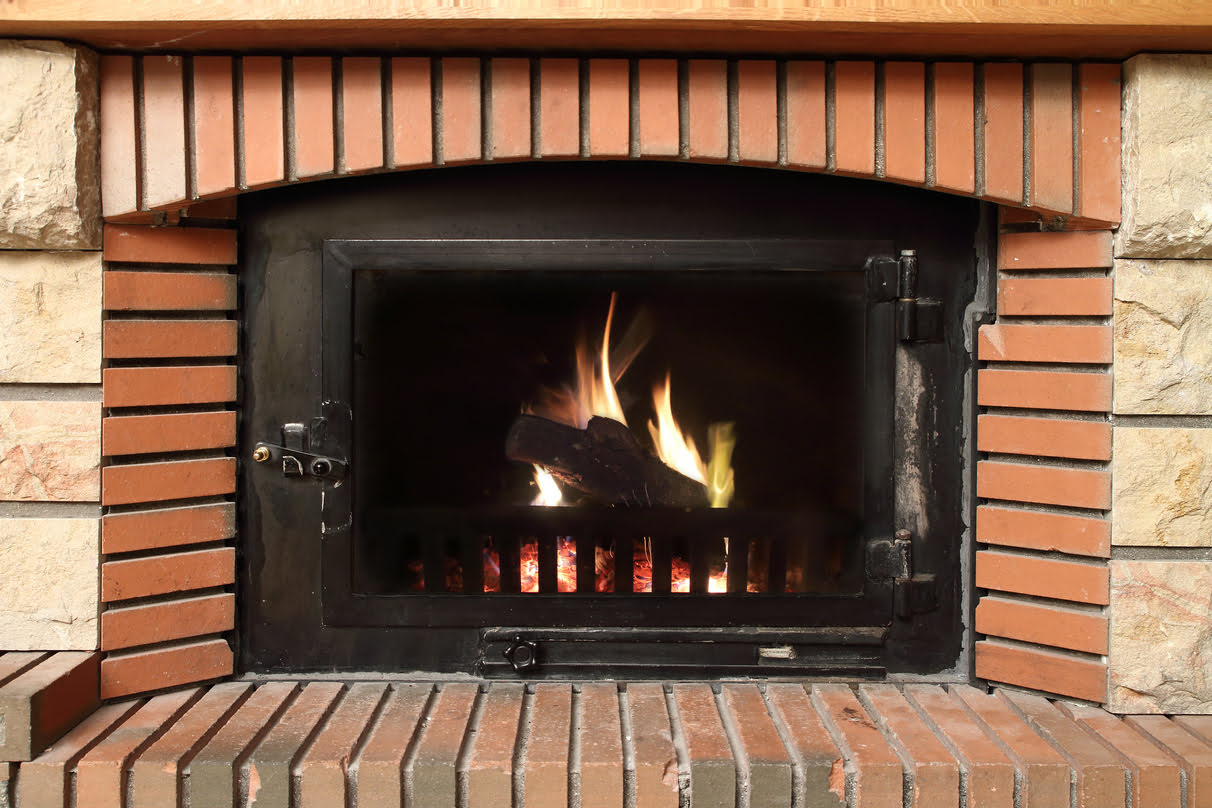
Step 5: Begin removing the hearth
With the mantel removed, it’s time to start removing the fireplace hearth. This step requires careful maneuvering and patience to ensure a successful removal. Follow these steps to effectively remove the hearth:
- Insert the pry bar underneath the front edge of the hearth: Position the pry bar between the hearth and the floor, sliding it underneath the front edge of the hearth. Use caution to avoid damaging the surrounding flooring or fireplace structure.
- Gently tap the pry bar with a hammer to loosen the hearth: Once the pry bar is in place, lightly tap it with a hammer. This will help loosen the hearth from its position and create space for further removal.
- Move along the edges of the hearth, repeating the process until it becomes loose: Slowly work your way around the perimeter of the hearth, inserting the pry bar and tapping it with the hammer. Gradually apply pressure to lift and loosen the hearth from the floor. Repeat this process until the hearth becomes loose and can be lifted.
It’s important to proceed with caution and avoid using excessive force that could lead to damage. Taking your time and being patient will ensure a smoother removal process.
Note: Depending on the construction and materials used for the hearth, it may be heavier than anticipated. If the hearth is too heavy to handle by yourself, consider enlisting the help of another person to assist you in lifting and removing it safely.
Before removing a fireplace hearth, make sure to turn off the gas supply and disconnect any electrical connections. Protect the surrounding area with drop cloths to catch any debris. Use a chisel and hammer to carefully break up the hearth, then remove the pieces and clean the area thoroughly.
Step 6: Lift and remove the hearth
Once the hearth has been loosened, it’s time to carefully lift and remove it from its position. This step requires caution and possibly the assistance of another person, especially if the hearth is heavy or cumbersome. Follow these steps for a successful hearth removal:
- Carefully lift the hearth, using assistance if needed: If the hearth is relatively lightweight, you may be able to lift and remove it on your own. However, if it is too heavy or awkward to handle alone, consider enlisting the help of another person to assist you. Lift the hearth by gripping its edges securely to ensure a stable grip.
- Place the hearth on the drop cloth or protective surface: Once the hearth has been lifted, carefully place it on the previously laid drop cloth or protective surface. This will prevent any debris, dust, or damage from occurring to the floor or surrounding area.
It’s crucial to maintain steady control while lifting and moving the hearth to minimize the risk of accidents or injuries. If the hearth proves too heavy or difficult to handle, do not hesitate to ask for professional assistance to ensure a safe removal.
Remember to take breaks and pace yourself throughout the process. Removing a hearth can be physically demanding, and it’s important to prioritize your safety and well-being during the project.
Step 7: Clean up
After the removal of the hearth, it’s essential to clean up the surrounding area to ensure a tidy and prepared space for the next steps of your project. Follow these steps to effectively clean up after hearth removal:
- Use a vacuum cleaner to remove any debris or dust left behind: Use a vacuum cleaner with a brush attachment to thoroughly clean the floor and surrounding area. Pay close attention to any crevices or corners where debris may have accumulated. Be sure to remove all loose dirt, dust, or small fragments from the hearth removal process.
- Wipe down the surrounding area to ensure it is clean and ready for the next steps: After vacuuming, use a damp cloth or mop to wipe down the floor and surrounding surfaces. This will remove any remaining dust particles and ensure a clean and smooth surface. Take care to reach the areas around the fireplace structure and walls, ensuring every surface is tidy.
This cleaning process will not only improve the appearance and cleanliness of the area but also provide a clean canvas for any future steps, such as repairing or replacing the flooring or finishing the fireplace space. By removing debris and dust, you create a safe and clean working environment for the remainder of your project.
Remember to dispose of any materials and debris properly, following local regulations and guidelines. Adhering to proper disposal practices is important for both your safety and the environment.
Step 8: Repair or replace the flooring (if necessary)
Once the hearth has been removed, it’s essential to assess the condition of the flooring underneath. Depending on the type and condition of the flooring, you may need to make repairs or replacements before proceeding with any further steps. Here’s what you need to do:
- Assess the condition of the flooring under the hearth: Carefully examine the flooring beneath the removed hearth. Look for any signs of damage, wear, or unevenness. Check for cracks, water damage, or deterioration that may require attention.
- Make any necessary repairs or adjustments before proceeding: If you notice any issues with the flooring, such as cracks or unevenness, it’s important to address them before moving forward. Depending on the extent of the damage, you may need to repair the flooring or consider replacing it. Consult a professional if you’re unsure about the best course of action.
Repairing or replacing the flooring ensures a stable and level surface for future use. It also helps maintain the overall safety and integrity of the fireplace area.
Remember to consider the materials and design of your flooring when making repairs or replacements. It’s important to choose materials that are compatible with the surrounding area and meet your aesthetic preferences.
By taking the time to repair or replace the flooring, you’ll create a solid foundation for the next steps in your project and ensure a visually appealing and functional outcome.
Read more: How To Decorate Fireplace Hearth
Step 9: Finish and restore the fireplace
With the hearth removed and any necessary repairs or replacements completed, it’s time to focus on finishing and restoring the fireplace area. This step allows you to bring new life to the space and create a visually appealing focal point in your home. Follow these final steps to complete the project:
- Paint or refinish the exposed fireplace area, if desired: Depending on your design preferences, you may choose to paint or refinish the area around the fireplace. Select a paint color or finish that complements the overall aesthetic of your space. Ensure you use heat-resistant paint or finishes specifically designed for fireplace applications.
- Reinstall the mantel (if applicable) or make any desired modifications: If you removed the mantel during the hearth removal process, now is the time to reinstall it. Carefully position the mantel back into place and secure it firmly. If you prefer a different style or want to make modifications to the mantel, this is an opportunity to do so. Consider your design goals and make the necessary adjustments to achieve the desired look.
Finishing and restoring the fireplace not only adds a polished look but also allows you to personalize the space according to your taste and style. Whether you opt for a fresh coat of paint or choose to enhance the natural beauty of the materials, this step brings the project to its final touch.
Remember to allow sufficient time for paint or finishes to dry or cure fully before using the fireplace. Refer to the manufacturer’s instructions for specific drying times and care recommendations.
By completing these final steps, you can enjoy a fully restored and updated fireplace that enhances the overall ambiance and appeal of your home.
Conclusion
Removing a fireplace hearth may seem like a daunting task, but with the right tools, preparation, and careful steps, it can be accomplished successfully. By following the step-by-step guide outlined in this article, you can confidently tackle the project and transform your fireplace area.
From gathering the necessary tools and materials to disconnecting any gas or electric connections, each step is crucial for a safe and efficient removal process. Taking the time to prepare the area, remove the mantel (if applicable), and loosen and lift the hearth ensures a smooth removal experience.
Cleanup is an essential part of the process, ensuring that your surroundings are left clean and ready for further steps. Be sure to address any necessary repairs or replacements to the flooring before moving forward to maintain a solid foundation for your fireplace.
Finally, as you finish and restore the fireplace, you have the opportunity to add your personal touch. Whether through painting, refinishing, or making modifications, this step allows you to create an inviting and visually appealing fireplace space that suits your style and complements your home.
As with any home improvement project, safety is of utmost importance. If you are unsure about any aspect of the hearth removal or lack experience, it is always recommended to consult a professional for assistance.
By approaching the removal of a fireplace hearth with careful planning, proper tools, and patience, you can successfully transform your fireplace area and create a beautiful focal point in your home. Enjoy the process and the end result of your fireplace makeover!
Frequently Asked Questions about How To Remove A Fireplace Hearth
Was this page helpful?
At Storables.com, we guarantee accurate and reliable information. Our content, validated by Expert Board Contributors, is crafted following stringent Editorial Policies. We're committed to providing you with well-researched, expert-backed insights for all your informational needs.


0 thoughts on “How To Remove A Fireplace Hearth”