Articles
How To Replace Tile Around Fireplace
Modified: August 26, 2024
Learn how to replace tile around your fireplace with our informative articles. Discover step-by-step instructions and expert tips to update your fireplace today.
(Many of the links in this article redirect to a specific reviewed product. Your purchase of these products through affiliate links helps to generate commission for Storables.com, at no extra cost. Learn more)
Introduction
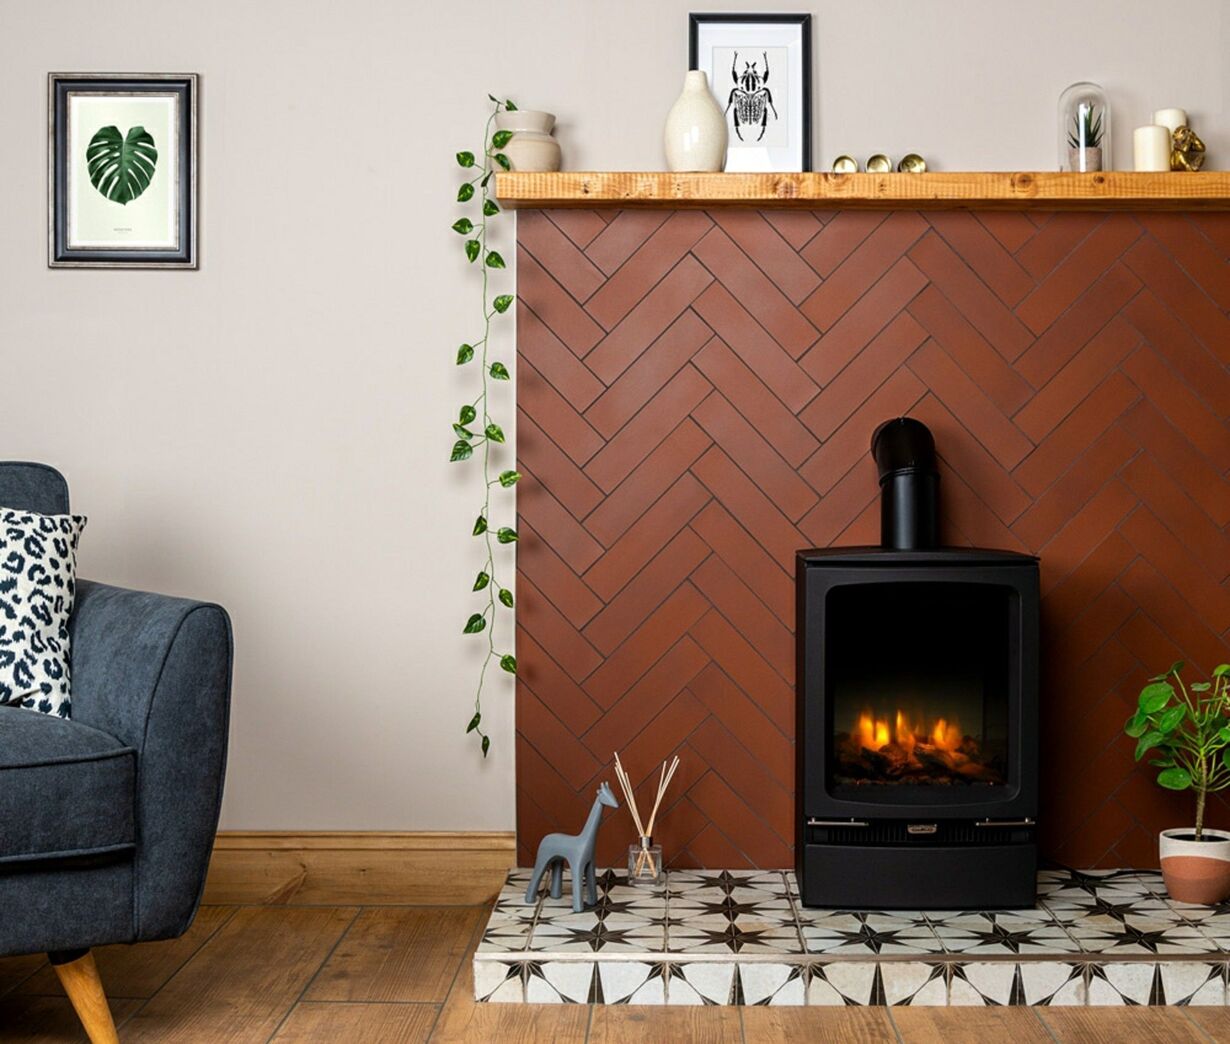
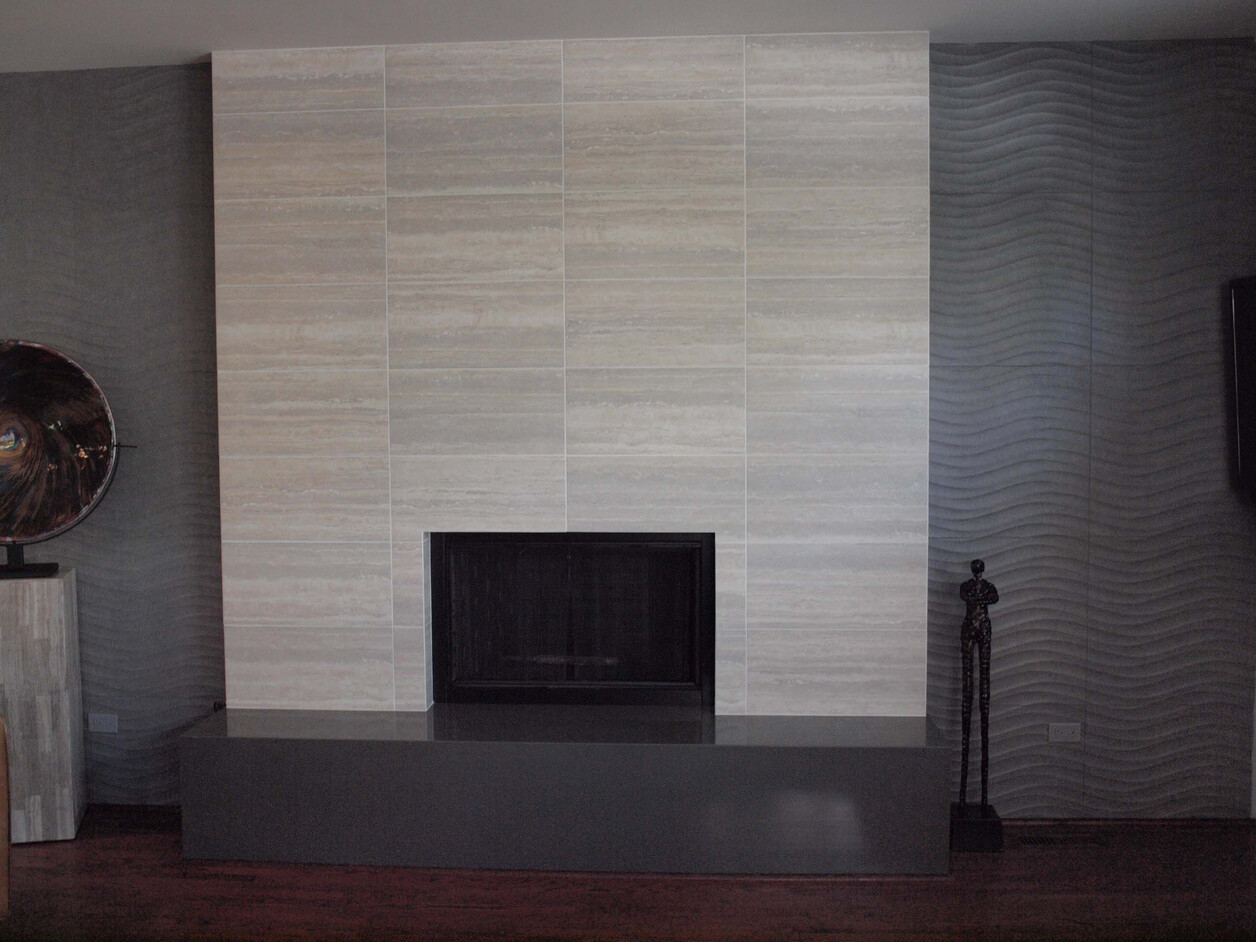
Replacing tile around a fireplace can completely transform the look of your living space. Whether you’re updating your fireplace tiles or simply repairing damaged ones, this task can be a rewarding and cost-effective way to enhance the aesthetic appeal of your home.
However, it’s important to approach this project with proper planning and preparation to ensure the best results. In this article, we will guide you through the step-by-step process of replacing tile around a fireplace, from removing the old tiles to applying the new ones.
Before diving into the details, it’s crucial to note that each fireplace is unique, and the specific steps and materials required may vary. It’s recommended to consult the manufacturer’s instructions and guidelines specific to your fireplace before proceeding with any work.
Now, let’s get started with the preparation phase. Ensuring that you have the right tools and materials on hand will make the process smoother and more efficient.
Key Takeaways:
- Transform your living space by replacing fireplace tiles with proper planning, preparation, and attention to detail. Enjoy a cozy and inviting atmosphere with a stunning DIY fireplace makeover.
- Elevate your home’s aesthetic appeal by following a step-by-step guide to replace fireplace tiles. From preparation to finishing touches, create a visually pleasing and durable fireplace transformation.
Preparation
Before you begin replacing the tile around your fireplace, it’s important to gather all the necessary tools and materials. Here’s a list of items you’ll need:
- Protective gear: Safety goggles, gloves, and a dust mask will help protect you from any dust or debris.
- Tile removal tools: Depending on the type of tile you have, you may need a grout saw, chisel, or scraper to remove the old tiles.
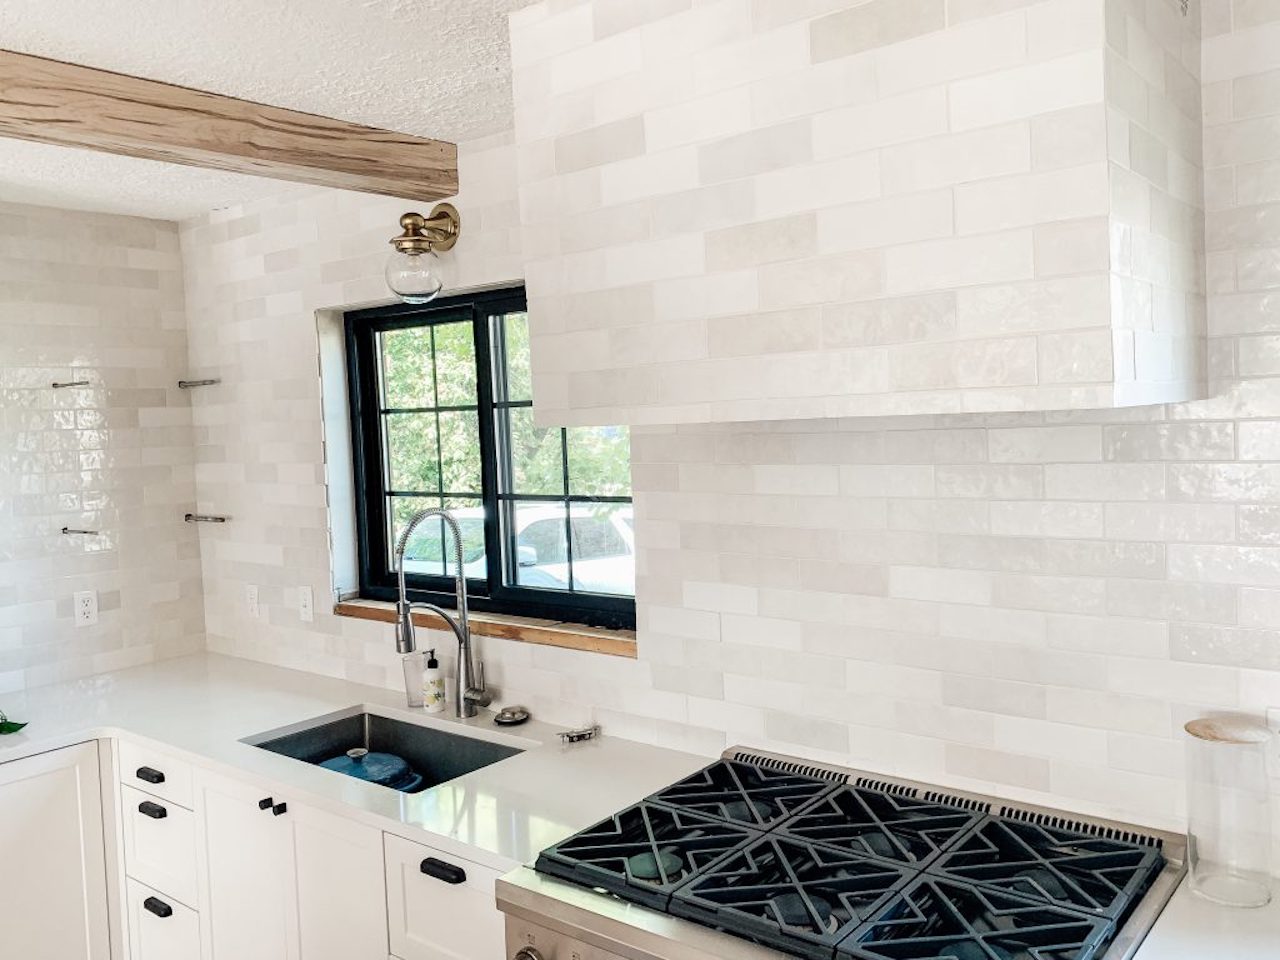
- New tiles: Measure the area you plan to tile and purchase enough tiles to cover the space. Make sure the tiles are suitable for fireplace use and are appropriately rated.
- Tile adhesive: Choose a high-quality adhesive that is specifically designed for fireplace applications.
- Grout: Select a grout color that complements your tiles and matches the style of your fireplace.
- Grout float: This tool is used to spread and apply grout to the tiles.
- Tile spacers: These little plastic pieces help ensure even and consistent spacing between tiles.
- Grout sealer: Applying a grout sealer after grouting helps protect the grout from stains and wear.
- Tile saw: If you need to cut tiles to fit around edges or corners, a tile saw will be essential.
- Trowel: A notched trowel is used to spread adhesive evenly on the surface.
- Caulk gun: You’ll need this tool to apply caulk around the edges of the tiles.
Once you have all the necessary tools and materials, it’s important to prepare the workspace. Clear the area around the fireplace, removing any furniture, decorations, or obstacles that may hinder your access.
Next, cover the surrounding floor and furniture with drop cloths or plastic sheets to protect them from any debris or spills during the tile replacement process.
Lastly, ensure proper ventilation in the room by opening windows or using fans to prevent the buildup of dust and fumes.
With all the tools and materials gathered and the workspace prepared, you’re now ready to start removing the old tile.
Removing the Old Tile
Removing the old tile around your fireplace is a critical step in the tile replacement process. Here’s a step-by-step guide to help you effectively remove the old tiles:
- Start by protecting yourself with safety goggles, gloves, and a dust mask to prevent any injuries or inhalation of dust particles.
- Inspect the existing tile to determine how it is installed. Some tiles may be glued directly to the wall, while others may be attached with mortar or adhesive. Understanding the installation method will help you choose the right approach for removal.
- If the tiles are attached with mortar or adhesive, use a grout saw or a chisel to carefully remove the grout surrounding the tiles. Be cautious not to damage the surrounding tiles or the fireplace structure.
- Once the grout is removed, gently tap the tiles with a chisel or a scraper to loosen them from the surface. Start from the edges and work your way towards the center, gradually breaking the bond between the tiles and the wall.
- If the tiles are glued directly, you may need to use a heat gun to soften the adhesive. Hold the heat gun a few inches away from the tile surface and move it back and forth until the adhesive becomes soft. Then, use a scraper to carefully lift and remove the tiles.
- Continue the removal process until all the tiles are taken down. Be patient and work carefully to avoid any damage to the fireplace structure or the underlying surface.
- After removing the tiles, inspect the wall surface for any remaining adhesive or mortar. Use a scraper or sandpaper to smooth out the surface and remove any leftover residue. Ensure that the surface is clean and free from any debris before proceeding to the next step.
With the old tiles successfully removed, you’re now ready to move on to the next phase – preparing the surface for the new tile installation.
Preparing the Surface
Preparing the surface is a crucial step before installing the new tiles around your fireplace. A properly prepared surface ensures that the tiles adhere securely and provides a smooth and even finished look. Here’s a step-by-step guide on how to prepare the surface:
- Start by cleaning the wall surface thoroughly. Remove any loose debris, dust, or dirt using a brush and a damp cloth. Ensure that the surface is dry before proceeding to the next step.
- If there are any uneven areas or small holes on the wall, patch them up with a suitable filler or spackling compound. Use a putty knife to apply the filler and smooth it out. Allow it to dry completely according to the manufacturer’s instructions.
- Next, inspect the wall for any cracks or damage. If you come across any cracks, use a suitable crack filler or caulk to seal them. Apply the filler or caulk according to the manufacturer’s instructions and allow it to dry completely.
- If the surface is painted, it may be necessary to roughen it up slightly to improve the adhesion of the new tile. Gently sand the painted surface with fine-grit sandpaper to create a slightly rough texture. Be careful not to damage the underlying surface or remove too much paint.
- Once the surface is clean, smooth, and adequately prepped, use a damp sponge or cloth to wipe down the entire area. This will remove any dust or debris left behind from the cleaning and sanding process.
- Allow the surface to dry completely before moving on to the next step. It’s essential to ensure that the surface is completely dry to provide a strong bond between the adhesive and the tiles.
With the surface properly prepared, you’re now ready to move on to the next phase – applying the adhesive to install the new tiles.
Applying the Adhesive
Applying the adhesive is a crucial step in the process of replacing tile around your fireplace. The adhesive creates a strong bond between the tiles and the surface, ensuring a durable and long-lasting installation. Here’s a step-by-step guide on how to apply the adhesive:
- Start by preparing the tile adhesive according to the manufacturer’s instructions. Follow the recommended water-to-adhesive ratio and mix thoroughly to achieve a smooth and consistent consistency.
- Using a notched trowel, scoop the adhesive onto the trowel and begin spreading it evenly on the prepared surface. Start from the bottom of the fireplace and work your way up, applying the adhesive in a thin, even layer.
- Hold the trowel at a 45-degree angle and use the notched edge to create grooves in the adhesive. This helps improve the adhesion and provides a better bond with the tiles.
- Work in small sections, applying only as much adhesive as you can comfortably tile in a reasonable amount of time. You don’t want to apply adhesive to a large area and risk it drying out before you have a chance to lay the tiles.
- Once the adhesive is applied, use the flat side of the trowel to smooth out and level the adhesive on the surface. This ensures an even layer and helps with the tile placement.
- Before placing the tiles, carefully align them and do a dry run to ensure they fit correctly and line up as desired. Make any necessary adjustments before starting the actual installation.
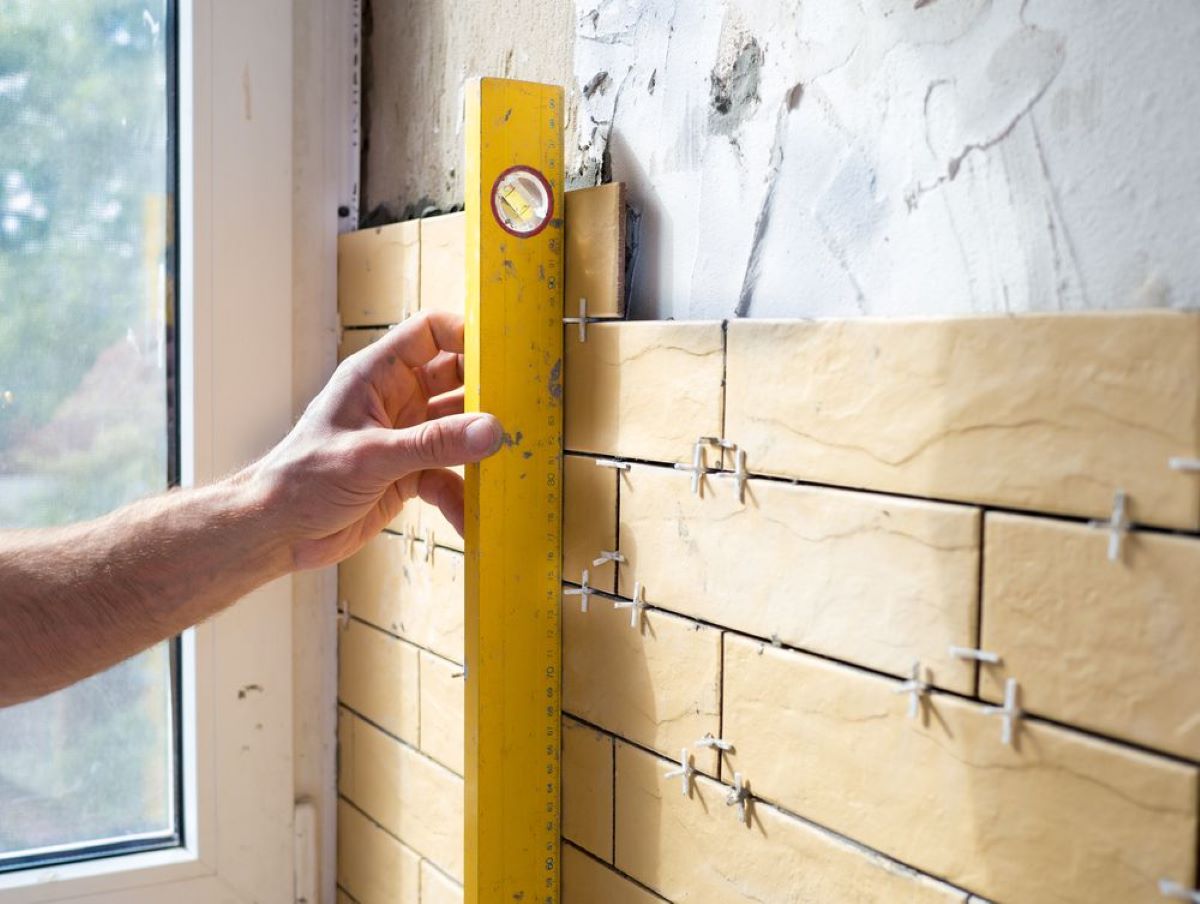
- To start tiling, press each tile firmly into the adhesive, giving it a slight twist or wiggle to ensure a good bond. Use tile spacers to maintain consistent spacing between the tiles.
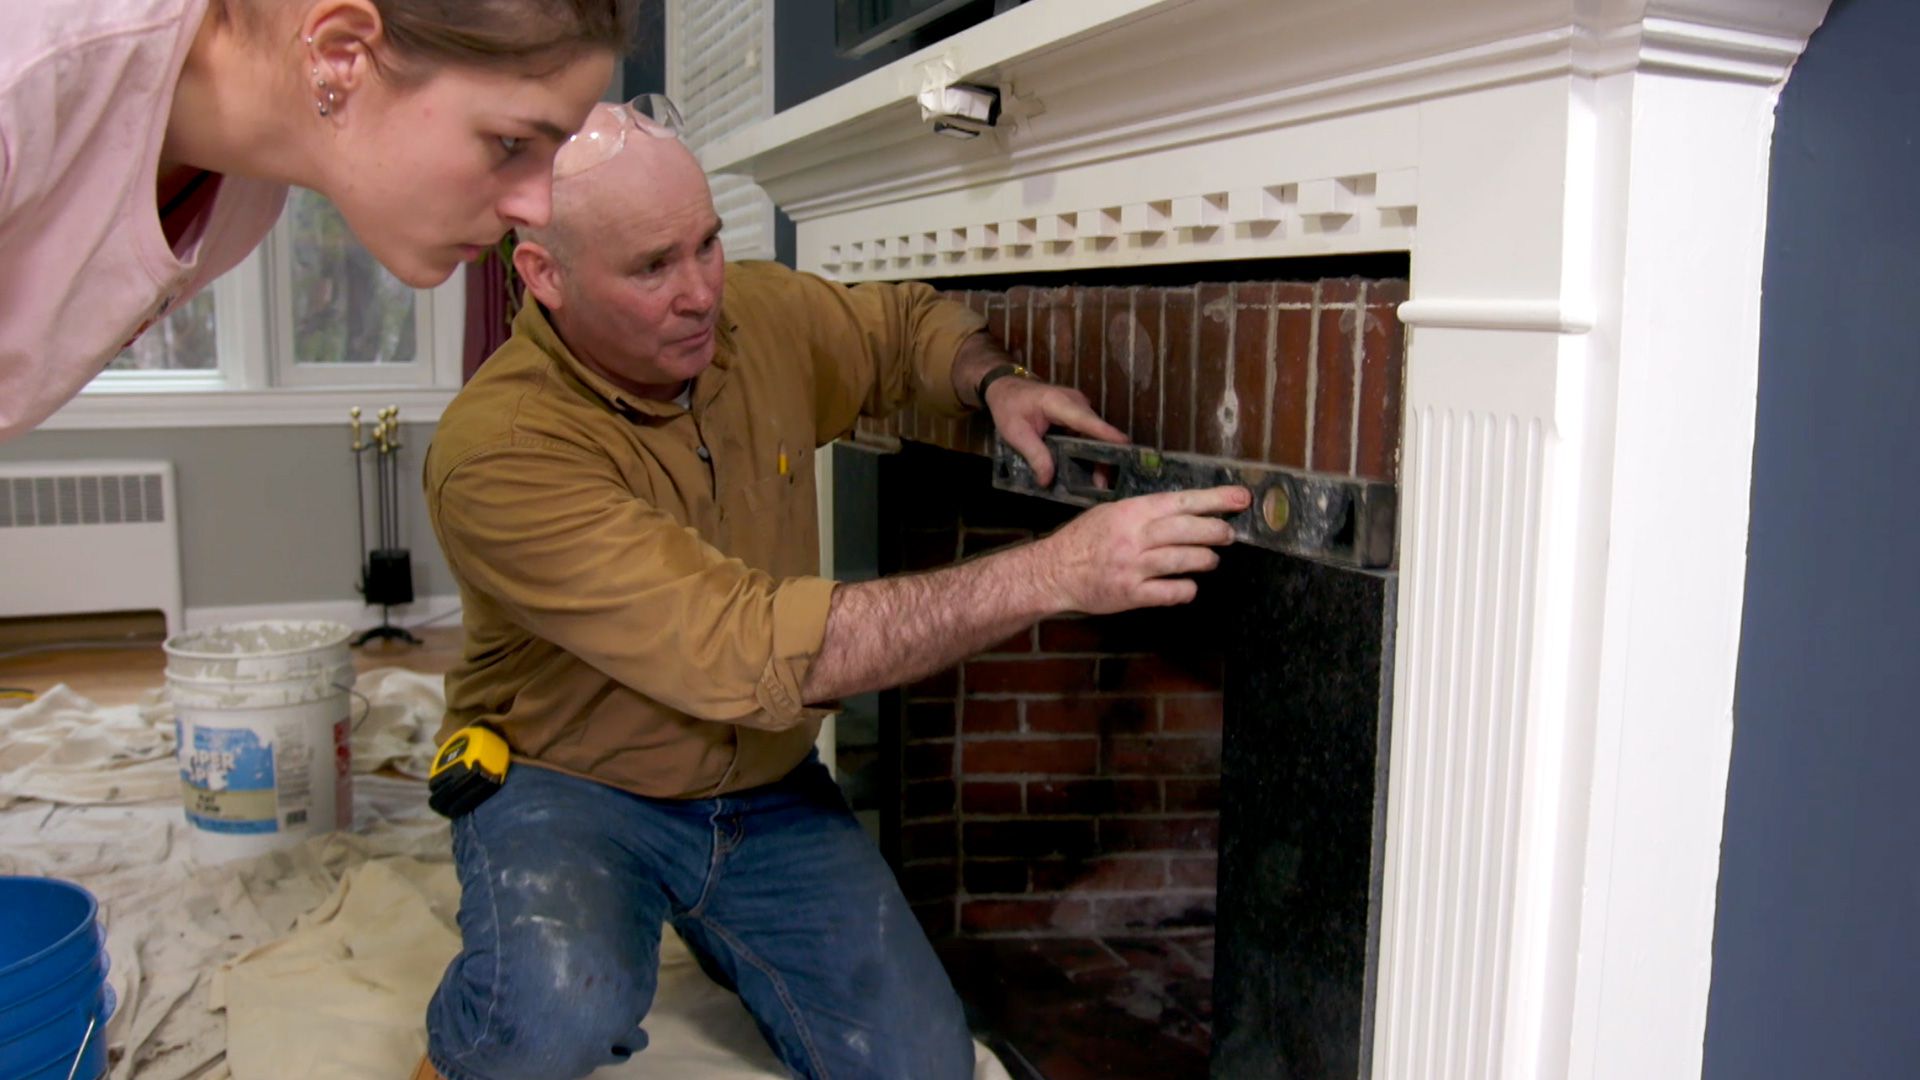
- Continue this process, working in small sections and ensuring that each tile is securely placed in the adhesive. Check periodically with a level or straight edge to ensure the tiles are aligned and level.
- Allow the adhesive to dry according to the manufacturer’s instructions before proceeding. This typically takes 24 to 48 hours, but it’s important to refer to the specific product recommendations.
With the adhesive applied and the tiles securely in place, you’re now ready to move on to the next phase – grouting the tile.
When replacing tile around a fireplace, be sure to use a waterproof adhesive and grout to prevent moisture damage. Additionally, take accurate measurements and use a tile saw for precise cuts.
Read more: How To Tile A Fireplace
Setting the New Tile
Setting the new tile around your fireplace is an exciting step in the tile replacement process. It’s where you can see your vision come to life and transform the look of your space. Here’s a step-by-step guide on how to set the new tile:
- Start by preparing the grout according to the manufacturer’s instructions. Mix the grout thoroughly to achieve a smooth and consistent texture.
- Using a grout float, scoop a generous amount of grout and apply it diagonally to the tiles, pressing it into the gaps between each tile.
- Hold the grout float at a 45-degree angle and firmly slide it across the tiles to remove excess grout. This helps ensure that the grout is evenly distributed and fills the gaps completely.
- Continue working in small sections, applying grout and removing the excess until all the gaps between the tiles are filled.
- Once the grout is applied, use a damp sponge or cloth to gently wipe away any excess grout from the tile surface. Rinse the sponge or cloth frequently to ensure a clean and smooth finish.
- Allow the grout to dry for the recommended time specified by the manufacturer. This usually takes 24 to 48 hours.
- After the grout has dried, use a clean, dry cloth to buff away any remaining haze or residue on the tile surface.
- To protect the grout and enhance its longevity, consider applying a grout sealer according to the manufacturer’s instructions. This will help prevent staining and make the grout easier to clean in the future.
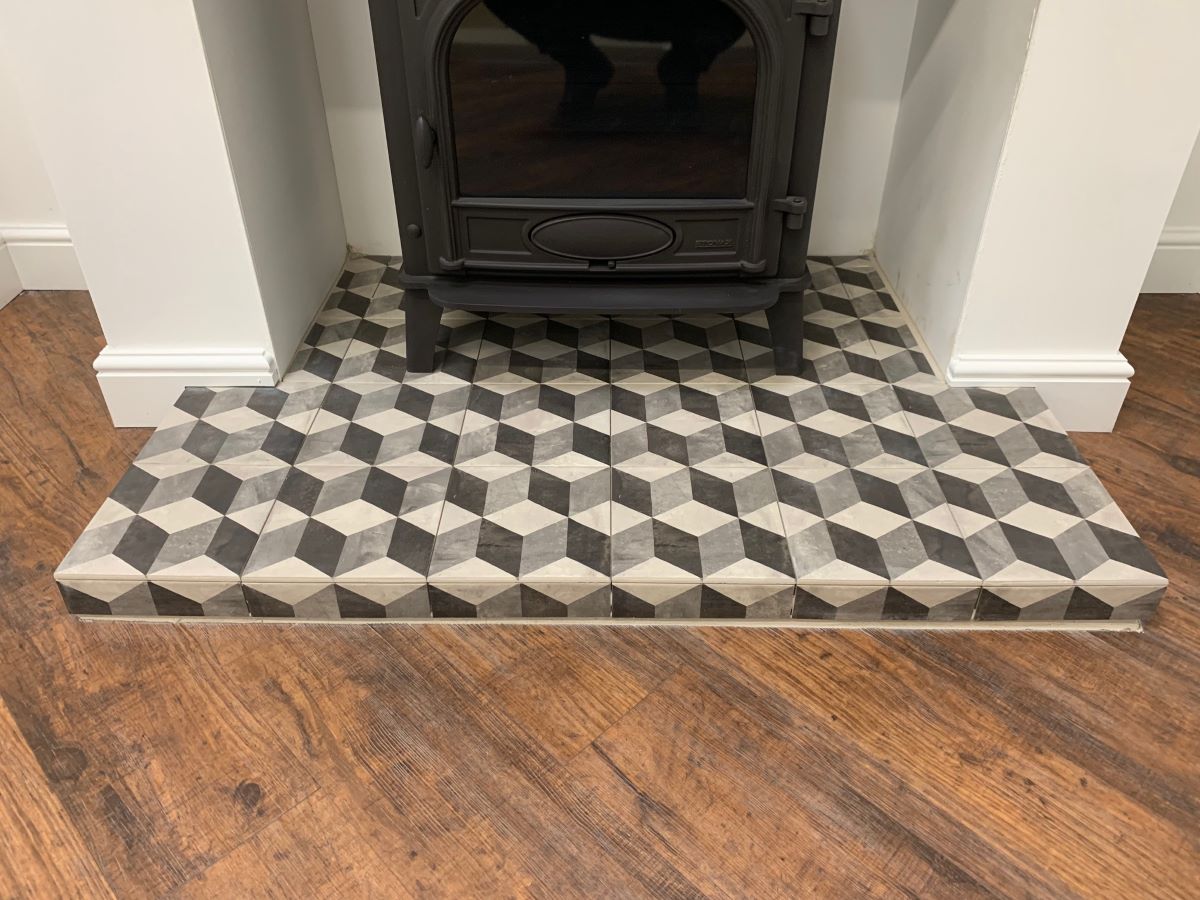
- Finally, step back and admire your newly set tiles! Take the time to inspect for any imperfections or uneven areas and make any necessary touch-ups.
With the new tile firmly set and the grout completed, the hard work is done. You’re now in the final stages of the tile replacement process – adding the finishing touches.
Grouting the Tile
Grouting the tile is a crucial step in the tile replacement process, as it not only fills the gaps between the tiles but also adds stability and enhances the overall appearance of the fireplace. Here’s a step-by-step guide on how to grout the tile:
- Start by preparing the grout according to the manufacturer’s instructions. Mix the grout thoroughly until it reaches a smooth and even consistency.
- Using a grout float, scoop a generous amount of grout and apply it diagonally to the tiles, pressing it into the gaps between each tile.
- Hold the grout float at a 45-degree angle and firmly slide it across the tiles to remove excess grout. This helps ensure that the grout is evenly distributed and fills the gaps completely.
- Work in small sections, gradually filling in the gaps between the tiles with the grout. Ensure that the grout is evenly spread and level with the tile surface.
- Once a section is grouted, use a damp sponge or cloth to gently wipe away any excess grout from the tile surface. Rinse the sponge or cloth frequently to ensure a clean and smooth finish.
- Continue this process until all the gaps between the tiles are grouted. Be patient and take your time to ensure that the grout is applied properly.
- Allow the grout to dry for the specified time indicated by the manufacturer. This typically takes 24 to 48 hours.
- After the grout has dried, use a clean, dry cloth to buff away any remaining haze or residue on the tile surface. This will leave the tiles looking clean and polished.
- To protect the grout and enhance its longevity, consider applying a grout sealer according to the manufacturer’s instructions. This will help prevent staining and make the grout easier to clean in the future.
- Finally, step back and admire your beautifully grouted tiles! Take the time to inspect for any imperfections or uneven areas and make any necessary touch-ups.
With the grouting completed, you’re in the final stages of the tile replacement process. It’s time to add the finishing touches that will truly bring your fireplace transformation to life.
Finishing Touches
With the tile replacement process nearing completion, it’s time to add the finishing touches that will enhance the overall look and ensure a polished final result. Here are some important finishing touches to consider:
- Inspect the tiles and grout lines for any remaining residue or stains. Use a gentle tile cleaner or a mixture of vinegar and water to clean any stubborn spots or marks.
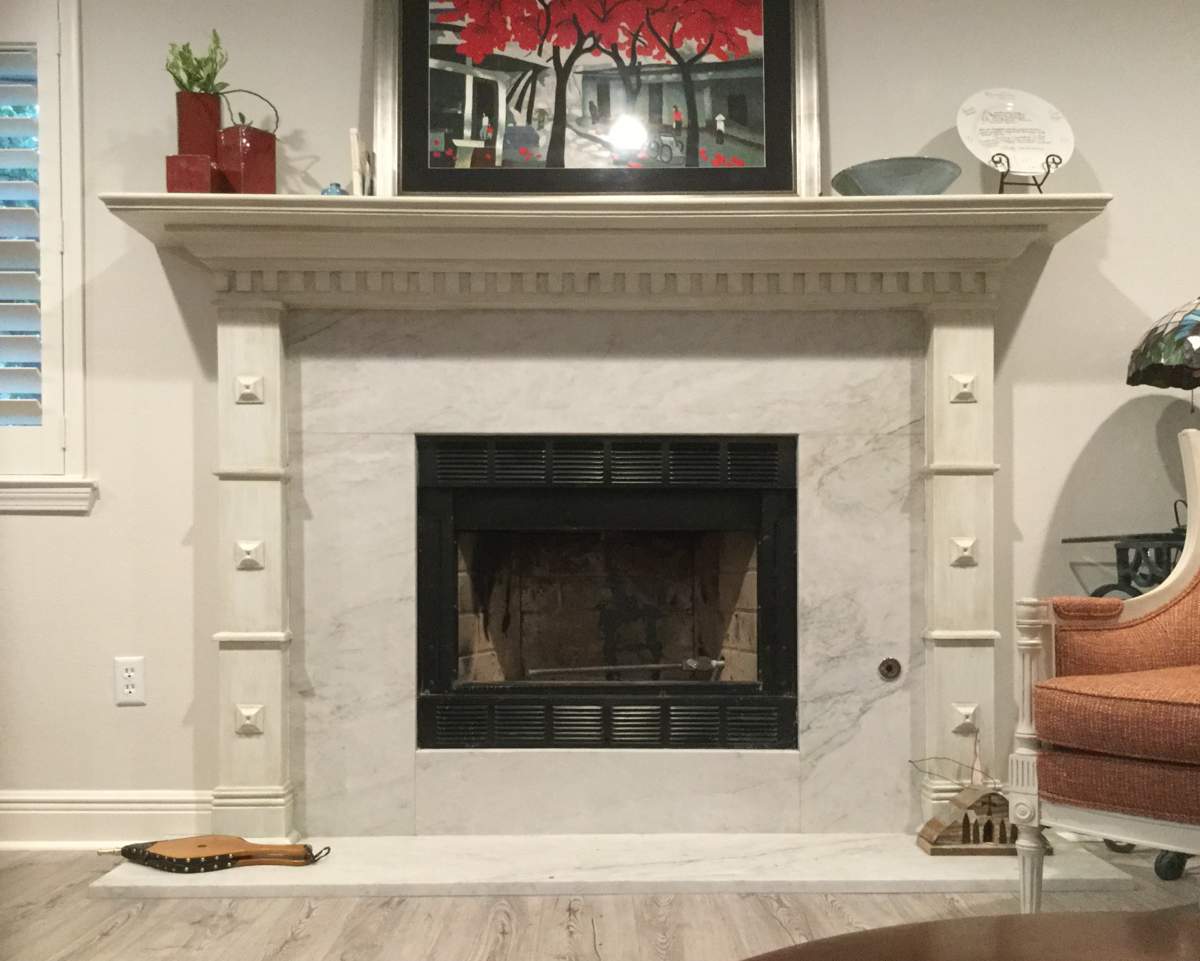
- Consider adding a decorative border or trim around the edges of the tiled area. This can provide a visually appealing frame for the fireplace and further enhance its aesthetic appeal.
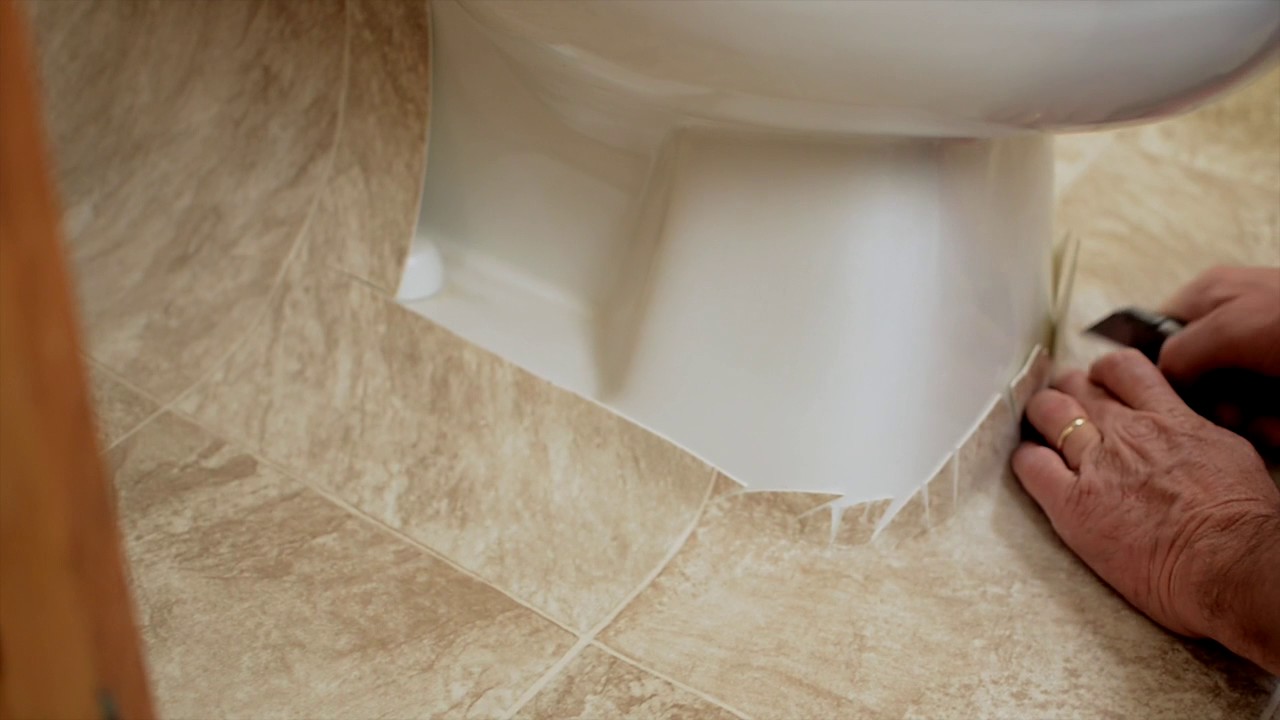
- If there are any gaps or spaces between the tiles and the wall, use a silicone caulk that matches the color of the tiles to fill them in. This will create a seamless and finished look.
- Take a step back and assess the overall appearance of the tiled area. Make any necessary touch-ups or adjustments to ensure that the tiles are aligned, the grout lines are consistent, and the entire installation looks cohesive.
- Consider adding a protective finish to the tiles to prevent staining or damage. Depending on the type of tiles you’ve used, you may choose to apply a sealant or a specific tile protection product.
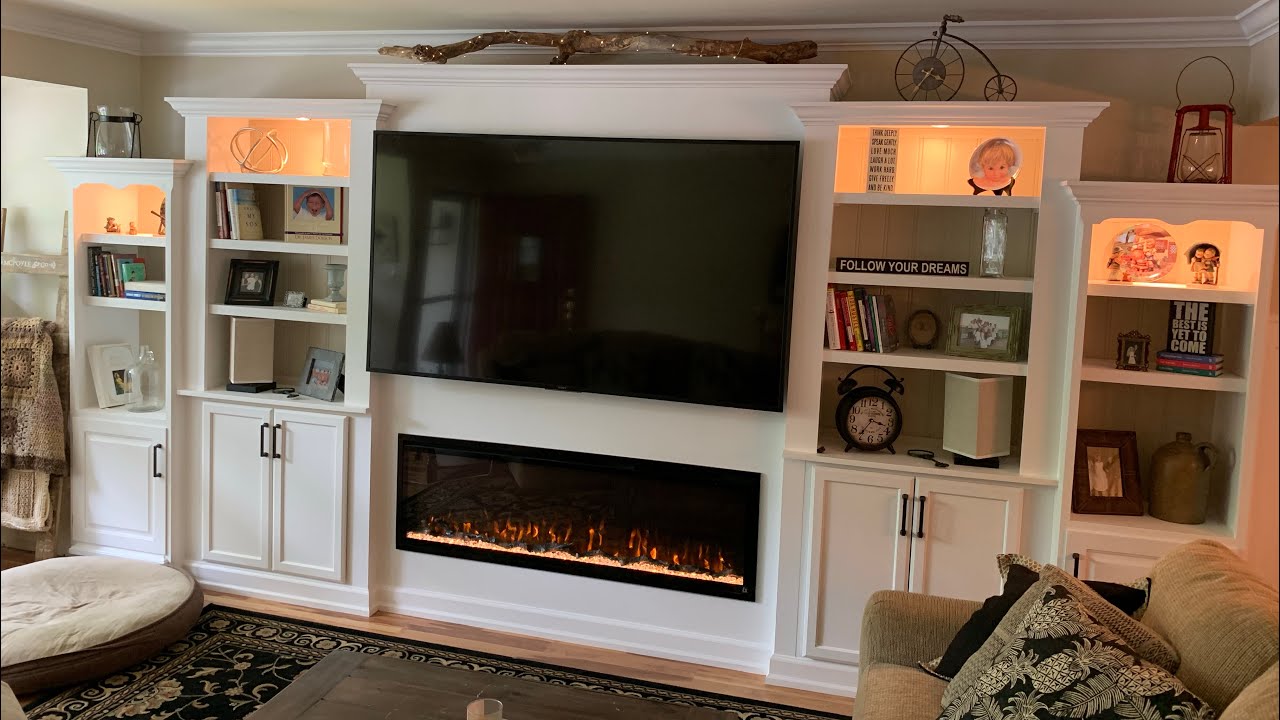
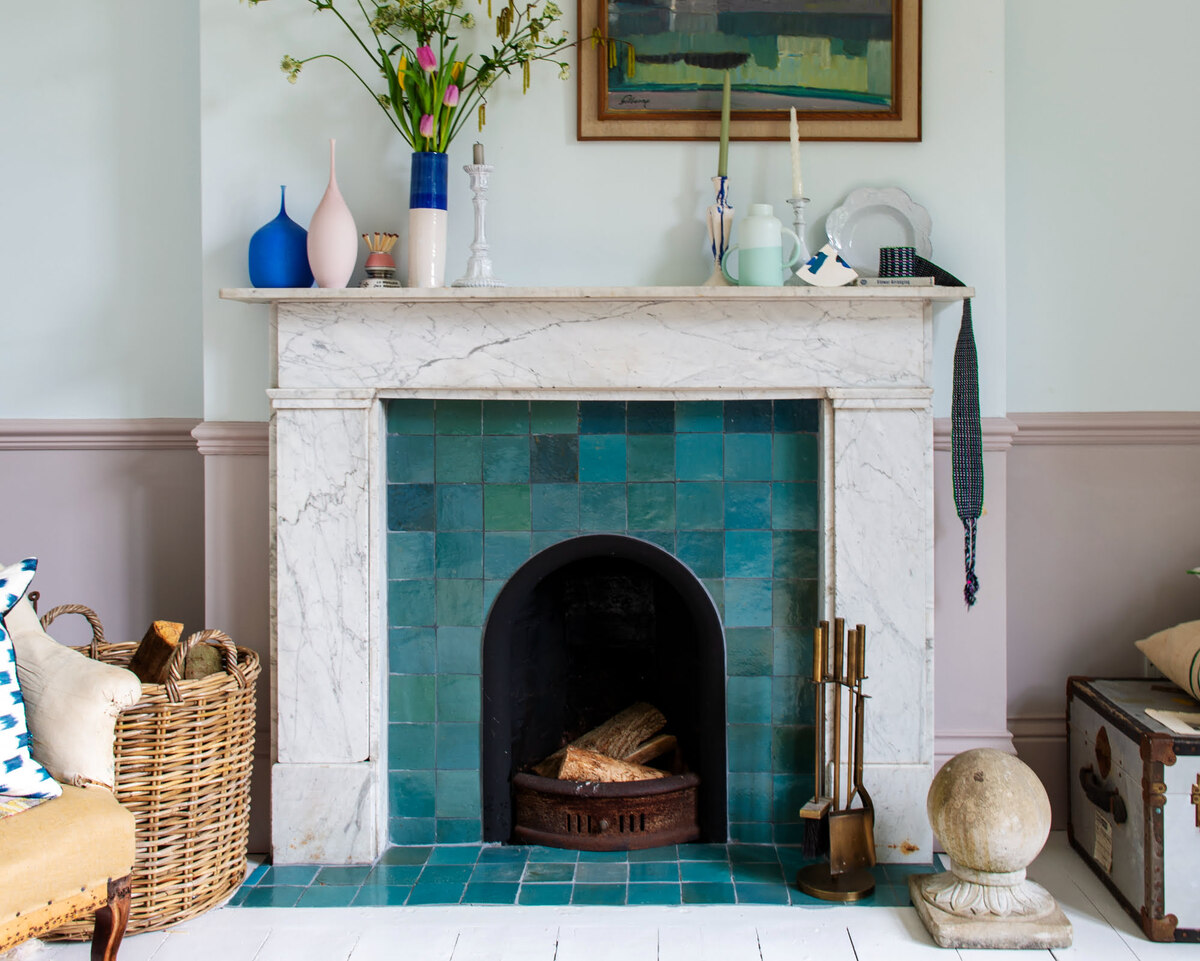
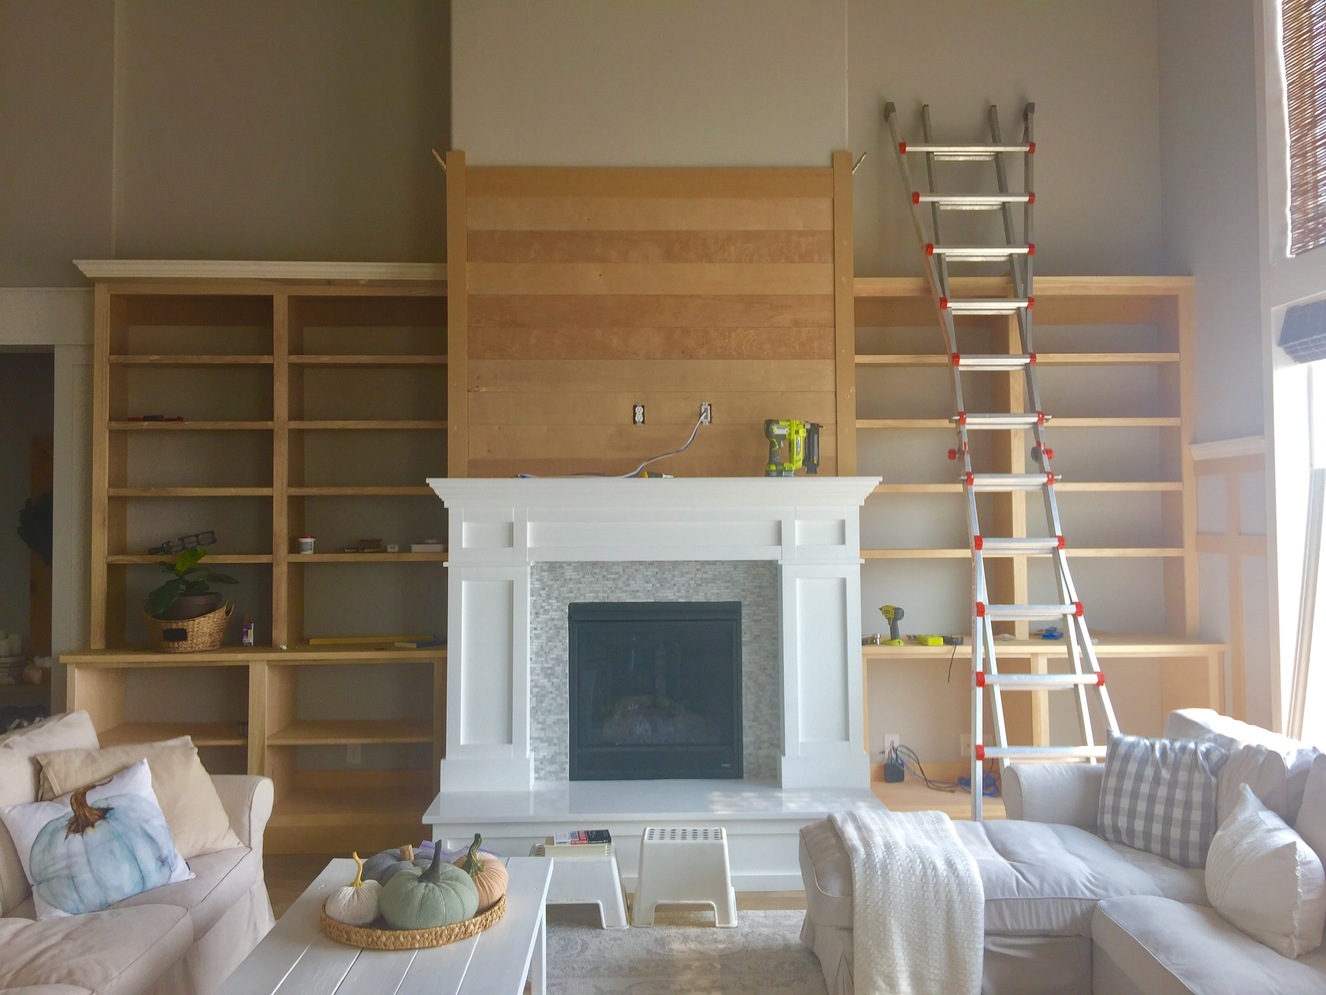
- If desired, decorate the area around the fireplace to further enhance its visual appeal. Add a mantel, artwork, or other decorative elements that complement the new tile and create a focal point in the room.
- Finally, thoroughly clean the entire area to remove any dust or debris left from the installation process. Use a gentle cleaner suitable for your tile type and wipe down the tiles and surrounding surfaces.
With these finishing touches in place, step back and admire your newly transformed fireplace. The tile replacement process is complete, and you can now enjoy the beauty and warmth that your updated fireplace brings to your living space.
Remember to keep the recommended cleaning and maintenance practices in mind to ensure the longevity and beauty of your newly tiled fireplace. Regularly clean the tiles, reseal the grout when needed, and address any repairs or touch-ups promptly.
Congratulations on successfully replacing the tile around your fireplace! Sit back, relax, and enjoy the cozy ambiance your renovated fireplace creates.
Conclusion
Replacing the tile around your fireplace is a rewarding endeavor that can greatly enhance the aesthetic appeal of your living space. By following the step-by-step guide provided in this article, you can successfully replace the tile and achieve a stunning result.
From the preparation phase to the final finishing touches, each step requires attention to detail and careful execution. Properly preparing the surface, applying the adhesive, and setting the new tiles are crucial for a durable and visually pleasing installation.
Grouting the tiles and adding the finishing touches ensure a polished and professional look. Taking the time to clean, seal, and address any imperfections will help maintain the beauty and longevity of your newly tiled fireplace.
Remember, safety should always be a priority throughout the process. Wear protective gear, use the appropriate tools, and ensure proper ventilation in the workspace to create a safe environment.
As you embark on your tile replacement journey, it’s important to note that each fireplace is unique, and specific instructions may vary. Consult the manufacturer’s guidelines and recommendations for your particular fireplace to ensure the best results.
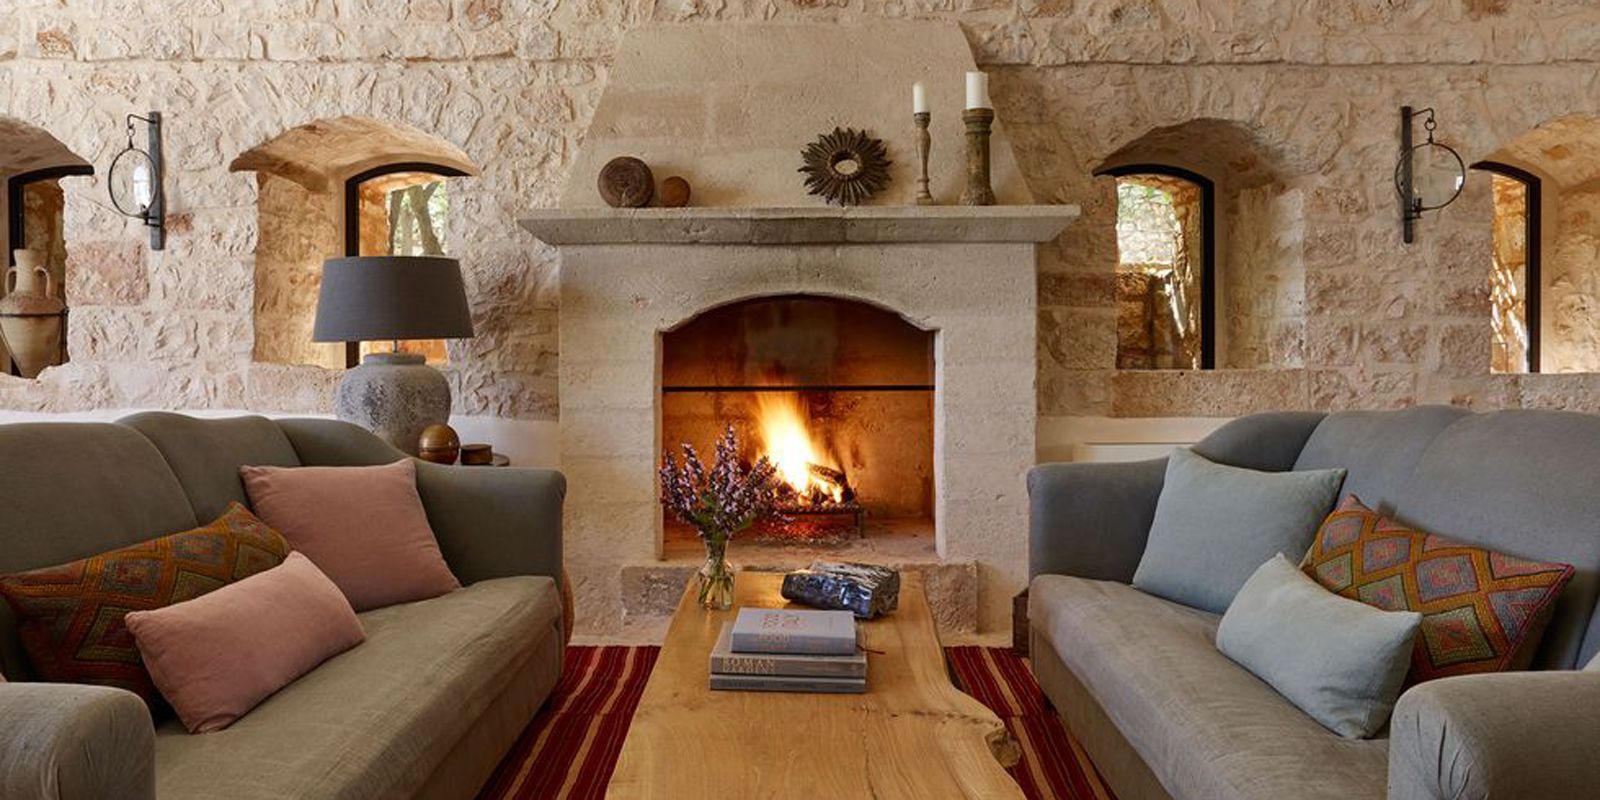
Replacing the tile around your fireplace not only adds visual appeal but also creates a cozy and inviting atmosphere. Take pride in your DIY project and enjoy the warmth and beauty that your updated fireplace brings to your home.
So go ahead, gather your tools, choose your tiles, and embark on this exciting home improvement project. With patience, attention to detail, and the knowledge you’ve gained, you’re well-equipped to replace the tile around your fireplace and create a stunning centerpiece in your living space.
Frequently Asked Questions about How To Replace Tile Around Fireplace
Was this page helpful?
At Storables.com, we guarantee accurate and reliable information. Our content, validated by Expert Board Contributors, is crafted following stringent Editorial Policies. We're committed to providing you with well-researched, expert-backed insights for all your informational needs.


0 thoughts on “How To Replace Tile Around Fireplace”