Articles
How To Replace Cooktop
Modified: February 20, 2024
Learn how to replace your cooktop with our informative articles. Find step-by-step guides and expert tips to ensure a hassle-free replacement process.
(Many of the links in this article redirect to a specific reviewed product. Your purchase of these products through affiliate links helps to generate commission for Storables.com, at no extra cost. Learn more)
Introduction
Replacing a cooktop can be an exciting project, whether you’re upgrading to a newer model or simply replacing a worn-out appliance. However, it’s important to approach the task with caution and follow the necessary steps to ensure a safe and successful installation.
Before diving into the process of replacing a cooktop, it’s essential to familiarize yourself with the safety precautions involved. This will help protect both yourself and your home during the installation process. Additionally, make sure to gather all the necessary tools and materials to ensure a smooth and efficient replacement.
This article will guide you through the step-by-step process of replacing a cooktop, covering everything from disconnecting the power supply to testing the new appliance. So, grab your tools and let’s get started!
Key Takeaways:
- Prioritize safety by turning off power, wearing protective gear, and ensuring proper ventilation when replacing a cooktop to minimize risks and ensure a smooth installation process.
- Gather necessary tools and materials, follow step-by-step instructions, and thoroughly test the new cooktop to successfully replace and upgrade your kitchen appliance while enhancing safety and efficiency.
Read more: How To Replace A Gas Cooktop
Safety Precautions
Before you begin replacing a cooktop, it is essential to prioritize safety. Handling electrical or gas connections can be hazardous, so taking the necessary precautions is crucial. Here are some safety measures to keep in mind:
- Turn off power: Before starting any work, ensure that the power to the cooktop is turned off at the circuit breaker. This will prevent any accidental electrical shocks.
- Wear protective gear: When working with appliances, it is recommended to wear safety goggles, gloves, and appropriate clothing to protect yourself from any potential injuries.
- Clear the area: Make sure the surrounding area is clear of any obstacles, such as cookware or utensils, to prevent accidents or damage.
- Proper ventilation: Ensure that the area is well-ventilated to prevent the buildup of gas or fumes.
- Gas supply: If you are working with a gas cooktop, shut off the gas supply valve to disconnect the appliance.
- Proper grounding: Ensure that the cooktop is properly grounded to minimize the risk of electrical shocks or malfunctions.
By adhering to these safety measures, you can minimize the risks associated with replacing a cooktop and ensure a smooth and secure installation process.
Tools and Materials Needed
Before you begin replacing a cooktop, gather all the necessary tools and materials to ensure a seamless installation. Here’s a list of the items you’ll need:
- Screwdriver: A screwdriver will be needed to remove screws and secure the new cooktop.
- Adjustable wrench: This tool will come in handy for disconnecting gas fittings or tightening electrical connections.
- Plumber’s tape: If you are working with a gas cooktop, plumber’s tape will be necessary to seal the gas connections.
- Teflon tape: Teflon tape is essential for creating a watertight seal on threaded plumbing connections.
- Multimeter: A multimeter will help you test electrical connections and ensure they are properly functioning.
- Putty knife: A putty knife will be useful for removing any adhesive or silicone sealant from the old cooktop.
- Caulk gun: If necessary, a caulk gun will be needed to apply new sealant around the edges of the new cooktop.
- New cooktop: Ensure you have purchased the correct size and model of the cooktop that you wish to install.
- Gas or electrical supply materials: Depending on your setup, you may need to purchase gas fittings, electrical wires, or connectors to properly connect the new cooktop.
By having these tools and materials ready, you’ll be well-prepared to tackle the cooktop replacement process and complete the installation successfully.
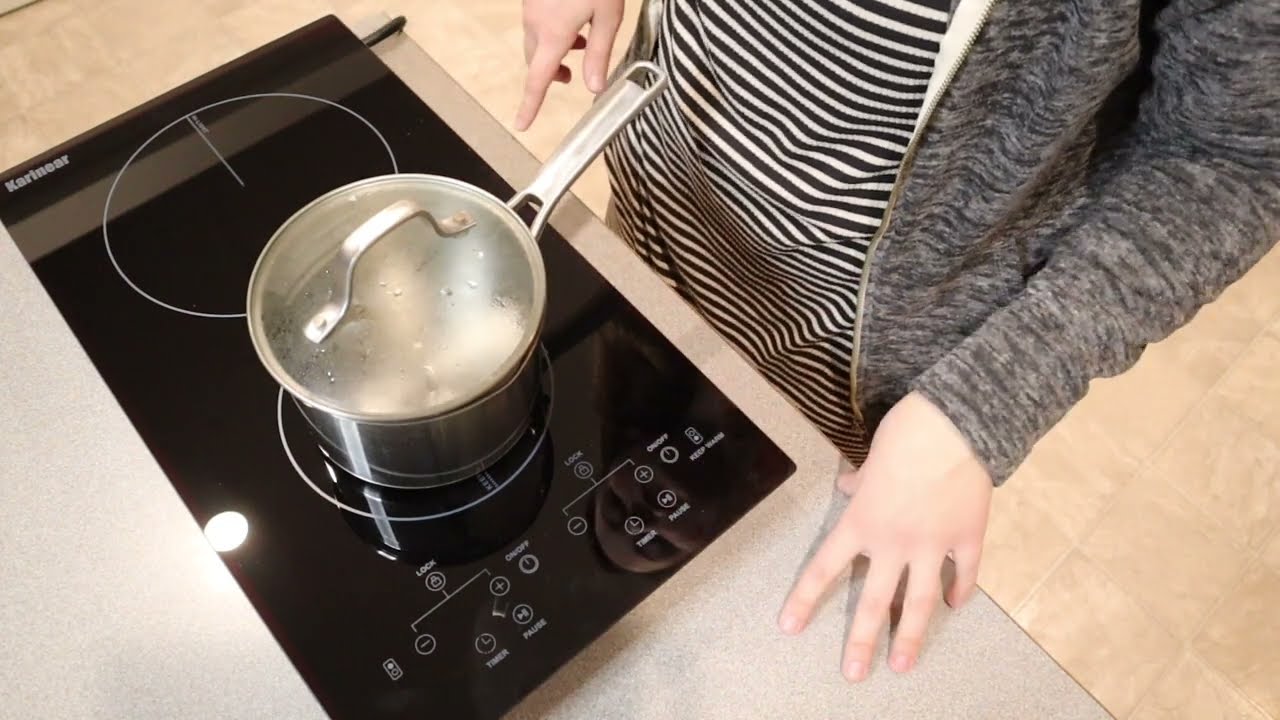
Step 1: Turn Off Power
Before you begin replacing your cooktop, it’s crucial to turn off the power to the appliance to ensure your safety. Follow these steps:
- Locate the circuit breaker panel in your home. It is usually found in the basement, garage, or utility room.
- Open the circuit breaker panel and identify the breaker that controls the power supply to your cooktop. Look for the label indicating the cooktop or kitchen appliances.
- Flip the breaker switch to the “Off” position to cut off the power supply. You can double-check by turning on the cooktop to see if it still functions.
- For added safety, place a piece of tape over the breaker switch to indicate that it should not be turned on while you are working on the cooktop.
- Use a voltage tester to verify that there is no electrical current running to the cooktop before proceeding with the installation.
By turning off the power using the circuit breaker, you can eliminate the risk of electrical shocks or accidents when working with the cooktop. Remember to proceed with caution and ensure that the power remains off throughout the entire replacement process.
Step 2: Disconnect the Gas or Electric Supply
Once the power to the cooktop is turned off, the next step is to disconnect the gas or electric supply. Follow these instructions based on your cooktop’s power source:
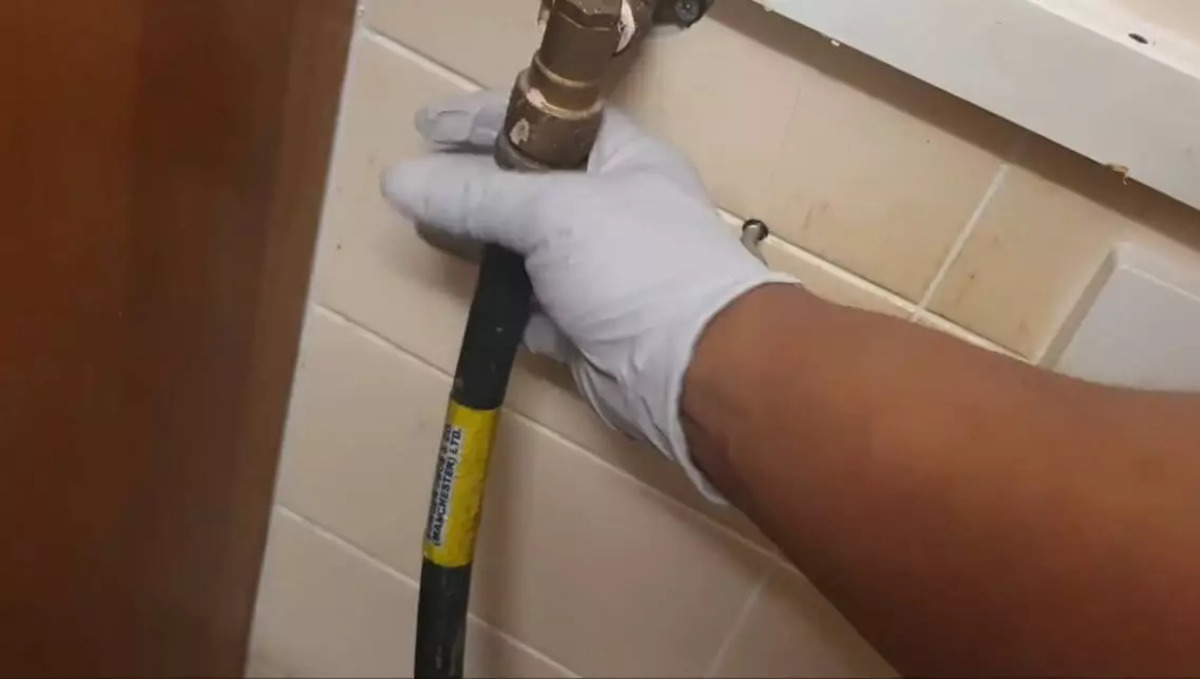
For Gas Cooktops:
- Locate the gas shut-off valve behind or beneath the cooktop. It should be a metal valve connected to a flexible gas line.
- Using an adjustable wrench, turn the valve clockwise to shut off the gas supply.
- After shutting off the gas, detach the flexible gas line from the shut-off valve using the wrench. Be careful as there may be some residual gas pressure. A small amount of gas may escape, so ensure the area is well-ventilated.
- Once the gas line is disconnected, cap it off with a plug or cap designed for gas lines to prevent any gas leakage.
For Electric Cooktops:
- Locate the electrical junction box that supplies power to the cooktop. It is typically located underneath the cooktop or in a nearby cabinet.
- Remove the access cover from the junction box using a screwdriver.
- Inside the junction box, you will find electrical wires connected to the cooktop. Take note of the wire connections or take a picture for future reference.
- Using a screwdriver, carefully disconnect the wire connections by loosening the screws and gently pulling the wires apart.
- Ensure the wires are safely separated and not making contact with any metal surfaces.
By disconnecting the gas or electric supply, you can safely proceed with the removal of the old cooktop without the risk of gas leaks or electrical hazards. Remember to exercise caution and follow proper safety protocols when handling gas or electrical connections.
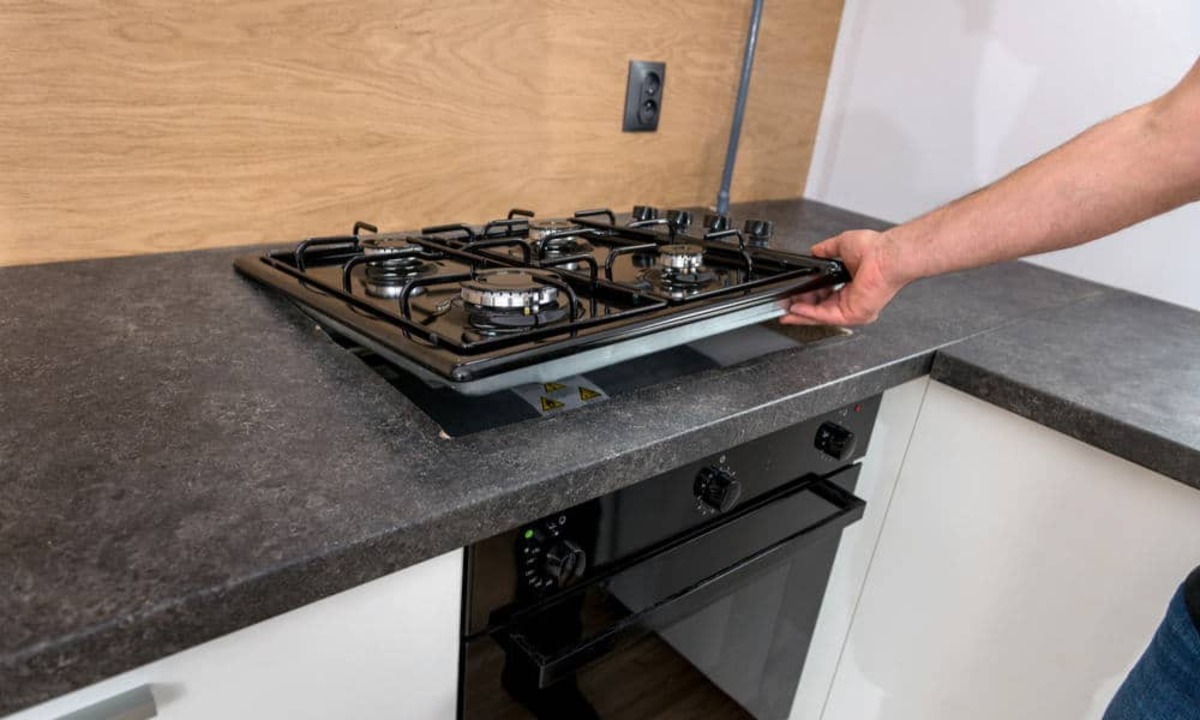
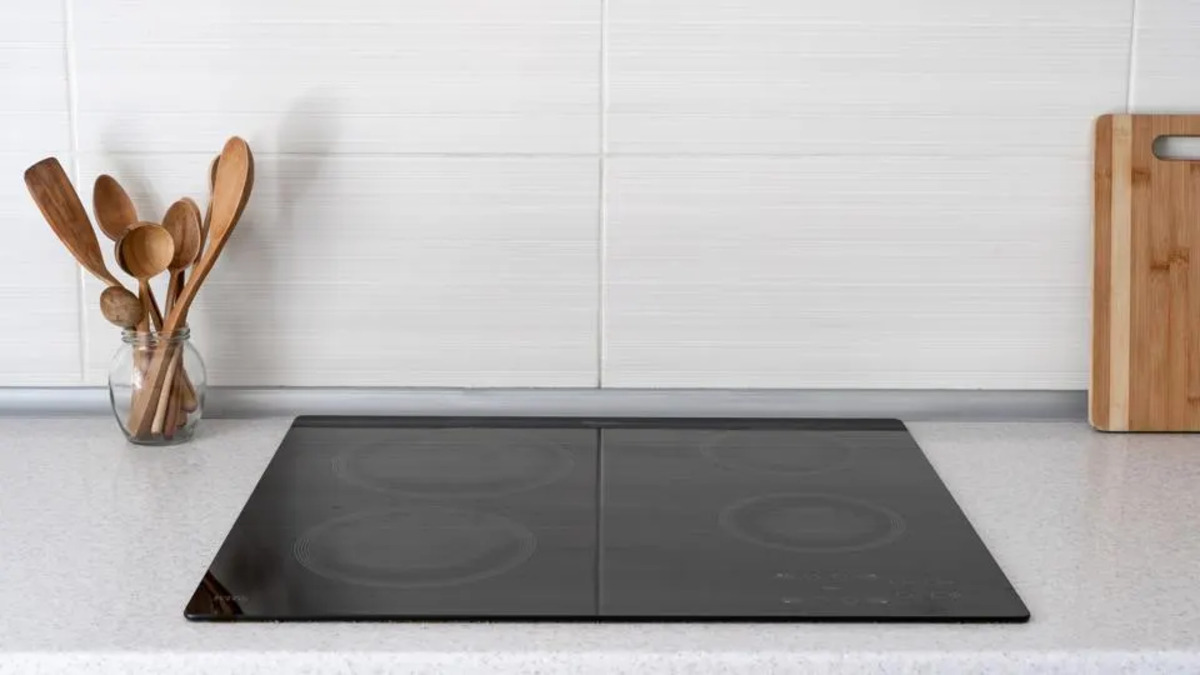
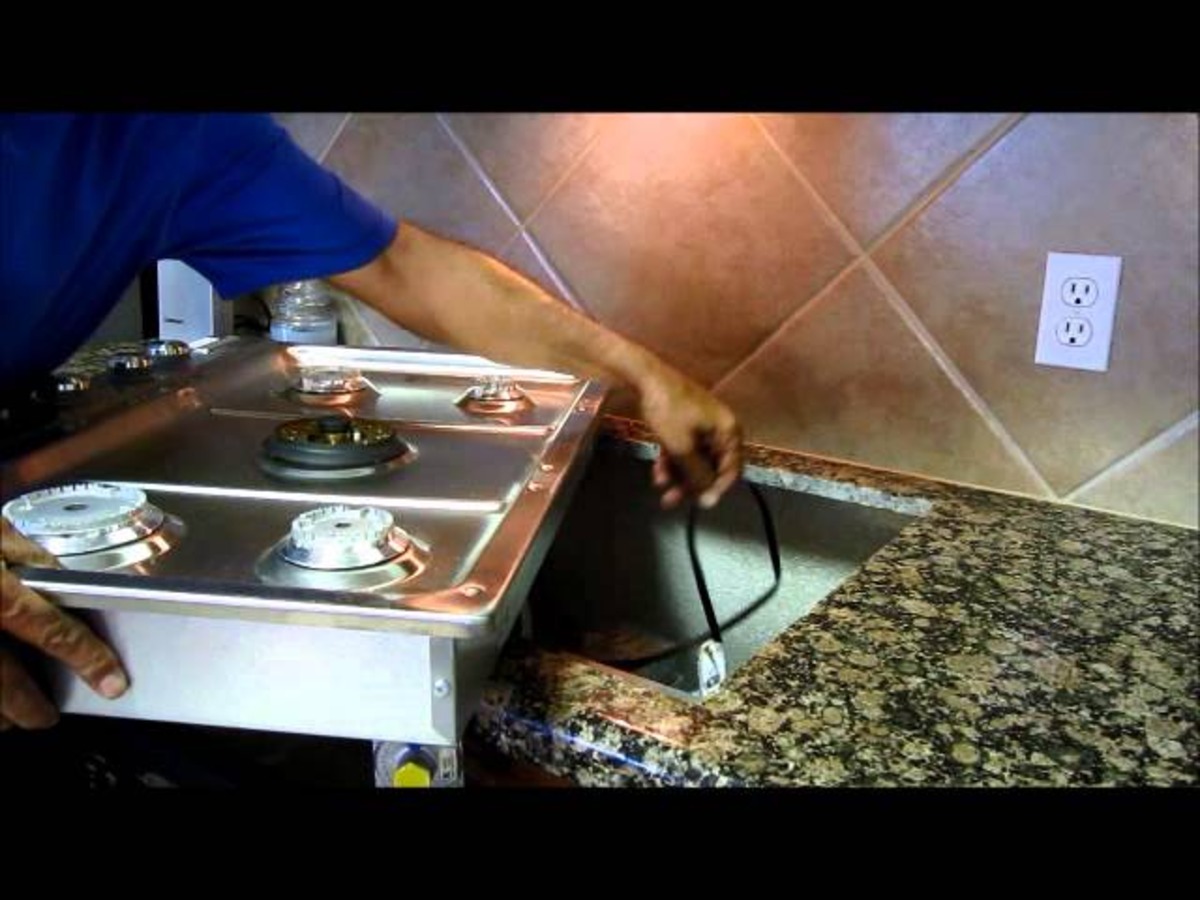
Step 3: Remove the Old Cooktop
Now that the power supply has been turned off and gas or electrical connections have been disconnected, you can proceed with removing the old cooktop. Follow these steps:
- Start by carefully lifting the old cooktop to expose the underside. You may need a helping hand if the cooktop is heavy.
- If your cooktop is secured with brackets, screws, or clamps, use a screwdriver or wrench to remove them. Set aside any screws or hardware for later use.
- Gently tilt the cooktop towards you and slide it out from the countertop. Be careful not to scratch the surface of the countertop or cause any damage.
- Place the old cooktop on a stable surface and ensure it is secure to prevent any accidents.
Keep in mind that the removal process may vary depending on the make and model of your cooktop. Refer to the manufacturer’s instructions for any specific steps or precautions.
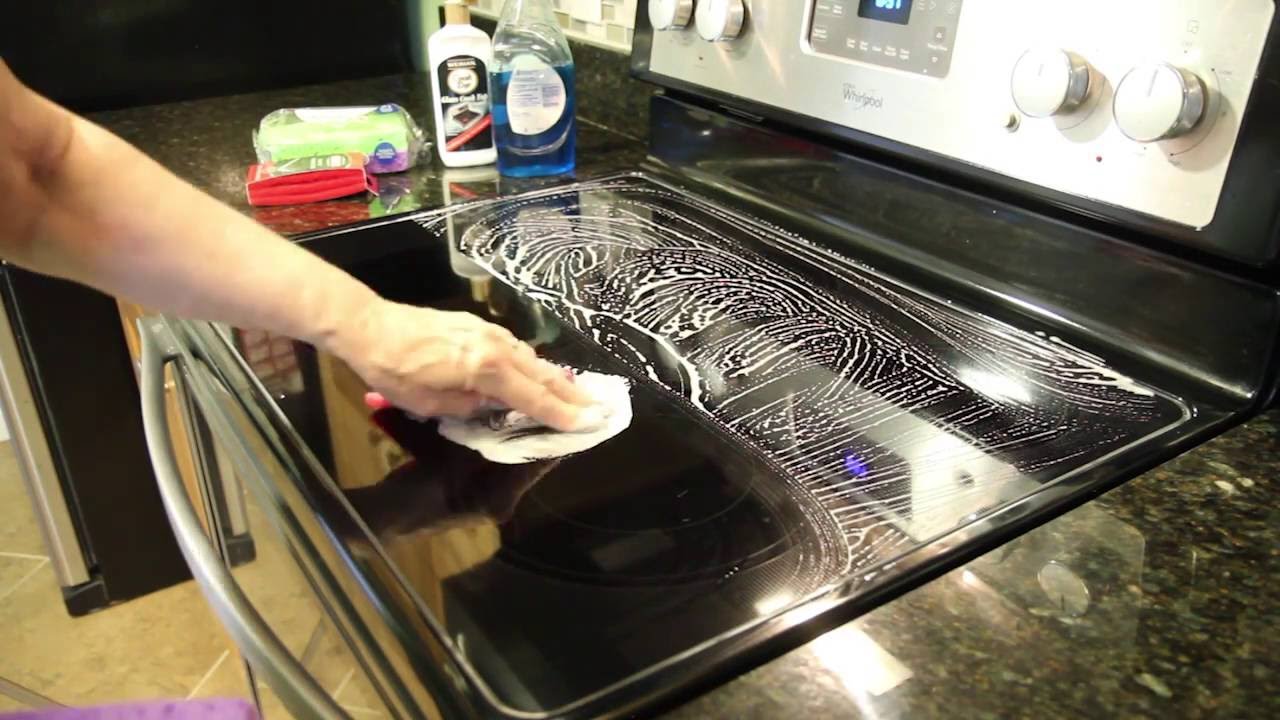
Once the old cooktop is removed, inspect the area for any debris or residue that may have accumulated. Clean the countertop thoroughly to ensure a clean and smooth surface for installing the new cooktop.
With the old cooktop safely removed, you are now ready to proceed with the installation of the new cooktop in the next step.
Step 4: Prepare the New Cooktop for Installation
Before installing the new cooktop, there are a few steps you should take to prepare it for the installation process. Follow these instructions:
- Inspect the new cooktop for any signs of damage or defects. Check for any broken knobs, dents, or cracks. If you notice any issues, contact the manufacturer for assistance.
- Measure the dimensions of the new cooktop to ensure it fits properly into the existing countertop cutout. Double-check that the size matches the specifications provided by the manufacturer.
- Read the manufacturer’s instructions and locate any supplied mounting brackets, clips, or hardware required for installation.
- If necessary, apply a thin bead of silicone sealant around the perimeter of the underside of the cooktop. This will help create a watertight seal and prevent any leaks or spills from seeping into the countertop.
- Position the new cooktop near the installation area, making sure you have enough working space and access to the necessary tools.
By carefully inspecting and preparing the new cooktop, you can ensure that it is in optimal condition and ready for installation. Following the manufacturer’s instructions and taking the necessary precautions will help guarantee a successful and seamless replacement process.
Read more: How To Childproof A Cooktop
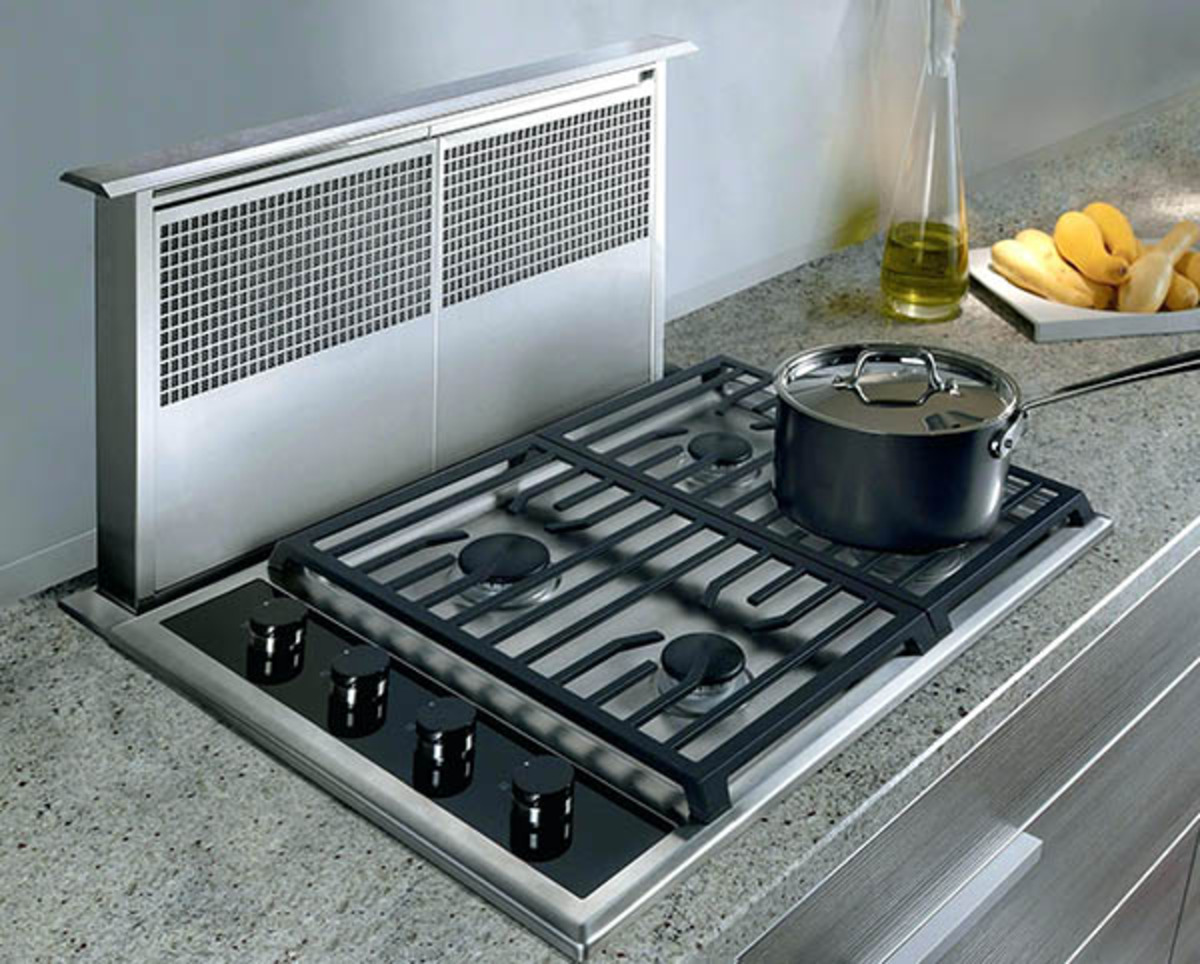
Step 5: Install the New Cooktop
Now that the old cooktop has been removed and the new one has been prepared, it’s time to install the new cooktop. Follow these steps:
- Position the new cooktop carefully into the countertop cutout. Make sure it is aligned properly and centered within the opening.
- If provided by the manufacturer, use the supplied mounting brackets, clips, or hardware to secure the cooktop to the countertop. Follow the manufacturer’s instructions for proper installation.
- Using a screwdriver or wrench, tighten any screws or clamps to secure the cooktop in place. Ensure that it is stable and flush with the countertop surface.
- Double-check that the cooktop is properly aligned and level. Adjust as necessary to ensure a balanced and visually appealing installation.
It is important to note that some cooktops may require specific installation steps, such as connecting ventilation or gas lines. Refer to the manufacturer’s instructions for any manufacturer-specific guidelines.
Take your time during the installation process to ensure that the new cooktop is securely and properly installed. This will help prevent any issues or accidents in the future.
With the new cooktop in place, you’re one step closer to enjoying your upgraded or replacement appliance. The next step will guide you through reconnecting the gas or electric supply.
When replacing a cooktop, always turn off the power at the circuit breaker before starting the installation. This will ensure your safety while working with electrical connections.
Step 6: Reconnect Gas or Electric Supply
With the new cooktop successfully installed, it’s time to reconnect the gas or electric supply to ensure proper functionality. Follow these steps based on your cooktop’s power source:
For Gas Cooktops:
- Locate the gas shut-off valve and ensure it is in the “OFF” position.
- Inspect the gas line connection on the new cooktop and remove any protective caps or plugs.
- Apply plumber’s tape to the threaded end of the gas line fitting to create a secure seal.
- Align the threaded end of the gas line with the connection on the cooktop and hand-tighten the nut.
- Use an adjustable wrench to securely tighten the gas line connection. Be cautious not to overtighten and damage the fittings.
- Once the connection is secure, turn on the gas valve by turning it counterclockwise to restore the gas supply.
For Electric Cooktops:
- Refer to the labeling or diagram inside the junction box to identify the appropriate electric wire connections.
- Using a screwdriver, reconnect the electrical wires by matching the corresponding colors or labels: black to black, white to white, and green or bare wire to the ground connection.
- Securely tighten the wire connections by tightening the screws on the terminal block.
- Fit the wires neatly back into the junction box.
- Replace the access cover and secure it with the screws.
Ensure that all connections are properly secured and tightened. Double-check that gas connections are leak-free by applying a soap and water solution to the connection and observing if any bubbles form.
By reconnecting the gas or electric supply, you can now move on to the final step of testing the cooktop to ensure it is functioning correctly.
Read more: How To Remove Cooktop?
Step 7: Test the Cooktop
After reinstalling the cooktop and reconnecting the gas or electric supply, it’s important to test the appliance to ensure it is functioning properly. Follow these steps:
- Turn on the gas supply valve or restore power to the cooktop by switching on the circuit breaker.
- Verify that the gas burners or electric elements are set to the “Off” position before testing.
- Light each gas burner individually to check for proper ignition and flame consistency. Ensure that the flame is steady and not flickering excessively.
- For electric cooktops, turn on each element individually to ensure they heat up properly. Check if the indicator lights or displays are functioning as well.
- Inspect the control knobs and buttons to make sure they are working correctly. Adjust the flame or heat settings to ensure they respond accordingly.
- Test any additional features, such as the oven light or fan, if applicable.
- Monitor the cooktop for any unusual smells, sounds, or malfunctions during operation. If you notice any issues, disconnect the power and consult the manufacturer’s instructions or contact a professional for assistance.
By thoroughly testing the cooktop, you can ensure that it is functioning as intended and there are no operational issues. This step allows you to identify and address any potential problems before regular use.
Once you have completed the testing process and are satisfied with the performance of the new cooktop, you can now enjoy cooking with your upgraded or replaced appliance.
Conclusion
Replacing a cooktop can be a rewarding project that improves the functionality and aesthetics of your kitchen. By following the step-by-step instructions outlined in this guide, you can successfully replace your cooktop while prioritizing safety and efficiency.
Throughout the process, safety precautions such as turning off the power and gas supply, wearing protective gear, and diligently following manufacturer’s instructions are vital. It’s essential to gather the necessary tools and materials beforehand to ensure a smooth installation.
From disconnecting the gas or electric supply to removing the old cooktop and preparing the new one, each step plays a crucial role in accomplishing a successful replacement. Taking the time to properly install and test the new cooktop guarantees its proper functionality and performance.
Remember to refer to the specific instructions provided by the manufacturer, as installation steps may vary depending on the make and model of your cooktop.
By adhering to these guidelines, you can confidently upgrade or replace your cooktop, enhancing your cooking experience and adding value to your kitchen.
Should you encounter any difficulties or if you’re unsure about any aspect of the cooktop replacement process, it’s always recommended to consult a professional for assistance.
Now, armed with the knowledge and tools needed, it’s time to embark on your cooktop replacement journey. Enjoy the process and the benefits of your new and improved cooking appliance!
Frequently Asked Questions about How To Replace Cooktop
Was this page helpful?
At Storables.com, we guarantee accurate and reliable information. Our content, validated by Expert Board Contributors, is crafted following stringent Editorial Policies. We're committed to providing you with well-researched, expert-backed insights for all your informational needs.


0 thoughts on “How To Replace Cooktop”