Home>Articles>How To Replace A Tub Or Shower Cartridge To Fix Your Faulty Faucet
Articles
How To Replace A Tub Or Shower Cartridge To Fix Your Faulty Faucet
Modified: October 20, 2024
Learn how to replace a tub or shower cartridge with our step-by-step guide. Fix your faulty faucet with these easy-to-follow articles.
(Many of the links in this article redirect to a specific reviewed product. Your purchase of these products through affiliate links helps to generate commission for Storables.com, at no extra cost. Learn more)
Introduction
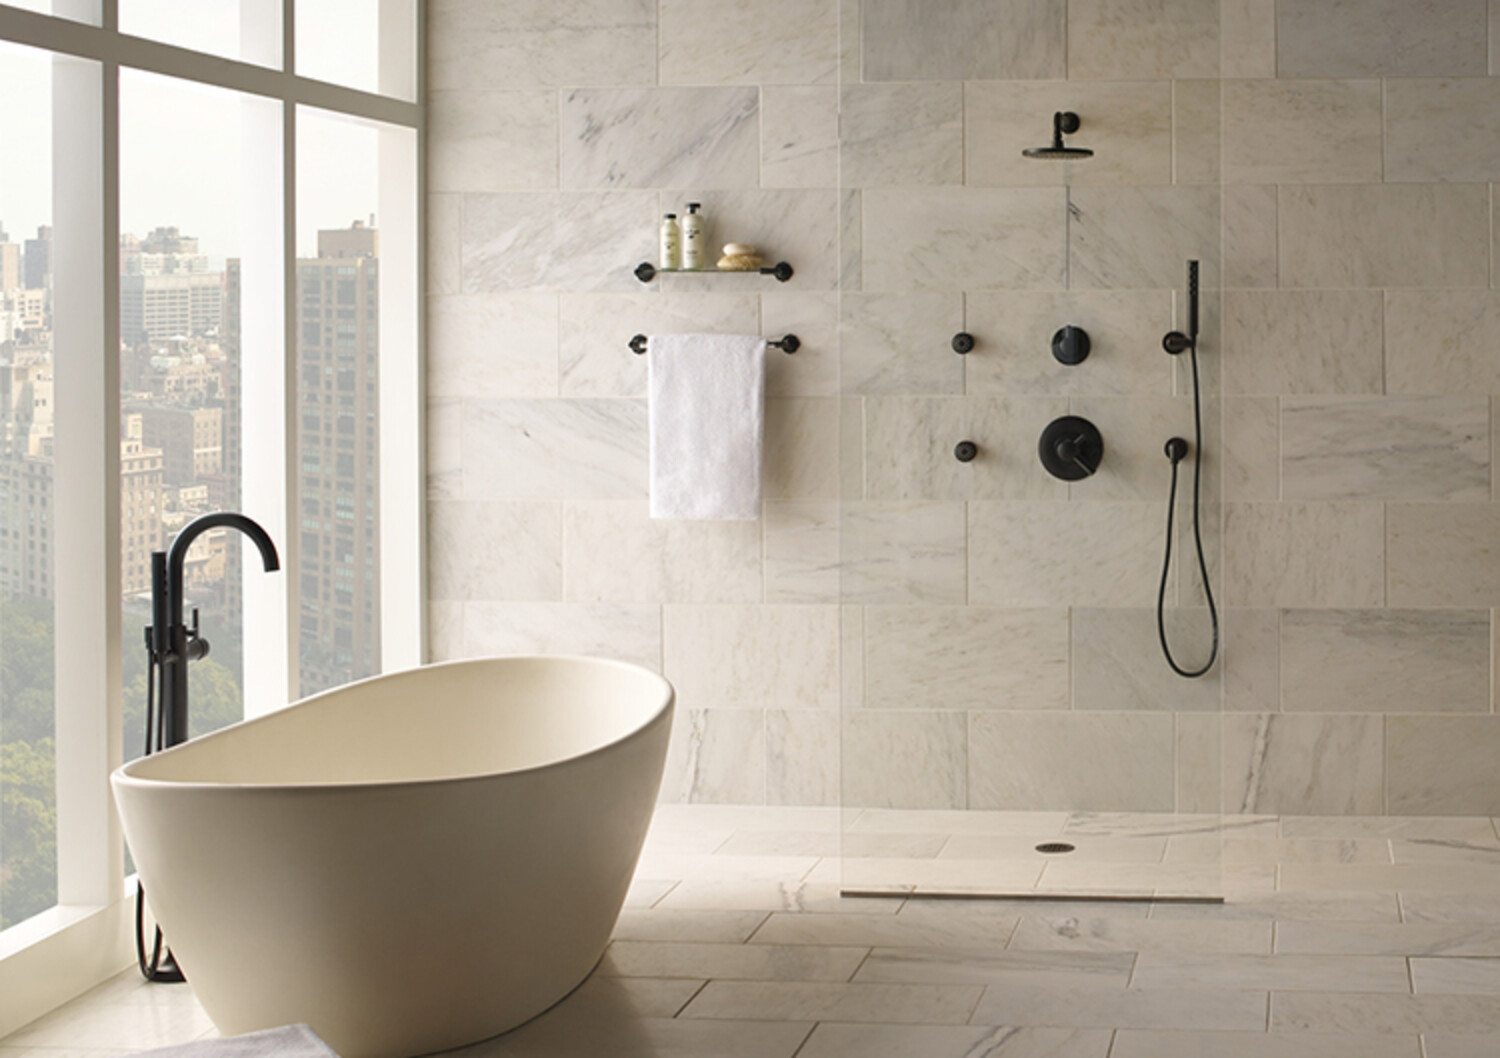
Having a faulty tub or shower faucet can be frustrating. Drips, leaks, and inconsistent water flow can disrupt your daily routine and even lead to water damage if left unresolved. One common cause of these issues is a faulty tub or shower cartridge.
In this article, we will guide you through the process of replacing a tub or shower cartridge to fix your faulty faucet. We will explain what a tub or shower cartridge is, why it needs to be replaced, and signs that indicate your cartridge needs attention. We will also provide a list of tools and materials you will need for the replacement, and walk you through each step of the process. Additionally, we will share some tips and precautions to help you successfully complete the task without any issues.
By following the instructions in this article, you can save yourself the hassle and cost of calling a professional plumber. With a little effort and the right tools, you’ll be able to restore your tub or shower faucet to its optimal functionality in no time.
Key Takeaways:
- Replacing a tub or shower cartridge is a DIY project that can save time and money. Understanding the signs of a faulty cartridge and following the step-by-step instructions can restore your faucet’s functionality.
- Gathering the necessary tools and materials, taking precautions, and following tips for successful cartridge replacement are crucial. If in doubt, consult a professional plumber to ensure the job is done properly.
Read more: How To Replace A Kitchen Faucet Cartridge
Understanding the tub or shower cartridge
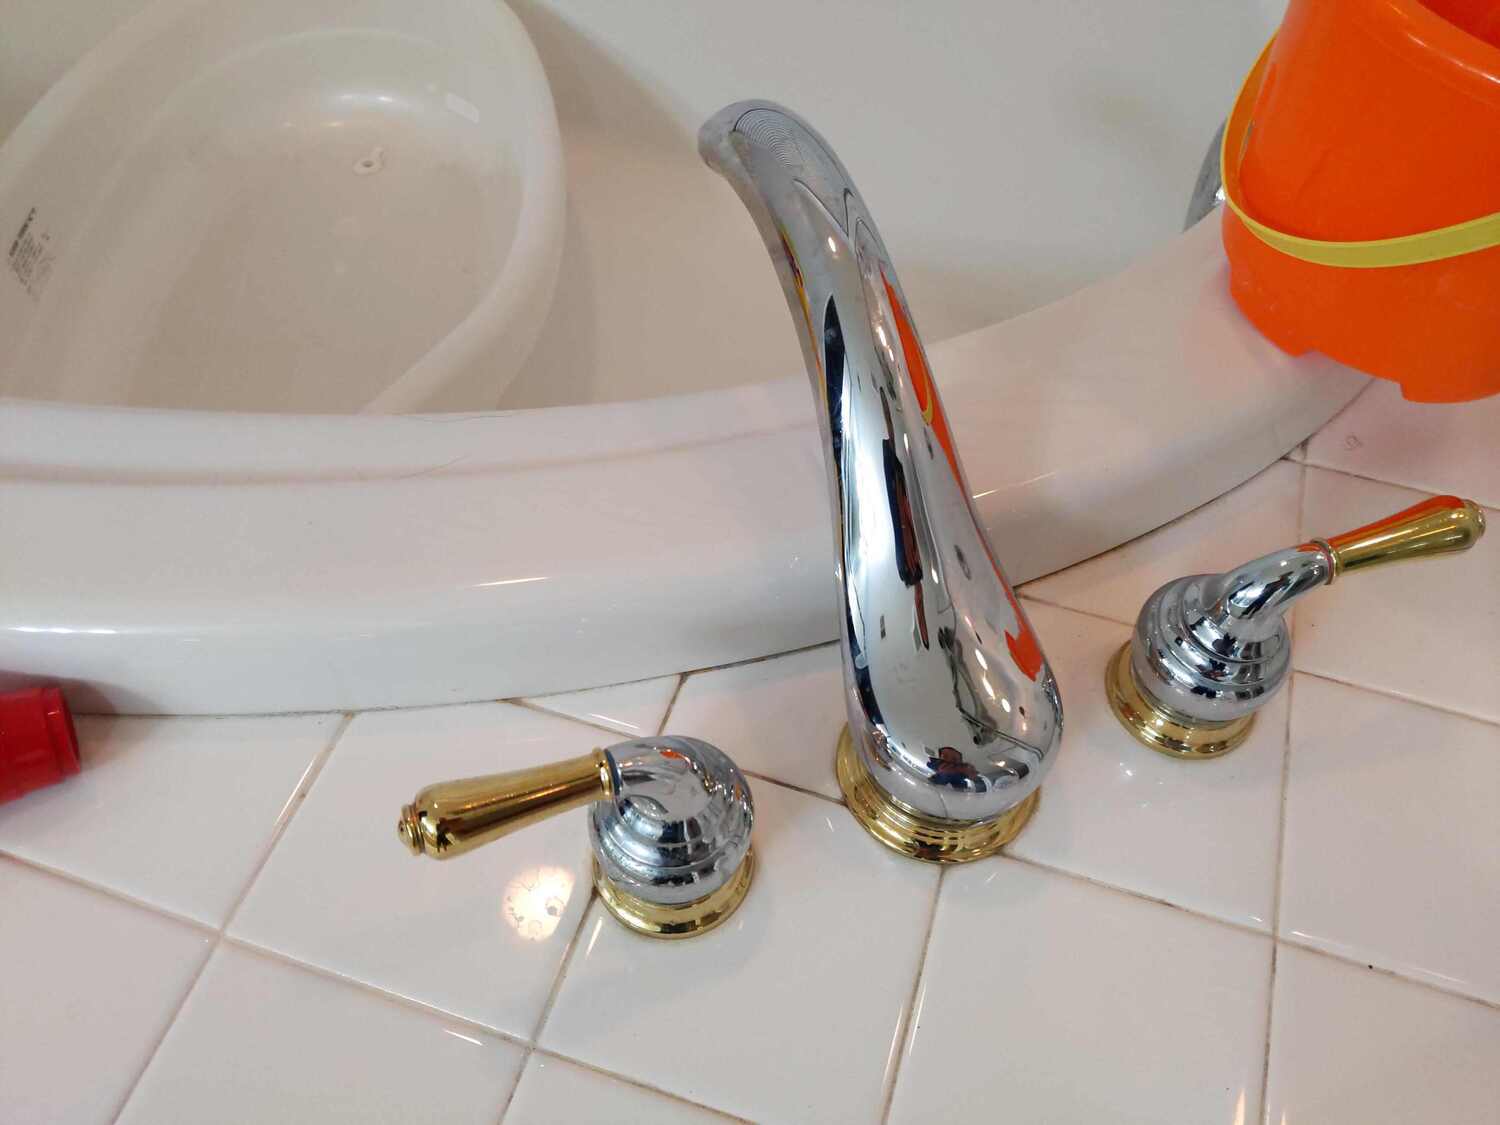
A bathtub or shower cartridge is a crucial component of the faucet system that controls the flow of water. It is a small, cylindrical device typically made of brass or plastic, and it houses a series of seals and valves. When the handle of the faucet is turned, the cartridge rotates or moves back and forth to regulate the water temperature and flow.
Over time, due to regular usage and exposure to water, the cartridge can wear out or become damaged. This can lead to a variety of issues such as leaks, drips, and inconsistent water flow. In such cases, replacing the cartridge is necessary to restore proper functionality to your tub or shower faucet.
There are several signs that indicate a faulty tub or shower cartridge. The most common sign is a dripping faucet, even when fully closed. This is often caused by worn-out seals inside the cartridge that fail to create a watertight seal. Another sign is reduced water pressure or uneven water flow. A damaged or blocked cartridge can restrict water flow and lead to inconsistent pressure.
Additionally, if you notice constant temperature fluctuations when using your tub or shower, it could be a sign of a faulty cartridge. The cartridge is responsible for regulating the mixing of hot and cold water, so any malfunction can result in inconsistent temperature control. Finally, a cartridge that is difficult to move or stuck in one position is another indication that replacement is necessary.
By being aware of these signs, you can quickly identify when your tub or shower cartridge needs attention. Timely replacement can prevent further damage to your faucet system and ensure a smooth water flow experience.
Tools and materials needed
Before you embark on replacing the tub or shower cartridge, it’s important to gather all the necessary tools and materials. Here’s a list of what you’ll need:
List of necessary tools:
- Adjustable wrench
- Phillips head screwdriver
- Flathead screwdriver
- Needle-nose pliers
- Allen wrench set
- Cartridge puller or removal tool (optional)
- Teflon tape
List of required materials:
- Replacement tub or shower cartridge
- Replacement O-rings (if not included with the cartridge)
- Plumber’s grease or silicone-based lubricant
These tools and materials are essential for a successful tub or shower cartridge replacement. The adjustable wrench will help you loosen and tighten various parts, while the screwdrivers and needle-nose pliers will aid in removing screws and small components. The Allen wrench set may be required to remove specific handle styles.
If the cartridge is challenging to remove, a cartridge puller or removal tool can assist in extracting it without causing damage. However, this tool may not be necessary for all faucet models.
Teflon tape is a valuable material for creating a watertight seal during the reinstallation process. It is typically used to wrap around the threads of pipe fittings. Additionally, plumber’s grease or a silicone-based lubricant will help lubricate O-rings and ensure smooth operation of the new cartridge.
By ensuring you have all the necessary tools and materials before starting the replacement process, you’ll be prepared and ready to tackle the task confidently.
Before starting the replacement process, make sure to turn off the water supply to the faucet. This will prevent any water from leaking out while you work on replacing the cartridge.
Steps to replace a tub or shower cartridge
Replacing a tub or shower cartridge may seem intimidating, but by following these step-by-step instructions, you’ll be able to successfully complete the task. Here are the essential steps:
Step 1: Shut off the water supply
The first step in any plumbing project is to turn off the water supply to the faucet. Locate the main water shut-off valve for your home and close it to prevent any water flow while you work. You may also find individual shut-off valves near the faucet that you can use instead.
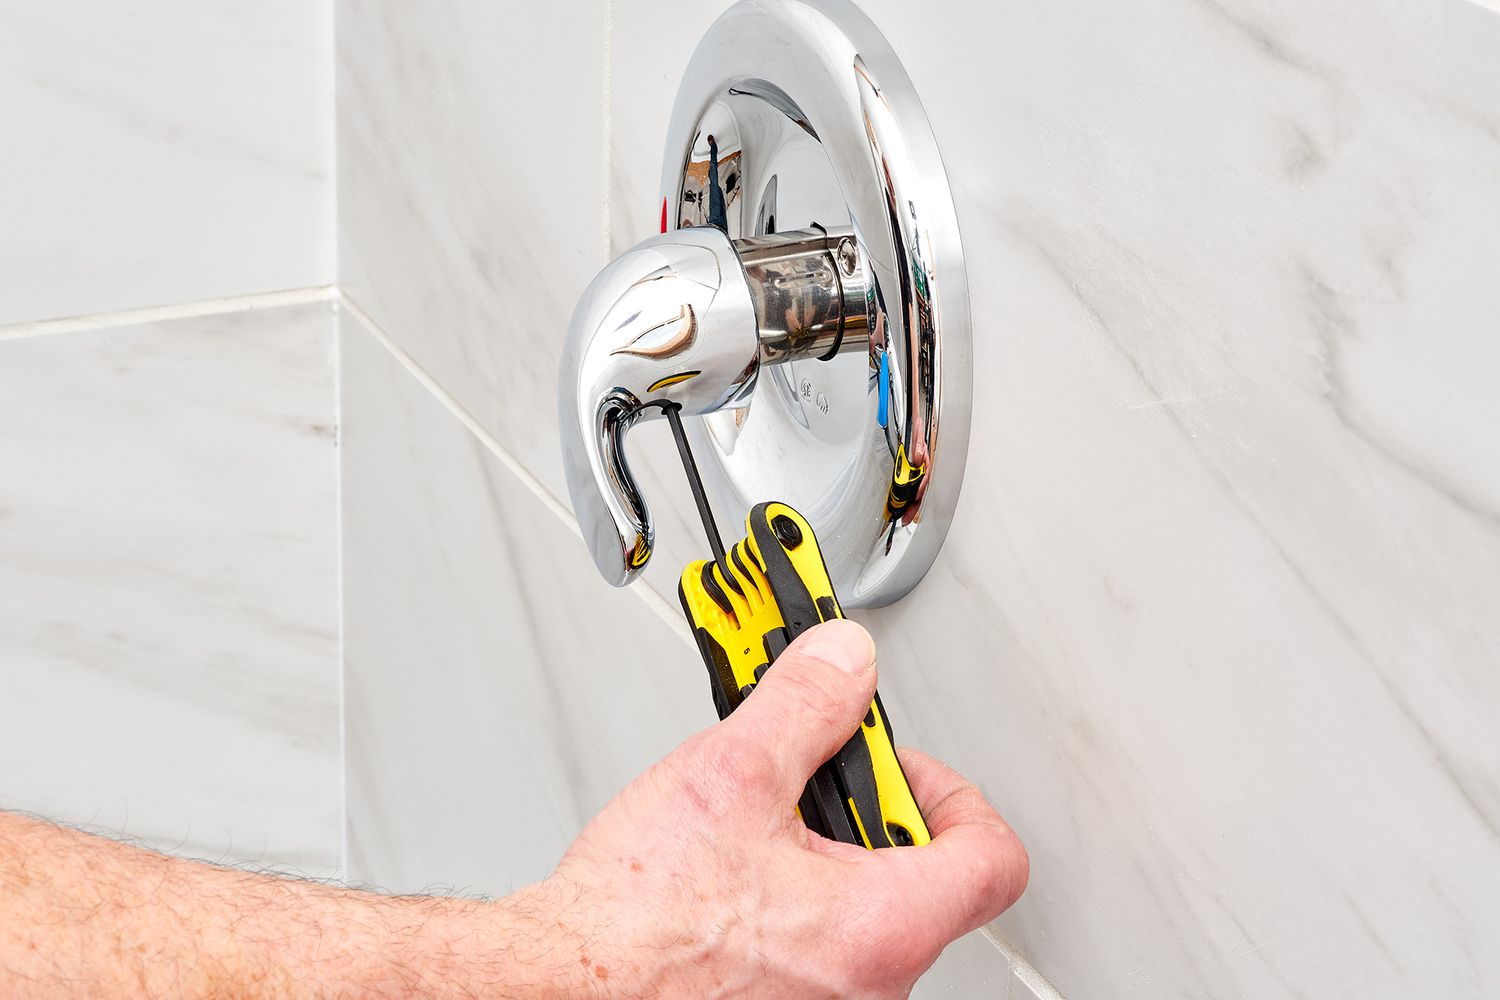
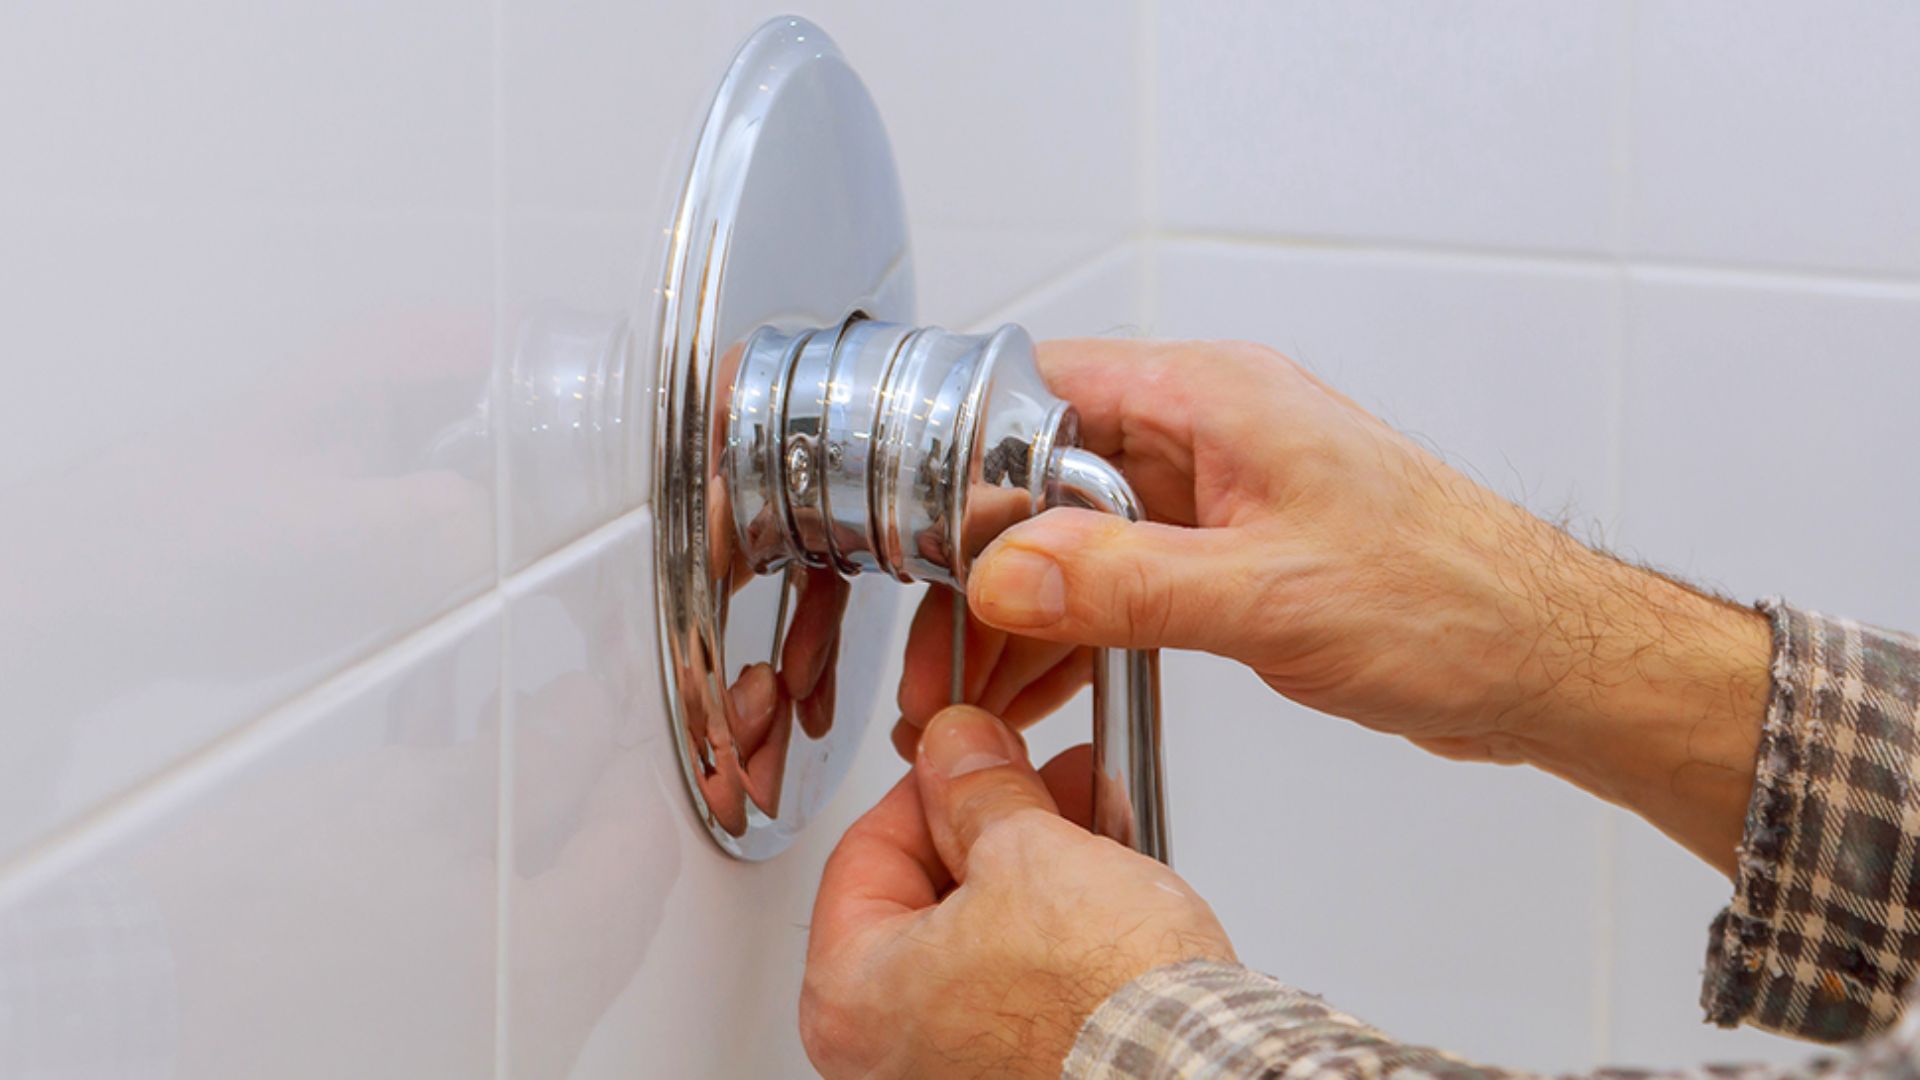
Step 2: Remove the handle and trim
Next, remove the handle of the faucet. Depending on the faucet design, there may be a screw holding it in place that needs to be loosened with a Phillips head or flathead screwdriver. Once the screw is removed, gently pull the handle off the faucet. Additionally, remove the trim or decorative cover surrounding the handle if applicable.
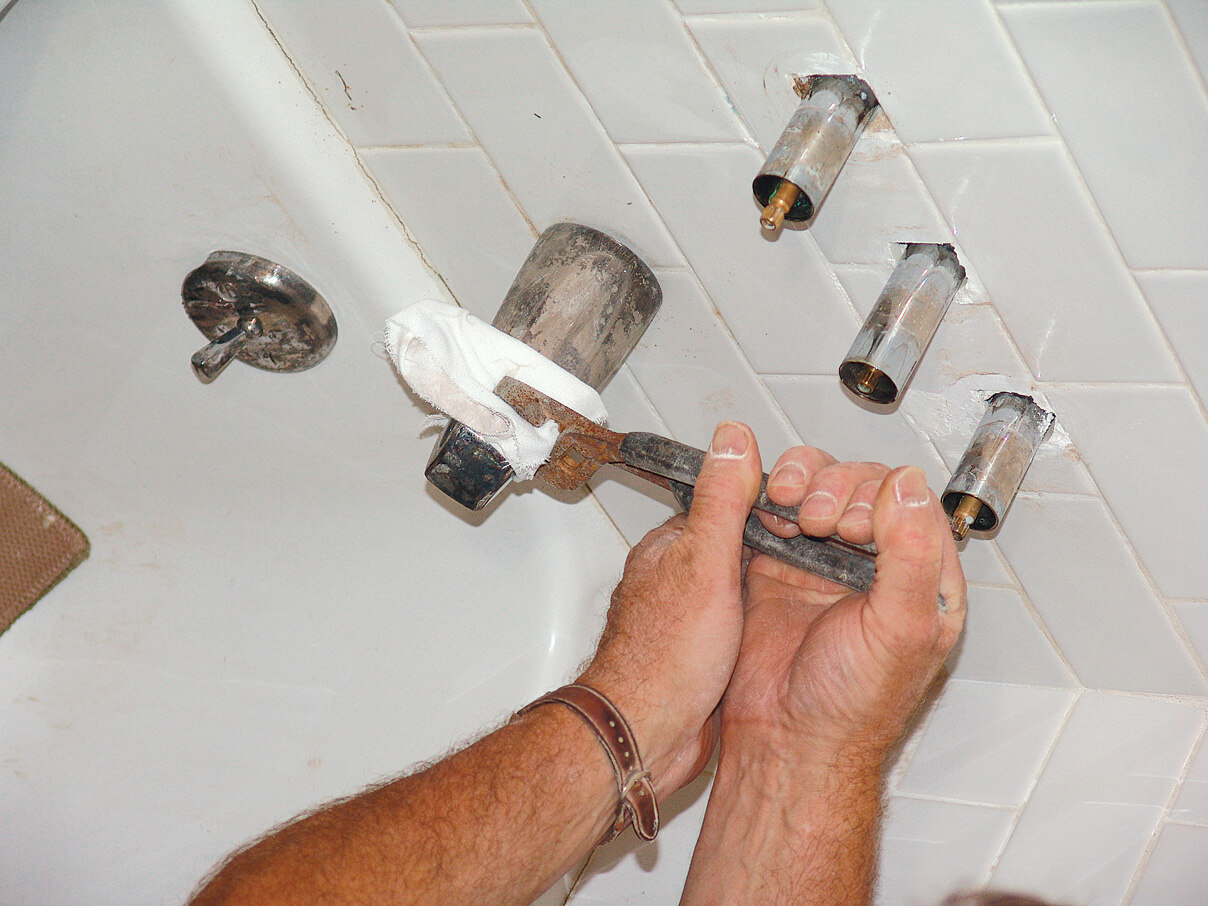
Step 3: Remove the old cartridge
With the handle and trim out of the way, you can now access the cartridge. Depending on the make and model of your faucet, you may need to use an Allen wrench or pliers to loosen and remove the cartridge retaining nut. Once the nut is removed, pull out the old cartridge, taking note of its orientation. If necessary, use a cartridge puller or removal tool for stubborn cartridges.
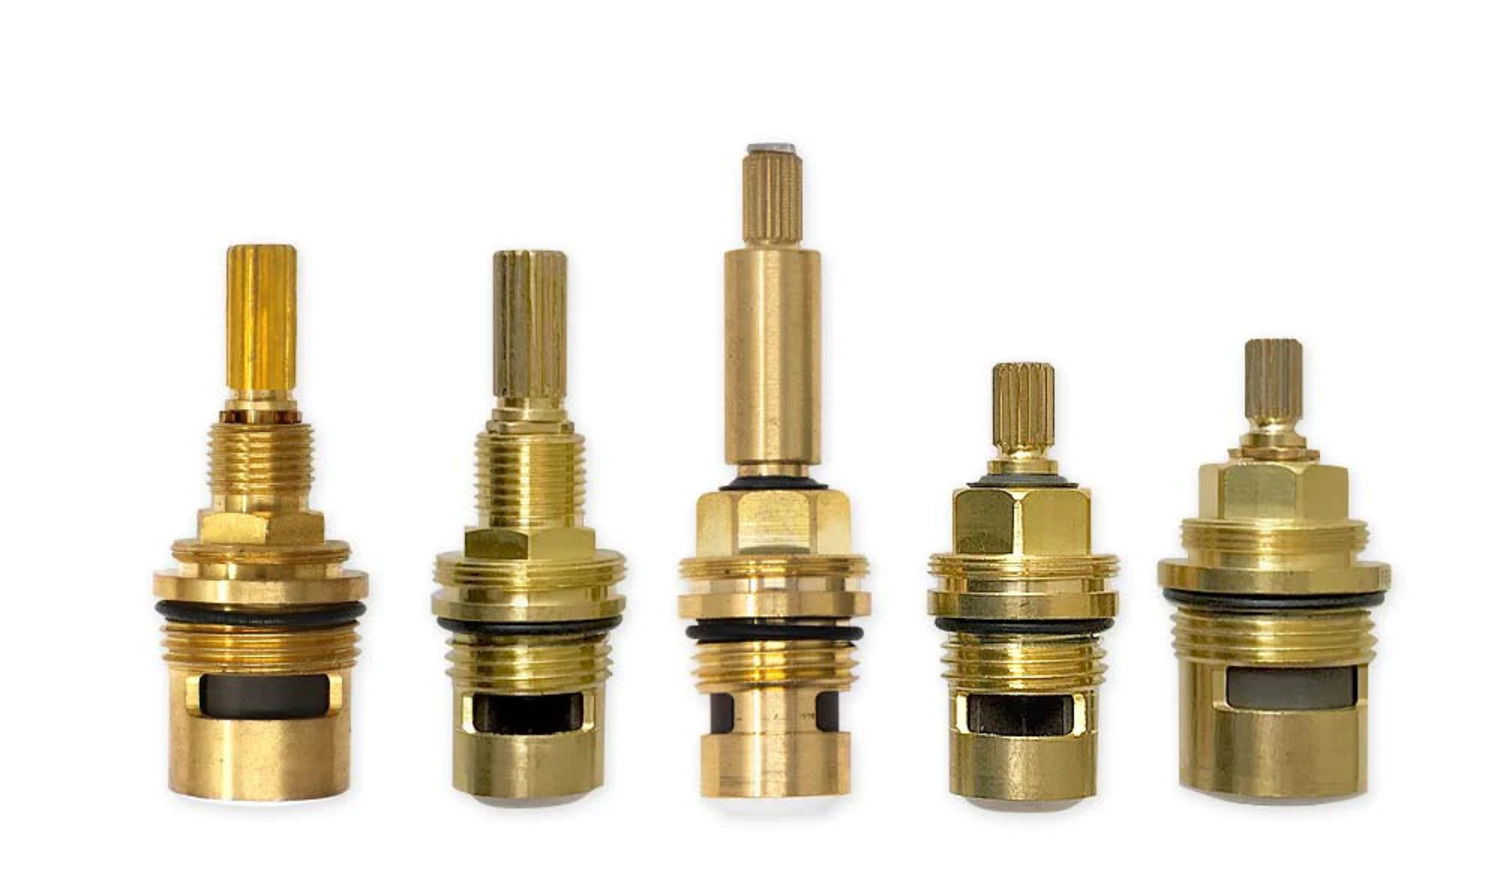
Step 4: Install the new cartridge
Before installing the new cartridge, ensure that all components, such as O-rings or seals, are in place. Apply plumber’s grease or a silicone-based lubricant to the O-rings to aid in installation and create a watertight seal. Align the new cartridge in the same orientation as the old one and gently slide it into place. Reinstall the cartridge retaining nut and tighten it securely.
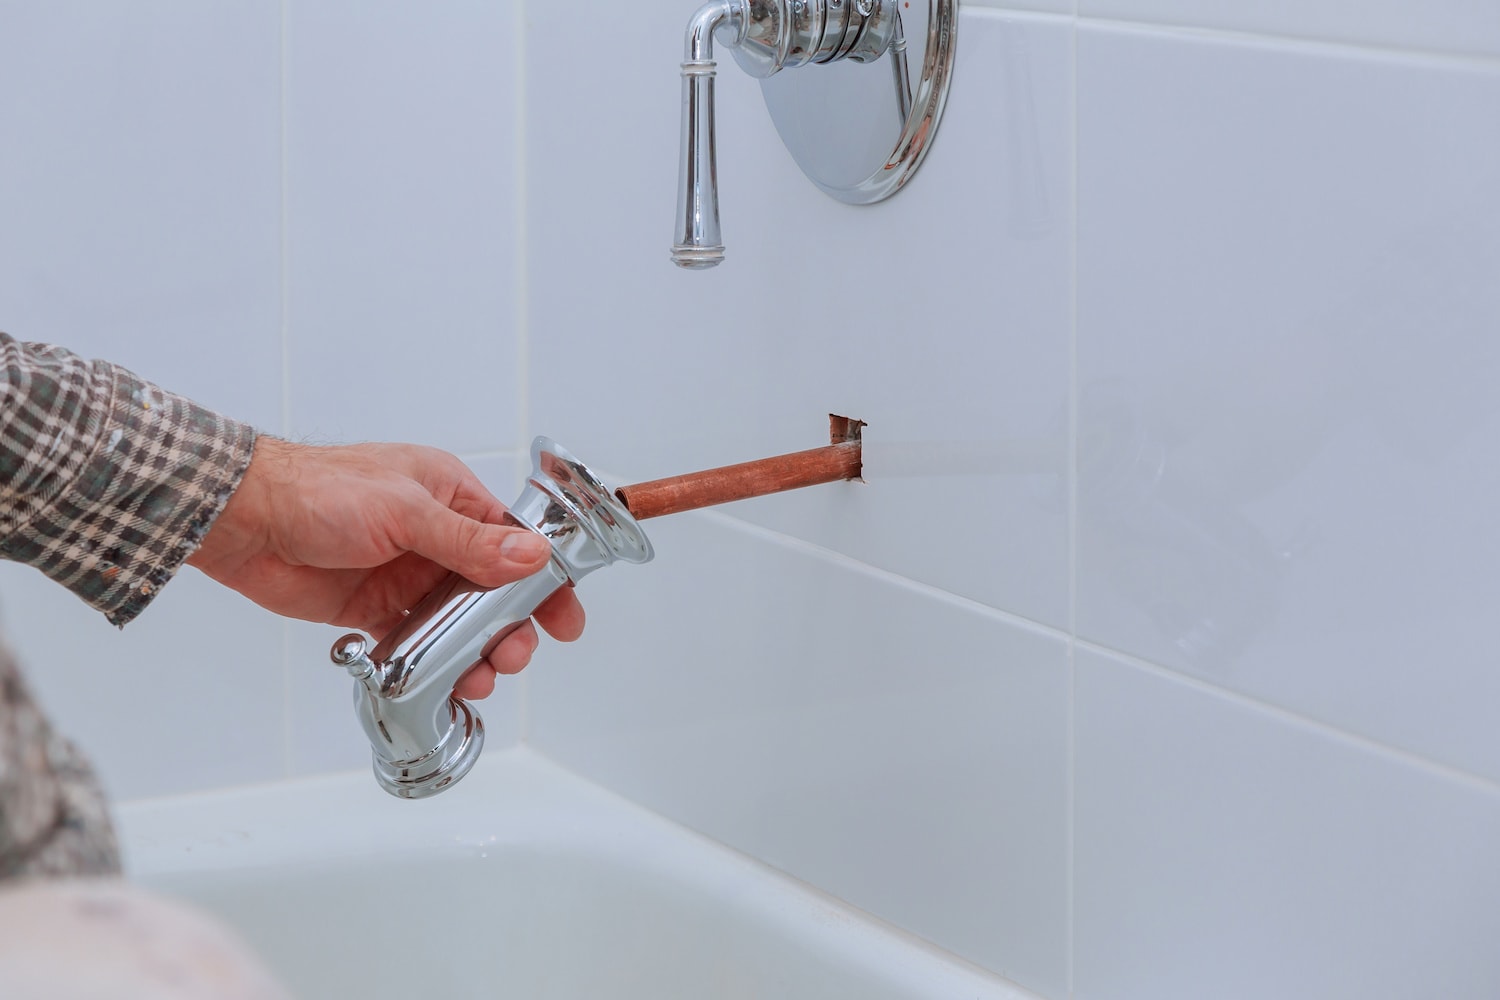
Step 5: Reassemble the handle and trim
Once the new cartridge is securely in place, reattach the handle and trim. Align the handle with the cartridge stem and tighten the screw to hold it in place. If applicable, snap the trim or decorative cover back onto the handle, ensuring it fits snugly.
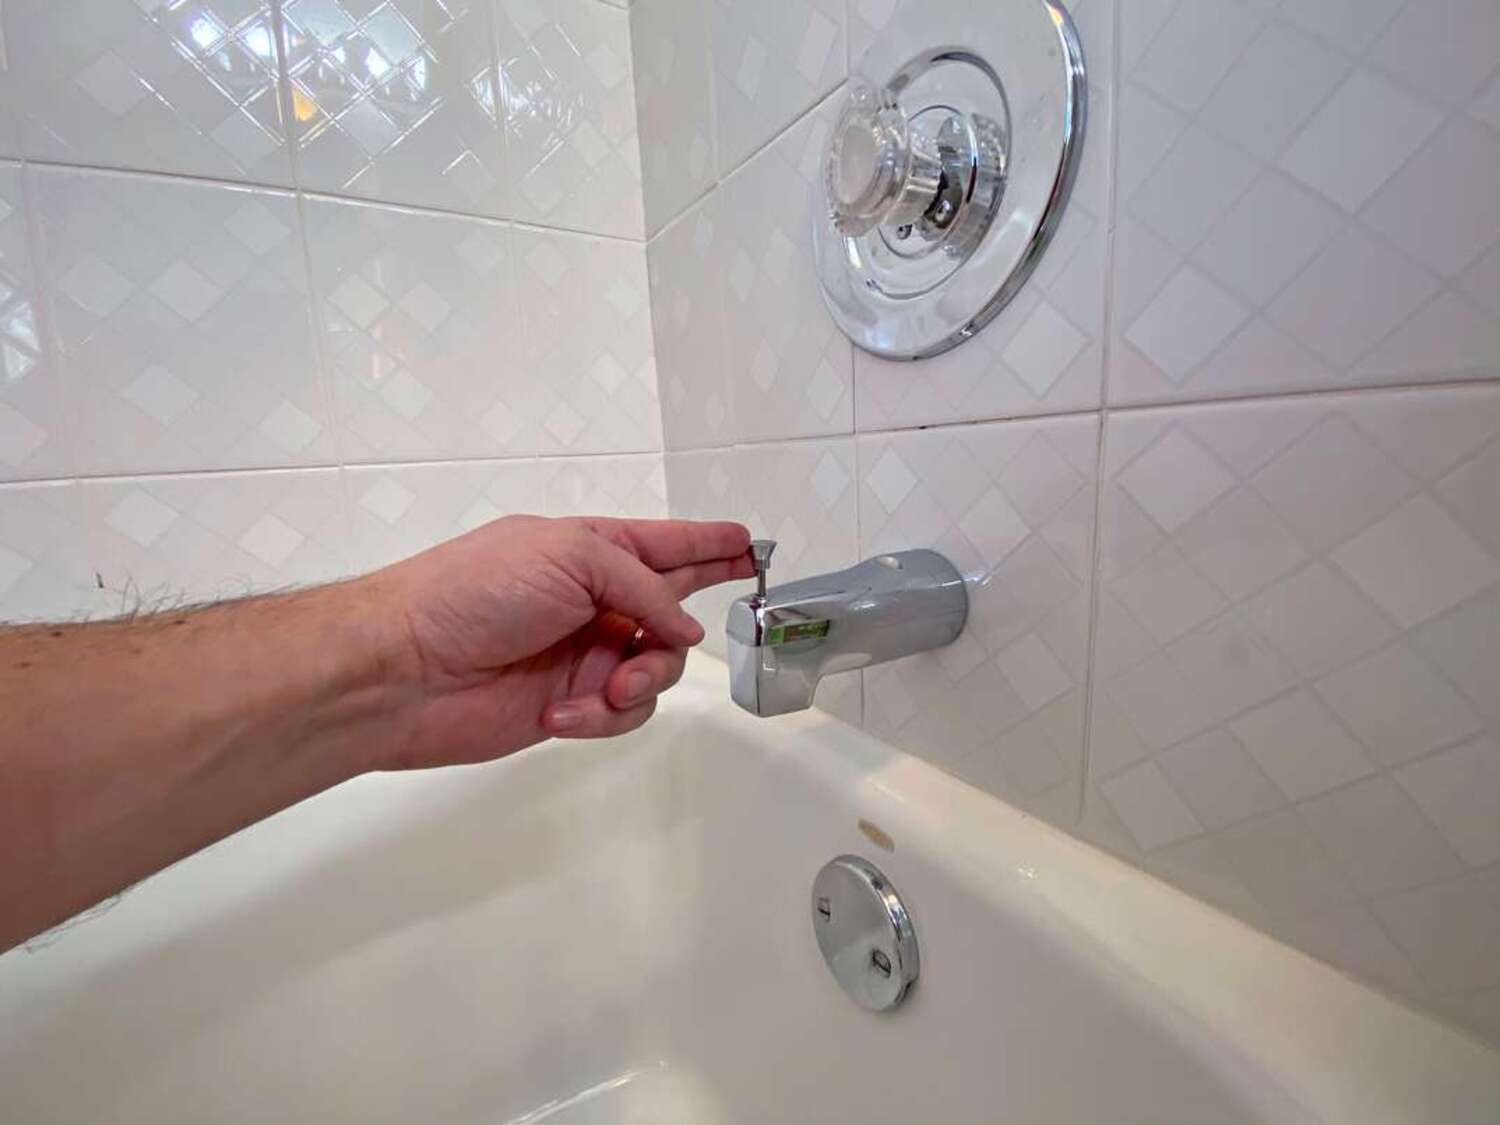
Step 6: Test the faucet
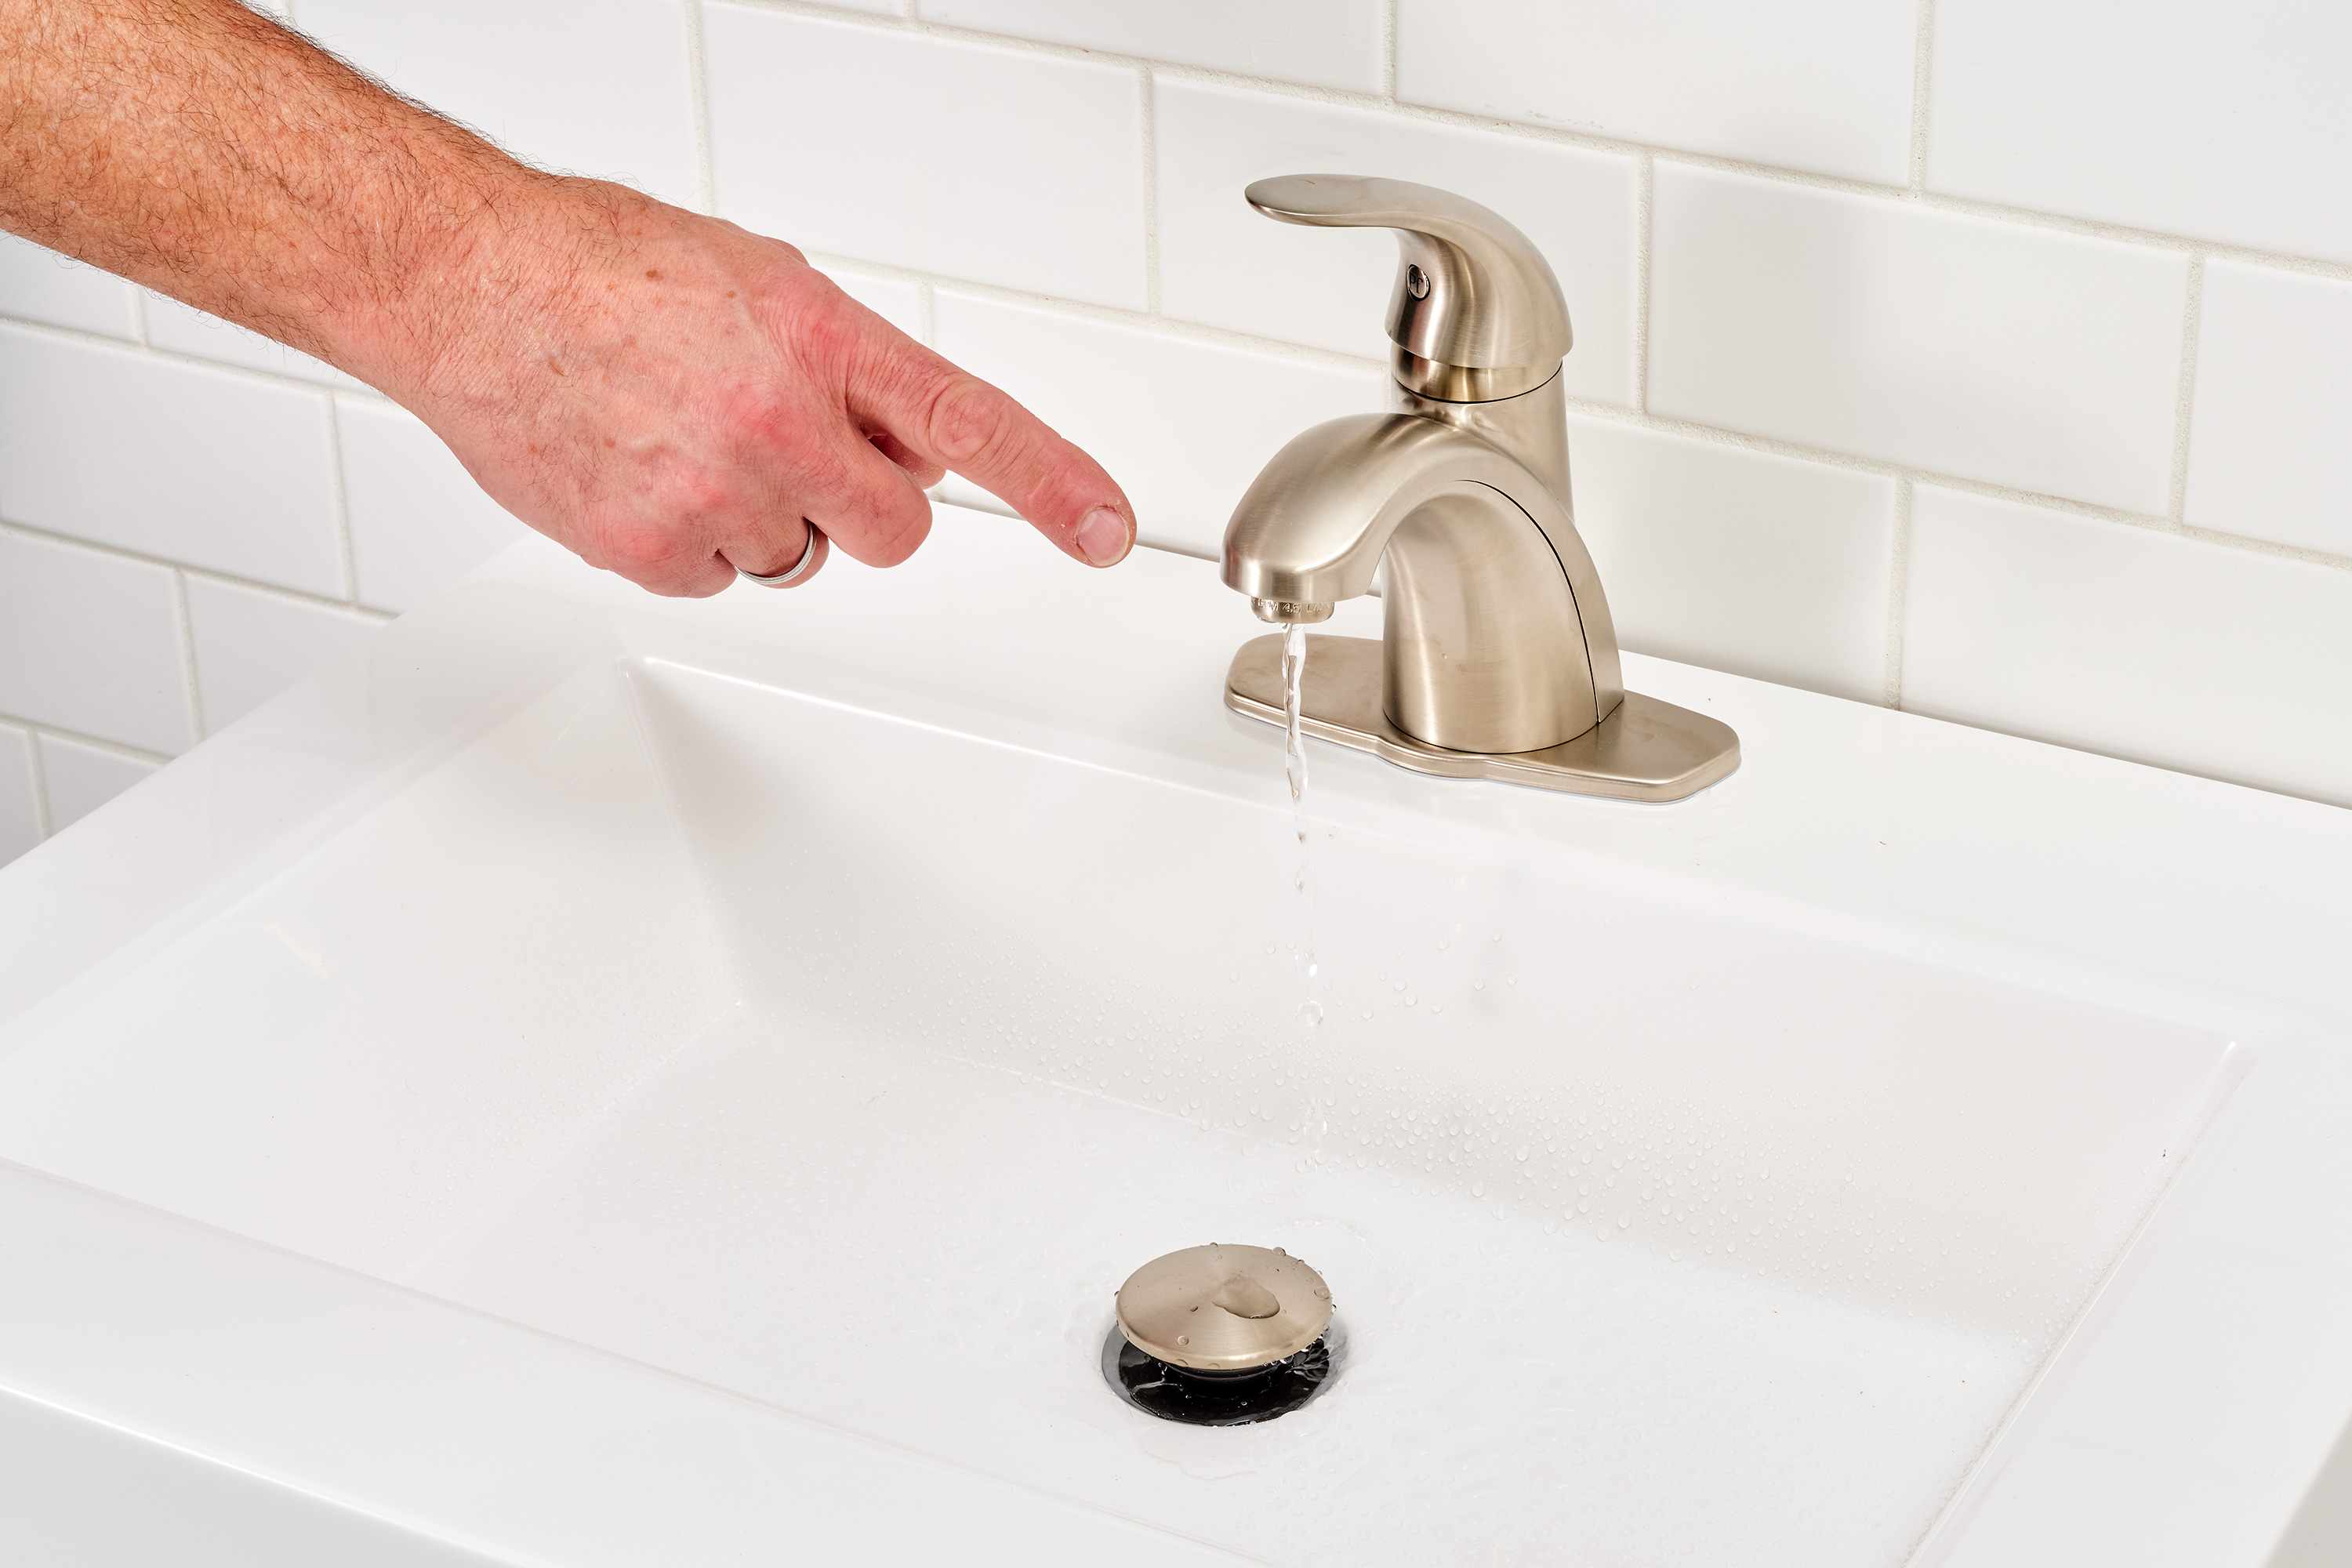
With everything reassembled, turn on the water supply by reopening the main shut-off valve or individual shut-off valves. Slowly turn on the faucet and check for any leaks or irregularities. If the water flow and temperature are functioning properly, congratulations! You have successfully replaced the tub or shower cartridge.
Following these steps will help you replace a faulty tub or shower cartridge and restore proper functionality to your faucet. Remember to take your time, be patient, and double-check your work at each stage to ensure a successful outcome.
Tips and precautions
Replacing a tub or shower cartridge requires careful attention to detail and adherence to certain precautions. Here are some tips to ensure a successful cartridge replacement and precautions to take during the process:
Tips for a successful cartridge replacement:
- Read the manufacturer’s instructions: Different faucet models may have specific instructions or unique steps for cartridge replacement. Take the time to review the manufacturer’s instructions before starting the process.
- Take photos or make notes: As you disassemble the faucet, take photos or make notes of the order and orientation of the various components. This will help you during the reassembly phase.
- Clean the faucet components: Before installing the new cartridge, clean the inside of the faucet body, the cartridge chamber, and any other components that may have accumulated debris or mineral buildup over time. This will ensure a smooth installation and prevent any potential issues.
- Use the right tools: Ensure you have the necessary tools mentioned earlier in this article. Using improper tools can damage the faucet or the cartridge, making the replacement process more challenging.
- Test the faucet before reassembling: Before fully reassembling the faucet, turn on the water supply and test the new cartridge. Check for any leaks, drips, or irregularities in water flow or temperature. Address any issues before proceeding with reassembly.
Precautions to take during the process:
- Protect the surrounding area: Place a towel or rag over the drain or tub surface to prevent small parts from falling down the drain. This will also protect the tub or shower floor from scratches or damage.
- Turn off the water supply: Always shut off the water supply before starting the cartridge replacement process. This will prevent any accidental water flow or damage while working on the faucet.
- Be mindful of small parts: Cartridges, O-rings, and other components can be small and delicate. Handle them with care to avoid bending, breaking, or losing them.
- Observe safety precautions: If you encounter any difficulties or encounter unexpected issues during the process, do not hesitate to seek professional assistance. Plumbing can be complex, and it’s essential to prioritize your safety and the integrity of your plumbing system.
By following these tips and taking the necessary precautions, you’ll increase the likelihood of a smooth and successful tub or shower cartridge replacement. Remember to work systematically, be patient, and seek professional help if needed.
Read more: How To Replace A Delta Faucet Cartridge
Conclusion
Replacing a tub or shower cartridge can be a daunting task, but with the right knowledge and preparation, it is a DIY project that anyone can tackle. By understanding the role of the cartridge, recognizing signs of a faulty one, and following the step-by-step instructions provided in this article, you can restore the proper functionality of your tub or shower faucet.
Remember to gather all the necessary tools and materials before starting the replacement process. Shut off the water supply and take the time to remove the handle, trim, and old cartridge carefully. Installing the new cartridge and reassembling the faucet components should be done with precision and attention to detail. Finally, test the faucet to ensure everything is working as it should.
Throughout the process, keep in mind the tips provided to increase your chances of success. Read the manufacturer’s instructions, take photos or notes, clean the faucet components, and test the new cartridge before fully reassembling the faucet. Additionally, follow the precautions outlined to protect yourself, your plumbing system, and the surrounding area.
By replacing a faulty tub or shower cartridge on your own, you can save both time and money. However, if you encounter any difficulties or are unsure about any step of the process, it’s always wise to consult a professional plumber. They can offer guidance and ensure the job is done properly.
By following the guidelines outlined in this article, you’ll be able to successfully replace a tub or shower cartridge and enjoy a fully functioning faucet once again. Don’t let a faulty cartridge disrupt your daily routine – take the necessary steps to fix it promptly and efficiently.
Now that you've mastered replacing a tub or shower cartridge, consider checking if other issues might need your attention. Wondering whether those pipes need professional hands? Our guide on when to seek professional plumbing help will clarify that for you. Or maybe you're contemplating a full expected timeline for updating your bathroom—understand how much time such a project could take. For garden enthusiasts dealing with watering woes, learning to steps to mend a leaky garden faucet might just save the day. Each guide offers practical advice, helping you enhance your home's functionality and comfort.
Frequently Asked Questions about How To Replace A Tub Or Shower Cartridge To Fix Your Faulty Faucet
Was this page helpful?
At Storables.com, we guarantee accurate and reliable information. Our content, validated by Expert Board Contributors, is crafted following stringent Editorial Policies. We're committed to providing you with well-researched, expert-backed insights for all your informational needs.


0 thoughts on “How To Replace A Tub Or Shower Cartridge To Fix Your Faulty Faucet”