Articles
How To Replace A Roman Tub Faucet
Modified: May 6, 2024
Learn how to replace a Roman tub faucet with step-by-step instructions in this informative article. Find expert tips and advice on replacing your old faucet easily and efficiently.
(Many of the links in this article redirect to a specific reviewed product. Your purchase of these products through affiliate links helps to generate commission for Storables.com, at no extra cost. Learn more)
Introduction
Welcome to our comprehensive guide on how to replace a Roman tub faucet. Over time, faucets can wear out, become outdated, or simply not function properly. Replacing a faucet is a great way to upgrade your bathroom and give it a fresh, new look. However, the process of replacing a Roman tub faucet may seem daunting if you have never done it before.
But fear not! With this step-by-step guide, we will walk you through the process and provide you with the knowledge and confidence needed to successfully replace your Roman tub faucet. By following these instructions and having the necessary supplies and tools on hand, you will be able to complete this project and enjoy your newly installed faucet in no time.
Before we dive into the details, it’s essential to gather all the supplies and tools you will need for this project. This will ensure that you have everything on hand and avoid any unnecessary delays. Let’s get started!
Key Takeaways:
- Upgrade your bathroom with a fresh, new look by confidently replacing your Roman tub faucet using our step-by-step guide. Enjoy the convenience and beauty of your new faucet in no time!
- Ensure a seamless and successful installation of your Roman tub faucet by following our comprehensive guide. From gathering supplies to testing the faucet, navigate each step with confidence and enjoy the benefits of a functional and visually appealing upgrade.
Read also: 8 Best Roman Tub Faucet for 2025
Gathering Supplies and Tools
Before you begin the process of replacing your Roman tub faucet, it’s crucial to gather all the necessary supplies and tools. This will save you time and frustration, ensuring that you have everything you need to complete the project smoothly. Here are the supplies and tools you will need:
- Adjustable wrench
- Plumber’s tape
- Plumber’s putty
- New Roman tub faucet
- Bucket or towel
- Screwdriver
- Slotted and Phillips head
It’s always a good idea to examine your new faucet and read through the manufacturer’s instructions before beginning the installation process. This will ensure that you are familiar with the specific requirements and any additional tools or supplies that may be needed.
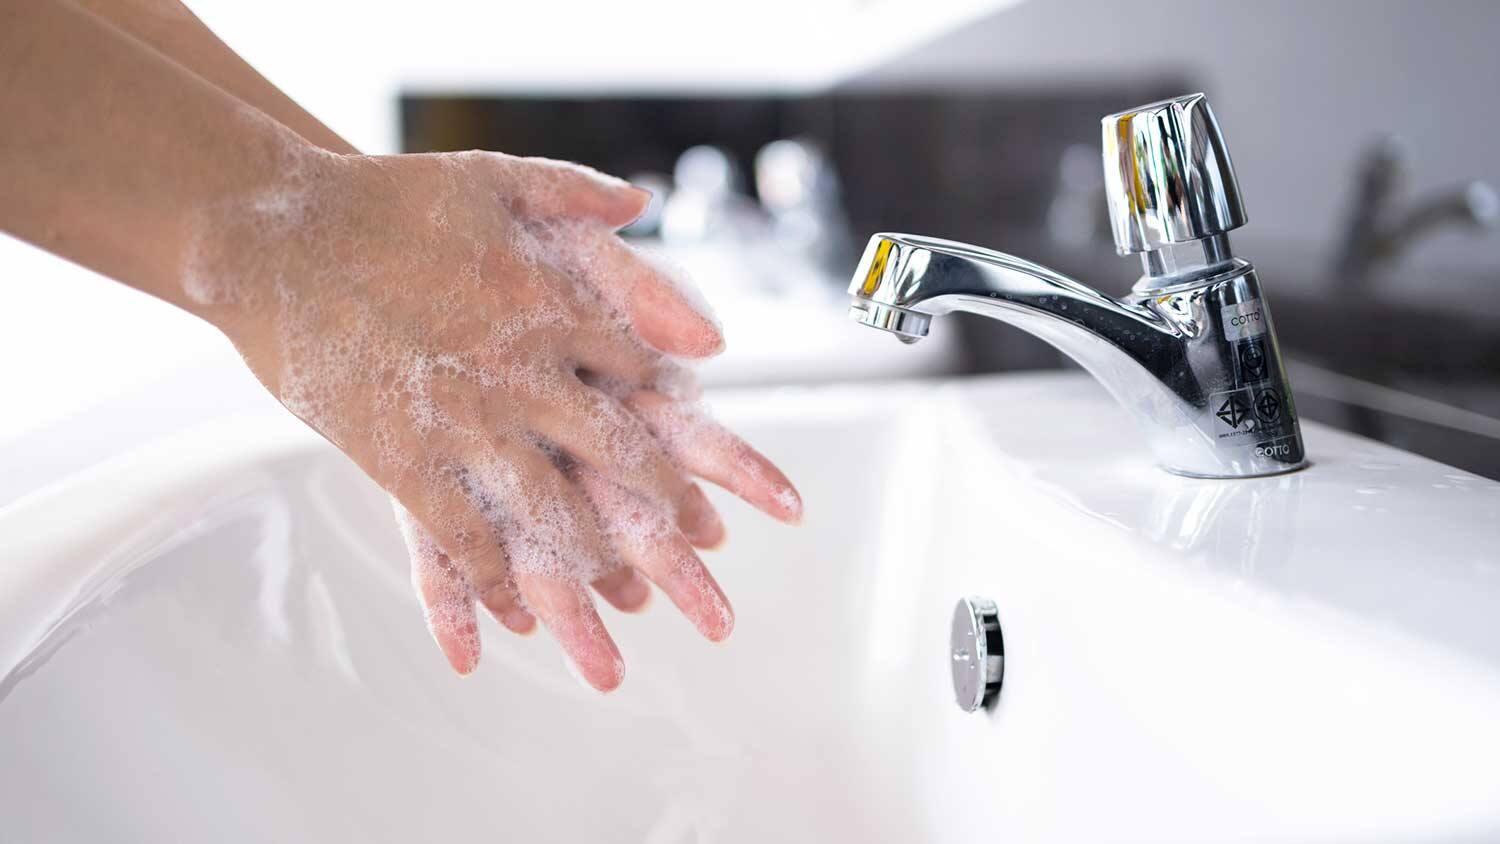
Additionally, make sure to turn off the water supply to your tub before starting the project. If you are unsure where the shut-off valve is located, consult your home’s plumbing system or contact a professional plumber for assistance.
With your supplies and tools gathered and the water supply shut off, you are now ready to move on to the next step: shutting off the water.
Shut Off the Water
Before you can begin replacing your Roman tub faucet, it’s essential to shut off the water supply to avoid any potential leaks or damage during the installation process. Follow these steps to shut off the water:
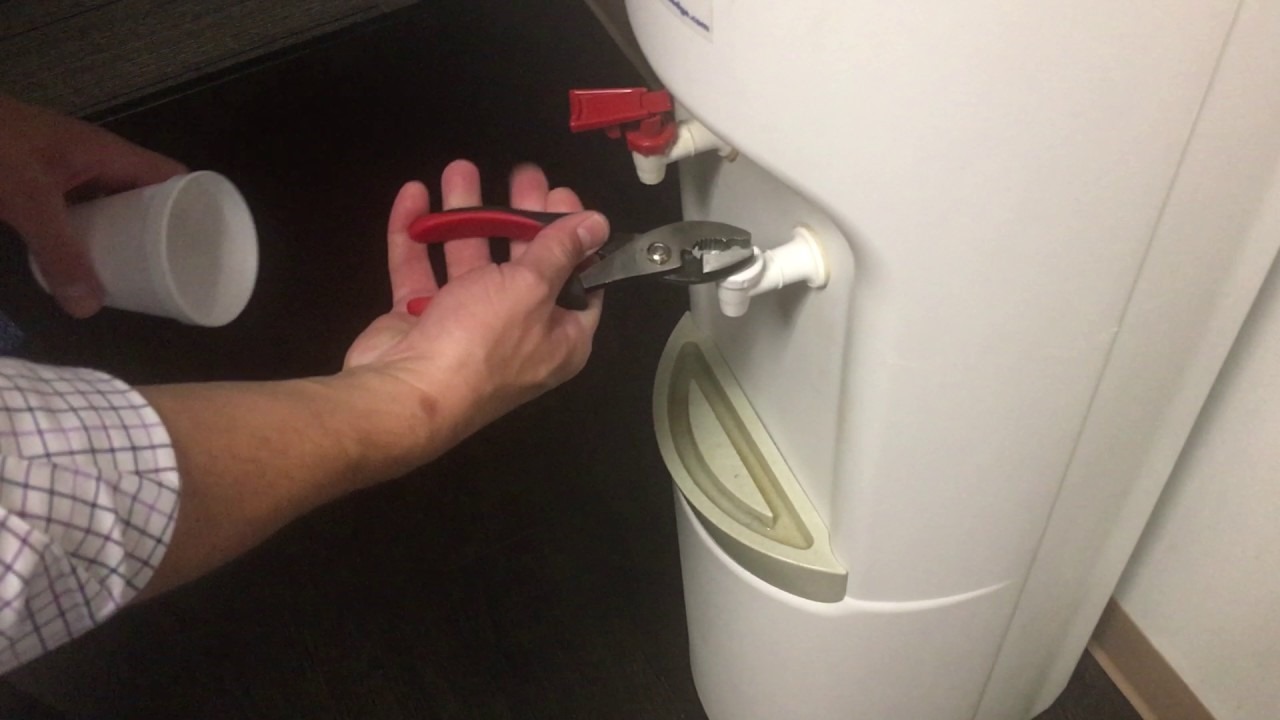
- Locate the water shut-off valves. These are typically found under the sink or at the main water supply valve for your home. It’s important to note that the location may vary depending on your specific plumbing system.
- Once you have located the shut-off valves, turn them clockwise to close them. This will prevent any water from flowing to the tub.
- With the water shut off, turn on the faucet to relieve any remaining pressure and drain the water from the lines. Keep a bucket or towel handy to catch any water that may still be in the pipes.
It’s important to ensure that the water is completely shut off before proceeding with the faucet replacement. This will prevent any unwanted leaks and make the installation process smoother and more efficient.
Now that you have successfully shut off the water supply, you can move on to the next step: removing the old faucet handles.
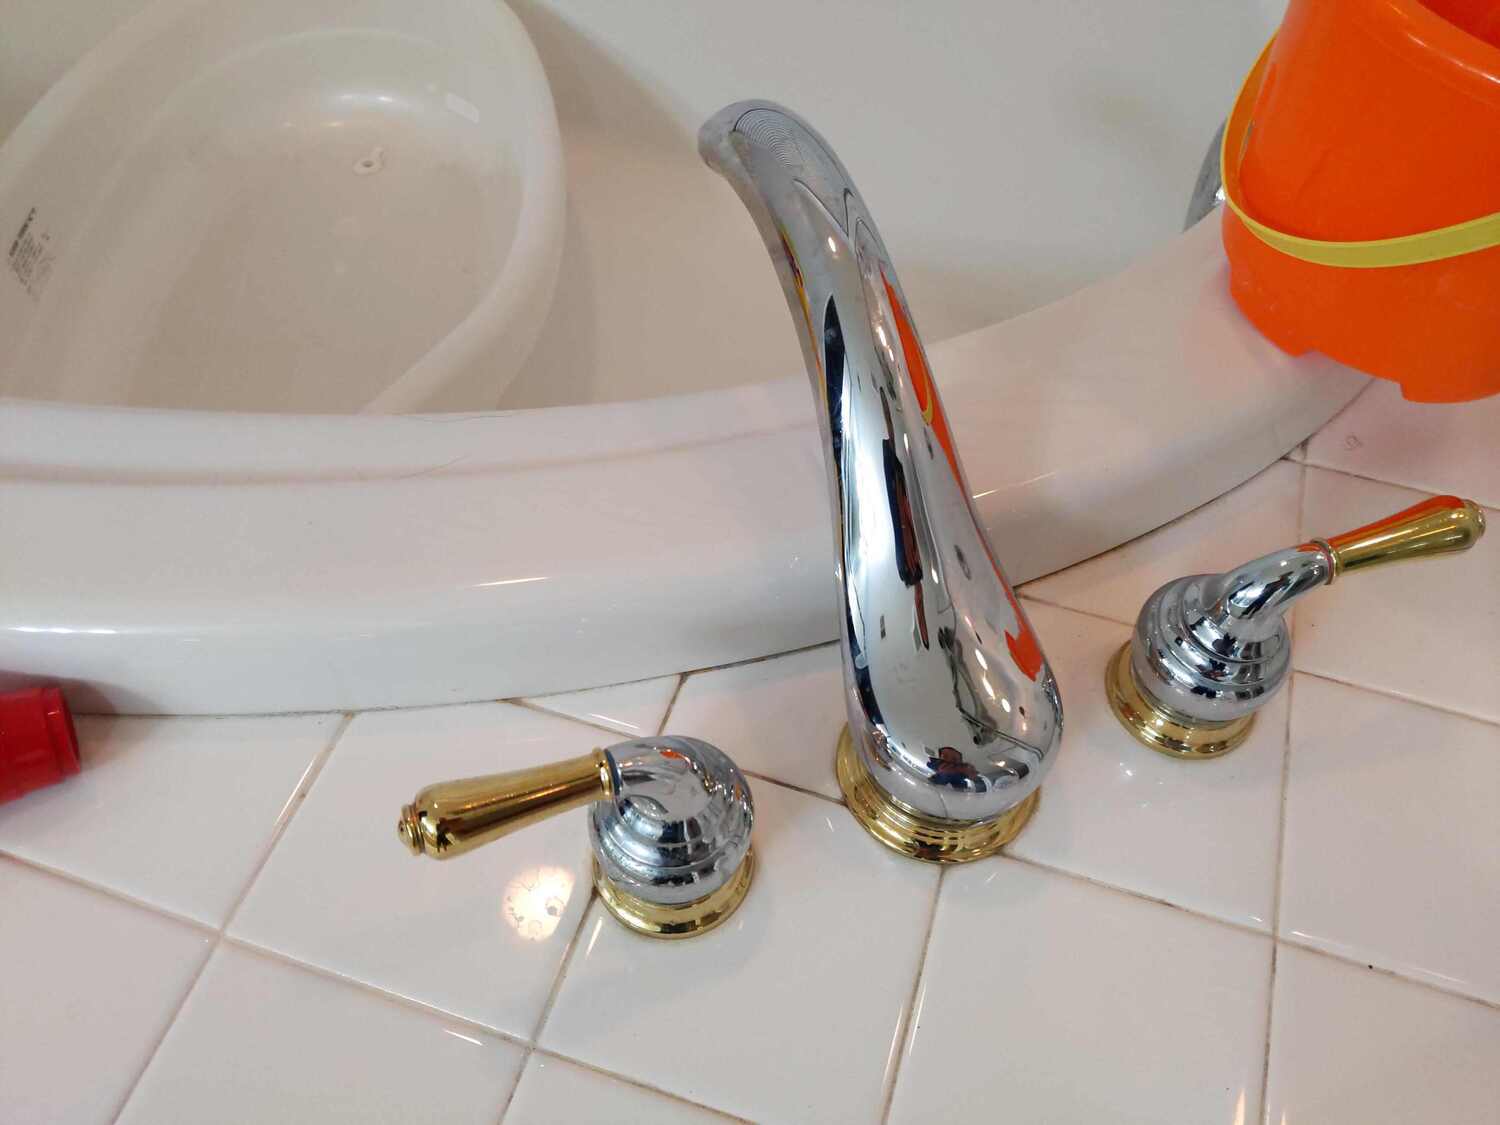
Remove the Old Faucet Handles
Once the water supply is shut off, you can start removing the old faucet handles. Follow these steps to remove them:
- Locate the screw cover caps on the handles. These are usually small plastic or metal caps covering the screws that secure the handles in place. Gently pry them off using a flathead screwdriver.
- After removing the screw cover caps, you will see the screws holding the handles in place. Use a screwdriver (either slotted or Phillips head, depending on the type of screws) to unscrew them counterclockwise.
- Once the screws are removed, carefully lift the handles off the faucet stems. If they are stuck, try gently wiggling them or applying small amounts of lubricant to loosen them.
It’s important to note that some faucet handles may have additional securing mechanisms, such as a set screw located on the side of the handle. If you encounter such a set screw, use an Allen wrench to loosen and remove it before proceeding with the above steps.
Once the old faucet handles are successfully removed, set them aside and prepare for the next step: removing the old spout.
Note: The process of removing faucet handles may vary depending on the brand and model of your Roman tub faucet. Always consult the manufacturer’s instructions for specific guidance.
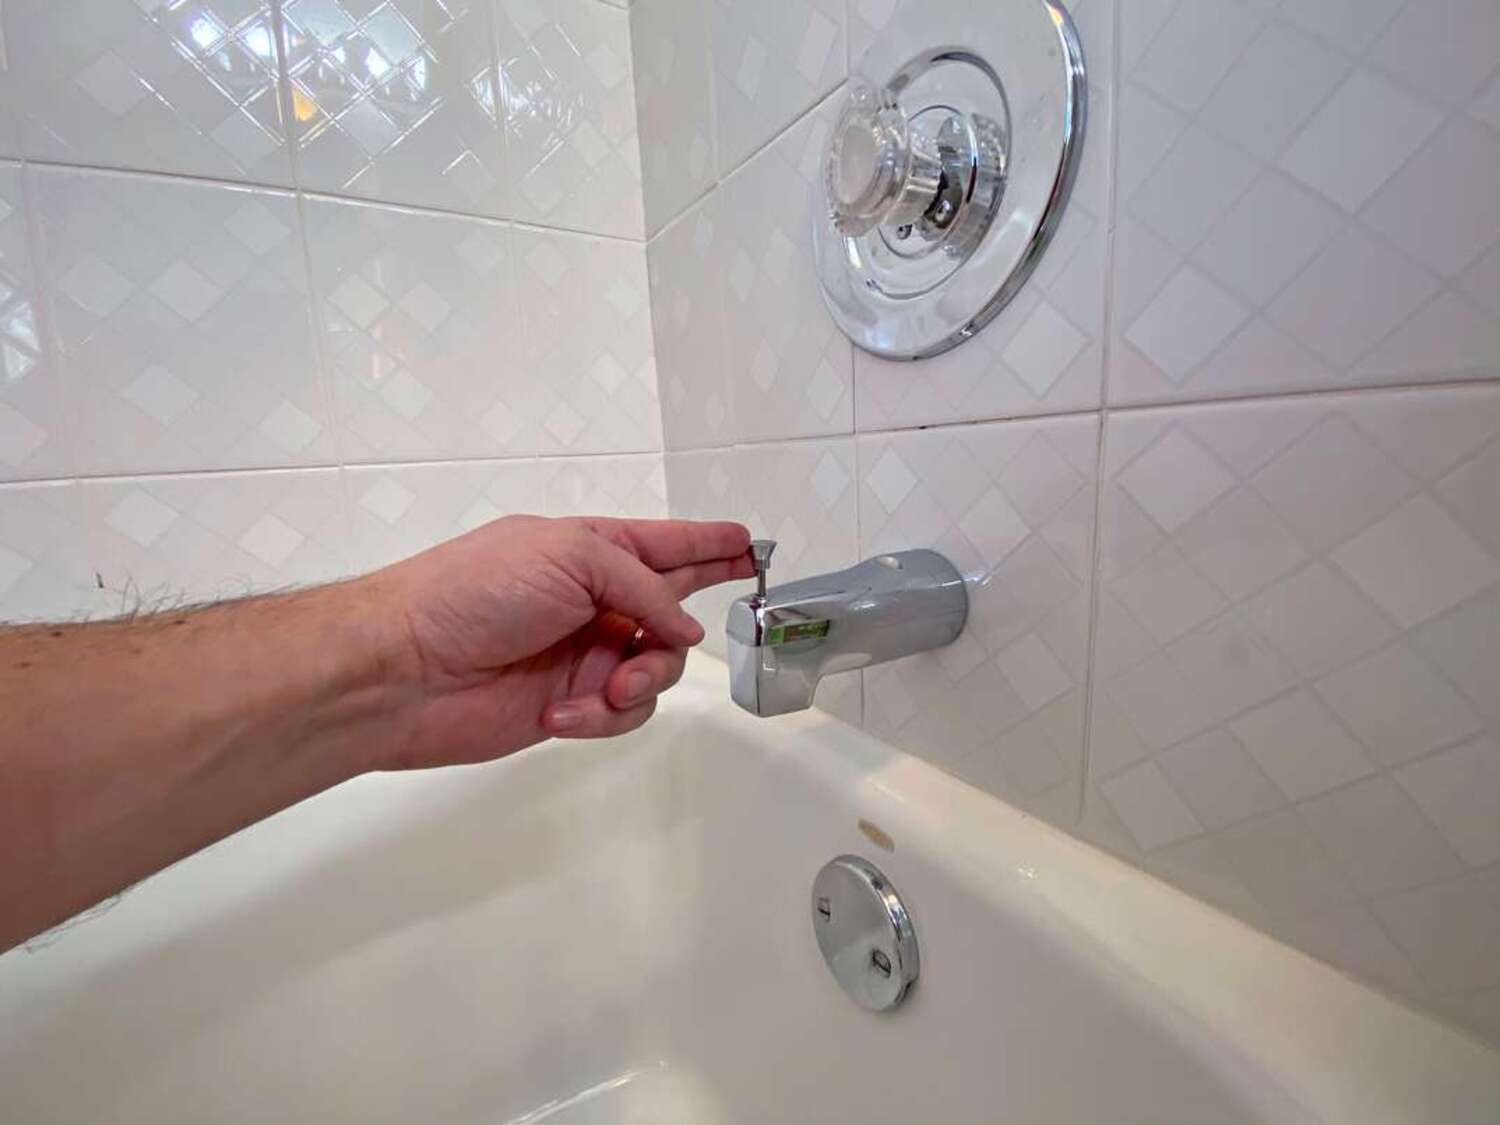
Remove the Old Spout
After removing the old faucet handles, it’s time to move on to the next step: removing the old spout. Follow these steps to effectively remove the old spout:
- Examine the base of the spout to determine how it is attached. Some spouts have a set screw securing them in place, while others may have a threaded connection or a slip-on design.
- If your spout has a set screw, locate it and use an appropriate-sized Allen wrench to loosen and remove it. Set the set screw aside in a safe place.
- If your spout has a threaded connection, grip the spout firmly with one hand and twist counterclockwise to unscrew it from the faucet base. Apply gentle pressure if necessary, but be careful not to damage any surrounding fixtures or plumbing connections.
- If your spout has a slip-on design, carefully wiggle and pull the spout away from the wall or deck until it detaches from the faucet base.
- Once the spout is free from its attachment, inspect the inside of the spout for any debris or buildup. Clean it thoroughly using a brush or a cloth before disposing of the old spout.
Removing the old spout is an important step in the faucet replacement process. It allows you to clear out any blockages and ensure a smooth installation of the new spout. With the old spout successfully removed, it’s time to prepare for the next step: removing the old valve.
Note: The process of removing the old spout may vary depending on the specific model and design of your Roman tub faucet. Refer to the manufacturer’s instructions for accurate guidance.
Read also: 14 Best Delta Roman Tub Faucet for 2025
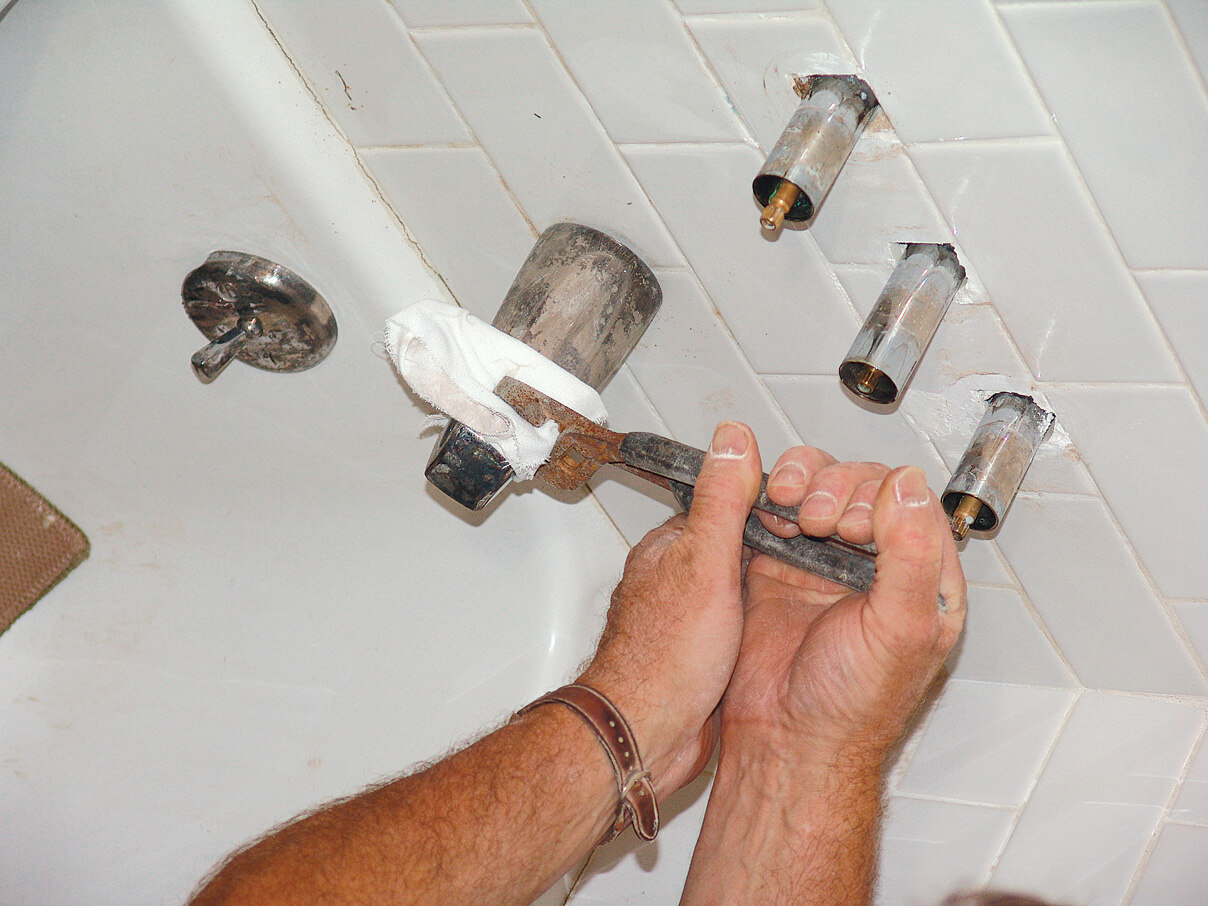
Remove the Old Valve
With the old spout removed, it’s time to proceed with removing the old valve. Follow these steps to successfully remove the old valve:
- Inspect the area where the old spout was attached to the valve. You should see the valve stem extending from the wall or deck.
- Using an adjustable wrench, grip the valve stem securely and turn it counterclockwise to loosen and unscrew it from the plumbing connection.
- If the valve is difficult to remove or feels stuck, you can use penetrating oil to lubricate the connection. Apply a few drops of penetrating oil to the threads and let it sit for a few minutes to loosen any corrosion or buildup.
- Once the valve is completely unscrewed, carefully pull it out from the wall or deck. Be cautious not to damage any surrounding fixtures or plumbing connections.
Removing the old valve is a crucial step in the faucet replacement process. It allows you to clear out any debris, old gaskets, or worn-out components that may affect the performance of the new valve. With the old valve successfully removed, it’s time to prepare for the next step: preparing the new valve.
Note: The process of removing the old valve may vary depending on the specific model and design of your Roman tub faucet. Consult the manufacturer’s instructions for accurate guidance.
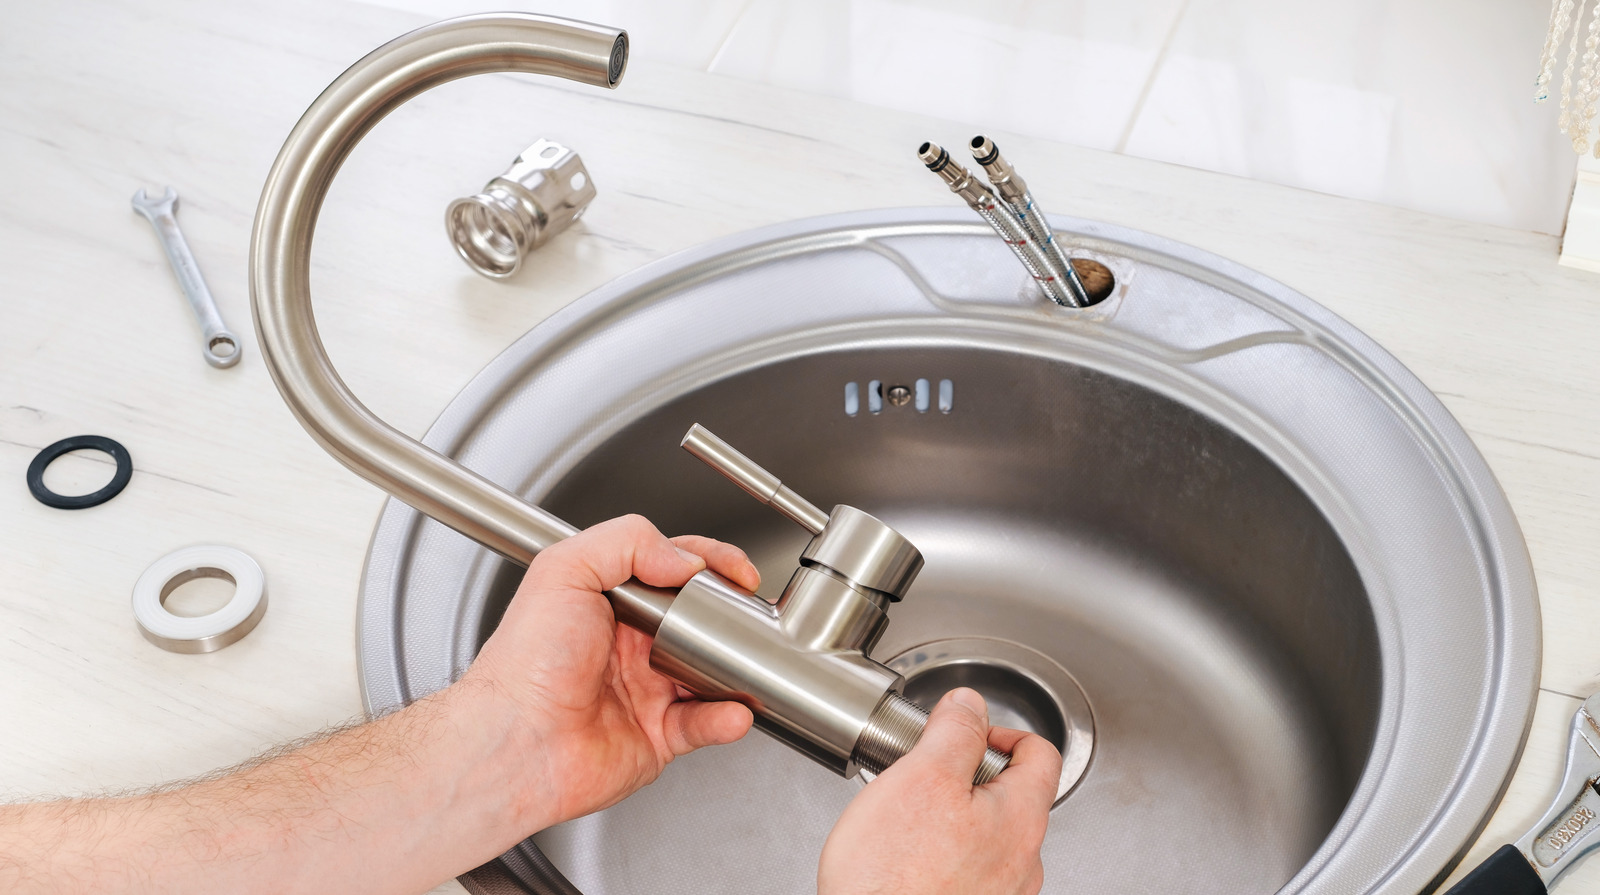
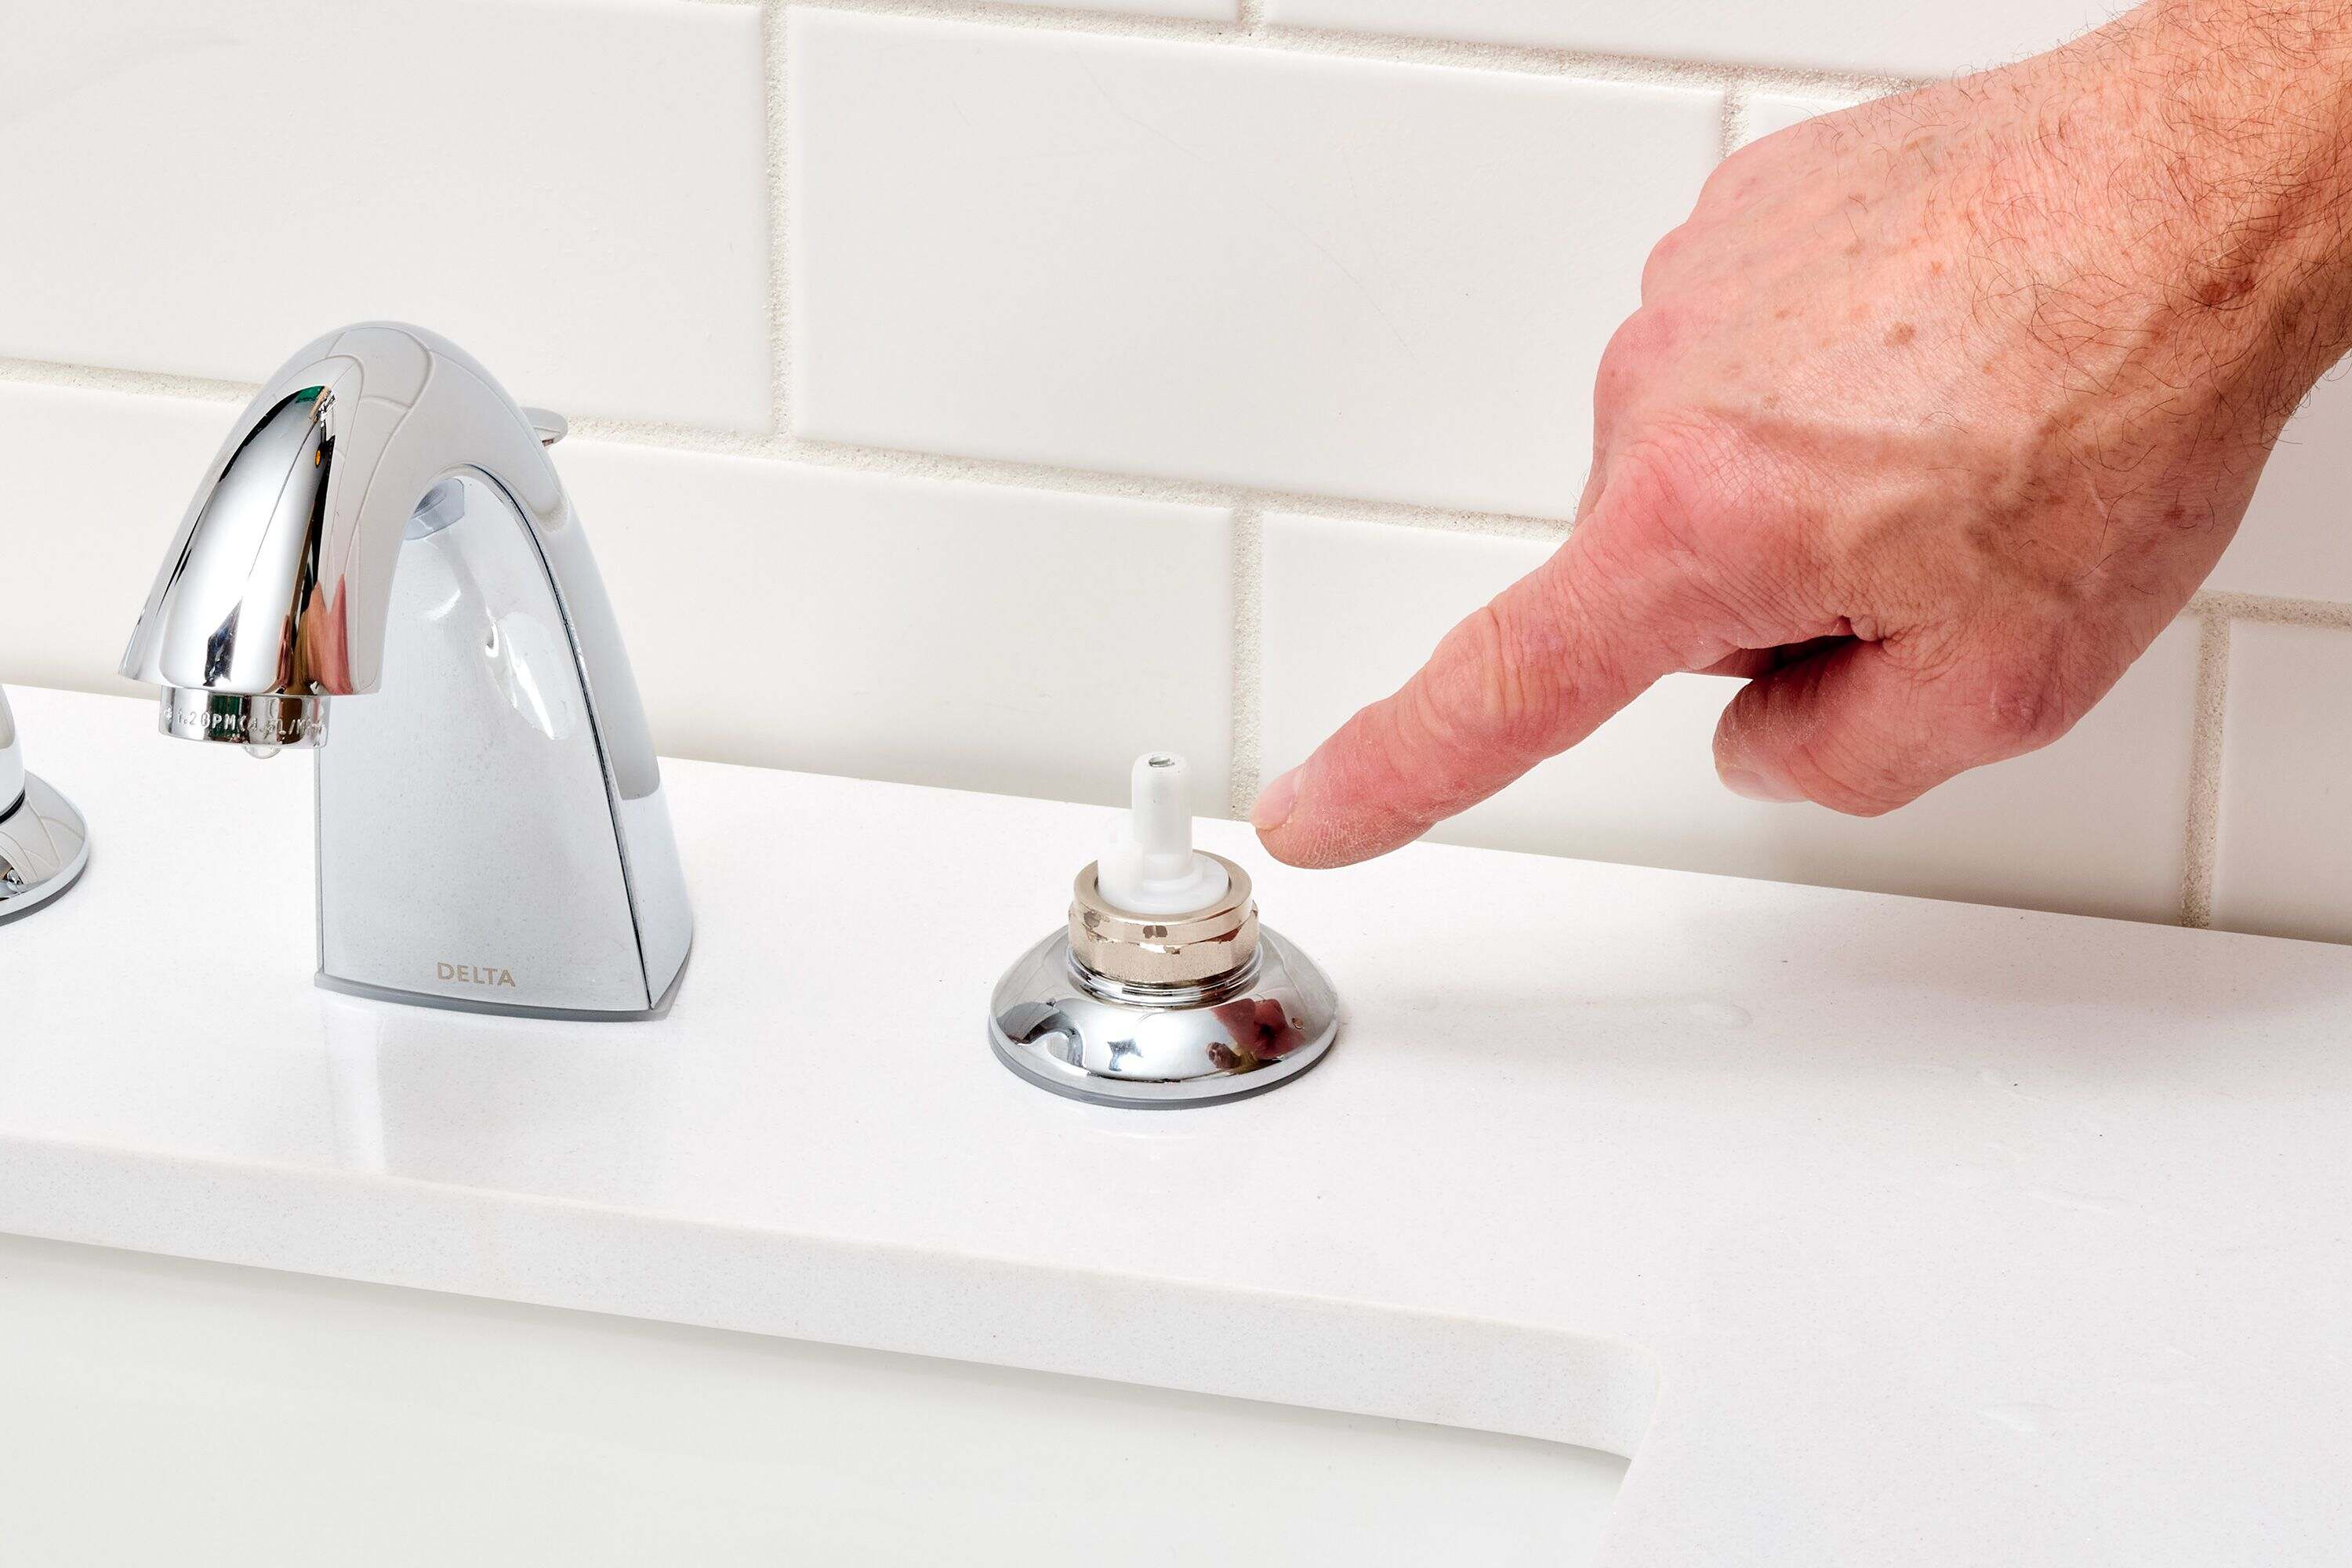
Prepare the New Valve
Now that you have successfully removed the old valve, it’s time to prepare the new valve for installation. Follow these steps to ensure the new valve is ready:
- Inspect the new valve to ensure it is the correct model and matches the specifications of your Roman tub faucet. Check for any damages or defects that may have occurred during shipping or handling.
- If the new valve requires any assembly, carefully follow the manufacturer’s instructions to put it together. This may involve attaching handles, cartridges, or other components to the valve body.
- Apply plumber’s tape or thread sealant to the threaded connections of the new valve. This will help create a watertight seal and prevent leaks once the valve is installed.
- Inspect the area where the old valve was removed and clean it thoroughly. Remove any remaining debris, old gaskets, or sealing compounds. Use a brush or cloth to wipe the surfaces clean.
Preparing the new valve is an important step to ensure a smooth and successful installation. By checking for any damages, assembling the necessary components, and applying thread sealant, you are setting the stage for a leak-free and properly functioning Roman tub faucet. With the new valve prepared, it’s time to move on to the next step: installing the new valve.
Note: The specific preparations required for the new valve may vary depending on the manufacturer and model of your Roman tub faucet. Always refer to the manufacturer’s instructions for accurate guidance.
When replacing a Roman tub faucet, make sure to turn off the water supply before starting the installation process to avoid any potential water damage.
Install the New Valve
With the new valve prepared, it’s time to install it in your Roman tub faucet. Follow these steps to ensure a successful installation:
- Begin by inserting the new valve into the opening in the wall or deck. Make sure it is aligned properly and fits securely into place.
- Using an adjustable wrench, tighten the valve by turning it clockwise. Ensure that it is firmly secured but be careful not to over-tighten, as this could damage the valve or the plumbing connections.
- If the new valve requires any additional attachments, such as handles or cartridges, refer to the manufacturer’s instructions and install them accordingly.
- Apply plumber’s putty or silicone caulk around the base of the valve to create a watertight seal. This will prevent any water from leaking behind the valve into the wall or deck.
Proper installation of the new valve is crucial to the performance and longevity of your Roman tub faucet. By ensuring a secure fit and sealing any potential leak points, you can prevent future issues and enjoy your new faucet for years to come. With the new valve successfully installed, it’s time to move on to the next step: installing the new spout.
Note: The specific installation process for the new valve may vary depending on the manufacturer and model of your Roman tub faucet. Always refer to the manufacturer’s instructions for accurate guidance.
Install the New Spout
With the new valve securely in place, it’s time to install the new spout for your Roman tub faucet. Follow these steps to ensure a successful installation:
- Examine the new spout and identify the appropriate method of installation. Depending on the specific design, it may require a threaded connection, a slip-on installation, or other attachments.
- If the new spout has a threaded connection, apply plumber’s tape to the threads to create a tight seal. This will help prevent any potential leaks.
- Gently insert the new spout into the appropriate opening on the valve. Twist it clockwise to tighten the threaded connection. Use an adjustable wrench if necessary, but be careful not to overtighten and risk damaging the spout or the valve.
- If the new spout has a slip-on installation, carefully align it with the spout connection on the valve and push it firmly into place. Ensure that it is snug and secure.
- If there are any additional attachments or decorative components that come with the new spout, follow the manufacturer’s instructions and install them accordingly.
Installing the new spout is the final step in the process of replacing your Roman tub faucet. By following the appropriate installation method and ensuring a secure connection, you can enjoy your newly installed spout and the enhanced functionality and aesthetics it brings to your bathroom. With the new spout successfully installed, it’s time to move on to the next step: attaching the new handles.
Note: The specific installation process for the new spout may vary depending on the manufacturer and model of your Roman tub faucet. Always refer to the manufacturer’s instructions for accurate guidance.
Read more: How To Replace Sink Faucet
Attach the New Handles
With the new spout securely installed, it’s time to attach the new handles to your Roman tub faucet. Follow these steps to ensure a successful attachment:
- Examine the new handles and identify the correct orientation for installation. Most handles have indicators or labels indicating which side is hot and which is cold.
- Place the handle over the valve stem, ensuring that it is aligned properly. The handle should fit snugly and securely onto the stem.
- Insert the screws that came with the new handles into the designated holes on the handles. Use a screwdriver to tighten the screws clockwise, securing the handles in place.
- If the new handles have decorative cover caps, align them over the screws and press them firmly into place. This will give your faucet a polished and finished look.
Attaching the new handles is the final touch in completing the installation of your Roman tub faucet. By following these steps and ensuring a proper fit and secure attachment, you can enjoy the convenience and control provided by your new handles. With the new handles successfully attached, it’s time to move on to the next step: turning on the water.
Note: The specific attachment process for the new handles may vary depending on the manufacturer and model of your Roman tub faucet. Always refer to the manufacturer’s instructions for accurate guidance.
Turn On the Water
With the new Roman tub faucet fully installed, it’s time to turn on the water supply and test your work. Follow these steps to safely and effectively turn on the water:
- Locate the water shut-off valves that you previously closed during the initial stages of the faucet replacement process.
- Slowly turn the shut-off valves counterclockwise to gradually allow water to flow back into the faucet. This will help prevent any sudden surges of water that could potentially cause leaks or damage.
- With the water supply partially opened, check for any leaks around the valve, handles, spout, or any other connection points. If you notice any leaks, turn off the water supply immediately and tighten the affected area until the leak stops.
- Once you have inspected for leaks and ensured everything is secure, continue turning the shut-off valves counterclockwise to fully open the water supply. Take note of any unusual sounds or irregularities in the water flow.
By gradually turning on the water supply and checking for leaks, you can ensure a smooth and problem-free operation of your new Roman tub faucet. Keep in mind that it’s normal to have a small amount of air in the water lines initially, which may cause sputtering or uneven water flow. This should resolve on its own as the system equalizes.
With the water turned on and everything functioning properly, it’s time to move on to the final step: testing the faucet.
Note: If you encounter any difficulties or persistent leaks, it may be helpful to consult a professional plumber for further assistance.
Test the Faucet
Now that you have successfully turned on the water supply, it’s time to test your newly installed Roman tub faucet. Follow these steps to ensure everything is working properly:
- Start by turning both the hot and cold water handles to the “off” position. This will ensure that no water is flowing through the faucet.
- Slowly turn the hot water handle counterclockwise to gradually increase the water flow. Check for any leaks or irregularities in the water pressure.
- After inspecting the hot water side, turn it back to the “off” position. Repeat the same process with the cold water handle, checking for leaks and water pressure.
- If both the hot and cold water sides are functioning properly, you can now test the water temperature control. Gradually turn both handles counterclockwise to find the desired temperature. Check for any issues with temperature control or sudden changes in water flow.
- Test the water flow by opening both the hot and cold water handles simultaneously. Ensure that the flow is balanced and consistent.
While testing the faucet, pay close attention to any signs of dripping, leaking, or unusual noises. If you detect any problems, turn off the water supply immediately and assess the issue. It may be necessary to retighten connections, adjust valves, or seek professional assistance to resolve the problem.
By thoroughly testing the faucet, you can ensure that it operates smoothly, delivers the desired water temperature, and meets your expectations in terms of functionality and performance.
Congratulations! You have successfully replaced your Roman tub faucet. Enjoy the convenience and beauty of your new faucet, and if you encounter any further issues or have any questions, don’t hesitate to consult a professional plumber for assistance.
Conclusion
Congratulations on successfully replacing your Roman tub faucet! By following this comprehensive guide, you were able to navigate each step of the process and complete the installation with confidence. Now, you can enjoy the benefits of a functional and visually appealing faucet in your bathroom.
Throughout this guide, we covered everything from gathering the necessary supplies and tools to turning on the water and testing the faucet. Each step was carefully explained to help you achieve a seamless and successful installation. Remember, it is always crucial to consult the manufacturer’s instructions for specific guidance and to address any unique aspects of your Roman tub faucet.
Replacing a Roman tub faucet can enhance the functionality and aesthetics of your bathroom, providing you with a refreshing and updated look. Whether you chose a modern, sleek design or opted for a more traditional style, your new faucet will undoubtedly become a focal point in your space.
However, if at any point during the process you encountered difficulties or concerns, it is advisable to consult a professional plumber for assistance. They have the expertise and knowledge to guide you through any challenges you may face.
Remember to stay attentive to any potential leaks or issues that may arise after installation. Regular maintenance and inspections will help ensure the longevity and continued performance of your Roman tub faucet.
Thank you for following this guide on how to replace a Roman tub faucet. We hope it has been helpful, informative, and empowering. Enjoy your newly installed faucet and the comfort it brings to your daily routine!
Now that you've mastered replacing a Roman tub faucet, why not tackle more home improvement projects? If you're considering a makeover for your bathroom, understanding how long a bathroom renovation takes can help you plan better and minimize disruptions. For those looking to spruce up the kitchen, finding the right faucet head replacement could make all the difference for your 2024 updates. Get equipped with all the necessary insights and step up your home’s style and functionality effortlessly!
Frequently Asked Questions about How To Replace A Roman Tub Faucet
Was this page helpful?
At Storables.com, we guarantee accurate and reliable information. Our content, validated by Expert Board Contributors, is crafted following stringent Editorial Policies. We're committed to providing you with well-researched, expert-backed insights for all your informational needs.


0 thoughts on “How To Replace A Roman Tub Faucet”