Articles
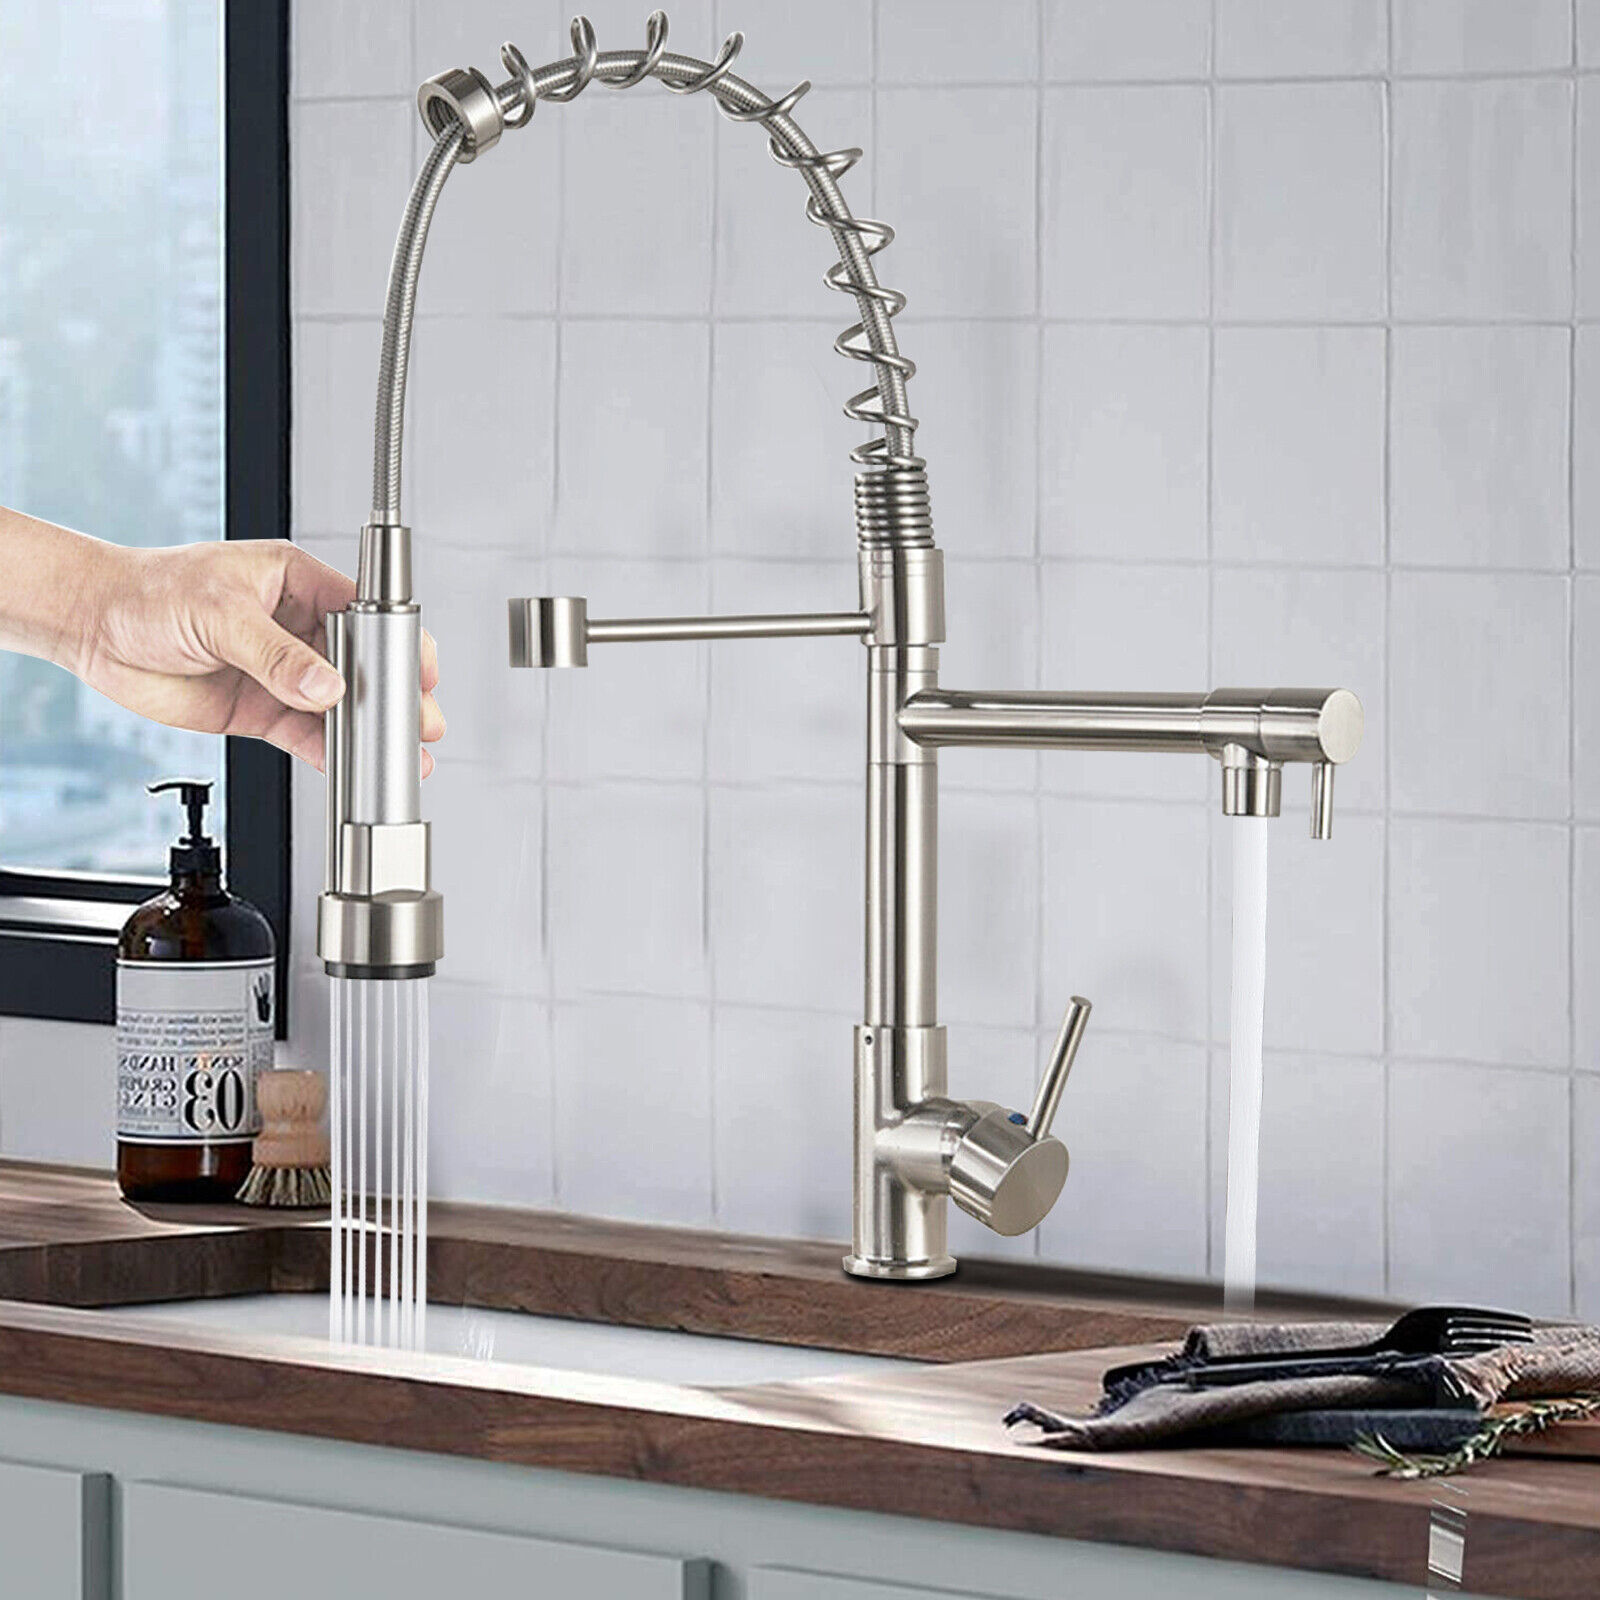
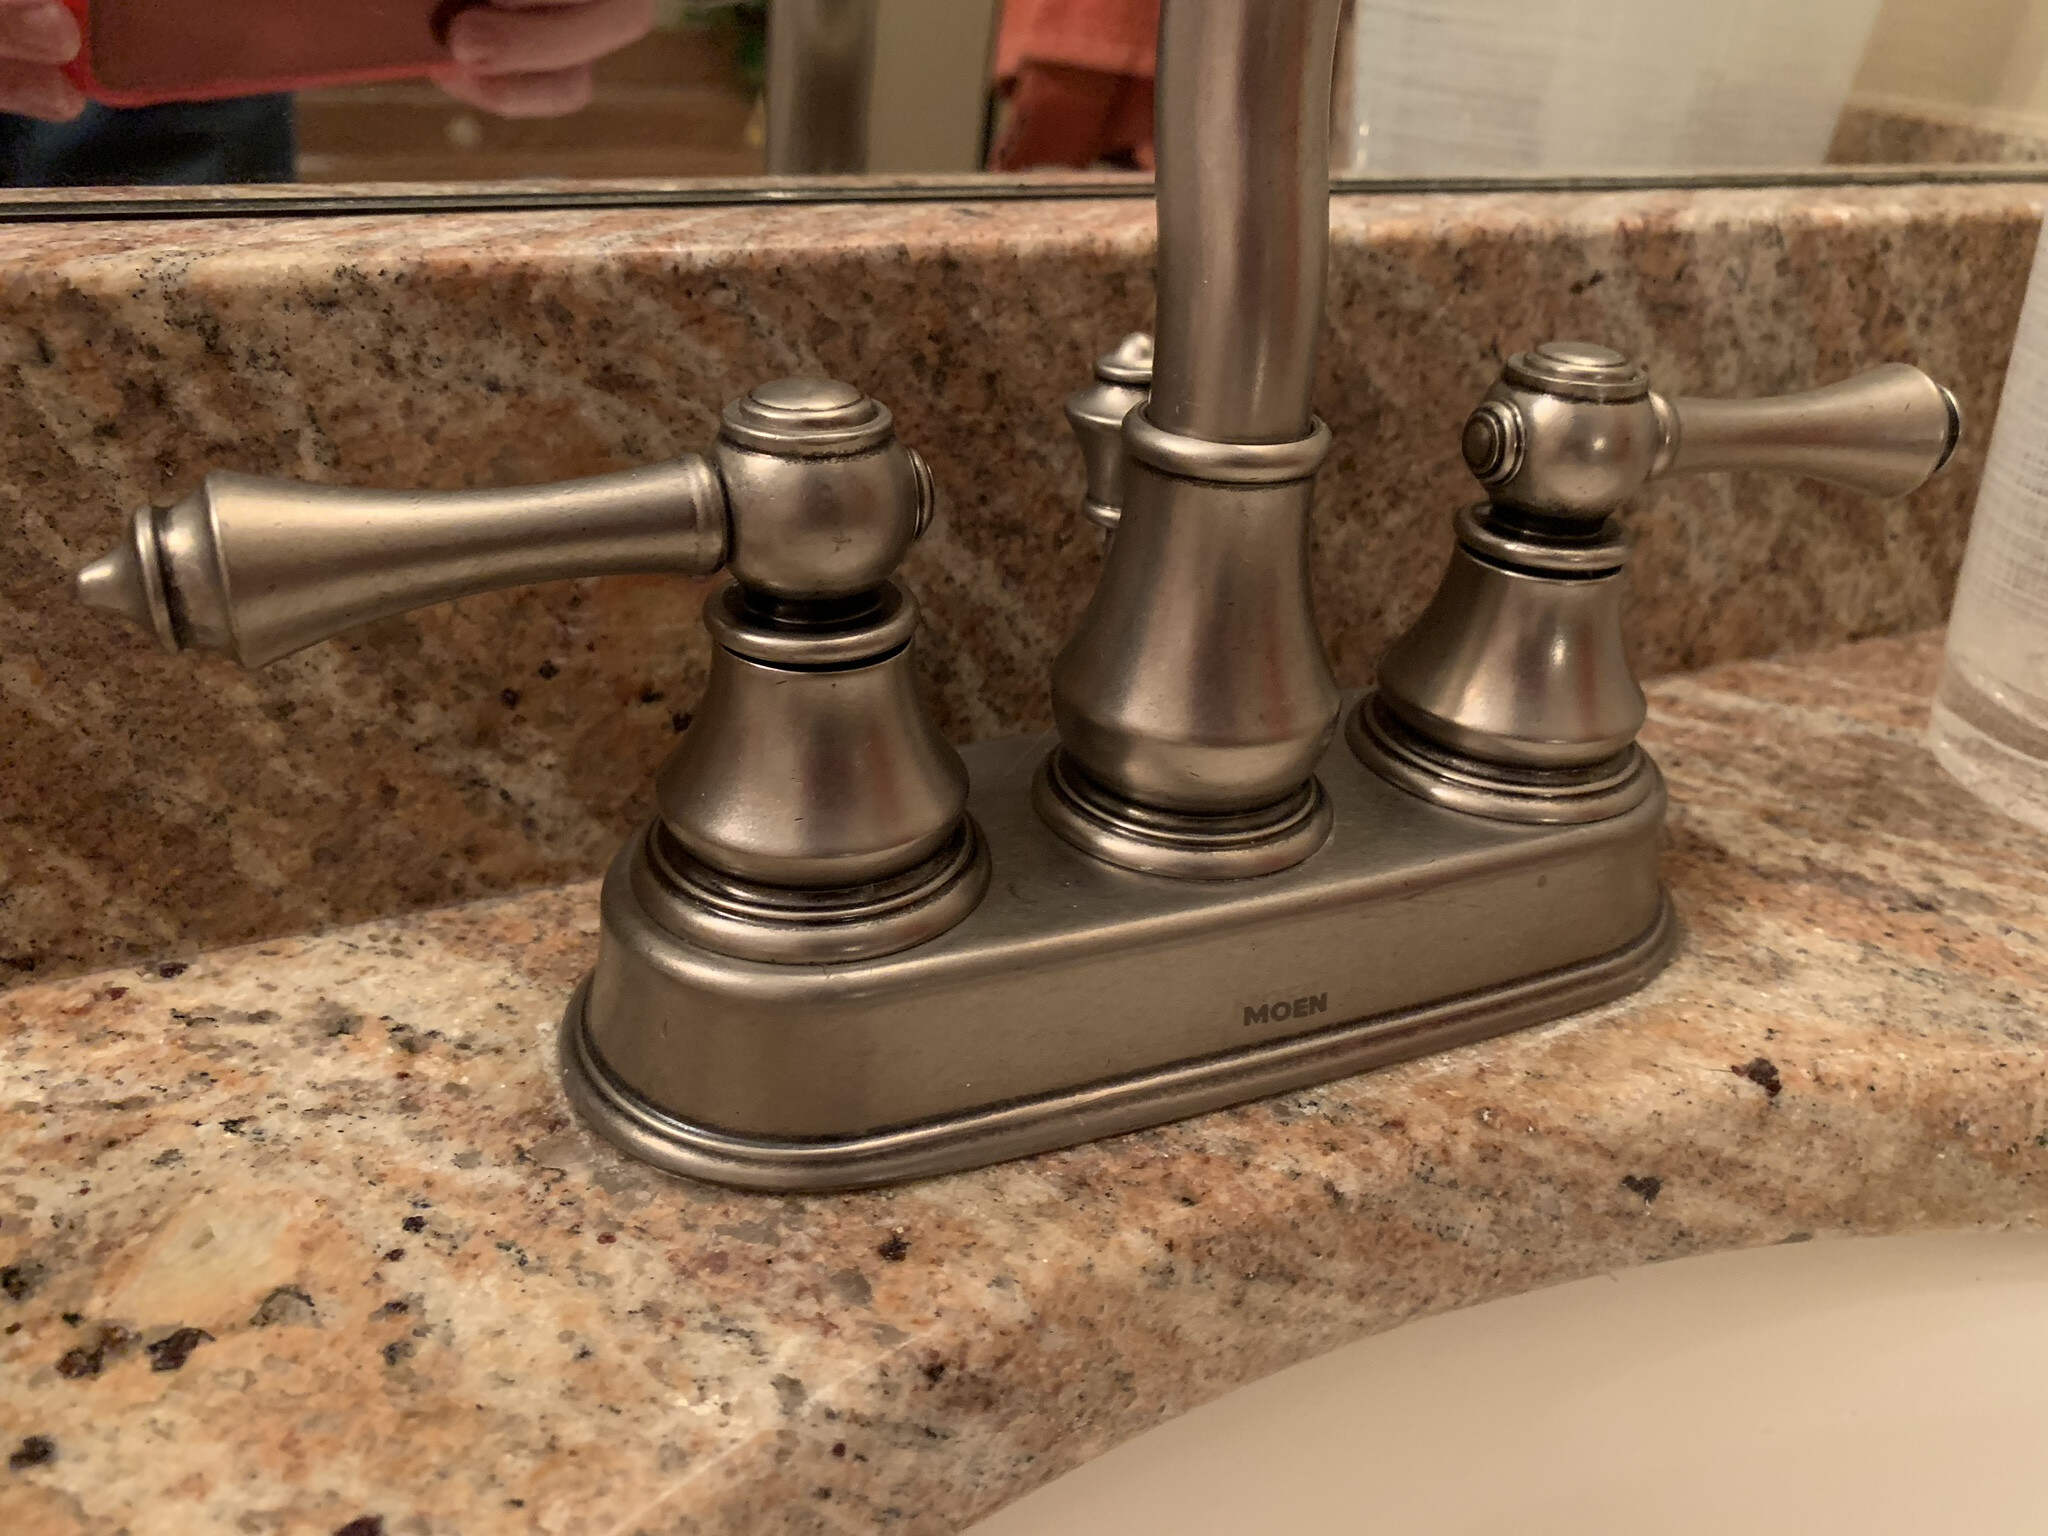
How To Replace A Kitchen Faucet Cartridge
Modified: October 28, 2024
Learn how to replace a kitchen faucet cartridge with our step-by-step guide. Our comprehensive articles provide all the information you need for a successful DIY project.
(Many of the links in this article redirect to a specific reviewed product. Your purchase of these products through affiliate links helps to generate commission for Storables.com, at no extra cost. Learn more)
Introduction
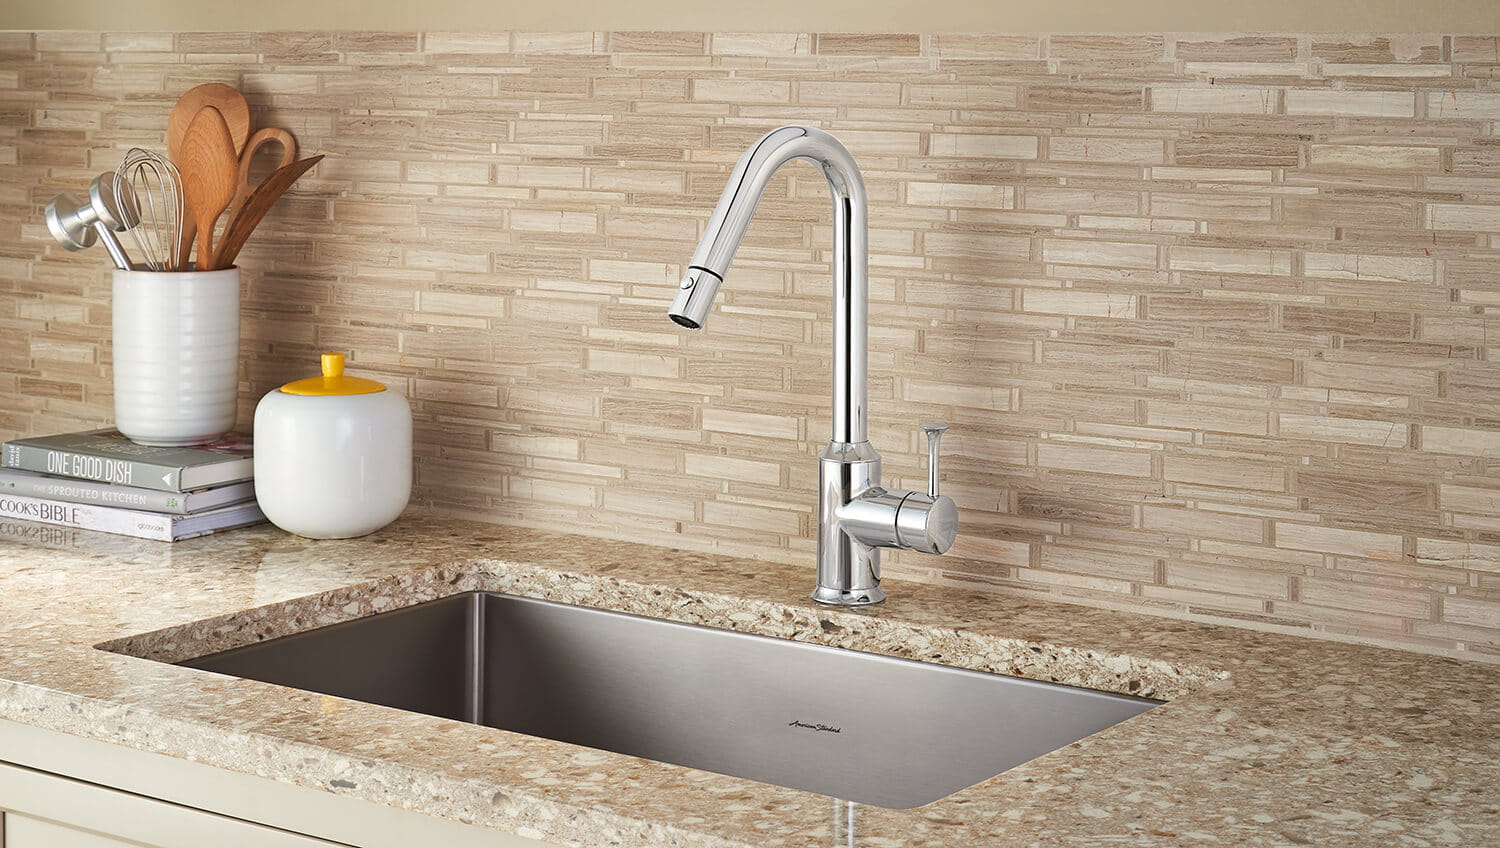
Replacing a kitchen faucet cartridge is a common task that many homeowners will need to tackle at some point. Over time, the cartridge in your faucet can become worn or damaged, leading to leaks or reduced water flow. Fortunately, with the right tools and a little know-how, you can easily replace a kitchen faucet cartridge and restore your faucet to its optimal functionality.
In this article, we will guide you through the step-by-step process of replacing a kitchen faucet cartridge. We will cover the necessary tools and materials you will need, provide detailed instructions on how to turn off the water supply, remove the old cartridge, and install a new one. By following these instructions, you can save time and money by completing the repair yourself.
Before we begin, it’s important to note that this guide is specific to kitchen faucets. Different types of faucets may have slightly different steps or components. Always consult the manufacturer’s instructions or seek professional advice if you are unsure about the specific requirements of your faucet.
Now, let’s gather our tools and materials and get started on replacing that kitchen faucet cartridge.
Key Takeaways:
- Replacing a kitchen faucet cartridge is a manageable DIY project that can save you time and money. With the right tools and step-by-step guidance, you can restore your faucet’s optimal functionality and avoid costly repairs.
- Regular maintenance and proactive cartridge replacement are essential for ensuring the longevity of your kitchen faucet. By following the provided instructions, you can gain valuable DIY skills and enjoy the satisfaction of a job well done.
Read more: How To Replace A Delta Faucet Cartridge
Step 1: Gather the Necessary Tools and Materials
Before you begin the process of replacing a kitchen faucet cartridge, it’s important to ensure that you have all the necessary tools and materials on hand. Having everything ready before you start will save you time and frustration later on. Here’s a list of what you’ll need:
- Adjustable wrench
- Screwdriver (flathead or Phillips, depending on your faucet)
- New replacement cartridge (specific to your faucet model)
- Plumber’s tape
- Bucket or towels for any potential water spills
- Clean cloth or sponge
The adjustable wrench will be used to loosen and tighten the necessary connections, while the screwdriver will be used to remove any screws or trim pieces that may be covering the cartridge. The new replacement cartridge is crucial to the success of the repair, so ensure that you have the correct model for your specific faucet.
Plumber’s tape is a helpful tool to have on hand to provide additional sealing and prevent leaks. You may also want to have a bucket or towels nearby to catch any water that may spill during the process. Finally, a clean cloth or sponge will be useful for cleaning up any residue or water after completing the repair.
Once you have gathered all the necessary tools and materials, it’s time to move on to the next step: turning off the water supply. This step is crucial to ensure your safety and prevent any potential flooding during the repair process.
Step 2: Turn off the Water Supply
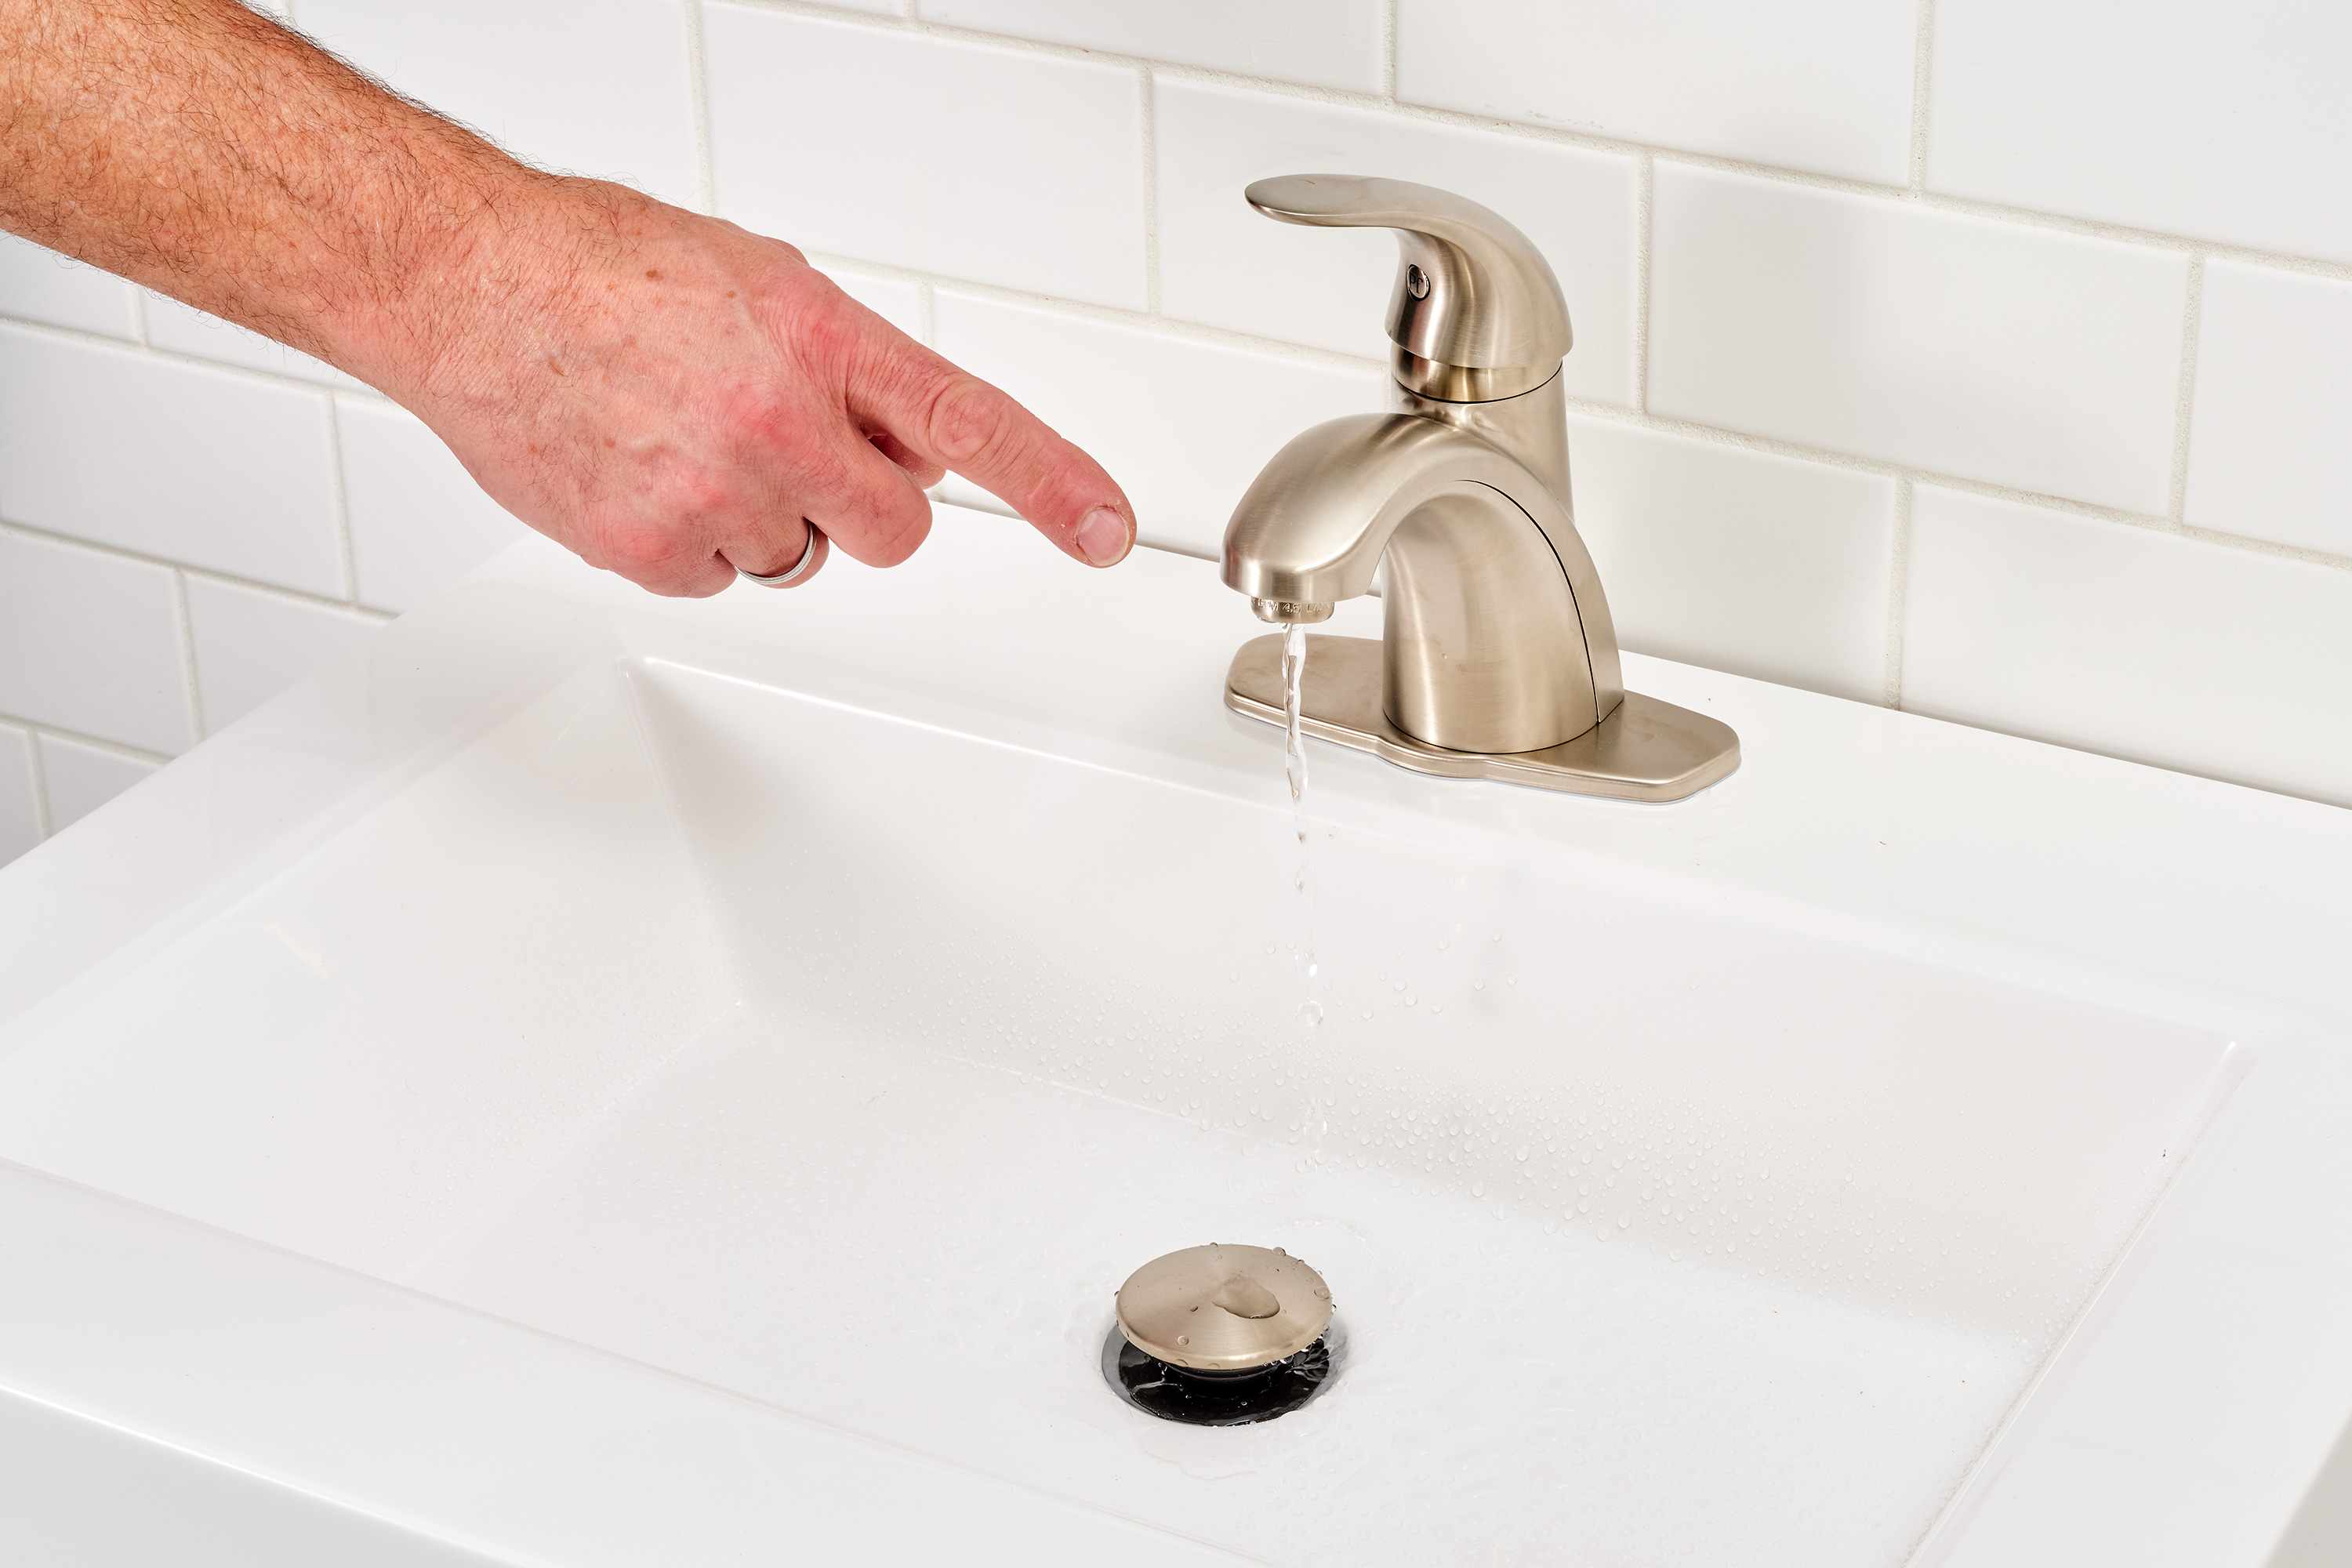
Before you begin replacing a kitchen faucet cartridge, it’s essential to turn off the water supply to the faucet. This step is crucial to prevent any accidents, such as water leaks or damage, during the repair process.
Locate the shut-off valves under the sink. They are typically located near the pipes that lead to the faucet. Turn off both the hot and cold water supply by twisting the valves clockwise until they are fully closed. This will shut off the water flow to the faucet and prevent any water from coming out when you remove the cartridge.
After turning off the water supply, it’s a good idea to relieve any remaining pressure in the faucet by opening the handle and allowing any trapped water to drain. This will help prevent any unnecessary mess when you begin disassembling the faucet.
Next, position a bucket or place towels under the sink to catch any water that may still be present in the pipes or faucet. This will help to minimize any potential water spills or damage to the surrounding area.
Now that you have successfully turned off the water supply and taken the necessary precautions, you can move on to the next step: removing the handle and trim pieces of the faucet.
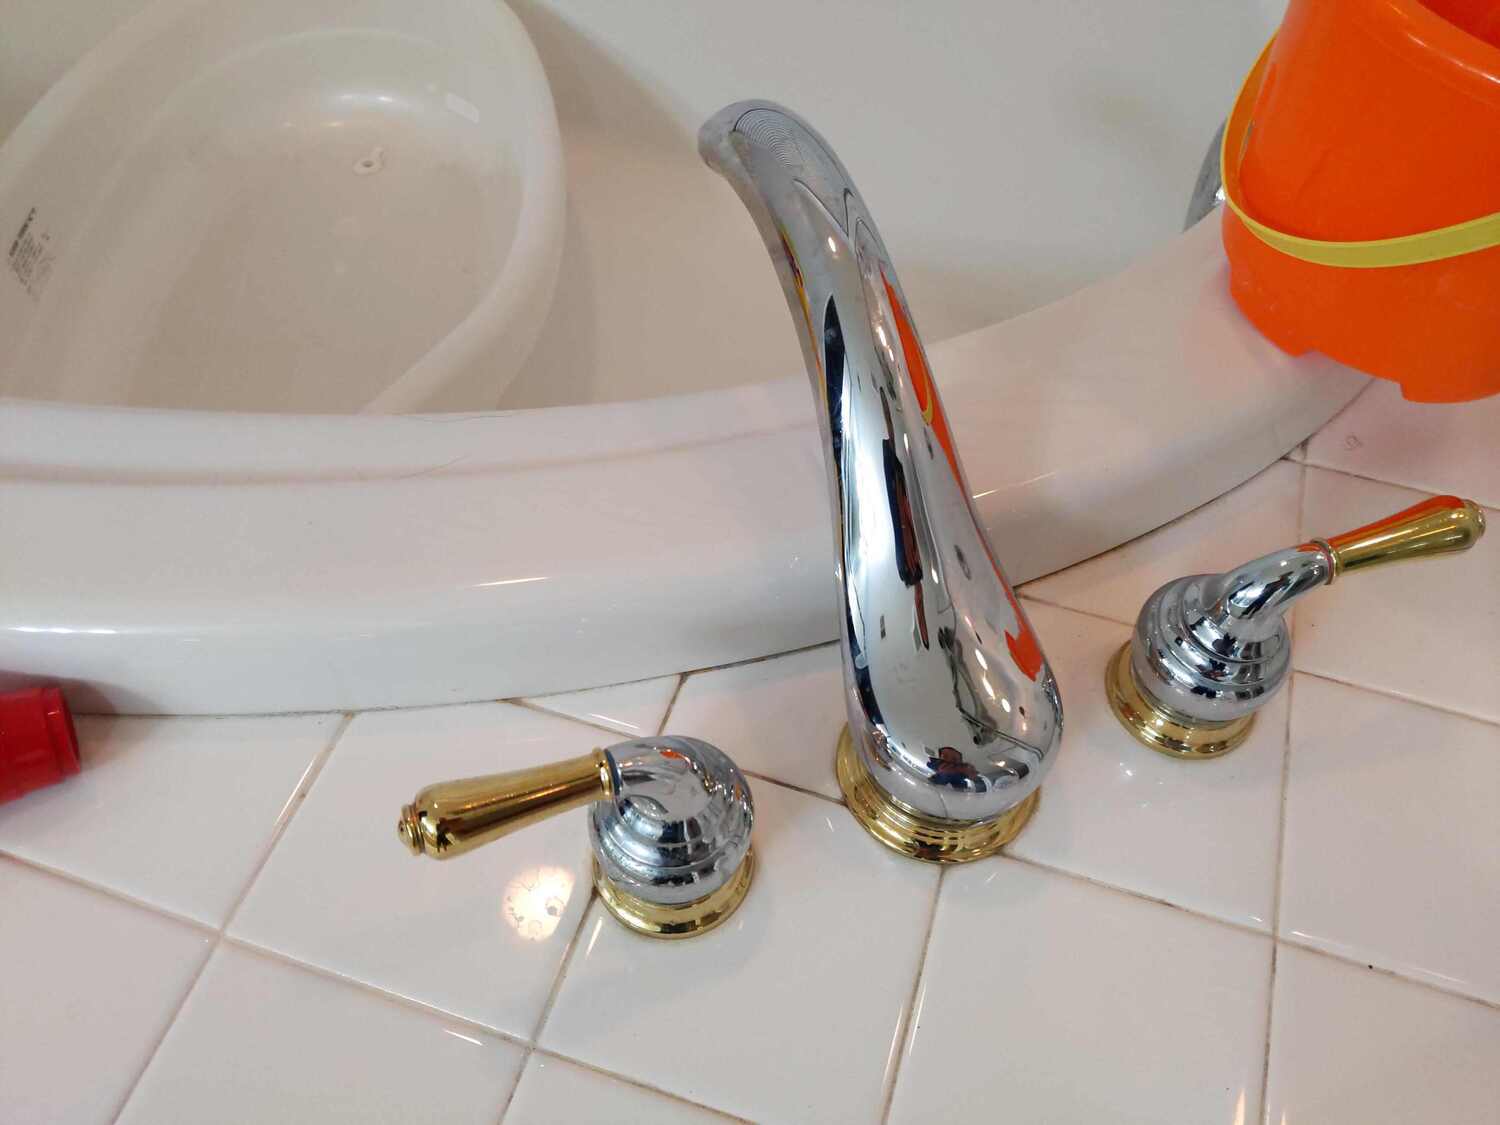
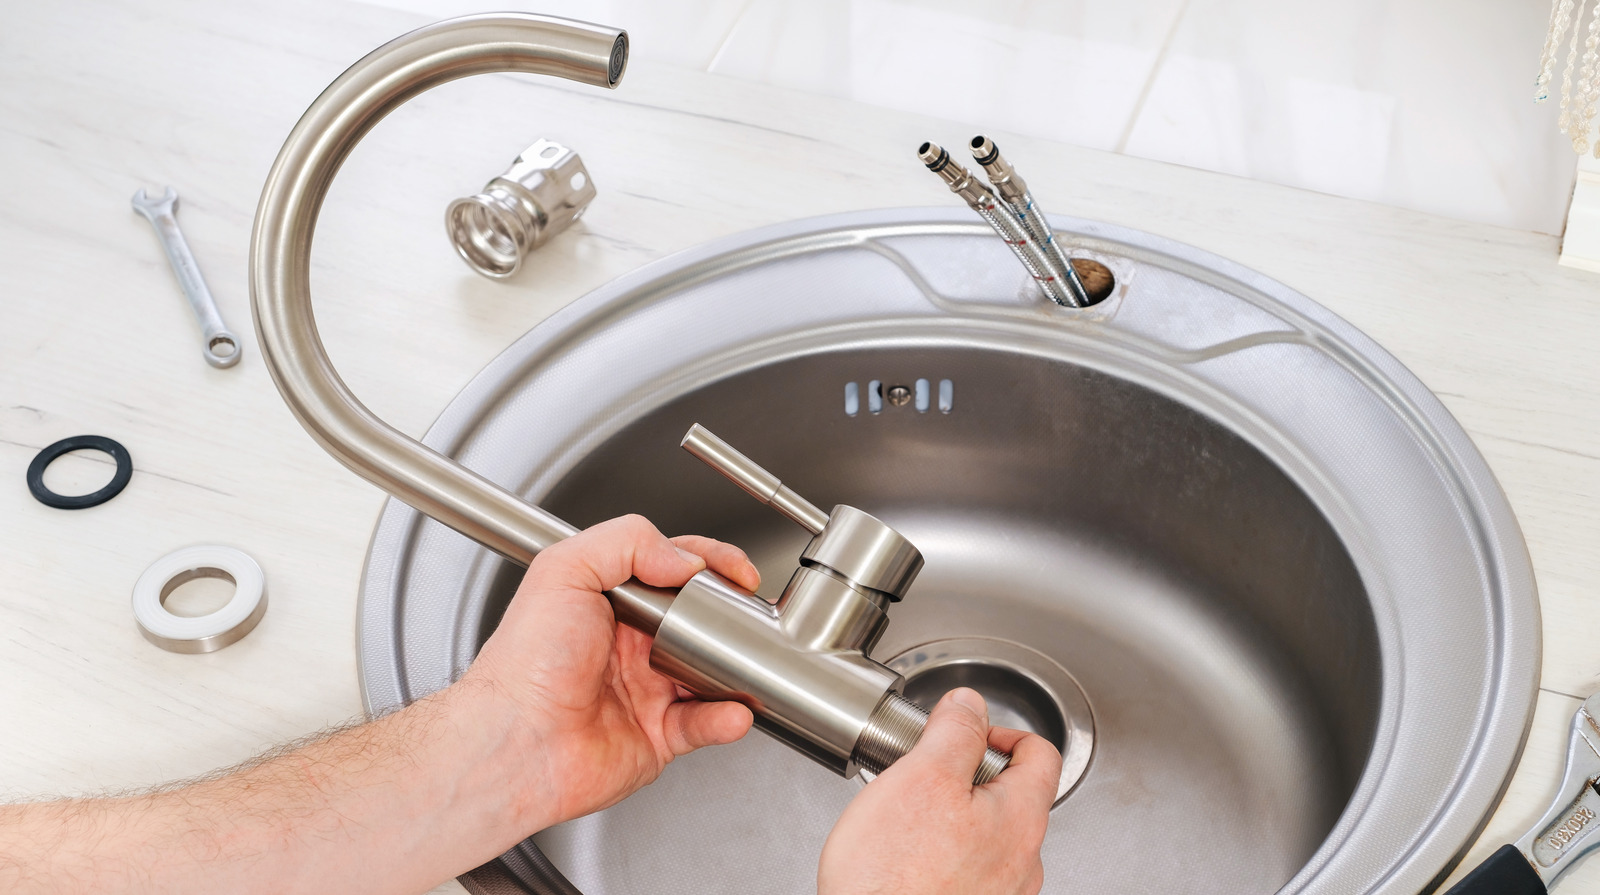
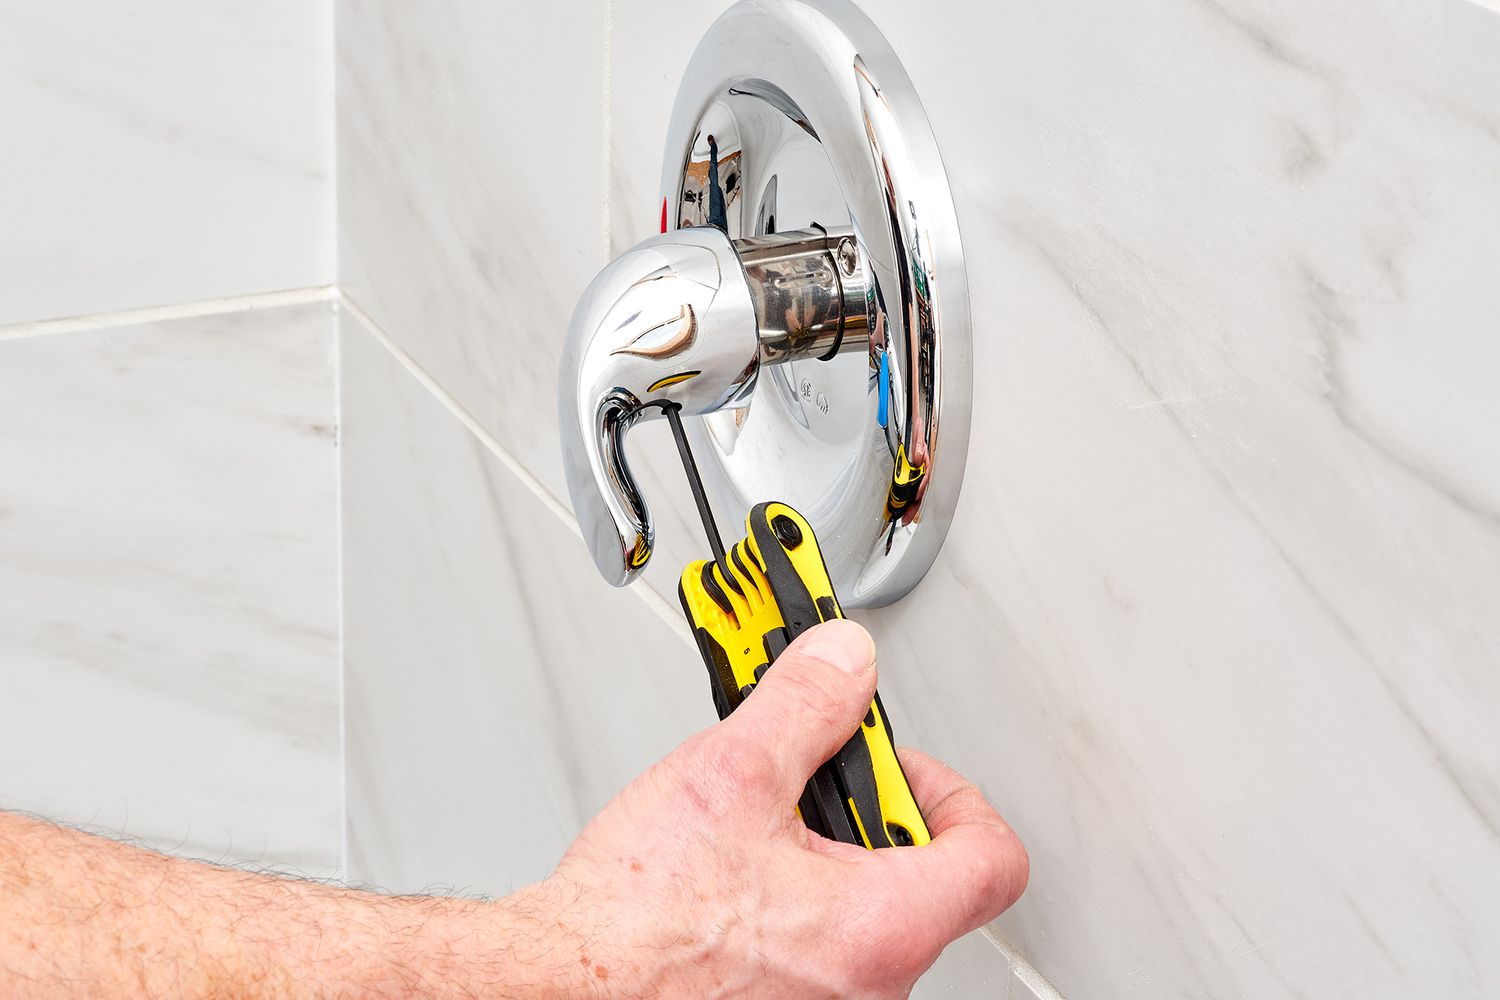
Step 3: Remove the Handle and Trim
With the water supply turned off, the next step in replacing a kitchen faucet cartridge is to remove the handle and any trim pieces that may be covering the cartridge. These trim pieces can vary depending on the faucet model, but they are typically located around the base of the handle.
Start by locating the screw that attaches the handle to the faucet body. This screw is usually concealed with a small decorative cap or cover. Use a flathead or Phillips screwdriver (depending on the type of screw) to remove the screw and set it aside in a safe place.
Once the screw is removed, gently lift and wiggle the handle to loosen it from the faucet body. Depending on the age and condition of the faucet, it may require a bit of force to remove. Be careful not to exert too much force to avoid damaging any components.
Once the handle is removed, you may come across additional trim pieces that need to be taken off. These can include decorative caps, escutcheons, or sleeve covers. Carefully remove these pieces by either unscrewing them or gently prying them away from the faucet body.
Now that the handle and any trim pieces have been detached, you will have better access to the cartridge itself. This brings us to the next step: accessing the cartridge for removal.
Note: If you encounter any difficulties or are unsure of how to remove the handle and trim pieces, refer to the manufacturer’s instructions or consult a professional plumber for assistance.
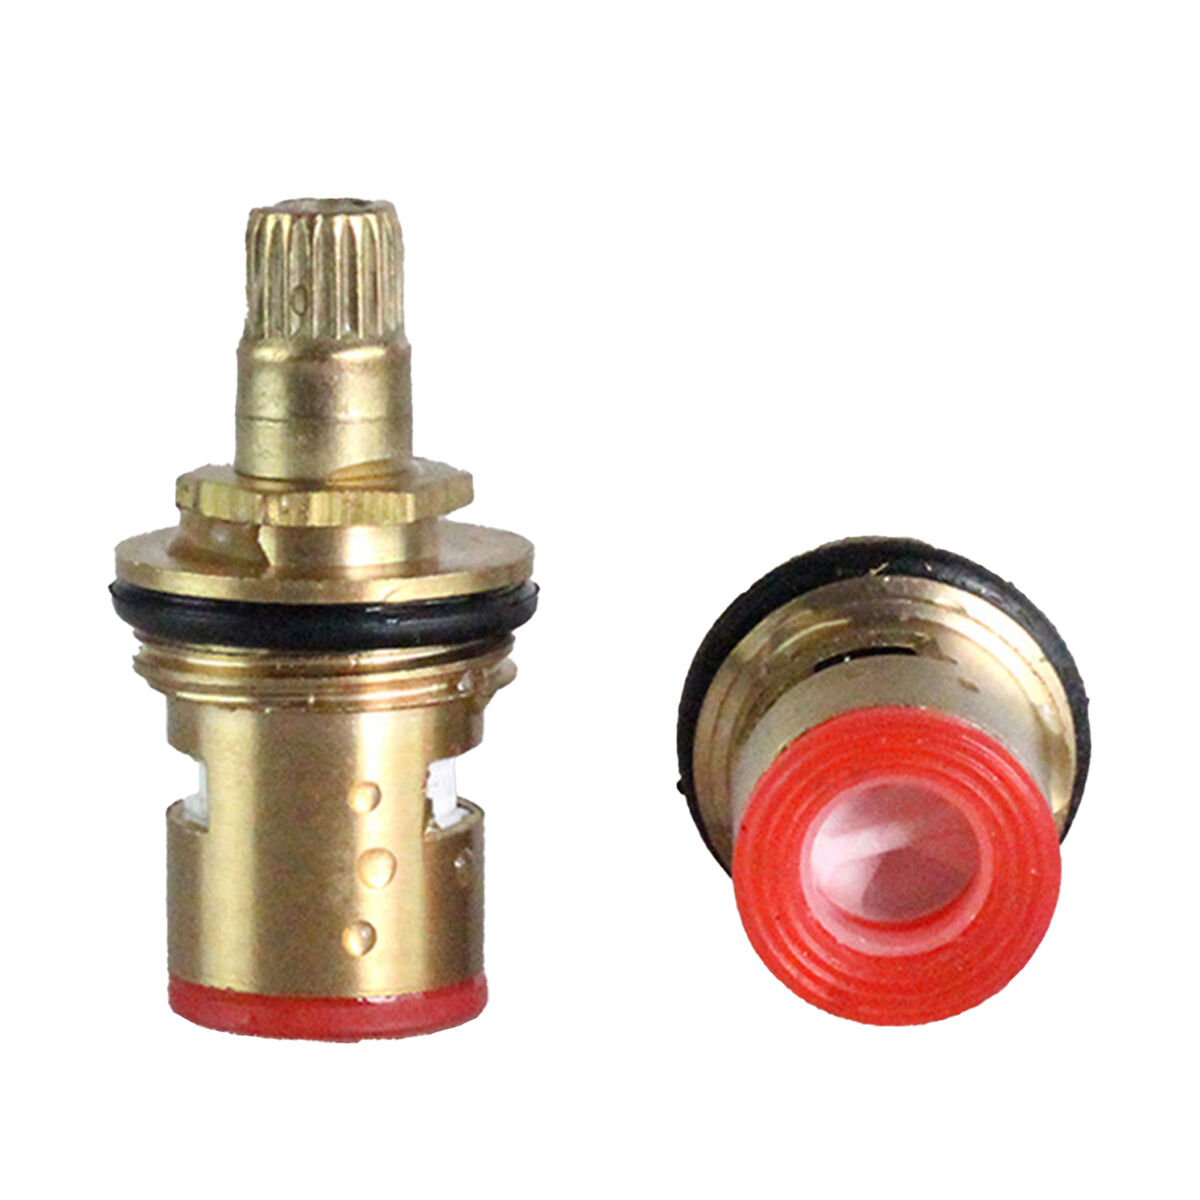
Step 4: Access the Cartridge
Now that you have removed the handle and any trim pieces, it’s time to access the cartridge. The cartridge is the component responsible for controlling the flow of water in your faucet, and replacing it can resolve issues such as leaks or reduced water flow.
Look inside the handle area and locate the cartridge housing. This is usually a cylindrical or rectangular casing that houses the cartridge. Depending on the faucet model, you may need to unscrew or gently pry off a cover to access the housing.
Once you have gained access to the cartridge housing, take a moment to inspect the area and remove any debris or buildup that may have accumulated over time. Use a clean cloth or sponge to wipe away any residue, ensuring a clean work area.
Before proceeding to the next step, it’s a good idea to examine the cartridge closely and take note of its positioning. This will help you when it comes time to install the new cartridge later on.
Now that you are prepared and have accessed the cartridge, it’s time to move on to the next step: removing the old cartridge from the faucet.
Note: If you encounter any difficulties or are unsure of how to access the cartridge, refer to the manufacturer’s instructions or consult a professional plumber for assistance.
Before replacing a kitchen faucet cartridge, make sure to turn off the water supply to the faucet. This will prevent any water from leaking out while you work on the replacement.
Read more: How To Replace Moen Kitchen Faucet Cartridge
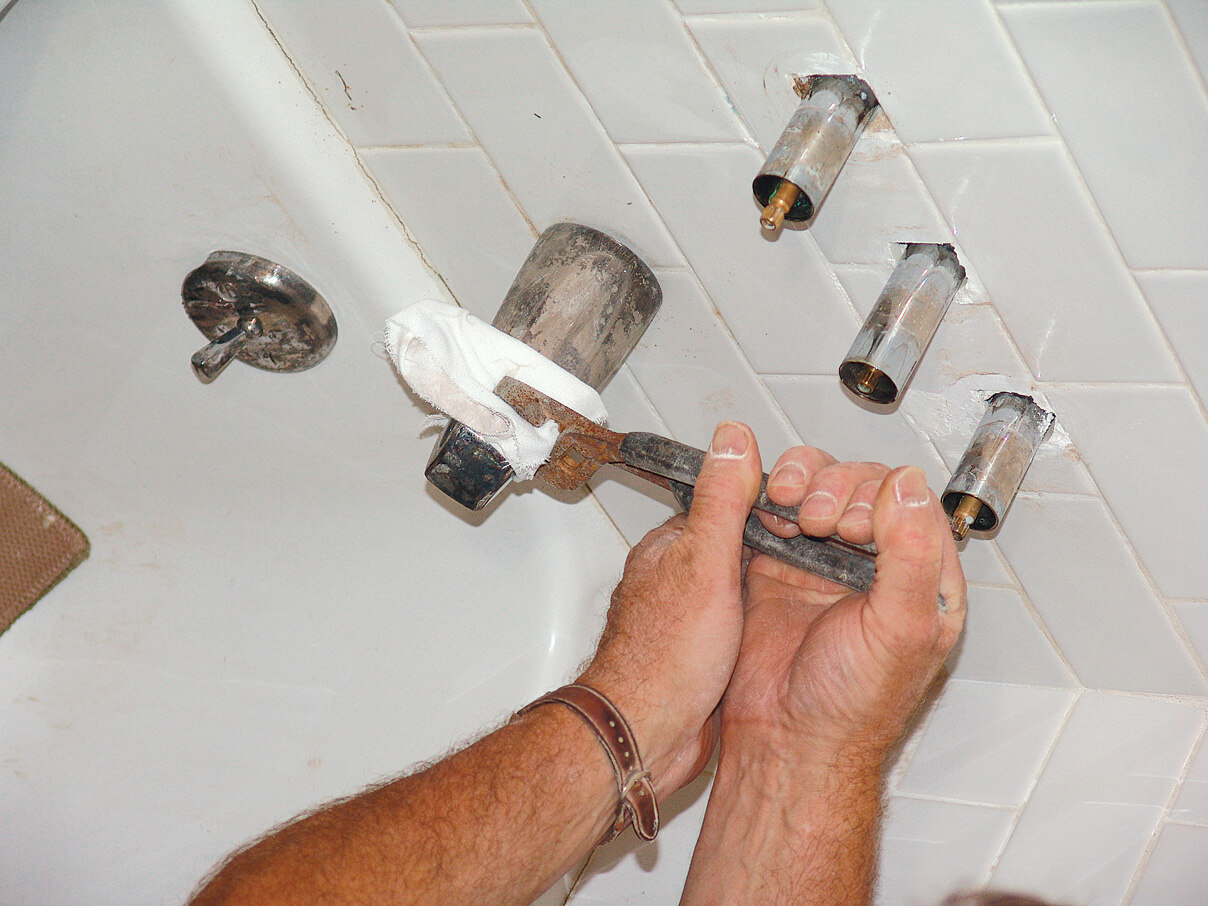
Step 5: Remove the Old Cartridge
With the cartridge housing exposed, it’s time to remove the old cartridge from your kitchen faucet. Removing the old cartridge is a crucial step in the process of replacing it with a new one.
Start by examining the cartridge for any visible screws or retaining clips that may be holding it in place. These may vary depending on the faucet model. If there are screws, use a screwdriver to remove them. If there are retaining clips, use a pair of pliers or a small wrench to release them.
Once any securing mechanisms have been removed, grasp the cartridge firmly and pull it straight out. Depending on the age of the faucet and the condition of the cartridge, it may require some force to remove. However, be careful not to use excessive force that could damage the surrounding components.
If the cartridge seems stubborn and resistant to removal, you can try gently twisting it back and forth to loosen it before pulling it out. Additionally, using a lubricant such as WD-40 or vinegar can help loosen any built-up mineral deposits and make it easier to remove.
Once the old cartridge is successfully removed, take a moment to inspect the cartridge housing. Remove any debris or buildup that may be present using a clean cloth or sponge. This will ensure a clean surface for the new cartridge to be installed.
With the old cartridge removed and the cartridge housing clean, it’s time to move on to the next step: installing the new cartridge.
Note: If you encounter any difficulties or are unsure of how to remove the old cartridge, refer to the manufacturer’s instructions or consult a professional plumber for assistance.
Step 6: Install the New Cartridge
Now that you have successfully removed the old cartridge, it’s time to install the new cartridge in your kitchen faucet. Installing a new cartridge is a crucial step in restoring the proper functionality of your faucet.
Begin by carefully inspecting the new cartridge and ensuring that it matches the specifications of your specific faucet model. It should be the correct size and have the same design as the old cartridge.
Take note of any markings or indicators on the new cartridge that indicate the correct orientation for installation. These may include arrows or labels indicating which end should face towards the water source.
Gently align the new cartridge with the cartridge housing, ensuring that it fits snugly and securely. Be careful not to force or jam the cartridge into place, as this can cause damage or prevent proper water flow.
Once the new cartridge is aligned, begin securing it in place using any screws or clips that were included with the cartridge. Tighten them securely, but be cautious not to overtighten, as this can cause damage to the cartridge or other components.
With the new cartridge properly installed, take a moment to double-check that it is seated correctly and aligned properly. This will ensure optimal performance and prevent any water leaks.
Now that the new cartridge is installed, we can move on to the next step: reassembling the faucet by replacing the handle and trim pieces.
Note: If you encounter any difficulties or are unsure of how to install the new cartridge, refer to the manufacturer’s instructions or consult a professional plumber for assistance.
Step 7: Reassemble the Faucet
With the new cartridge installed, it’s time to reassemble the faucet by returning the handle and any trim pieces to their original positions. Reassembling the faucet is an important step in completing the replacement of the kitchen faucet cartridge.
Start by carefully aligning the handle with the faucet body. Gently slide it back into place, ensuring that it fits securely. If there were any trim pieces or decorative caps that were removed earlier, reattach them to the faucet body, following the manufacturer’s instructions if necessary.
Once the handle and trim pieces are back in their proper positions, locate the screw that was removed earlier to secure the handle. Insert the screw and tighten it, but again, be careful not to overtighten, as this can cause damage to the faucet or handle.
With the handle securely fastened, take a moment to test its movement and ensure that it operates smoothly. The handle should turn easily, allowing for both hot and cold water to be controlled effectively.
If there are any additional trim pieces that need to be put back, such as sleeve covers or escutcheons, carefully slide them into place and secure them according to the manufacturer’s instructions.
Now that the faucet is reassembled, we can move on to the final step: turning on the water supply and testing the faucet for any leaks or issues.
Note: If you encounter any difficulties or are unsure of how to reassemble the faucet, refer to the manufacturer’s instructions or consult a professional plumber for assistance.
Step 8: Turn on the Water Supply
Congratulations on reaching the final step of replacing a kitchen faucet cartridge! Now it’s time to turn on the water supply and test your newly installed cartridge for any leaks or issues.
Before turning the water supply back on, double-check that all connections are secure and that the handle is in the proper off position. This will help prevent any sudden water flow or leaks when you restore the water supply.
Slowly turn on the shut-off valves located under the sink. Gradually open the valves by turning them counterclockwise. This will allow the water to flow back into the faucet.
As the water supply is restored, keep a close eye on the faucet for any signs of leakage or abnormal water flow. Check for any drips or puddles around the base of the faucet, as well as any unusual sounds or disruptions in water pressure.
If you notice any leaks or issues, turn off the water supply immediately and check the connections to ensure they are tightened properly. It may be necessary to disassemble the faucet again and inspect the cartridge for any damages or misalignments.
If everything looks good and there are no leaks, proceed to test the faucet’s functionality by turning the handle to the desired settings. Check that both hot and cold water flows smoothly and that there are no problems with water flow or pressure.
Once you are satisfied with the performance of your newly replaced cartridge, congratulations! You have successfully completed the process of replacing a kitchen faucet cartridge.
Remember to clean up any water spills or debris that may have been created during the installation process. Use a clean cloth or sponge to wipe down the surrounding areas and ensure everything is tidy and dry.
Thank you for following this step-by-step guide. By replacing the cartridge in your kitchen faucet, you have not only resolved any issues with leaks or reduced water flow but also saved money by completing the repair yourself.
Conclusion
Replacing a kitchen faucet cartridge may seem like a daunting task, but with the right tools, materials, and step-by-step guidance, it can be a manageable DIY project. By following the instructions provided in this article, you have learned how to gather the necessary tools, turn off the water supply, remove the handle and trim, access and remove the old cartridge, install the new cartridge, reassemble the faucet, and finally, turn on the water supply to test for any leaks or issues.
Regular maintenance and replacing the cartridge when needed is crucial to ensuring the optimal performance and longevity of your kitchen faucet. By being proactive and resolving issues such as leaks or reduced water flow, you can avoid more significant repairs or costly replacement in the future.
Remember that each faucet may have slight variations in terms of parts and steps, so always consult the manufacturer’s instructions and seek professional assistance if needed. Safety should always be a priority, so if at any point you feel unsure or uncomfortable with the process, don’t hesitate to contact a professional plumber.
By successfully completing this project, you have not only gained valuable DIY skills but also saved time and money by avoiding the need to hire a professional. Now, you can enjoy the satisfaction of a properly functioning kitchen faucet and a job well done!
Thank you for using this comprehensive guide. We hope it has been helpful in assisting you with replacing your kitchen faucet cartridge. Happy plumbing!
Frequently Asked Questions about How To Replace A Kitchen Faucet Cartridge
Was this page helpful?
At Storables.com, we guarantee accurate and reliable information. Our content, validated by Expert Board Contributors, is crafted following stringent Editorial Policies. We're committed to providing you with well-researched, expert-backed insights for all your informational needs.


0 thoughts on “How To Replace A Kitchen Faucet Cartridge”