Articles
How To Put A Blade On Ryobi Circular Saw
Modified: October 19, 2024
Learn how to easily and securely install a blade on your Ryobi Circular Saw with our informative articles. Enhance your woodworking skills and achieve precise cuts.
(Many of the links in this article redirect to a specific reviewed product. Your purchase of these products through affiliate links helps to generate commission for Storables.com, at no extra cost. Learn more)
Introduction
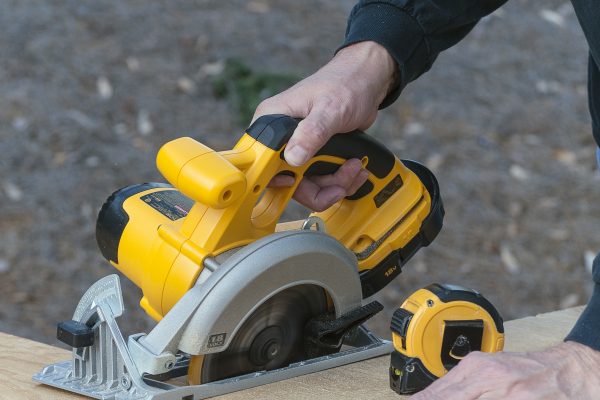
When it comes to woodworking and DIY projects, having a reliable circular saw in your arsenal is essential. The Ryobi circular saw is a popular choice among craftsmen for its durability and precision. However, to ensure that your saw performs at its best, it’s important to know how to properly replace the blade.
Putting a blade on a Ryobi circular saw may seem like a daunting task, especially if you’re a beginner. But fear not! In this article, we will guide you through the step-by-step process of replacing the blade on your Ryobi circular saw. By following these instructions and taking the necessary safety precautions, you’ll be able to effortlessly switch out the old blade for a new one, allowing you to tackle your woodworking projects with ease.
Before we dive into the process, it’s crucial to prioritize safety. Power tools can be dangerous if not handled properly, so make sure you’re wearing appropriate protective gear such as safety goggles and gloves. Additionally, always disconnect the saw from the power source before attempting to replace the blade.
Now, let’s gather the tools and materials you will need for this task.
Key Takeaways:
- Safety First
Prioritize safety when replacing the blade on your Ryobi circular saw by wearing protective gear, disconnecting the saw from the power source, and following the step-by-step process to minimize the risk of accidents. - Precision and Confidence
By mastering the blade replacement process, you can confidently equip your Ryobi circular saw with a new blade, ensuring optimal performance and accurate cuts for your woodworking projects.
Read more: How To Replace Blade On Ryobi Circular Saw
Safety Precautions
When working with power tools, safety should always be the top priority. Before you begin replacing the blade on your Ryobi circular saw, make sure to follow these important safety precautions:
- Wear appropriate safety gear such as safety goggles, gloves, and ear protection.
- Ensure that the saw is completely disconnected from the power source before starting the blade replacement process.
- Work in a well-ventilated area to avoid inhaling dust or debris.
- Keep your work area clean and free from any obstructions or clutter.
- Inspect the saw’s cord and plug for any signs of damage or fraying. If any issues are present, do not use the saw and have it repaired or replaced.
- Always handle the saw with care, keeping your hands away from the blade and the cutting area.
- Do not force the blade onto the saw or use excessive force when tightening the blade flange.
- Make sure the blade is properly aligned and securely attached to the saw before use.
By following these safety precautions, you can minimize the risk of accidents and injuries while working with your Ryobi circular saw. Always prioritize safety and take your time to ensure that each step is performed correctly.
Tools and Materials Needed
Before you begin replacing the blade on your Ryobi circular saw, gather the following tools and materials:
- Ryobi circular saw
- Replacement blade that is compatible with your Ryobi circular saw
- Protective eyewear
- Gloves
- Allen wrench or blade wrench (usually included with the saw)
- Clean cloth or rag
Having these tools and materials ready beforehand will save you time and ensure you have everything you need to complete the blade replacement process without interruption. Make sure the replacement blade you choose is suitable for your specific Ryobi circular saw model to ensure optimal performance.
Now that you have all the necessary tools and materials, let’s move on to the step-by-step guide on how to put a blade on your Ryobi circular saw.
Step 1: Gather the Necessary Tools
Before you dive into the process of replacing the blade on your Ryobi circular saw, it’s important to gather all the necessary tools. This will ensure you have everything you need within reach, making the blade replacement process more efficient. Here’s what you’ll need:
- Your Ryobi circular saw
- A replacement blade that is compatible with your specific Ryobi circular saw model
- Protective eyewear to shield your eyes from any debris
- Sturdy gloves to protect your hands from potential cuts or injuries
- An Allen wrench or blade wrench (usually provided with the saw) to loosen and tighten the blade
- A clean cloth or rag to wipe off any dirt or debris from the saw or blade
Make sure you have all these tools in your workspace before starting the blade replacement process. This will save you time and ensure a smooth transition between steps. It’s also a good idea to clean your workspace and remove any unnecessary objects or clutter to create a safe and organized working environment.
Once you have gathered all the necessary tools, you can proceed to the next step, which involves disconnecting the saw from the power source to ensure your safety. So let’s move on to Step 2: Disconnect the Saw.
Step 2: Disconnect the Saw
Before you begin replacing the blade on your Ryobi circular saw, it’s crucial to disconnect the saw from the power source to ensure your safety. Here’s how to do it:
- Double-check that the saw is turned off.
- Unplug the power cord from the electrical outlet.
- If your circular saw is cordless, remove the battery pack.
By disconnecting the saw from the power source, you eliminate the risk of accidental start-up while working on the blade. This step is essential and should never be skipped, as it ensures your safety and prevents potential injuries.
With the saw safely disconnected, you can now move on to the next step, where you’ll learn how to locate the blade lock button on your Ryobi circular saw. So let’s proceed to Step 3: Locate the Blade Lock Button.
Read more: What Size Blade Does A Ryobi Circular Saw
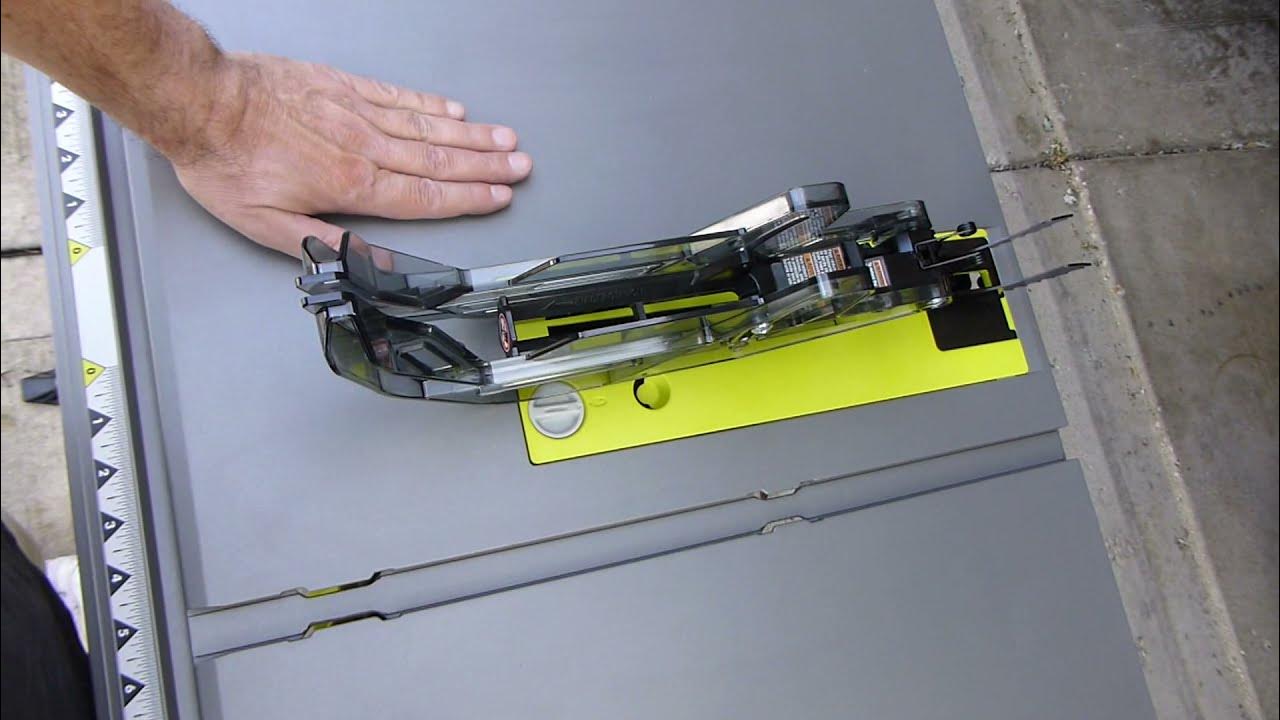
Step 3: Locate the Blade Lock Button
Locating the blade lock button on your Ryobi circular saw is essential for safely replacing the blade. The blade lock button is designed to hold the blade in place, allowing you to easily remove and install a new blade. Follow these steps to find the blade lock button:
- Examine the saw’s housing and handle for a small button or lever.
- Check the user manual or manufacturer’s instructions for your specific model if you’re uncertain about the location of the blade lock button.
- If you still can’t locate it, try rotating the blade manually while observing any parts that move or release when doing so.
The blade lock button is typically located near the blade housing and is identifiable by its size and shape. It’s essential to familiarize yourself with its location before proceeding to the next steps.
Once you have located the blade lock button, you’re ready to move on to the next step, where we’ll guide you through the process of depressing the blade lock button. Let’s proceed to Step 4: Depress the Blade Lock Button.
Step 4: Depress the Blade Lock Button
Depressing the blade lock button on your Ryobi circular saw is a crucial step in releasing the old blade and preparing for the installation of a new one. Follow these instructions to depress the blade lock button:
- Position the saw in a way that allows easy access to the blade lock button. Ensure the saw is stable and won’t move during the process.
- Using your dominant hand, grip the handle of the saw firmly.
- With your other hand, locate the blade lock button near the blade housing.
- Using your thumb or finger, press and hold down the blade lock button to keep it in a depressed position.
- Continue to hold down the blade lock button throughout the blade removal and installation process.
Depressing the blade lock button ensures that the blade remains stationary, preventing it from spinning while you work. It’s crucial to keep the button depressed to maintain a safe and secure grip on the blade.
Now that you have successfully depressed the blade lock button, it’s time to move on to the next step, where we will remove the blade flange. Follow along for Step 5: Remove the Blade Flange.
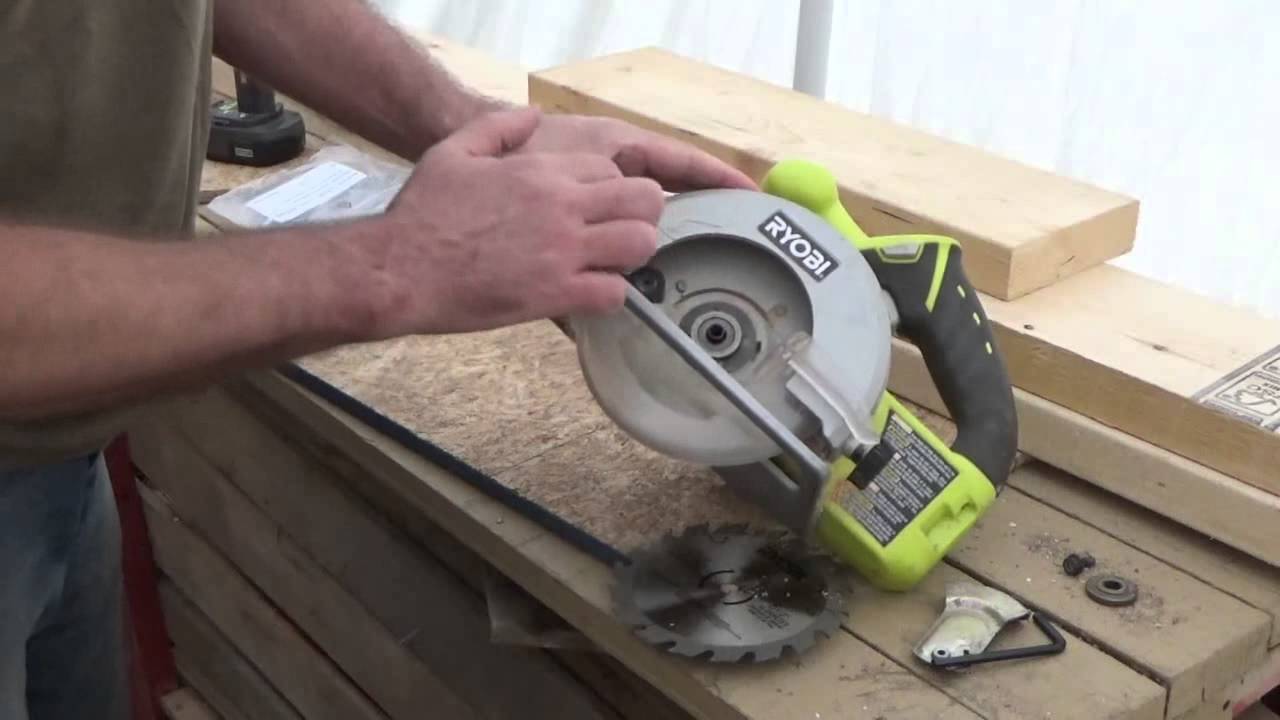
Step 5: Remove the Blade Flange
Removing the blade flange is the next step in the process of replacing the blade on your Ryobi circular saw. The blade flange holds the blade in place and needs to be removed to release the old blade. Follow these steps to remove the blade flange:
- While keeping the blade lock button depressed, use your free hand to locate the blade flange on the side of the saw.
- Using an Allen wrench or blade wrench that fits the flange, insert it into the hole in the center of the flange.
- Turn the wrench counterclockwise (left) to loosen the flange.
- Continue loosening until you can remove the flange from the saw. Set the flange aside in a safe place.
Removing the blade flange allows you to access the blade and safely remove it from the saw. Make sure to keep a firm grip on the flange while loosening it to prevent it from falling or getting lost.
With the blade flange successfully removed, we can now move on to the next step, where we’ll guide you through the process of removing the old blade. Stay tuned for Step 6: Remove the Old Blade.
When putting a blade on a Ryobi circular saw, make sure to unplug the saw first for safety. Then, follow the manufacturer’s instructions for removing the old blade and installing the new one, making sure it is securely tightened.
Step 6: Remove the Old Blade
Removing the old blade from your Ryobi circular saw is a crucial step in the blade replacement process. Follow these steps to safely remove the old blade:
- Ensure that the blade lock button is still depressed to keep the blade from spinning.
- Using your free hand, carefully grasp the old blade by its teeth or edges, making sure to avoid contact with the sharp cutting surface.
- While maintaining a firm grip on the blade, slowly pull it away from the saw, keeping your fingers clear of the blade’s teeth.
- Once the blade is fully removed, set it aside in a safe location.
It’s important to exercise caution when removing the old blade to avoid any accidental cuts or injuries. Take your time and ensure a secure grip on the blade throughout the process. If the blade is difficult to remove, double-check that the blade lock button is still depressed and try again.
With the old blade successfully removed, we can now move on to the next step in the process of replacing the blade on your Ryobi circular saw. Stay tuned for Step 7: Inspect the New Blade.
Read more: How To Use Ryobi Circular Saw
Step 7: Inspect the New Blade
Before installing the new blade on your Ryobi circular saw, it’s important to inspect it thoroughly. By conducting a proper inspection, you can ensure that the new blade is free from any defects or damage, which could affect its performance and safety. Here’s how to inspect the new blade:
- Take the new blade out of its packaging and hold it up to a well-lit area.
- Check for any signs of wear, such as chipped or dull teeth, bent edges, or damaged segments.
- Inspect the arbor hole, ensuring it’s free from any debris or obstructions.
- Verify that the blade is the correct size and type for your Ryobi circular saw.
If you notice any defects or damage, do not proceed with installing the blade. It’s crucial to use a new blade that is in good condition to ensure optimal performance and safety. If necessary, consult with the manufacturer or return the blade for a replacement.
If the new blade passes inspection, you’re ready to move on to the next step: installing the new blade on your Ryobi circular saw. Stay tuned for Step 8: Install the New Blade.
Step 8: Install the New Blade
Now that you have inspected the new blade and confirmed that it is in good condition, it’s time to install it on your Ryobi circular saw. Follow these steps to properly install the new blade:
- With the blade lock button still depressed, align the new blade’s arbor hole with the spindle on the saw.
- Carefully slide the blade onto the spindle, ensuring that the teeth are facing in the correct direction for the desired cutting action.
- Push the blade onto the spindle until it is securely seated.
- Release the blade lock button, allowing it to engage with the blade to hold it in place.
It’s important to make sure the blade is properly seated and secured on the spindle to prevent any movement or instability during use. Give the blade a gentle tug to ensure it is securely attached.
Take a moment to double-check that the blade is aligned correctly and positioned according to the manufacturer’s guidelines. This will ensure optimal performance and prevent any unnecessary vibrations or issues while cutting.
With the new blade successfully installed, we can now move on to the next step, where we’ll tighten the blade flange. Stay tuned for Step 9: Tighten the Blade Flange.
Step 9: Tighten the Blade Flange
After installing the new blade on your Ryobi circular saw, the next step is to tighten the blade flange. The blade flange holds the blade securely in place, ensuring stability and accurate cutting. Follow these steps to properly tighten the blade flange:
- While keeping the blade lock button depressed, locate the blade flange that was set aside earlier.
- Place the flange onto the spindle and align it with the holes on the blade. Make sure the flange is sitting flush against the blade.
- Using an Allen wrench or blade wrench, insert it into the hole in the center of the flange.
- Tighten the flange by turning the wrench clockwise (right). Apply firm and even pressure to ensure a secure fit.
- Continue tightening until the flange is snug and the blade is firmly secured.
It’s important to note that overtightening the flange can cause unnecessary stress on the blade and negatively affect its performance. Be sure to tighten it firmly, but avoid using excessive force.
Once the flange is tightened, give the blade a gentle tug to double-check its stability. If it feels loose or wobbly, you may need to revisit the tightening process and ensure a proper fit.
Congratulations! You have successfully tightened the blade flange. We are now ready to move on to the next step, where we’ll reconnect the saw. Stay tuned for Step 10: Reconnect the Saw.
Step 10: Reconnect the Saw
Now that you have completed the blade replacement process on your Ryobi circular saw, it’s time to reconnect the saw to prepare for use. Follow these steps to safely reconnect the saw:
- Ensure that the blade lock button is released and the blade is securely in place.
- If your circular saw is corded, plug the power cord back into the electrical outlet. If it is cordless, reinsert the battery pack.
- Double-check that all connections are secure and there are no loose parts or obstructions.
With the saw reconnected, you’re now ready to proceed with your woodworking projects or DIY tasks. Before using the saw, it’s important to perform a quick test to ensure everything is working properly. Continue reading for Step 11: Test the New Blade.
Note: If you encounter any issues during the reconnection process or suspect any malfunctions, consult the manufacturer’s instructions or seek professional assistance for troubleshooting and repairs.
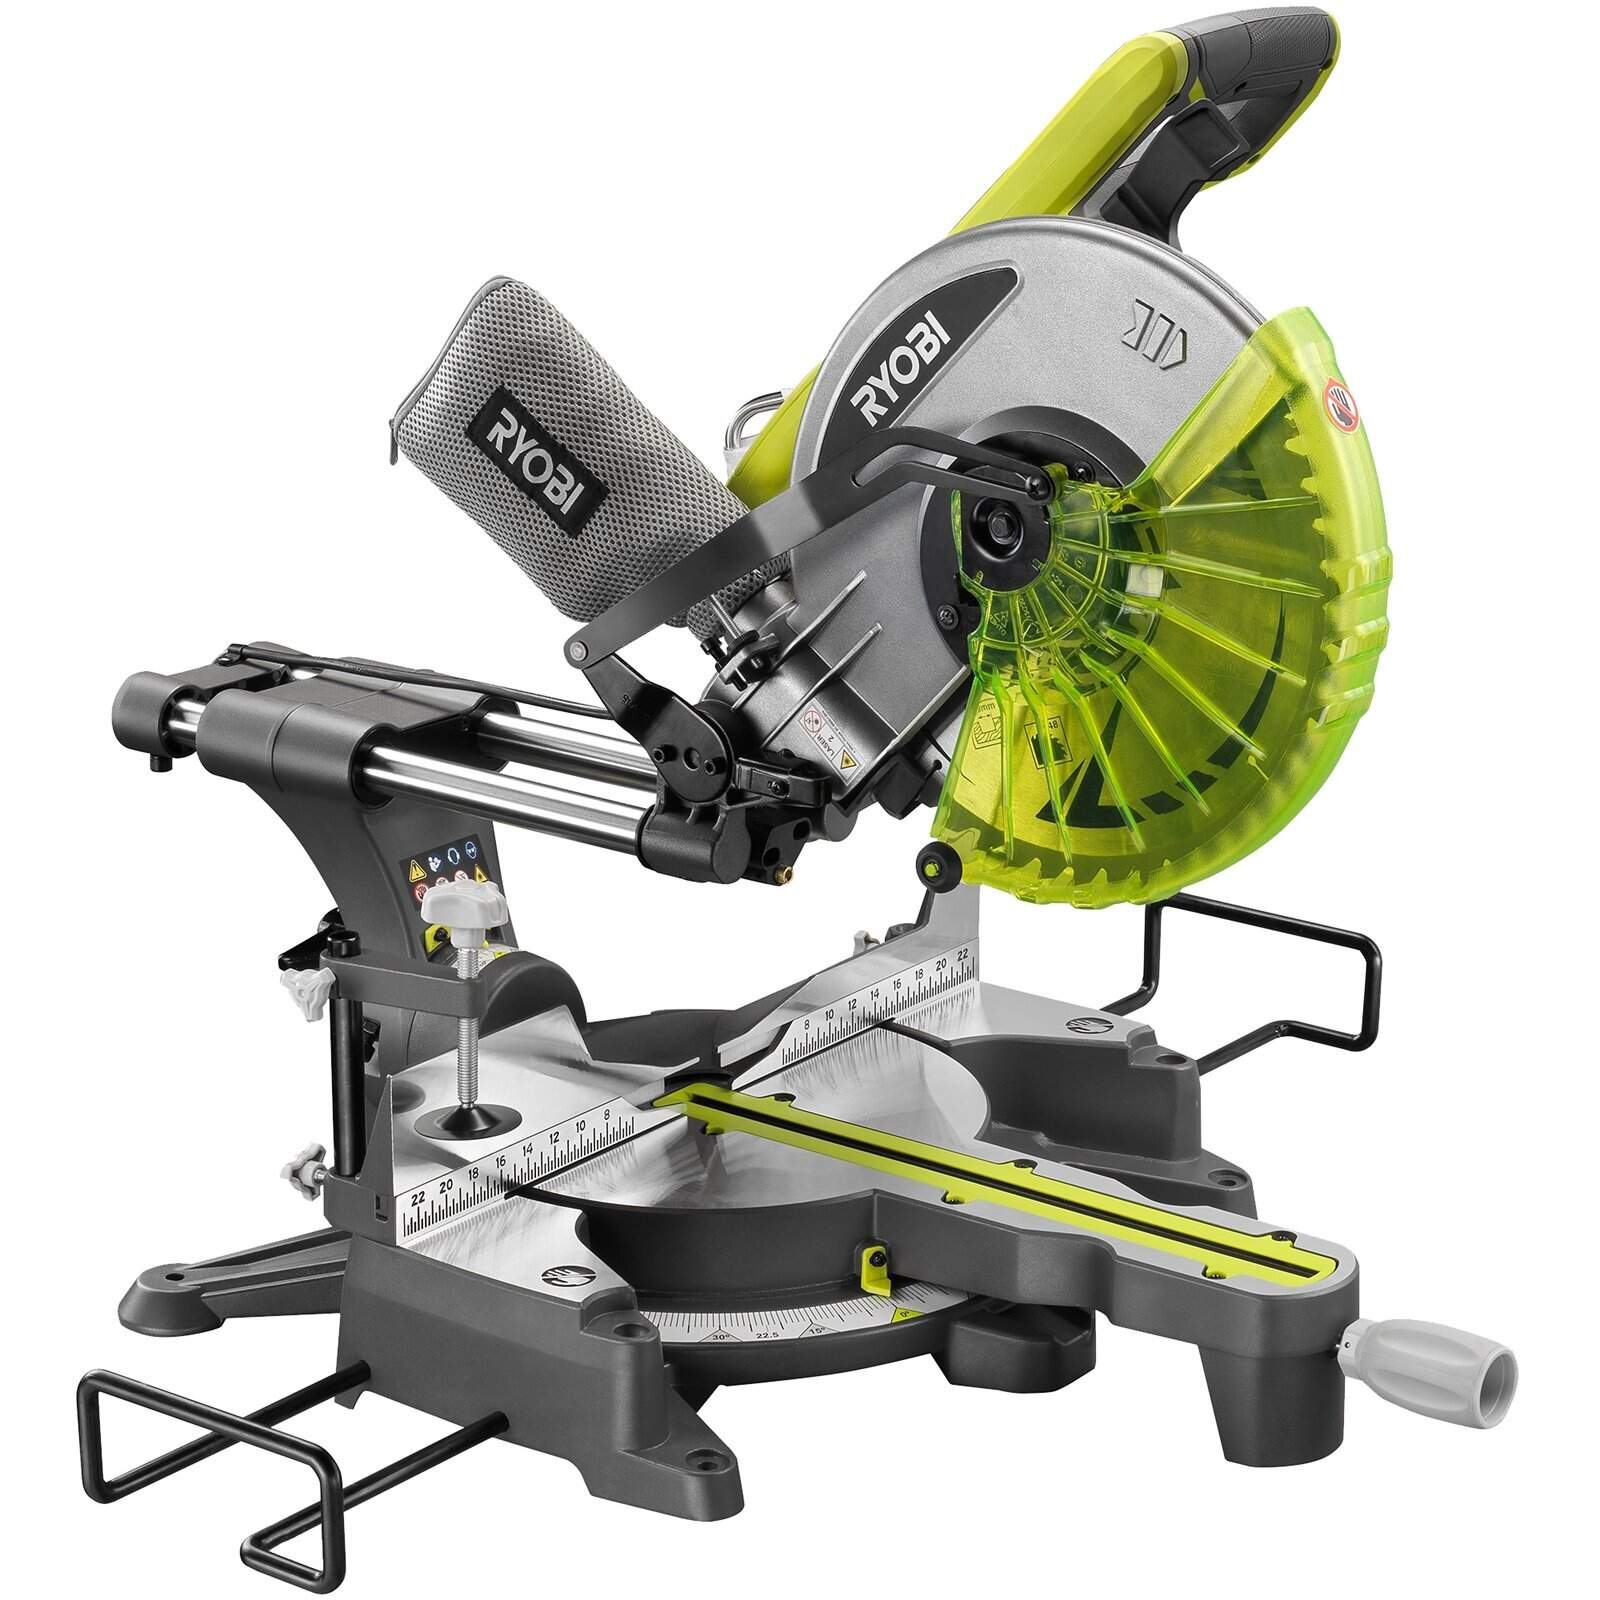
Read more: How To Change The Blade On A Ryobi Table Saw
Step 11: Test the New Blade
After replacing the blade on your Ryobi circular saw, it’s crucial to perform a test to ensure that the new blade is working properly. By conducting a test, you can verify the blade’s performance, stability, and cutting accuracy. Follow these steps to test the new blade:
- Find a scrap piece of material that is suitable for testing, such as a spare piece of wood or plywood.
- Securely position the material on a stable work surface or sawhorse.
- Hold the saw firmly with both hands, ensuring a steady grip.
- Position the blade over the edge or line where you intend to make the cut.
- Switch on the saw and carefully guide the blade through the material, applying even pressure.
- Observe the cutting action of the blade. Pay attention to the smoothness of the cut and any signs of vibration or wobbling.
- If the blade performs accurately, smoothly, and without any noticeable issues, the test is successful.
During the test, make sure to wear appropriate safety gear such as safety goggles and gloves. It’s important to be cautious and aware of the saw’s movements and the cutting process.
If you notice any abnormalities, such as excessive vibrations, wobbling, or a rough cut, stop immediately and recheck the blade installation. Ensure that the blade is securely tightened and properly aligned. If issues persist, consult the manufacturer’s instructions or seek professional assistance.
With the successful test of the new blade, you can now confidently proceed with your woodworking projects or DIY tasks, knowing that your Ryobi circular saw is equipped with a functional and reliable blade.
Congratulations on completing the process of putting a blade on your Ryobi circular saw! By following the steps outlined in this guide, you have successfully replaced the blade and are ready to tackle your projects with precision and confidence.
Remember to always prioritize safety when working with power tools, and regularly maintain and inspect your tools to ensure they are in proper working condition. Happy woodworking!
Conclusion
Replacing the blade on your Ryobi circular saw is an essential skill for any woodworking enthusiast or DIYer. By following the step-by-step process outlined in this guide, you now have the knowledge and confidence to effortlessly swap out old blades for new ones. Remember to prioritize safety throughout the entire blade replacement process, wearing appropriate protective gear and disconnecting the saw from the power source.
Understanding the location of the blade lock button and knowing how to depress it allows you to safely remove the old blade. Thoroughly inspecting the new blade ensures that it is free from defects and ready for use. By properly aligning and tightening the blade flange, you can securely attach the new blade to the saw. Finally, reconnecting the saw and conducting a quick test ensures that the new blade functions effectively and delivers accurate cuts.
Always remember to exercise caution and take your time when working with power tools. If you encounter any difficulties or suspect any issues during the process, consult the manufacturer’s instructions or seek professional assistance.
Now that you have mastered the art of putting a blade on your Ryobi circular saw, you’re ready to embark on your next woodworking project with confidence. Enjoy the precision and performance that a new blade brings to your saw, and let your creativity shine through your work.
Happy sawing!
Now that you've mastered installing a blade on your Ryobi circular saw, why not take your woodworking skills up a notch? Our latest article, "14 Best Woodworking for 2024," is packed with insights and tips to help you craft stunning projects. Whether you're a seasoned woodworker or just starting out, this guide is sure to inspire and improve your techniques. Don't miss out on discovering new tools and methods that could transform your approach to woodworking!
Frequently Asked Questions about How To Put A Blade On Ryobi Circular Saw
Was this page helpful?
At Storables.com, we guarantee accurate and reliable information. Our content, validated by Expert Board Contributors, is crafted following stringent Editorial Policies. We're committed to providing you with well-researched, expert-backed insights for all your informational needs.


0 thoughts on “How To Put A Blade On Ryobi Circular Saw”