
Articles
How To Use Ryobi Circular Saw
Modified: December 7, 2023
Learn how to effectively use the Ryobi Circular Saw with our step-by-step articles. Discover tips, tricks, and safety guidelines for a successful woodworking experience.
(Many of the links in this article redirect to a specific reviewed product. Your purchase of these products through affiliate links helps to generate commission for Storables.com, at no extra cost. Learn more)
Introduction
Welcome to the world of woodworking and DIY projects, where the Ryobi circular saw reigns supreme. Whether you’re a seasoned craftsman or just starting out, this versatile power tool is an essential addition to your toolkit. With its powerful motor and sharp blade, the Ryobi circular saw can help you make precise cuts in a wide range of materials, from wood to plastic and even metal.
In this article, we will guide you through the process of using the Ryobi circular saw effectively and safely. We will cover everything from setting up the work area to adjusting the cutting depth and selecting the right blade. By the end of this guide, you will be confident in using your Ryobi circular saw to tackle any project that comes your way.
But before we dive into the nitty-gritty details, it’s important to address the issue of safety. Power tools can be dangerous if not used properly, so it’s crucial to take the necessary precautions to protect yourself and those around you. Always wear appropriate safety gear, such as safety glasses, ear protection, and gloves. Make sure you have a clear and well-lit work area, and never rush or take shortcuts when using the circular saw.
Now that we have safety covered, let’s get started with familiarizing yourself with the Ryobi circular saw.
Key Takeaways:
- Master the art of using the Ryobi circular saw by prioritizing safety, maintaining proper grip and stance, and making precise straight and bevel cuts. Unleash your creativity and embark on exciting woodworking projects with confidence.
- Ensure the longevity and optimal performance of your Ryobi circular saw by incorporating regular maintenance and cleaning practices. By caring for your saw, you can enjoy years of reliable use and consistently excellent results.
Read more: How To Put A Blade On Ryobi Circular Saw
Safety Precautions
Before you begin using the Ryobi circular saw, it’s crucial to prioritize safety. By following these safety precautions, you can minimize the risk of accidents and ensure a safe woodworking experience:
- Wear appropriate safety gear: Always wear safety glasses, ear protection, and gloves when operating the circular saw. These protective items will safeguard your eyes, ears, and hands from potential hazards.
- Maintain a clear work area: Remove any clutter, debris, or distractions from your work area before starting. This will help prevent trips, falls, and accidents.
- Ensure proper lighting: Adequate lighting is essential to accurately see your workpiece and make precise cuts. Make sure your work area is well-lit to minimize mistakes and ensure your safety.
- Secure the workpiece: Before starting the saw, ensure that the workpiece is properly clamped or secured. This will prevent it from shifting or moving during the cutting process and reduce the risk of accidents.
- Be cautious of kickback: Kickback, which occurs when the saw blade binds or gets pinched in the workpiece, can cause the saw to jerk or move suddenly. Maintain a firm grip on the saw and be vigilant to prevent kickback.
- Use appropriate blades: Always use the correct type and size of blade for the material you are cutting. Using the wrong blade can lead to poor cutting performance or even kickback.
- Disconnect the power source: Before making any adjustments, changing blades, or performing maintenance on the circular saw, ensure that it is unplugged from the power source. This will prevent any accidental startup and potential injuries.
- Follow manufacturer instructions: Read and familiarize yourself with the instruction manual provided by Ryobi. Following the manufacturer’s guidelines will ensure that you are using the circular saw correctly and safely.
By adhering to these safety precautions, you can confidently operate your Ryobi circular saw and minimize the risk of accidents. Remember, safety should always be your top priority when working with power tools.
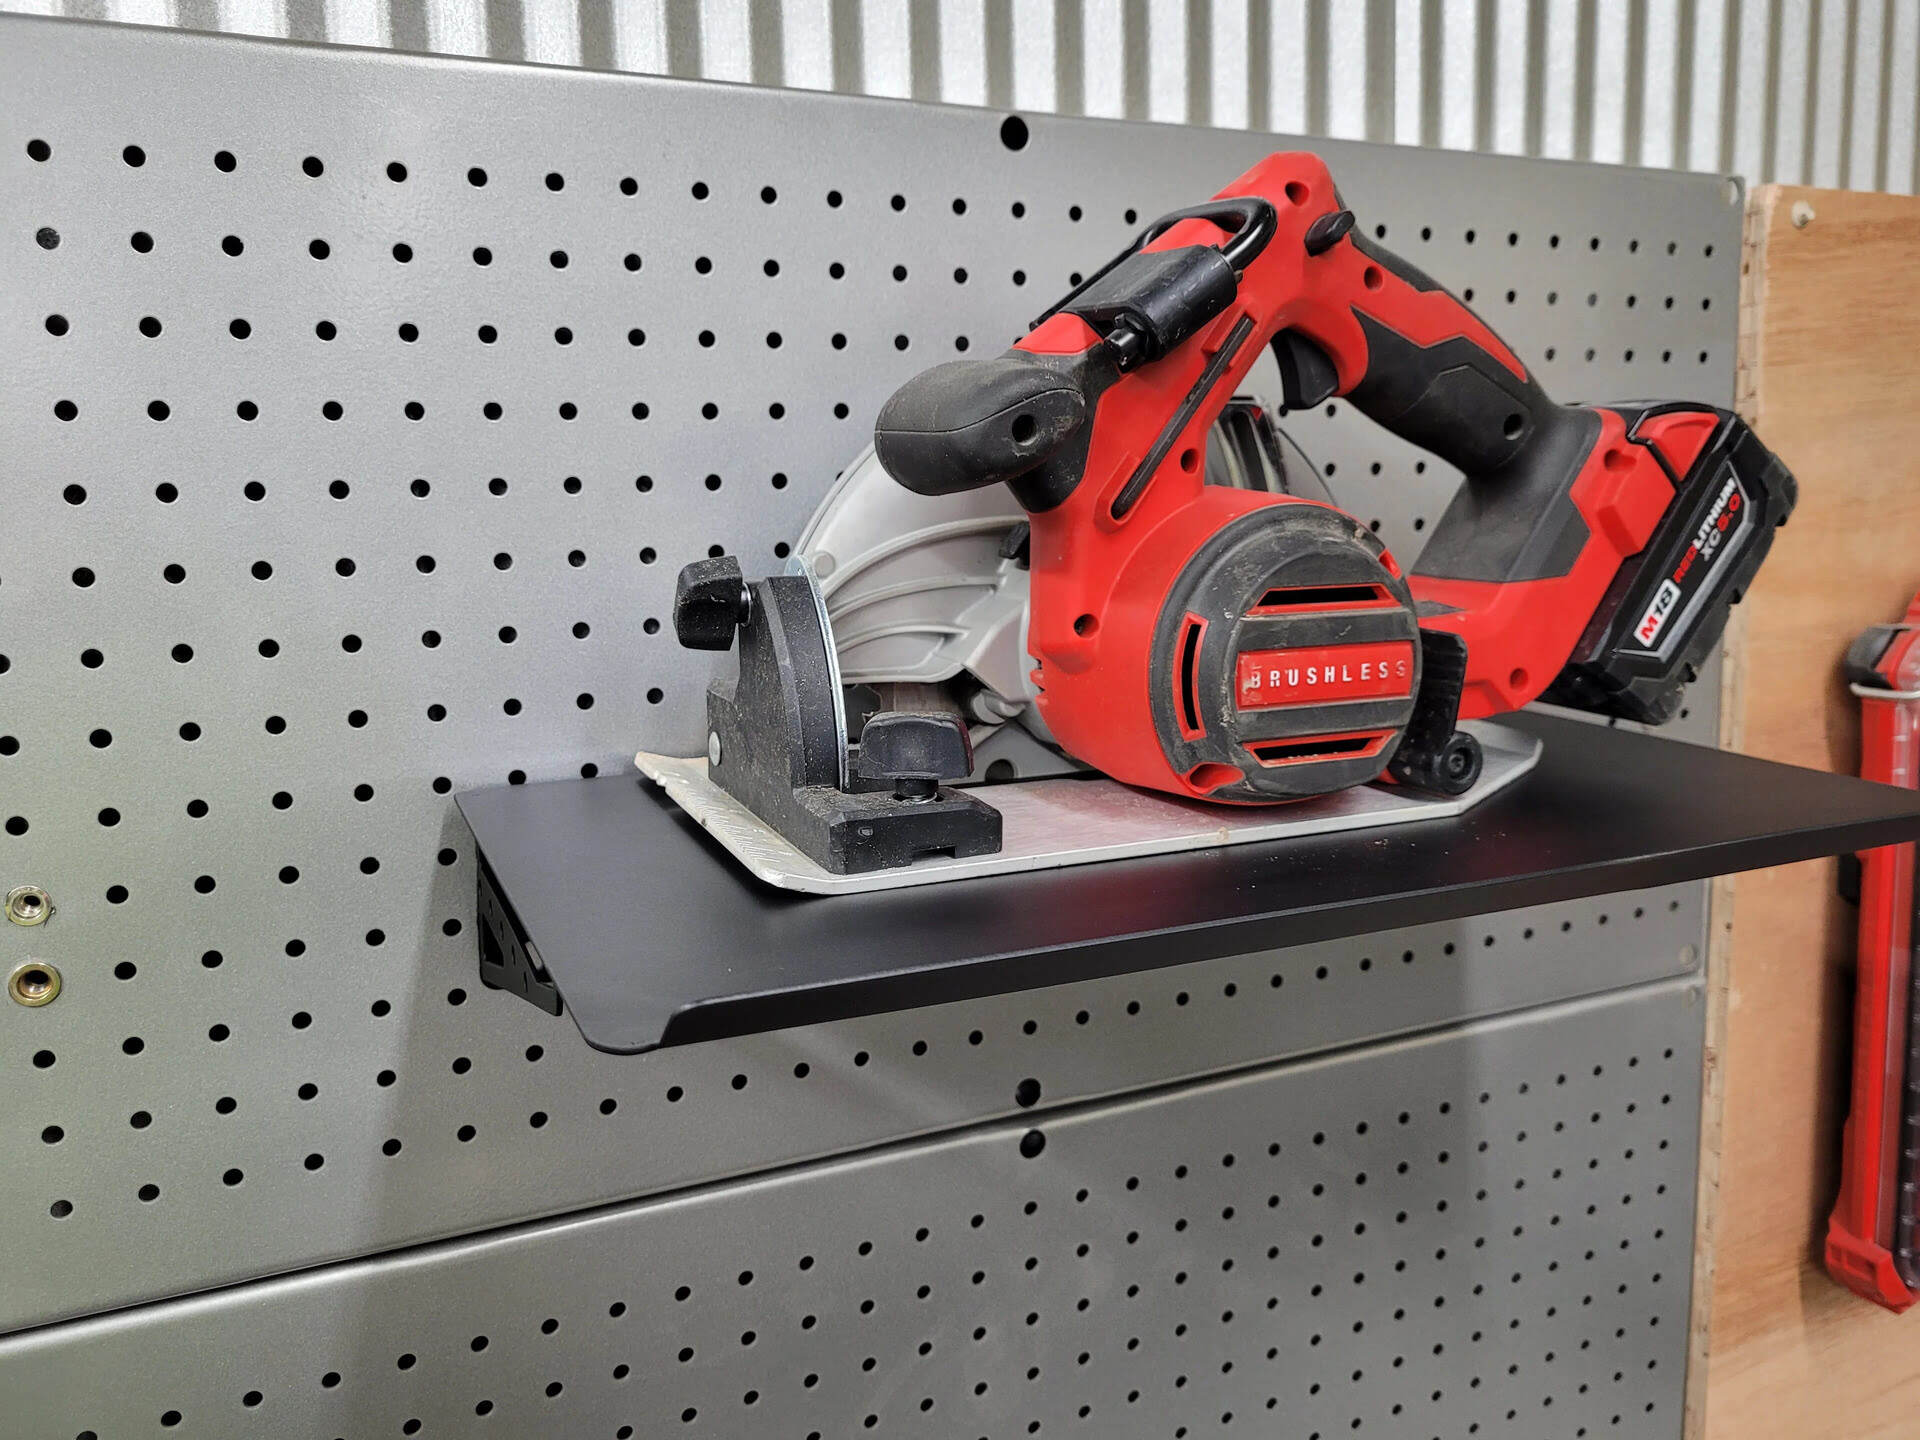
Step 1: Familiarizing Yourself with the Ryobi Circular Saw
Before diving into using the Ryobi circular saw, it’s important to familiarize yourself with the various components and features of the tool. Understanding how each part functions will help you operate the saw effectively and safely. Here’s a breakdown of the key components of the Ryobi circular saw:
- Motor: The motor is the powerhouse of the circular saw. It provides the necessary torque and rotation to drive the blade through the material you’re cutting.
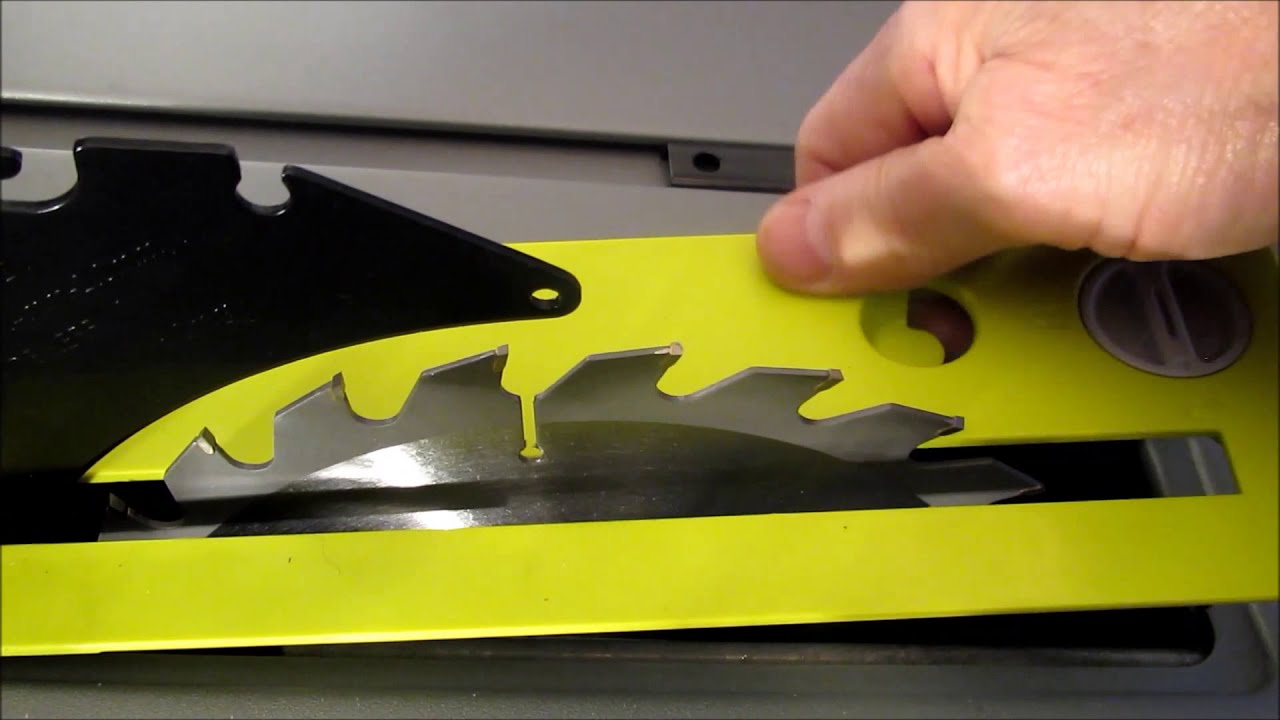
- Blade: The blade is one of the most important parts of the circular saw. It determines the type of cuts you can make and the materials you can work with. Ryobi circular saws typically come with a 7-¼ inch blade, which is suitable for most woodworking projects.
- Handle: The handle is where you hold the saw. It should have a comfortable grip and provide good control over the tool. The handle may have a trigger or an on/off switch to control the power supply.
- Blade Guard: The blade guard is a safety feature that covers the blade when it’s not in use. It automatically retracts as you begin cutting and returns to cover the blade once the cut is complete.
- Depth Adjustment: The depth adjustment mechanism allows you to set the cutting depth of the blade. This feature is particularly useful when making cuts that don’t go all the way through the material.
- Bevel Adjustment: The bevel adjustment allows you to tilt the blade to make bevel cuts at different angles. This feature is handy when you need to create angled edges or join pieces at an angle.
- Base Plate or Shoe: The base plate, also known as the shoe, is the flat metal or plastic plate that provides stability to the saw while cutting. It rests on the surface of the material and helps guide the blade.
- Arbor Lock: The arbor lock is a button or mechanism that locks the blade in place, allowing you to change the blade easily. This feature is essential when swapping blades for different types of cuts or materials.
Take some time to examine each component and practice handling the saw without the blade attached. This will help you become comfortable with the tool’s weight, balance, and control.
Now that you are familiar with the different parts of the Ryobi circular saw, you’re ready to move on to the next step: setting up the work area.
Step 2: Setting Up the Work Area
Creating a safe and organized work area is essential before you start using the Ryobi circular saw. By following these steps, you can ensure that your work area is optimized for efficiency and safety:
- Clean and Clear: Start by tidying up your workspace. Remove any debris, tools, or materials that may obstruct your movements or present safety hazards.
- Secure the Workpiece: Before making any cuts, ensure that your workpiece is properly secured. Use clamps or other appropriate methods to prevent the material from moving or slipping during the cutting process.
- Stable Support Surface: Place your workpiece on a stable, flat surface to provide a solid foundation for cutting. Use sawhorses or a workbench to elevate the material to a comfortable cutting height.
- Mark Your Cuts: Use a measuring tape, straight edge, and pencil to mark the precise locations where you want to make your cuts. This will help you achieve accurate and clean cuts.
- Clear Cutting Path: Ensure that there are no obstacles or obstructions in the path of the saw’s blade. This will prevent the blade from getting caught on anything during the cutting process.
- Lighting: Good lighting is crucial for safe and accurate cutting. Make sure your work area is well-lit, either by natural light or by using proper lighting fixtures such as work lights or task lamps.
- Power Source: Locate the nearest power outlet and ensure that it can adequately supply power to the saw. Avoid using extension cords unless absolutely necessary, and make sure they are rated for the power demands of the circular saw.
- Fire Safety: Keep a fire extinguisher or a bucket of water nearby in case of any sparks or potential fire hazards. It’s better to be prepared for emergencies.
Once you have set up your work area following these steps, you can proceed with confidence to the next step, which is adjusting the cutting depth of the circular saw.
Step 3: Adjusting the Cutting Depth
Adjusting the cutting depth of the Ryobi circular saw is a crucial step to ensure that your cuts are precise and accurate. The cutting depth determines how deeply the blade will penetrate the material. Follow these steps to adjust the cutting depth:
- Unplug the Saw: Before making any adjustments, ensure that the circular saw is unplugged from the power source. This will prevent any accidental starts and ensure your safety.
- Locate the Depth Adjustment Lever: The depth adjustment lever is typically located near the front or side of the circular saw, close to the base plate. It may be a lever, a knob, or a lock that allows you to adjust the cutting depth.
- Loosen the Depth Adjustment Lever: Depending on the mechanism, you may need to loosen the lever or unlock it to adjust the cutting depth. Follow the manufacturer’s instructions to perform this step correctly.
- Measure the Desired Cutting Depth: Use a ruler or depth gauge to determine the depth you want to cut into the material. Keep in mind that you should not set the cutting depth more than the thickness of the workpiece to avoid damaging the saw or causing kickback.
- Set the Cutting Depth: Once you have determined the desired cutting depth, adjust the depth adjustment lever accordingly. For example, if you want to cut a depth of 1 inch, align the depth adjustment lever at the 1-inch mark.
- Tighten the Depth Adjustment Lever: After setting the cutting depth, make sure to tighten the depth adjustment lever or lock it back into place. This will secure the desired cutting depth so that it does not change while you are cutting.
- Check the Cutting Depth: Verify that the blade is set at the correct cutting depth by looking at the depth indicator on the saw or measuring the distance between the blade and the base plate. Adjust if necessary.
- Test the Cutting Depth: Before making precise cuts on your workpiece, it’s a good idea to perform a test cut on a scrap piece of the same material. This will ensure that the cutting depth is accurate and provide you with a visual reference.
Once you have adjusted the cutting depth of your Ryobi circular saw, you’re ready to move on to the next step, which is selecting the right blade for your cutting needs.
Read more: How To Replace Blade On Ryobi Circular Saw
Step 4: Selecting the Right Blade
Selecting the right blade for your Ryobi circular saw is crucial to achieve optimal cutting performance and obtain clean, precise cuts. Different materials require different types of blades to ensure efficient cutting and prevent any damage to the saw or the workpiece. Follow these guidelines to choose the right blade for your cutting needs:
- Determine the Material: Identify the type of material you will be cutting. Common materials include wood, plastic, metal, and composite materials. Each material has specific blade requirements.
- Consider the Blade Size: Check the size of the blade that your Ryobi circular saw can accommodate. Most models can accept 7-¼ inch blades, which are versatile and suitable for a wide range of cutting applications.
- Choose the Tooth Count: The tooth count refers to the number of teeth on the blade. Blades with a higher tooth count provide smoother cuts in materials like plywood and melamine, while blades with fewer teeth are better for rough cuts in framing lumber or thicker materials.
- Select the Blade Type: Different blade types are designed for specific materials. For example, a crosscut blade is ideal for making smooth cuts across the wood grain, while a rip blade is designed for cutting along the grain.
- Consider Blade Coatings or Features: Some blades come with special coatings or features that enhance performance or reduce friction, such as carbide-tipped teeth, anti-stick coatings, or laser-cut expansion slots.
- Read Manufacturer Recommendations: Check the manufacturer’s recommendations and guidelines for blade selection. They often provide a list of materials and applications suitable for each blade type.
- Invest in Quality Blades: It’s worth investing in high-quality blades that are durable and designed for the specific materials you will be working with. Quality blades will also provide cleaner cuts and last longer, saving you time and money in the long run.
- Ensure Proper Blade Installation: Once you have selected the right blade, follow the manufacturer’s instructions to install it correctly. Ensure that the blade is securely tightened and aligned with the arrows or markings on the blade’s face.
Remember to always choose a blade that is compatible with your Ryobi circular saw and suitable for the material you are cutting. Using the right blade will not only improve your cutting results but also prolong the life of your saw.
With the right blade selected and installed, you’re now ready to move on to the next step, which covers proper grip and stance when using the circular saw.
When using a Ryobi circular saw, always ensure that the blade guard is functioning properly and that the blade is sharp and securely fastened. Additionally, use proper safety gear such as goggles and gloves.
Step 5: Proper Grip and Stance
When using the Ryobi circular saw, maintaining a proper grip and stance is essential for both safety and accuracy. Follow these guidelines to ensure that you have a secure grip and stable stance while operating the saw:
- Stand with a Wide Stance: Place your feet shoulder-width apart to provide a stable foundation. This will help you maintain balance and control while operating the circular saw.
- Bend Your Knees: Keep your knees slightly bent to maintain a stable and balanced position. This will also give you better control over the saw during the cutting process.
- Hold the Saw Firmly: Grip the handle of the circular saw with both hands, ensuring a firm and secure grip. Your dominant hand should be on the main handle, while your other hand supports the front or auxiliary handle.
- Keep Your Hand Positions: Position your hands in a way that allows you to have full control over the saw. Your dominant hand should be on the trigger and handle, while your other hand supports the front of the saw.
- Keep Your Arms Straight: Try to keep your arms straight but slightly bent at the elbows. This will give you better control and stability when guiding the saw.
- Align Your Body Parallel to the Blade: Align your body and stance parallel to the blade and cutting line. This positioning allows you to have a clear view of the cutting path and helps maintain control over the saw.
- Use Your Body Weight: Instead of relying solely on your arm strength, use your body weight to apply gentle pressure on the saw as you guide it through the material. This will help maintain stability and reduce fatigue.
- Avoid Overreaching: Ensure that you are positioned in a way that allows you to comfortably reach the cutting area. Avoid overreaching or extending your body too far, as this can compromise your balance and control.
- Focus on the Cutting Line: Keep your eyes focused on the cutting line and the blade’s path. This will help you make accurate cuts and avoid any potential obstacles or hazards.
- Take Breaks: If you’re working on a prolonged cutting task, take regular breaks to rest your arms and reevaluate your grip and stance. This will help prevent strain and maintain control over the circular saw.
Remember, practicing proper grip and stance not only ensures your safety but also allows for more accurate and controlled cutting. By following these guidelines, you can operate the Ryobi circular saw with confidence and minimize the risk of accidents.
Now that you have mastered proper grip and stance, we can move on to the next step: making straight cuts with the circular saw.
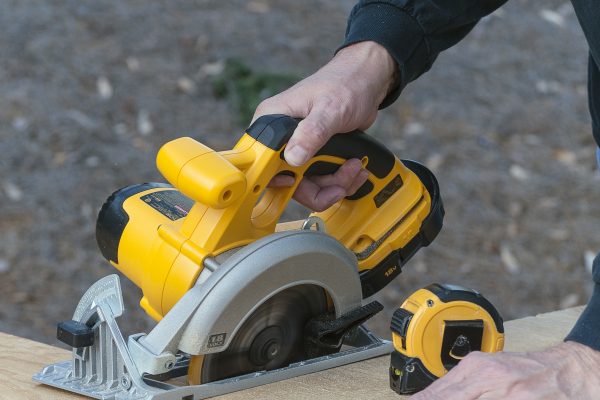
Step 6: Making Straight Cuts
Making straight cuts with the Ryobi circular saw is a fundamental skill that allows you to achieve precise and clean cuts in various materials. Follow these steps to ensure that your straight cuts are accurate and smooth:
- Mark the Cutting Line: Use a straight edge, measuring tape, and pencil to mark the precise location of the cut on your workpiece. This will serve as a visual guide for keeping the saw on track.
- Position the Saw: Align the blade of the circular saw with the cutting line. Ensure that the front edge of the base plate or shoe is flush against the edge of the material.
- Power On the Saw: If your circular saw has a safety lock or trigger lock, release it and squeeze the trigger to power on the saw. Wait for the blade to reach full speed before starting the cut.
- Start the Cut: With the saw blade aligned with the cutting line and positioned at the edge of the material, slowly lower the blade onto the workpiece. Use gentle pressure to guide the saw forward along the cutting line.
- Maintain Control and Stance: As you guide the saw forward, remember to maintain a stable grip and a proper stance. Keep your body aligned with the cutting line and focus on the path of the blade.
- Follow Through the Cut: Continue guiding the saw smoothly and steadily along the cutting line until you reach the end of the material. Avoid stopping or hesitating during the cut, as this can lead to uneven or jagged edges.
- Release the Trigger: Once you have completed the cut, release the trigger to power off the saw. Allow the blade to come to a complete stop before lifting it from the workpiece.
- Inspect the Cut: After making the straight cut, inspect the result to ensure that it is clean, straight, and meets your desired specifications. If necessary, use sandpaper or a file to smooth out any rough edges or imperfections.
- Clear the Work Area: Remove the cut piece from the work area and clear any debris or wood chips that may have accumulated. This will ensure a clean and safe workspace for your next cut.
By following these steps, you can confidently make straight cuts with your Ryobi circular saw. Remember to take your time, maintain control, and prioritize safety at all times. With practice, you will become more proficient in making precise and accurate straight cuts.
Now that you have mastered straight cuts, let’s move on to the next step: making bevel cuts with the circular saw.
Step 7: Making Bevel Cuts
Being able to make bevel cuts with your Ryobi circular saw opens up a world of possibilities for creating angled edges and joining pieces at different angles. Follow these steps to ensure that your bevel cuts are accurate and clean:
- Mark the Cutting Line: Use a straight edge and pencil to mark the precise location of the bevel cut on your workpiece. Ensure that the measurement is accurate and aligned with your desired angle.
- Adjust the Bevel Angle: Locate the bevel adjustment lever or knob on your Ryobi circular saw. Loosen the lever or unlock the knob and adjust the bevel angle to your desired setting. Common bevel angles are 45 degrees and 90 degrees.
- Lock the Bevel Adjustment: Once you have set the desired bevel angle, tighten the lever or lock the knob to secure the adjustment in place. This will ensure that the angle remains consistent during the cut.
- Position the Saw: Align the blade of the circular saw with the cutting line, taking into account the bevel angle. Ensure that the front edge of the base plate or shoe is flush against the edge of the material.
- Power On the Saw: If your circular saw has a safety lock or trigger lock, release it and squeeze the trigger to power on the saw. Wait for the blade to reach full speed before starting the bevel cut.
- Start the Bevel Cut: With the blade aligned with the cutting line and the bevel angle set, slowly lower the blade onto the workpiece. Use gentle pressure to guide the saw forward along the cutting line.
- Maintain Control and Stance: As you guide the saw forward, remember to maintain a stable grip and proper stance. Keep your body aligned with the cutting line and focus on the path of the blade as it follows the bevel angle.
- Follow Through the Cut: Continue guiding the saw smoothly and steadily along the cutting line until you reach the end of the material. Be mindful of the bevel angle and the resulting angled cut.
- Release the Trigger: Once you have completed the bevel cut, release the trigger to power off the saw. Allow the blade to come to a complete stop before lifting it from the workpiece.
- Inspect the Bevel Cut: After making the bevel cut, inspect the result to ensure that it meets your desired specifications. Check that the angle is accurate and the cut is clean and smooth.
- Clear the Work Area: Remove the cut piece from the work area and clear any debris or wood chips. This will ensure a clean and safe workspace for your next cut.
With practice and attention to detail, you can master the art of making bevel cuts with your Ryobi circular saw. Remember to adjust the bevel angle accurately and maintain control throughout the cut. As you become more familiar with the process, you can explore different bevel angles and create unique woodworking projects.
Now that you have learned how to make bevel cuts, let’s move on to the next step: maintaining and cleaning your circular saw for optimal performance and longevity.
Read more: What Size Blade Does A Ryobi Circular Saw
Step 8: Maintaining and Cleaning the Circular Saw
Proper maintenance and cleaning of your Ryobi circular saw will not only extend its lifespan but also ensure optimal performance. By following these steps, you can keep your saw in excellent working condition:
- Disconnect the Power: Before performing any maintenance tasks, always unplug the circular saw from the power source. This will prevent accidental starts and ensure your safety.
- Inspect the Blade: Regularly inspect the condition of the blade. Look for any signs of damage, such as chipped or dull teeth. Replace the blade if necessary, or have it sharpened by a professional if it’s still in good condition.
- Clean Dust and Debris: Use a brush or compressed air to remove any dust and debris that has accumulated in and around the saw. Pay attention to the openings, vents, blade guard, and base plate.
- Check the Base Plate: Inspect the base plate for any signs of damage or wear. Ensure that it is flat and free of dents or warping, as this can affect the accuracy of your cuts. Replace the base plate if needed.
- Lubricate Moving Parts: Apply a small amount of lubricating oil to the moving parts of the saw, such as the depth adjustment mechanism and the bevel adjustment knob. This will ensure smooth operation and prevent rust or corrosion.
- Inspect Cords and Connections: Check the power cord for any fraying or damage. Ensure that all connections are secure and free of any loose or exposed wires. If you notice any issues, have a qualified professional replace the cord or repair the connections.
- Store Properly: When not in use, store your circular saw in a clean and dry area, preferably in a protective case or on a shelf away from other tools and equipment. This will reduce the risk of damage and allow for easy access when needed.
- Follow Manufacturer’s Guidelines: Always refer to the manufacturer’s instructions and guidelines for specific maintenance tasks and recommended intervals. Different models and types of circular saws may have unique maintenance requirements.
By incorporating these maintenance practices into your routine, you can ensure that your Ryobi circular saw performs at its best and remains a reliable tool for all your woodworking projects. Regular maintenance not only prolongs the life of the saw but also enhances your safety while operating it.
Congratulations! You have completed all the steps to effectively and safely use your Ryobi circular saw. With your newfound knowledge, you can confidently tackle a wide range of woodworking projects with precision and ease. Remember to always prioritize safety and follow best practices when using power tools.
Now, go out there and let your creativity flourish with the help of your trusty Ryobi circular saw!
Conclusion
Congratulations on completing this comprehensive guide on using the Ryobi circular saw effectively and safely. By familiarizing yourself with the various components, setting up the work area, adjusting the cutting depth, selecting the right blade, maintaining proper grip and stance, making straight and bevel cuts, and maintaining and cleaning the saw, you have gained the knowledge and skills to confidently take on woodworking projects.
Remember, safety is paramount when using power tools like the Ryobi circular saw. Always wear appropriate safety gear, maintain a clear and organized work area, and follow the manufacturer’s instructions and safety guidelines. By prioritizing safety, you can prevent accidents and create a conducive environment for your woodworking endeavors.
The Ryobi circular saw offers versatility and precision, allowing you to make straight cuts and bevel cuts in a variety of materials with ease. Take time to practice and refine your skills, and don’t be afraid to experiment and explore new possibilities with your saw.
Proper maintenance and cleaning of your circular saw will ensure its longevity and optimal performance. Regularly inspect the blade, clean dust and debris, lubricate moving parts, and store the saw properly. By caring for your Ryobi circular saw, you can enjoy years of reliable use and consistently excellent results.
Now, armed with the knowledge and skills gained from this guide, it’s time to unleash your creativity and embark on exciting woodworking projects. Whether you’re building furniture, crafting decorative items, or tackling home improvement tasks, the Ryobi circular saw will be your trusted companion.
Remember to practice patience, precision, and a commitment to safety as you embark on your woodworking journey. With each project, your skills will grow, and your confidence will soar. Enjoy the satisfaction of bringing your ideas to life with the help of your Ryobi circular saw!
Frequently Asked Questions about How To Use Ryobi Circular Saw
Was this page helpful?
At Storables.com, we guarantee accurate and reliable information. Our content, validated by Expert Board Contributors, is crafted following stringent Editorial Policies. We're committed to providing you with well-researched, expert-backed insights for all your informational needs.


0 thoughts on “How To Use Ryobi Circular Saw”