Articles
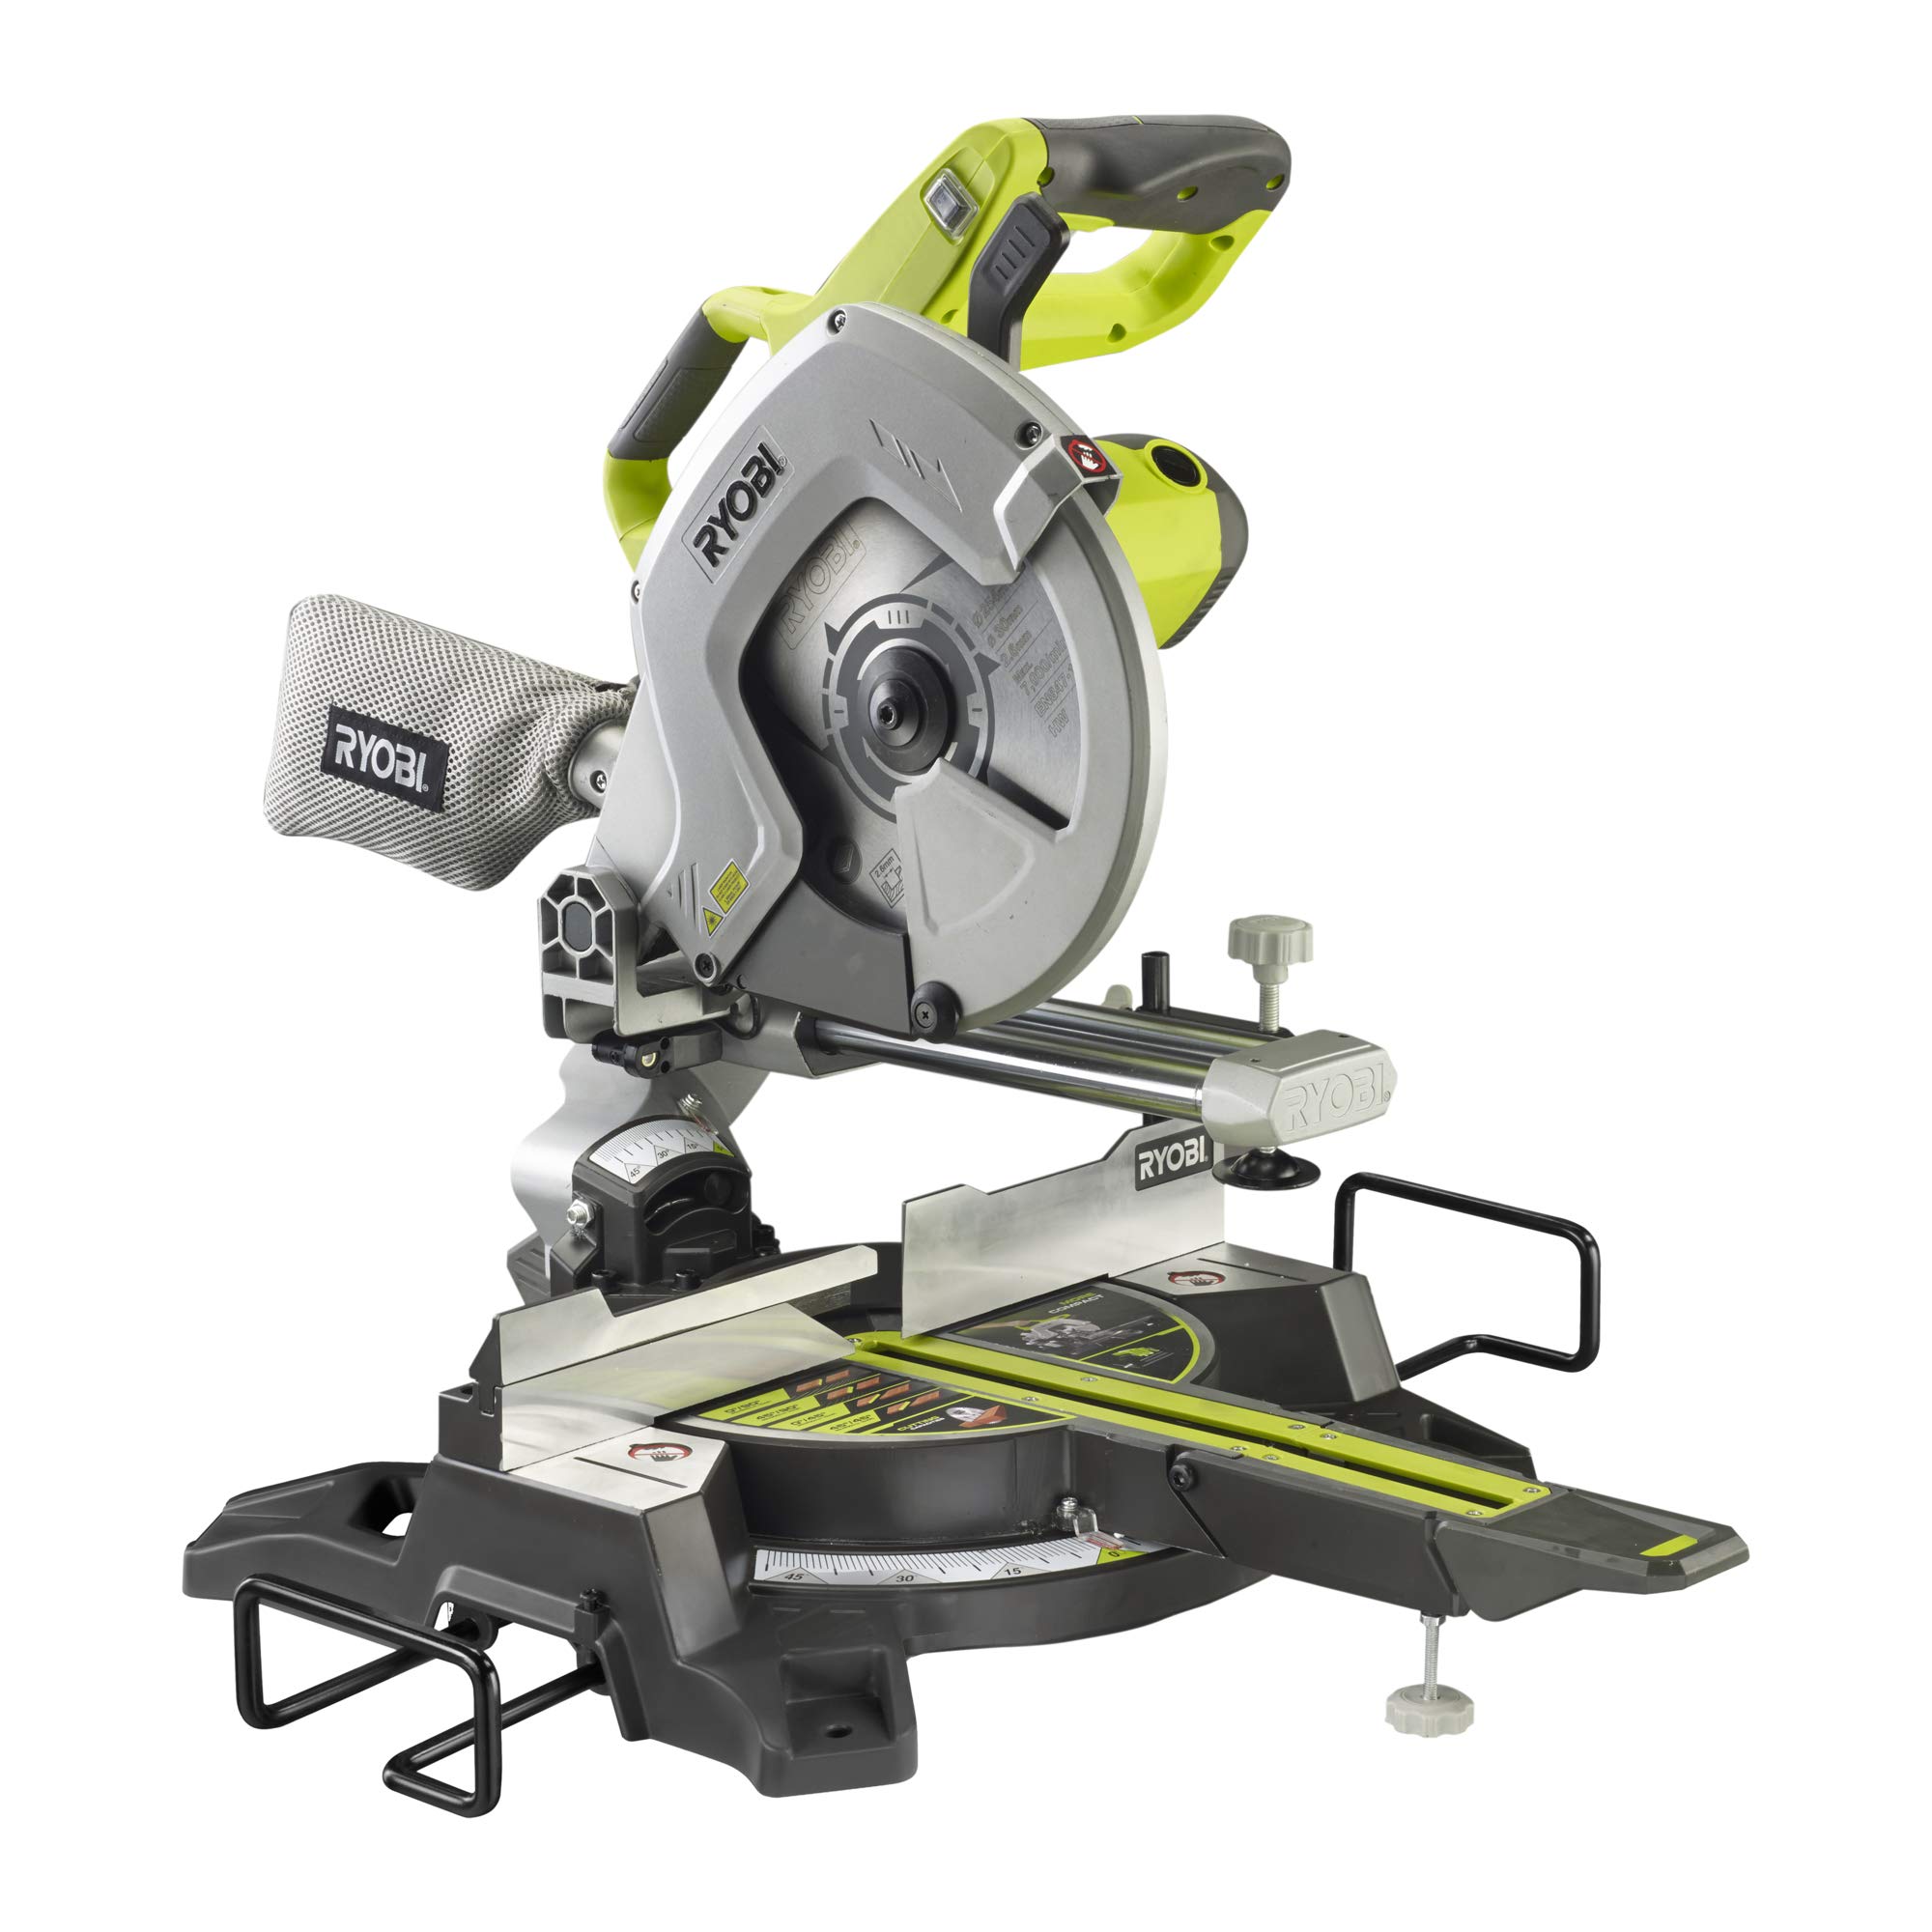
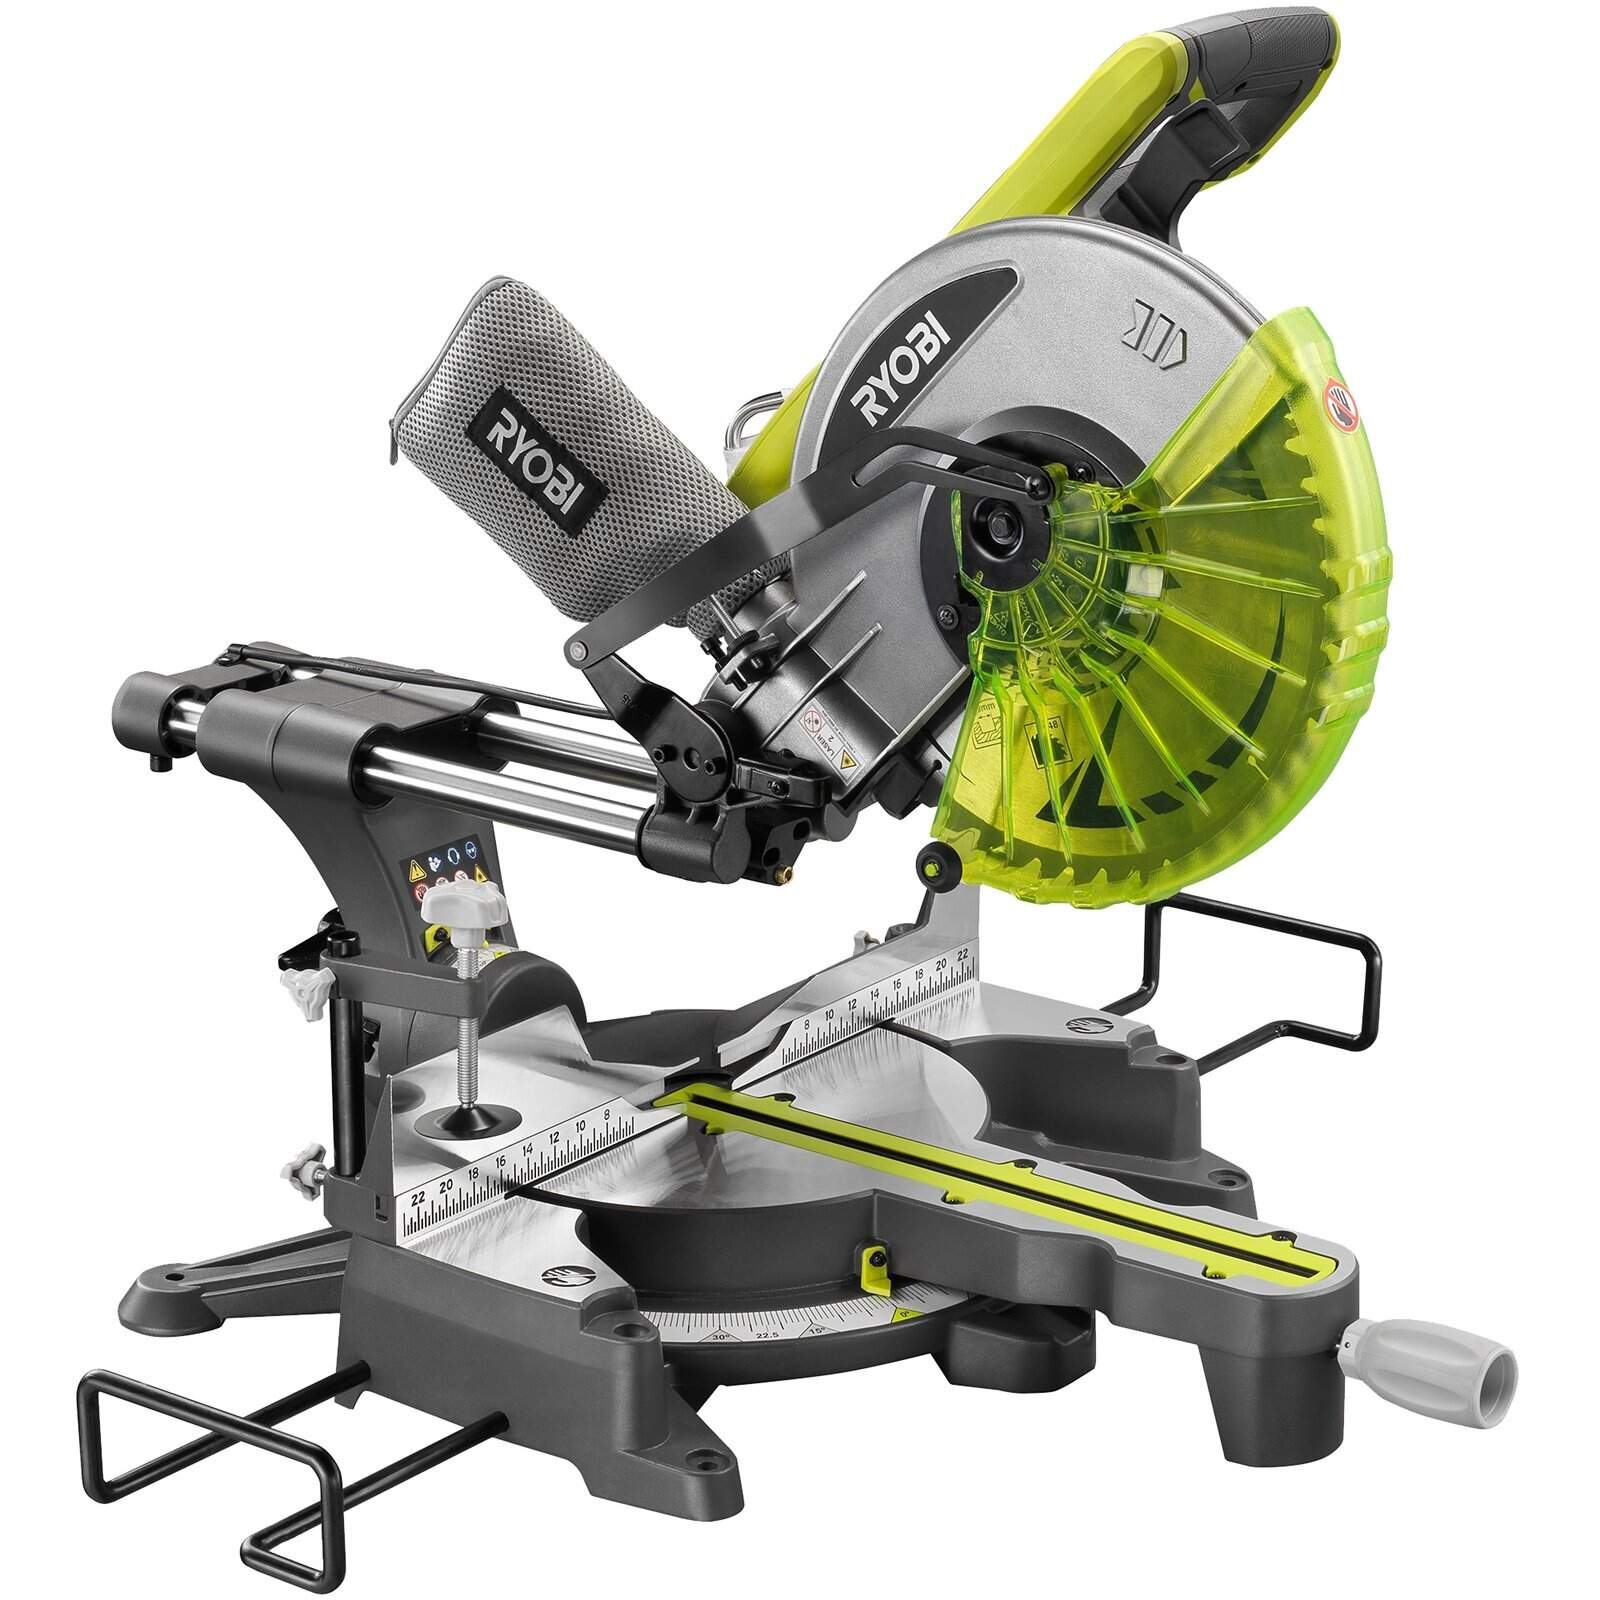
How To Replace Blade On Ryobi Circular Saw
Modified: May 6, 2024
Learn how to easily replace the blade on your Ryobi circular saw with our step-by-step articles. Upgrade your sawing experience today!
(Many of the links in this article redirect to a specific reviewed product. Your purchase of these products through affiliate links helps to generate commission for Storables.com, at no extra cost. Learn more)
Introduction
Welcome to this comprehensive guide on how to replace the blade on a Ryobi Circular Saw. Whether you’re a DIY enthusiast or a professional carpenter, knowing how to properly replace the blade on your circular saw is essential for maintaining its performance and ensuring the safety of your work. In this article, we will walk you through the step-by-step process of replacing the blade on a Ryobi Circular Saw, providing you with valuable insights and tips along the way.
As with any power tool, it is important to prioritize safety when working with a circular saw. Before diving into the replacement process, let’s take a moment to go over some important safety precautions that should be followed at all times.
Key Takeaways:
- Prioritize safety by wearing protective gear, disconnecting power, and inspecting the saw before replacing the blade. Following these precautions ensures a smooth and accident-free maintenance process.
- Having the right tools and materials, along with following the step-by-step guide, allows for a confident and successful blade replacement on your Ryobi Circular Saw. Regular inspection and maintenance will keep your saw in optimal condition.
Read more: How To Put A Blade On Ryobi Circular Saw
Safety Precautions
Working with power tools, including circular saws, can be potentially hazardous if not done with caution. Here are some important safety precautions to keep in mind before replacing the blade on your Ryobi Circular Saw:
- Always wear appropriate personal protective equipment (PPE), including safety goggles, ear protection, and gloves. This will help protect you from flying debris and potential injuries.
- Ensure that the circular saw is powered off and unplugged before attempting to replace the blade. Disconnecting the power source prevents accidental starts and potential injuries.
- Inspect the saw and blade for any signs of damage or defects. Do not attempt to replace the blade if there are any issues. Instead, consult a professional or contact the manufacturer for assistance.
- Keep your work area clean and free of clutter. Make sure there is adequate lighting to see clearly during the blade replacement process.
- Always work on a stable and flat surface. This will prevent the circular saw from wobbling or tipping over during the blade replacement.
- Be mindful of the direction of the saw’s blade rotation. Ensure that the replacement blade is properly installed with the teeth pointing in the correct direction to avoid kickback.
- Use locking mechanisms or blade changing tools provided by the manufacturer to secure the saw and prevent any accidental movements during the blade replacement.
- Do not rush the process. Take your time and follow the instructions carefully. It is better to spend a few extra minutes ensuring the blade is properly replaced than risking injuries or accidents.
- After replacing the blade, double-check that all the components are securely tightened and that there are no loose parts.
- If you are unsure or uncomfortable with any part of the blade replacement process, seek assistance from a qualified professional or consult the user manual provided by the manufacturer.
By following these safety precautions, you can minimize the risk of accidents and ensure a safe working environment while replacing the blade on your Ryobi Circular Saw.
Tools and Materials Needed
Before you begin the process of replacing the blade on your Ryobi Circular Saw, gather the following tools and materials:
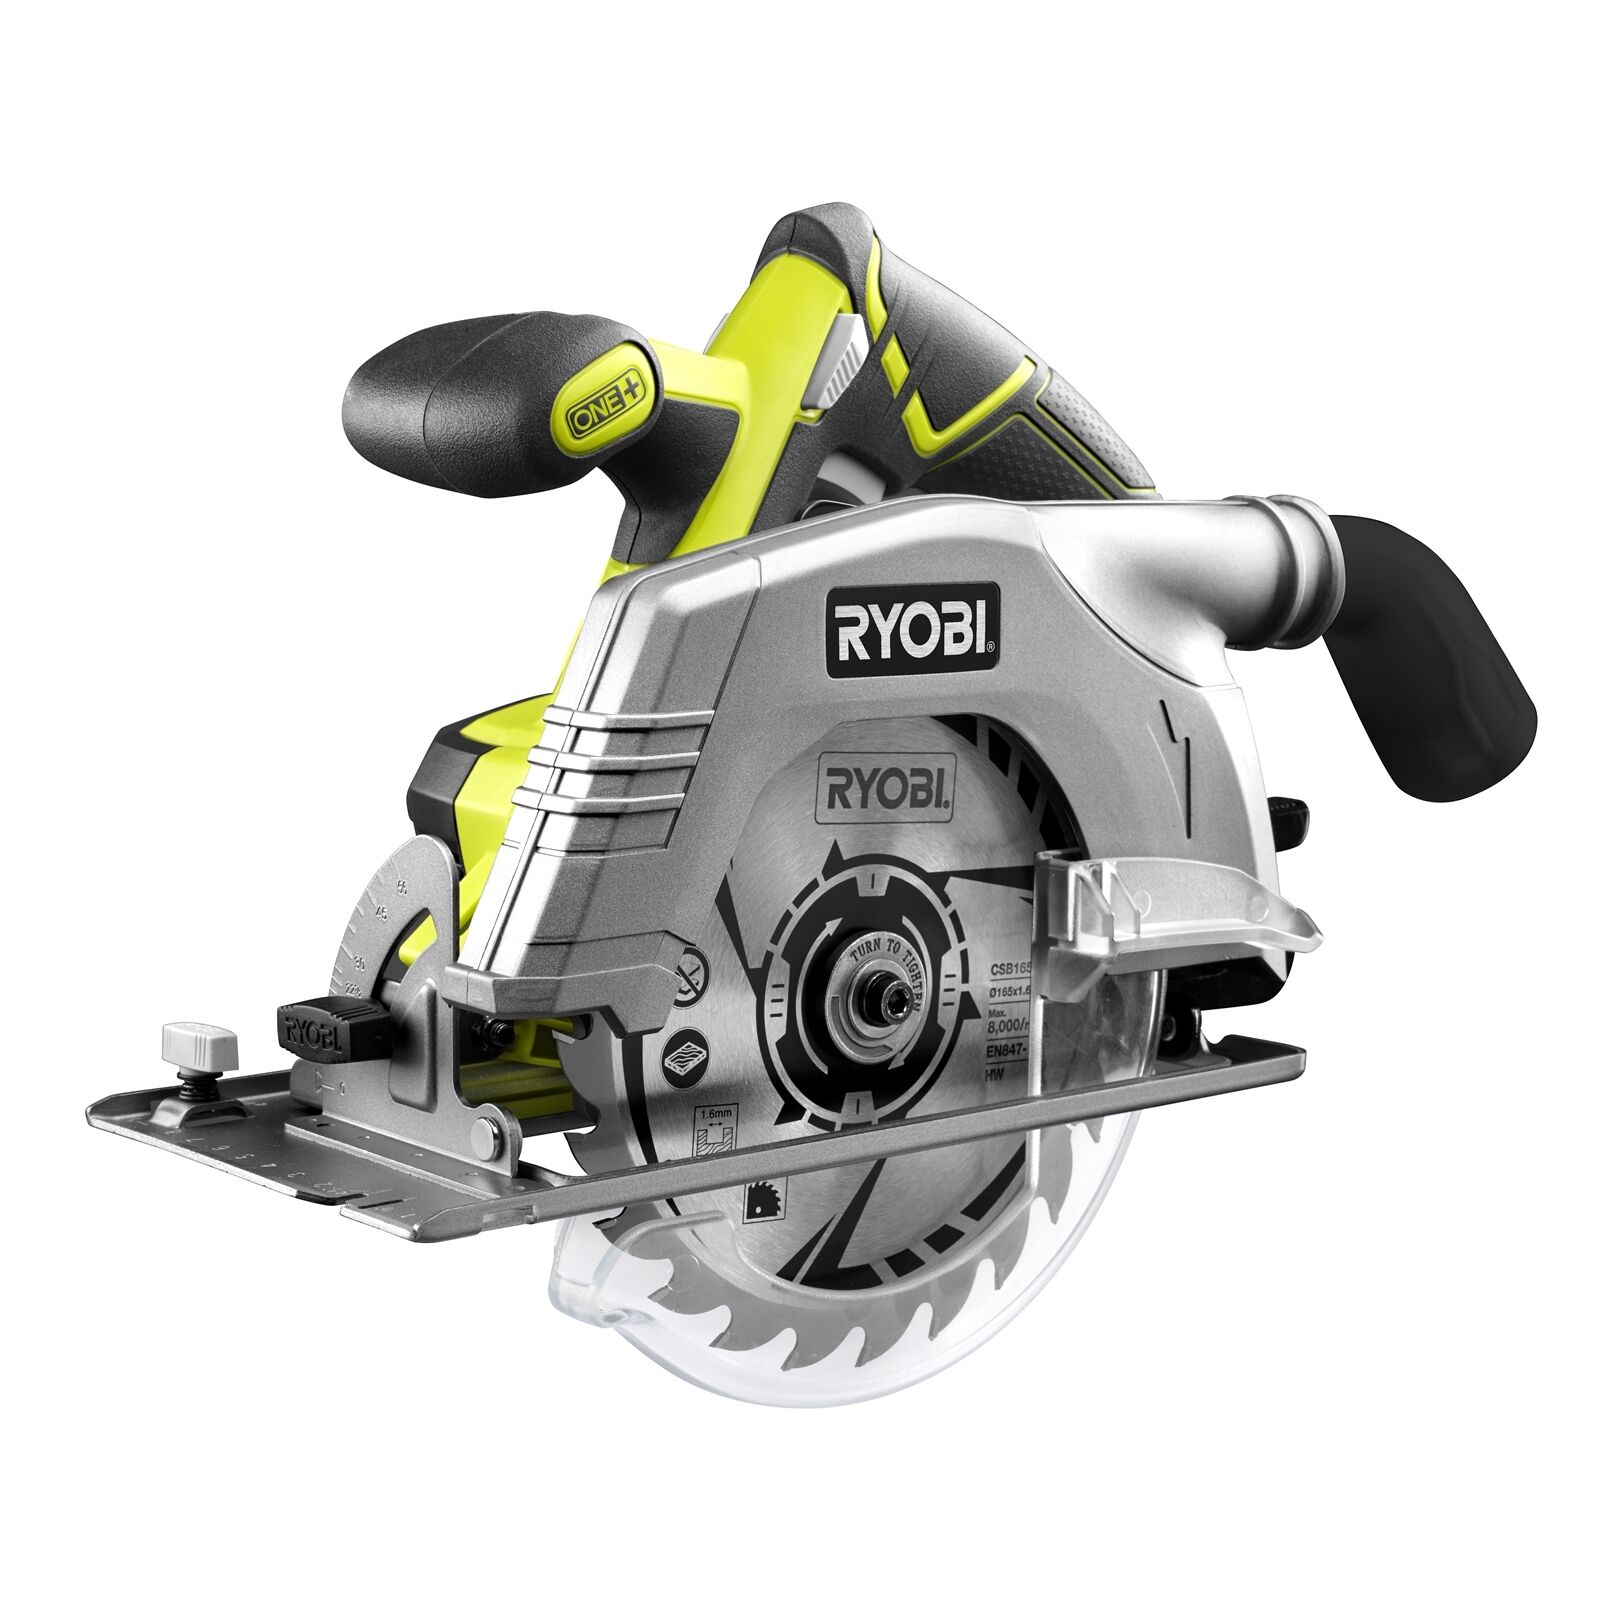
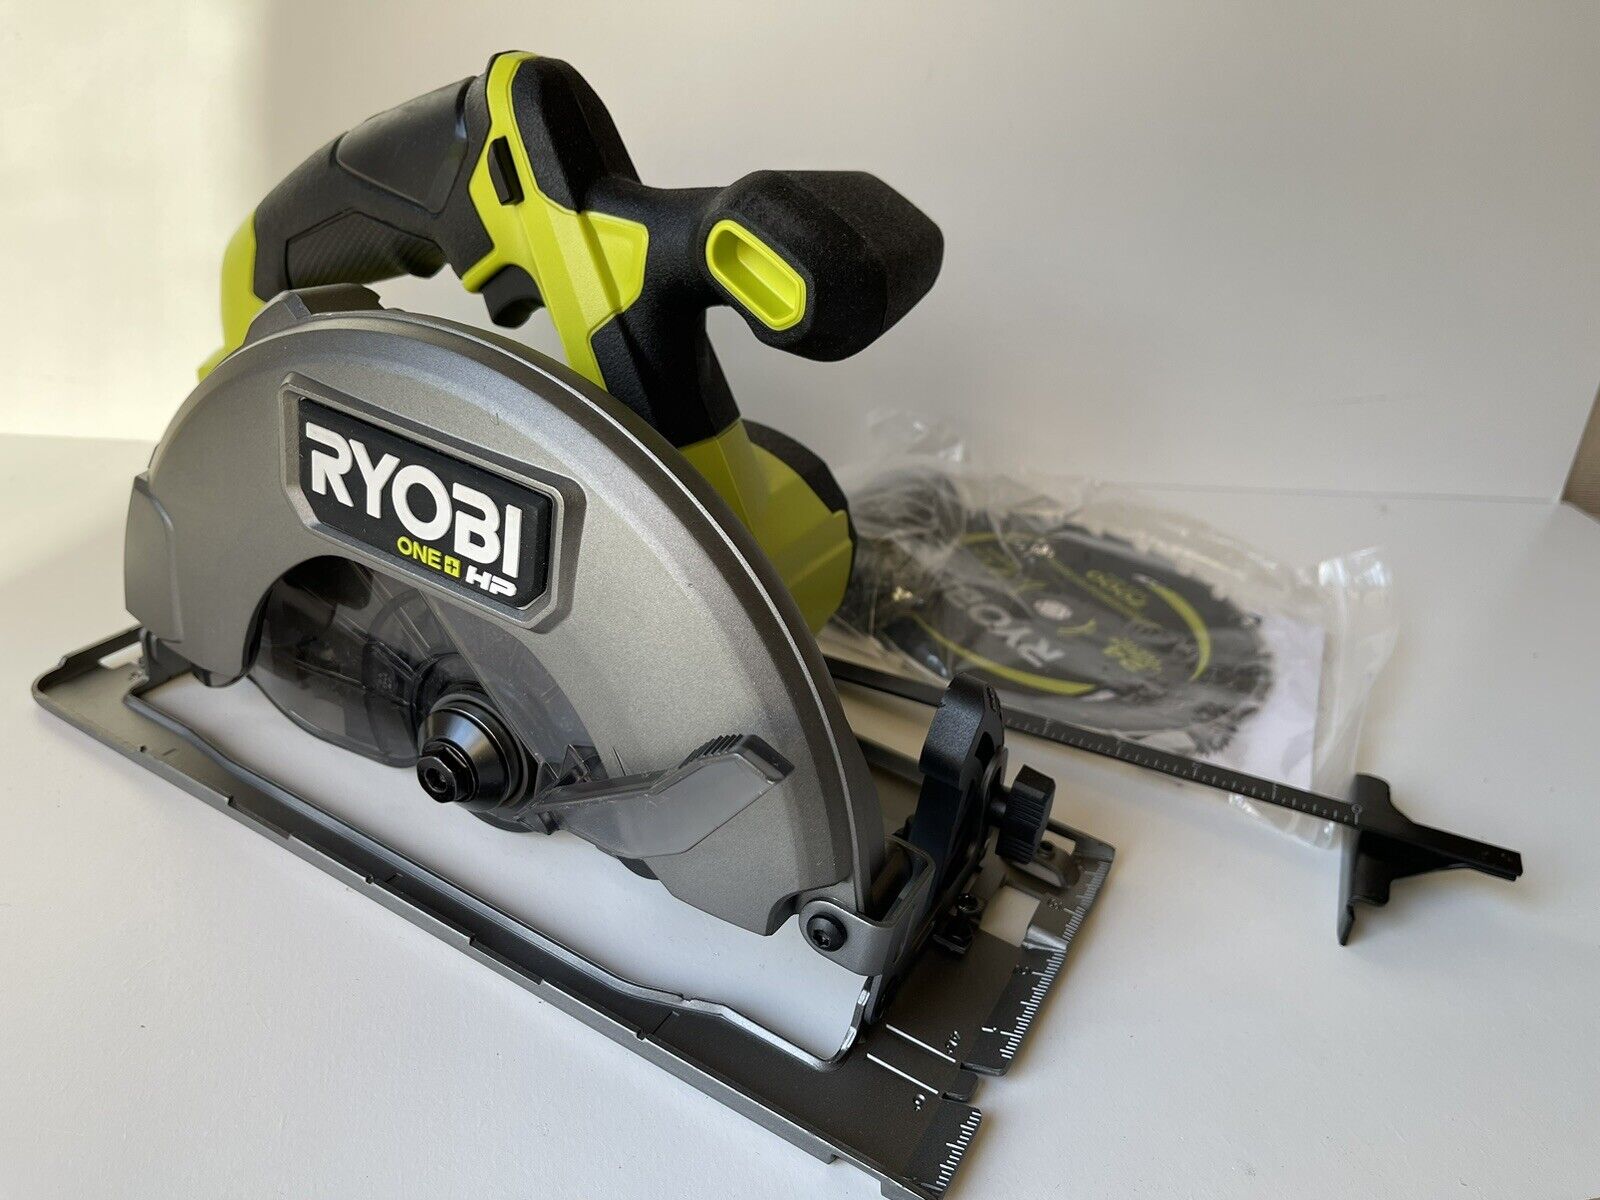
- Ryobi Circular Saw (model-specific)
- New replacement blade compatible with your Ryobi Circular Saw
- Safety goggles
- Ear protection
- Gloves
- Flathead screwdriver
- Allen wrench (provided with the saw or compatible size)
- Permanent marker
- Clean cloth or paper towel
Having these tools and materials on hand will ensure a smoother replacement process and minimize any potential interruptions. Make sure that the replacement blade you obtain is compatible with your specific model of Ryobi Circular Saw. Consult the user manual or refer to the manufacturer’s website for guidance on the correct blade size and type.
Step 1: Prepare the Circular Saw
Before diving into the actual blade replacement process, it is important to properly prepare your Ryobi Circular Saw. Follow these steps to ensure a smooth and efficient blade replacement:
- Position the circular saw on a flat and stable surface, such as a workbench or table. This will provide you with a secure base for the replacement process and prevent any accidental movements.
- Make sure the saw is powered off and unplugged from the power source. This is crucial for your safety and prevents any accidental start-ups during the blade replacement.
- Inspect the saw and blade for any signs of damage, wear, or defects. If you notice any issues, do not proceed with the blade replacement. Consult a professional or contact the manufacturer for assistance.
- Using a clean cloth or paper towel, wipe off any dust or debris from the surface of the saw. This will help maintain the cleanliness of the saw and prevent any potential interference during the blade replacement.
- If the saw has a blade guard, check to ensure that it is properly functioning and in good condition. The blade guard is an important safety feature that helps protect your hand from coming into contact with the blade. If the blade guard is damaged or not working correctly, seek professional assistance before proceeding further.
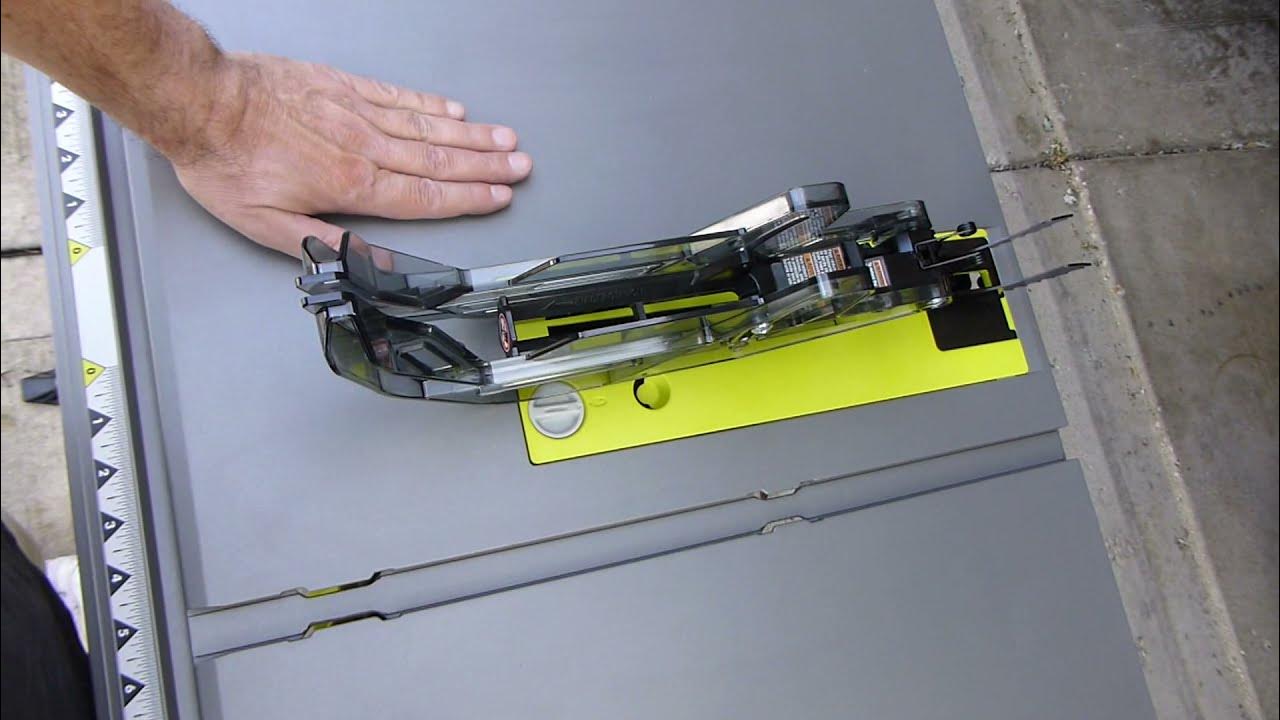
- Locate the blade changing mechanism on your Ryobi Circular Saw. The exact location may vary depending on the model. Consult the user manual if you are unsure where to find it.
Once you have completed these steps, you are now ready to move on to the next step of disconnecting power and removing the old blade. Stay tuned for the next section to learn how to safely complete this process.
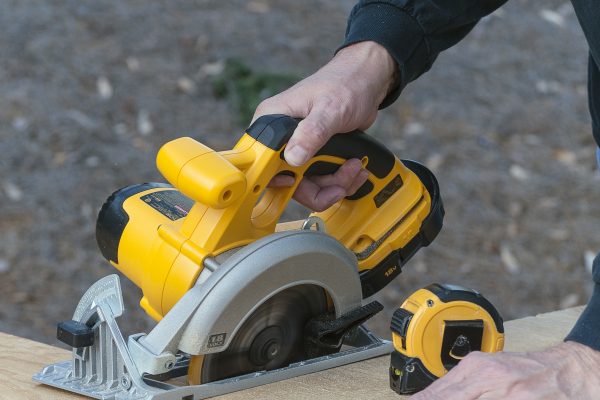
When replacing the blade on a Ryobi circular saw, always unplug the saw first for safety. Use the provided wrench to loosen the arbor nut, then carefully remove and replace the blade, ensuring it is installed in the correct direction. Tighten the arbor nut securely before use.
Step 2: Disconnect Power and Remove the Old Blade
Now that you have prepared the circular saw, it’s time to disconnect the power and remove the old blade. Follow these steps carefully:
- Double-check that the circular saw is powered off and unplugged from the power source. Safety should always be the top priority when working with power tools.
- Locate the blade changing mechanism on your Ryobi Circular Saw. It is usually located near the blade housing or on the side of the saw. Refer to the user manual or consult the manufacturer’s website if you are unsure.
- Using the appropriate tool, such as a flathead screwdriver or the provided Allen wrench, loosen the blade holding screw by turning it counterclockwise. It may require some force, so make sure to use a firm grip on the tool.
- Once the blade holding screw is sufficiently loosened, use your hand or a wrench to remove it completely. Keep the screw in a safe place to avoid misplacing it.
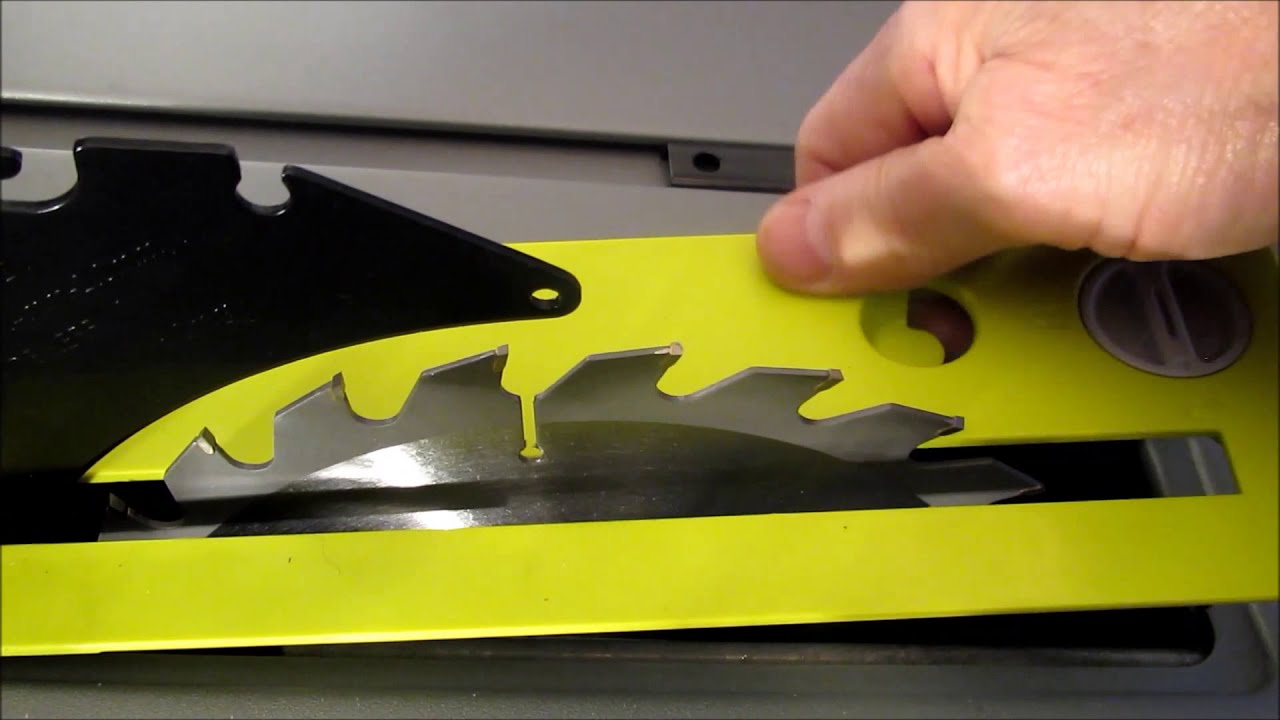
- Now, carefully remove the old blade from the circular saw. Pay attention to the orientation and positioning of the blade as you remove it to ensure proper alignment when installing the new blade.
- Inspect the blade arbor, which is the central shaft that the blade mounts onto. Make sure it is clean and free of any debris or obstructions that may affect the installation of the new blade.
- If necessary, take a moment to clean the blade arbor using a clean cloth or compressed air. This will help ensure a secure and stable installation of the new blade.
With the old blade removed, you have completed the second step of the blade replacement process. In the next section, we will guide you through the installation of the new blade on your Ryobi Circular Saw.
Read more: What Size Blade Does A Ryobi Circular Saw
Step 3: Install the New Blade
Now that you have removed the old blade, it’s time to install the new blade onto your Ryobi Circular Saw. Follow these steps carefully:
- Take the new replacement blade and inspect it for any signs of damage or defects. Ensure that it is compatible with your specific model of Ryobi Circular Saw by referring to the user manual or the manufacturer’s website.
- Place the new blade onto the blade arbor, aligning the center hole of the blade with the arbor shaft. Make sure the teeth of the blade are facing in the correct direction, as indicated by an arrow on the blade. This arrow should point in the direction of the saw’s rotation.
- Once the blade is properly positioned, carefully thread the blade holding screw into the arbor shaft. Start by turning it clockwise by hand to ensure it is properly engaged.
- Using the appropriate tool, such as a flathead screwdriver or the provided Allen wrench, tighten the blade holding screw firmly. Ensure that it is securely fastened to prevent any wobbling or movement of the blade during operation.
- Double-check that the new blade is properly aligned and securely mounted on the arbor shaft. Gently shake the blade to ensure it does not come loose or move excessively.
You have successfully installed the new blade onto your Ryobi Circular Saw. Now, let’s move on to the final step of reconnecting the power and testing the saw to make sure everything is in working order.
Step 4: Reconnect Power and Test the Saw
With the new blade securely installed, it’s time to reconnect the power and test your Ryobi Circular Saw to ensure everything is functioning correctly. Follow these steps:
- Double-check that the circular saw is placed on a stable surface and the work area is clear of any obstructions.
- Plug the circular saw back into the power source and ensure it is securely connected.
- Put on your safety goggles and ear protection to protect yourself from any flying debris or noise.
- Turn on the power switch of the saw to activate it.
- Allow the saw to run for a few moments to ensure the motor is running smoothly and there are no strange noises or vibrations.
- Check the rotation of the new blade to make sure it is rotating in the correct direction. Verify that the teeth are engaging properly and there is no wobbling or misalignment.
- If everything appears to be functioning properly, turn off the saw and unplug it from the power source.
Congratulations! You have successfully replaced the blade on your Ryobi Circular Saw. Now you can confidently continue with your woodworking tasks, knowing that your saw is in optimal condition.
Remember to always follow safety precautions when using power tools and regularly inspect your saw and blade for any signs of damage or wear. This will ensure both your safety and the longevity of your tools.
Thank you for following this guide on how to replace the blade on a Ryobi Circular Saw. We hope you found it informative and helpful. Happy sawing!
Conclusion
Replacing the blade on your Ryobi Circular Saw is a necessary maintenance task that ensures the tool’s performance and your safety. By following the step-by-step guide outlined in this article, you can easily and safely replace the blade and have your saw ready for the next woodworking project.
Remember to always prioritize safety by wearing appropriate personal protective equipment and disconnecting the power source before starting any maintenance work. Take the time to prepare and inspect your saw before proceeding with the blade replacement process.
Having the right tools and materials on hand is essential for a smooth and successful blade replacement. Make sure to use a new replacement blade that is compatible with your specific model of Ryobi Circular Saw.
By following the detailed steps provided, including disconnecting power, removing the old blade, installing the new blade, and reconnecting power to test the saw, you can confidently complete the blade replacement process.
Regularly inspect your saw and blade for any signs of damage or wear, and consult the user manual or manufacturer’s website for any specific instructions or precautions that may apply to your particular model.
We hope this comprehensive guide has been informative and helpful in guiding you through the process of replacing the blade on your Ryobi Circular Saw. Now, armed with this knowledge, you can maintain the performance and effectiveness of your circular saw for years to come.
Happy sawing and stay safe!
Now that you've mastered changing blades on your Ryobi circular saw, why not expand your DIY skills further? Our next article delves into selecting ideal power tools to complement your toolkit. From drills to sanders, we cover essentials that can transform any home project. Check out our recommendations and ensure you're equipped with the best tools for any task!
Frequently Asked Questions about How To Replace Blade On Ryobi Circular Saw
Was this page helpful?
At Storables.com, we guarantee accurate and reliable information. Our content, validated by Expert Board Contributors, is crafted following stringent Editorial Policies. We're committed to providing you with well-researched, expert-backed insights for all your informational needs.


0 thoughts on “How To Replace Blade On Ryobi Circular Saw”