Articles
How To Replace Gas Stove Top Igniter
Modified: October 20, 2024
Learn how to easily replace the gas stove top igniter with our informative articles. Get step-by-step instructions and expert tips for a quick and efficient fix.
(Many of the links in this article redirect to a specific reviewed product. Your purchase of these products through affiliate links helps to generate commission for Storables.com, at no extra cost. Learn more)
Introduction
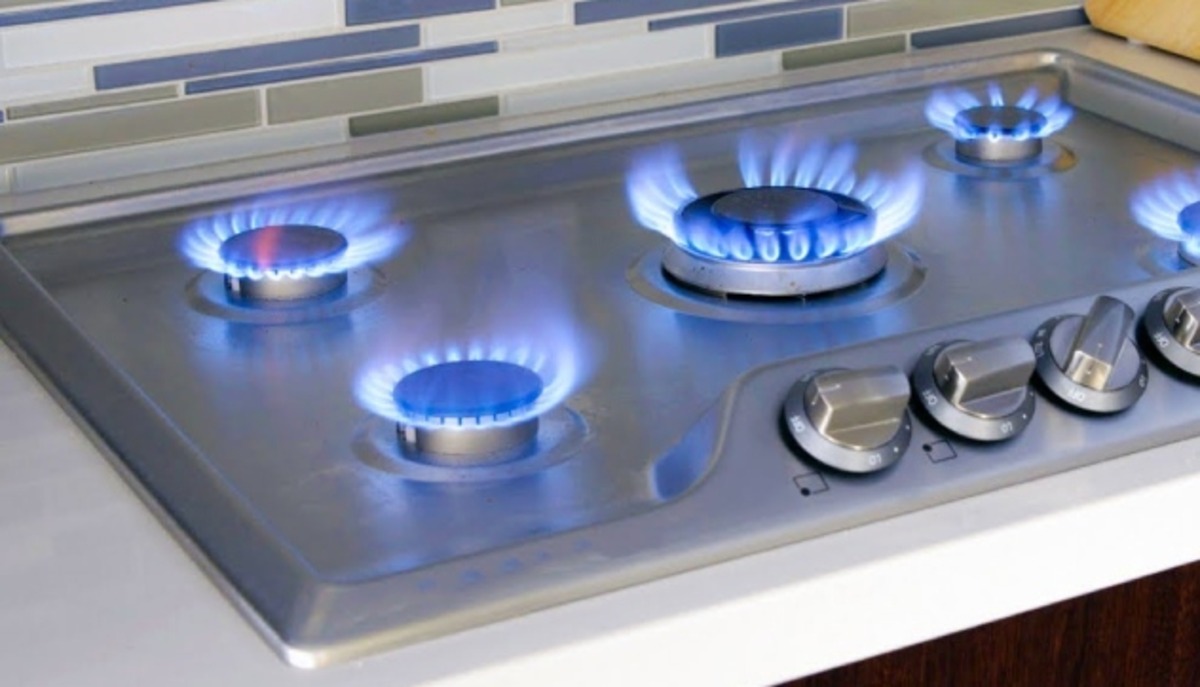
Having trouble with your gas stove top igniter? Don’t worry, you’re not alone. Igniters can wear out over time and eventually stop working, leaving you unable to light your gas burners. Thankfully, replacing a gas stove top igniter is a relatively simple process that can be done with a few basic tools and some patience.
In this article, we will guide you through the step-by-step process of replacing a gas stove top igniter. Whether you’re a seasoned DIY enthusiast or a novice, you’ll find these instructions easy to follow and implement. Rest assured, by the end of this article, you’ll have your gas stove top igniter functioning like new.
Before starting any work, it’s important to prioritize your safety. Make sure to follow recommended safety precautions and take necessary measures to prevent accidents. Additionally, if you’re not confident in your ability to perform the tasks described, it’s advisable to seek professional assistance.
Now, let’s gather our tools and materials and get started on replacing your gas stove top igniter.
Key Takeaways:
- Safety First!
When replacing a gas stove top igniter, prioritize safety by turning off the gas supply, wearing protective gear, and keeping a fire extinguisher nearby. Following safety precautions ensures a smooth and secure replacement process. - DIY Made Easy
With the right tools and step-by-step guidance, replacing a gas stove top igniter is a manageable DIY task. By following the instructions and taking necessary safety measures, you can have your stove functioning like new in no time.
Read more: How To Replace A Gas Cooktop
Tools and Materials Required
Before you begin replacing your gas stove top igniter, it’s important to have the necessary tools and materials on hand. This will ensure a smooth and efficient process. Here’s a list of what you’ll need:
- Flathead screwdriver
- Phillips screwdriver
- Adjustable wrench
- Needle-nose pliers
- New gas stove top igniter
- Gloves
- Safety goggles
These tools and materials will help you safely and effectively remove the old igniter and install the new one without any issues. It’s always a good idea to gather everything you need prior to starting the project to avoid any unnecessary delays or complications.
Remember, safety should always be your top priority, so be sure to wear gloves and safety goggles throughout the process to protect yourself from any potential hazards.
Once you have all the necessary tools and materials ready, let’s proceed to the next step, where we’ll discuss important safety precautions to take before diving into the actual replacement process.
Step 1: Safety Precautions
When working with gas appliances, safety should always be your primary concern. Before you begin replacing the gas stove top igniter, it’s crucial to take the following safety precautions:
- Turn off the gas supply: Locate the gas shut-off valve, usually located behind or near the stove. Turn the valve to the “Off” position to cut off the gas supply.
- Ensure proper ventilation: Open windows or provide adequate ventilation in the area where you’ll be working. This will help to dissipate any lingering gas fumes.
- Wear protective gear: Put on gloves and safety goggles to protect yourself from potential injuries or accidents.
- Keep a fire extinguisher nearby: Have a fire extinguisher within reach in case of emergency. It’s always best to be prepared for any unforeseen circumstances.
By following these safety precautions, you’ll minimize the risks associated with working on a gas stove top. Taking these necessary steps will help ensure your well-being throughout the entire process.
Once you’ve taken all the necessary safety measures, it’s time to move on to the next step: turning off the gas supply.
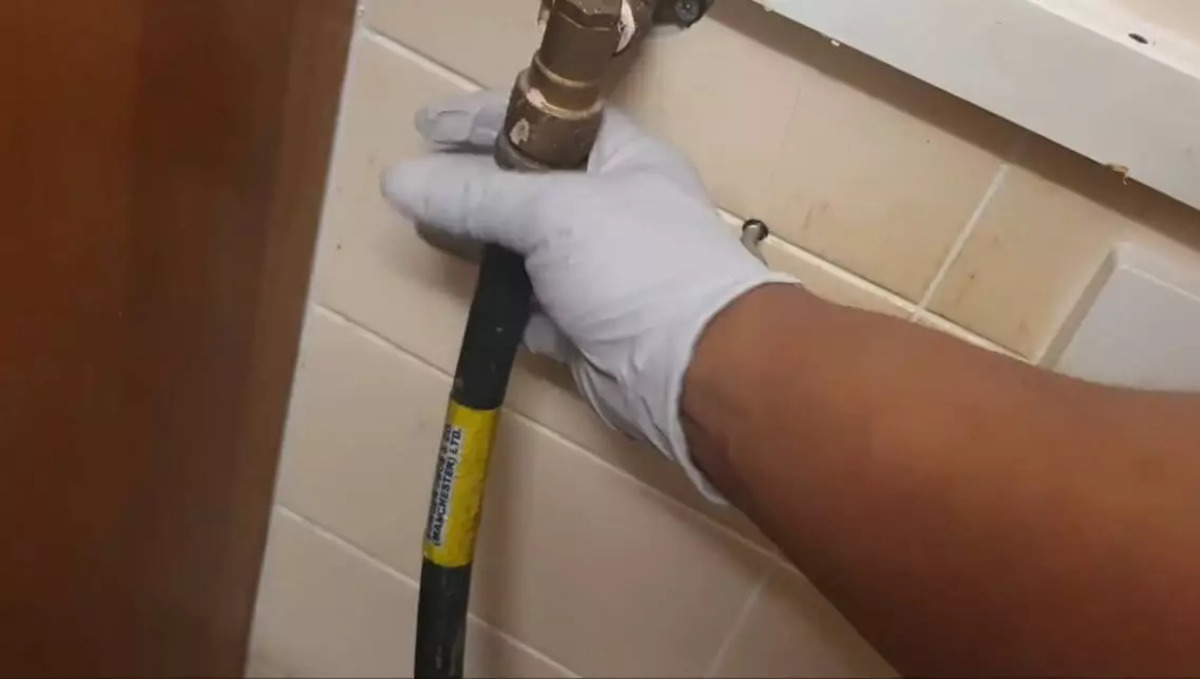
Step 2: Turn off the Gas Supply
Before you proceed with any work on the gas stove top igniter, it’s crucial to turn off the gas supply to ensure your safety. Here’s how you can do it:
- Locate the gas shut-off valve: The gas shut-off valve is typically located behind or near the stove. It may be a lever, a knob, or a dial. Look for a valve labeled “Gas Supply” or “Gas Shut-Off”.
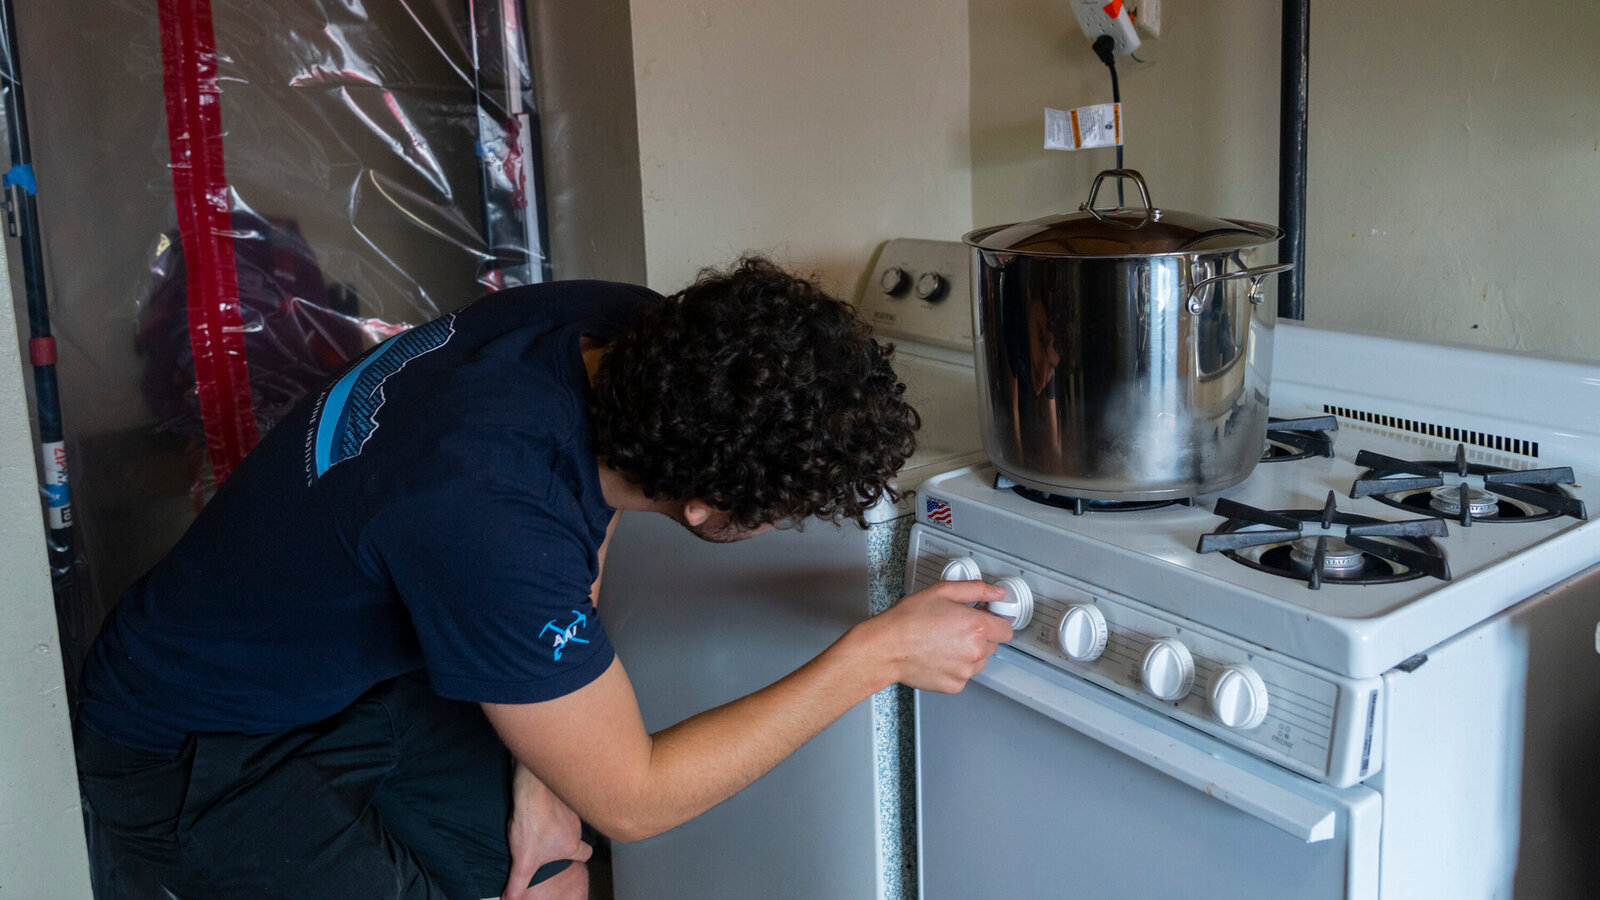
- Turn the valve to the “Off” position: Using a wrench or your hand, turn the valve clockwise until it is completely closed. This will cut off the supply of gas to the stove top.
- Double-check the gas supply: After turning off the valve, test the stove burners to ensure that there is no gas flow. Attempt to light a burner to verify that it doesn’t ignite. If the burner does light up, immediately shut off the gas supply and seek professional assistance.
Turning off the gas supply is a critical step as it prevents any accidental ignition or gas leaks while you work on replacing the igniter. It’s essential to take your time and ensure that the valve is completely closed.
Once you have confirmed that the gas supply is turned off, you’re ready to move on to the next step: accessing the igniter assembly. Remember to always prioritize safety and proceed with caution throughout the entire process.
Step 3: Access the Igniter Assembly
Now that you’ve turned off the gas supply, you can proceed to access the igniter assembly. Follow the steps below to gain access to the igniter:
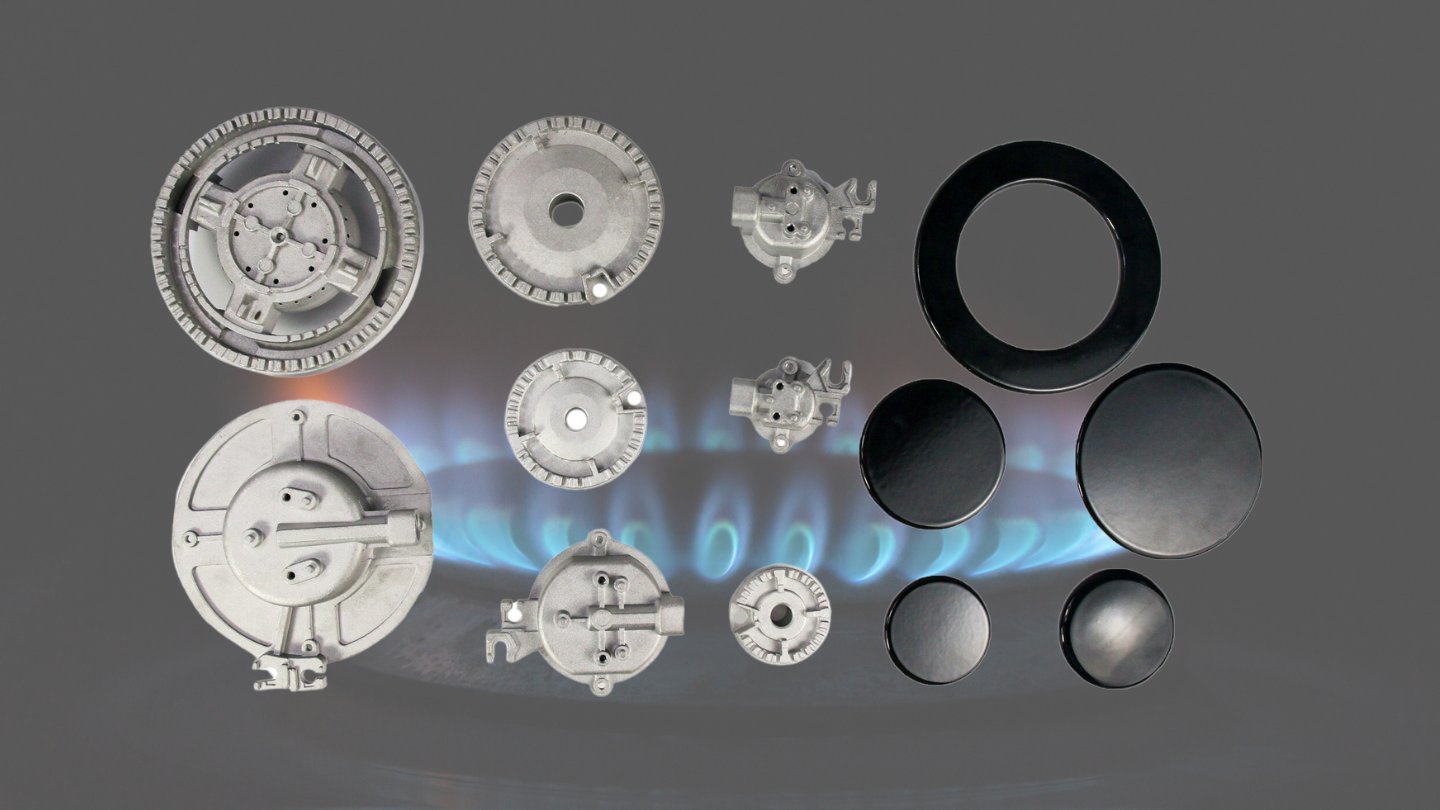
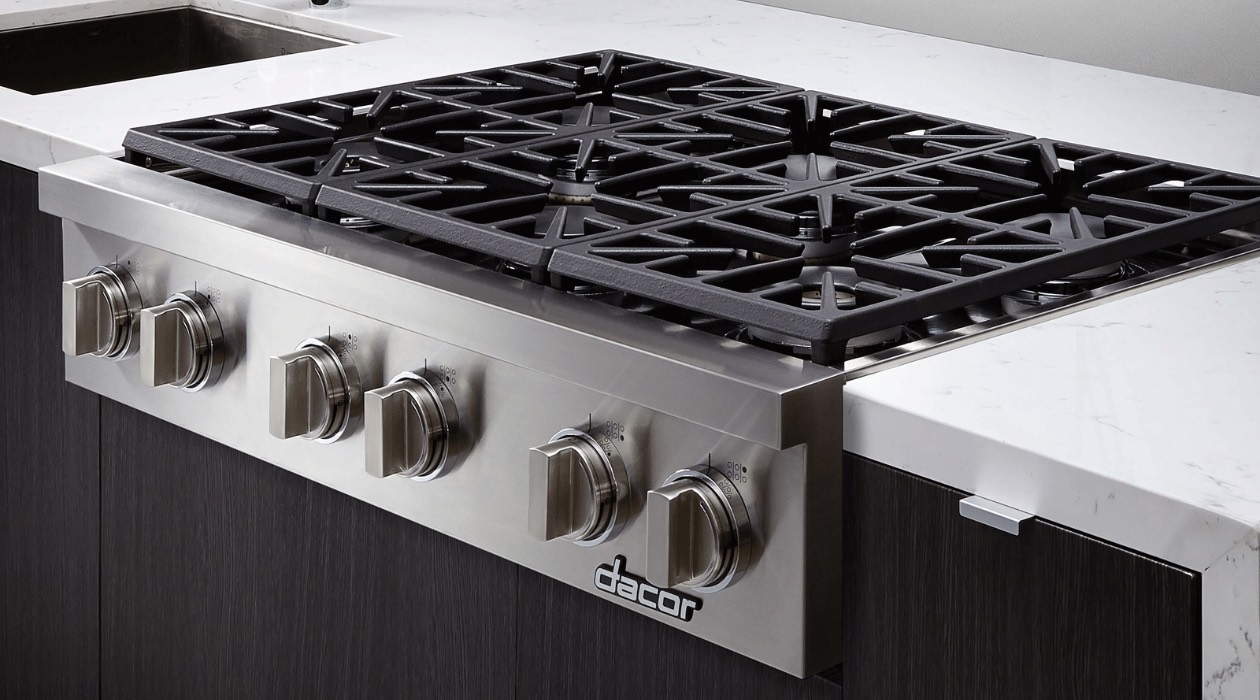
- Remove the burner grates: Lift the burner grates off the stove top and set them aside. Be careful not to damage them in the process.
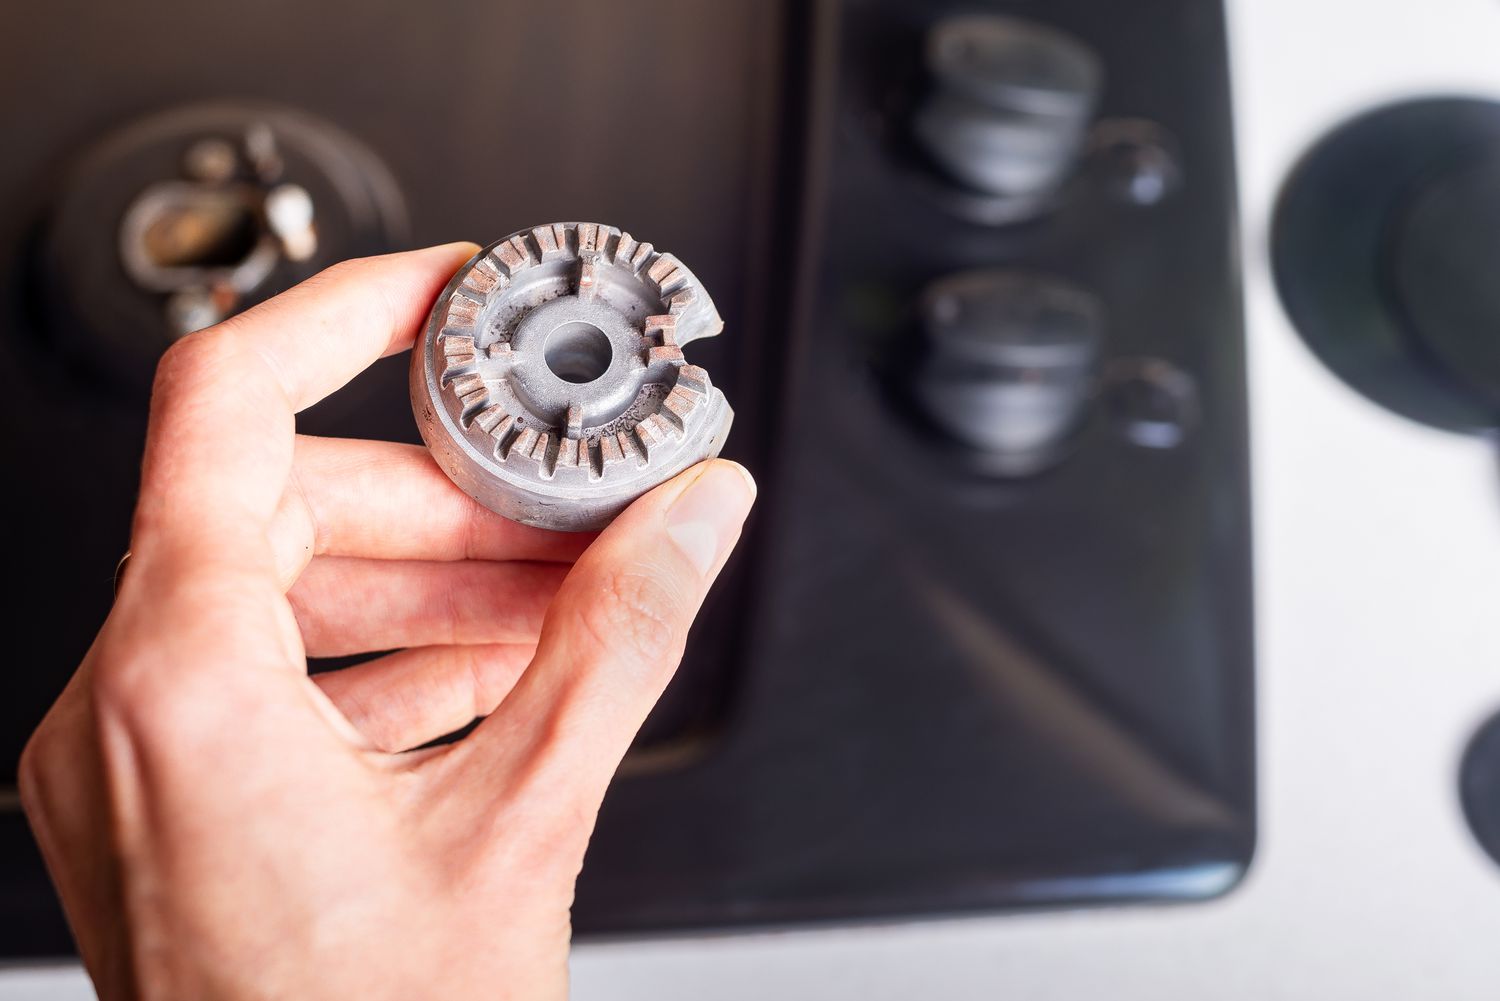
- Remove the burner caps: Gently lift the burner caps off each burner and set them aside. These caps usually just sit on top of the burners and can be easily lifted.
- Locate the screws or clips: Look for screws or clips that secure the burner heads to the stove top. Depending on the model of your gas stove, there may be one or multiple screws or clips holding each burner in place.
- Remove the screws or unclip the burner heads: Use a screwdriver or your fingers to unscrew the screws or unclip the burner heads. Keep the screws or clips in a safe place so that they don’t get misplaced.
- Lift the burner heads: Once the screws or clips are removed, gently lift the burner heads off the stove top and set them aside. Be cautious as these components may be hot or greasy.
By following these steps, you’ll be able to access the igniter assembly without any hassle. It’s important to handle the burner grates, burner caps, and burner heads with care to prevent any damage or injuries.
With the igniter assembly exposed, you’re ready to move on to the next step: removing the defective igniter. Stay tuned for the next set of instructions!
Before replacing the gas stove top igniter, make sure to turn off the gas supply and disconnect the power source. This will ensure safety during the replacement process.
Step 4: Remove the Defective Igniter
Now that you have accessed the igniter assembly, it’s time to remove the defective igniter. Follow these step-by-step instructions:
- Locate the igniter: Look for the igniter, which is a small cylindrical component with a wire attached to it. It is usually located near the burner head.
- Disconnect the wire: Gently pull the wire connector off the igniter. Avoid pulling on the wire itself to prevent any damage.
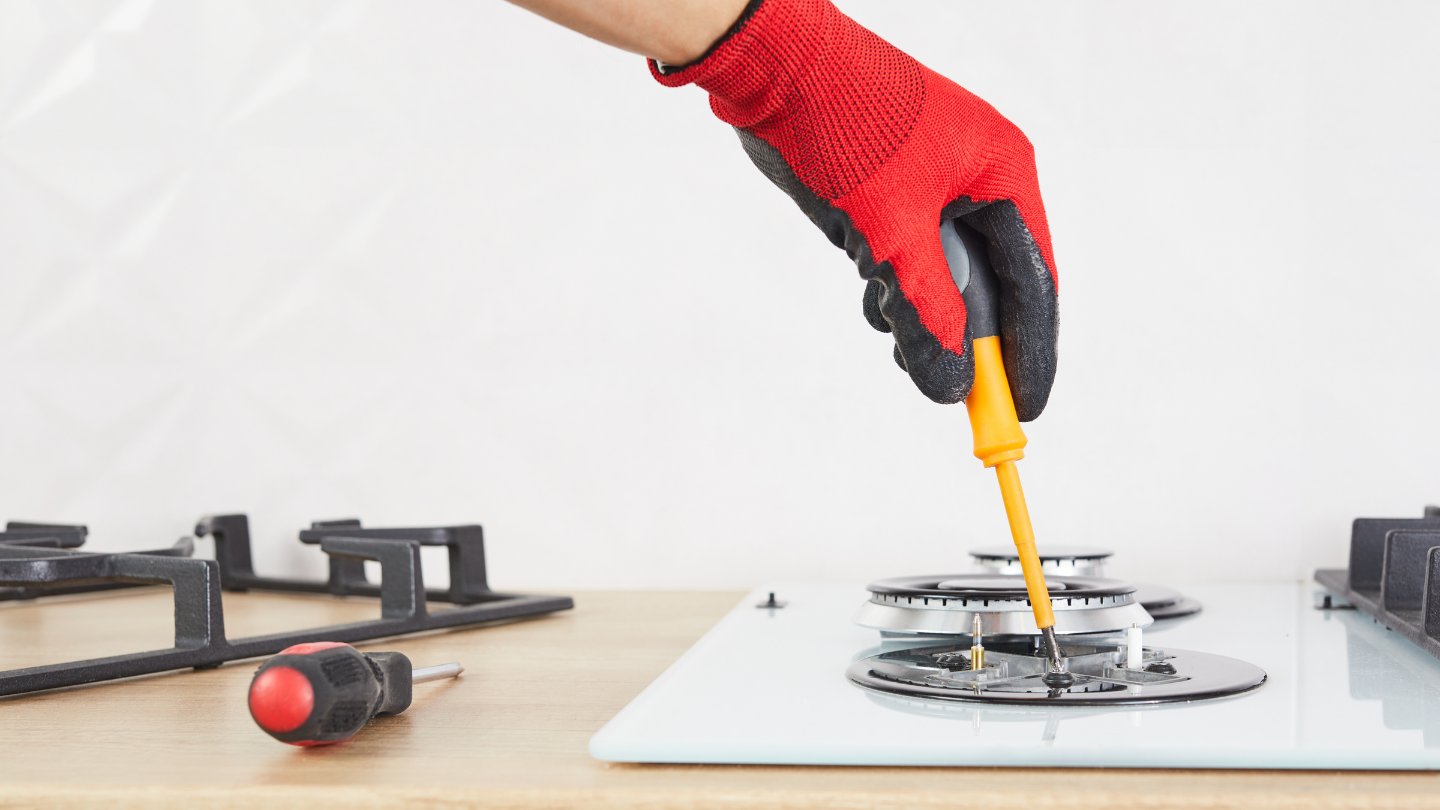
- Remove the mounting screws: Depending on the model of your gas stove, there may be one or two mounting screws holding the igniter in place. Use a screwdriver to remove these screws and set them aside.
- Take out the defective igniter: Once the screws are removed, carefully lift the old igniter out of its position. Be mindful of any wiring or connectors that may be present.
When handling the defective igniter, try to avoid touching the tip or the ceramic portion, as any oils or residue from your fingers can potentially affect its performance.
Once you have successfully removed the defective igniter, inspect it for any signs of damage or wear. This will help you determine if the igniter needs to be replaced or if there is another issue with the stove. If the igniter appears to be in good condition, you may want to consult a professional for further troubleshooting.
Now that the defective igniter has been removed, it’s time to move on to the next step: installing the new igniter. Keep reading for detailed instructions on how to complete this task.
Step 5: Install the New Igniter
With the defective igniter removed, you’re now ready to install the new igniter. Follow these step-by-step instructions:
- Place the new igniter in position: Take the new igniter and carefully position it in the same spot where the old igniter was located. Make sure it fits securely into place.
- Insert and tighten the mounting screws: Once the new igniter is in position, insert the mounting screws and use a screwdriver to tighten them. Make sure the igniter is secured firmly but be cautious not to overtighten and damage the igniter or the mounting bracket.
- Connect the wire: Attach the wire connector to the new igniter. Ensure that it is properly connected and secure. Give it a gentle tug to confirm that it is firmly in place.
It’s important to note that each igniter may have a specific orientation, so be mindful of the correct positioning. Refer to the manufacturer’s instructions or the markings on the igniter for guidance.
Once the new igniter is securely installed, you can proceed to the next step: reassembling the gas stove top.
Continue reading for step-by-step instructions on how to reassemble the burner heads, burner caps, and burner grates.
Step 6: Reassemble the Gas Stove Top
Now that you have successfully installed the new igniter, it’s time to reassemble the gas stove top. Follow these step-by-step instructions:
- Place the burner heads back in position: Take the burner heads and carefully align them with the respective burners on the stove top. Make sure they fit securely into place.
- Insert and secure the screws or clips: Depending on the model of your gas stove, use a screwdriver or your fingers to insert and tighten the screws or clips that hold the burner heads in place. Ensure that they are firmly secured.
- Replace the burner caps: Place the burner caps back on top of each burner. Make sure they are properly aligned and sit flat on the burner heads.
- Install the burner grates: Carefully place the burner grates back on the stove top, ensuring that they fit into their respective positions. Take your time to align them properly for a neat and secure fit.
As you reassemble the gas stove top, make sure that all components are properly aligned and securely fastened. This will help ensure the safe and efficient operation of the stove.
With the gas stove top reassembled, you’re almost done! Just one more step remains: testing the igniter to ensure it’s functioning properly.
Read on to learn how to test the igniter and make any necessary adjustments before using your gas stove top again.
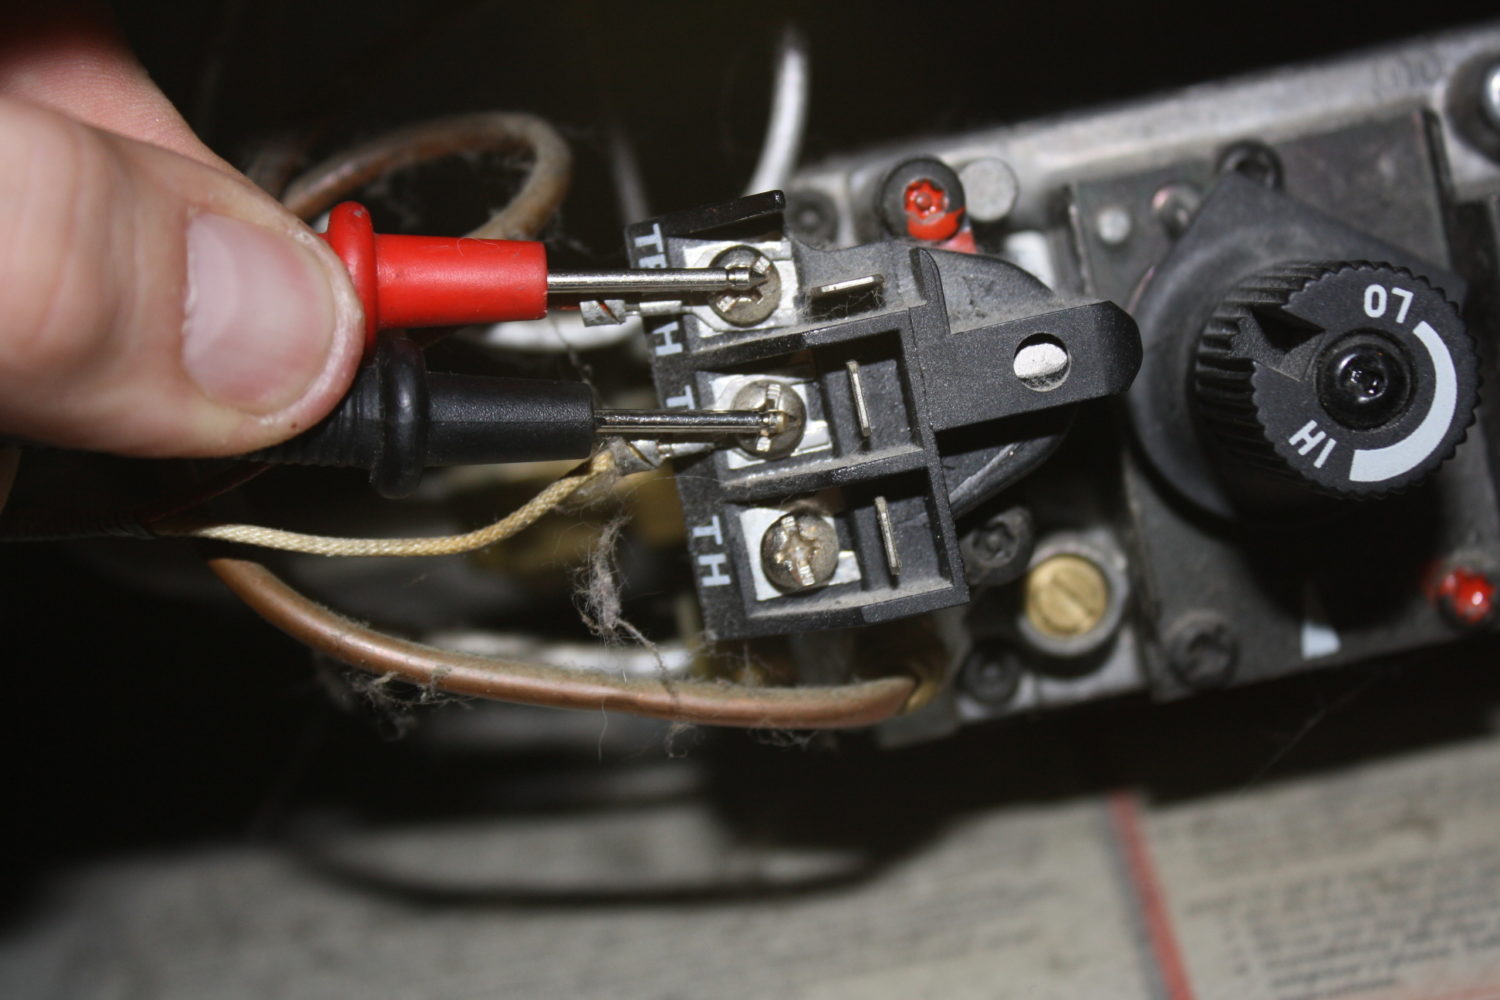
Step 7: Test the Igniter
After reassembling the gas stove top, it’s important to test the igniter to ensure that it is working correctly. Follow these step-by-step instructions:
- Turn on the gas supply: Go back to the gas shut-off valve and turn it to the “On” position. This will allow gas to flow to the burners.
- Choose a burner: Select one of the burners that you replaced the igniter for, and turn the corresponding knob to the “Light” position.
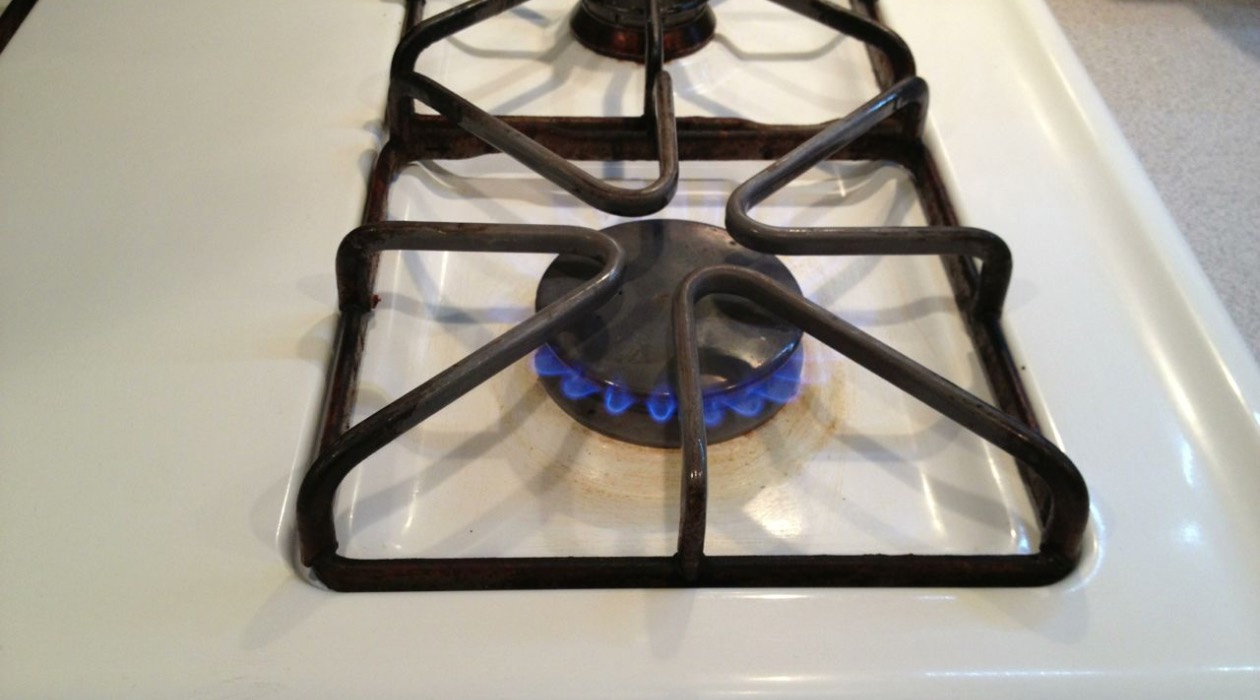
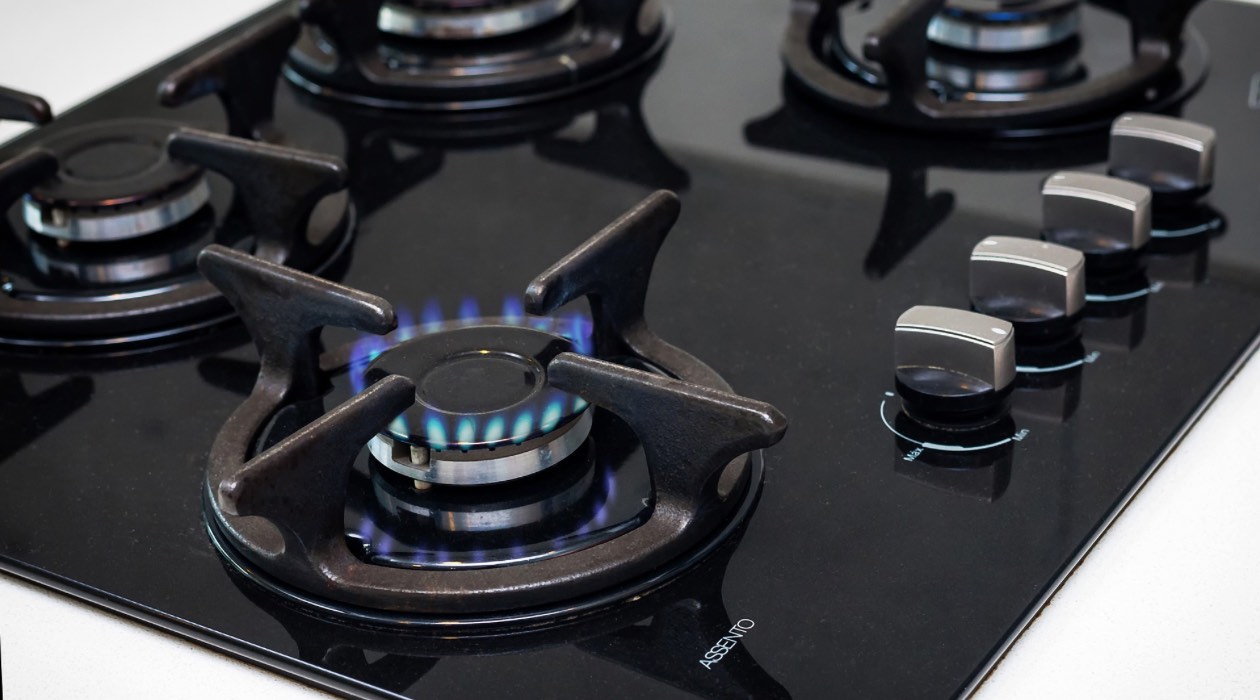
- Listen and observe: As you turn the knob, listen for a clicking sound. This is the sound of the igniter emitting sparks to ignite the gas. Pay attention to see if the burner lights up as well.
- Repeat for other burners: Test each of the other burners using the same procedure to ensure that the igniters are functioning properly for all of them.
If the igniter sparks and the burner lights up without any issues, congratulations! You have successfully replaced the gas stove top igniter, and your stove is ready to be used again. If you notice any problems, such as weak sparks or difficulty in lighting the burners, you may need to double-check the installation or consider seeking professional assistance.
Keep in mind that it’s normal for the igniter to spark multiple times before the burner lights up. This is to ensure that enough gas is present for ignition.
With the igniter tested and confirmed to be working, you can now enjoy using your gas stove top again. Remember to always prioritize safety and follow proper maintenance practices to keep your appliances in good condition.
By following this step-by-step guide, you have successfully replaced the gas stove top igniter. Well done!
However, if you still have concerns or doubts, it’s always recommended to consult a professional for assistance.
Now go ahead and enjoy cooking delicious meals on your newly functional gas stove top!
Read more: How To Open Frigidaire Gas Stove Top
Conclusion
Replacing a gas stove top igniter may seem like a daunting task, but with the right tools and a little patience, it can be easily accomplished. By following the step-by-step instructions outlined in this article, you can successfully replace a defective igniter and have your gas stove top functioning like new.
Remember, safety should always be your top priority when working with any gas appliance. Before beginning the replacement process, make sure to take the necessary safety precautions, such as turning off the gas supply, wearing protective gear, and keeping a fire extinguisher nearby.
Gather all the tools and materials required for the job, including screwdrivers, pliers, and a new igniter. These will ensure that you have everything you need to complete the replacement smoothly.
Throughout the process, be mindful of the proper handling of components, such as burner grates, burner caps, and burner heads. Take care not to damage them and ensure they are reassembled correctly.
Finally, test the igniter to ensure it’s working properly before using your gas stove top again. If any issues or concerns persist, don’t hesitate to seek professional assistance.
By following these steps and exercising caution, you can successfully replace a gas stove top igniter and enjoy the convenience of a fully functioning stove once again.
We hope this guide has been helpful to you. Now, go ahead and confidently tackle your gas stove top igniter replacement project!
Frequently Asked Questions about How To Replace Gas Stove Top Igniter
Was this page helpful?
At Storables.com, we guarantee accurate and reliable information. Our content, validated by Expert Board Contributors, is crafted following stringent Editorial Policies. We're committed to providing you with well-researched, expert-backed insights for all your informational needs.


0 thoughts on “How To Replace Gas Stove Top Igniter”