Home>Articles>How To Replace Whirlpool Range Hood Light Bulb
Articles
How To Replace Whirlpool Range Hood Light Bulb
Modified: October 20, 2024
Learn how to replace the range hood light bulb on your Whirlpool appliance with this informative article. Find step-by-step instructions and helpful tips.
(Many of the links in this article redirect to a specific reviewed product. Your purchase of these products through affiliate links helps to generate commission for Storables.com, at no extra cost. Learn more)
Introduction
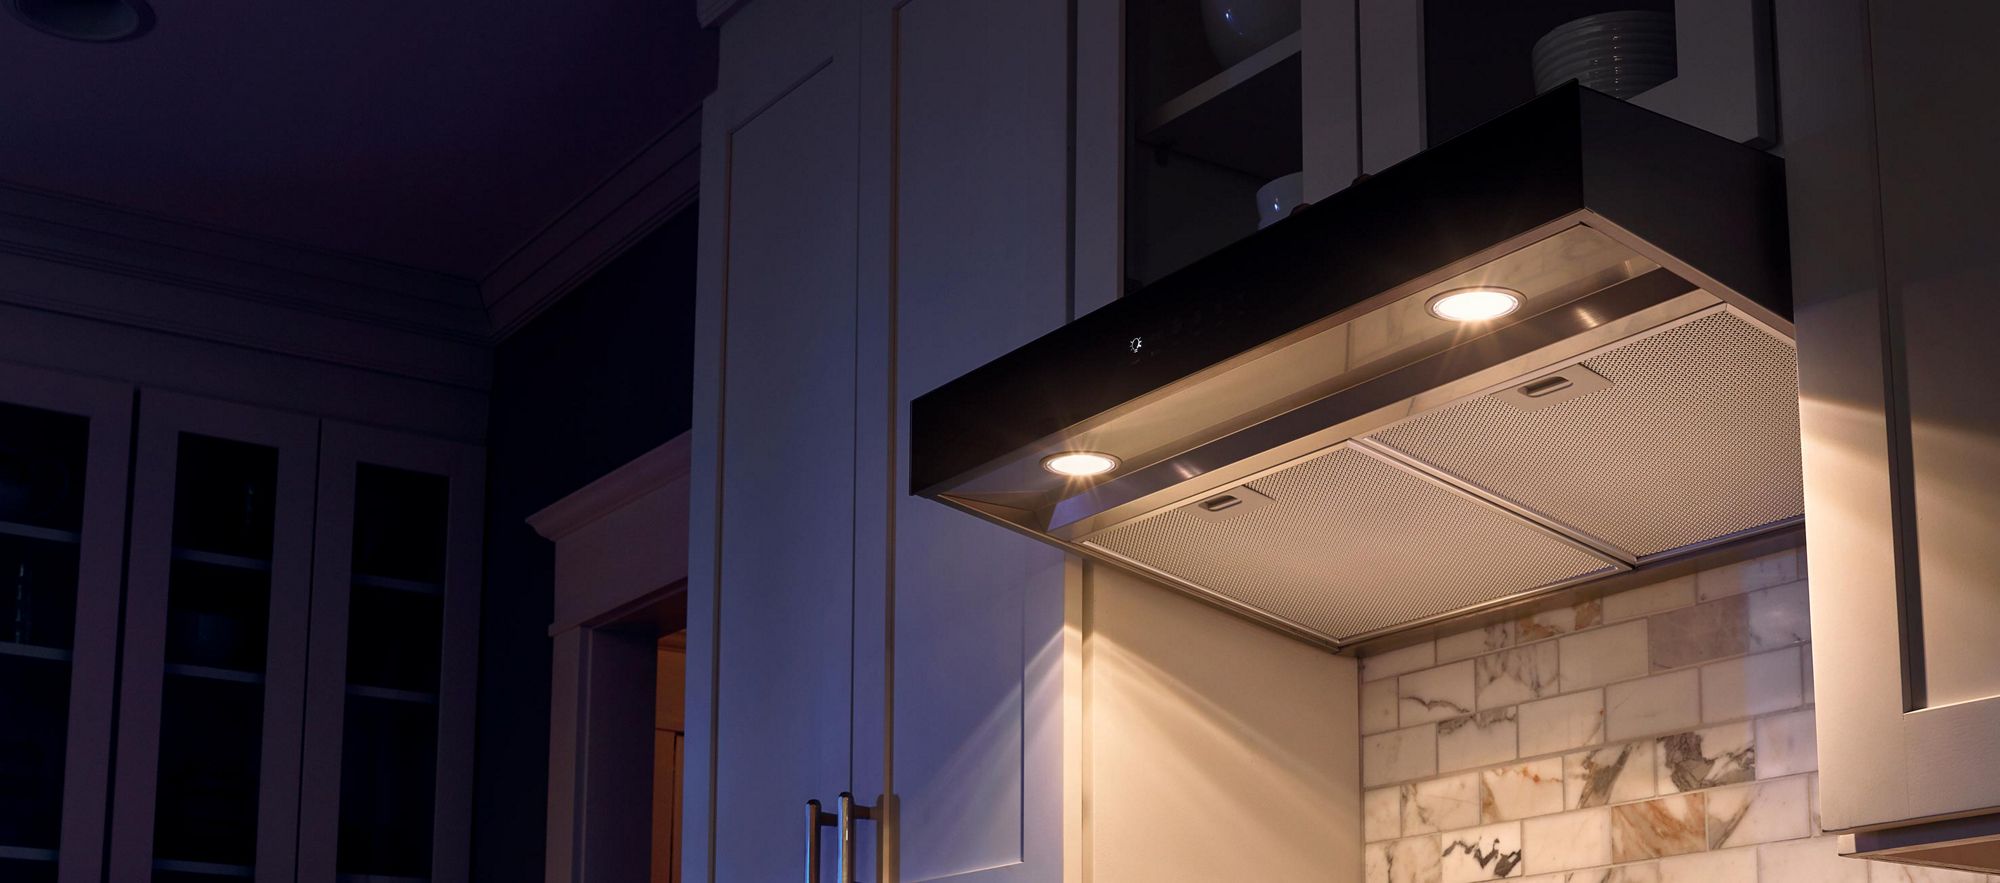
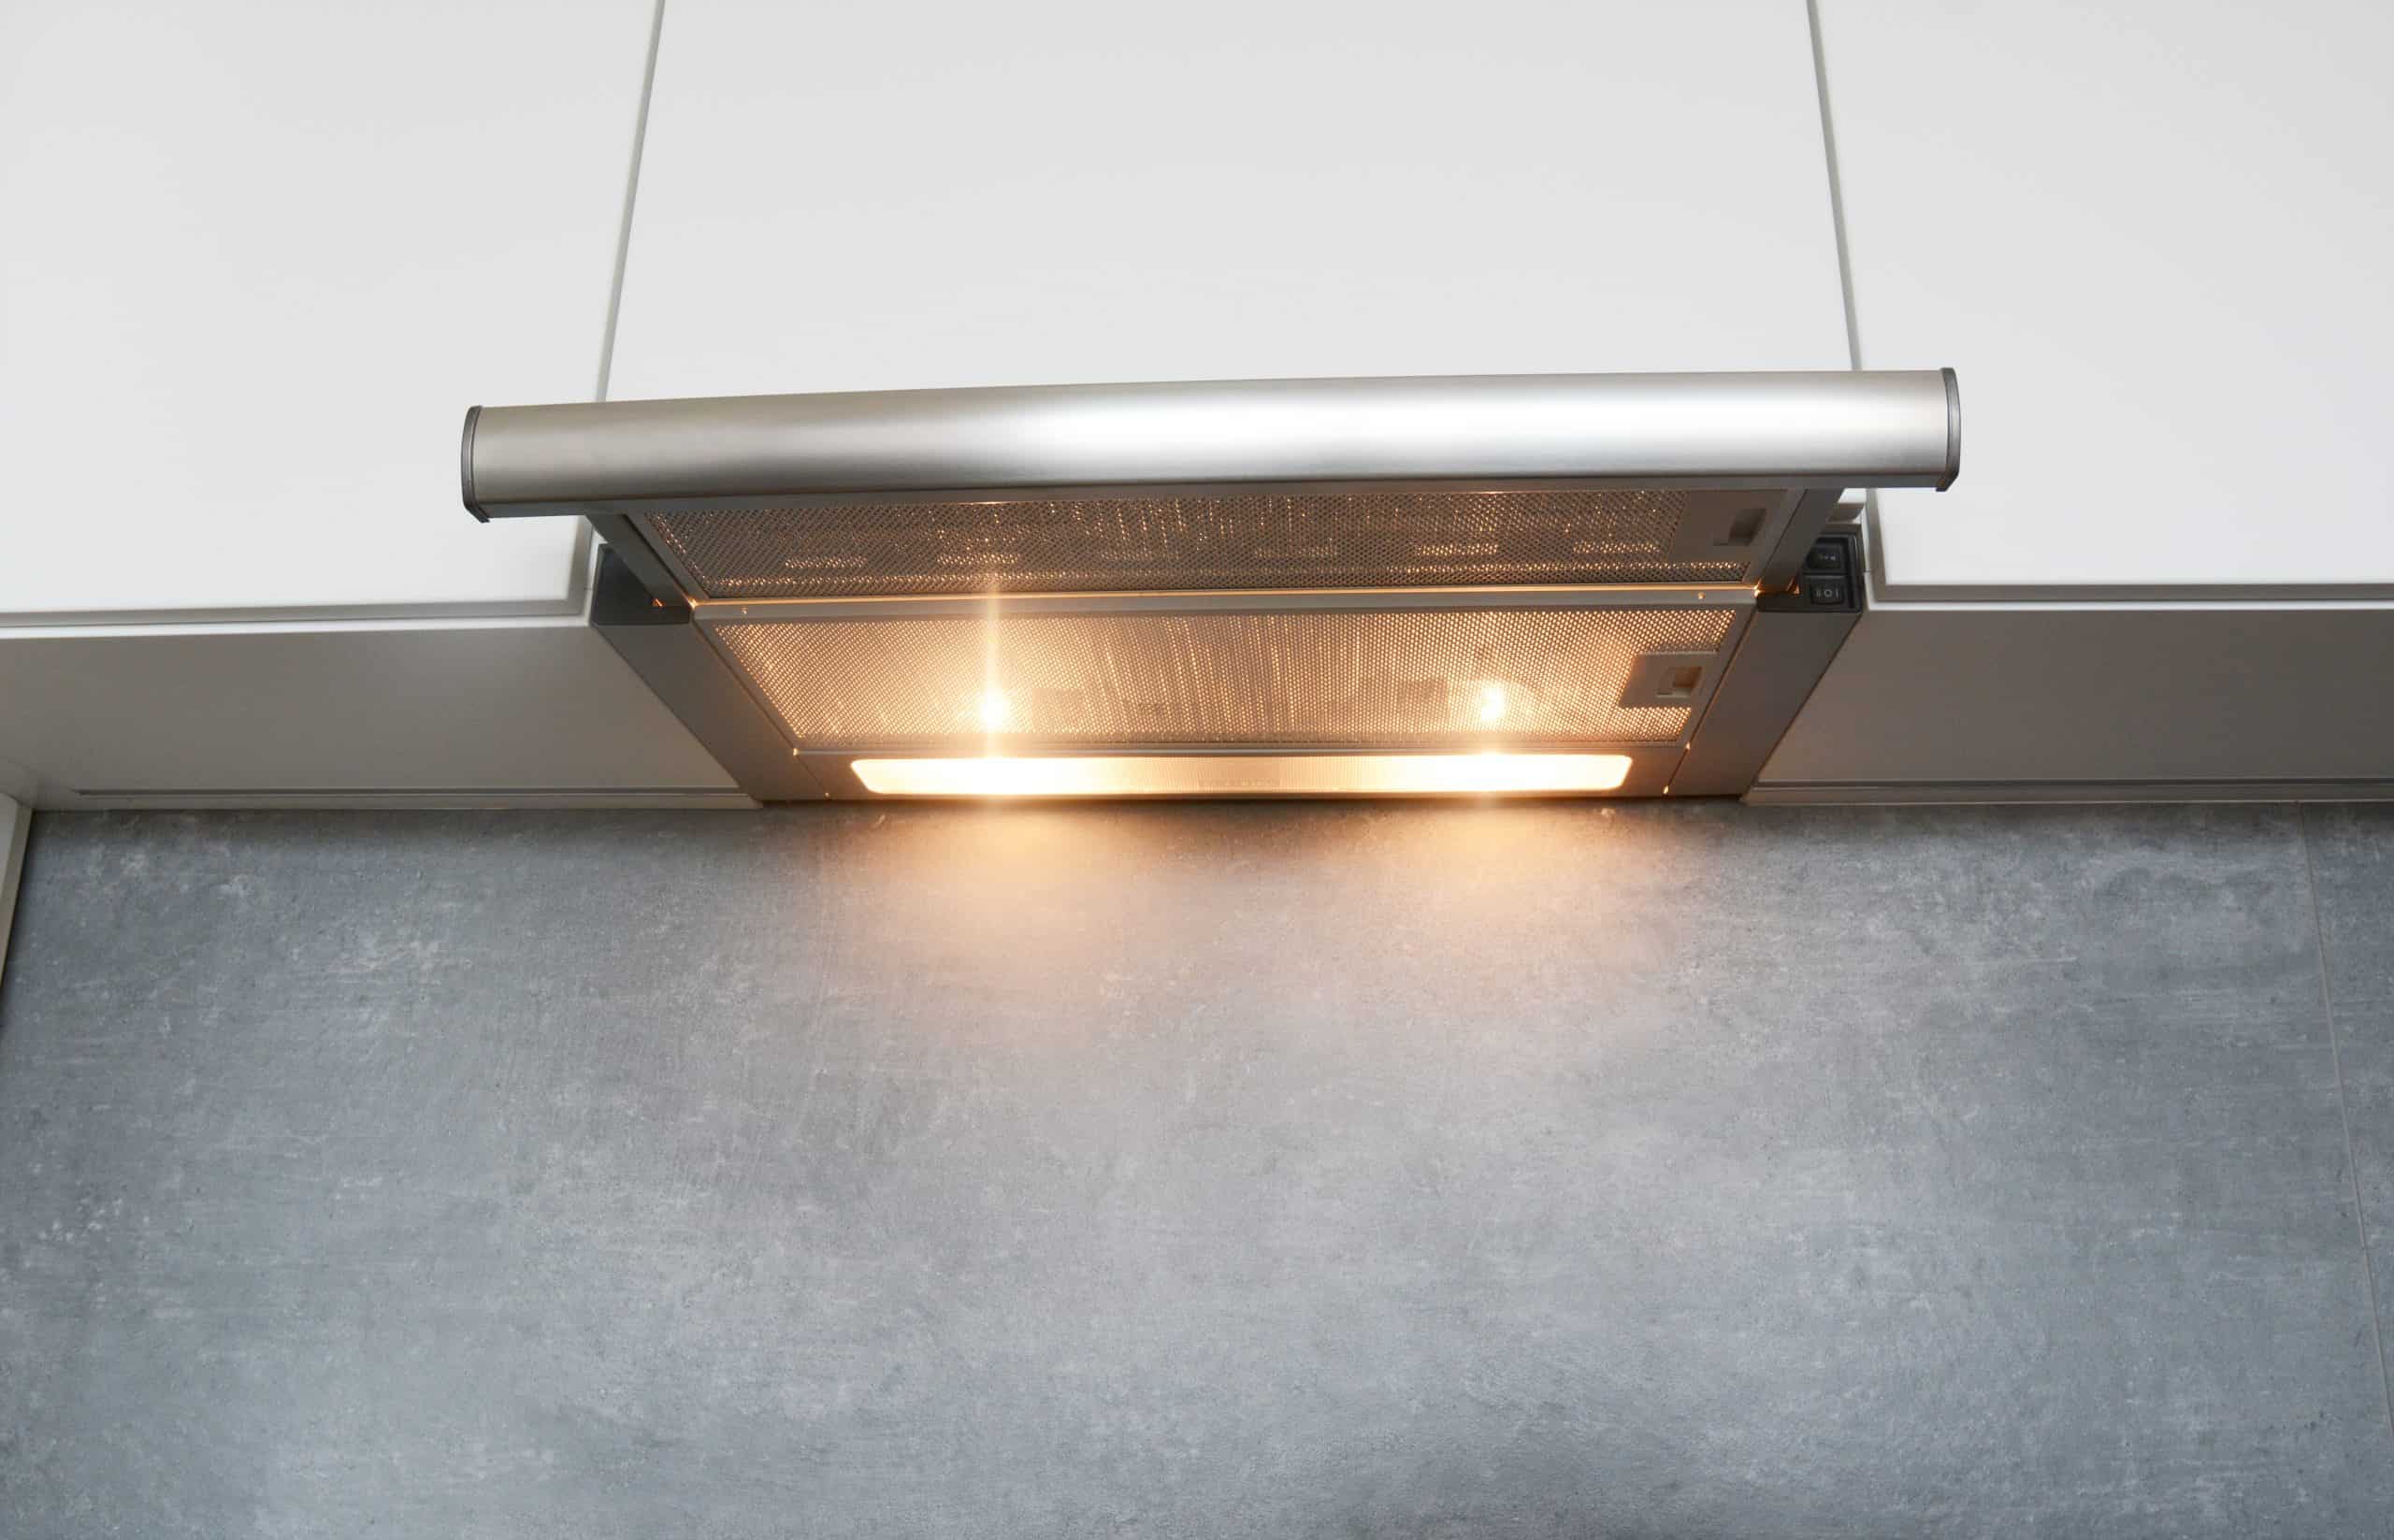
Replacing a range hood light bulb is a common maintenance task for homeowners. The light bulb not only illuminates the cooking area, but it also adds a touch of ambiance to the kitchen. However, when the light bulb burns out, it can be frustrating and inconvenient. But fear not, because in this article, we will guide you through the step-by-step process of replacing the range hood light bulb in your Whirlpool appliance.
Before we dive into the steps, it’s important to note that safety should always be a top priority. When working with electrical appliances, make sure to follow proper safety procedures to avoid any accidents or injuries. Now, let’s get started on replacing that pesky burnt-out light bulb!
Key Takeaways:
- Ensure safety by turning off power supply and using safety gloves when replacing a range hood light bulb in your Whirlpool appliance. Follow the step-by-step guide for a hassle-free process.
- Choose the right replacement bulb by checking the user manual, matching bulb type, considering wattage, and opting for energy-efficient options like LED or CFL bulbs. Enjoy a well-lit kitchen with proper maintenance.
Read more: How To Replace A Range Hood
Step 1: Gather Necessary Tools and Safety Precautions
Before beginning the process of replacing the range hood light bulb, it’s important to gather all the necessary tools. Here’s a list of items you’ll need:
- A replacement light bulb (make sure it’s compatible with your Whirlpool range hood)
- A step ladder or sturdy chair
- A pair of safety gloves
- A screwdriver (may vary depending on the model of your range hood)
Now that you have all the required tools, it’s time to take some safety precautions. First and foremost, ensure that the range hood is turned off and unplugged from the power source. This will prevent any accidental electrical shocks.
It’s also a good idea to wear safety gloves to protect your hands from any potential glass breakage during the bulb replacement.
Lastly, if your range hood has been recently used, give it some time to cool down. The bulb and surrounding area might still be hot, so it’s best to proceed with caution.
Now that you have gathered the necessary tools and taken the appropriate safety precautions, you’re ready to move on to the next step: turning off the power supply.
Step 2: Turn Off the Power Supply
Before working on any electrical appliance, it’s crucial to ensure that the power supply is turned off. This step will eliminate any risk of electrical shock during the bulb replacement process.
To turn off the power supply, follow these steps:
- Locate the circuit breaker or fuse box in your home.
- Identify the circuit that supplies power to the range hood. Look for a label or an indication that points to the kitchen appliances.
- Switch off the corresponding circuit breaker by flipping it to the “Off” position. Alternatively, if your home uses fuses, remove the fuse linked to the range hood.
Once you have successfully turned off the power supply, you can proceed with confidence knowing that there is no electricity flowing to the range hood.
It’s important to double-check that the power is indeed off before moving on to the next step. You can do this by turning on the range hood and verifying that it doesn’t operate. If it does, repeat the process of turning off the power supply.
Now that you have ensured the power is turned off, it’s time to move on to step 3 and remove the old light bulb.
Step 3: Remove the Old Bulb
With the power supply turned off, it’s safe to proceed with removing the old bulb from your Whirlpool range hood. Follow these steps:
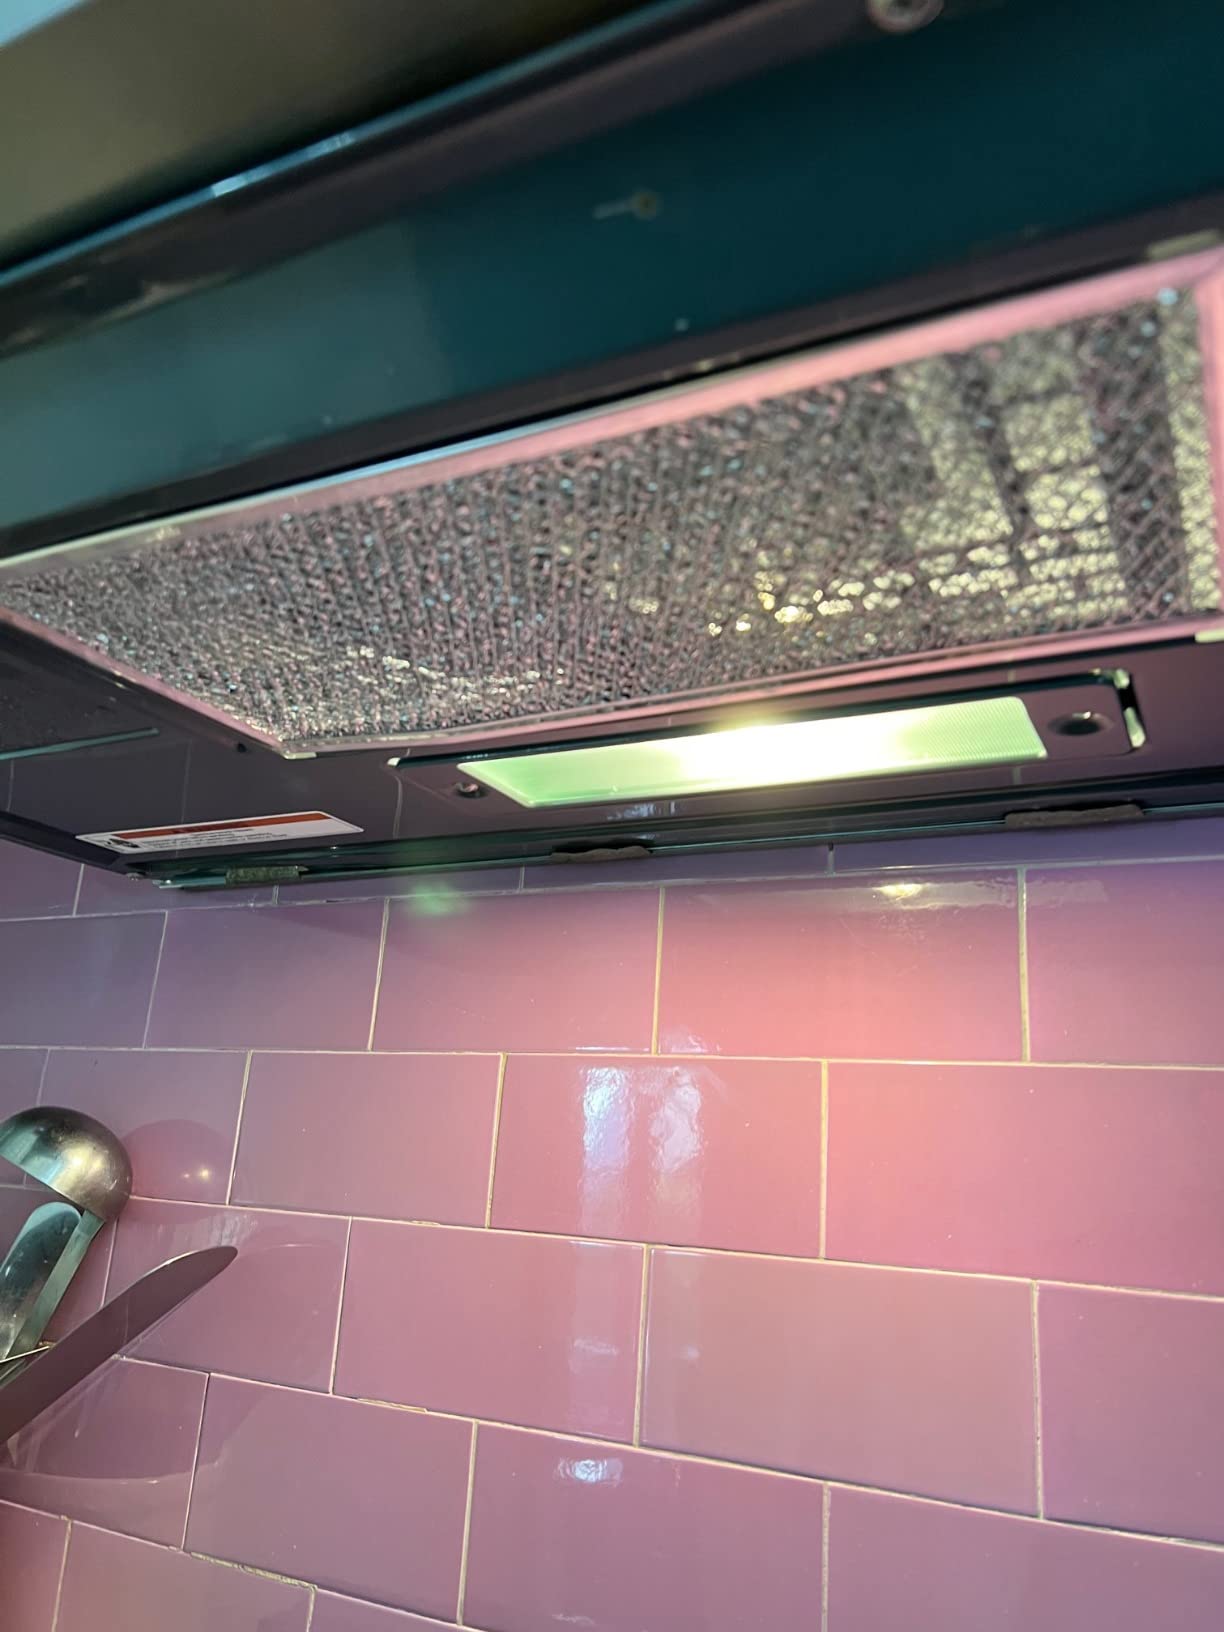
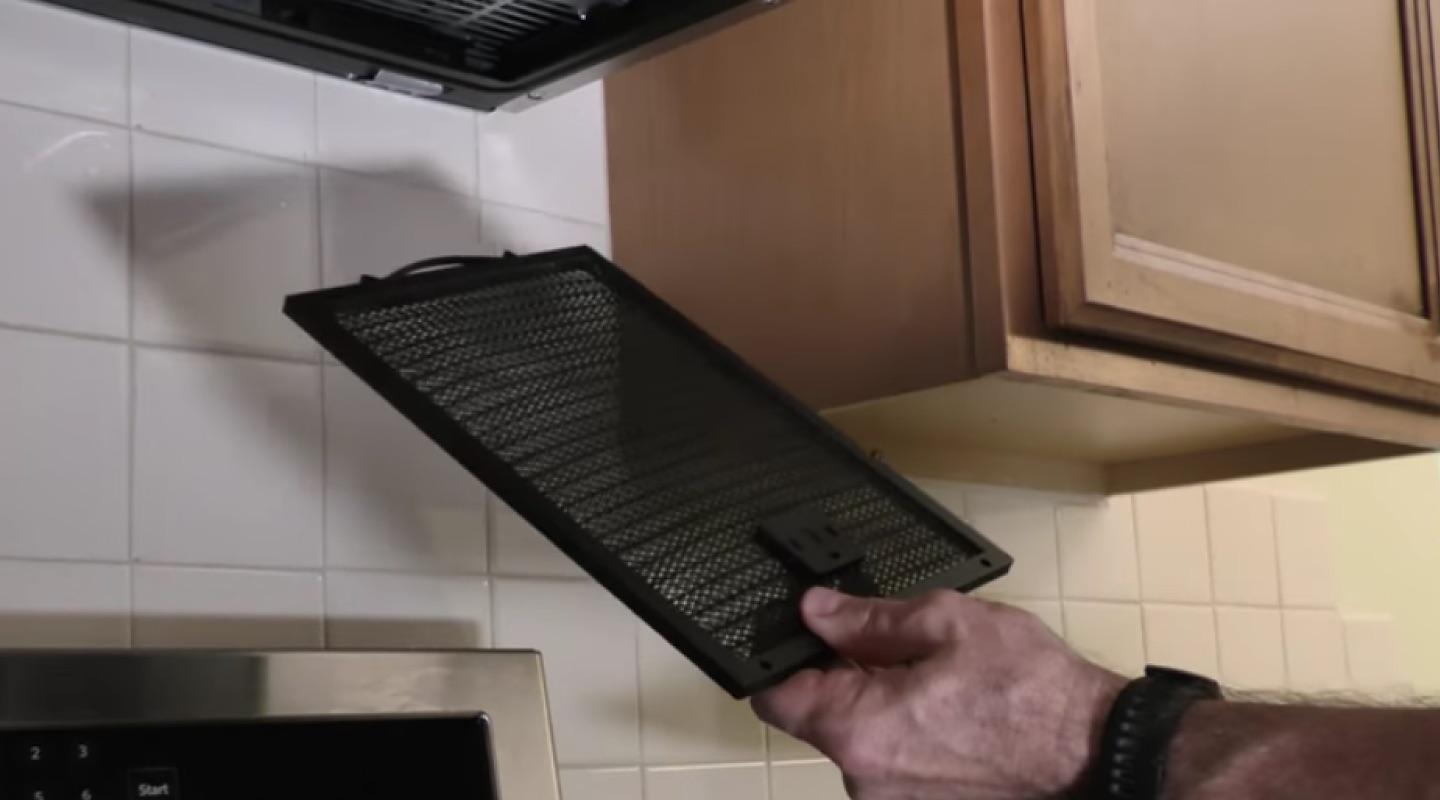
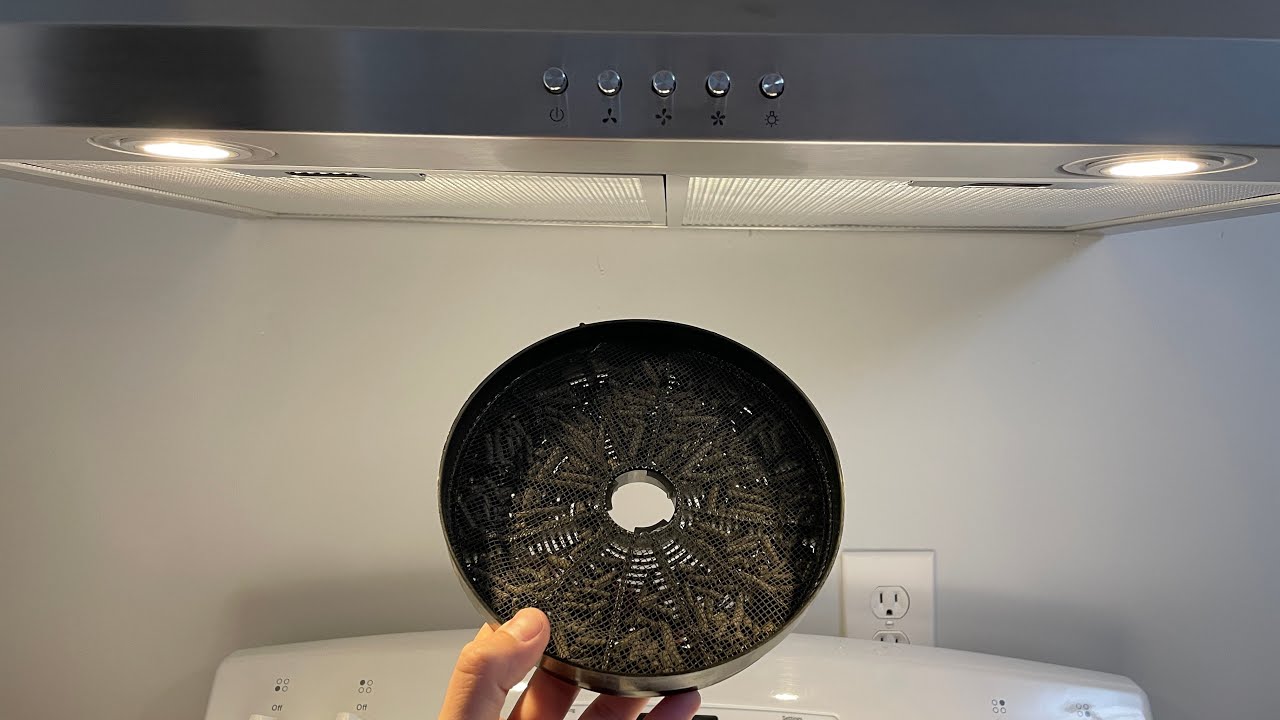
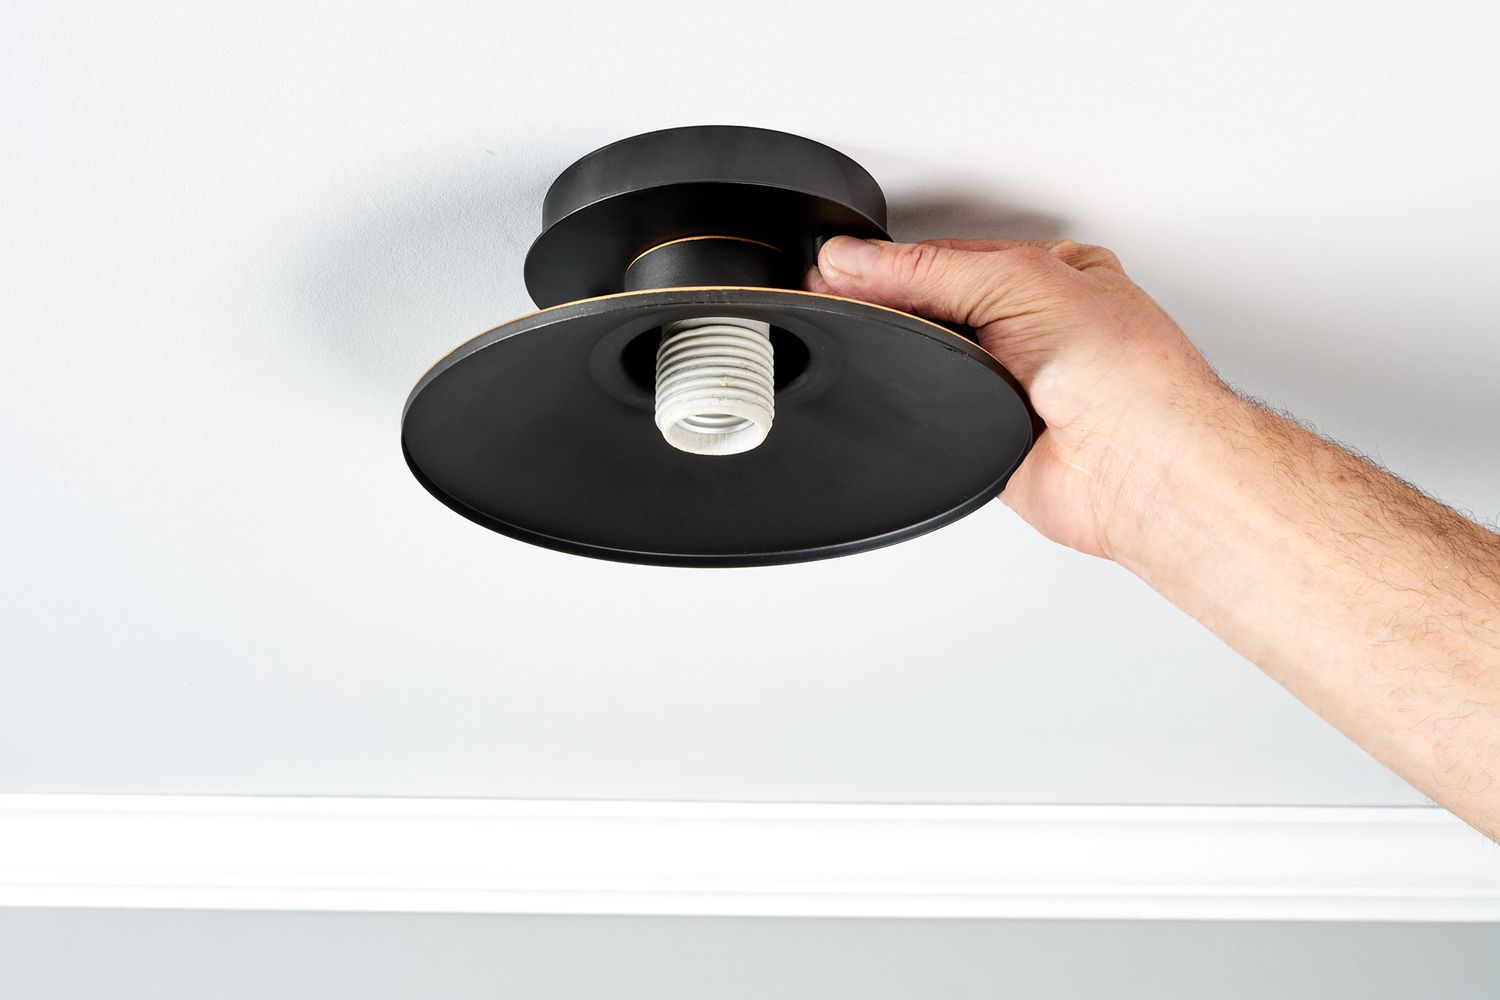
- Locate the light bulb cover or lens. This is typically a protective glass or plastic cover that holds the bulb in place.
- Depending on your model, you may need to use a screwdriver to remove any screws or clips that secure the cover in place. Carefully unscrew or unclip the cover and set it aside.
- Inspect the old bulb and identify how it is connected to the socket. Some bulbs simply twist out, while others may require a gentle pull to remove.
- Using caution, remove the old bulb from the socket. If the bulb is broken, handle the pieces carefully and dispose of them properly.
Once the old bulb has been removed, take a moment to clean the inside of the cover or lens. This will ensure optimal light output from the new bulb and prevent any dust or debris from obstructing the light.
Now that the old bulb is out and the cover is clean, you’re ready to move on to the next step: selecting a replacement bulb.
When replacing the range hood light bulb in a Whirlpool appliance, make sure to turn off the power to the hood before attempting to remove the old bulb. Use a soft cloth to handle the new bulb to avoid leaving any fingerprints, which can cause the bulb to burn out prematurely.
Step 4: Select a Replacement Bulb
Choosing the right replacement bulb is crucial to ensure proper functionality and compatibility with your Whirlpool range hood. Here are some guidelines to help you select the right bulb:
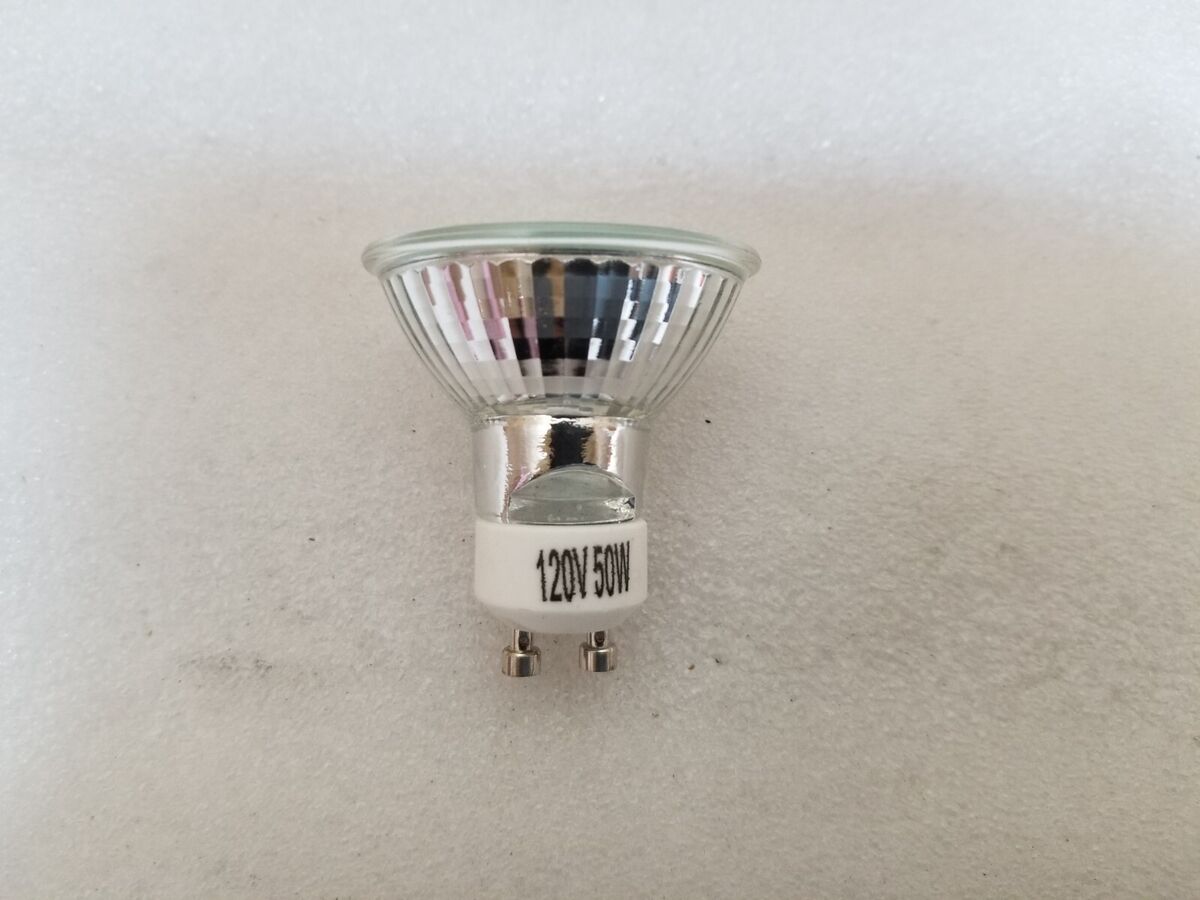
- Check the user manual: Refer to your range hood’s user manual for specific instructions and recommendations regarding the type and wattage of the replacement bulb. This will ensure that you choose a bulb that meets the manufacturer’s specifications.
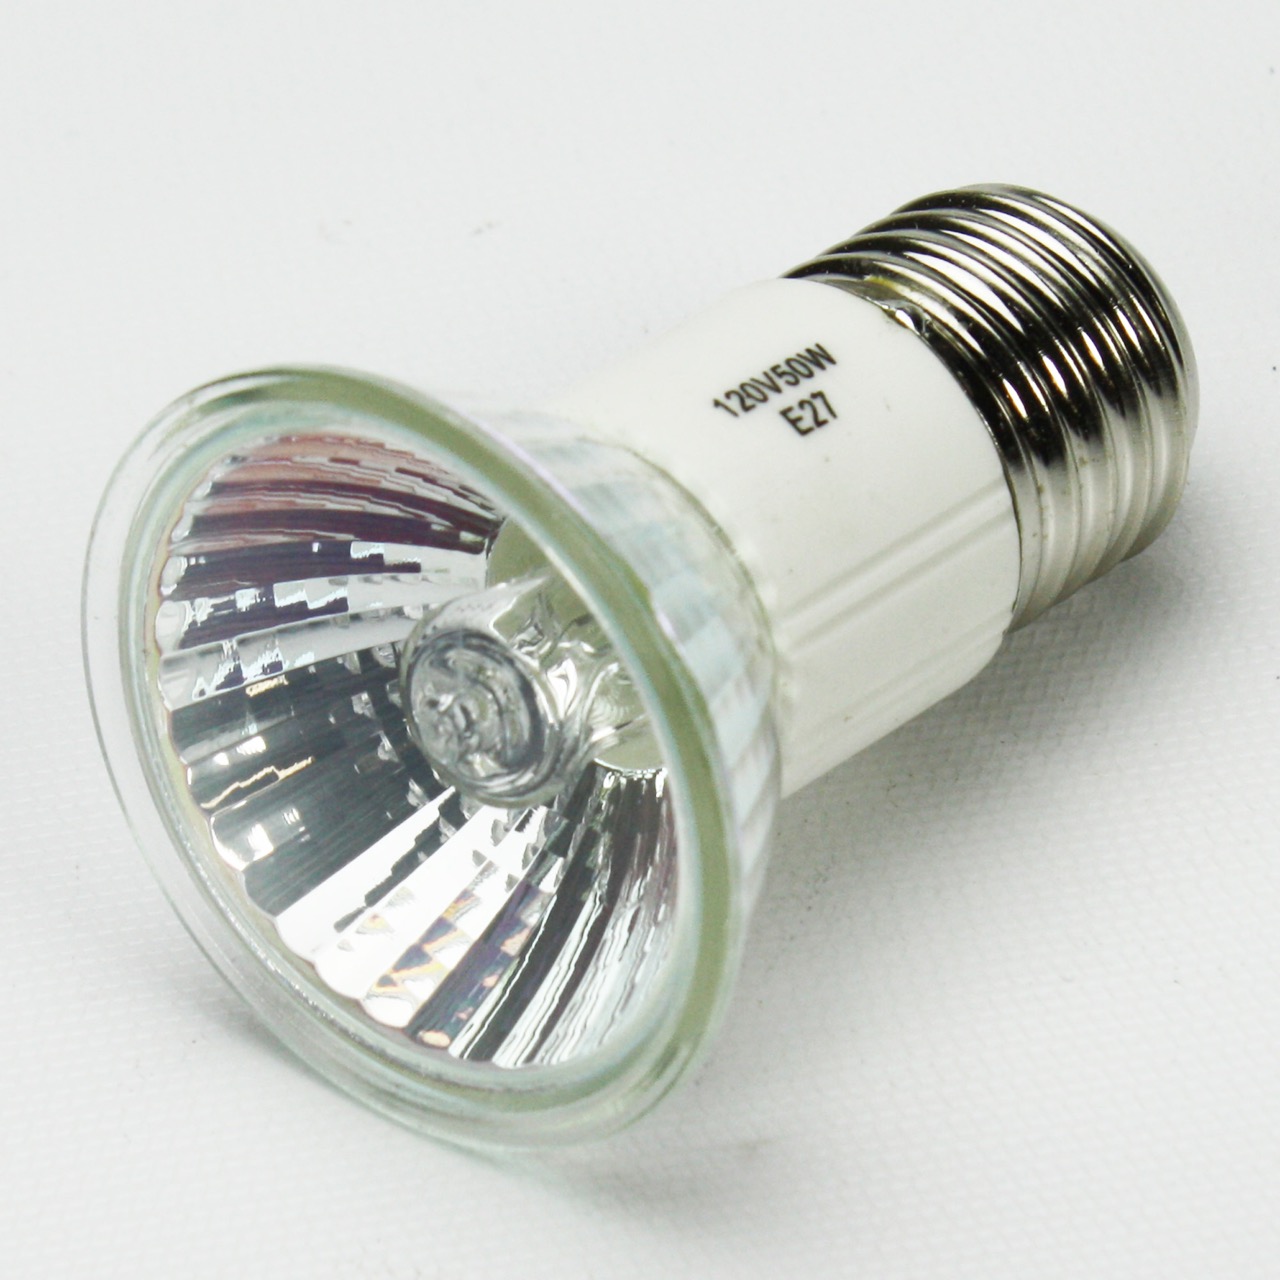
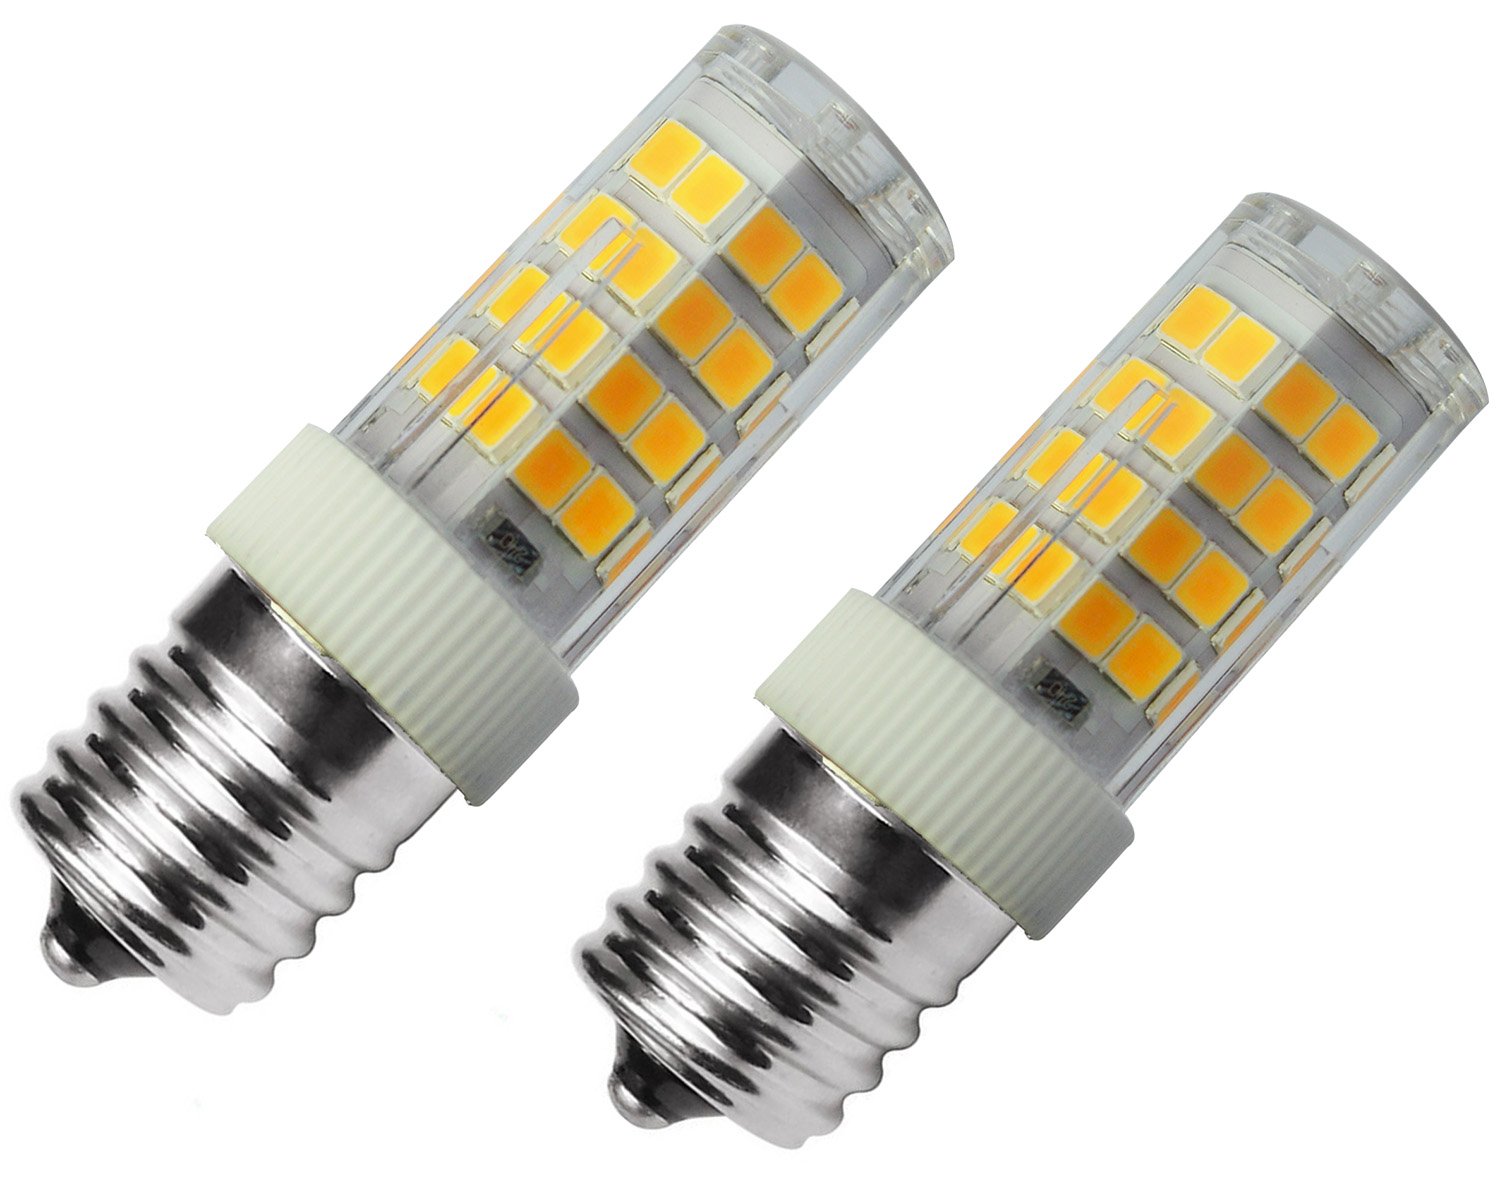
- Match the bulb type: Identify the type of bulb used in your range hood (e.g., incandescent, halogen, or LED). Look for a replacement bulb of the same type to ensure compatibility.
- Consider the wattage: The wattage of the bulb affects its brightness. Make sure to choose a replacement bulb with a wattage equivalent to or lower than the original bulb to prevent any electrical issues.
- Size and shape: Take note of the bulb’s size and shape to ensure a proper fit within the range hood. Measure the dimensions of the old bulb or refer to the user manual to find the appropriate size.
It’s also recommended to opt for energy-efficient bulbs, such as LED or CFL bulbs, which consume less electricity and have a longer lifespan compared to traditional incandescent bulbs.
Once you have selected the right replacement bulb, you’re ready to move on to the next step: installing the new bulb.
Read also: 14 Best Range Hood Light Bulb for 2025
Step 5: Install the New Bulb
Now that you have the suitable replacement bulb in hand, it’s time to install it into your Whirlpool range hood. Follow these steps:
- Grasp the new bulb by the base and align it with the socket in the range hood.
- If the bulb is a twist-in type, carefully twist it clockwise until it is securely in place. If it is a push-in type, gently insert it into the socket until it fits snugly.
- Ensure that the bulb is properly seated in the socket and that it is straightened and aligned correctly.
Next, if your range hood has a cover or lens that was removed earlier, reinstall it by reversing the steps used to remove it. If there were screws or clips involved, make sure they are tightened securely but not overly tightened to avoid damaging the cover or lens.
Once the new bulb is installed and the cover is back in place, give it a gentle test by turning on the power supply momentarily. Check if the bulb lights up properly and that there are no flickering or other issues.
If everything looks good, proceed to the final step: testing the new light bulb.
Step 6: Test the New Light Bulb
After installing the new light bulb in your Whirlpool range hood, it’s essential to test it to ensure it’s functioning correctly. Follow these steps:
- Turn on the power supply to your range hood by flipping the circuit breaker or replacing the fuse.
- Switch on the range hood’s lights, typically located on the control panel or with a dedicated switch.
- Observe the new light bulb. It should illuminate the cooking area clearly and evenly without any flickering or dimming.
- If the light bulb fails to illuminate or there are any issues, double-check the bulb’s installation. Ensure it is securely seated in the socket and that the power supply is properly connected.
- If the problem persists, consider checking the wiring and consulting the Whirlpool user manual or contacting customer support for further assistance.
Once you have confirmed that the new light bulb is functioning correctly, you can now enjoy a well-lit cooking area in your kitchen!
Remember, regular maintenance and timely replacement of light bulbs will ensure a well-lit and visually appealing cooking space in your Whirlpool range hood.
As a final safety precaution, always remember to switch off the power supply to the range hood before performing any maintenance tasks.
With the new light bulb installed and working, your Whirlpool range hood is ready to provide ample lighting for your culinary adventures.
Congratulations on successfully replacing the range hood light bulb in your Whirlpool appliance!
Conclusion
Replacing a range hood light bulb in your Whirlpool appliance is a straightforward process that can be accomplished with just a few simple steps. By following the guidelines and safety precautions outlined in this article, you can confidently replace the old, burnt-out bulb with a new one.
Remember to gather the necessary tools and take proper safety precautions before starting the process. Ensure that the power supply is turned off, remove the old bulb, select a compatible replacement bulb, install it carefully, and then test the new light bulb to ensure it’s working correctly.
Regular maintenance and timely bulb replacement will ensure a well-lit cooking area and a visually appealing kitchen environment. By choosing energy-efficient bulbs, such as LED or CFL bulbs, you can not only brighten up your kitchen but also reduce energy consumption.
If you encounter any difficulties during the bulb replacement process or if the light bulb continues to have issues, it is advisable to consult the Whirlpool user manual or reach out to customer support for further assistance. They can provide specific instructions based on your appliance’s model and answer any questions you may have.
Now that you have successfully replaced the range hood light bulb, you can enjoy a well-illuminated kitchen while cooking your favorite meals. Keep in mind that proper maintenance and care of your Whirlpool range hood will ensure its longevity and optimal performance.
Thank you for following this step-by-step guide. Happy cooking and enjoy your well-lit kitchen!
Frequently Asked Questions about How To Replace Whirlpool Range Hood Light Bulb
Was this page helpful?
At Storables.com, we guarantee accurate and reliable information. Our content, validated by Expert Board Contributors, is crafted following stringent Editorial Policies. We're committed to providing you with well-researched, expert-backed insights for all your informational needs.

0 thoughts on “How To Replace Whirlpool Range Hood Light Bulb”