Articles
How To Replace Pool Light Bulb
Modified: September 1, 2024
Learn how to replace a pool light bulb with step-by-step articles for a seamless process. Take the guesswork out of pool maintenance!
(Many of the links in this article redirect to a specific reviewed product. Your purchase of these products through affiliate links helps to generate commission for Storables.com, at no extra cost. Learn more)
Introduction
Having a pool can be a luxurious addition to your home, providing a place to relax, unwind, and enjoy the outdoors. One essential element of a well-functioning pool is proper lighting, which not only enhances the aesthetics but also ensures safety during evening swims. Over time, the pool light bulb may dim or burn out, requiring replacement to maintain the ideal ambiance.
In this article, we will guide you through the process of replacing a pool light bulb. Whether you are a pool owner or a professional pool technician, following these steps will help you safely and efficiently replace the pool light bulb, ensuring that your pool remains well-lit and inviting.
Before we dive into the step-by-step instructions, it’s important to note that electrical work should always be approached with caution. If you are unsure or uncomfortable working with electricity, it is recommended to seek the assistance of a qualified professional.
Now, let’s get started with the preparations for the pool light bulb replacement.
Key Takeaways:
- Prioritize safety and preparation when replacing a pool light bulb, ensuring the correct tools, power shutdown, and careful handling of the new bulb for a successful and well-lit pool environment.
- Carefully follow step-by-step instructions to safely remove and replace the pool light bulb, ensuring proper alignment, secure connections, and thorough testing for optimal pool lighting and ambiance.
Read more: How To Replace Light Bulb Socket
Preparing for the Replacement
Before you begin the actual replacement process, there are a few essential steps you need to take to ensure a smooth and safe experience. Let’s go over them below:
- Gather the necessary tools: To replace the pool light bulb, you will need a few basic tools. Make sure you have a screwdriver set, a socket wrench, and a replacement bulb that is compatible with your pool light fixture. It’s always a good idea to check the manufacturer’s instructions or consult a professional to ensure you have the correct bulb.
- Turn off the power: Safety should be your utmost priority when working with electricity. Begin by turning off the power supply to the pool light at the circuit breaker. This will help prevent any accidents or electrical shocks during the replacement process.
- Secure the area: Make sure the pool area is clear of any obstructions and that there is adequate lighting in the surrounding area. This will allow you to work comfortably and minimize any risks of tripping or damaging the pool or surrounding structures during the replacement.
- Inspect the pool light fixture: Before proceeding, take a moment to inspect the pool light fixture itself. Look for any visible cracks, damage, or signs of corrosion. If you notice any issues, it may be necessary to replace the entire fixture rather than just the bulb. Consult a professional for guidance in such cases.
By taking these preparatory steps, you can ensure that you have the right tools, a safe working environment, and an understanding of the condition of your pool light fixture. Now that you are well-prepared, let’s move on to the next step: turning off the power to the pool light.
Turn Off Power to the Pool Light
Before you start working on replacing the pool light bulb, you must ensure that the power supply to the pool light is turned off. This step is crucial for your safety and to prevent any electrical accidents. Follow these steps to turn off the power:
- Locate the circuit breaker: Find the circuit breaker that controls the power supply to the pool light. It is usually located in the main electrical panel of your home or in a separate sub-panel specifically for the pool equipment. Refer to the electrical panel diagram or consult a professional if you are unsure.
- Identify the pool light circuit: Once you have located the circuit breaker, look for the one labeled for the pool light. It may be labeled as “pool light,” “lighting,” or something similar. If you are uncertain, you can turn off the main power supply to the pool, but keep in mind that this will also turn off other pool equipment.
- Turn off the circuit breaker: Once you have identified the correct circuit breaker, flip the switch to the “off” position. Double-check that the power to the pool light is indeed off by testing the switch or using a voltage tester. This will ensure that there is no electrical current flowing to the pool light.
- Secure the circuit breaker: To prevent anyone from accidentally turning the circuit breaker back on while you are working on the pool light, it is recommended to secure the breaker with a lock or place a visible warning sign nearby.
By following these steps, you can safely turn off the power supply to the pool light. Remember, always prioritize safety when working with electricity. Now that the power is off, we can proceed to remove the pool light fixture.
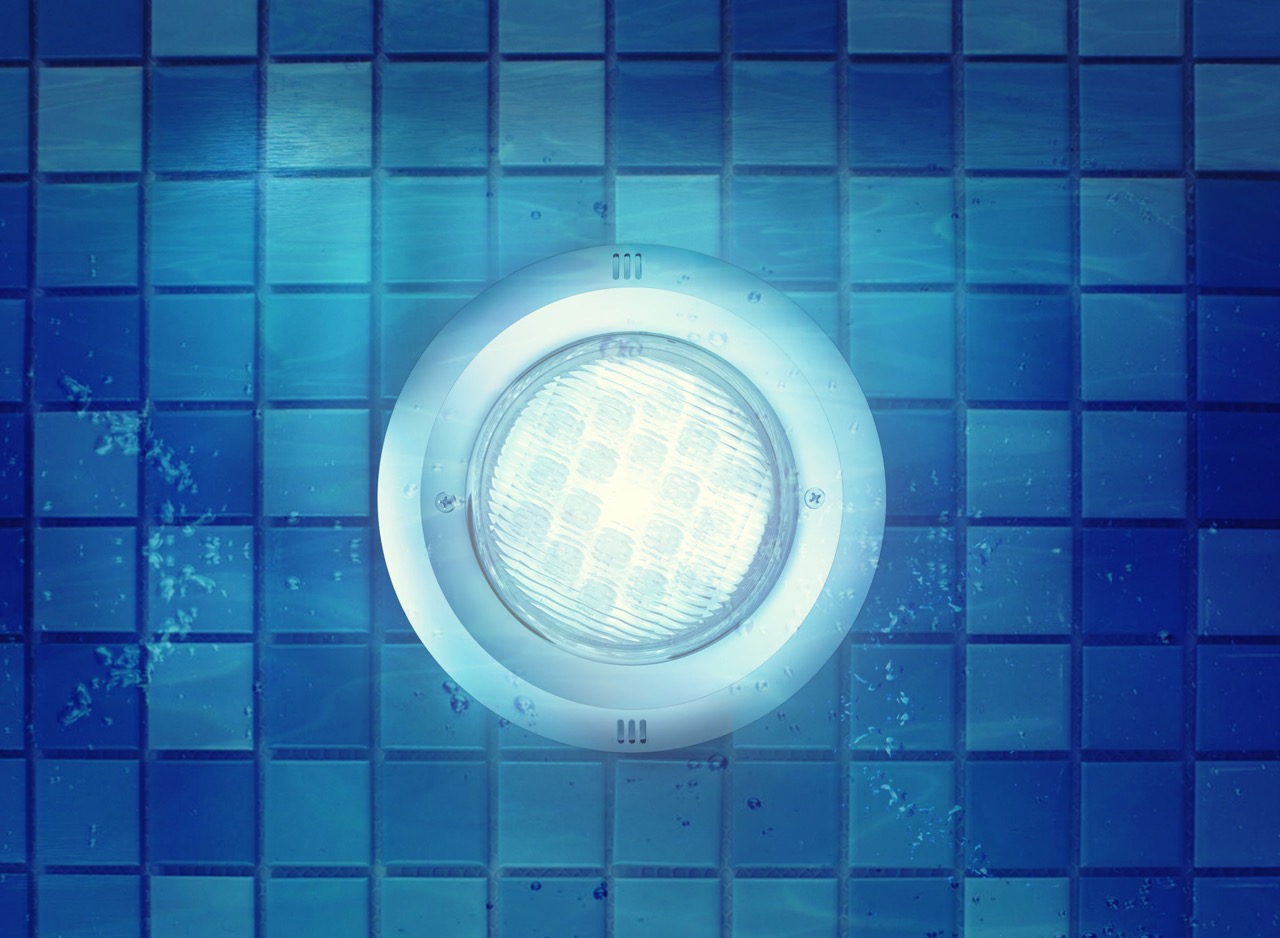
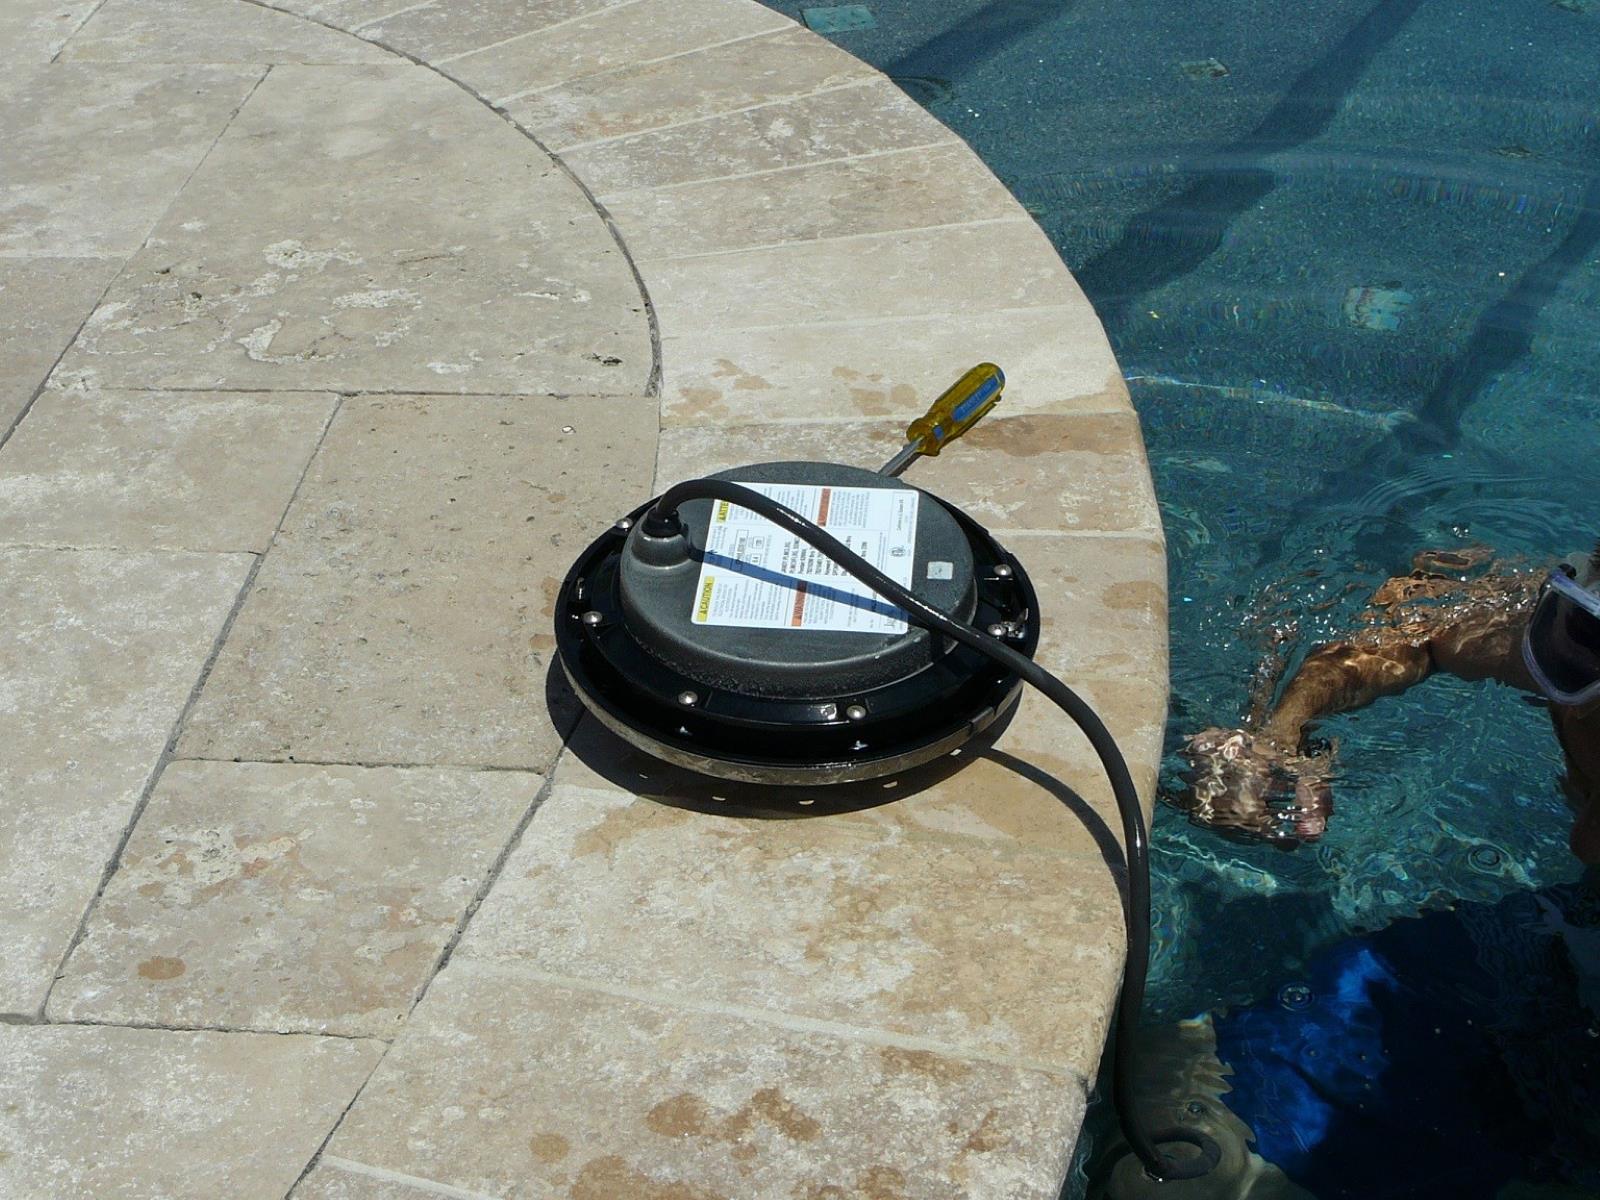
Remove Pool Light Fixture
Now that the power supply to the pool light is turned off, we can begin removing the pool light fixture. Follow these step-by-step instructions:
- Access the pool light fixture: Depending on the design of your pool, the access to the pool light fixture may vary. Some pools have a dedicated access panel, while others require you to remove a screw-on cover or unscrew a lens cover. Refer to your pool’s manual or consult a professional to determine the correct method of accessing the pool light fixture.
- Unscrew the pool light fixture: Use a screwdriver or socket wrench to carefully unscrew the screws or bolts securing the pool light fixture in place. Set aside the screws/bolts in a safe location, as you will need them later for reassembly.
- Disconnect the wiring: Once the fixture is loose, disconnect the wiring that connects it to the electrical system. Typically, there will be a junction box or wiring compartment within the fixture that houses the connections. Loosen the screws holding the wires together and carefully separate them. Take note of the wire colors and their corresponding terminals or connectors for reinstallation.
- Remove the pool light fixture: With the wiring disconnected, gently remove the pool light fixture from its housing. Be cautious not to damage any surrounding components or the pool structure itself. Set the fixture aside in a safe location for now.
- Inspect the fixture and housing: While the fixture is out, take a moment to inspect it for any signs of damage, such as corrosion or cracks. Similarly, inspect the housing to ensure it is in good condition. If any replacements are necessary, consult a professional for guidance.
By following these steps, you can safely remove the pool light fixture from the pool. Now that the fixture is out, we can move on to the next step: removing the old bulb.
Remove Old Bulb
Now that you have successfully removed the pool light fixture, it’s time to remove the old bulb. Follow these steps to safely remove the old bulb:
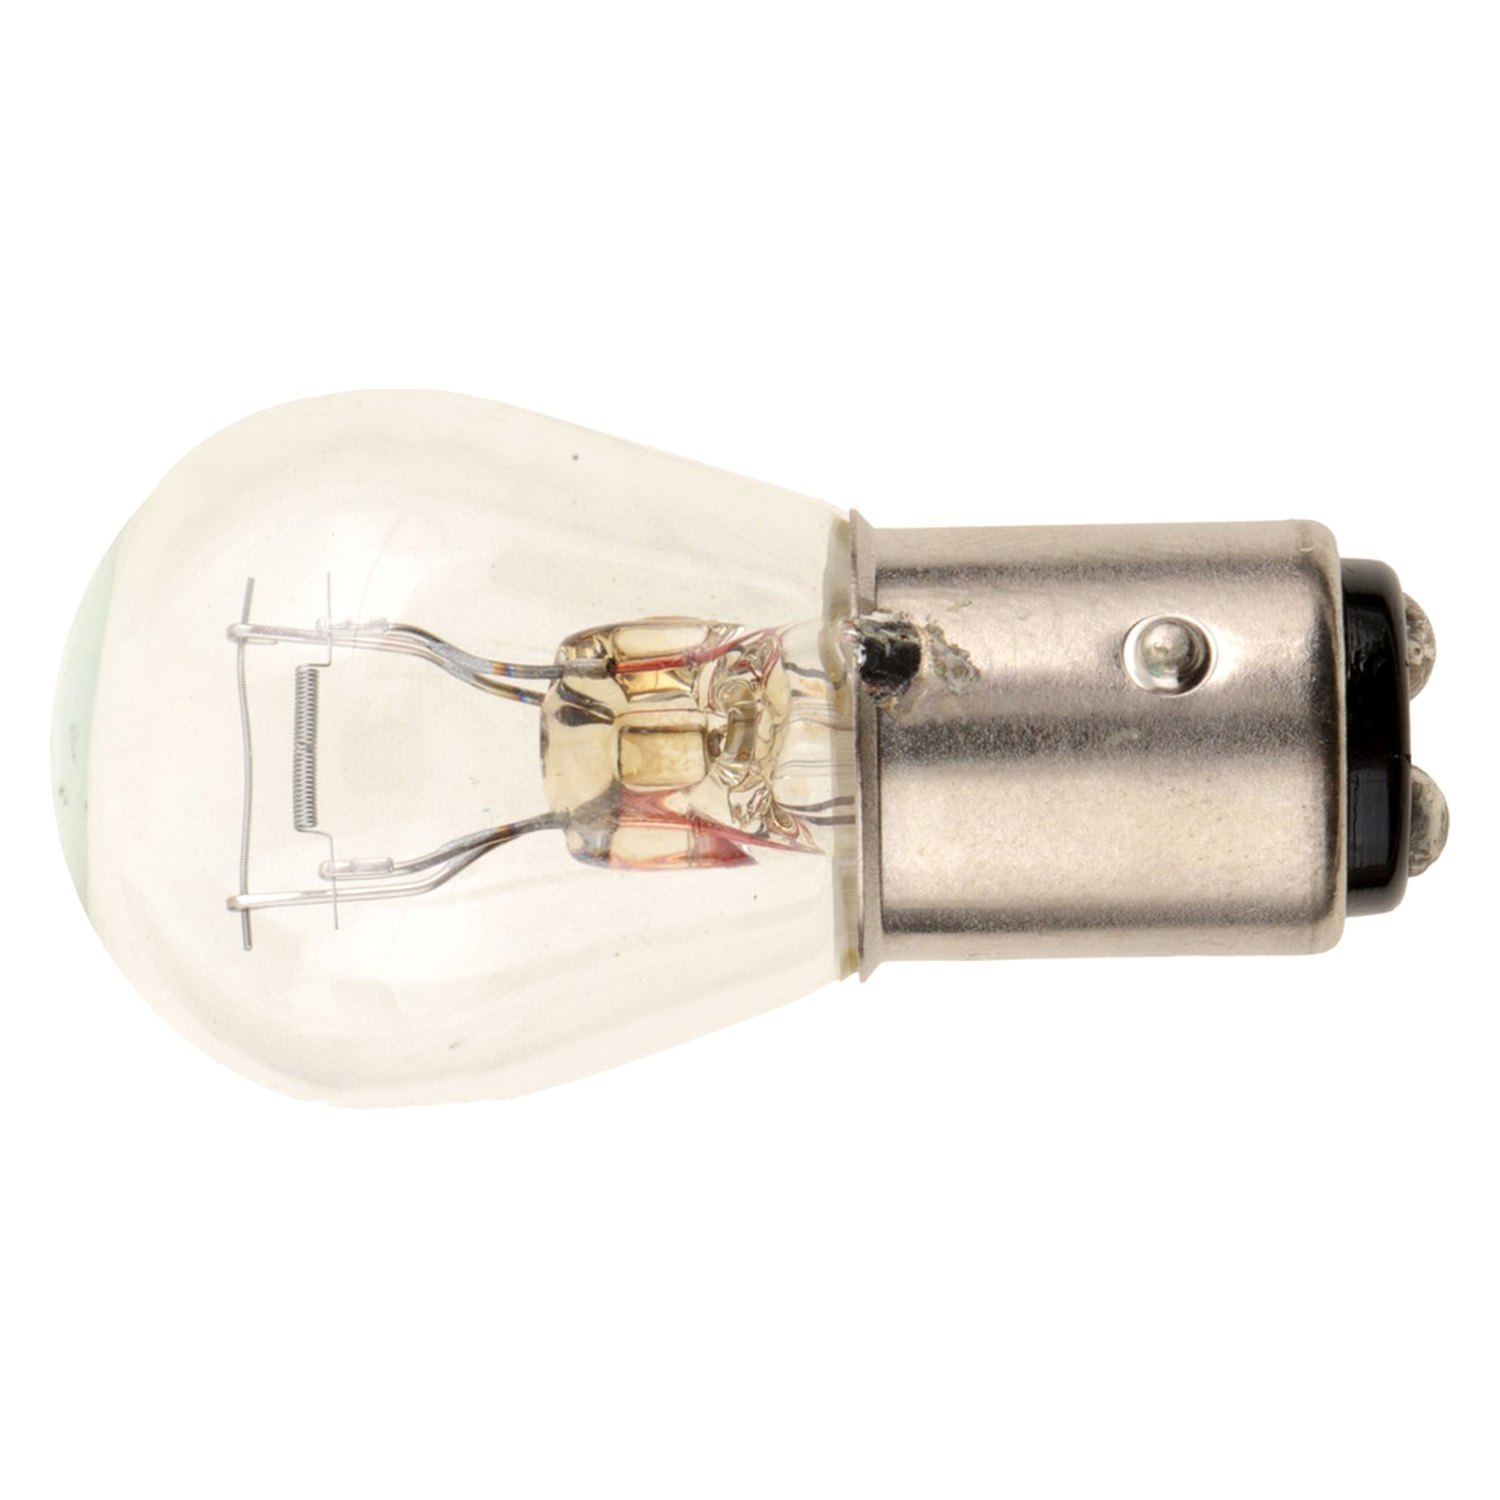
- Identify the bulb type: Take note of the specific type of bulb that is currently installed in the pool light fixture. This information will be important when selecting a replacement bulb.
- Handle with care: Pool light bulbs are delicate, so it’s important to handle them with care. Avoid touching the glass surface of the bulb with bare hands, as the natural oils from your skin can cause the bulb to heat unevenly and reduce its lifespan.
- Unscrew or release the bulb: Depending on the design of your pool light, the bulb may be held in place by screws or a twist-lock mechanism. If there are screws, carefully unscrew them to release the bulb. If it’s a twist-lock mechanism, gently twist the bulb counterclockwise to release it.
- Remove the old bulb: Once the bulb is no longer secured, carefully remove it from the socket. Handle it by the base and avoid twisting or forcing it, as this can cause damage or breakage.
- Dispose of the old bulb: Dispose of the old bulb according to your local regulations. In many areas, pool light bulbs must be recycled or disposed of as hazardous waste due to their small traces of mercury. Check with your local waste management facility for proper disposal methods.
By following these steps, you can safely remove the old bulb from the pool light fixture. Now that the old bulb is out, we can move on to the next step: installing the new bulb.
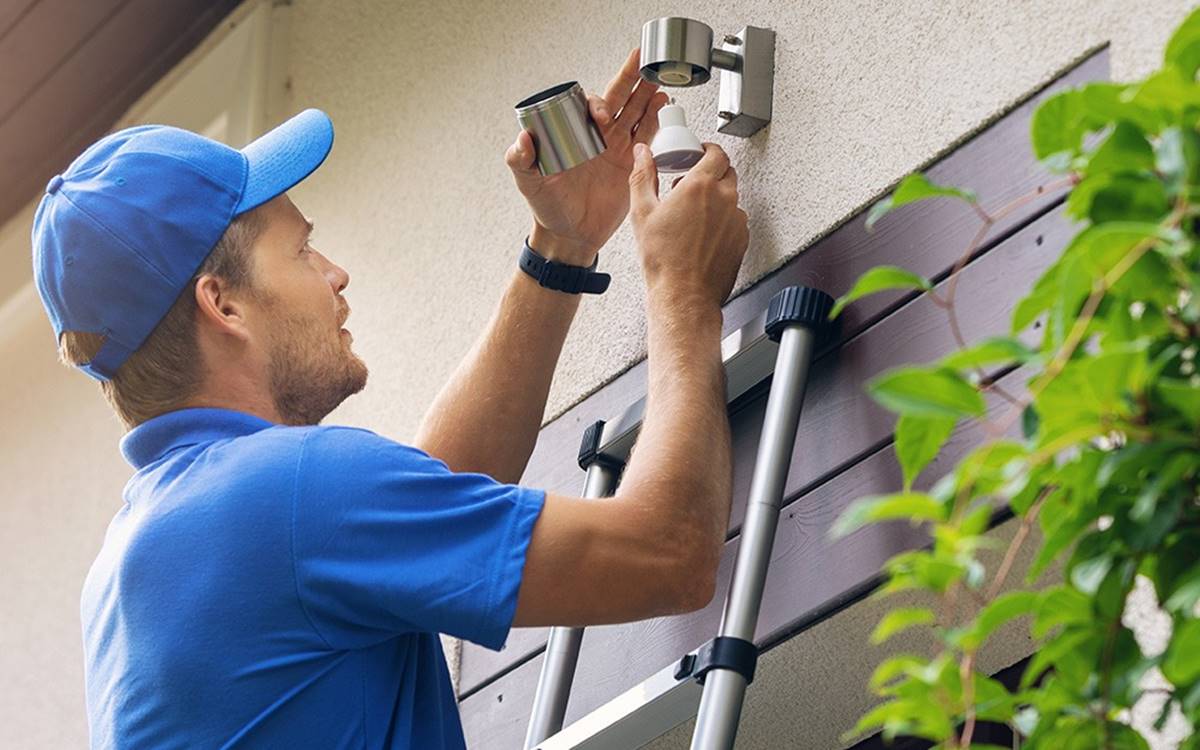
Before replacing a pool light bulb, make sure to turn off the power to the light at the circuit breaker. Use a flathead screwdriver to remove the light fixture’s screw and carefully pull out the old bulb. Replace with a new bulb of the same wattage and reassemble the fixture.
Read more: How To Replace Light Bulb In Microwave
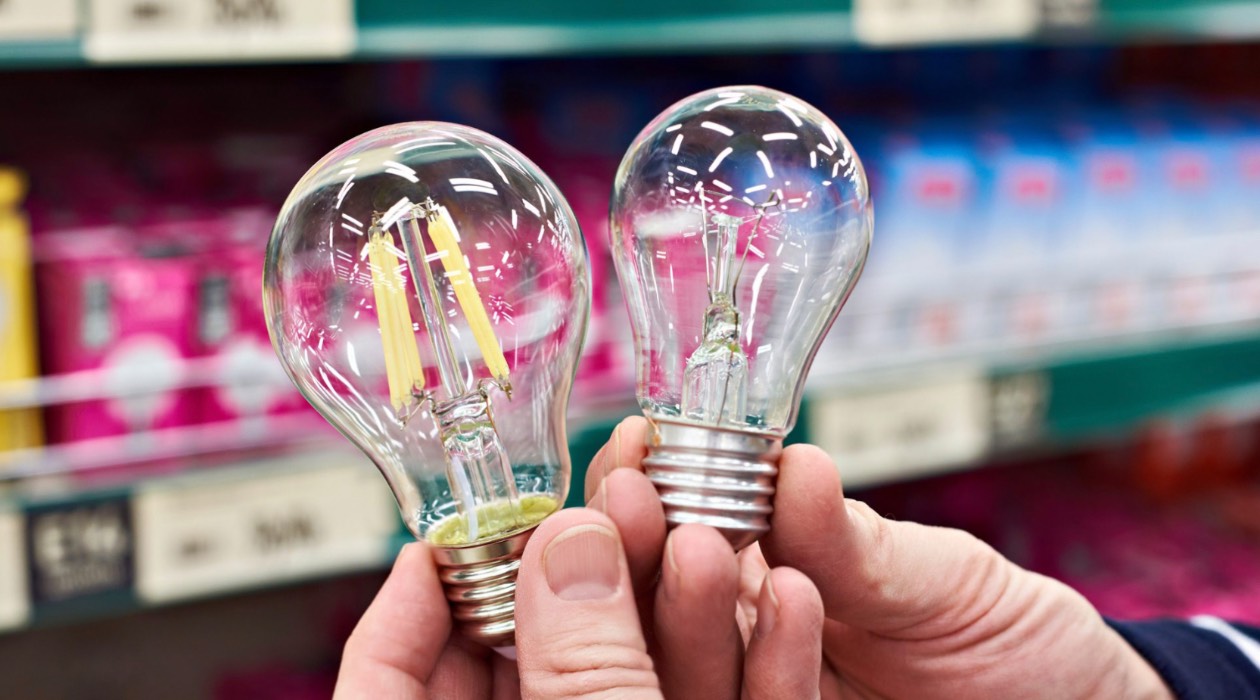
Install New Bulb
With the old bulb successfully removed, it’s time to install the new bulb in the pool light fixture. Follow these steps to ensure a proper installation:
- Select the correct replacement bulb: Before proceeding, ensure that you have the correct replacement bulb for your pool light fixture. Refer to the manufacturer’s instructions or consult a professional if you are unsure. Using the wrong type of bulb can result in improper lighting or compatibility issues.
- Handle the new bulb with care: Like the old bulb, handle the new bulb with care. Avoid touching the glass surface with bare hands. If you accidentally touch the bulb, clean it with isopropyl alcohol and a lint-free cloth to remove any oils or residues that may affect performance.
- Align the new bulb: Carefully align the new bulb with the sockets in the pool light fixture. This is essential to ensure a secure and proper connection. If there are alignment markings or notches on the bulb and fixture, make sure they match up.
- Install the new bulb: With the new bulb lined up, gently insert it into the socket. If it’s a twist-lock mechanism, twist the bulb clockwise until it is firmly in place. If it requires screws, carefully screw them in to secure the bulb. Do not overtighten, as this can damage the bulb or socket.
- Double-check the connection: Once the new bulb is installed, double-check the connection to ensure it is secure. Give the bulb a gentle tug to ensure it is properly seated and won’t come loose during operation.
- Replace any gaskets or seals: If your pool light fixture uses any gaskets or seals to prevent water from entering, make sure to inspect them for wear or damage. If necessary, replace them with new ones to maintain a watertight seal.
By following these steps, you can successfully install the new bulb in the pool light fixture. Now that the new bulb is in place, we can move on to reassembling the pool light fixture.
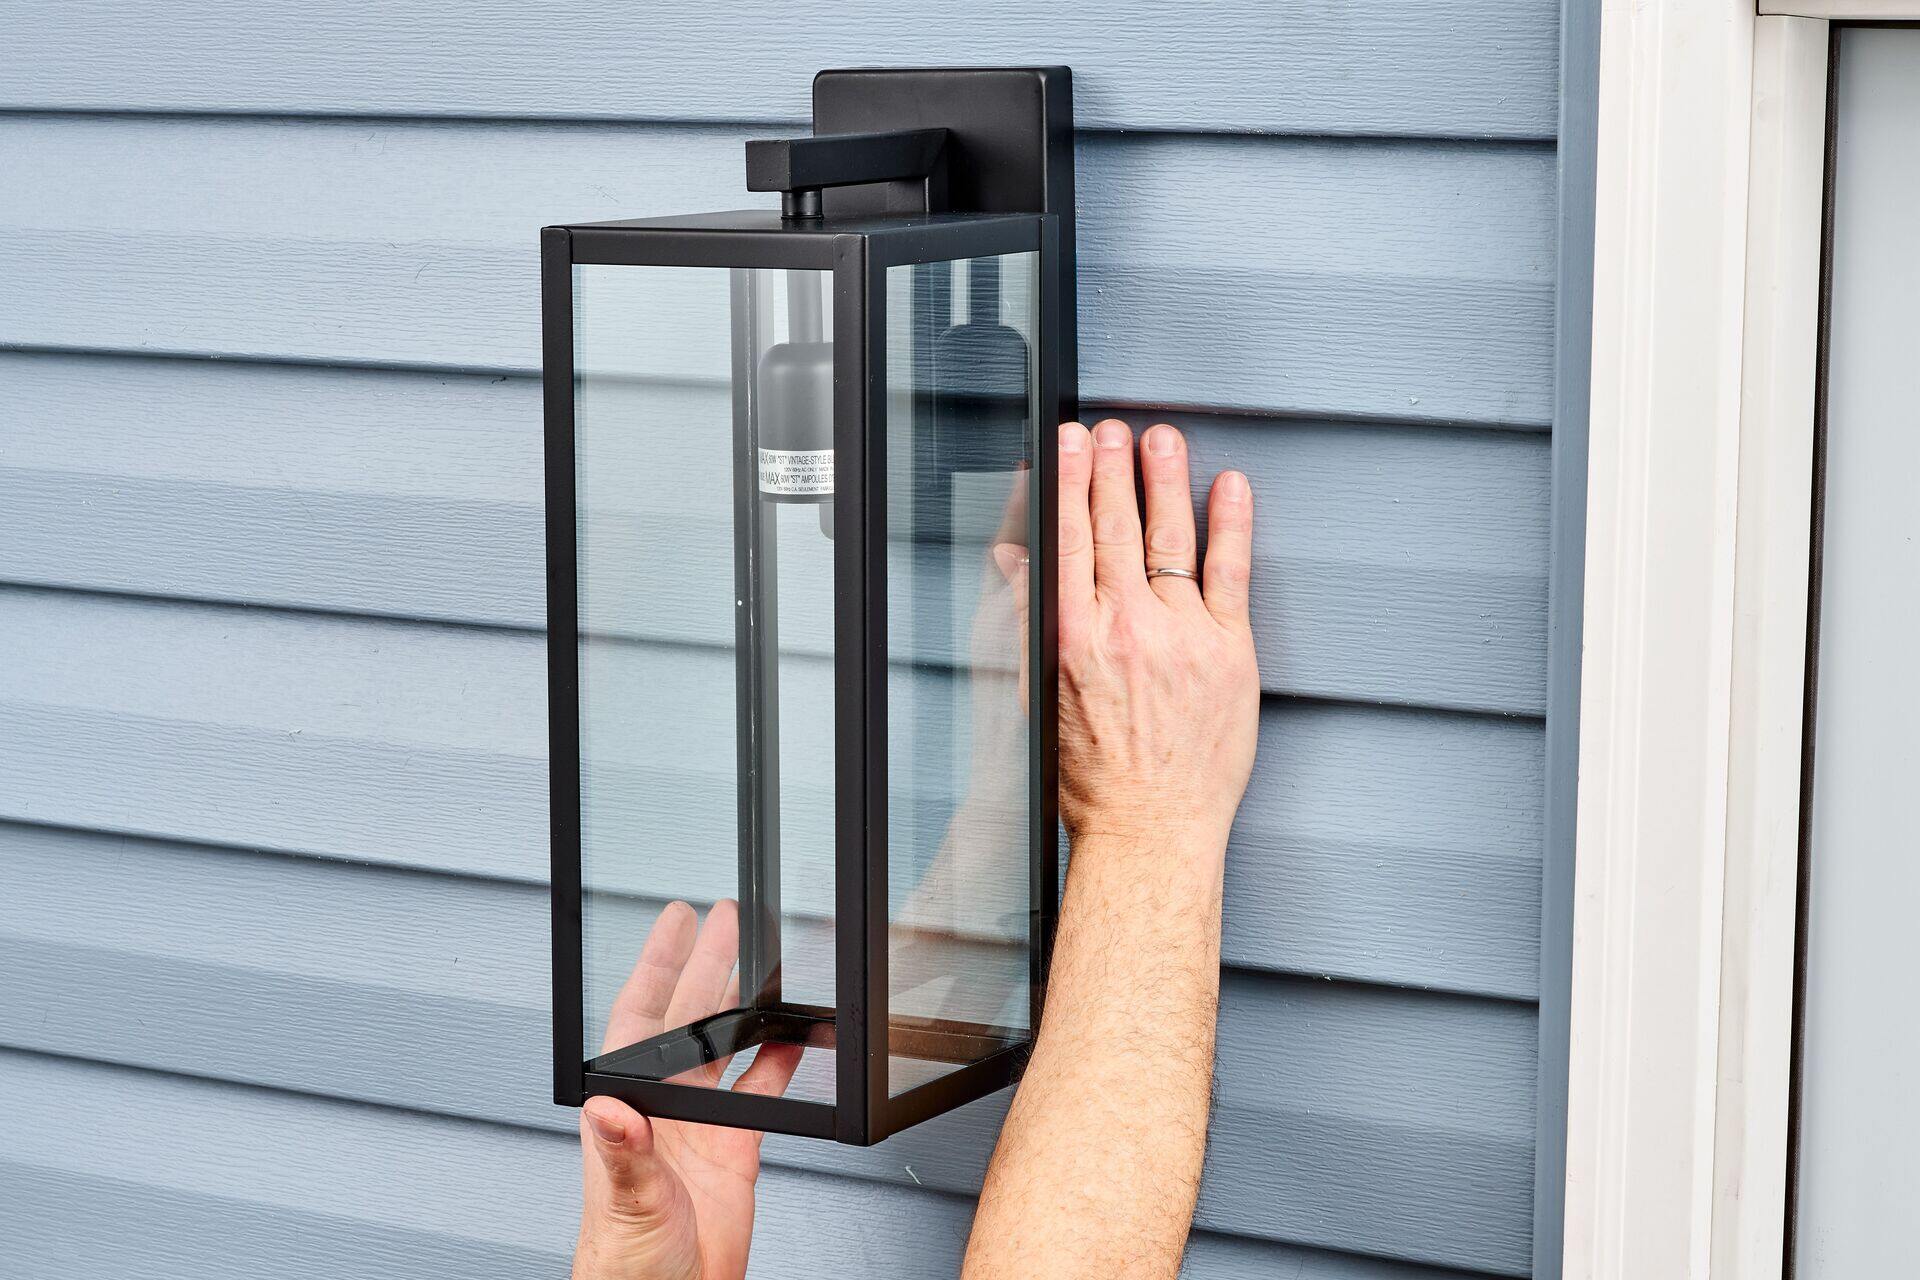
Reassemble Pool Light Fixture
Now that you have installed the new bulb in the pool light fixture, it’s time to reassemble the fixture. Follow these steps to ensure a proper reassembly:
- Inspect the fixture casing: Before reassembling, take a moment to inspect the inside of the pool light fixture casing. Look for any debris or signs of corrosion that may have accumulated during the bulb replacement process. Clean the casing if necessary.
- Place the pool light fixture back into the housing: Gently place the pool light fixture back into its housing, making sure it aligns properly. Be careful not to damage any wiring or components during this step.
- Reconnect the wiring: Once the fixture is in place, reconnect the wiring to restore the electrical connection. Match the wire colors and their corresponding terminals or connectors. Tighten the screws to secure the wiring, ensuring a proper and secure connection.
- Secure the fixture: Use the screws or bolts that were previously removed to secure the pool light fixture back in place. Tighten them securely, but do not overtighten, as it may damage the fixture or the housing.
- Replace any seals or gaskets: If your pool light fixture uses seals or gaskets to maintain a watertight seal, ensure that they are in good condition or replace them if necessary. This will help prevent water from seeping into the fixture.
- Double-check the connections: Once the fixture is reassembled, double-check all the connections to ensure they are secure. Give the fixture a gentle tug to make sure it is properly seated and will not come loose.
By following these steps, you can safely and effectively reassemble the pool light fixture. Now that the fixture is back in place, we can move on to testing the new pool light bulb.
Test the New Pool Light Bulb
Once the pool light fixture is reassembled, it’s important to test the new pool light bulb to ensure it is functioning correctly. Follow these steps to test the new bulb:
- Turn on the power: Go back to the circuit breaker and switch the power supply to the pool light back on. Double-check that the power is restored by using a voltage tester or operating the pool light switch.
- Observe the pool light: With the power on, observe the pool light to see if the new bulb is properly illuminated. Pay attention to the brightness, color, and overall functionality of the light.
- Ensure proper functions: Test all the functions of the pool light, such as dimming or color-changing options, if applicable. Make sure the new bulb is compatible with these functions and that they are working as expected.
- Check for any issues: During the testing process, be vigilant for any flickering, unusual buzzing sounds, or other signs of malfunctioning. If you notice any issues, turn off the power and double-check the installation or consult a professional for assistance.
- Make adjustments if necessary: If the pool light is not functioning properly or the light output is unsatisfactory, double-check the connections, bulb installation, and overall fixture assembly. Make any necessary adjustments or consult a professional for further troubleshooting.
By following these steps and testing the new pool light bulb, you can ensure that it is functioning correctly and providing the desired lighting effect in your pool. If everything is in working order, congratulations! You have successfully replaced the pool light bulb.
However, if you encounter any issues or are unsure of the installation process, it is recommended to seek the assistance of a qualified professional to avoid any risks or further damage.
Remember to always prioritize safety and consult the manufacturer’s instructions or consult a professional if you have any doubts. With a properly functioning pool light bulb, you can now enjoy a beautifully lit pool during your evening swims or poolside gatherings.
Conclusion
Replacing a pool light bulb is a task that requires careful attention to detail and a focus on safety. By following the step-by-step instructions outlined in this article, you can confidently and effectively replace your pool light bulb, ensuring a well-lit and inviting pool environment.
Throughout the process, it is important to prioritize safety and exercise caution when working with electricity. If you are unsure or uncomfortable performing the replacement yourself, it is always wise to seek the assistance of a qualified professional to avoid any potential risks or damage.
By properly preparing for the replacement, turning off the power to the pool light, removing the pool light fixture, replacing the old bulb with a new one, reassembling the fixture, and testing the new bulb, you can ensure a smooth and successful replacement process.
Remember to handle the pool light bulbs with care, avoiding direct contact with bare hands, and dispose of the old bulbs responsibly according to local regulations. Regularly inspecting and maintaining the pool light fixture will help prolong its lifespan and ensure optimal performance.
With a properly functioning pool light bulb, you can enjoy the ambiance, safety, and visual appeal of a well-lit pool. So go ahead and dive into your pool with confidence, knowing that you have successfully replaced the pool light bulb and created a beautiful and inviting pool atmosphere.
Happy swimming and may your pool be illuminated with brilliance!
Frequently Asked Questions about How To Replace Pool Light Bulb
Was this page helpful?
At Storables.com, we guarantee accurate and reliable information. Our content, validated by Expert Board Contributors, is crafted following stringent Editorial Policies. We're committed to providing you with well-researched, expert-backed insights for all your informational needs.


0 thoughts on “How To Replace Pool Light Bulb”