Home>Garden Essentials>How To Replace Light Bulb In Outdoor Decor
Garden Essentials
How To Replace Light Bulb In Outdoor Decor
Modified: March 7, 2024
Learn how to easily replace a light bulb in your outdoor garden decor. Our step-by-step guide will ensure a bright and beautiful space, hassle-free.
(Many of the links in this article redirect to a specific reviewed product. Your purchase of these products through affiliate links helps to generate commission for Storables.com, at no extra cost. Learn more)
Introduction
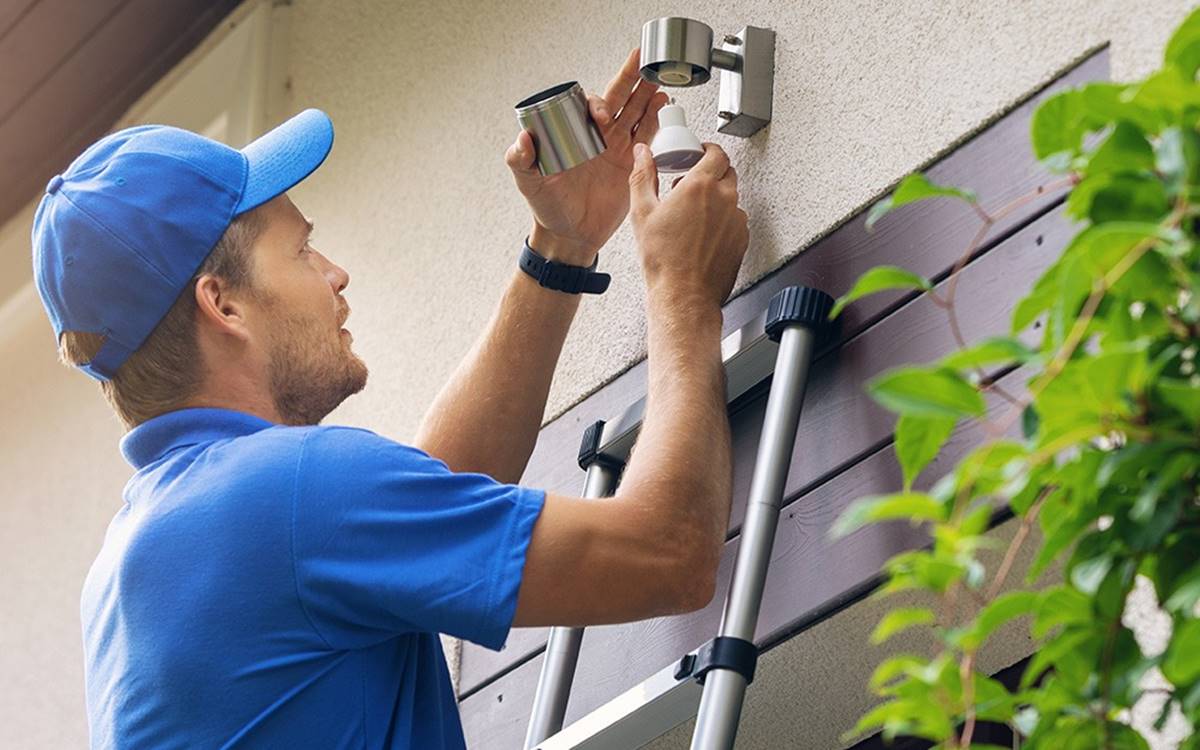
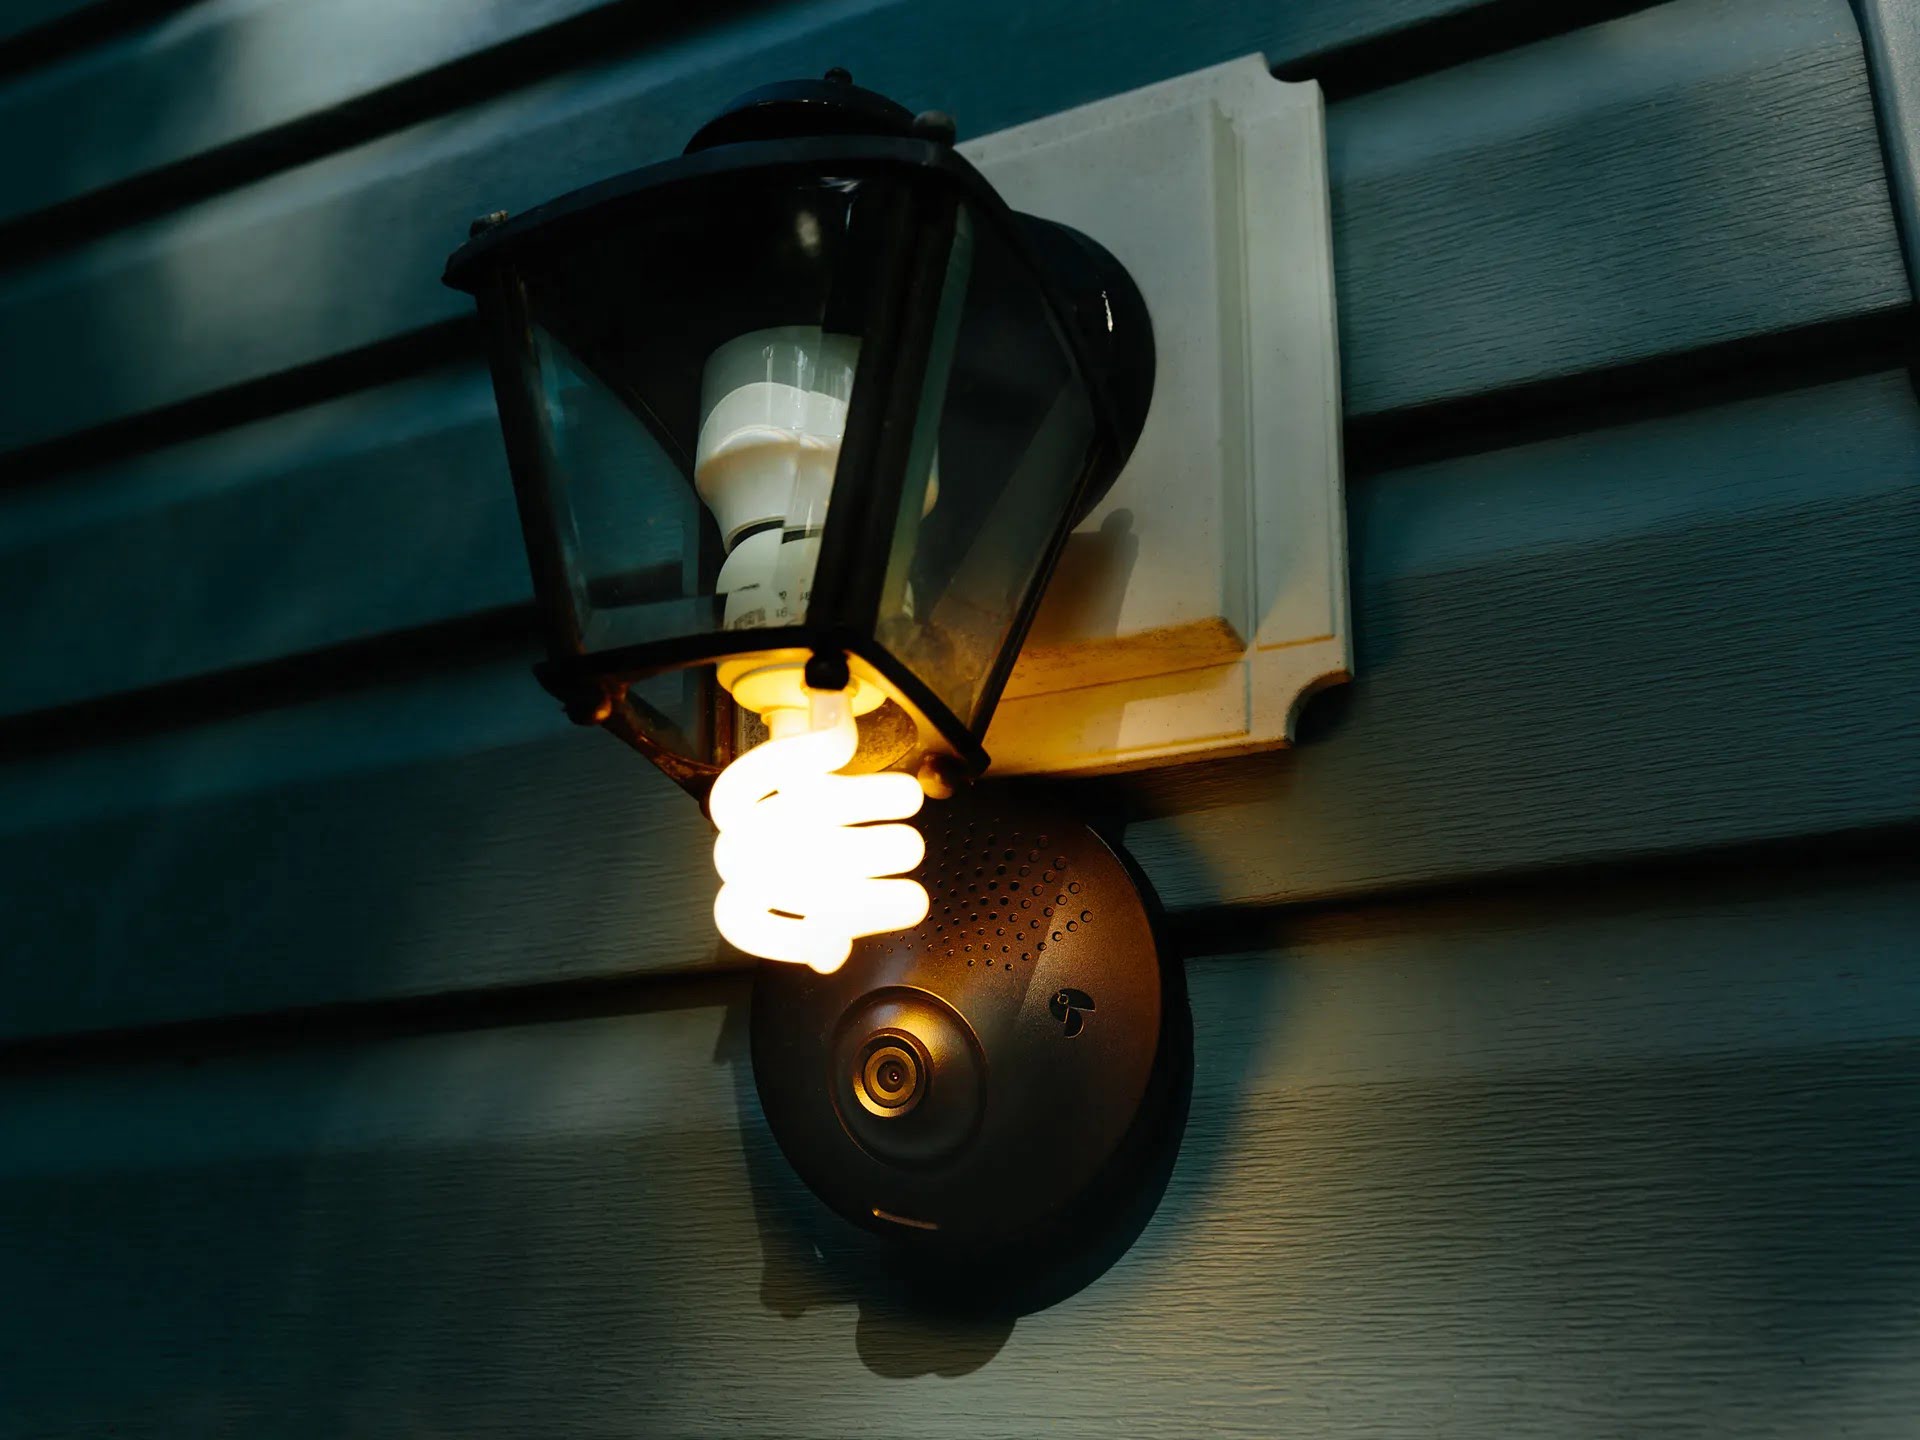
Welcome to our comprehensive guide on how to replace a light bulb in outdoor decor. Whether you have a porch light, pathway light, or any other outdoor lighting fixture, knowing how to properly change the bulbs is essential. A burned-out light bulb not only affects the functionality of the fixture but also hampers the overall aesthetic appeal of your outdoor space. By following a few simple steps, you can easily replace the light bulb and restore the beautiful glow to your outdoor decor.
In this article, we will walk you through the process of replacing a light bulb in your outdoor decor. From gathering the necessary tools to installing the new bulb, we’ve got you covered. So put on your handyman or handywoman hat, and let’s get started!
Key Takeaways:
- Don’t forget to turn off the power before replacing outdoor light bulbs to stay safe and avoid electrical accidents. Choose the right replacement bulb based on wattage, lumens, and weather resistance for optimal performance and longevity.
- By following simple steps and using the right tools, you can easily replace outdoor light bulbs and enhance the beauty of your outdoor decor. Consider energy-efficient options like LED bulbs for long-term cost savings and environmental benefits.
Read more: How To Replace Pool Light Bulb
Step 1: Gather Necessary Tools
Before you begin the light bulb replacement process, it’s important to gather all the necessary tools and equipment. Having everything on hand will make the process much smoother and ensure that you have what you need to complete the task without interruptions.
Here are the essential tools you will need:
- Step ladder or sturdy stool: Depending on the height of your outdoor lighting fixture, you may need a step ladder or sturdy stool to reach it.
- Gloves: It’s always a good idea to wear gloves when handling light bulbs. Gloves provide protection from any accidental breakage and help prevent oils from your hands from damaging the bulb.
- Replacement bulb: Make sure you have the appropriate replacement bulb for your outdoor lighting fixture. Check the wattage and type (incandescent, LED, etc.) to ensure compatibility.
- Screwdriver: Some outdoor light fixtures may require the use of a screwdriver to remove the cover or access panel. Check your specific fixture to determine if a screwdriver is necessary.
Once you have gathered all the necessary tools and equipment, you are ready to move on to the next step: turning off the power to the light fixture.
Step 2: Turn Off Power to the Light Fixture
Before you start working on replacing the light bulb, it is crucial to turn off the power to the outdoor light fixture. This step is necessary to ensure your safety and prevent any electrical accidents. Here’s how you can turn off the power:
- Locate the circuit breaker: In your main electrical panel, identify the circuit breaker that controls the power supply to the outdoor light fixture. Most circuit breakers are labeled for easy identification.
- Switch off the circuit breaker: Once you have located the correct circuit breaker, switch it off by flipping the switch to the “off” position.
- Test the light switch: Make sure the power is turned off by flipping the light switch on and off. If the light stays off, you can proceed with the light bulb replacement.
It’s important to note that if you can’t identify the specific circuit breaker that controls the outdoor light fixture, it’s best to turn off the main power to your home. This ensures that there is no electrical current flowing to any part of your house during the bulb replacement process.
Once you have confirmed that the power is turned off, you can move on to the next step: removing the damaged light bulb.
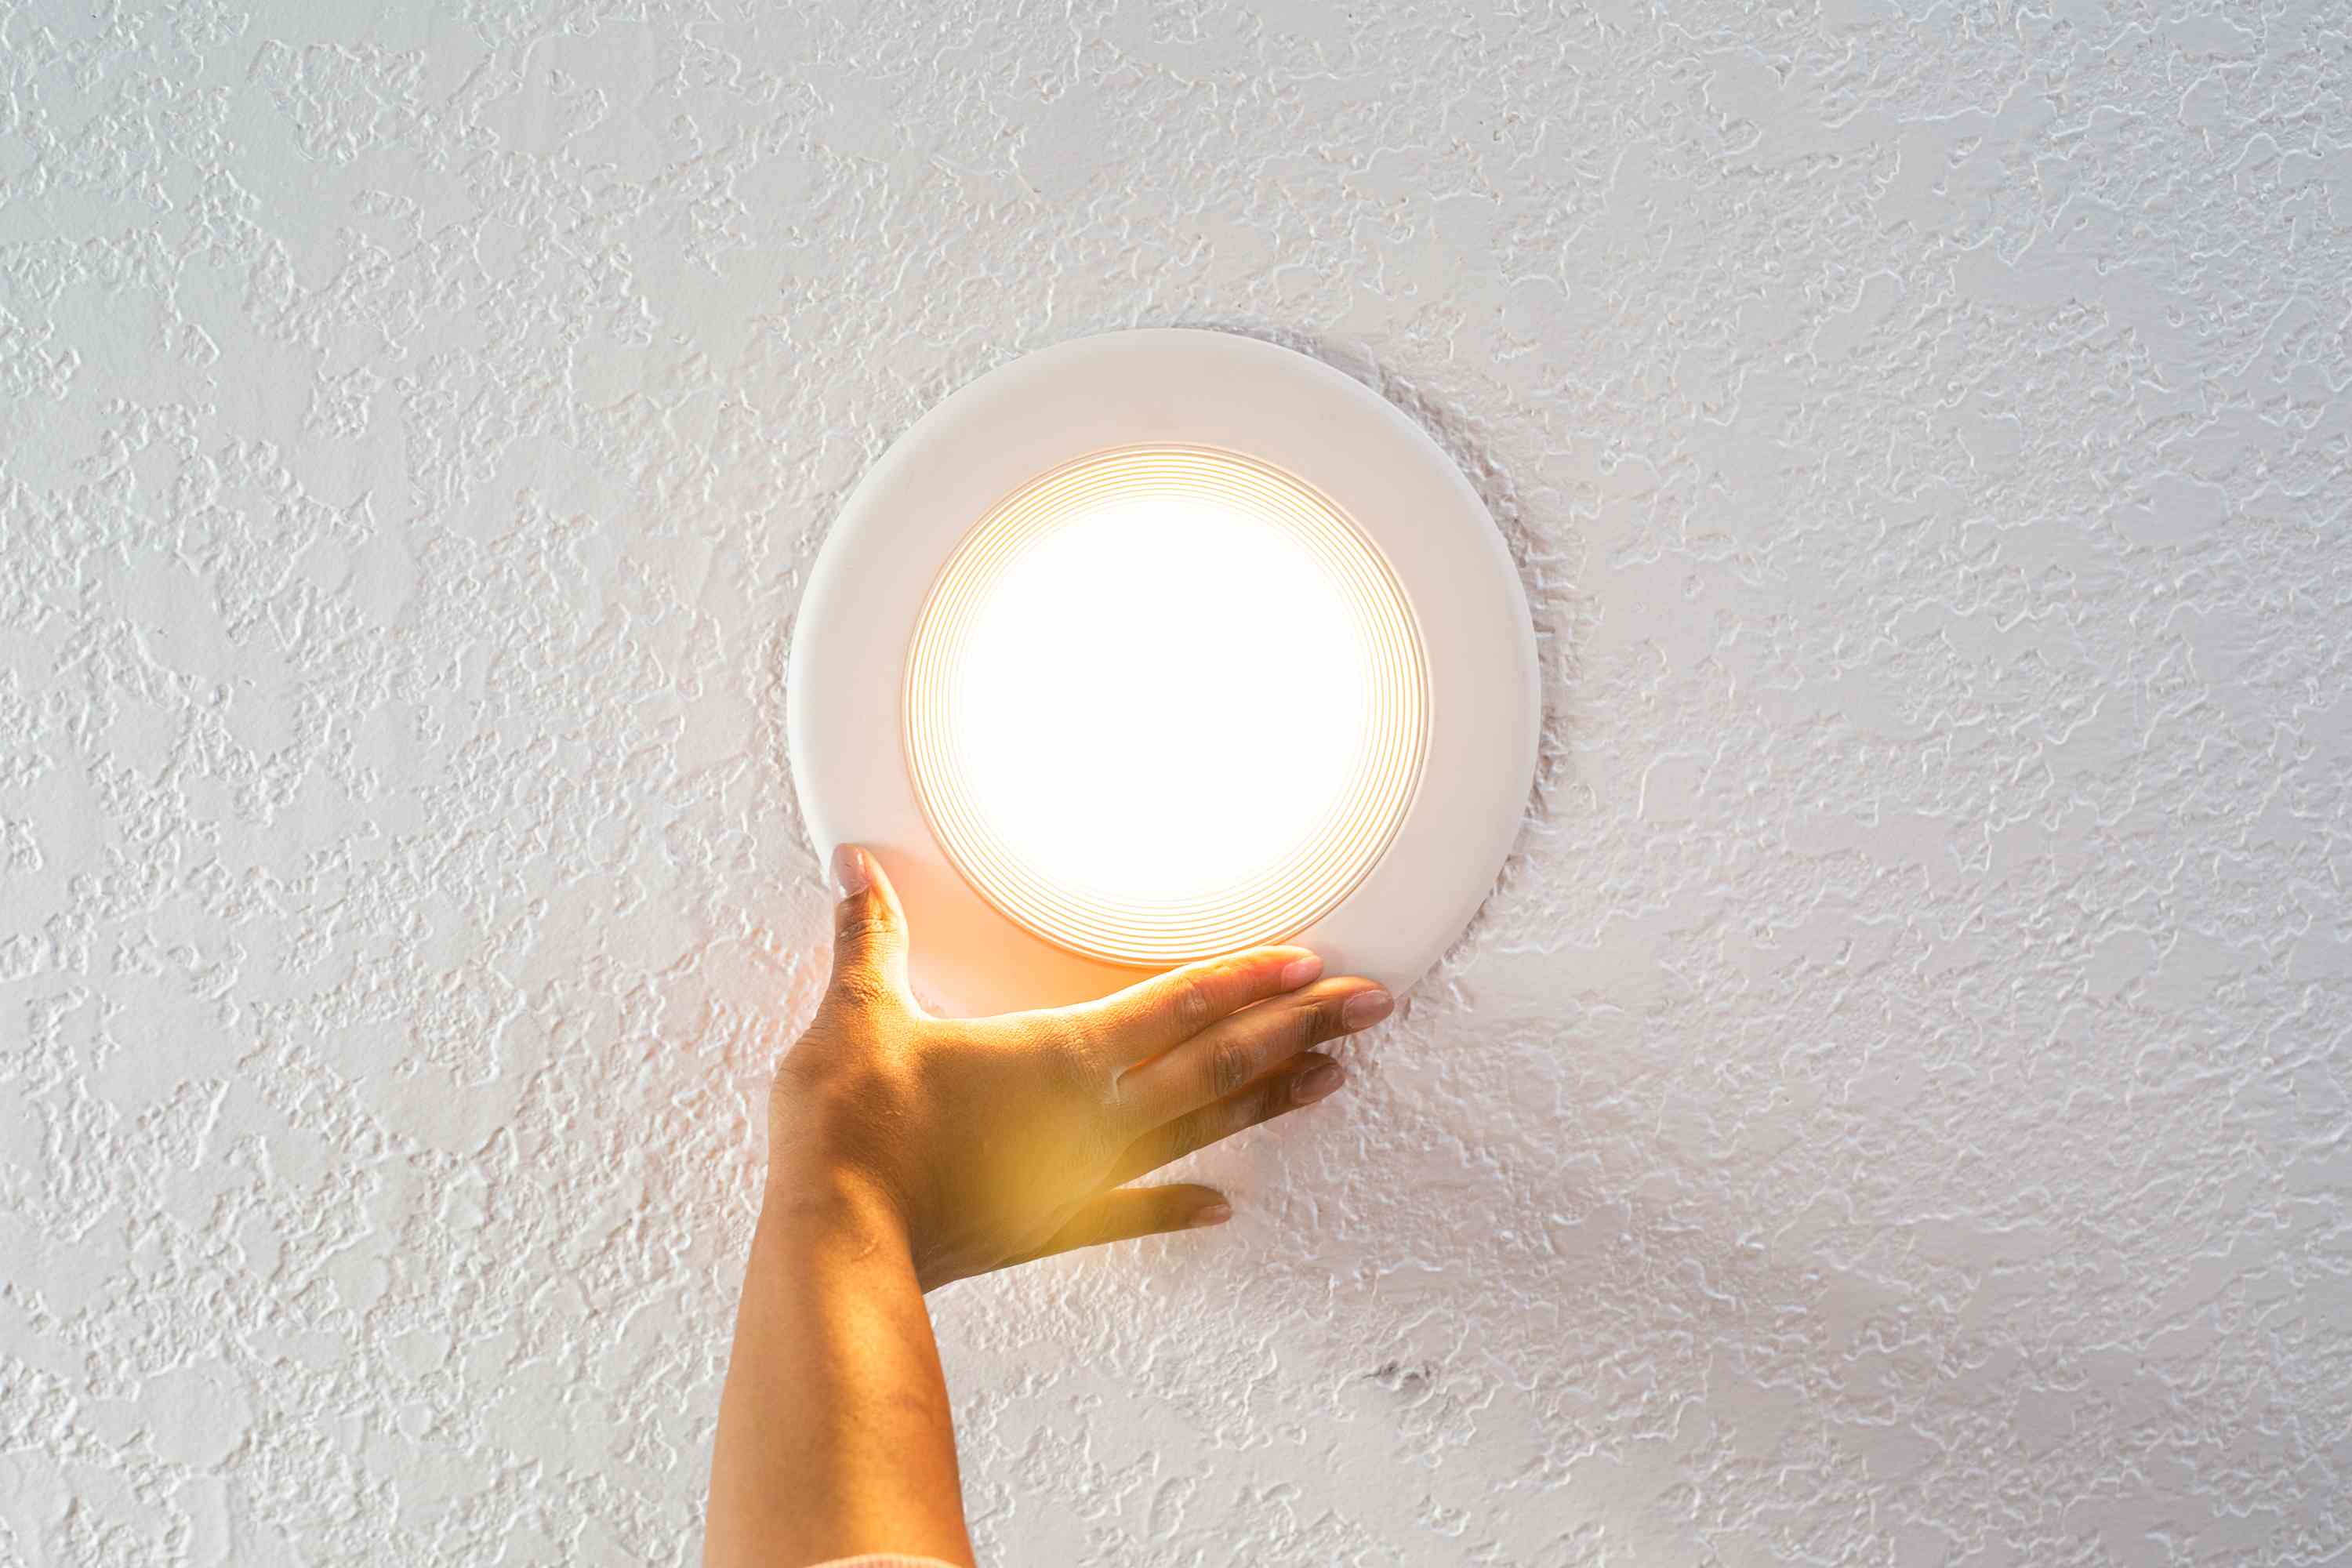
Step 3: Remove the Damaged Light Bulb
With the power to the outdoor light fixture turned off, you can now safely remove the damaged light bulb. Here’s how:
- Put on gloves: As a safety precaution, it’s recommended to wear gloves when handling the light bulb. This protects your hands from any shards or residue that may be left behind if the bulb breaks during removal.
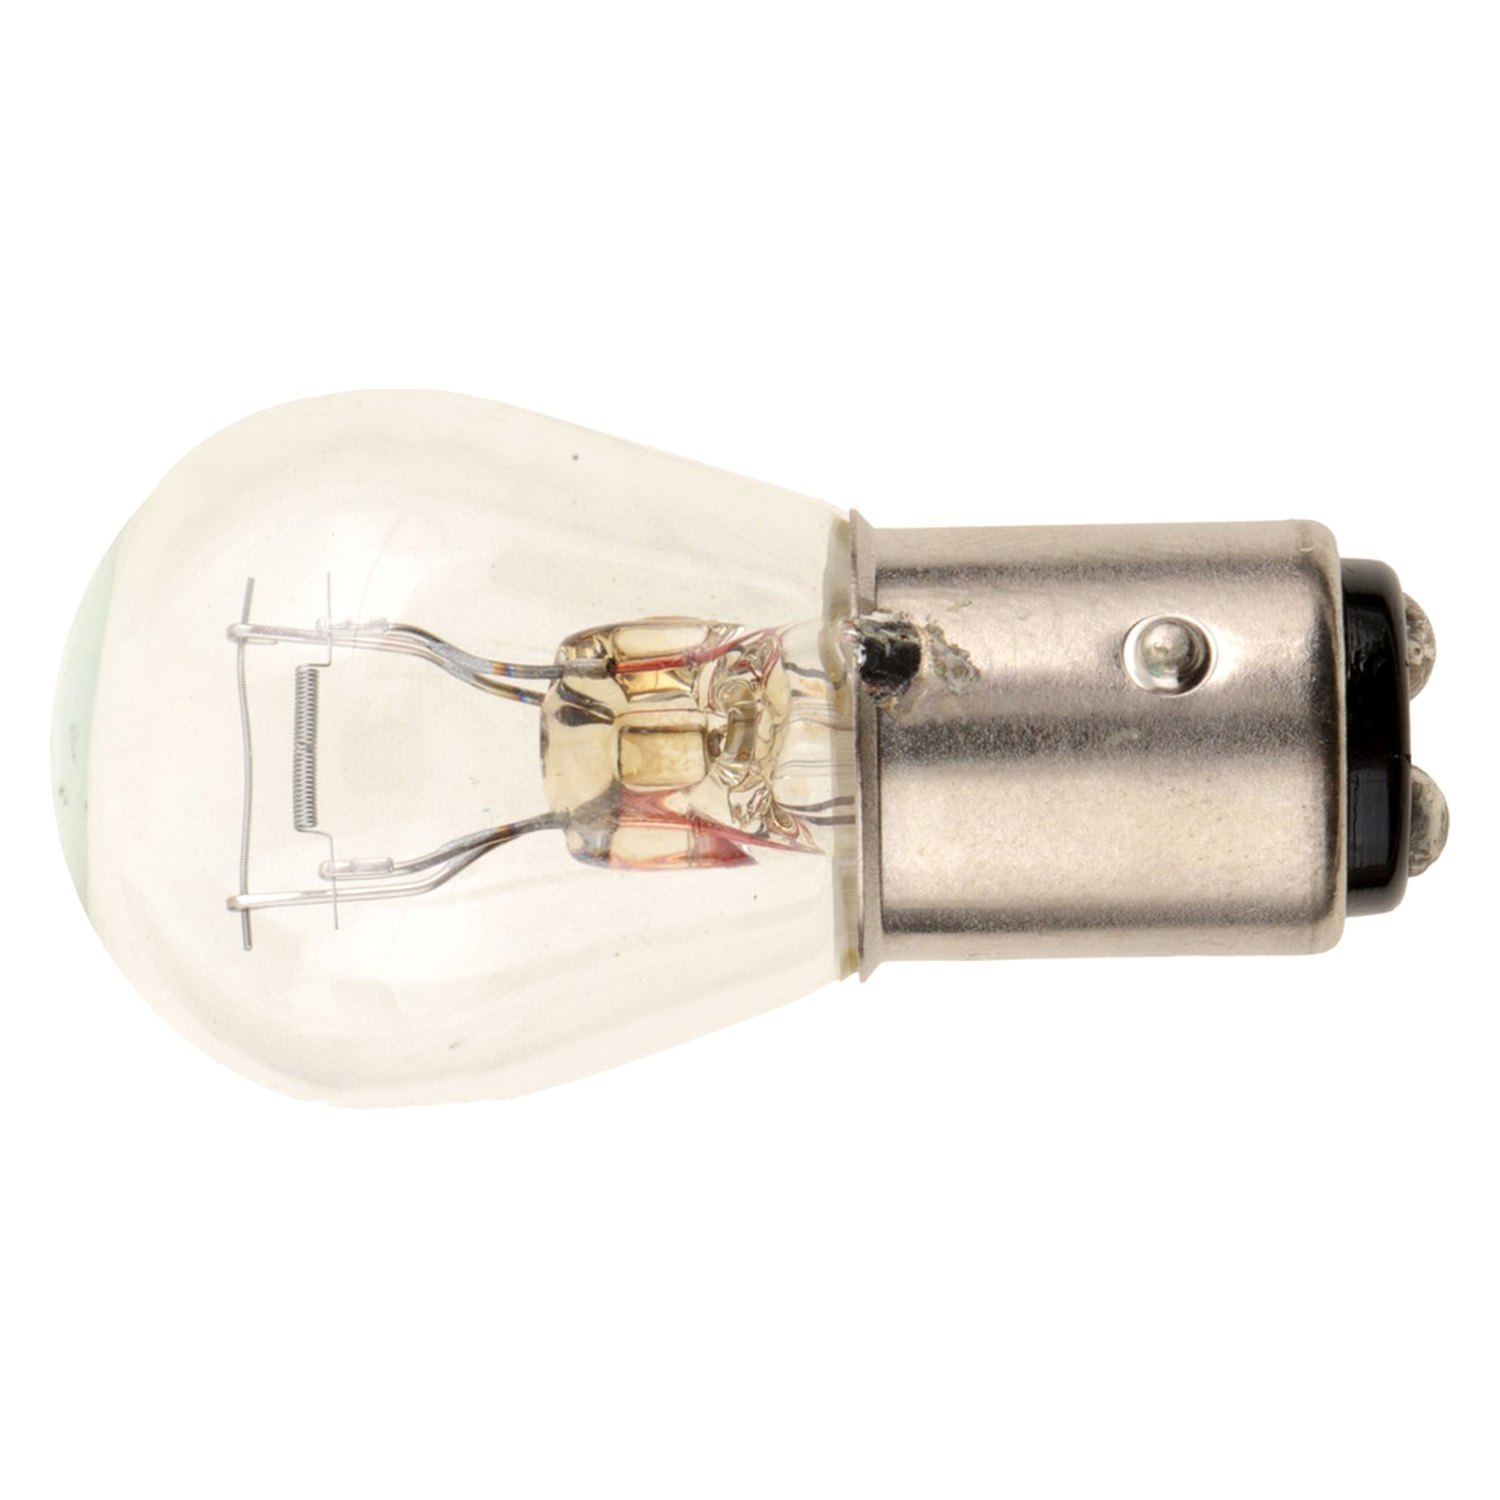
- Examine the fixture: Take a close look at the light fixture to determine how the bulb is secured. Most outdoor light fixtures have one of the following methods of bulb attachment:
- Screw-in bulb: These bulbs are threaded into the fixture and require a simple twisting motion to remove.
- Push and twist bulb: Some fixtures have bulbs that are pushed into the socket and then twisted to lock in place. To remove this type of bulb, gently push it in and give it a quarter turn counterclockwise.
- Spring-loaded bulbs: Certain fixtures may have bulbs that are held in place by spring-loaded clips. In this case, gently compress the clips and release them to remove the bulb.
- Remove the bulb: Use the appropriate method to remove the damaged light bulb from the fixture. Slowly and carefully twist or pull the bulb out of its socket, taking care not to apply excessive force that could break the bulb or damage the fixture.
- Inspect the socket: After removing the bulb, inspect the socket for any signs of damage or debris. If you notice any issues, such as bent or corroded contacts, it’s best to have a professional electrician address the problem before installing a new bulb.
Once you have successfully removed the damaged light bulb and inspected the socket, you can proceed to the next step: choosing the appropriate replacement bulb.
When replacing a light bulb in outdoor decor, make sure the power is turned off and the bulb has cooled down. Use a ladder if needed, and wear gloves to protect your hands. Unscrew the old bulb and replace it with a new one of the same wattage and type.
Step 4: Choose the Appropriate Replacement Bulb
Selecting the right replacement bulb is crucial for ensuring optimal performance and longevity of your outdoor light fixture. It’s important to choose a bulb that matches the specifications of your fixture and meets your specific lighting needs. Here are some factors to consider when selecting the appropriate replacement bulb:
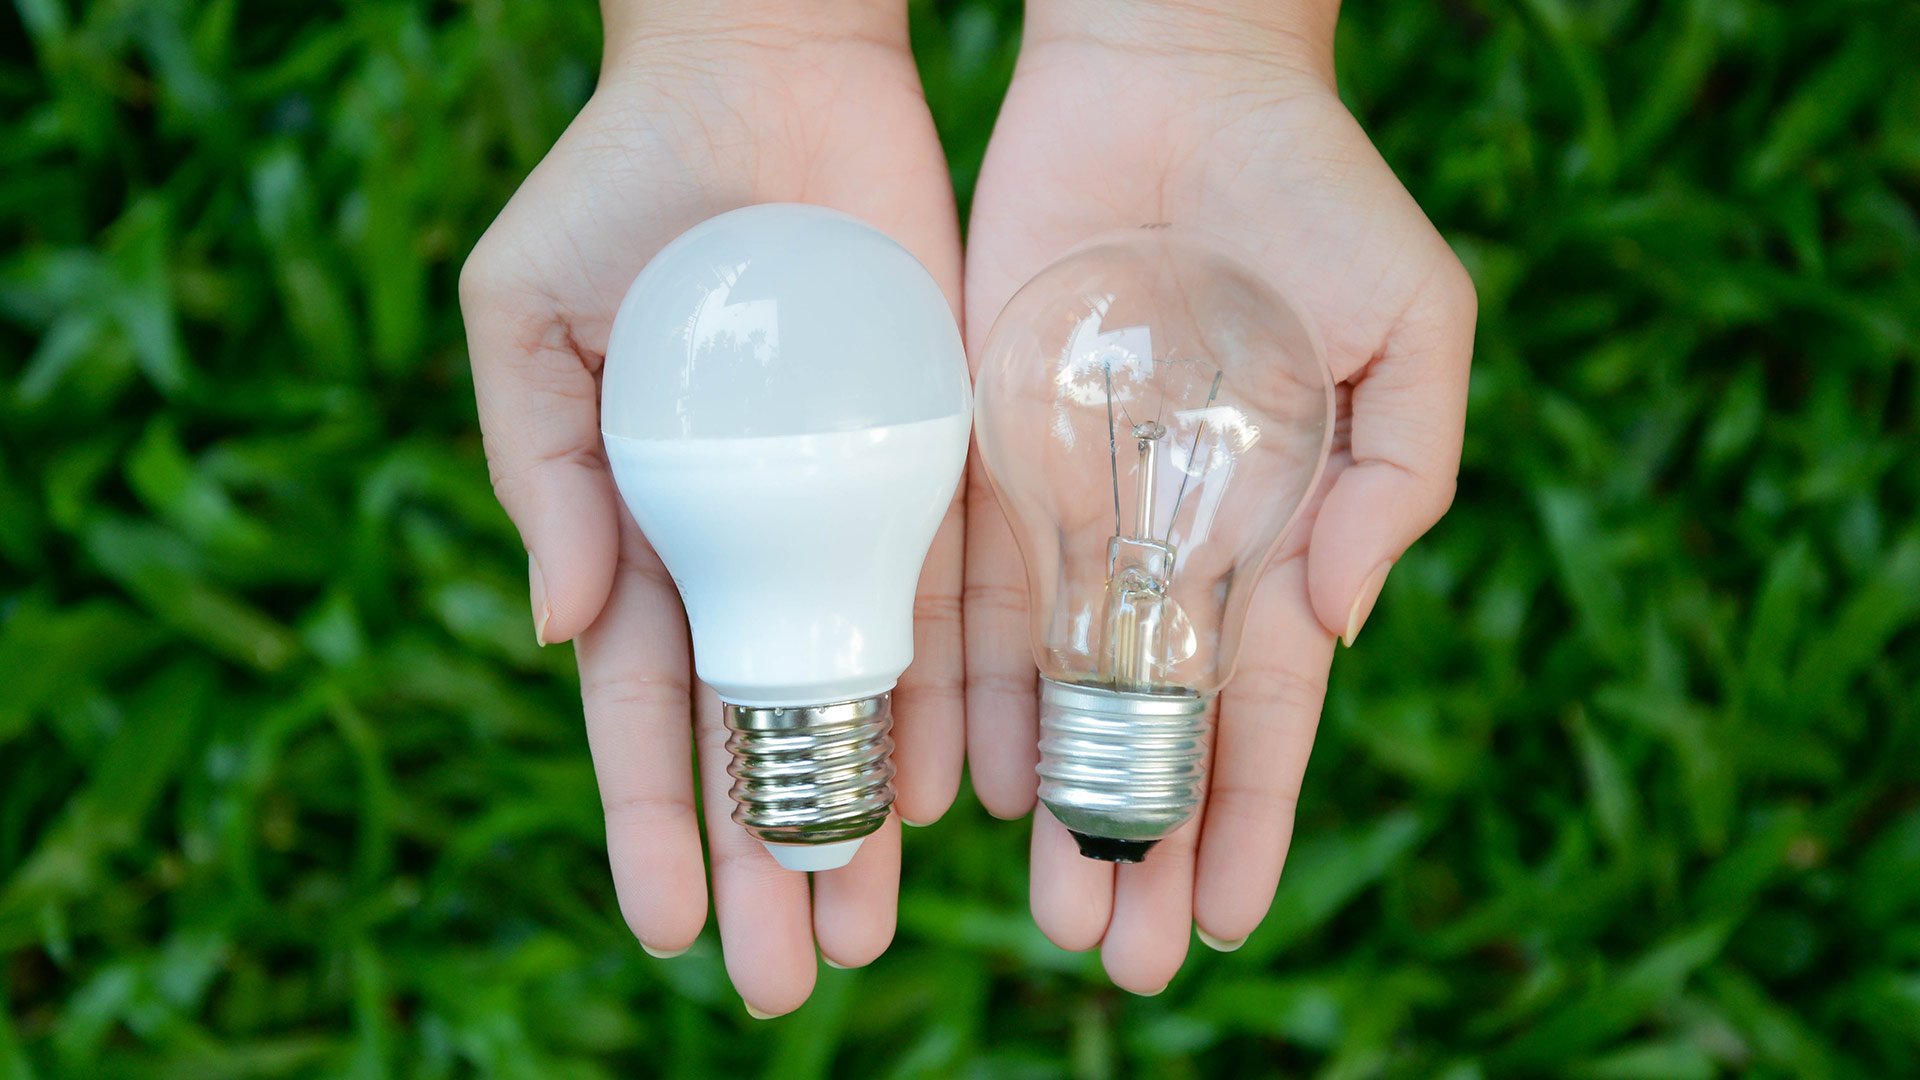
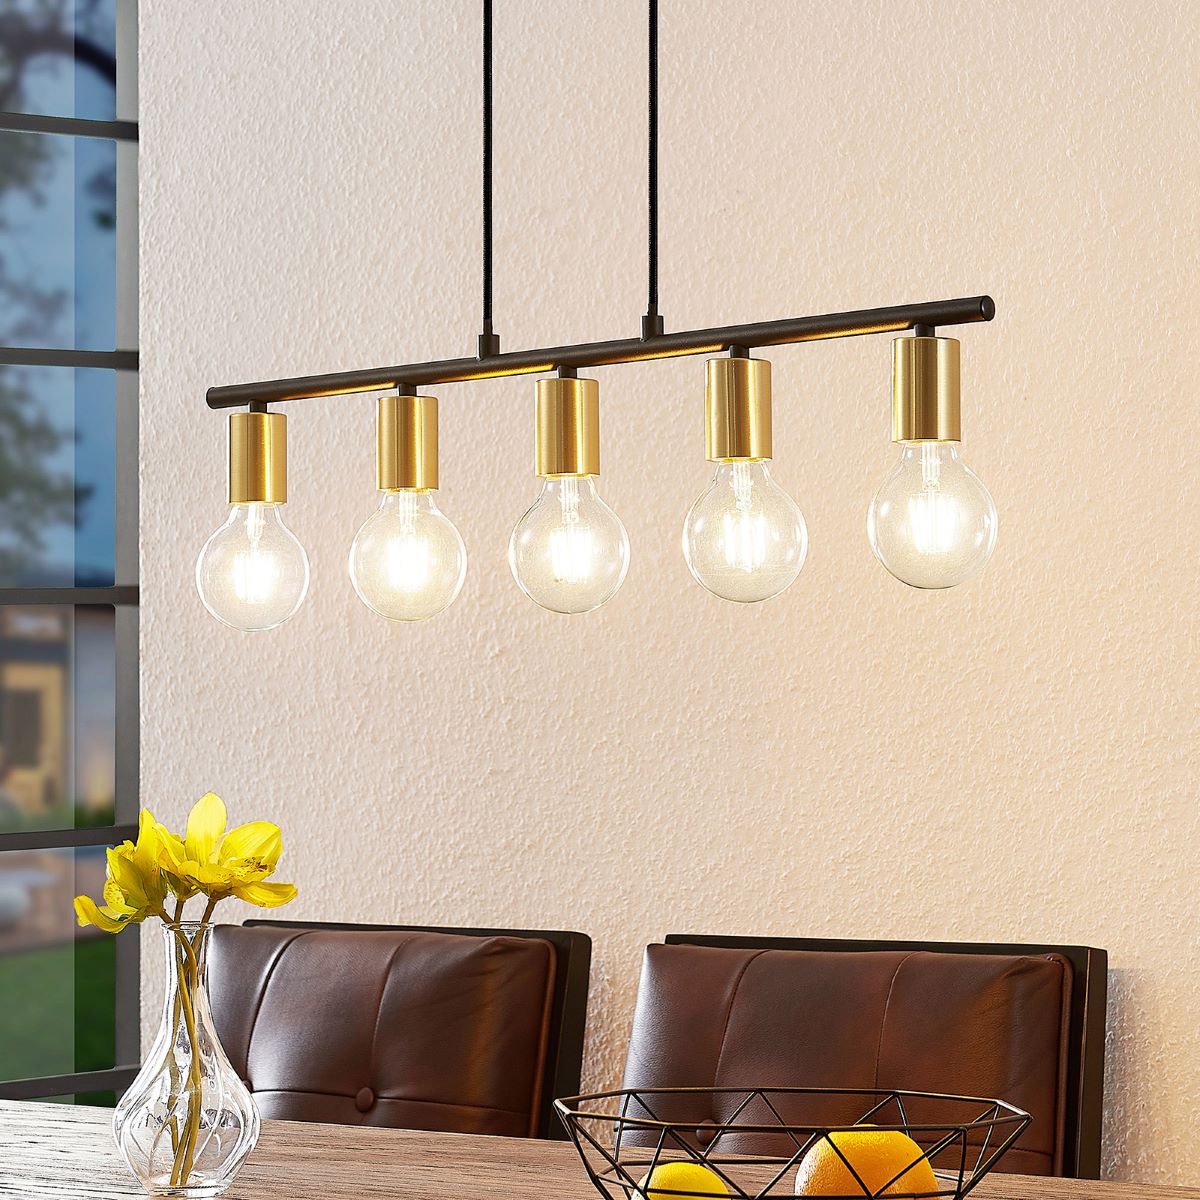
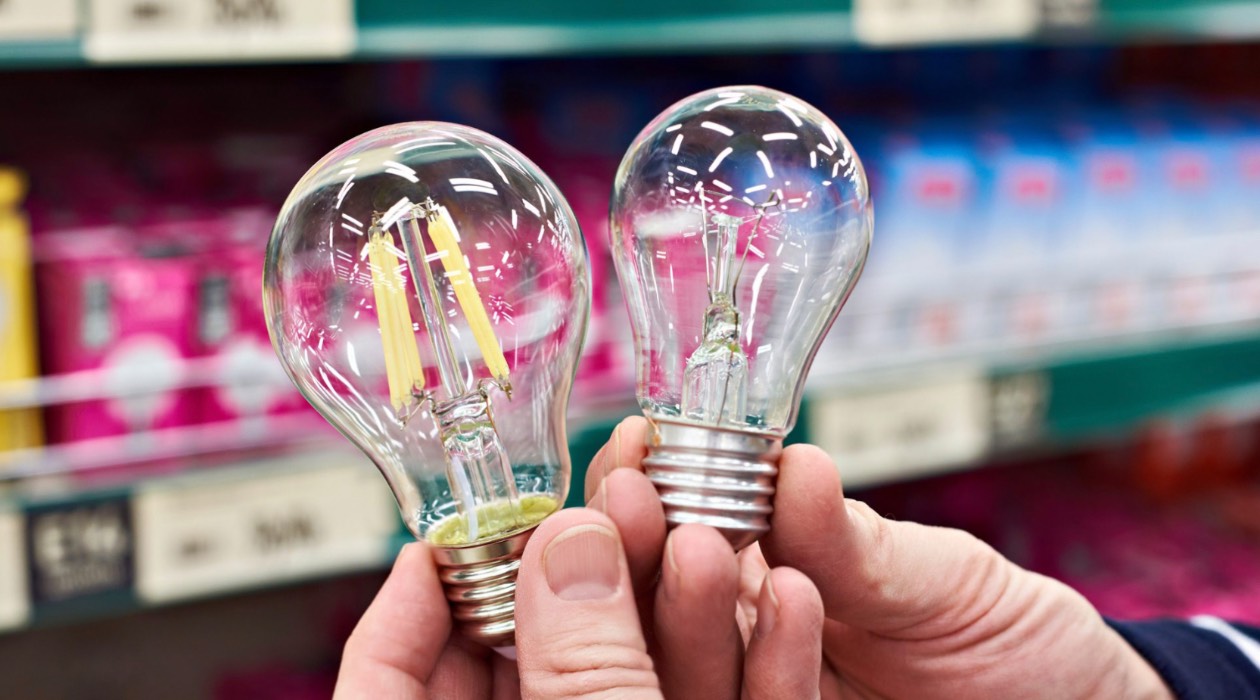
- Bulb type: Determine the type of bulb you need, such as incandescent, LED, CFL, or halogen. Each type has its own advantages and considerations in terms of energy efficiency, brightness, and lifespan.
- Wattage: Check the wattage rating of your fixture to ensure that the replacement bulb matches or is lower than the recommended wattage. Using a bulb with a higher wattage can overload the fixture and potentially cause damage.
- Lumens: Consider the desired brightness level by checking the bulb’s lumen output. Higher lumens indicate a brighter light, while lower lumens produce a softer glow. Choose a bulb that suits the intended purpose and ambiance of your outdoor space.
- Color temperature: Decide on the desired color temperature, measured in Kelvin (K), which determines the warmth or coolness of the light. Warmer temperatures (lower Kelvin) create a cozy, yellowish light, while cooler temperatures (higher Kelvin) produce a crisp, bluish light.
- Weather resistance: If your outdoor light fixture is exposed to the elements, make sure the replacement bulb is designed for outdoor use and has adequate weather resistance to withstand rain, dust, and other outdoor conditions.
Take note of the specifications and requirements of your outdoor light fixture and consult with the salesperson or refer to the manufacturer’s guidelines when choosing the right replacement bulb. Once you have the appropriate bulb, you’re ready to move on to the next step: installing the new light bulb.
Read more: How To Replace Light Bulb Socket
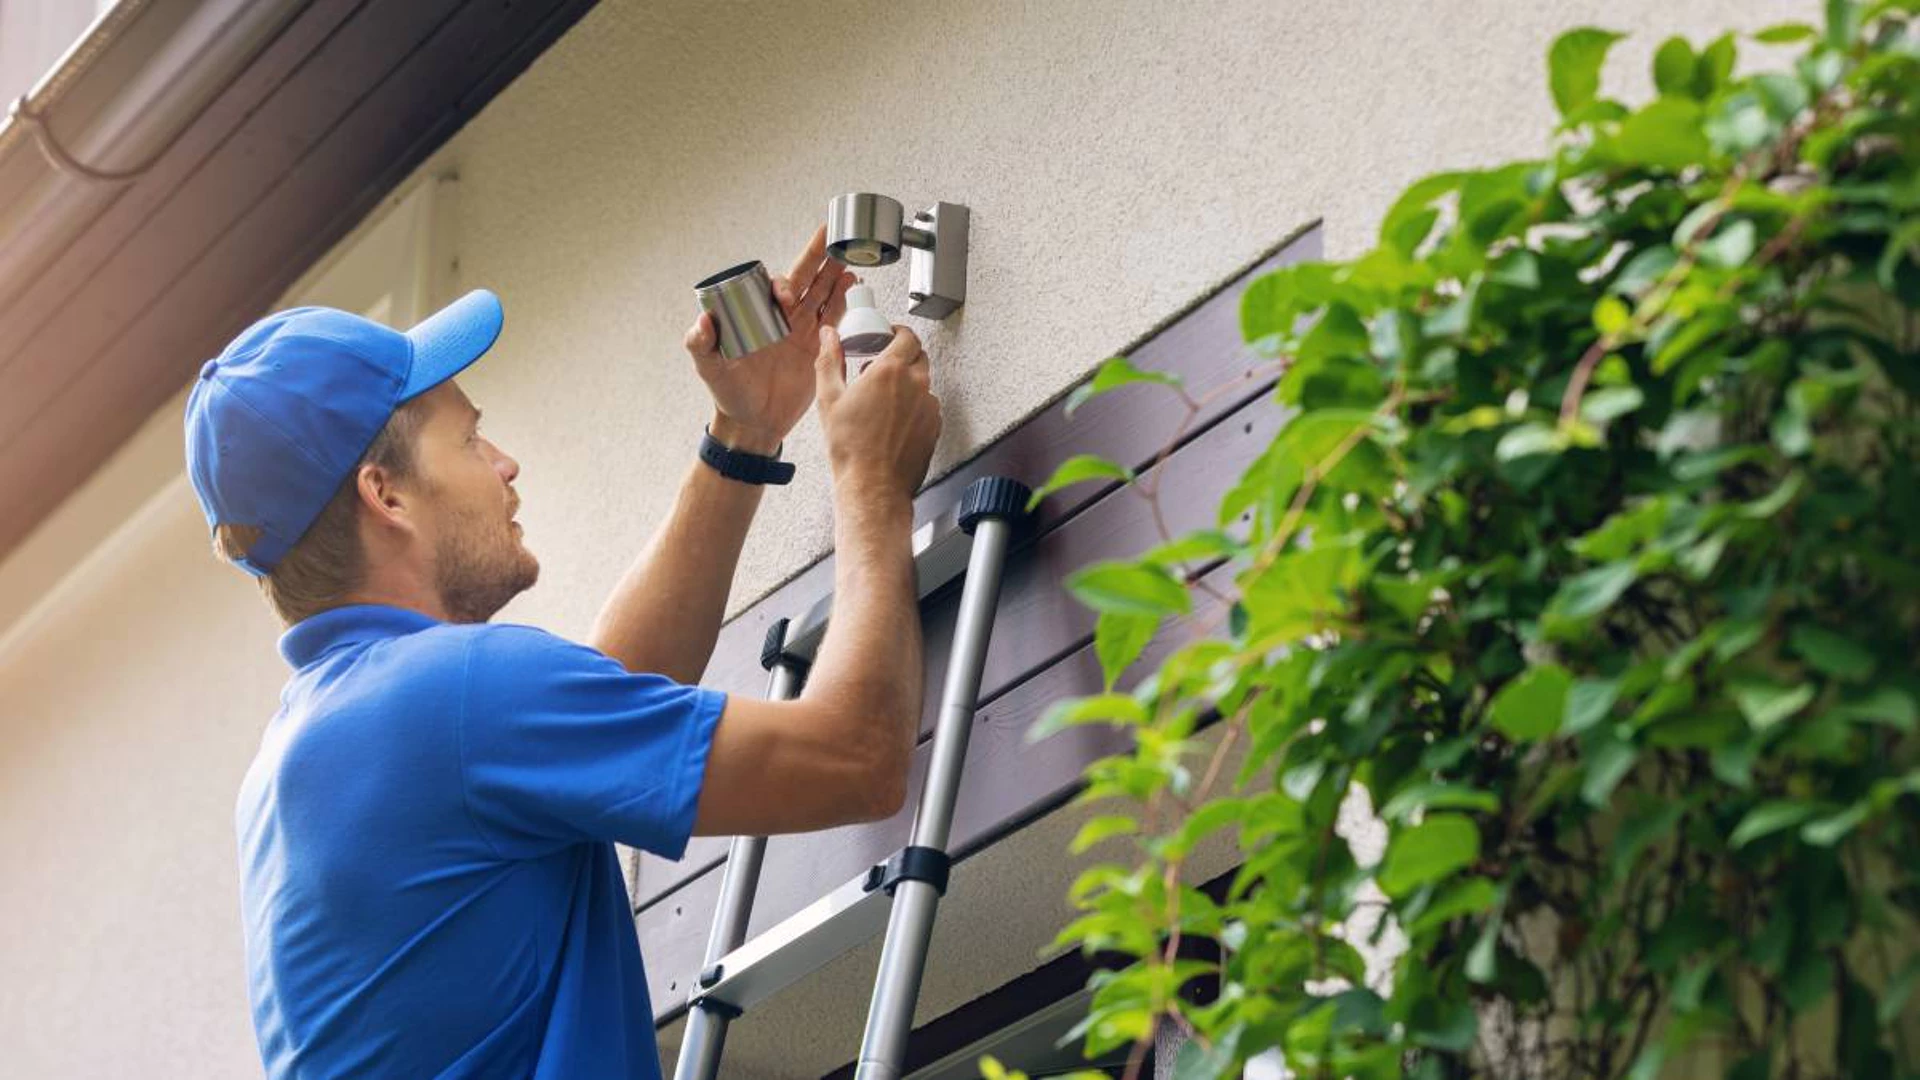
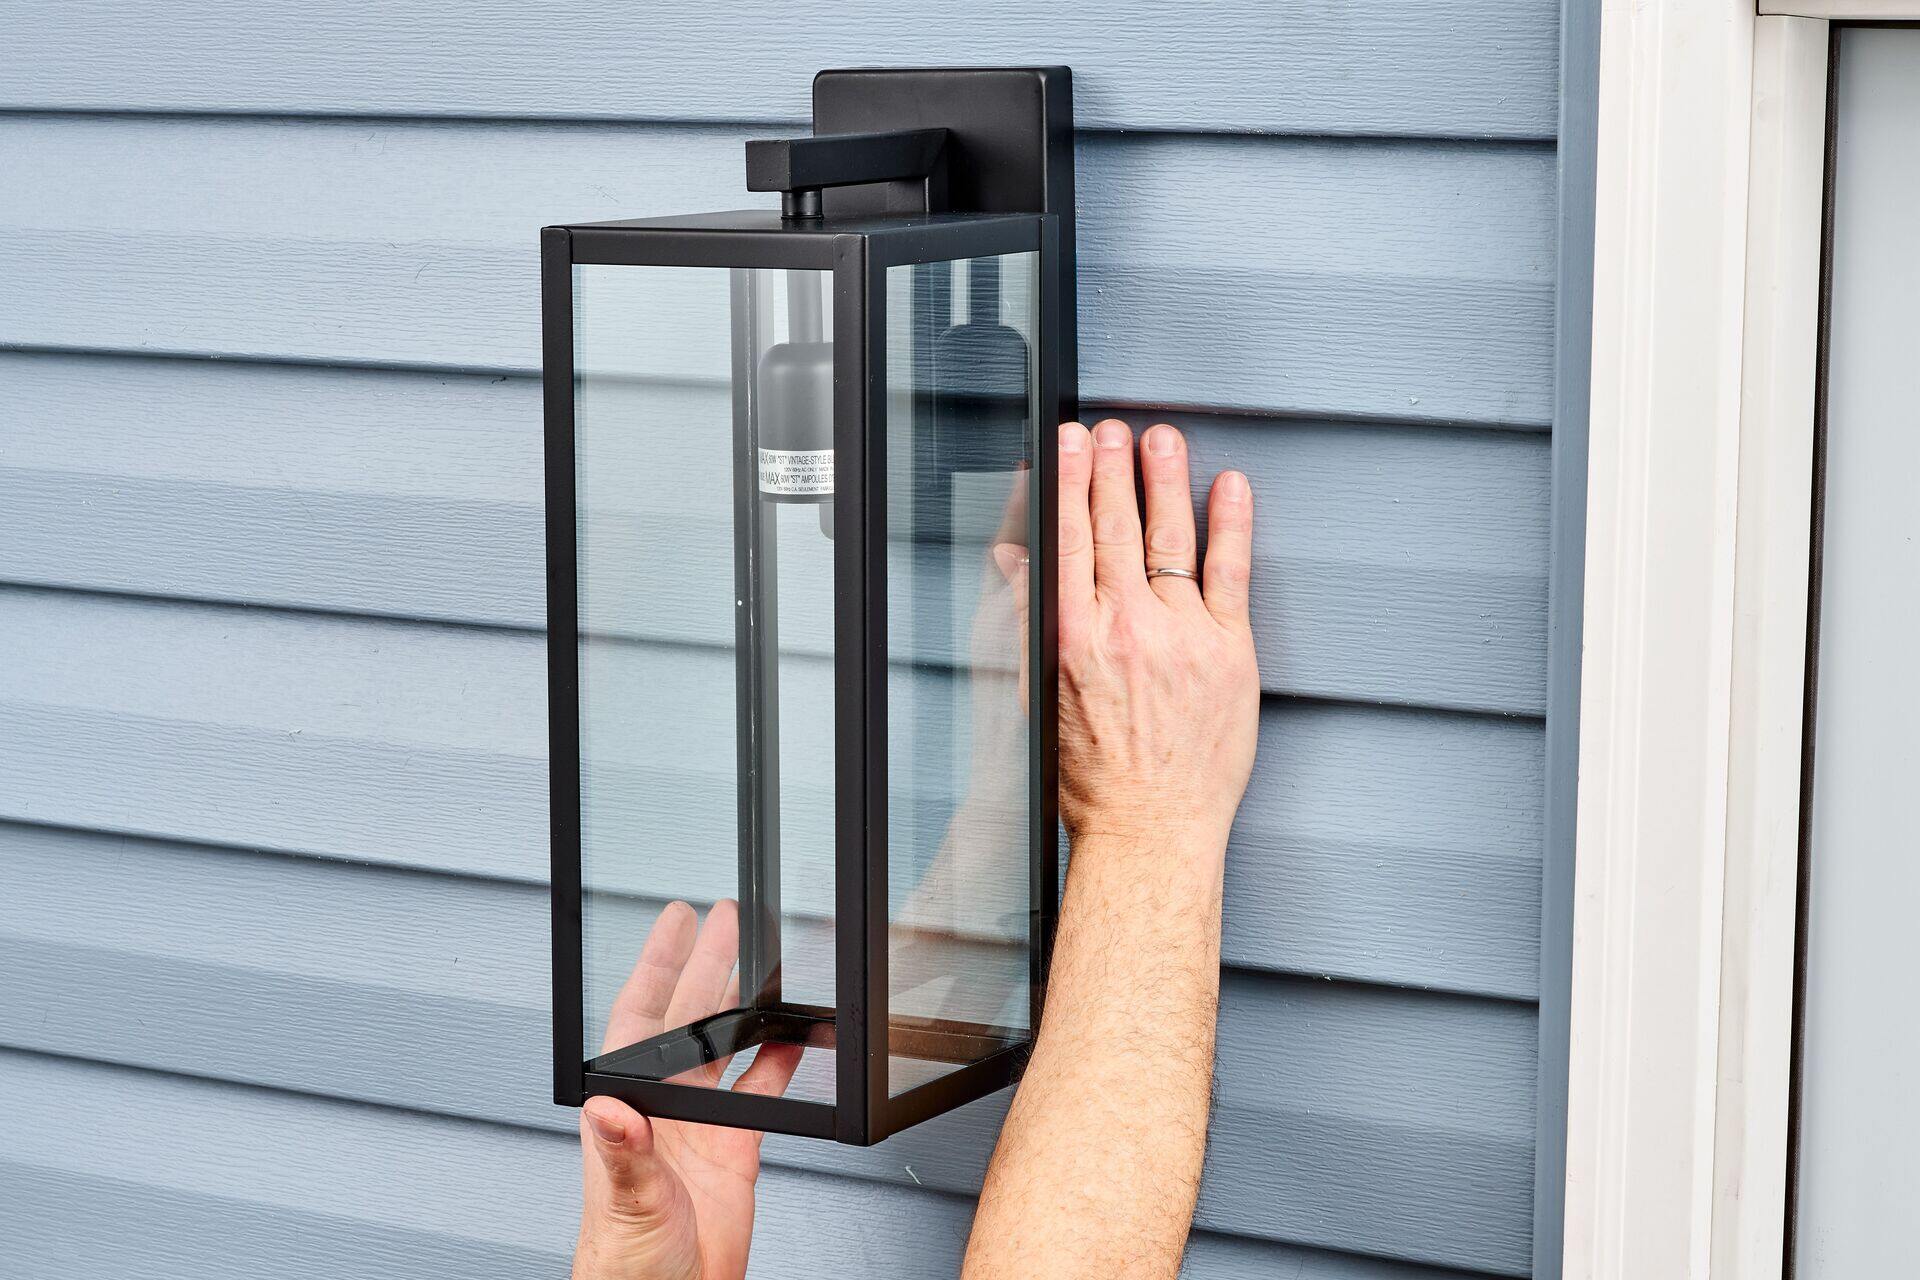
Step 5: Install the New Light Bulb
Now that you have selected the appropriate replacement bulb, it’s time to install it in your outdoor light fixture. Follow these steps to ensure a successful installation:
- Double-check the power: Before installing the new light bulb, verify that the power to the fixture is still turned off. This step is crucial to prevent any electrical accidents while handling the bulb.
- Remove any packaging: Take off any packaging or protective covering from the new bulb. Be sure to handle the bulb with clean, dry hands or gloves to avoid any residue transfer that could affect its performance.
- Align the bulb: Align the prongs or threaded base of the bulb with the socket in the fixture. For screw-in bulbs, gently twist the bulb clockwise into the socket until it is securely in place. For push and twist bulbs, insert the bulb into the socket and give it a quarter turn clockwise to lock it in.
- Ensure a secure connection: Give the bulb a gentle tug or twist to ensure it is firmly seated in the socket. Be careful not to apply excessive force, as this could break the bulb or damage the fixture.
- Replace any covers or access panels: If you had to remove any covers or access panels during the bulb replacement process, reattach them securely. Use a screwdriver if needed to tighten any screws or fasteners.
With the new light bulb securely installed, you’re almost done. However, before you turn on the power and test the new bulb, there’s one final step to complete.
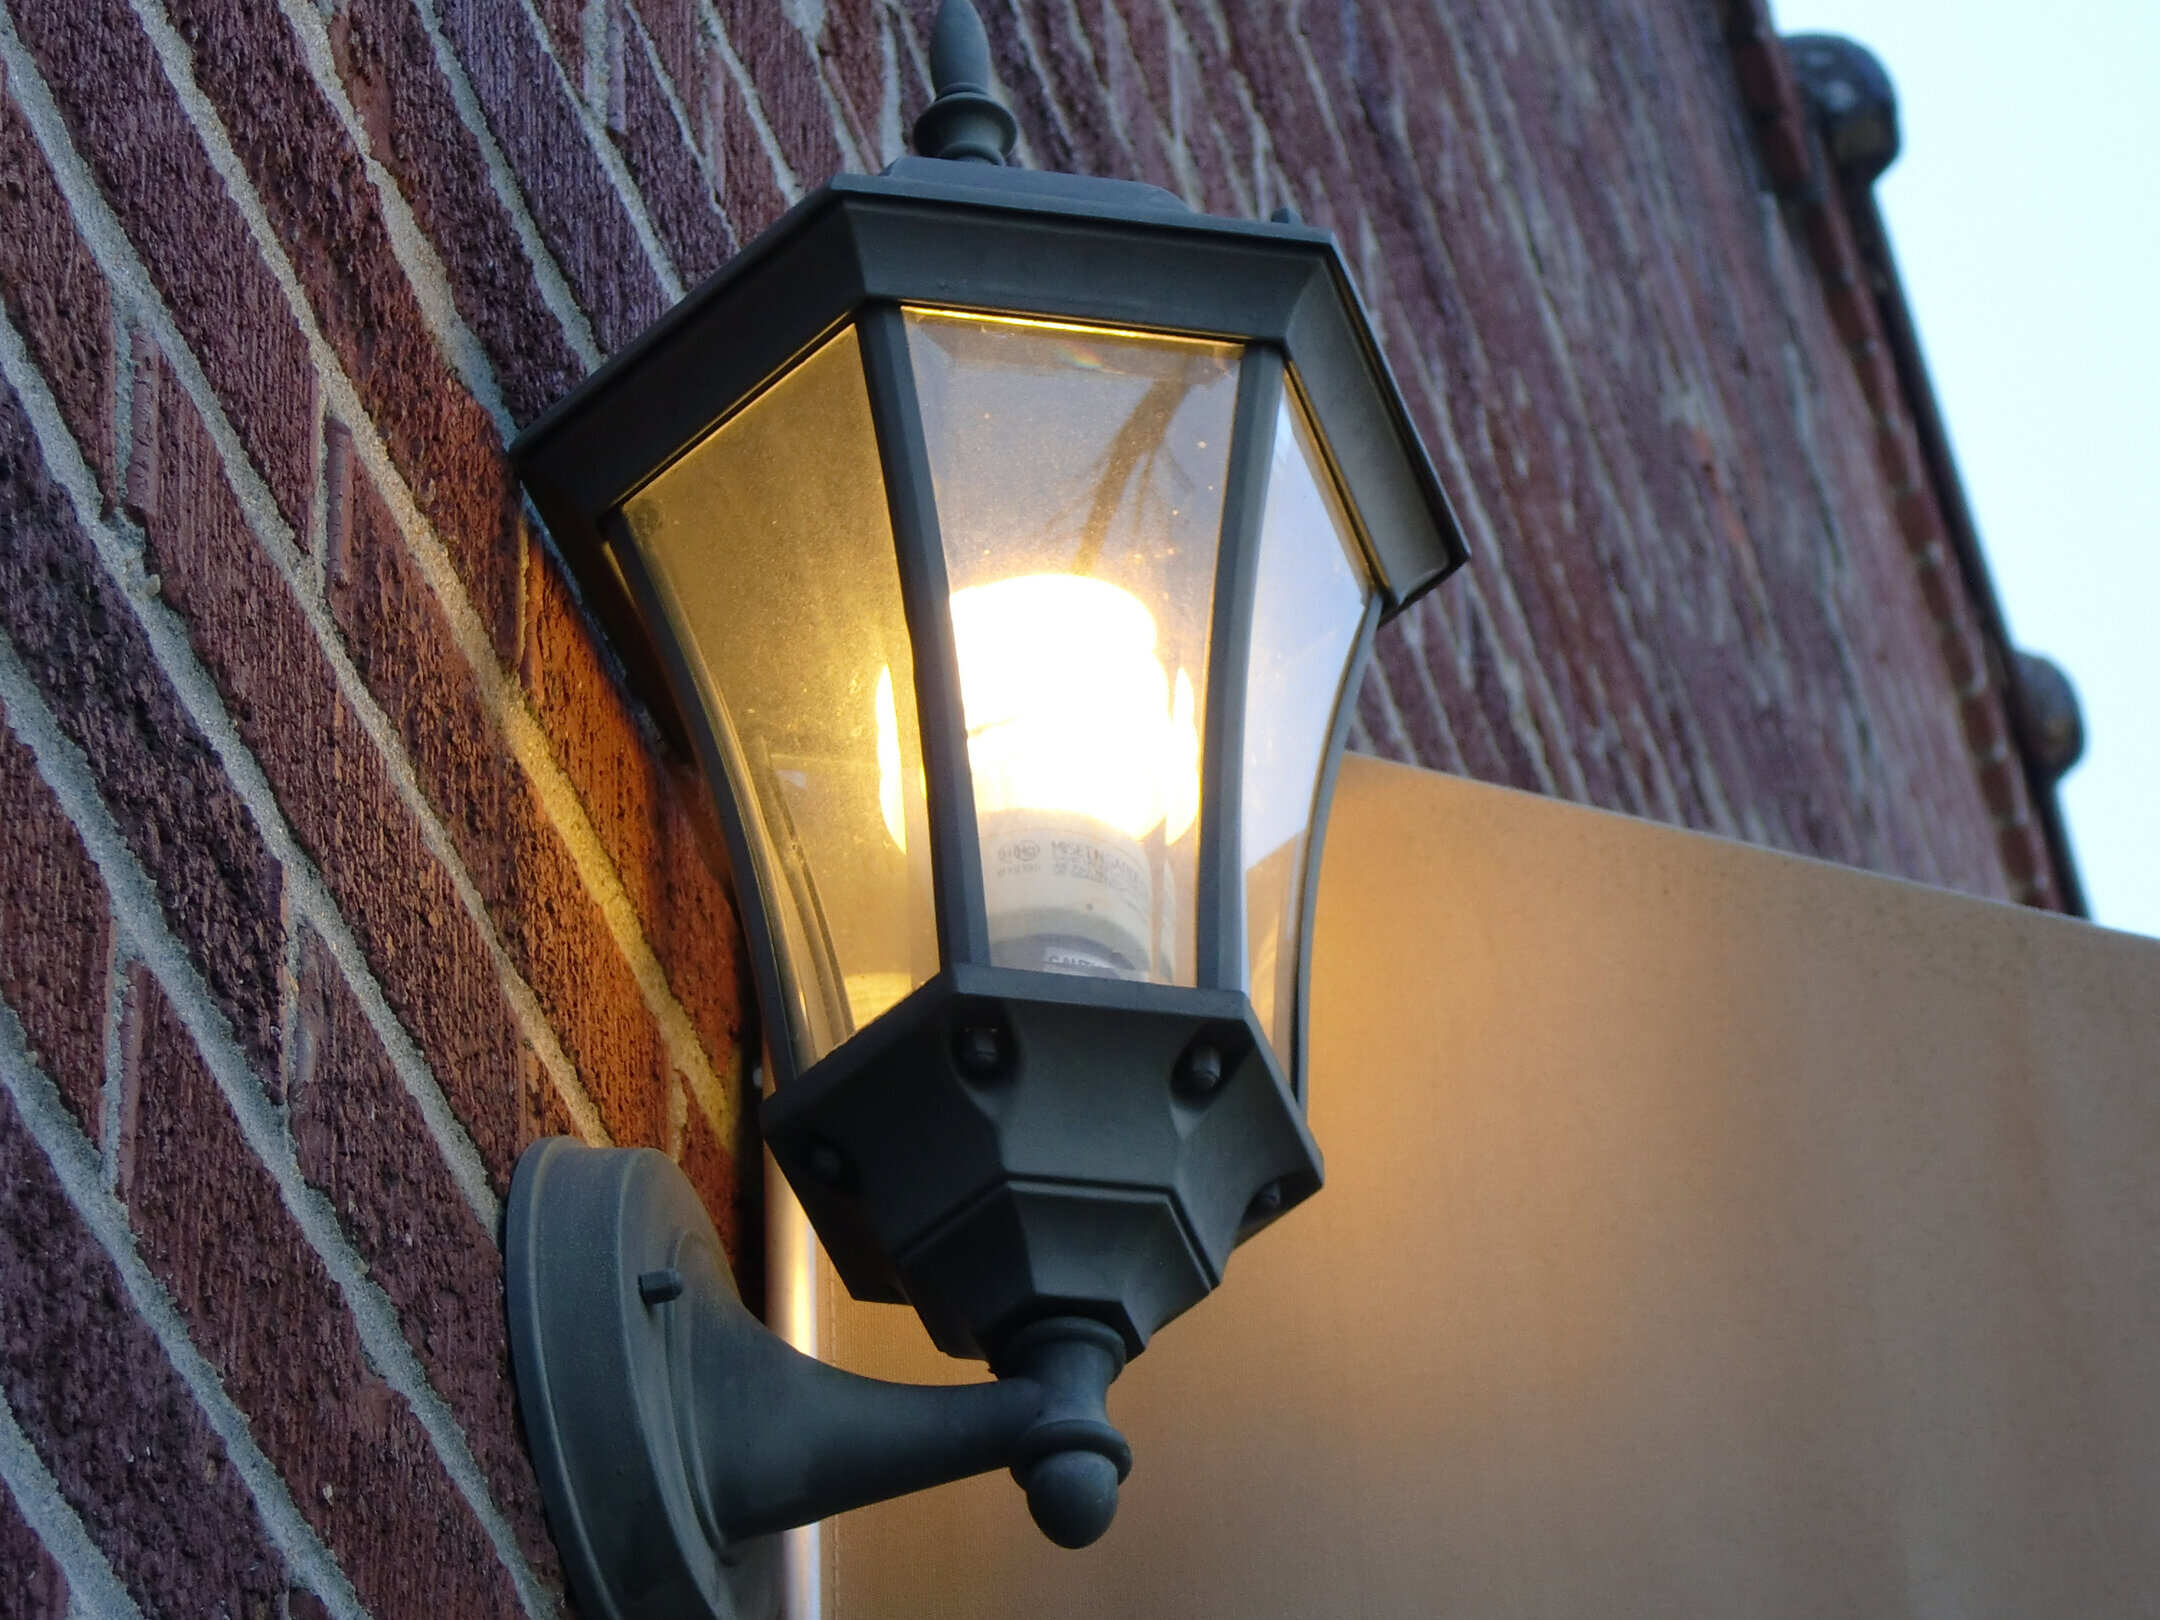
Step 6: Test the New Bulb
After successfully installing the new light bulb in your outdoor fixture, it’s important to test it before fully completing the process. Testing the bulb ensures that it is functioning properly and that you have correctly installed it. Follow these steps to test the new bulb:
- Turn on the power: If you haven’t done so already, turn on the power to the outdoor light fixture. If you turned off the main power to your home, switch it back on.
- Activate the light switch: Go to the light switch that controls the outdoor fixture and flip it to the “on” position. Give the bulb a few seconds to illuminate.
- Check the light output: Observe the light output of the new bulb. Ensure that it is fully illuminated and emitting the desired level of brightness. If the light appears dim or flickering, double-check the bulb’s connection or consult a professional if needed.
- Test any additional features: If your outdoor fixture has any additional features, such as a motion sensor or a timer, test them to ensure they are functioning correctly with the new bulb.
- Make adjustments if necessary: If the light output or functionality of the new bulb is not satisfactory, double-check the bulb’s compatibility with the fixture and make any necessary adjustments or replacements.
Once you are satisfied with the performance of the new bulb and have confirmed that it is working as expected, you can consider the bulb replacement process successfully completed!
Remember to turn off the power again before making any additional adjustments or maintenance to the outdoor light fixture in the future.
Congratulations! You have successfully replaced the light bulb in your outdoor decor. Enjoy the renewed glow and ambiance it brings to your outdoor space.
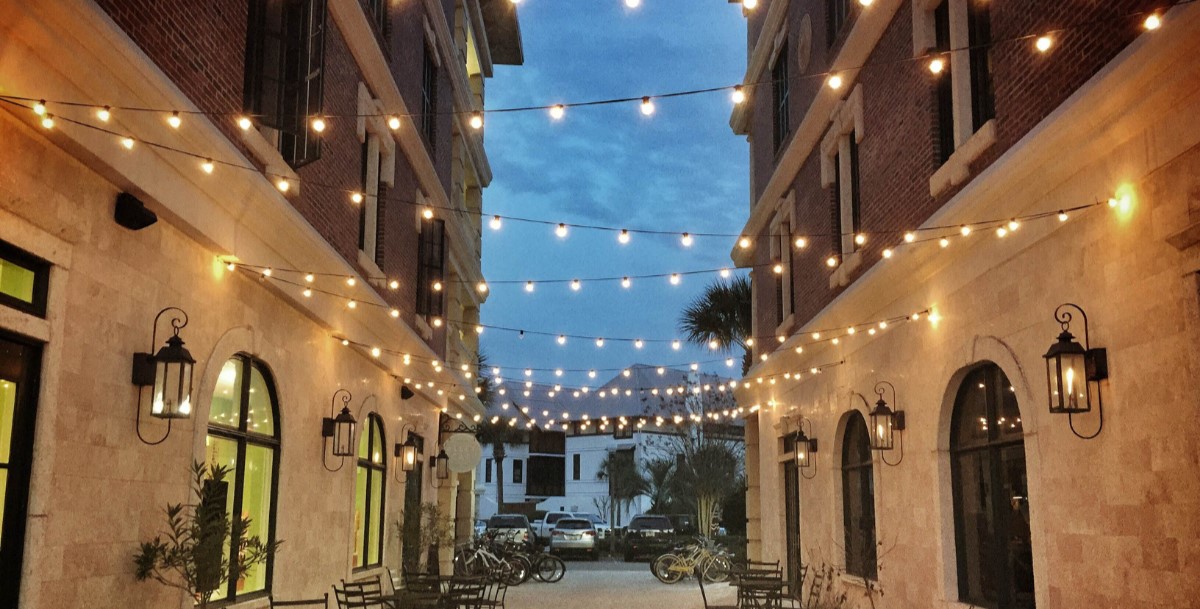
Conclusion
Replacing a light bulb in your outdoor decor may seem like a simple task, but it’s essential to do it correctly to ensure safety and maintain the functionality and aesthetic appeal of your outdoor space. By following the step-by-step guide we provided, you can easily and effectively replace a light bulb in your outdoor fixture.
Remember, always gather the necessary tools before starting, turn off the power to the light fixture, and use gloves for protection. Carefully remove the damaged bulb and inspect the socket for any issues. Choose the appropriate replacement bulb based on wattage, lumens, color temperature, and weather resistance. Then, install the new bulb securely in the fixture and test it to ensure proper functionality.
By taking the time to replace a light bulb correctly, you can enhance the beauty of your outdoor decor, create a welcoming ambiance, and promote safety. In addition, don’t forget to consider energy-efficient options, such as LED bulbs, to save energy and reduce electricity costs in the long run.
We hope this guide has been helpful and that you now feel confident in replacing light bulbs in your outdoor decor. Enjoy the illuminated beauty of your outdoor space!
Frequently Asked Questions about How To Replace Light Bulb In Outdoor Decor
Was this page helpful?
At Storables.com, we guarantee accurate and reliable information. Our content, validated by Expert Board Contributors, is crafted following stringent Editorial Policies. We're committed to providing you with well-researched, expert-backed insights for all your informational needs.

0 thoughts on “How To Replace Light Bulb In Outdoor Decor”