Articles
How To Replace Light Bulb Socket
Modified: October 20, 2024
Learn how to replace a light bulb socket with this informative article. Find step-by-step instructions and helpful tips to complete the task easily.
(Many of the links in this article redirect to a specific reviewed product. Your purchase of these products through affiliate links helps to generate commission for Storables.com, at no extra cost. Learn more)
Introduction
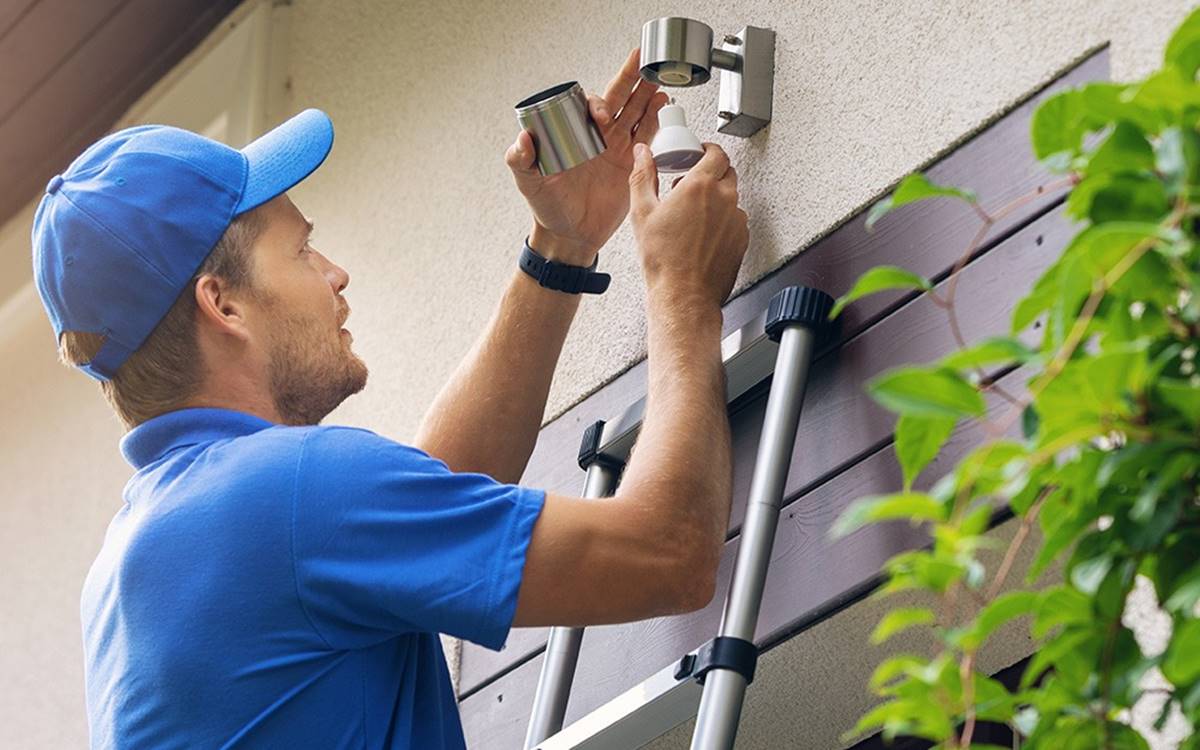
Replacing a light bulb socket is a straightforward process that can be easily accomplished with a few tools and basic electrical knowledge. Over time, light bulb sockets can become worn out or damaged, resulting in flickering lights or the inability to hold a bulb securely. It is important to address this issue promptly to ensure proper functionality and safety in your home or workspace.
In this guide, we will walk you through the step-by-step process of replacing a light bulb socket. Before we begin, it is important to note that working with electricity can be dangerous, so it’s crucial to take the necessary safety precautions. If you feel uncomfortable with any of the tasks involved or are uncertain about your electrical skills, it is recommended to seek the assistance of a professional electrician.
Throughout this article, we will provide detailed instructions and helpful tips to guide you through the process. We will also highlight the tools and materials you will need to have on hand. By following these instructions carefully, you will be able to replace a faulty or damaged light bulb socket and restore the functionality of your lighting fixture.
Now, let’s get started with the first step: preparing the area for the replacement process.
Key Takeaways:
- Prioritize safety by turning off the power, wearing protective gear, and working in a well-lit area when replacing a light bulb socket. Carefully disconnect and connect wires, and test the new socket for reliable illumination.
- Gather the necessary tools and materials, prepare the area, and follow the step-by-step process to successfully replace a faulty or damaged light bulb socket. If uncertain, seek the guidance of a professional electrician for complex electrical issues.
Read more: How To Replace Tail Light Socket
Safety Precautions
Before you begin replacing a light bulb socket, it is essential to prioritize safety to prevent any accidents or injuries. Here are some important safety precautions to follow:
- Turn off the power: Before starting any electrical work, ensure that the power to the lighting fixture is turned off. Locate the circuit breaker or fuse box and switch off the corresponding circuit or remove the fuse for the fixture you’ll be working on. Use a voltage tester to confirm that there is no electrical current flowing to the socket.
- Wear protective gear: It is recommended to wear safety goggles and protective gloves throughout the entire process to safeguard your eyes and hands from any potential hazards.
- Avoid using live circuits: Never attempt to work on a light bulb socket while it is still connected to an active electrical circuit. Always disconnect the power first to avoid the risk of electric shock.
- Inspect the wiring: Before proceeding with the replacement, carefully examine the wiring in the lighting fixture. If you notice any frayed or damaged wires, it is best to consult a licensed electrician to address the issue.
- Use proper tools: Ensure that you have the appropriate tools for the job. This may include a screwdriver, wire cutters, wire strippers, and a voltage tester. Using the right tools will help you work efficiently and minimize the risk of accidents.
- Work in a well-lit area: Make sure you have adequate lighting in the area where you’ll be replacing the socket. Good illumination will enable you to see what you are doing clearly and avoid any potential mistakes.
- Keep children and pets away: When working on electrical projects, it is important to keep children and pets at a safe distance. This will help prevent any accidental injuries or interference with your work.
- Avoid overloading the circuit: If you are replacing a light bulb socket in a fixture that frequently experiences burnouts or flickering lights, it could be a sign of an overloaded circuit. Consider consulting an electrician to assess and resolve any underlying electrical issues.
By following these safety precautions, you can minimize the risk of accidents and ensure a safe working environment. Now that you’re aware of the necessary safety measures, let’s move on to the tools and materials you’ll need for the replacement process.
Tools and Materials Needed
Before you begin replacing a light bulb socket, gather the following tools and materials to ensure a smooth and efficient process:
- Screwdriver: A flathead or Phillips screwdriver will be required to remove screws and secure the new socket.
- Wire cutters: These will be needed to trim the wires during the replacement process.
- Wire strippers: Use wire strippers to remove the insulation from the end of the wires.
- Voltage tester: This tool is essential for ensuring that the power to the lighting fixture is turned off and there are no active electrical currents.
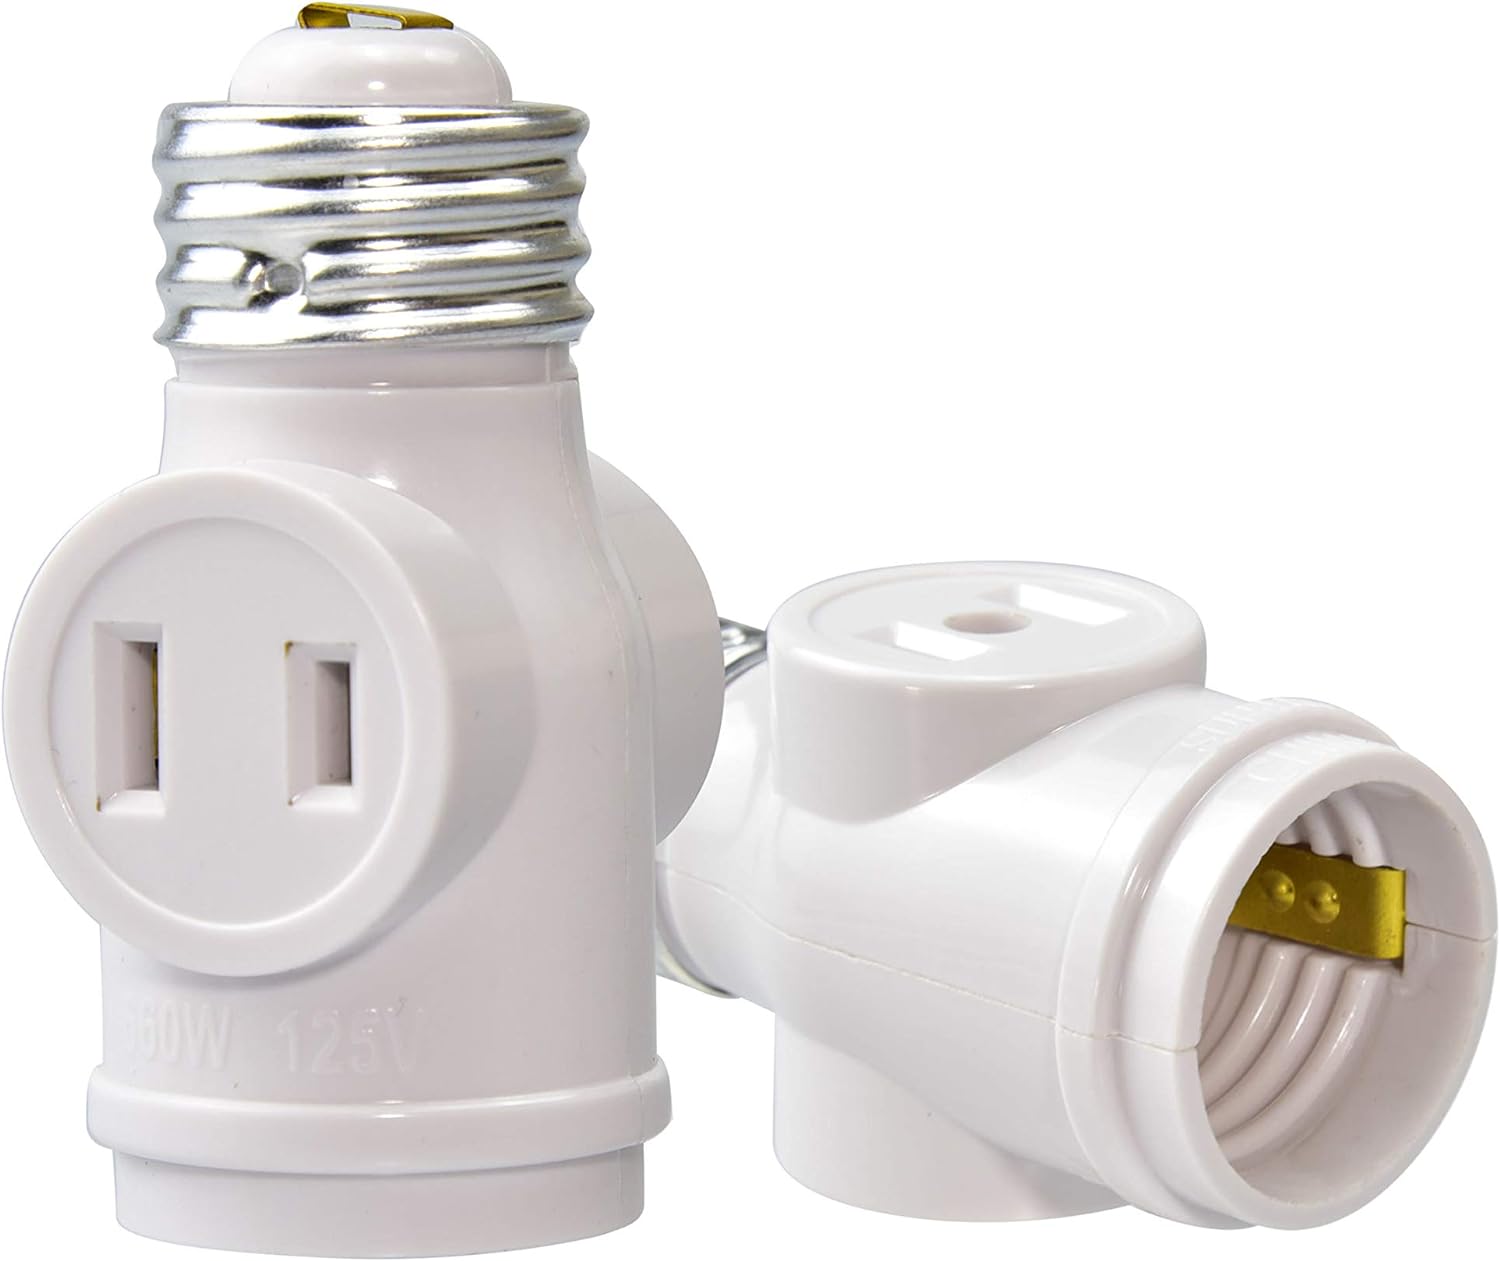
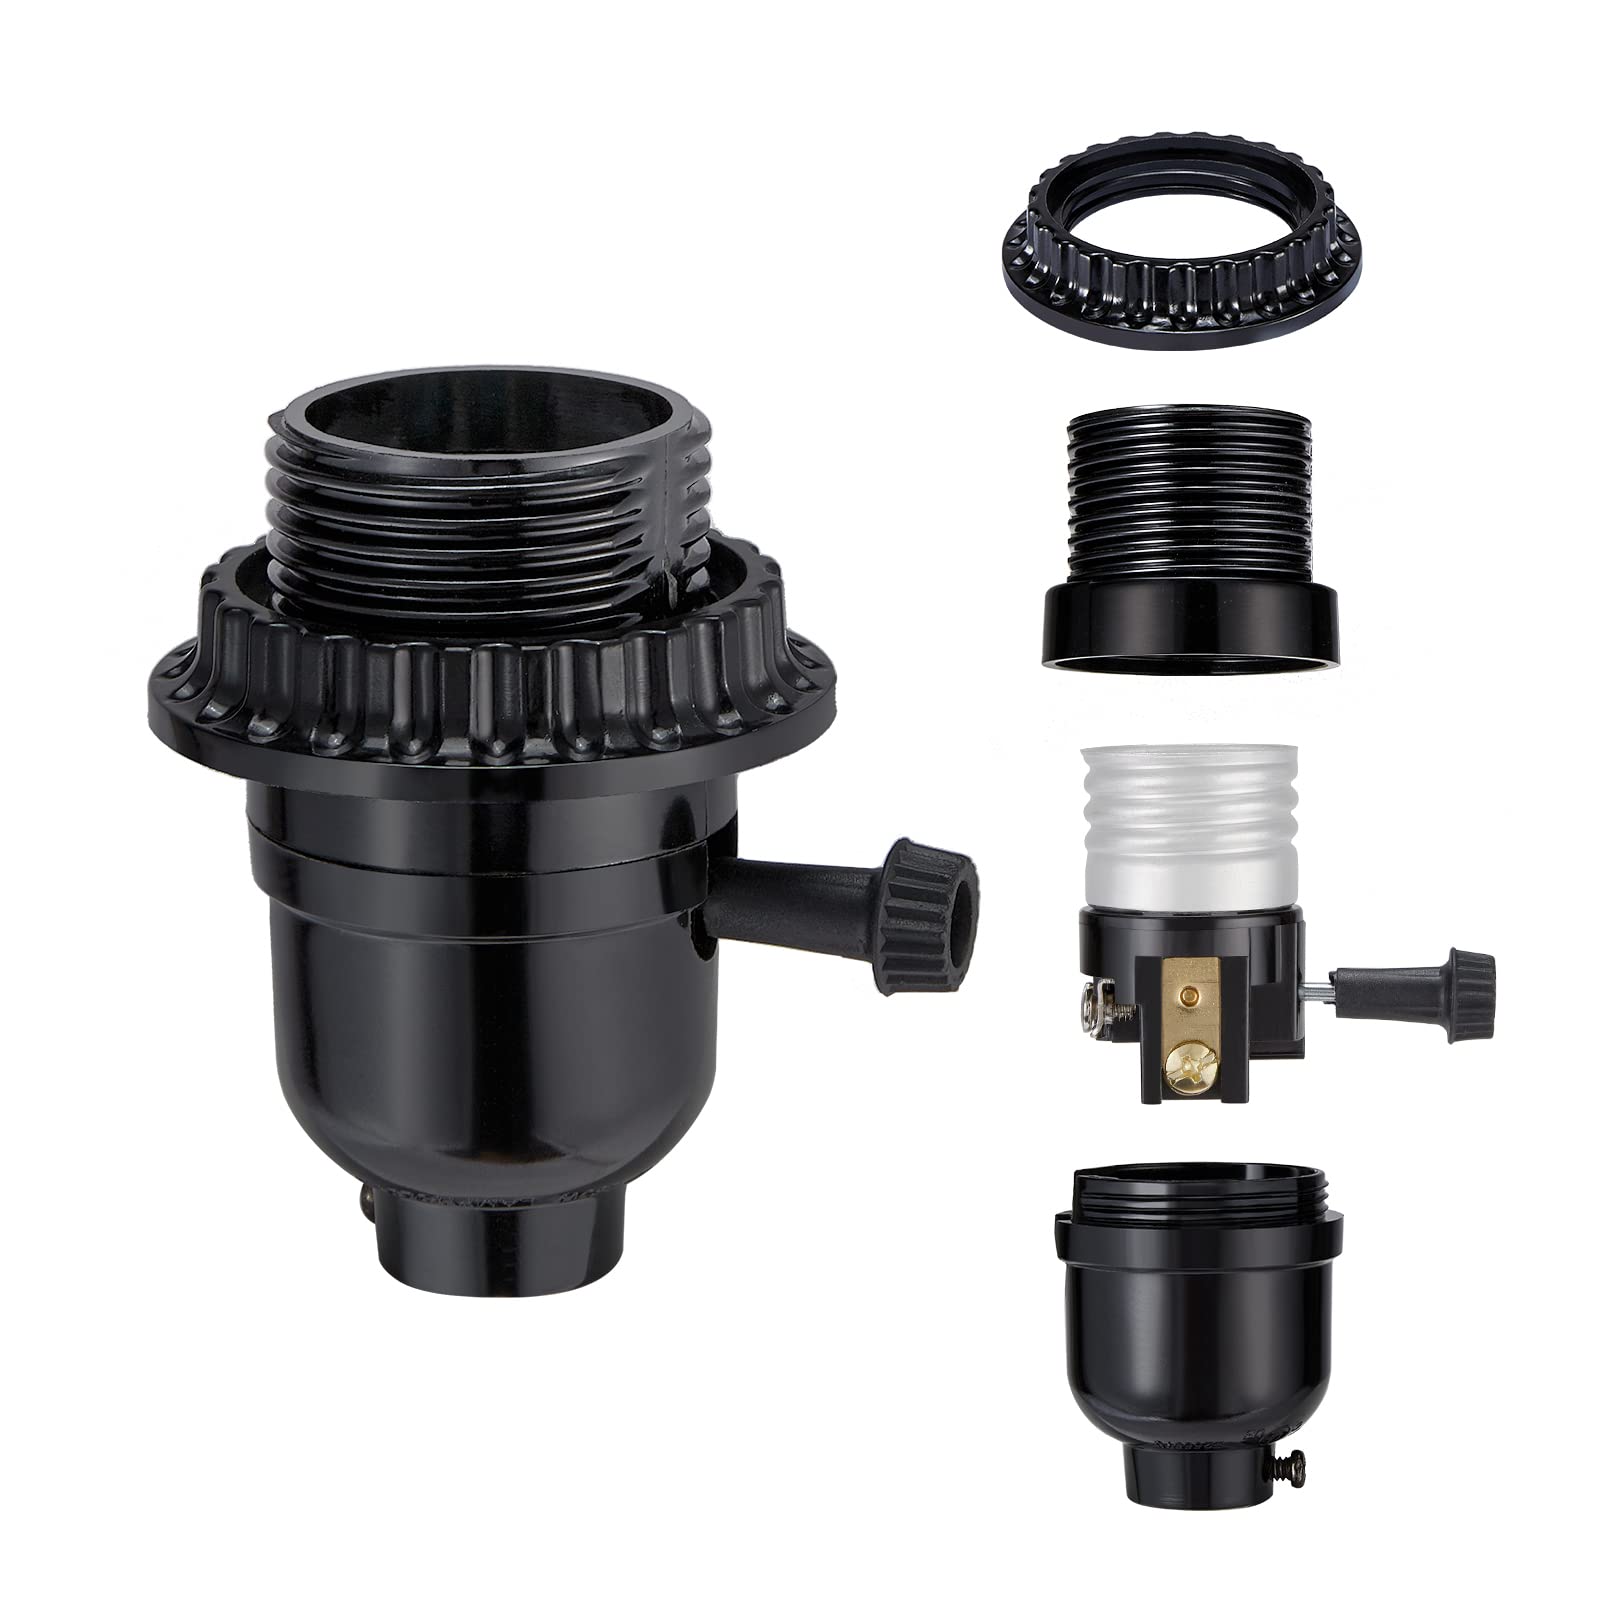
- New light bulb socket: Purchase a replacement socket that matches the specifications and requirements of your existing lighting fixture.
- Electrical tape: Electrical tape is used to secure and insulate the wires after connecting them to the new socket.
- Wire connectors: These connectors are used to join the wires securely to the new socket.
- Protective gloves: It is important to wear gloves to protect your hands from any potential hazards or electrical shocks.
- Safety goggles: Protect your eyes from stray debris or sparks by wearing safety goggles throughout the replacement process.
- Step ladder or stool: Depending on the height of the lighting fixture, you may need a step ladder or stool to comfortably reach and work on the socket.
- Flashlight: In case the area you’re working in is poorly lit, a flashlight will help you see the connections and wires clearly.
By having these tools and materials readily available, you will be well-prepared to replace the light bulb socket efficiently and effectively. Once you have everything you need, it’s time to move on to the first step: preparing the area for the replacement process.
Step 1: Prepare the Area
Before starting the process of replacing a light bulb socket, it is important to prepare the area to ensure a smooth and safe replacement. Follow these steps to prepare the area:
- Turn off the power: Locate the circuit breaker or fuse box and turn off the power supply to the lighting fixture you’ll be working on. This step is crucial to prevent any potential electrical shock.
- Clear the area: Remove any objects or furniture that may obstruct your access to the light fixture. This will provide you with ample room to work comfortably and safely.
- Clean the fixture: Take a moment to clean the light fixture, removing any dust, dirt, or debris. This will ensure that the replacement socket fits securely and functions properly.
- Secure the area: If you’re working on a ceiling fixture, place a step ladder or stool underneath to provide a stable and secure platform to work from. Make sure it is positioned on a level surface and is not wobbly.
- Ensure proper lighting: If the area is dimly lit, use a flashlight or additional lighting sources to ensure clear visibility of the connections and wires.
- Organize your tools and materials: Lay out all the necessary tools and materials in an organized manner. This will help you access them easily and prevent any confusion during the replacement process.
- Double-check the power: Use a voltage tester to confirm that the power to the lighting fixture is indeed turned off. This step is critical for your safety.
By preparing the area properly, you create a safe and conducive environment for replacing the light bulb socket. Once you have completed these preparations, you are ready to move on to the next step: turning off the power supply to the lighting fixture.
Step 2: Turn Off the Power
Before you begin working on the light bulb socket, it is essential to turn off the power to the lighting fixture. This step is crucial for your safety and to prevent any electrical accidents. Follow these instructions to turn off the power:
- Locate the circuit breaker or fuse box: Find the circuit breaker or fuse box that controls the power supply to the lighting fixture you’ll be working on. It is usually located in the basement, garage, or utility room.
- Identify the correct circuit: Determine which circuit controls the lighting fixture by referring to the circuit breaker/fuse box diagram or by trial and error. Turn on the light switch and observe which circuit gets tripped or turns off when you flip the switch off.
- Switch off the circuit: Once you’ve identified the correct circuit, switch it off by flipping the corresponding circuit breaker to the “off” position or by removing the fuse that controls the lighting fixture.
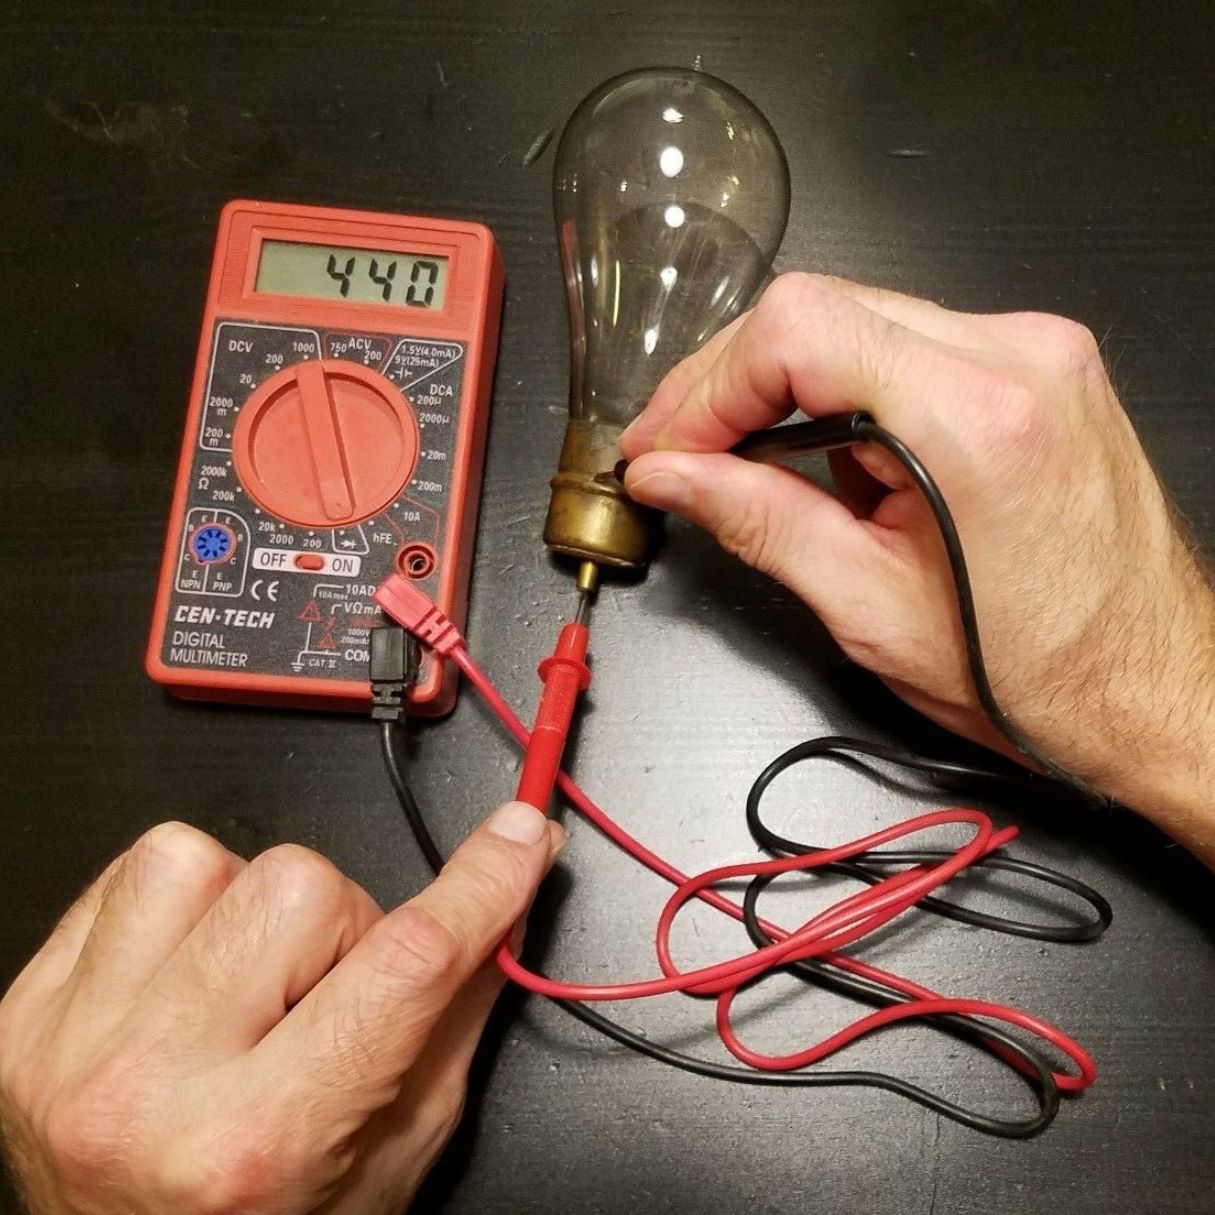
- Test for power: Even after switching off the circuit, it is crucial to ensure that no electrical current is present. Use a voltage tester to confirm that there is no power flowing to the lighting fixture. Hold the voltage tester against the wires or socket to verify that it does not detect any electrical current. This step provides an additional safety precaution to prevent accidental shocks.
Once you have performed these steps and confirmed that there is no power flowing to the lighting fixture, you can proceed with confidence. However, always treat the wires and socket with caution and assume they are live until proven otherwise. Now that the power is safely turned off, we can move on to the next step: removing the old light bulb socket.
Read more: How To Wire A Light Bulb Socket
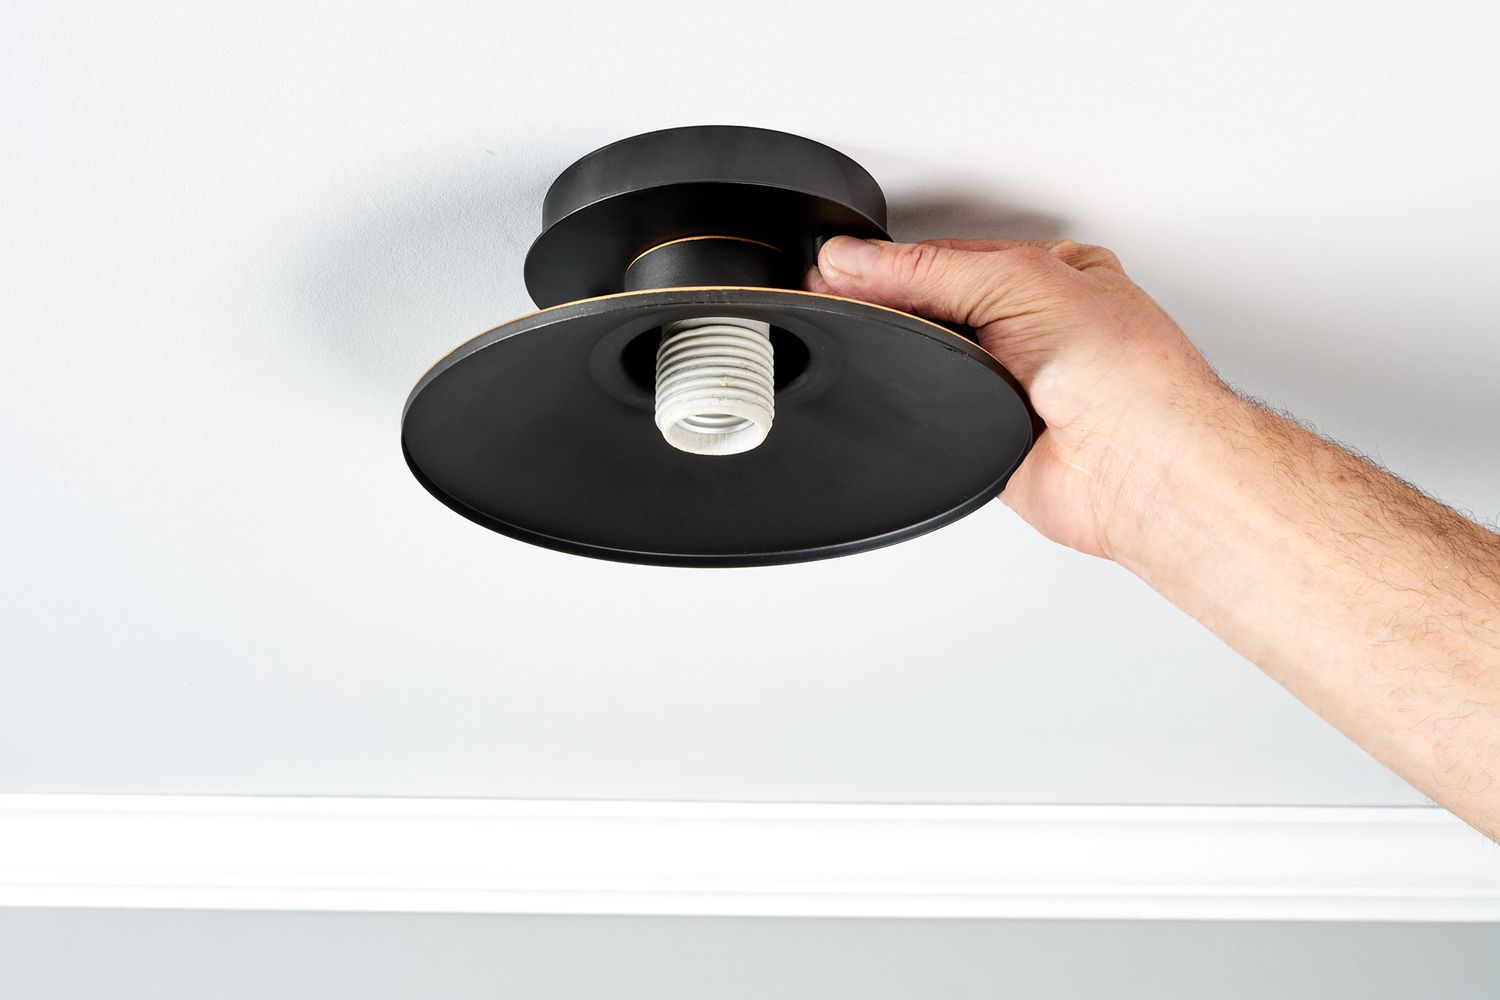
Step 3: Remove the Old Socket
With the power supply turned off, you can now proceed to remove the old light bulb socket. Follow these steps to safely remove the socket:
- Remove the light bulb: Twist the light bulb counterclockwise to remove it from the socket. Set it aside in a safe place to avoid any accidental breakage.
- Inspect the socket: Take a moment to examine the old socket for any signs of damage, such as cracks or burned marks. This inspection will help you determine if the socket needs to be replaced entirely or if a simple repair is sufficient.
- Remove the socket cover: If the socket has a removable cover, such as a decorative shell or plate, gently unscrew or unclip it from the base of the socket. This will expose the underlying wiring.
- Disconnect the wires: Carefully pull the socket away from the fixture, revealing the wires connected to it. Take note of how the wires are attached to the socket and make a mental or written note for later reference.
- Unscrew the socket: Use a screwdriver to loosen the screws that secure the socket to the fixture. Depending on the type of socket, there may be one or multiple screws holding it in place. Remove the screws and set them aside for reassembly.
- Detach the socket: Once the screws are removed, gently pull the socket away from the fixture. Take care not to damage the wires or any surrounding components.
With the old socket successfully removed, you can now proceed to the next step: disconnecting the wires and removing the socket base. Remember to handle the old socket with caution, as it may still be fragile or contain broken parts. Always prioritize your safety while working with electrical components.
When replacing a light bulb socket, always turn off the power to the fixture at the circuit breaker to avoid the risk of electrical shock. Use a voltage tester to ensure the power is off before starting the replacement.
Step 4: Disconnect Wires and Remove Socket Base
Now that the old light bulb socket has been removed, it’s time to disconnect the wires and remove the socket base. Follow these steps to safely complete this task:
- Identify the wires: Take note of the wires connected to the old socket. There are typically two or three wires: a black (hot) wire, a white (neutral) wire, and possibly a green or copper (ground) wire.
- Disconnect the wires: Using wire cutters, carefully cut the wires near the old socket. Leave enough wire length to work with during the installation of the new socket.
- Strip the wire ends: Use wire strippers to remove approximately ½ inch of insulation from the ends of the cut wires. This will expose the metal wire strands for proper connection to the new socket.
- Remove the socket base: Locate any screws or clips that secure the socket base to the lighting fixture. Using a screwdriver, unscrew the screws or release the clips to detach the socket base from the fixture.
- Set aside the socket base: Once the socket base is free from the fixture, set it aside for disposal or further inspection. If the base is still in good condition, it may be repurposed or reused for future projects.
It’s important to handle the wires with care during this step to prevent any accidental damage or electrical hazards. Take your time and ensure that the wires are cleanly cut and stripped for the upcoming installation of the new socket. With the old socket base removed, we can now move on to the next step: installing the new socket base.
Step 5: Install the New Socket Base
With the old socket removed and the wires prepared, it’s time to install the new socket base. Follow these steps to properly install the new socket:
- Select the appropriate socket: Ensure that the new socket is compatible with the wattage and type of light bulb you’ll be using. Additionally, make sure it matches the requirements and specifications of your lighting fixture.
- Position the new socket base: Align the screw holes or clips on the new socket base with the corresponding holes or slots on the lighting fixture. Hold the socket base firmly against the fixture to ensure a secure fit during installation.
- Secure the new socket base: Use a screwdriver to tighten the screws or engage the clips to firmly attach the new socket base to the lighting fixture. Ensure that it is secure and there is no movement or looseness.
- Thread the wires through the socket base: Carefully thread the stripped ends of the wires through the openings in the new socket base. Make sure the wires are guided through the appropriate slots and not tangled or twisted.
- Verify wire connections: Double-check the wire connections to ensure they are properly aligned. The black wire (hot) should be connected to the brass-colored terminal, the white wire (neutral) to the silver-colored terminal, and the green or copper wire (ground) to the green-colored or ground terminal.
- Tighten the terminal screws: Use a screwdriver to securely tighten the terminal screws on the new socket base. This will ensure proper electrical connectivity and prevent any loose connections.
When installing the new socket base, it’s important to ensure a secure and proper fit. Double-check that the wires are threaded correctly and securely connected to their respective terminals. With the new socket base securely in place, we can now proceed to the next step: connecting the wires to the new socket.
Step 6: Connect Wires to the New Socket
With the new socket base installed, it’s time to connect the wires to the new socket. Follow these steps to properly connect the wires:
- Identify the wires: Remember the notes you made earlier? Identify the wires based on their color. The black wire is the hot wire, the white wire is the neutral wire, and the green or copper wire is the ground wire.
- Connect the black (hot) wire: Take the stripped end of the black wire and wrap it around the brass-colored terminal on the new socket. Make sure the wire is tightly wrapped and securely held in place.
- Tighten the terminal screw: Use a screwdriver to tighten the brass-colored terminal screw. This will create a secure electrical connection between the black wire and the socket.
- Connect the white (neutral) wire: Take the stripped end of the white wire and wrap it around the silver-colored terminal on the new socket. Again, ensure the wire is tightly wrapped and securely held in place.
- Tighten the terminal screw: Use a screwdriver to tighten the silver-colored terminal screw. This will create a secure electrical connection between the white wire and the socket.
- Connect the green or copper (ground) wire: If your lighting fixture has a green or copper wire for grounding, connect it to the green-colored or ground terminal on the new socket. Wrap the stripped end of the wire around the terminal and tighten the screw to secure the connection.
- Double-check the connections: Once all the wires are connected to their respective terminals, carefully tug on each wire to ensure they are securely attached. Double-check that the connections are tight and there are no loose or exposed wires.
Properly connecting the wires is crucial for the safe and efficient operation of the new socket. Take your time to ensure that each wire is securely fastened to the correct terminal. With the wires successfully connected, we can now move on to the next step: attaching the new socket to the lighting fixture.
Read more: How To Clean Corroded Light Bulb Sockets
Step 7: Attach the New Socket to the Fixture
With the wires securely connected, it’s time to attach the new socket to the lighting fixture. Follow these steps to properly attach the socket:
- Position the new socket: Hold the new socket in the correct orientation, aligning it with the screw holes or clips on the lighting fixture. Make sure the wires are neatly tucked inside the fixture and not pinched or twisted.
- Align the screw holes or clips: Ensure that the screw holes or clips on the lighting fixture match up with the corresponding holes or slots on the new socket. This will ensure a proper fit and secure attachment.
- Secure the socket: Use a screwdriver to tighten the screws or engage the clips to firmly attach the new socket to the lighting fixture. Ensure that the socket is securely held in place and there is no movement or looseness.
- Verify the position: Check that the socket is aligned correctly and level with the lighting fixture. Make any necessary adjustments to ensure a proper fit and alignment.
- Reattach the socket cover (if applicable): If the new socket has a removable cover, such as a decorative shell or plate, securely screw or clip it back in place. This will provide a finished look to the socket and protect the internal components.
Attaching the new socket to the lighting fixture is an important step in ensuring a secure and functional connection. Take your time to properly align and fasten the socket to the fixture, double-checking that it is securely attached. With the new socket in place, we can now move on to the next step: testing the new light bulb socket.
Step 8: Test the New Light Bulb Socket
After successfully installing the new light bulb socket, it’s time to test its functionality. Follow these steps to ensure that the new socket is working as intended:
- Turn on the power: Return to the circuit breaker or fuse box and switch on the power supply to the lighting fixture. Ensure that the circuit is fully powered and there are no issues with the electrical connection.
- Insert a light bulb: Carefully screw a light bulb into the newly installed socket. Choose a bulb that matches the wattage and type recommended for your lighting fixture.
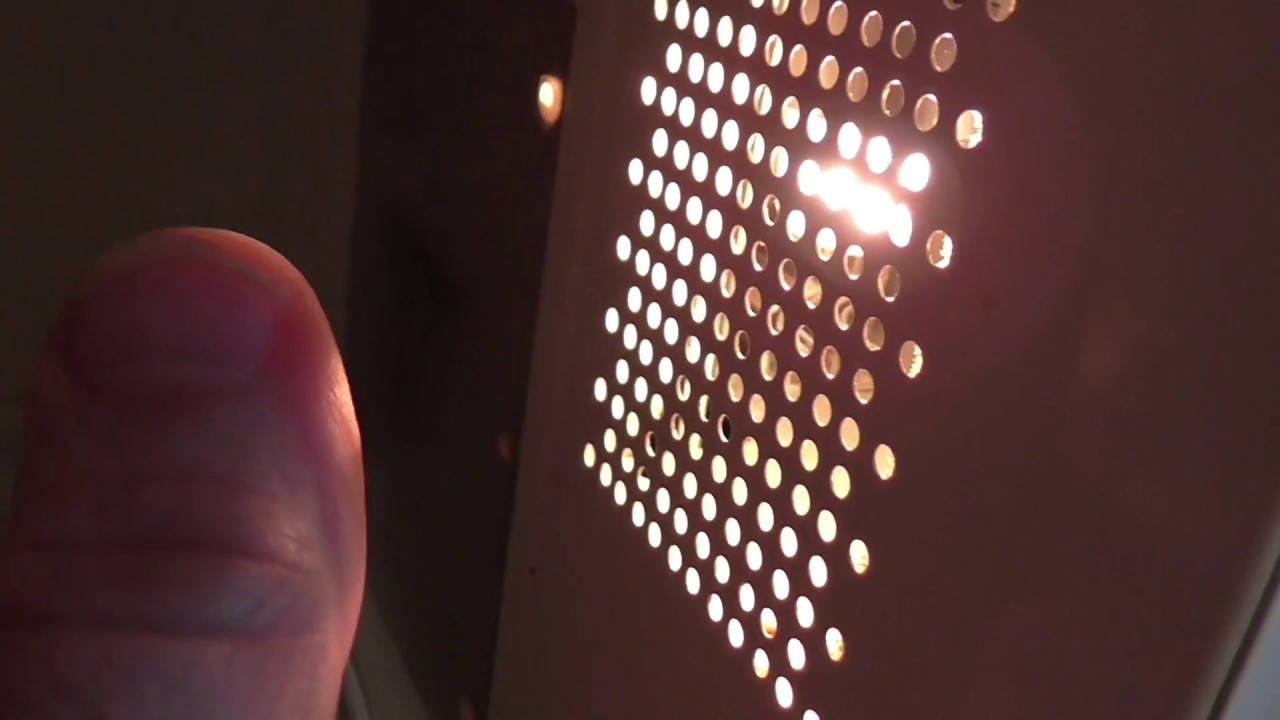
- Turn on the light switch: Flip the light switch to the “on” position and observe the new socket. Check if the light bulb illuminates properly without any flickering or abnormal behavior.
- Test the socket with multiple bulbs: To further verify the functionality of the new socket, try using different light bulbs of varying wattages. Ensure that the socket can handle the specified range of bulb wattages without any issues.
- Check for any abnormalities: Inspect the new socket for any signs of flickering, buzzing, or overheating. Touch the socket gently to check for excessive heat. If you notice any abnormal behavior or safety concerns, turn off the power immediately and consult a professional electrician.
Testing the new light bulb socket is crucial to ensure that it is properly functioning and providing reliable illumination. Take your time to thoroughly test the socket with different bulbs and observe its performance. If the new socket passes the test, congratulations! You have successfully replaced the light bulb socket and restored the functionality of your lighting fixture.
However, if you encounter any issues or are unsure about the performance of the new socket, it is recommended to seek the assistance of a professional electrician to evaluate the situation and make any necessary adjustments or repairs.
Congratulations on completing the process of replacing a light bulb socket! By following these steps and taking the necessary safety precautions, you have successfully addressed the issue and improved the functionality of your lighting fixture. Enjoy the well-lit space that your newly installed socket provides!
Conclusion
Replacing a light bulb socket is a task that can be easily accomplished with the right tools, materials, and knowledge. By following the step-by-step guide outlined in this article, you can successfully replace a faulty or damaged socket and restore the functionality of your lighting fixture.
Throughout the process, it is crucial to prioritize safety by taking the necessary precautions. Turning off the power, wearing protective gear, and working in a well-lit area are all essential steps to ensure a safe working environment.
Remember to carefully disconnect the wires from the old socket and connect them securely to the new socket. Double-check all connections to ensure a proper and safe electrical connection.
Once the new socket is installed, testing its functionality is key. Insert a light bulb, turn on the power, and observe the socket for any abnormalities. If any issues arise, consult a professional electrician for further assistance.
By successfully completing the replacement process, you can enjoy a properly functioning light bulb socket, ensuring reliable illumination in your home or workspace.
However, if you are uncertain about any aspect of the replacement process or encounter any difficulties, it is always wise to seek the guidance of a professional electrician. They have the expertise and knowledge to address any complex electrical issues.
Remember to exercise caution and follow the safety guidelines outlined in this article. With the right tools, materials, and knowledge, you can confidently replace a light bulb socket and enhance the lighting in your space.
Thank you for taking the time to read this guide on replacing a light bulb socket. We hope it has been informative and helpful in your DIY electrical projects. Happy repairing!
Frequently Asked Questions about How To Replace Light Bulb Socket
Was this page helpful?
At Storables.com, we guarantee accurate and reliable information. Our content, validated by Expert Board Contributors, is crafted following stringent Editorial Policies. We're committed to providing you with well-researched, expert-backed insights for all your informational needs.

0 thoughts on “How To Replace Light Bulb Socket”