Home>Home Appliances>Lighting Appliances>How To Replace A Ceiling Light With A Recessed Light

Lighting Appliances
How To Replace A Ceiling Light With A Recessed Light
Modified: August 27, 2024
Learn how to easily replace a ceiling light with a recessed light to upgrade your lighting appliances. Follow our step-by-step guide for a seamless transition.
(Many of the links in this article redirect to a specific reviewed product. Your purchase of these products through affiliate links helps to generate commission for Storables.com, at no extra cost. Learn more)
Introduction
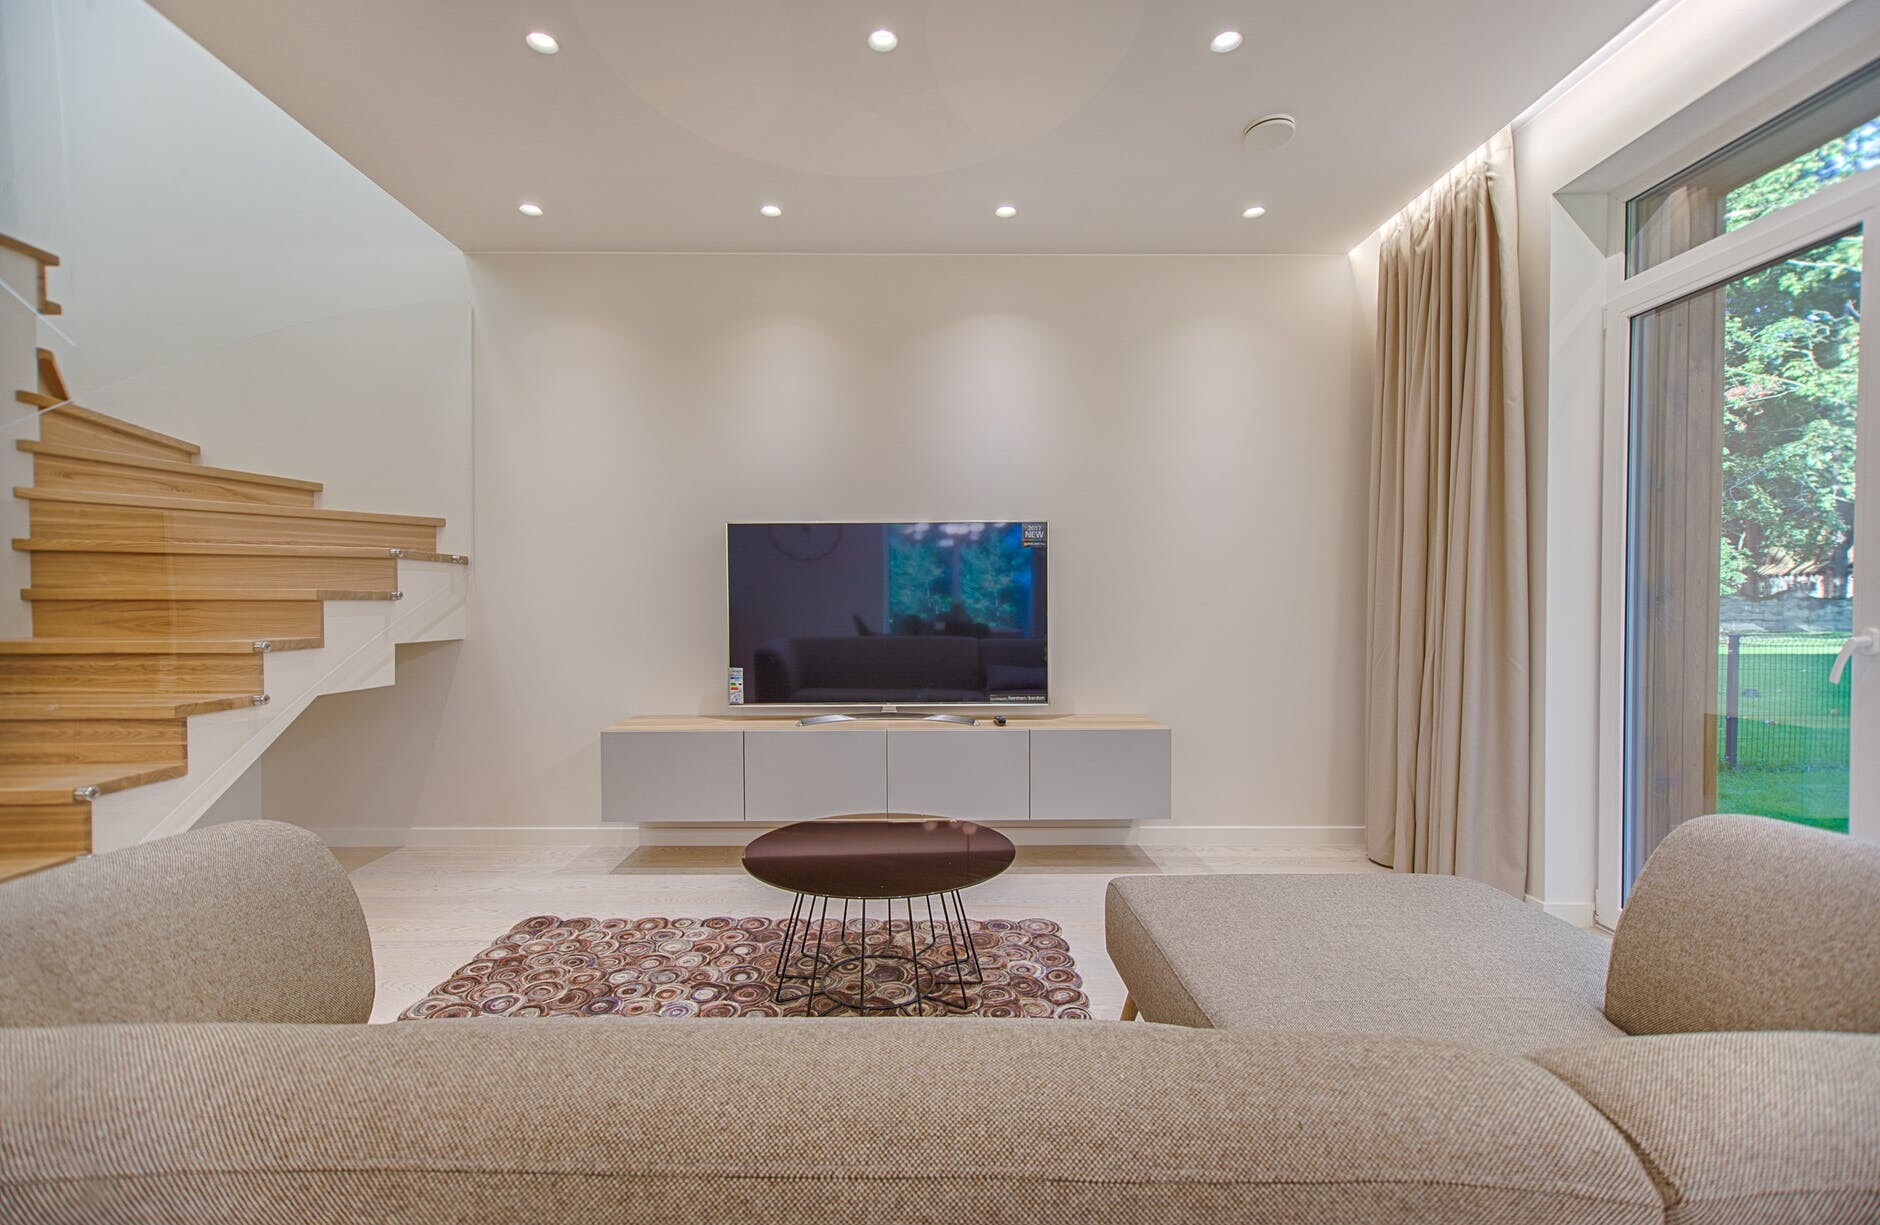
Replacing a ceiling light with a recessed light can significantly enhance the ambiance and functionality of a room. Recessed lighting offers a sleek and modern aesthetic, while also providing ample illumination without occupying visual space. Whether you're looking to update the lighting in your kitchen, living room, or any other area, this comprehensive guide will walk you through the process of replacing a ceiling light with a recessed light. With the right tools, materials, and a systematic approach, you can transform the lighting in your space with confidence.
In the following steps, we will cover everything from gathering the necessary tools and materials to safely turning off the power and removing the existing ceiling light. We will then delve into the installation of the recessed light housing, connecting the wiring, and installing the recessed light trim. Finally, we will guide you through the crucial step of turning on the power and testing the light to ensure that everything is functioning as intended.
By following this guide, you can elevate the aesthetic appeal of your space and create a well-lit environment that meets your specific needs. Whether you're a seasoned DIY enthusiast or a novice looking to embark on your first home improvement project, this step-by-step tutorial will equip you with the knowledge and confidence to successfully replace a ceiling light with a recessed light. So, gather your tools, prepare to embark on a rewarding home improvement journey, and let's illuminate your space in style.
Key Takeaways:
- Transform your space with stylish and efficient recessed lighting by following a systematic process. From gathering tools to testing the light, this guide equips you to elevate your home’s ambiance and functionality.
- Prioritize safety and precision as you replace a ceiling light with recessed lighting. Enjoy the benefits of a sleek aesthetic, customizable illumination, and a well-lit environment tailored to your specific needs.
Step 1: Gather the necessary tools and materials
Before embarking on the process of replacing a ceiling light with a recessed light, it's essential to gather all the required tools and materials. Having the right equipment at your disposal will streamline the installation process and ensure that you can work efficiently and safely. Here's a comprehensive list of the tools and materials you'll need:
Tools:
- Screwdriver: A Phillips or flat-head screwdriver will be necessary for removing the existing ceiling light fixture and handling electrical components.
- Voltage Tester: This tool is crucial for verifying that the power has been safely turned off before beginning any work on the electrical connections.
- Wire Cutter/Stripper: You'll need this tool to cut and strip the electrical wires to the appropriate length for connection.
- Drywall Saw or Hole Cutter: Depending on the type of recessed light you're installing, you may require a drywall saw or hole cutter to create the opening for the light fixture.
- Ladder: A sturdy ladder will be essential for reaching the ceiling safely and comfortably during the installation process.
Materials:
- Recessed Light Fixture: Select a high-quality recessed light fixture that suits the aesthetic and lighting needs of your space.
- Electrical Box: If the recessed light fixture requires an electrical box for installation, ensure that you have the appropriate type on hand.
- Wire Nuts: These are essential for securely connecting the electrical wires during the installation process.
- Mounting Hardware: Depending on the specific requirements of the recessed light fixture, you may need mounting hardware such as screws or brackets.
- Electrical Tape: It's important to have electrical tape on hand for insulating wire connections and ensuring electrical safety.
- Safety Glasses: Protect your eyes during the installation process by wearing safety glasses.
By gathering these tools and materials, you'll be well-prepared to proceed with the subsequent steps of turning off the power, removing the existing ceiling light, and installing the recessed light housing. With everything at your fingertips, you can approach the project with confidence and set the stage for a successful transition to stylish and efficient recessed lighting.
Step 2: Turn off the power
Before beginning any work on the electrical components, it is absolutely crucial to ensure that the power to the existing ceiling light fixture is completely turned off. This step is essential for your safety and the integrity of the electrical system. Here's a detailed guide on how to safely turn off the power:
-
Locate the Circuit Breaker Panel: Identify the circuit breaker panel in your home. This panel contains a series of switches, each controlling the power supply to different areas or fixtures.
-
Switch Off the Correct Circuit: Determine which circuit is responsible for supplying power to the ceiling light fixture you're replacing. This information can often be found on the circuit breaker panel's directory or labeling. If not, you may need someone to assist you by flipping the light switch while you identify the corresponding circuit breaker.
-
Double-Check the Power: Once you believe you've identified the correct circuit, use a voltage tester to double-check that the power is indeed off. This small but essential tool will verify the absence of electrical current, providing peace of mind before proceeding with the next steps.
-
Secure the Circuit Breaker: After confirming that the power is off, securely tape the circuit breaker switch in the off position. This precautionary measure prevents someone else from accidentally turning the power back on while you're working on the electrical connections.
By diligently following these steps to turn off the power, you significantly reduce the risk of electrical accidents and ensure a safe working environment for the remainder of the installation process. Always prioritize safety when working with electrical systems, and never proceed with the assumption that the power is off without first using a voltage tester to verify. With the power safely turned off, you can proceed to the next steps of removing the existing ceiling light and preparing for the installation of the recessed light housing.
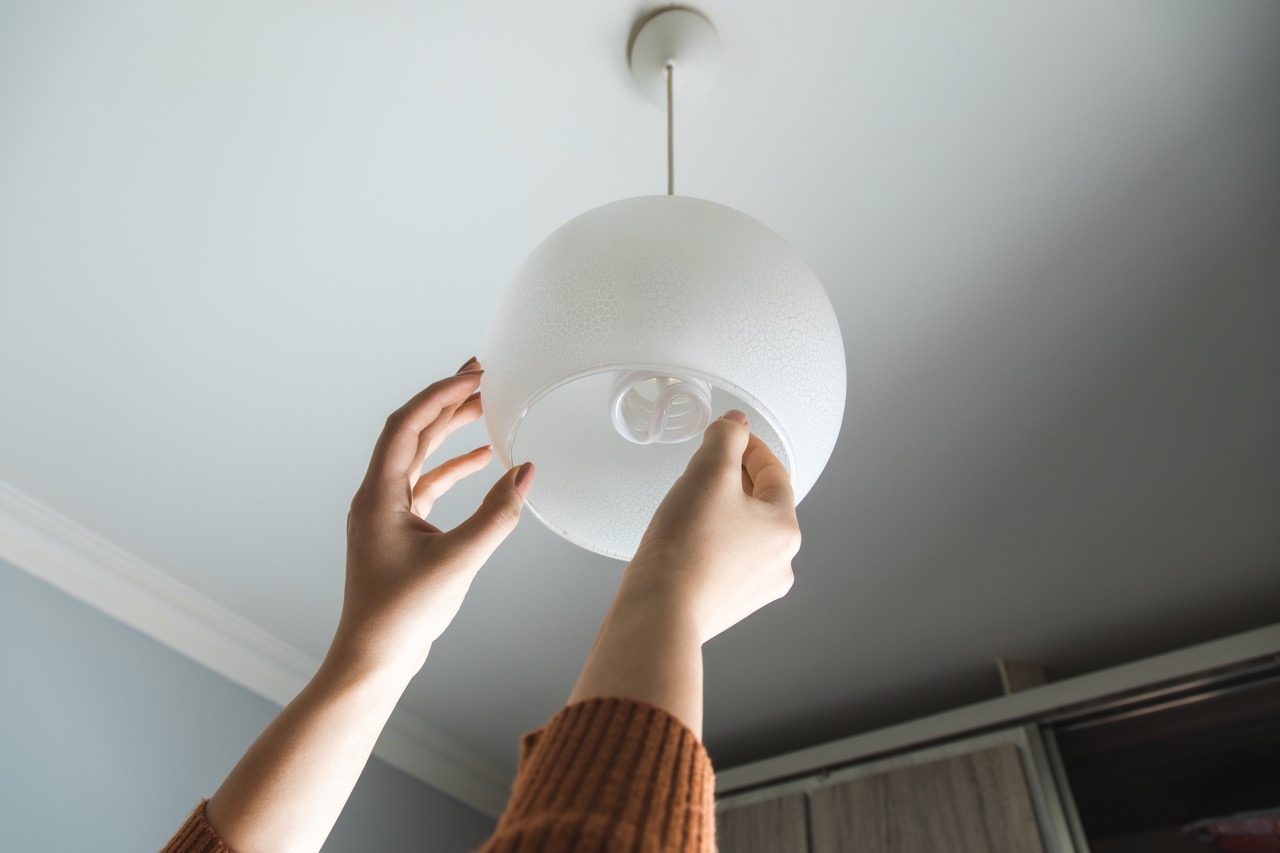
Step 3: Remove the existing ceiling light
With the power safely turned off, you can proceed to remove the existing ceiling light fixture. This process involves careful handling of the fixture and its electrical connections. Here's a detailed guide on how to effectively remove the existing ceiling light:
-
Remove the Light Bulbs: If the ceiling light fixture is equipped with light bulbs, carefully unscrew and remove them from their sockets. Set the bulbs aside in a safe place to prevent breakage.
-
Detach the Fixture Cover or Canopy: In many cases, ceiling light fixtures are secured in place by a cover or canopy. Use a screwdriver to remove any screws or fasteners holding the cover in place. Once the fasteners are removed, gently lower the cover to expose the wiring and electrical connections.
-
Disconnect the Wiring: With the wiring exposed, carefully disconnect the electrical wires connected to the ceiling light fixture. Depending on the wiring setup, you may encounter black (hot), white (neutral), and green or bare copper (ground) wires. Use a screwdriver to loosen the wire connectors and separate the wires. Take note of the wire colors and their respective connections for future reference.
-
Remove the Mounting Bracket or Screws: After disconnecting the wiring, you can proceed to remove the mounting bracket or screws securing the ceiling light fixture to the electrical box or ceiling surface. Use a screwdriver to loosen and remove any screws or fasteners holding the fixture in place. Once the mounting hardware is detached, carefully lower the fixture and set it aside.
-
Inspect the Electrical Box: With the ceiling light fixture removed, take a moment to inspect the electrical box and wiring. Ensure that the electrical box is securely mounted and in good condition. If any issues are identified, address them before proceeding with the installation of the recessed light housing.
By following these steps, you can effectively remove the existing ceiling light fixture in preparation for the installation of the recessed light housing. Take care to handle the fixture and electrical components with caution, and set aside any removed parts and hardware for potential reuse or safe disposal. With the existing ceiling light removed, you're ready to progress to the next steps of installing the recessed light housing and connecting the wiring for your new lighting solution.
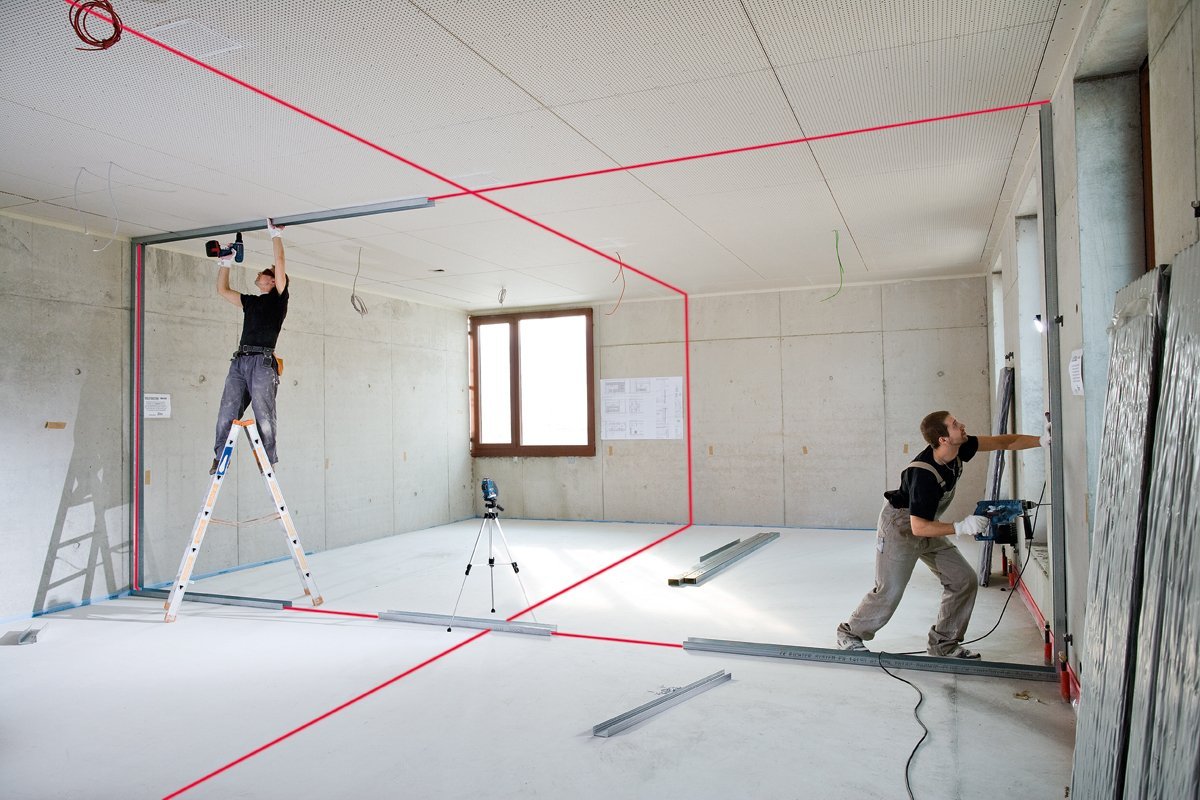
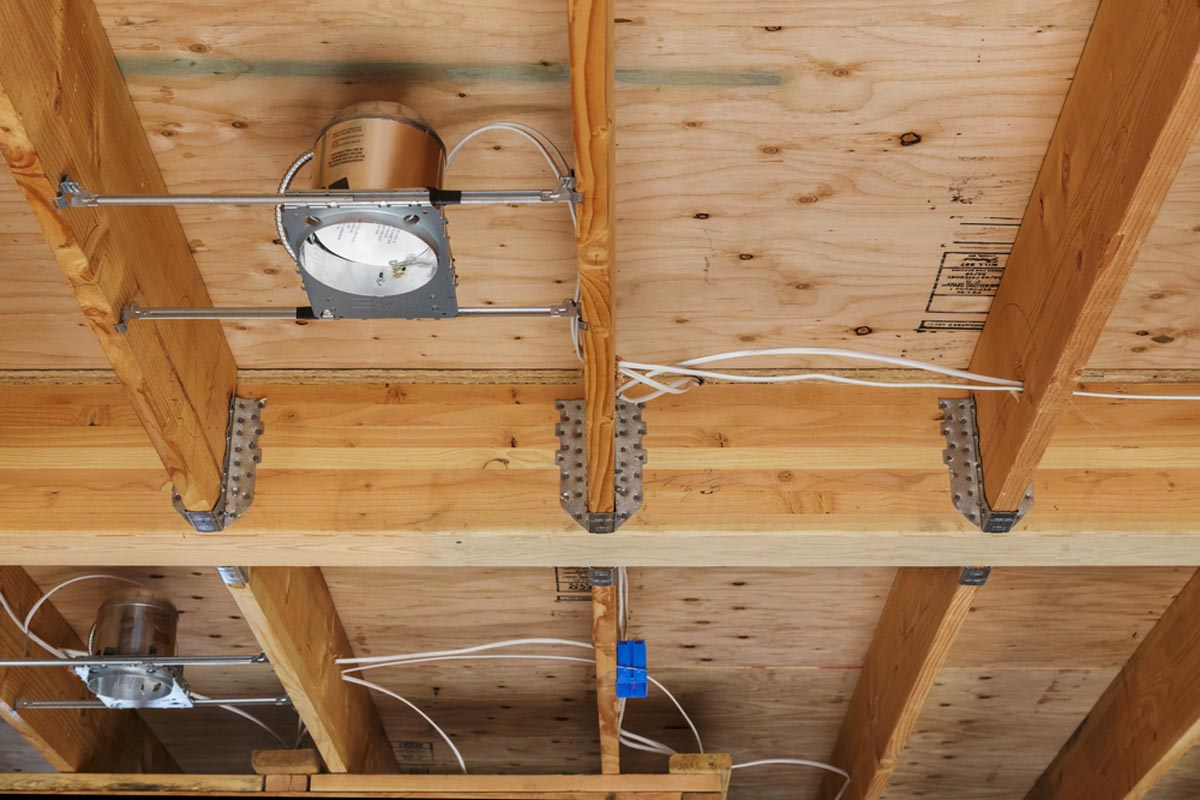
Step 4: Install the recessed light housing
With the existing ceiling light removed, the next crucial step is to install the recessed light housing. This component serves as the foundation for the recessed light fixture and provides the necessary support and enclosure within the ceiling. Here's a detailed guide on how to effectively install the recessed light housing:
-
Select the Appropriate Housing: Begin by selecting the correct type of recessed light housing for your specific installation. Consider factors such as the ceiling type (e.g., insulated or non-insulated), the desired trim style, and any additional features such as adjustable or airtight housings. Ensure that the chosen housing is compatible with the recessed light fixture you intend to install.
-
Position the Housing: Identify the desired location for the recessed light within the ceiling. Use a pencil to mark the center of the intended location, taking into account any spacing guidelines provided by the manufacturer. If installing multiple recessed lights, maintain consistent spacing between each housing for uniform illumination.
-
Create an Opening: Depending on the type of recessed light housing, you may need to create an opening in the ceiling to accommodate the fixture. Utilize a drywall saw or hole cutter to carefully cut out the marked opening, ensuring precision and adherence to the manufacturer's specifications. Exercise caution to avoid damaging any existing wiring or structural elements within the ceiling.
-
Secure the Housing: Once the opening is prepared, position the recessed light housing within the opening, ensuring a snug and secure fit. If the housing features adjustable brackets or clips, follow the manufacturer's instructions to secure it in place. Verify that the housing is flush with the ceiling surface and does not protrude or sit unevenly.
-
Connect the Housing to the Electrical Box: If the recessed light housing requires connection to an electrical box, carefully route the electrical wiring through the provided knockout or wiring access. Securely fasten the housing to the electrical box using the designated mounting screws or brackets. Ensure that the electrical connections are made in accordance with local electrical codes and manufacturer guidelines.
-
Verify Stability and Compatibility: Before proceeding, double-check the stability and compatibility of the installed recessed light housing. Confirm that it is securely positioned within the ceiling, and that any integrated features such as thermal protection or insulation contact ratings align with the requirements of your installation.
By diligently following these steps, you can effectively install the recessed light housing, laying the groundwork for the subsequent connection of the wiring and the seamless integration of the recessed light fixture. With the housing securely in place, you're ready to progress to the next steps of connecting the wiring and completing the installation of your new recessed lighting solution.
Step 5: Connect the wiring
Connecting the wiring for your recessed light is a critical step that ensures the proper functioning and safety of the new lighting fixture. This process involves establishing secure and correctly configured electrical connections to power the recessed light. Here's a detailed guide on how to effectively connect the wiring for your recessed light:
-
Prepare the Electrical Wires: Begin by preparing the electrical wires for connection. If necessary, use a wire cutter/stripper to trim the wires to the appropriate length, exposing a sufficient amount of conductor for secure connections. Ensure that the exposed wire ends are clean and free from any damage or fraying.
-
Identify the Wiring: Within the recessed light housing, identify the electrical wiring provided by the manufacturer. Typically, you will encounter black (hot), white (neutral), and green or bare copper (ground) wires. Familiarize yourself with the specific labeling or color-coding used for the wires, as this information will be crucial for making the correct connections.
-
Match the Wiring: Match the corresponding wires from the recessed light fixture to the existing electrical wiring within the ceiling. In most cases, this will involve connecting the black wire from the fixture to the black (hot) wire in the ceiling, the white wire from the fixture to the white (neutral) wire in the ceiling, and the green or bare copper wire from the fixture to the green or bare copper (ground) wire in the ceiling.
-
Secure the Connections: Use wire nuts to securely connect the matched wires. Twist the exposed ends of the wires together in a clockwise direction, and then cover the twisted connection with a wire nut, ensuring a tight and insulated fit. Tug gently on each wire to verify that the connection is secure and that no loose strands are protruding from the wire nut.
-
Insulate the Connections: After securing the wire connections, use electrical tape to further insulate and protect the wire nuts. Wrap a layer of electrical tape around each wire nut and the connected wires, extending the tape a short distance along the insulated portions of the wires. This additional layer of insulation helps safeguard the connections and prevents accidental exposure.
-
Position the Wiring: Carefully position the connected wiring within the recessed light housing, ensuring that it does not interfere with the installation of the light fixture or impede the functionality of any integrated components. Verify that the wiring is neatly arranged and does not create any obstructions within the housing.
By following these steps, you can effectively connect the wiring for your recessed light, establishing secure and properly configured electrical connections that power the new lighting fixture. Prioritize precision and attention to detail during this process, and always adhere to local electrical codes and manufacturer guidelines to ensure the safety and functionality of your recessed lighting installation. With the wiring securely connected, you're ready to progress to the next steps of installing the recessed light trim and testing the light to complete the installation process.
Make sure to turn off the power to the existing light fixture before starting. Follow the manufacturer’s instructions for installing the recessed light and use a voltage tester to double-check that the power is off before touching any wires.
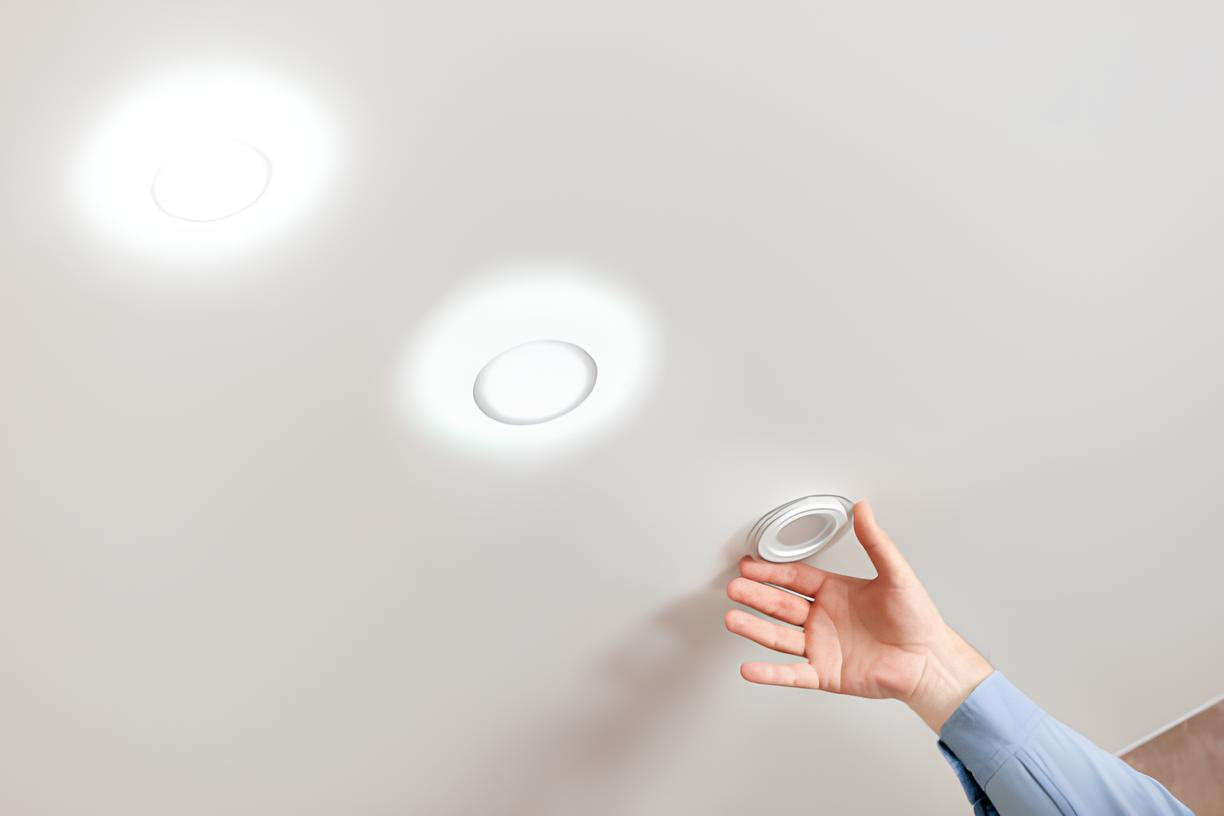
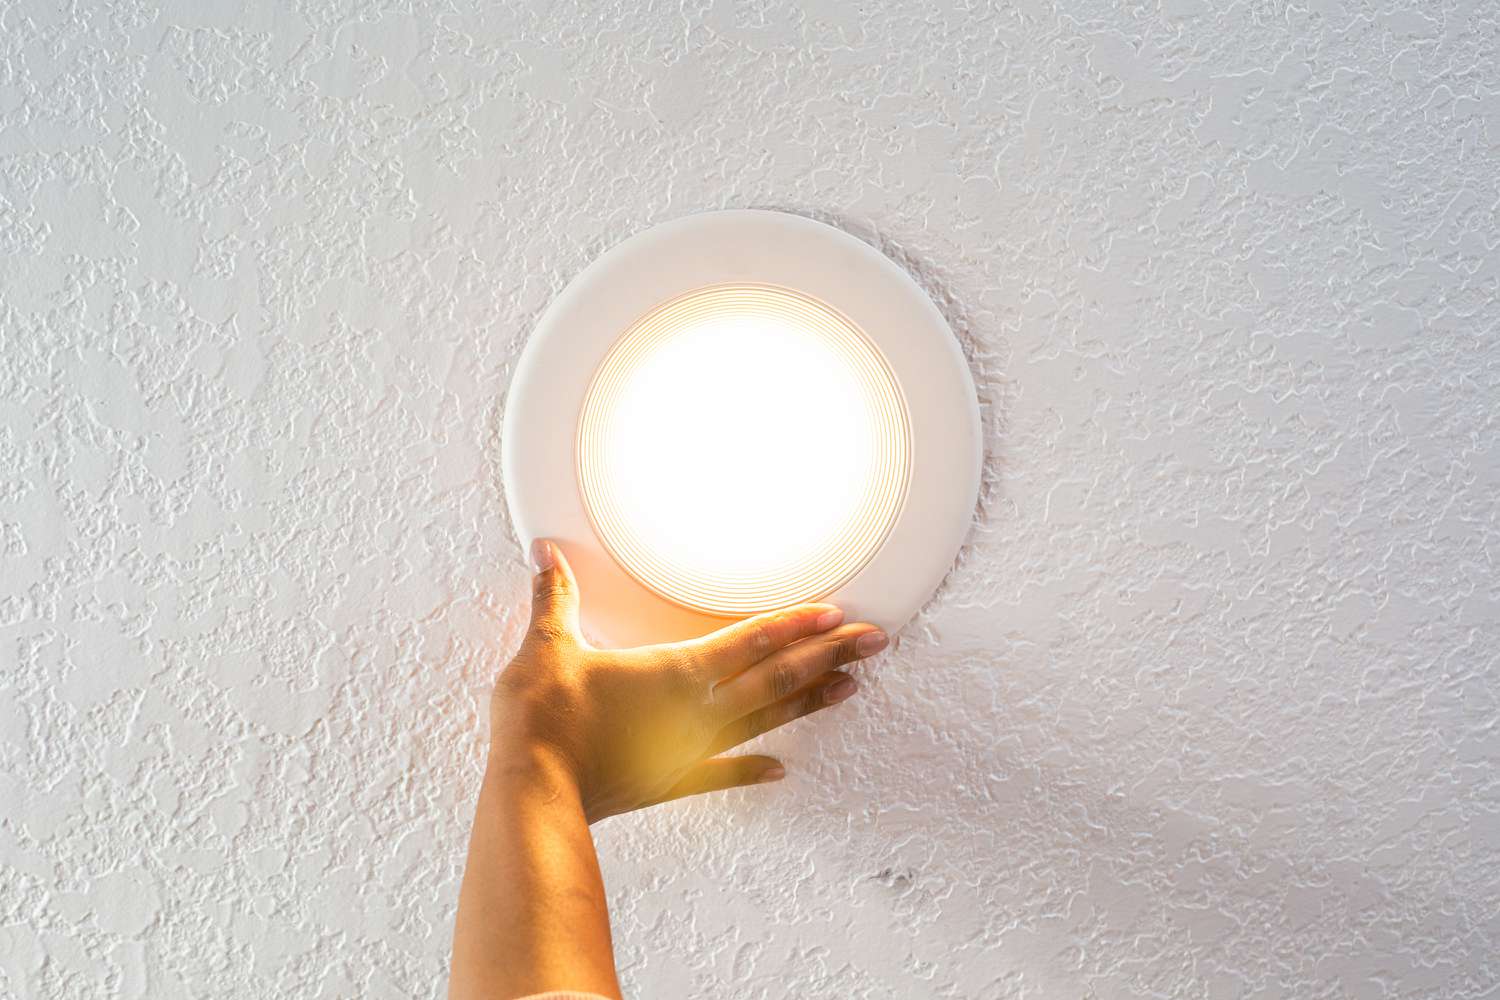
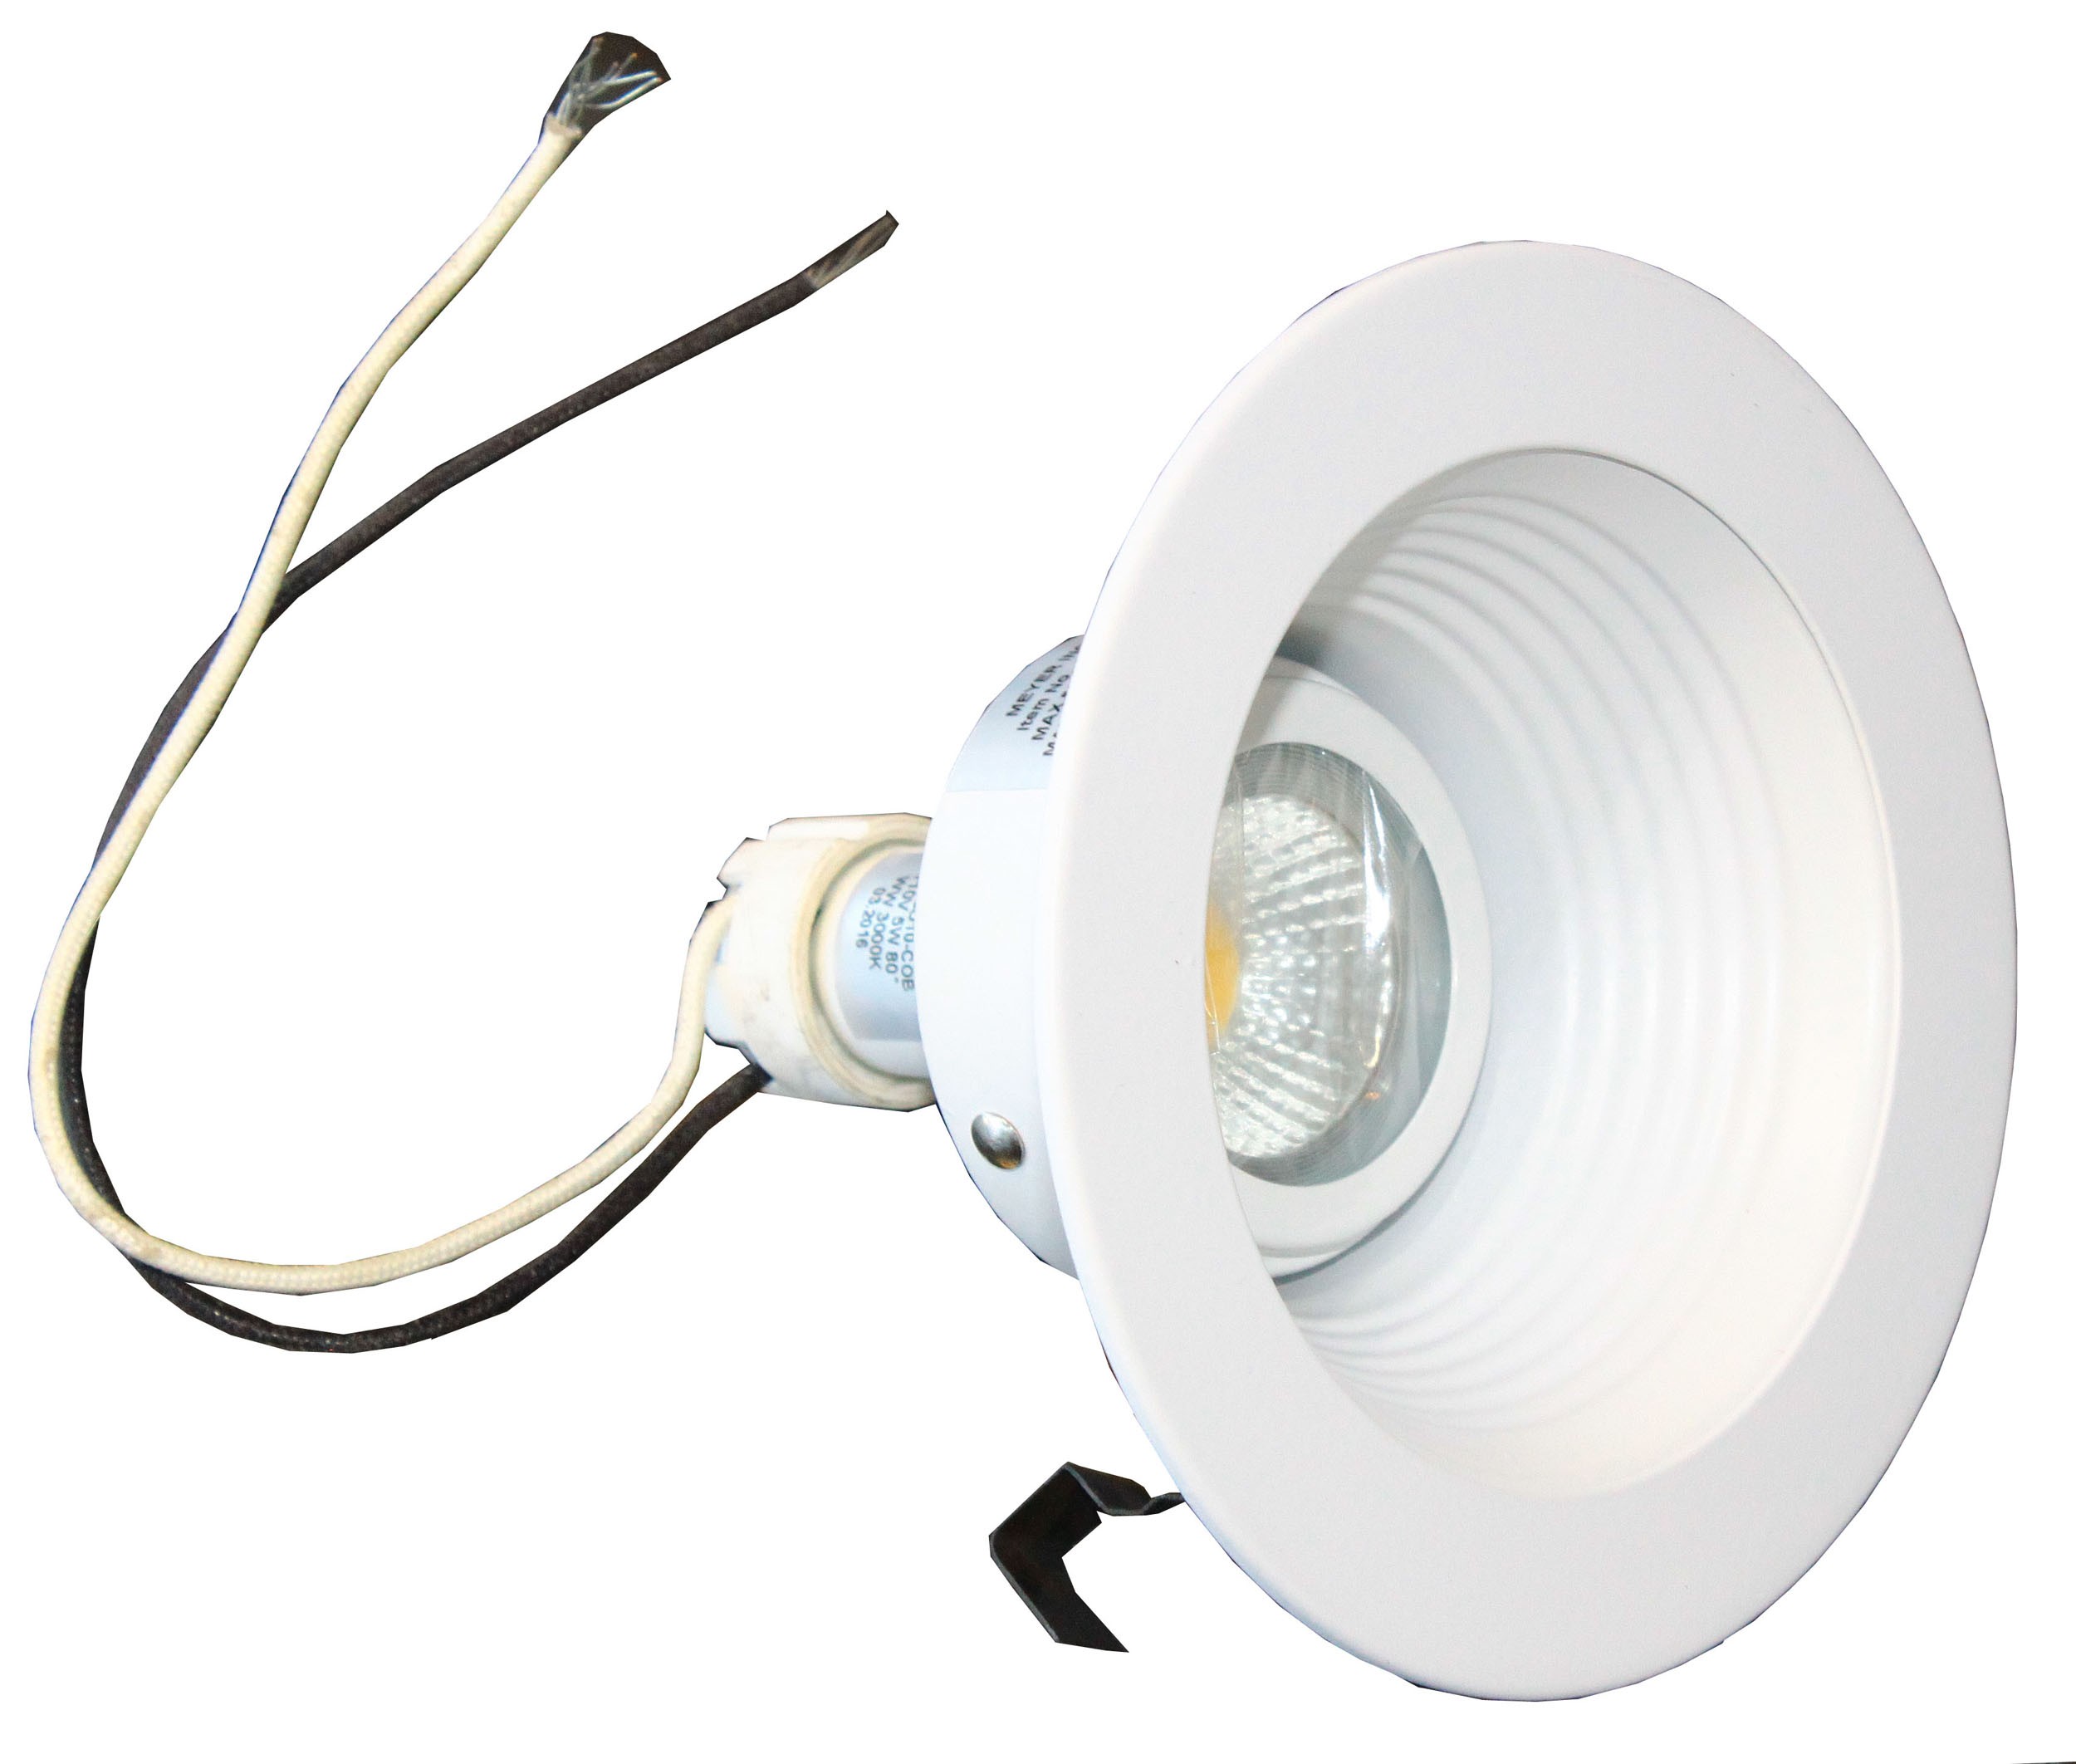
Step 6: Install the recessed light trim
With the wiring securely connected, the next pivotal step in the installation process is to install the recessed light trim. The trim serves as the visible and decorative component of the recessed light fixture, enhancing its aesthetic appeal and seamlessly integrating it with the surrounding ceiling. Here's a detailed guide on how to effectively install the recessed light trim:
-
Select the Appropriate Trim: Begin by selecting the trim style that best complements your space and aligns with your aesthetic preferences. Recessed light trims are available in various designs, including baffle, reflector, and open styles, each offering distinct lighting and visual effects. Choose a trim that enhances the overall ambiance and functionality of the room.
-
Position the Trim: Carefully position the selected trim over the recessed light fixture, ensuring that it aligns with the housing and covers the opening in the ceiling. Verify that the trim sits flush and securely against the housing, creating a seamless transition between the fixture and the ceiling surface.
-
Secure the Trim in Place: Depending on the specific design of the recessed light trim, it may feature spring clips, torsion springs, or other securing mechanisms. Follow the manufacturer's instructions to securely fasten the trim to the housing, ensuring a snug and stable fit. Verify that the trim is firmly in place and does not wobble or shift when touched.
-
Adjust the Trim if Necessary: Some recessed light trims offer adjustable features that allow you to modify the direction or spread of the light. If applicable, take advantage of these adjustments to customize the lighting effect to suit your preferences. Whether you prefer focused task lighting or broad ambient illumination, adjusting the trim can help achieve the desired outcome.
-
Evaluate the Visual Impact: Once the trim is installed, step back and evaluate the visual impact of the recessed light fixture within the space. Observe how the trim interacts with the surrounding decor and assess the quality of light distribution. Make any necessary adjustments to the trim or lighting direction to optimize the overall effect.
By following these steps, you can effectively install the recessed light trim, elevating the visual appeal of the fixture and completing the integration of the recessed lighting within your space. The trim serves as the finishing touch that enhances the overall aesthetic and functionality of the recessed light, contributing to a well-lit and stylish environment. With the trim securely in place, you're ready to progress to the final step of turning on the power and testing the light to ensure that everything functions as intended.
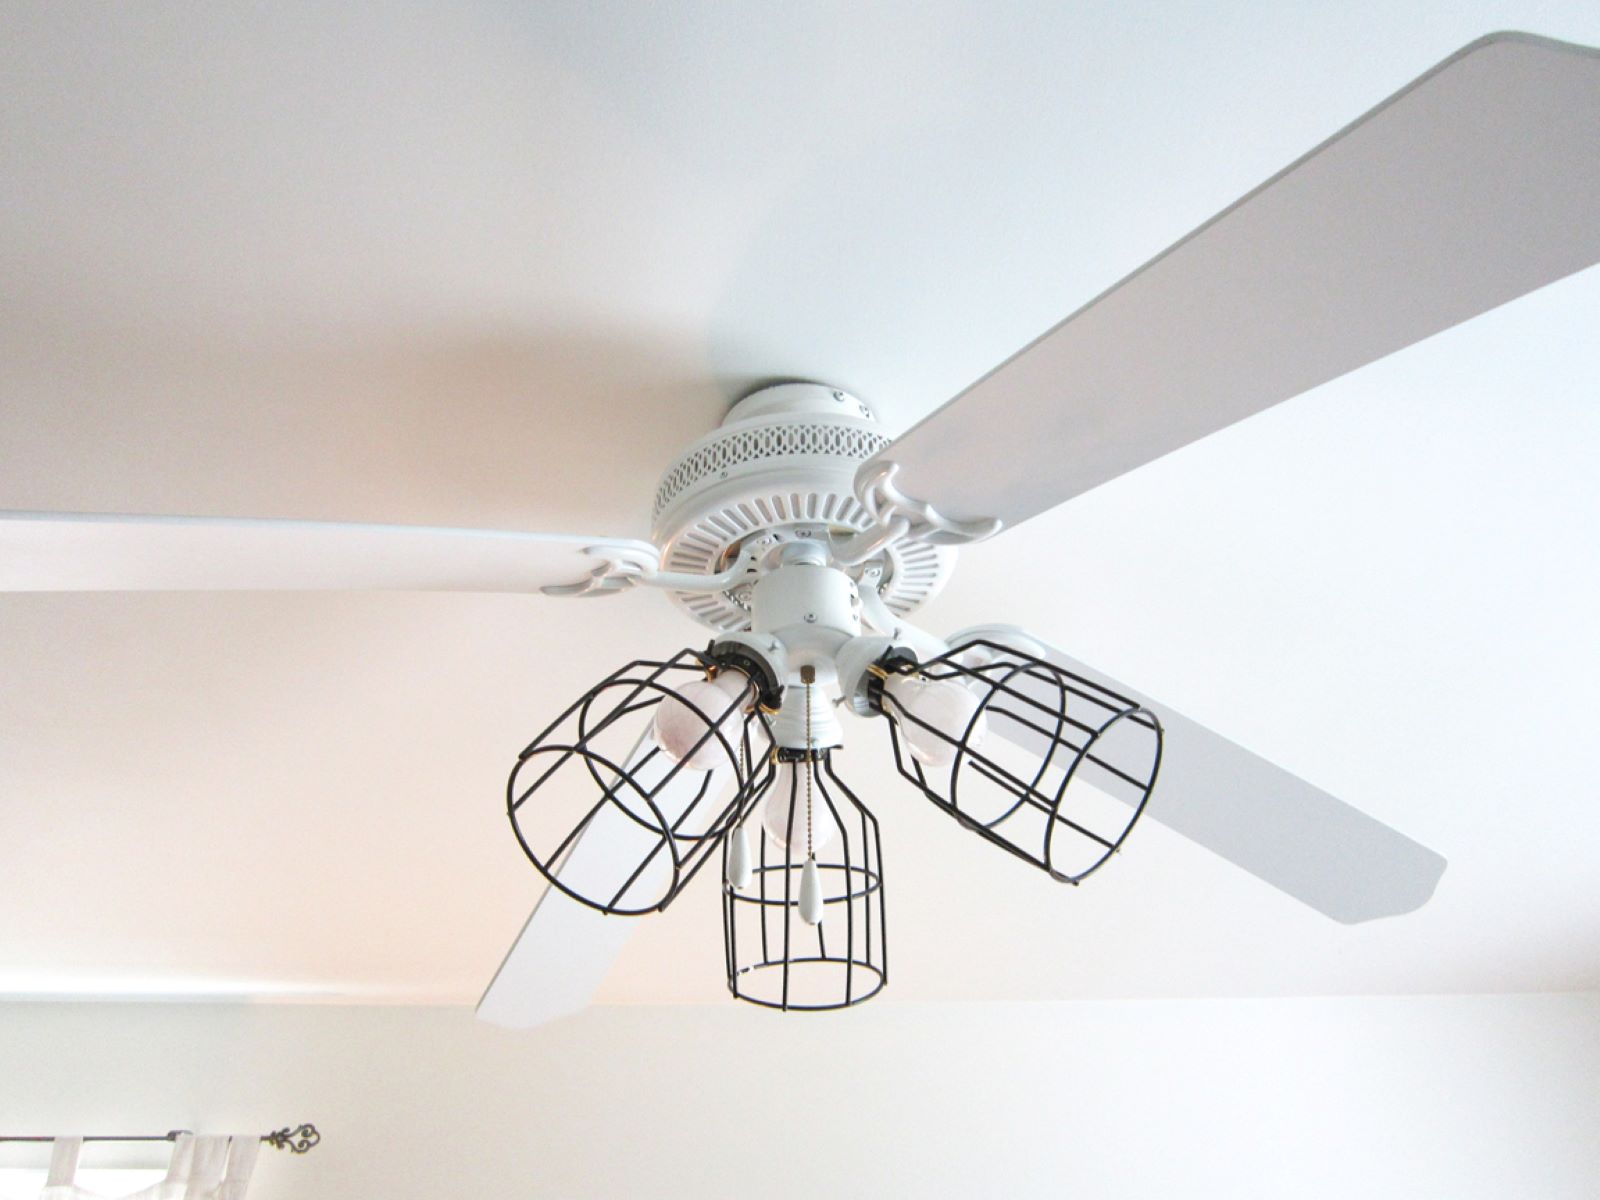
Read more: How To Replace A Light With A Ceiling Fan
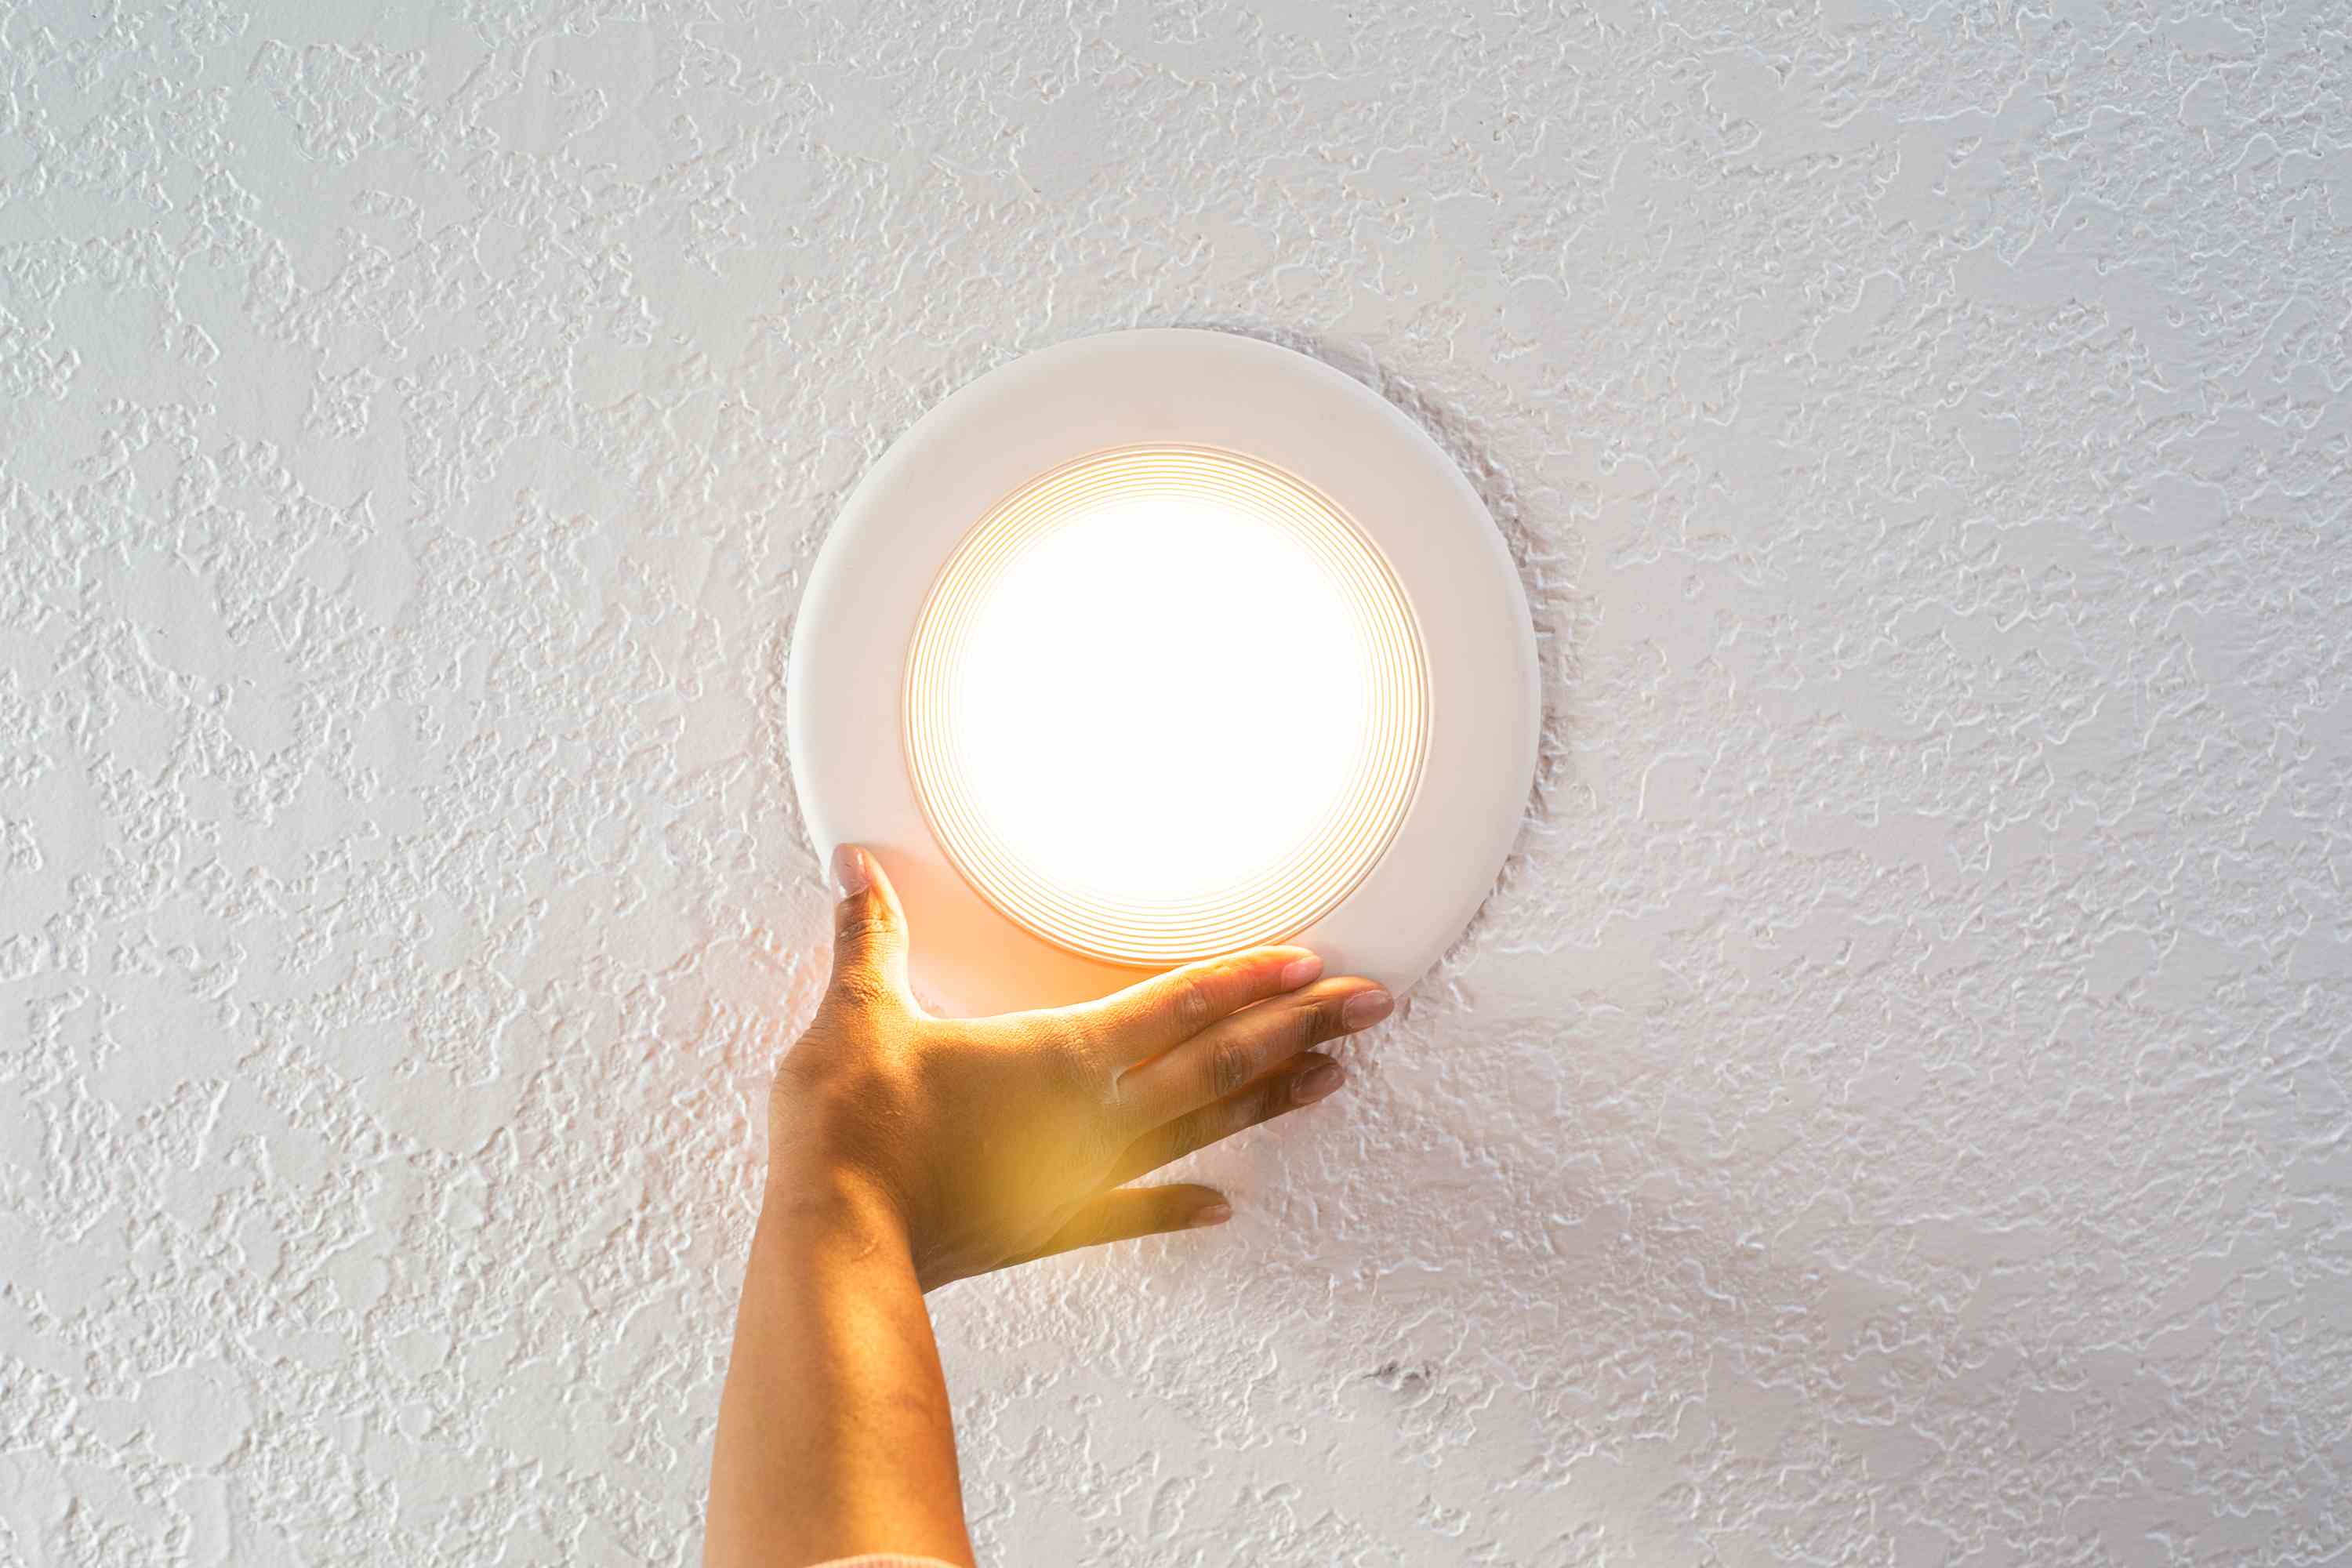
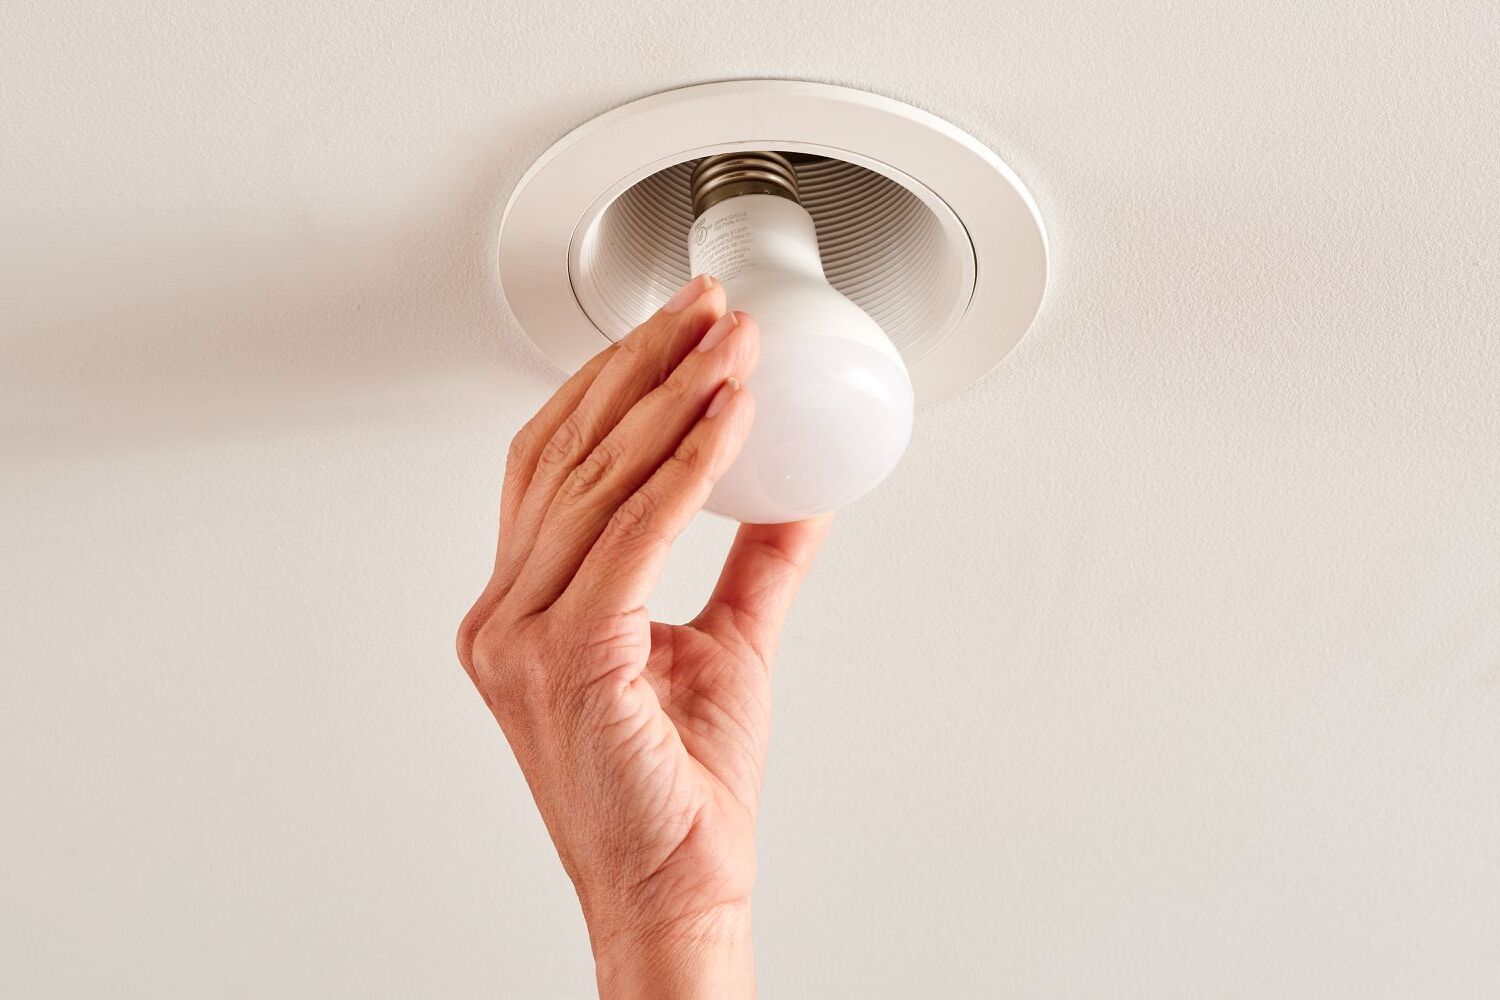
Step 7: Turn on the power and test the light
After completing the installation of the recessed light housing and trim, the final step is to turn on the power and test the light to ensure that everything functions as intended. This critical phase allows you to verify the proper operation of the recessed light fixture and make any necessary adjustments before concluding the installation process.
To effectively turn on the power and test the light, follow these essential steps:
-
Restore the Power: Return to the circuit breaker panel and carefully reset the circuit breaker associated with the recessed light fixture. With caution, remove any tape securing the breaker in the off position and switch it back to the on position. Take note of any audible clicks or indicators that signal the restoration of power to the circuit.
-
Activate the Light Switch: Proceed to the wall switch or dimmer control that governs the recessed light fixture. Turn on the switch to initiate the flow of electricity to the fixture. Observe the recessed light closely to determine if it illuminates as expected. Take note of the quality and intensity of the light emitted, ensuring that it aligns with your desired lighting outcome.
-
Evaluate the Functionality: Once the recessed light is illuminated, evaluate its functionality and performance. Assess the distribution of light within the space, observing any areas of shadowing or uneven illumination. Take note of any flickering, buzzing, or other irregularities that may indicate underlying issues with the electrical connections or the fixture itself.
-
Make Adjustments if Necessary: If the recessed light does not function as expected or exhibits any deficiencies, consider making adjustments to address the issues. This may involve checking and tightening electrical connections, repositioning the trim for optimal light distribution, or troubleshooting any dimming or control features. Exercise caution and refer to the manufacturer's guidelines for specific troubleshooting steps.
-
Ensure Safety and Compliance: Throughout the testing process, prioritize safety and compliance with electrical standards. Verify that the recessed light operates without any safety hazards or anomalies, and confirm that it adheres to local building codes and regulations. If any concerns arise during the testing phase, promptly address them to ensure the safe and reliable operation of the recessed light fixture.
By diligently following these steps to turn on the power and test the light, you can effectively conclude the installation process with confidence in the functionality and safety of your new recessed lighting. This final phase allows you to experience the transformative impact of the recessed light within your space and ensures that it meets your specific lighting needs. With the light successfully tested and operational, you can enjoy the enhanced ambiance and functionality provided by your newly installed recessed lighting solution.
Conclusion
In conclusion, the process of replacing a ceiling light with a recessed light involves a systematic approach that encompasses gathering the necessary tools and materials, turning off the power, removing the existing ceiling light, installing the recessed light housing, connecting the wiring, installing the recessed light trim, and finally, turning on the power and testing the light. By following this comprehensive guide, you can successfully transform the lighting in your space, creating a well-lit and visually appealing environment.
The transition to recessed lighting offers numerous benefits, including a sleek and modern aesthetic, efficient illumination, and the ability to customize the lighting effect to suit specific preferences. Whether you're updating the lighting in a kitchen, living room, or any other area, recessed lighting provides a versatile and stylish solution that enhances the overall ambiance and functionality of the space.
Throughout the installation process, prioritizing safety, precision, and adherence to electrical standards is paramount. From carefully turning off the power to meticulously connecting the wiring and testing the light, each step contributes to the successful integration of recessed lighting within your home. By following the outlined steps and exercising caution, you can achieve a seamless transition to stylish and efficient recessed lighting.
As you embark on the journey of replacing a ceiling light with a recessed light, remember to consider the specific lighting needs and design preferences of your space. Selecting the appropriate recessed light fixture, trim style, and lighting characteristics allows you to tailor the lighting to create the desired atmosphere and functionality. Whether you seek focused task lighting, broad ambient illumination, or accent lighting to highlight specific features, recessed lighting offers versatility and adaptability to meet diverse requirements.
Ultimately, the installation of recessed lighting represents a significant enhancement to your home, elevating the visual appeal and practicality of your lighting solutions. By embracing the process with confidence and attention to detail, you can enjoy the transformative impact of recessed lighting, creating a well-lit and inviting environment that reflects your unique style and preferences. With the completion of the installation and the successful testing of the light, you can bask in the glow of your newly illuminated space, appreciating the enhanced ambiance and functionality provided by your stylish and efficient recessed lighting solution.
Frequently Asked Questions about How To Replace A Ceiling Light With A Recessed Light
Was this page helpful?
At Storables.com, we guarantee accurate and reliable information. Our content, validated by Expert Board Contributors, is crafted following stringent Editorial Policies. We're committed to providing you with well-researched, expert-backed insights for all your informational needs.


0 thoughts on “How To Replace A Ceiling Light With A Recessed Light”