Articles
How To Put A Battery In A Smoke Detector
Modified: August 22, 2024
Learn how to properly install a battery in a smoke detector with our step-by-step guide and informative articles. Ensure the safety of your home with this essential maintenance task.
(Many of the links in this article redirect to a specific reviewed product. Your purchase of these products through affiliate links helps to generate commission for Storables.com, at no extra cost. Learn more)
Introduction
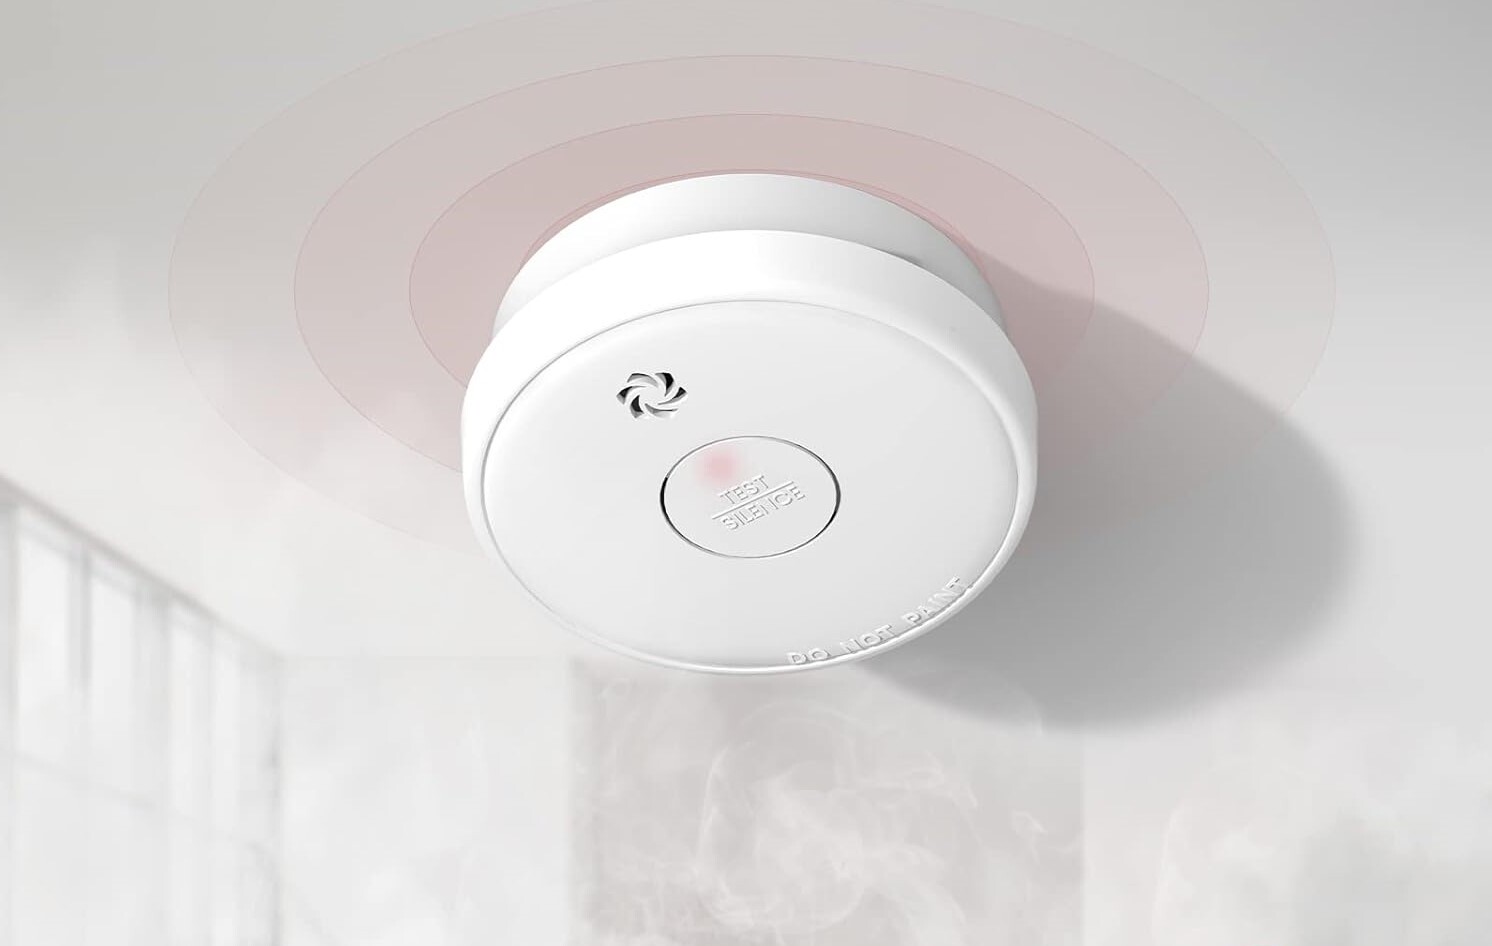
Smoke detectors play a crucial role in ensuring the safety of our homes and loved ones. These small devices are designed to detect the presence of smoke and trigger an alarm, giving us valuable time to react and evacuate in the event of a fire. A properly functioning smoke detector is essential for early detection and early warning.
One important maintenance task for smoke detectors is replacing the batteries regularly. Battery-powered smoke detectors rely on a reliable power source to function effectively. In this article, we will guide you through the process of putting a battery in a smoke detector. By following these simple steps, you can ensure that your smoke detector remains operational, providing you with the utmost protection.
Before we begin, it’s important to note that different smoke detectors may have slight variations in design and battery placement. It’s always best to consult the manufacturer’s instructions specific to your smoke detector model. However, the general steps outlined in this article should apply to most battery-operated smoke detectors.
Key Takeaways:
- Regularly replacing the battery in your smoke detector is crucial for maintaining its effectiveness in detecting smoke and providing early warnings in the event of a fire.
- Properly maintaining your smoke detector, including testing it regularly and replacing the battery as needed, is a proactive approach to ensuring the safety of your home and loved ones.
Step 1: Gather Materials
Before starting the process of replacing the battery in your smoke detector, it’s important to gather all the necessary materials. This ensures a smooth and efficient battery replacement process. Here’s what you’ll need:
- New Battery: Check the manufacturer’s instructions or the existing battery to determine the type and size of battery required for your smoke detector. Common types of batteries used in smoke detectors include 9-volt, AA, or AAA batteries.
- Ladder or Step Stool: Depending on the placement of your smoke detector, you may need a ladder or step stool to reach it safely. Ensure that the ladder or step stool is stable and secure before climbing it.
- Screwdriver: Most smoke detectors require a screwdriver to open the housing. Check the type of screwdriver required (usually Phillips or flathead) and make sure you have it handy.
- Flashlight: A flashlight will come in handy, especially if your smoke detector is in a dimly lit area. It can help you navigate and see the battery compartment clearly.
Once you have gathered all these materials, you are ready to move on to the next step of the process.
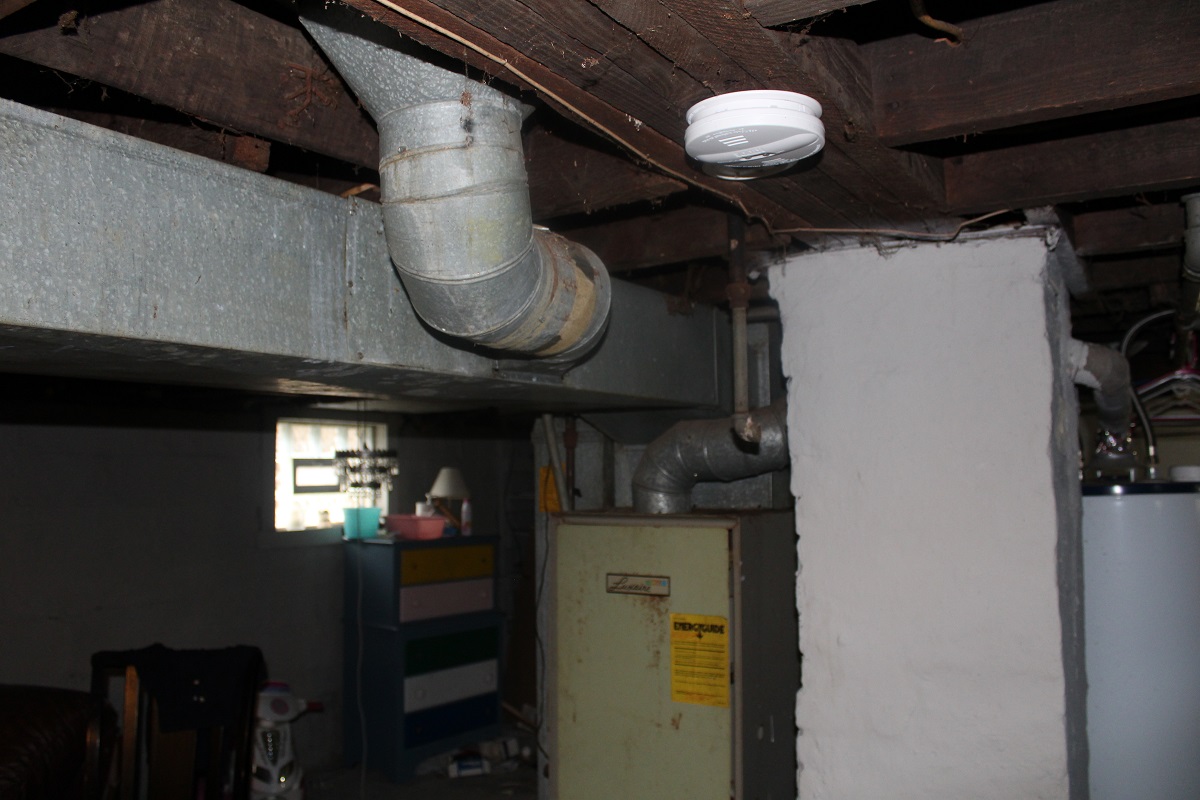
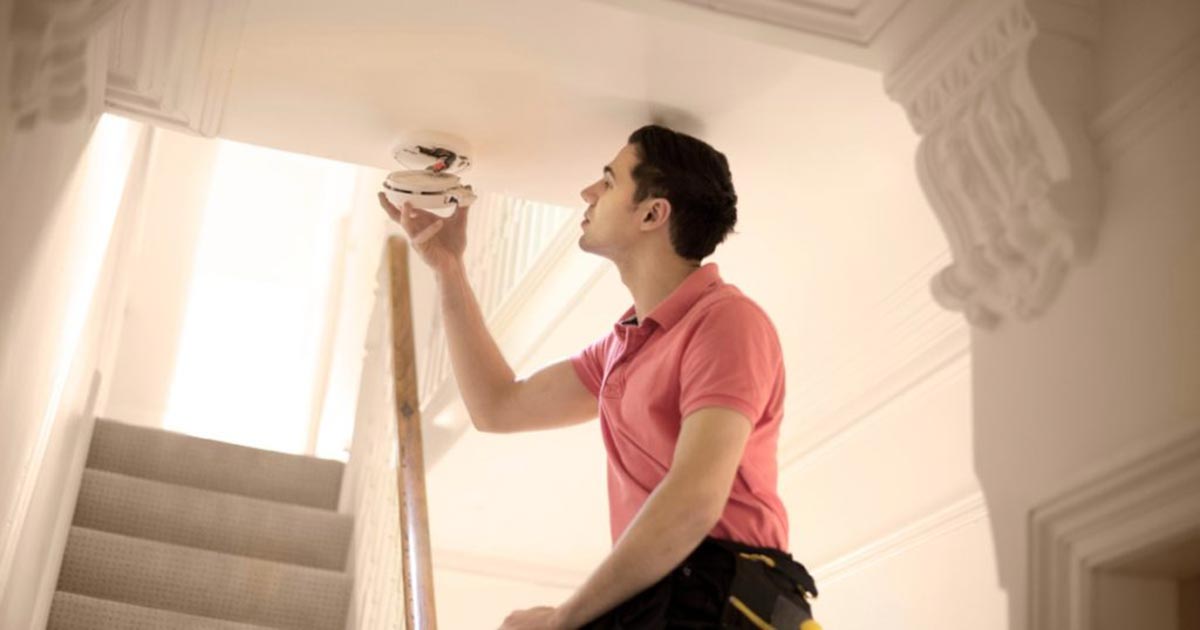
Step 2: Locate the Smoke Detector
After collecting the necessary materials, the next step is to locate the smoke detector in your home. Smoke detectors are typically installed on the ceiling or high on the wall, close to bedrooms or common areas. Some homes may have multiple smoke detectors placed in different areas for maximum coverage.
Take a moment to familiarize yourself with the layout of your home and identify the smoke detector’s location. It’s usually a circular or rectangular device, either white or off-white in color, with vents or holes on the front. If you are unsure where your smoke detector is located, consult the floor plan or any previous documentation received during the installation process.
Once you have located the smoke detector, use the ladder or step stool to position yourself at a comfortable height. Make sure you have enough space to work and reach the smoke detector without straining yourself.
If you have multiple smoke detectors in your home, it’s essential to know which one you will be working on. Each detector may have different battery replacement requirements or be interconnected with other detectors in the system.
Once you have identified the smoke detector and positioned yourself correctly, you’re ready to move on to the next step of the battery replacement process.
Step 3: Prepare for Battery Replacement
Before removing the old battery from the smoke detector, it’s important to take some precautions and prepare for a smooth battery replacement process. Here’s what you need to do:
- Notify Others: Inform your family members or anyone else in the vicinity that you will be working on the smoke detector. This ensures that they are aware of the temporary absence of the smoke detector, minimizing any concerns or unnecessary alarms.
- Disable the Alarm: Most smoke detectors have a temporary silence or disable function to prevent the alarm from sounding while you replace the battery. Refer to the manufacturer’s instructions on how to disable the alarm temporarily. This step will prevent any loud, unexpected noises during the battery replacement process.
- Turn Off the Power (if applicable): If your smoke detector is hardwired to your home’s electrical system, it’s crucial to turn off the power before proceeding with the battery replacement. This can typically be done by switching off the corresponding circuit breaker in your electrical panel. This step ensures your safety and prevents any electrical shocks.
By notifying others, disabling the alarm, and, if necessary, turning off the power, you create a safe and interruption-free environment for the battery replacement process. These simple steps ensure that you, your family, and your home are protected throughout the process.
With the necessary preparations in place, you are now ready to move on to the next step to open the smoke detector and access the battery compartment.
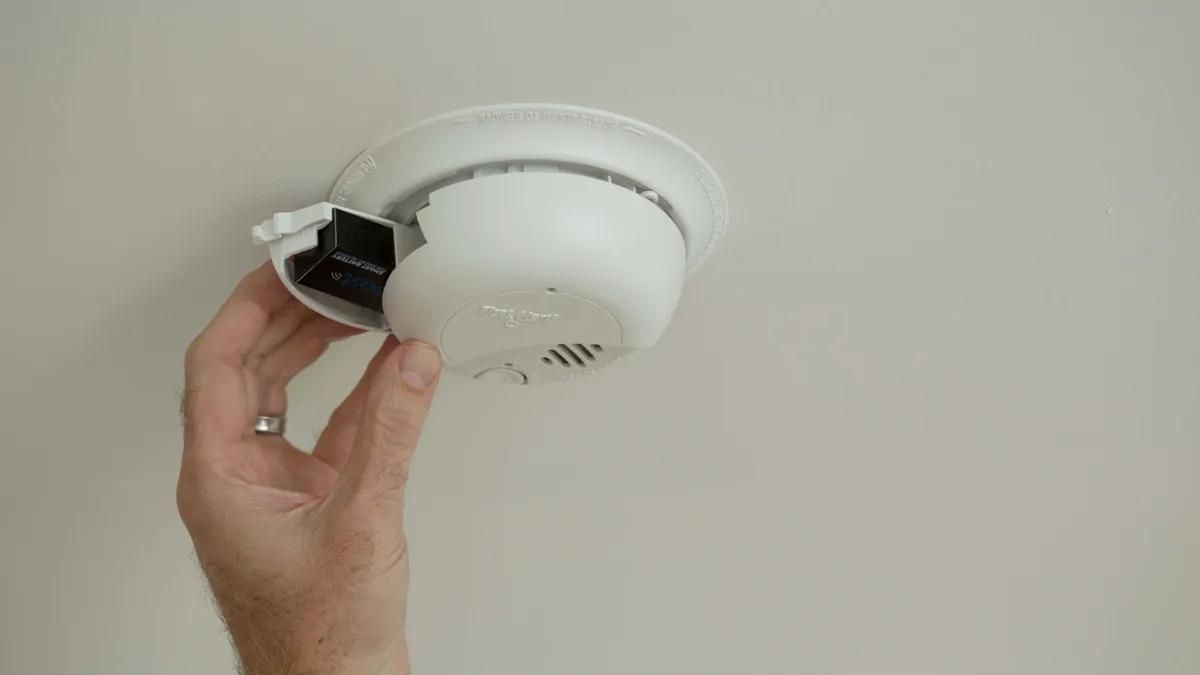
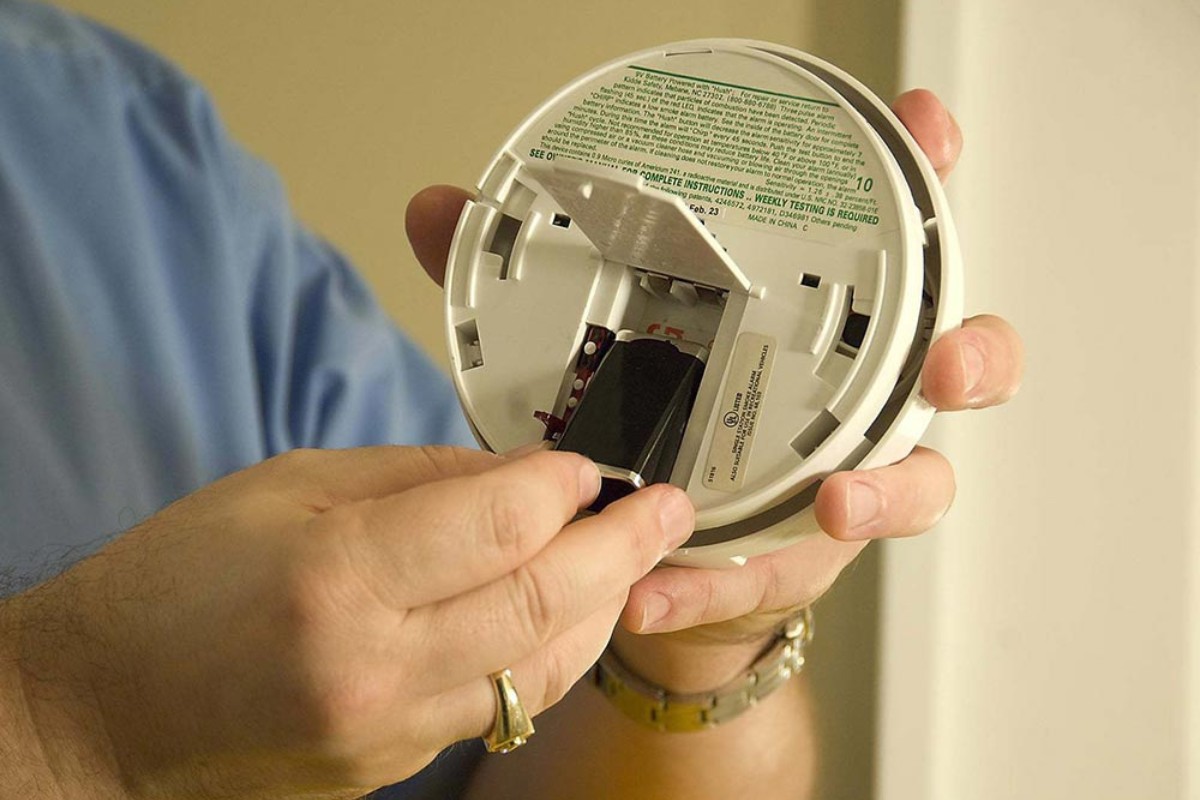
Step 4: Open the Smoke Detector
Now that you have made the necessary preparations, it’s time to open the smoke detector to access the battery compartment. Here’s how to do it:
- Ensure Safety: Double-check that the power to the smoke detector is turned off, especially if it is hardwired. This step prevents any accidental electrical shocks while working on the device.
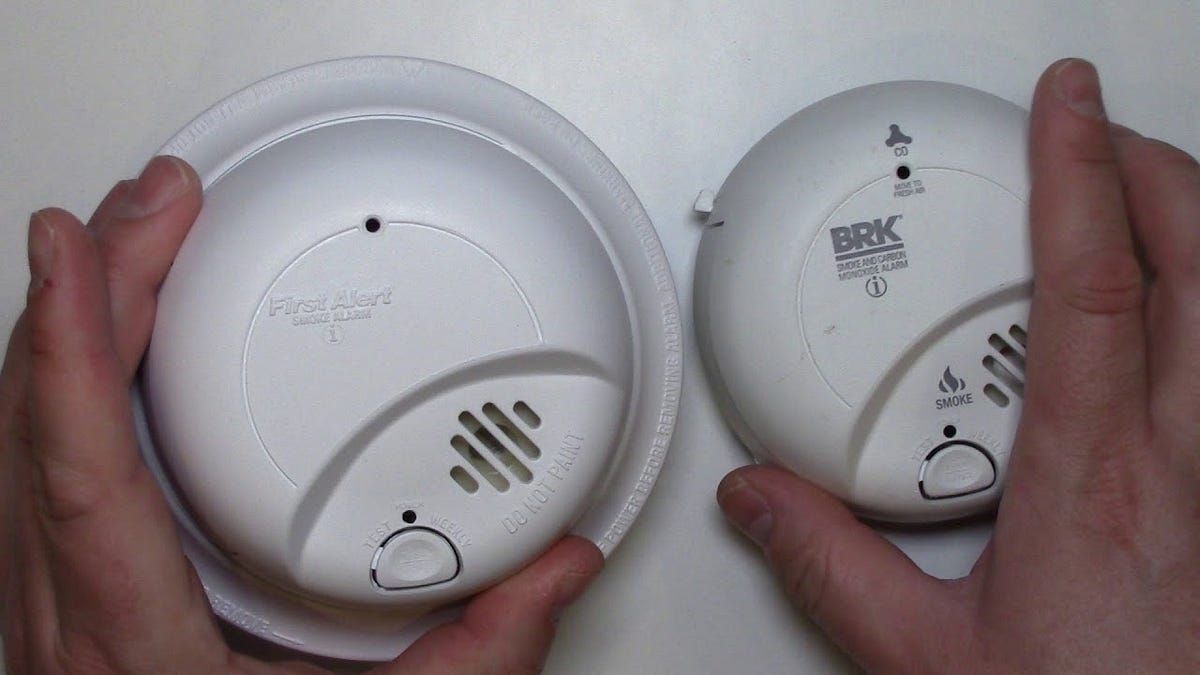
- Inspect the Smoke Detector: Take a close look at the smoke detector’s housing. Look for any screws or latches that hold the front cover in place. Some smoke detectors have a twist-off cover, while others may require unscrewing the cover.
- Use the Screwdriver: If the smoke detector has screws holding the cover in place, use the appropriate screwdriver to remove them. Carefully keep track of the screws to avoid misplacing them.
- Detach the Cover: After removing the screws or releasing the latch, gently pull or twist the cover to detach it from the smoke detector’s body. Be cautious while doing this to prevent damaging the device or hurting yourself.
Once you have successfully opened the smoke detector, you will have direct access to the battery compartment. This compartment is where you will remove the old battery and insert the new one, which we will cover in the next steps.
It’s important to note that some smoke detectors may have specific instructions or extra precautions when opening them. Consult the manufacturer’s documentation or user manual for any additional guidance specific to your smoke detector model.
With the smoke detector open, you are now ready to proceed to the next step and remove the old battery.
When replacing the battery in a smoke detector, always use a high-quality alkaline battery and test the detector after installation to ensure it is functioning properly.
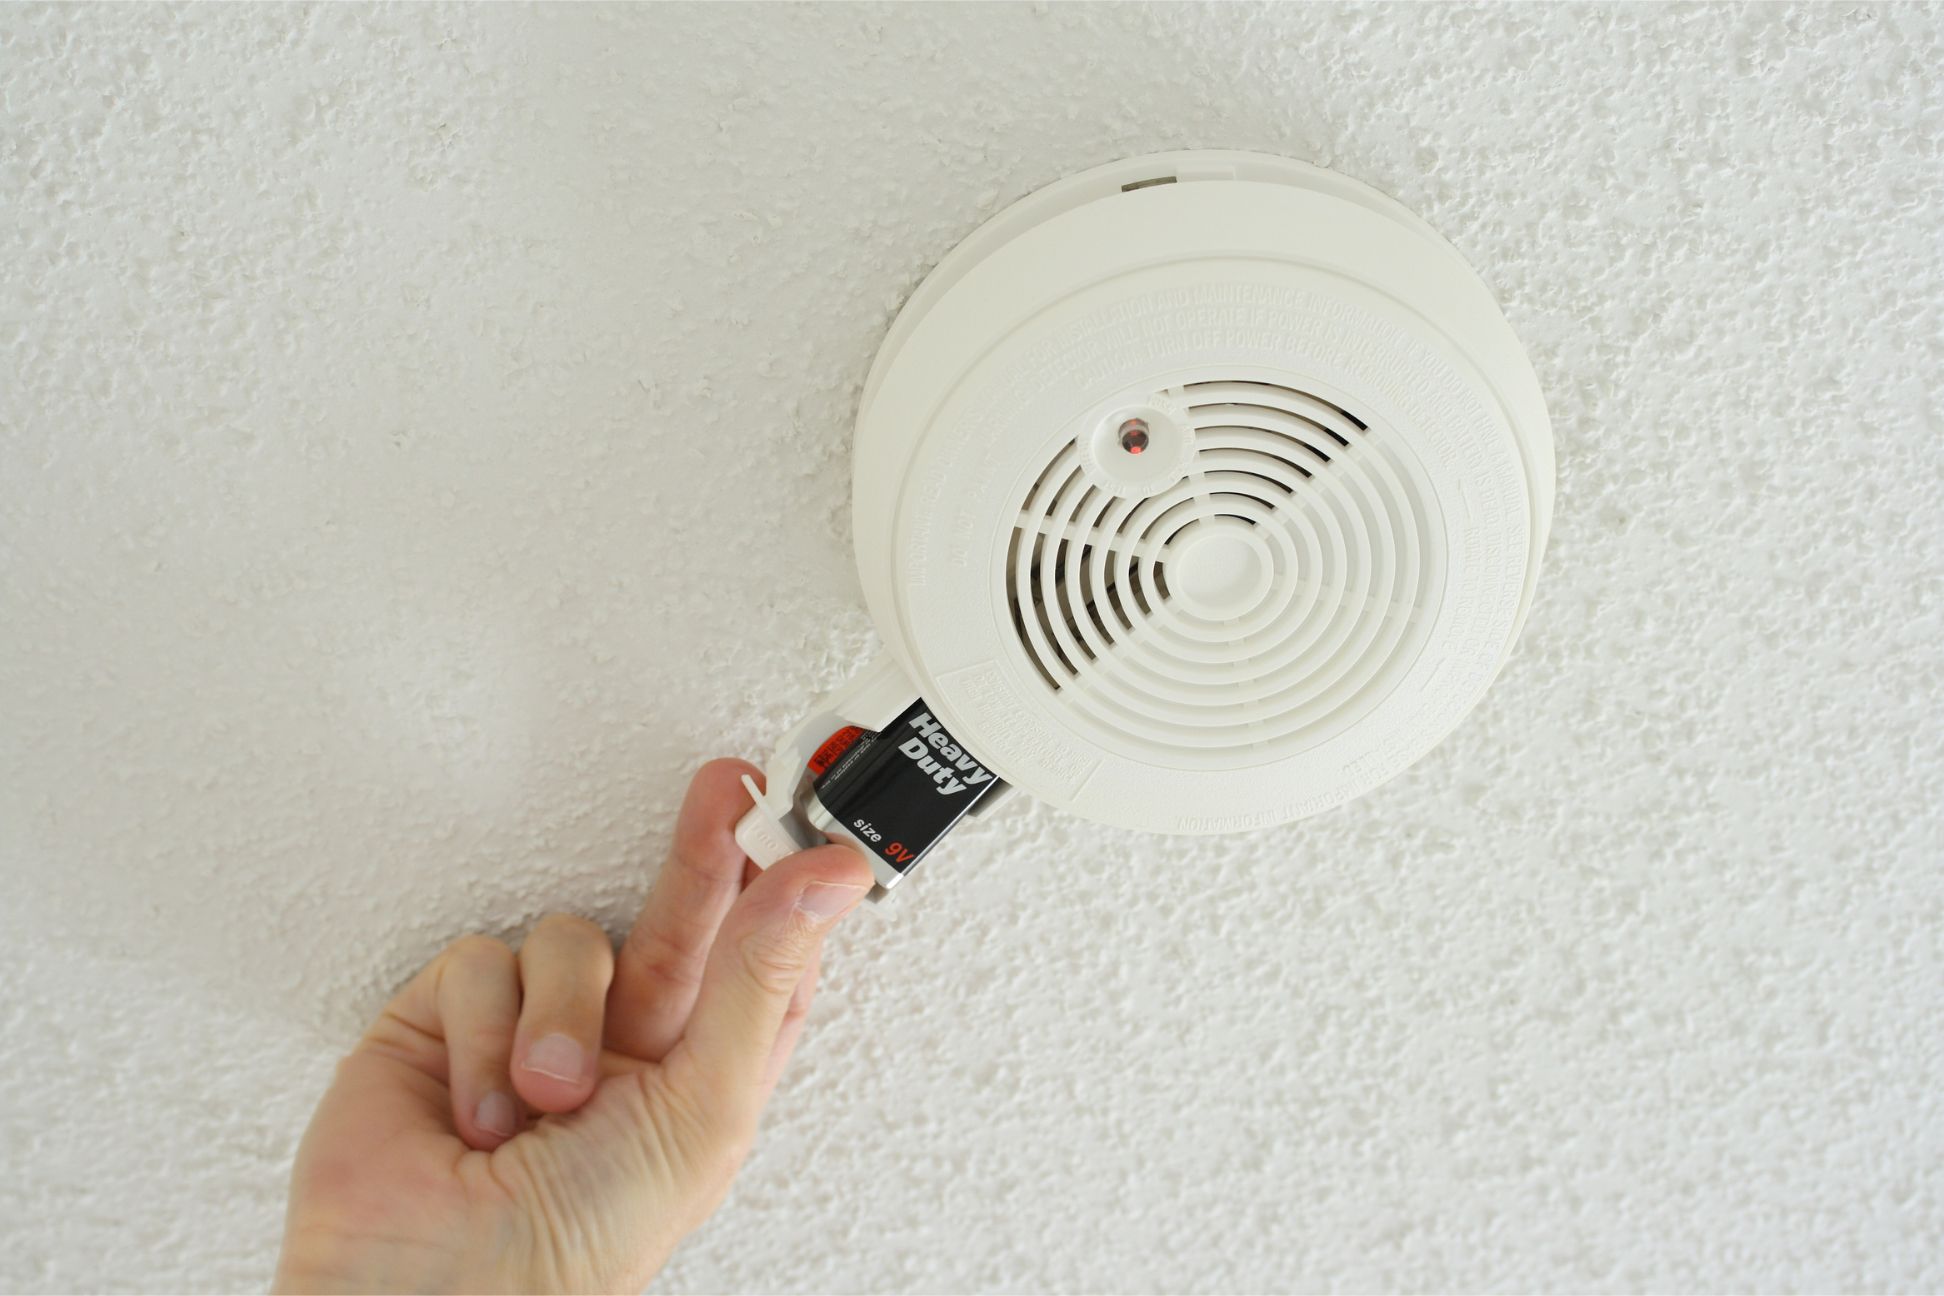
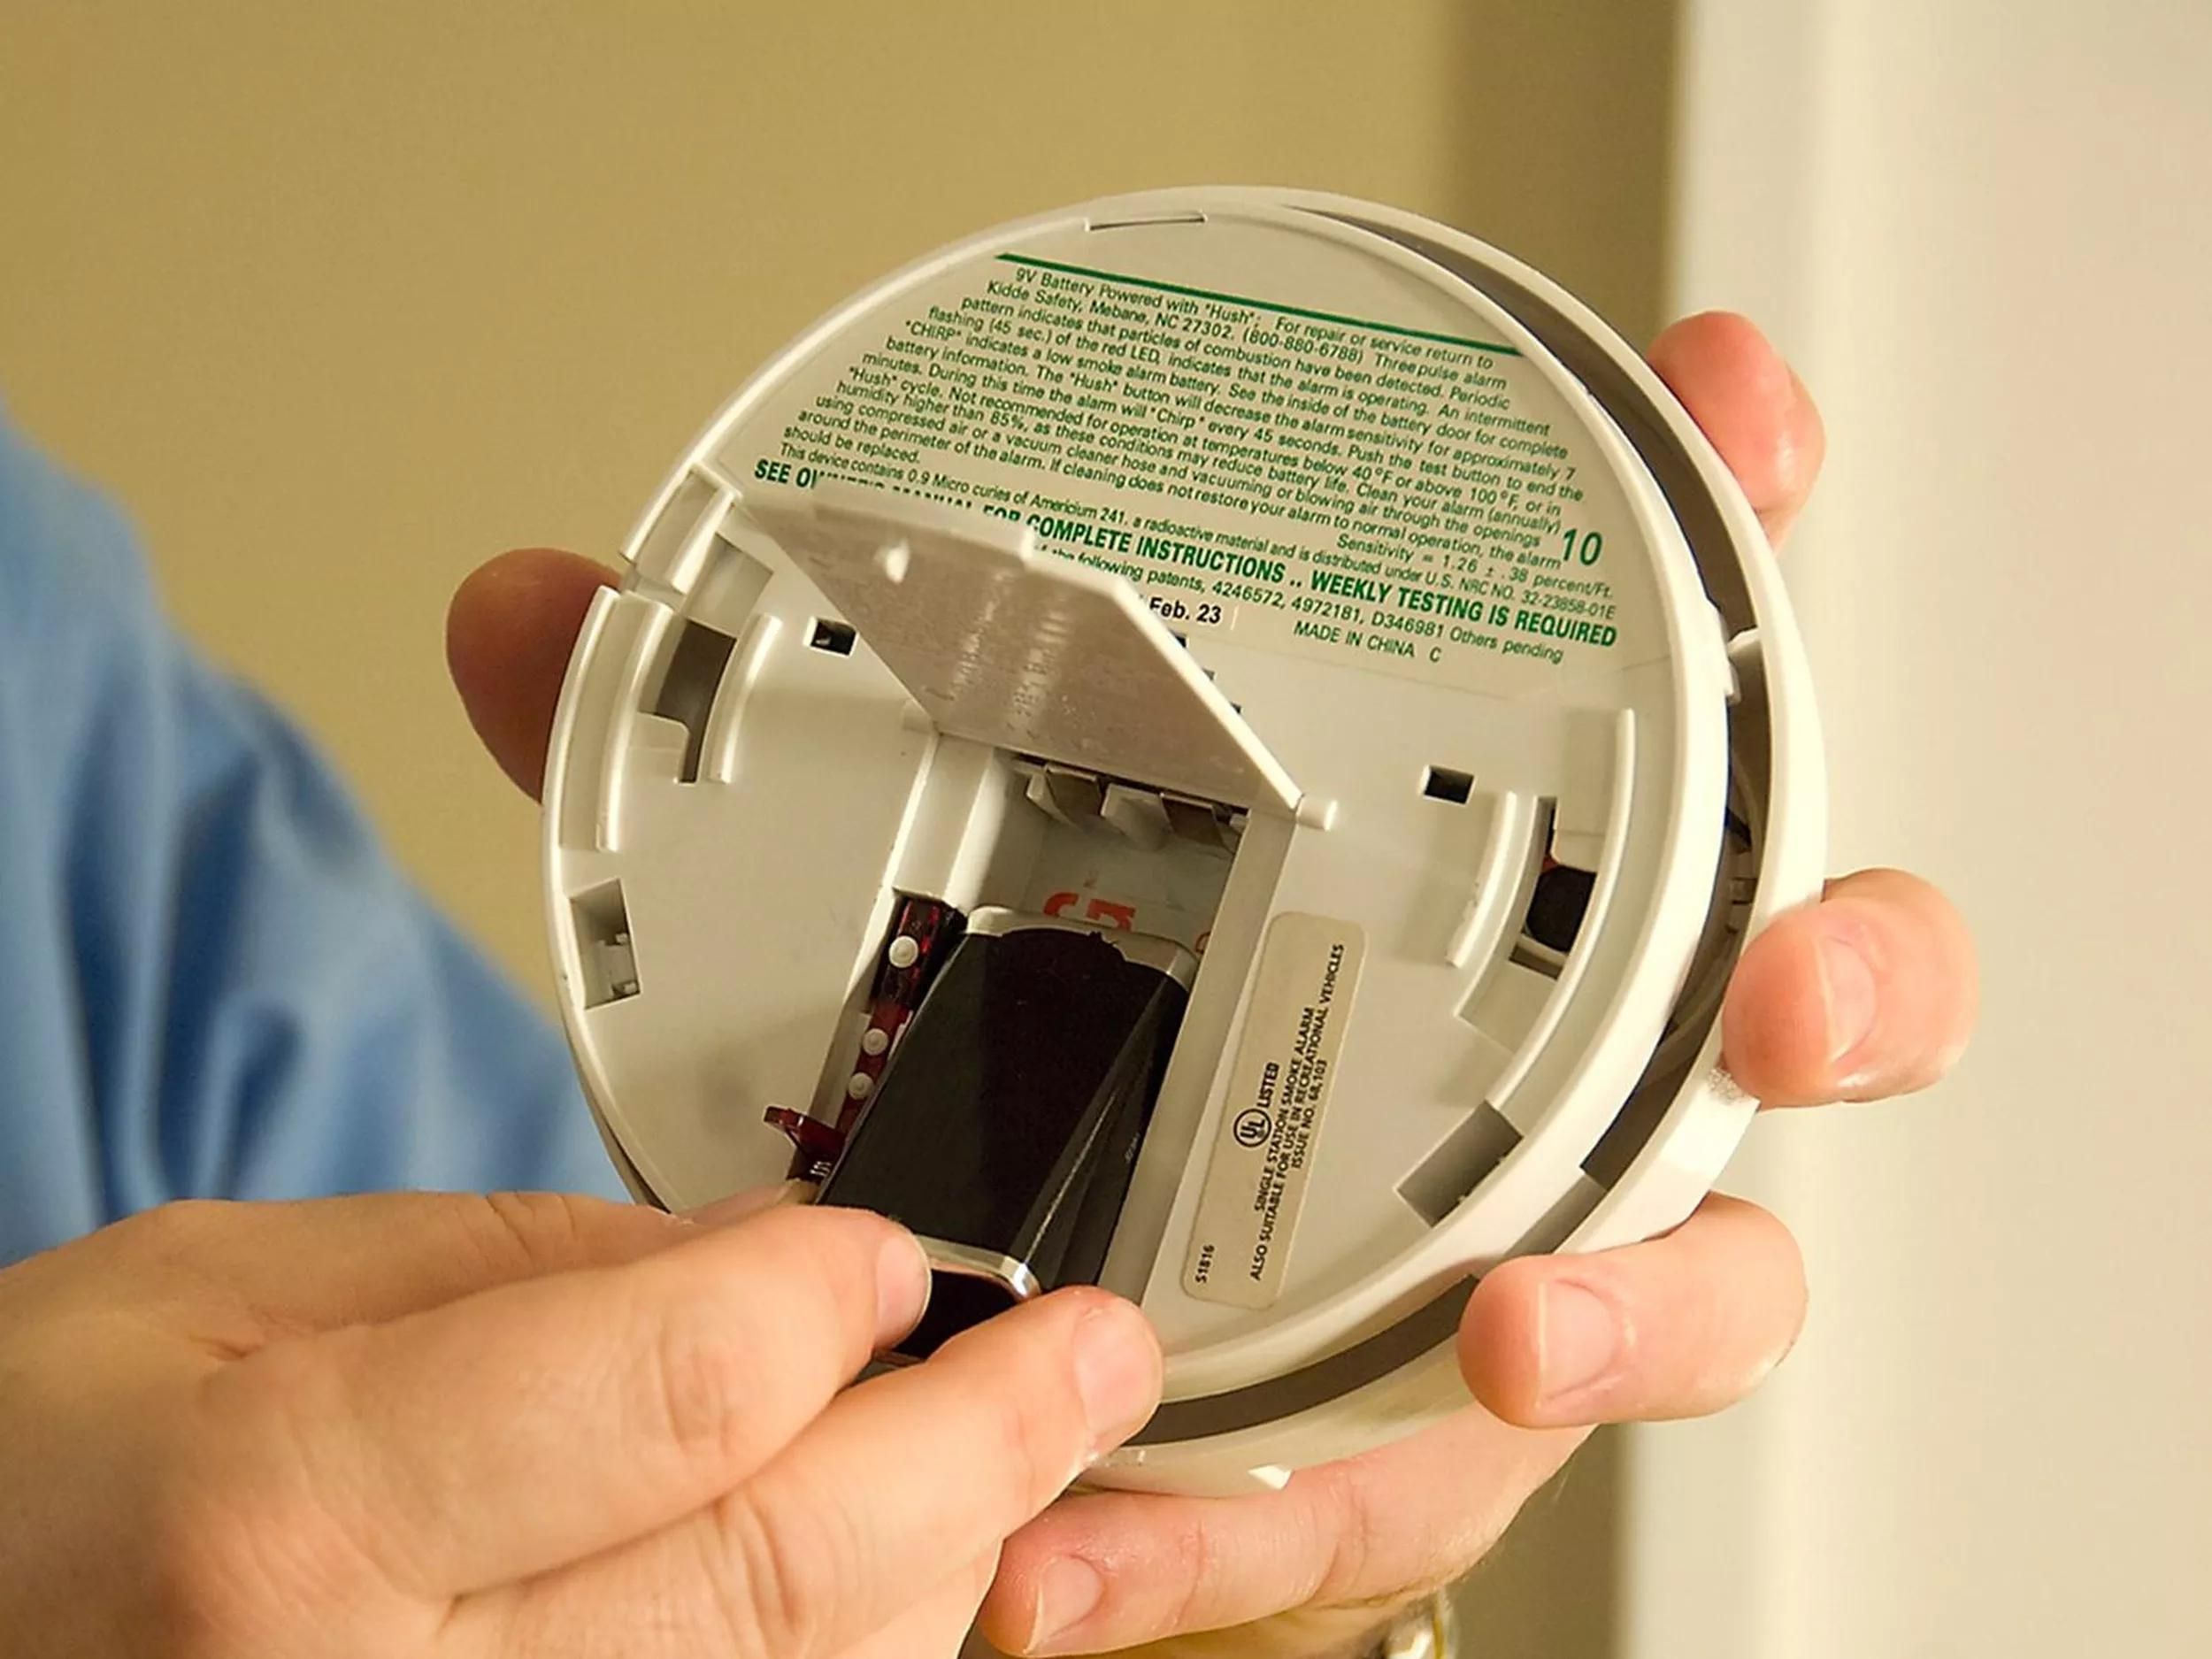
Step 5: Remove the Old Battery
Now that you have accessed the battery compartment, it’s time to remove the old battery from the smoke detector. Follow these steps:
- Observe Polarities: Take note of the battery’s orientation and the corresponding polarities of the battery compartment. Typically, there will be markings indicating which side of the battery should face up or down.
- Inspect for Battery Clips: Look for any clips or contacts that secure the battery in place within the compartment. Some smoke detectors have sliding or spring-loaded clips that hold the battery firmly.
- Release the Battery: If your smoke detector has clips, gently push or slide the clip away to release the old battery from its position. If there are no clips, carefully lift the battery out of the compartment using your fingers.
Be mindful of the old battery’s condition and dispose of it properly, adhering to your local recycling guidelines for batteries. It’s essential to handle the old battery with care as it may still have a charge or pose a risk if damaged.
While removing the old battery, it’s a good practice to inspect the battery compartment for any signs of corrosion or debris. If you notice any corrosion or build-up, clean the compartment using a soft cloth or brush before proceeding to insert the new battery.
With the old battery safely removed, you can now move on to the next step—inserting the new battery into the smoke detector.
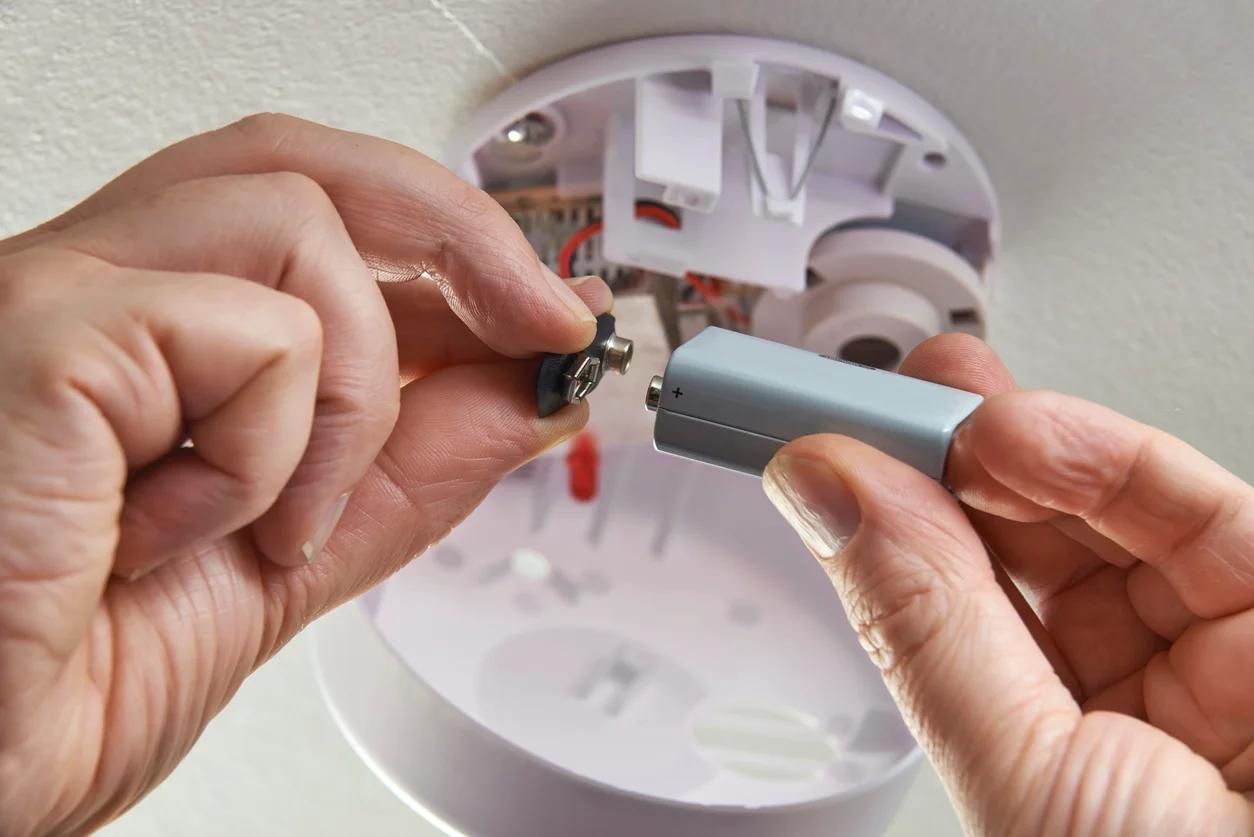
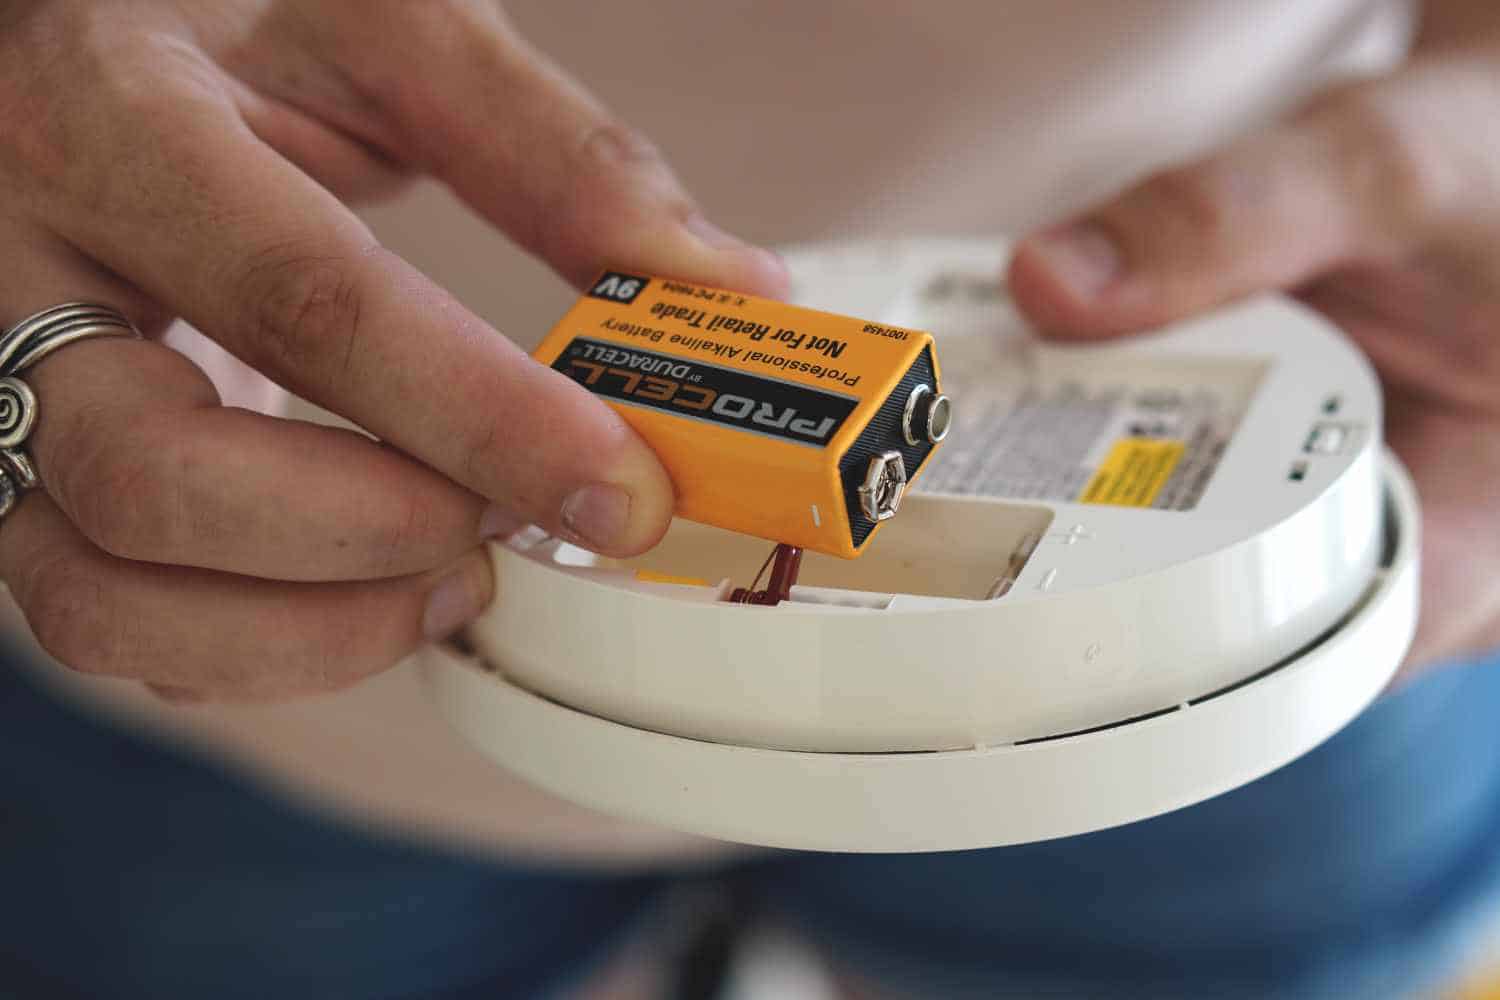
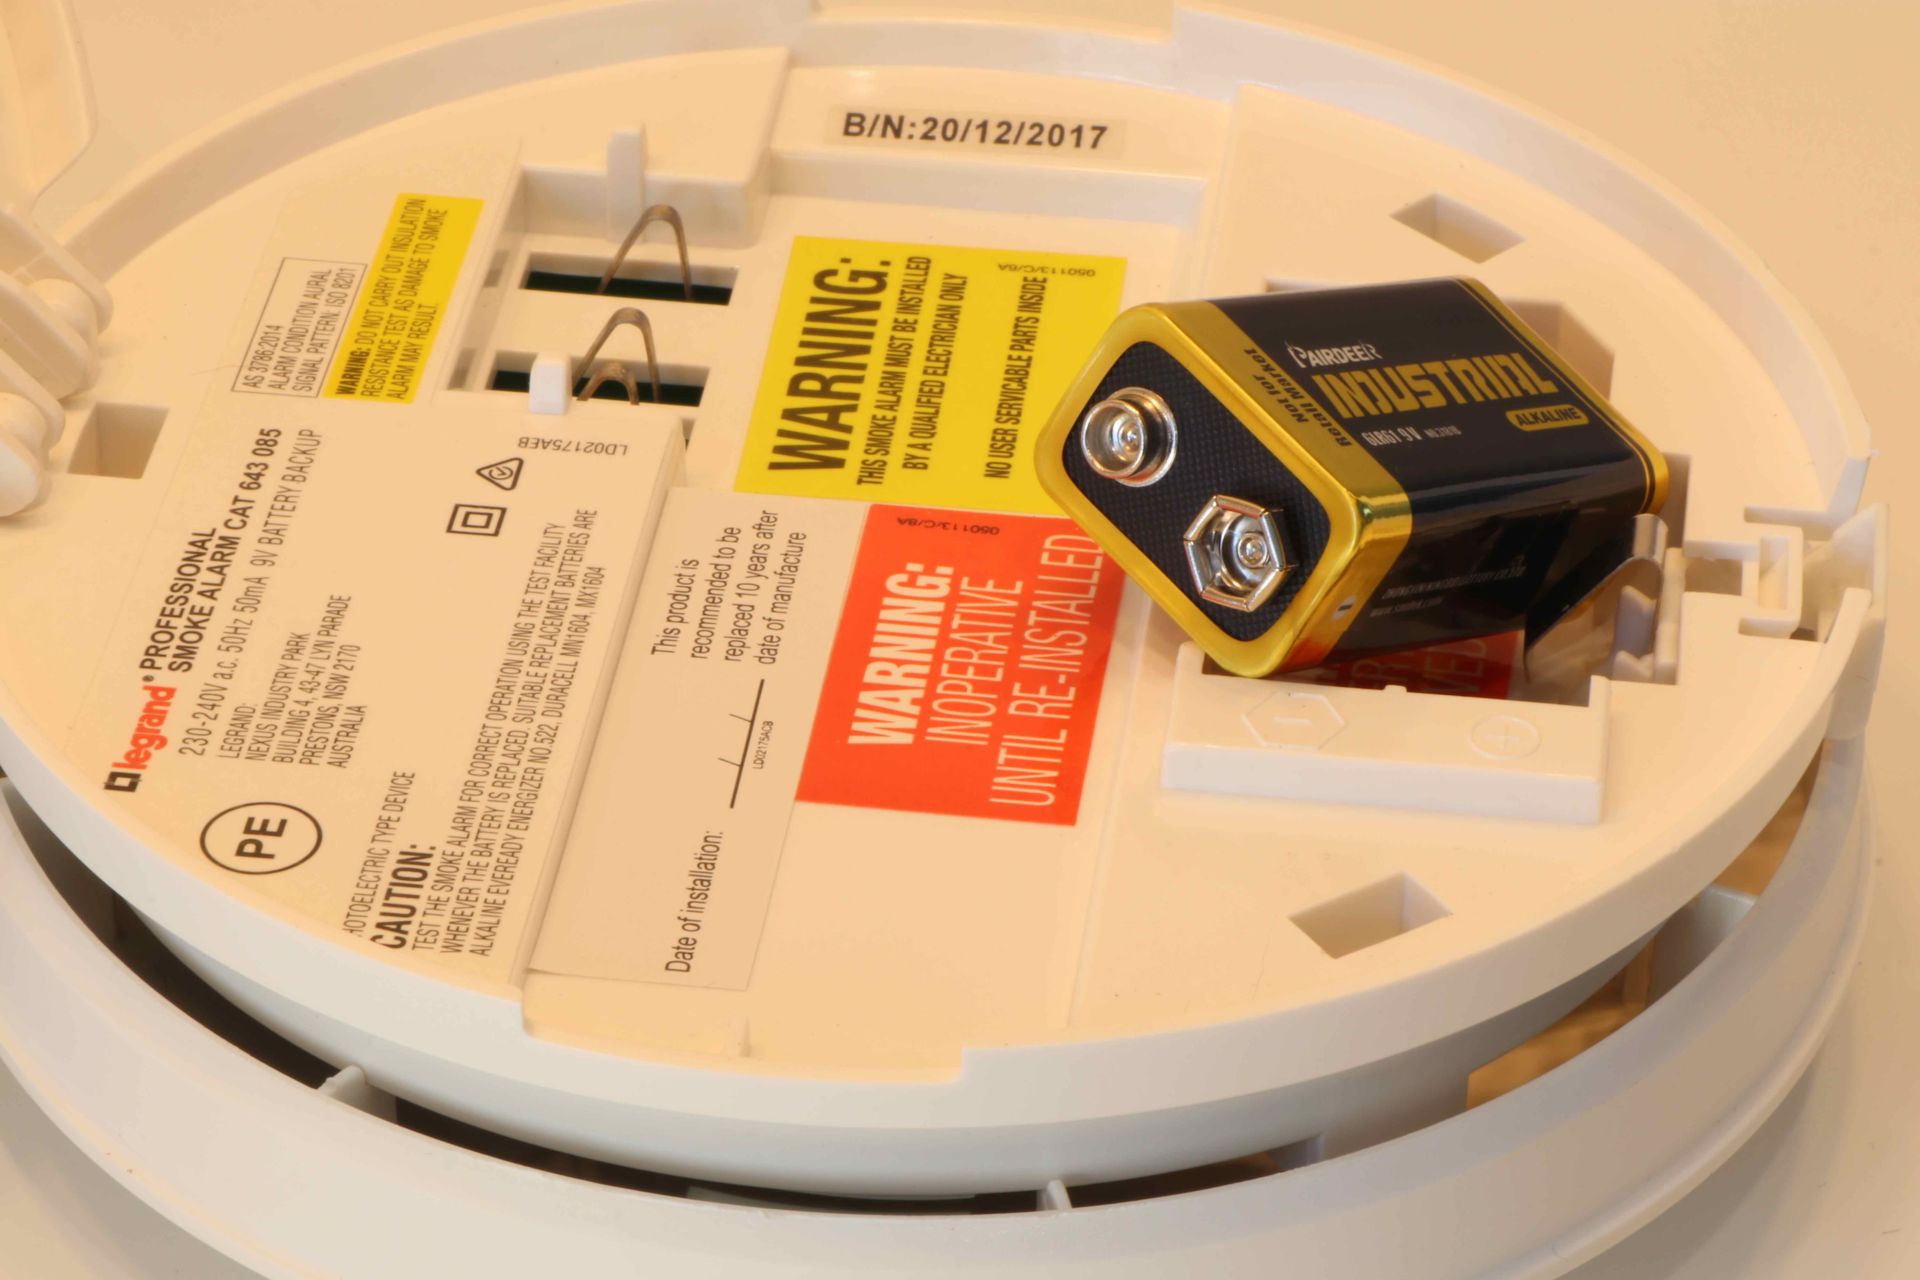
Step 6: Insert the New Battery
Now that you have removed the old battery, it’s time to insert the new battery into the smoke detector. Follow these steps:
- Check Battery Compatibility: Ensure that the new battery is compatible with your smoke detector by verifying the type and size recommended by the manufacturer. Refer to the battery compartment or the device’s manual for the specific battery requirements.
- Position the Battery: Orient the new battery correctly, paying attention to the polarity indicators on the battery and within the battery compartment. Align the positive (+) and negative (-) ends of the battery accordingly.
- Insert the Battery: Carefully slide the new battery into the battery compartment, ensuring a secure fit. If your smoke detector has clips or contacts, make sure they securely hold the battery in place.
- Confirm Proper Fit: Once the new battery is inserted, double-check that it sits flush within the compartment and that the polarity is correct. This step ensures that the smoke detector will function correctly once reassembled.
If you encounter any resistance while inserting the new battery, double-check that you have aligned it correctly. Avoid forcing the battery into place, as this can damage the compartment or cause other issues with the smoke detector’s functionality.
It’s important to use a fresh, high-quality battery to ensure optimal performance of your smoke detector. Remember to keep track of the date when you replaced the battery, as regular replacement is crucial for maintaining the effectiveness of your smoke detector.
With the new battery securely in place, you are ready to test the smoke detector and ensure it is functioning properly, as we will cover in the next step.
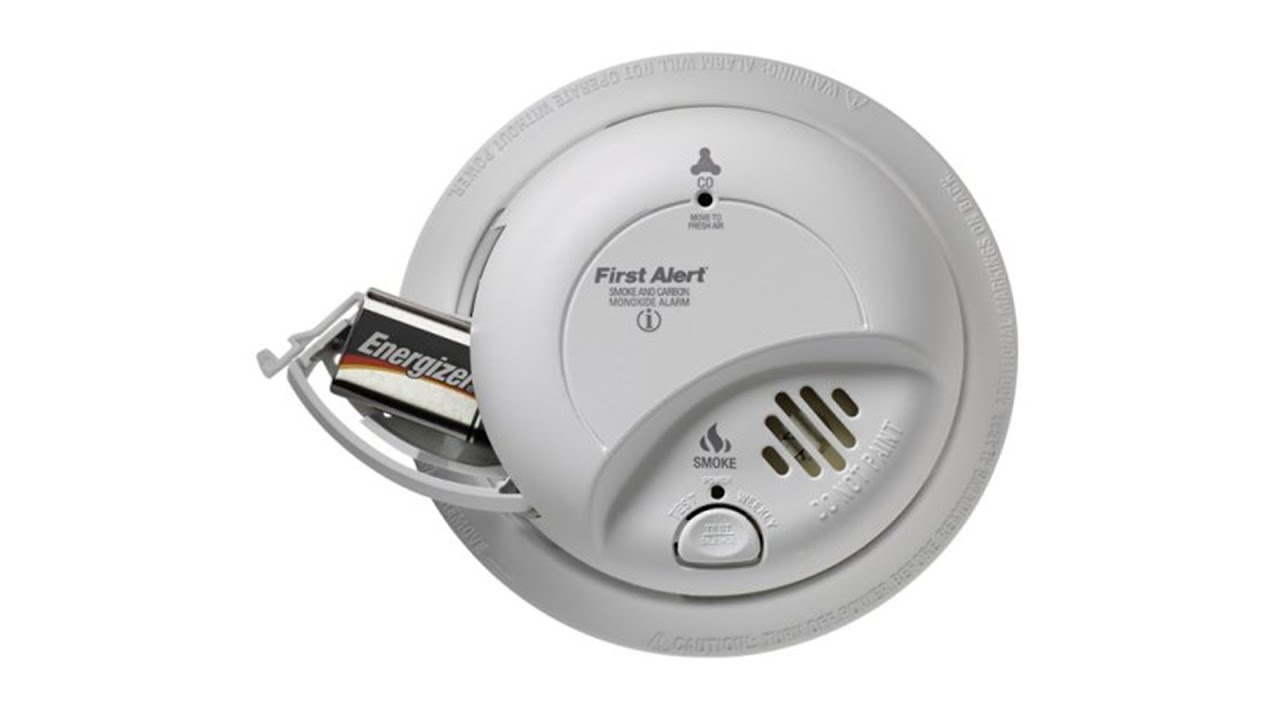
Step 7: Test the Smoke Detector
Now that you have inserted the new battery, it’s important to test the smoke detector to ensure it is functioning correctly. Follow these steps to test the smoke detector:
- Close the Smoke Detector: If you haven’t already, carefully reattach the cover or housing of the smoke detector. Make sure it is securely in place, as this is important for the detector to function properly.
- Enable the Alarm: If you disabled the alarm earlier, now is the time to re-enable it. Refer to the manufacturer’s instructions on how to activate the alarm function once again.
- Press the Test Button: Locate the test button on the smoke detector, usually labeled as “Test” or “T.” Press and hold the button for a few seconds.
- Listen for the Alarm: As you press the test button, listen for the alarm to sound. The smoke detector should emit a loud, piercing noise, indicating that it is functioning correctly.
- Check Indicator Lights (if applicable): Some smoke detectors have indicator lights that provide additional feedback about the device’s status. Check if these lights are working or showing any specific patterns, which can indicate a working detector.
- Monitor Interconnected Detectors (if applicable): If you have multiple smoke detectors in your home that are interconnected, ensure that they all respond to the test. They should sound their alarms simultaneously to provide comprehensive coverage.
If the smoke detector sounds the alarm and passes the test, congratulations! Your smoke detector is now powered by a new battery and fully operational. This ensures that it will provide early warning in the event of smoke or fire in your home.
If the smoke detector doesn’t sound the alarm or there are any issues during the test, double-check the battery installation, ensure the cover is securely in place, and refer to the manufacturer’s instructions for troubleshooting. It may be necessary to consult with a professional or consider replacing the smoke detector if there are persistent issues.
Testing your smoke detector periodically, even if you haven’t replaced the battery, is a good practice to ensure its ongoing functionality. Remember to test your smoke detector at least once a month to maintain its reliability.
Now that you have successfully tested your smoke detector, it’s time to proceed to the final step—closing the smoke detector.
Step 8: Close the Smoke Detector
After testing the smoke detector and ensuring it is functioning properly, it’s time to close the smoke detector. Follow these steps to properly close the smoke detector:
- Align the Cover: Carefully align the cover with the smoke detector’s body, ensuring that it fits snugly and securely.
- Insert Screws (if applicable): If your smoke detector requires screws to hold the cover in place, insert them back into their respective holes. Use the screwdriver to tighten them securely, but be careful not to overtighten and damage the device.
- Twist to Lock (if applicable): Some smoke detectors have a twist-off cover. If this is the case, align the cover and twist it clockwise until it locks into place.
- Ensure Proper Closure: Once the cover is in position, gently press or push it to ensure it is closed completely. It should be flush with the body of the smoke detector.
Properly closing the smoke detector is essential to maintain its integrity and protect it from dust, debris, and moisture. A securely closed smoke detector also ensures that the device can function optimally and accurately detect smoke in the event of a fire.
Remember to clean the exterior of the smoke detector periodically to remove any dust buildup that may affect its performance. Use a soft, dry cloth to wipe away any dirt or debris on the surface of the detector.
With the smoke detector closed and properly secured, you have successfully completed the process of putting a battery in your smoke detector. Congratulations! You have taken an important step in ensuring the safety and well-being of your home and loved ones.
Remember to mark your calendar or set a reminder to replace the battery in your smoke detector regularly. It is recommended to do so at least once a year or as advised by the manufacturer.
Thank you for following this step-by-step guide. By maintaining a functional smoke detector with a fresh battery, you are enhancing the safety and protection of your home.
Stay safe, and be vigilant!
Conclusion
Ensuring that your smoke detector has a properly functioning battery is essential for the safety of your home and loved ones. By following the step-by-step guide in this article, you have learned how to put a battery in a smoke detector effectively.
We began by gathering the necessary materials for the battery replacement process, such as a new battery, ladder or step stool, screwdriver, and flashlight. Then, we located the smoke detector in your home and prepared for the battery replacement by notifying others and disabling the alarm if necessary.
Next, we opened the smoke detector’s housing using the appropriate tools and safely removed the old battery. We then inserted the new battery, ensuring proper orientation and a secure fit within the battery compartment.
After inserting the new battery, we tested the smoke detector to ensure it was functioning correctly. The alarm should have sounded, indicating that the device was operational. We also checked any indicator lights or interconnected alarms if applicable.
Finally, we closed the smoke detector, ensuring that the cover was securely in place and the device was properly sealed. Maintaining a closed smoke detector helps protect it from dust and debris, ensuring its effectiveness in detecting smoke and providing early warnings in the event of a fire.
Remember, regularly testing your smoke detector, even if you haven’t replaced the battery, is crucial for its ongoing functionality. Additionally, it is recommended to replace the battery at least once a year to maintain optimal performance.
By following these steps and taking the necessary precautions, you have taken a proactive approach to the safety of your home. Remember, a functioning smoke detector can be a lifesaver in the event of a fire, providing valuable time to evacuate and protect your loved ones.
Thank you for reading this comprehensive guide on how to put a battery in a smoke detector. Stay safe, stay vigilant, and prioritize the maintenance of your smoke detectors to ensure a secure living environment.
Frequently Asked Questions about How To Put A Battery In A Smoke Detector
Was this page helpful?
At Storables.com, we guarantee accurate and reliable information. Our content, validated by Expert Board Contributors, is crafted following stringent Editorial Policies. We're committed to providing you with well-researched, expert-backed insights for all your informational needs.


0 thoughts on “How To Put A Battery In A Smoke Detector”