Articles
How To Test A Light Socket With Multimeter
Modified: December 7, 2023
Learn how to test a light socket with a multimeter in this informative article. Find step-by-step instructions and troubleshooting tips for accurate results.
(Many of the links in this article redirect to a specific reviewed product. Your purchase of these products through affiliate links helps to generate commission for Storables.com, at no extra cost. Learn more)
Introduction
Welcome to our article guide on how to test a light socket with a multimeter. Light fixtures play a crucial role in illuminating our homes, offices, and other spaces. However, over time, a light socket may encounter issues such as faulty connections, loose wires, or even a complete failure to provide power to the lightbulb. In such cases, it becomes important to diagnose the problem and determine whether the light socket is the cause.
The multimeter, a versatile and essential tool for electrical troubleshooting, can be used to test the functionality of a light socket. By measuring continuity and voltage, you can determine whether the socket is working properly or if it needs to be replaced.
In this article, we will guide you through the step-by-step process of testing a light socket with a multimeter. Whether you’re an electrician, a DIY enthusiast, or simply someone looking to solve a lighting issue, this guide will provide you with the necessary knowledge and tools to carry out the testing process.
Before we begin, it is important to note that working with electrical equipment can be dangerous if proper safety precautions are not followed. Always ensure that the power is turned off and the circuit breaker or fuse corresponding to the light fixture is switched off before attempting any testing. Additionally, if you are unsure or uncomfortable with electrical work, it is advisable to seek professional assistance.
Now, let’s gather the necessary tools for the testing process.
Key Takeaways:
- Testing a light socket with a multimeter is a practical and effective way to diagnose lighting issues. Prioritize safety, gather necessary tools, and follow step-by-step testing procedures to identify and resolve common lighting problems.
- By testing continuity, measuring voltage, and checking for loose connections, you can determine if a faulty light socket is the cause of lighting issues. If necessary, replacing the light socket can restore proper functionality and illumination.
Step 1: Gather the necessary tools
Before you begin testing a light socket with a multimeter, it is important to gather the necessary tools to ensure a smooth and efficient process. Here are the tools you will need:
- Multimeter: A multimeter is an electronic device used to measure various electrical values such as voltage, resistance, and continuity. Make sure your multimeter is in good working condition and has fresh batteries.
- Screwdriver set: You will need a set of screwdrivers to remove any screws or fasteners on the light fixture, allowing you to access the light socket for testing.
- Safety goggles: It is essential to protect your eyes while working with electrical equipment. Wear safety goggles to prevent any potential injuries from flying debris or sparks.
- Gloves: To ensure your safety, wear protective gloves that are insulated to prevent electric shocks or burns.
- Electrical tape: Electrical tape can be used to secure any loose wires or cover exposed connections, providing an extra layer of insulation.
Once you have gathered these tools, you are ready to proceed to the next step, which involves taking necessary safety precautions.
Step 2: Ensure safety precautions
Before you begin testing a light socket with a multimeter, it is crucial to prioritize safety. Follow these precautions to avoid any accidents or injuries:
- Turn off the power: Locate the circuit breaker or fuse corresponding to the light fixture and turn off the power supply. This step is essential to prevent any potential electrical shocks or damage to the multimeter.
- Use safety goggles: Protect your eyes from any debris or sparks that may occur during the testing process by wearing safety goggles. This will prevent eye injuries and allow you to work with confidence.
- Wear insulated gloves: Insulated gloves are a vital safety precaution when working with electrical equipment. They provide protection against electric shocks and burns, ensuring your safety throughout the testing process.
- Stay clear of live wires: Avoid touching any live wires during testing. Even if the power has been turned off, it is important to treat all wires as if they were live to prevent any accidents.
- Secure exposed wires: Check for any exposed or loose wires and use electrical tape to secure them. This will prevent accidental contact with live wires and reduce the risk of electrical hazards.
By following these safety precautions, you can minimize the risk of accidents and ensure a safe testing process. Once you have taken these precautions, it’s time to move on to the next step: setting the multimeter to the appropriate mode.
Step 3: Set the multimeter to the appropriate mode
Now that you have taken the necessary safety precautions, it’s time to set your multimeter to the appropriate mode for testing the light socket. Follow these steps:
- Turn on the multimeter: If your multimeter has a power button, turn it on. Make sure it is properly functioning and has fresh batteries.
- Select the voltage/continuity mode: Most multimeters have a selection knob that allows you to choose the desired mode. For testing a light socket, you will typically use the voltage or continuity mode. Refer to your multimeter’s user manual if you are unsure about the specific mode or symbol.
- Set the range: Determine the voltage range you will be testing. For standard light fixtures, a range of 110-120 volts is typically used. Adjust the range setting accordingly on the multimeter.
- Insert the probes: Attach the multimeter probes to the appropriate ports. The red probe should be inserted into the voltage or continuity port, while the black probe should go into the common port.
- Calibrate the multimeter: Some multimeters may require calibration before use. Follow the instructions in the user manual to calibrate your specific model if necessary.
Once you have set your multimeter to the appropriate mode, you are ready to move on to the next step: testing the continuity of the light socket.
Step 4: Test the continuity of the light socket
Testing the continuity of the light socket will help you determine if there is a complete electrical circuit between the socket’s terminals. Follow these steps to test the continuity:
- Ensure the power is still off: Double-check that the power supply to the light fixture is turned off before proceeding with the continuity test.
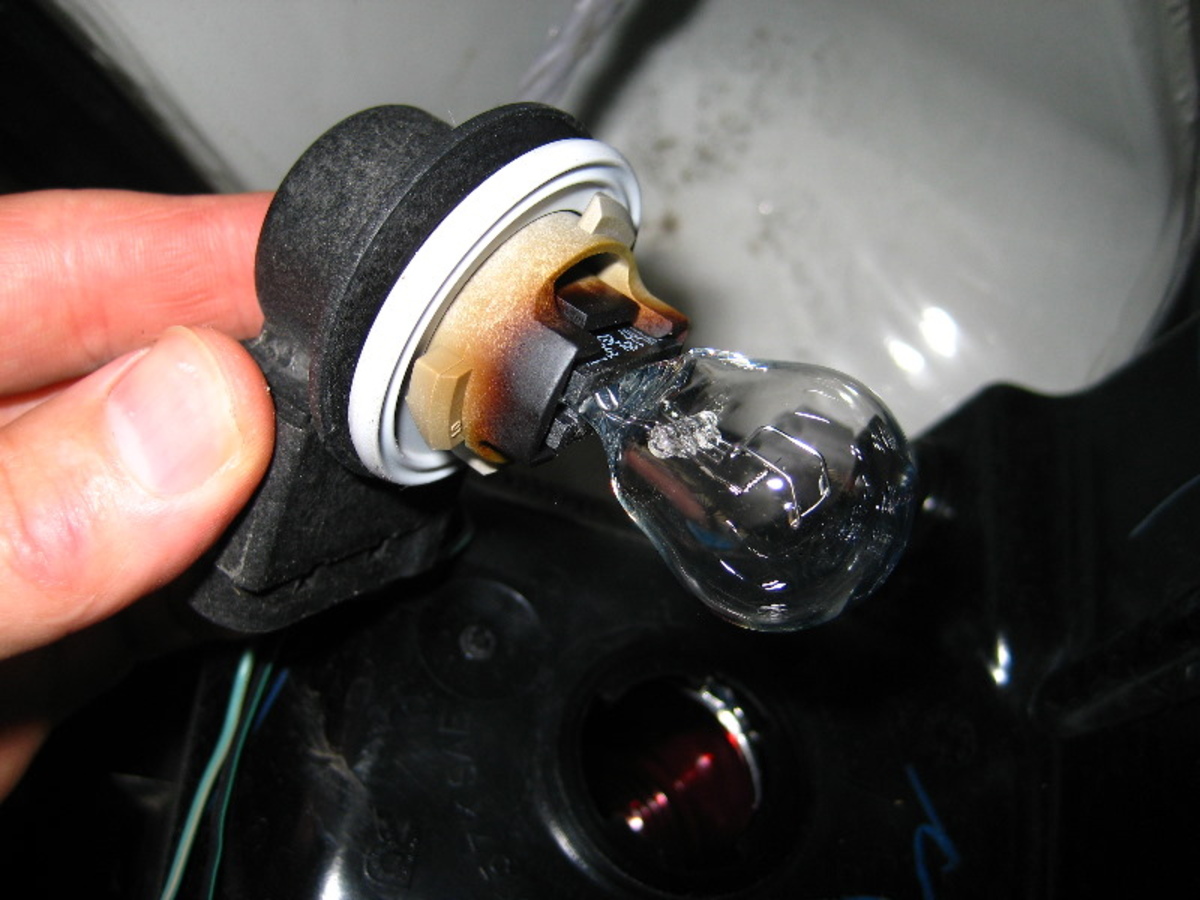
- Remove the lightbulb: Unscrew and remove the lightbulb from the socket.
- Set the multimeter: Set your multimeter to the continuity mode. On most models, this is represented by a diode symbol or a sound wave symbol. Refer to your multimeter’s user manual if needed.
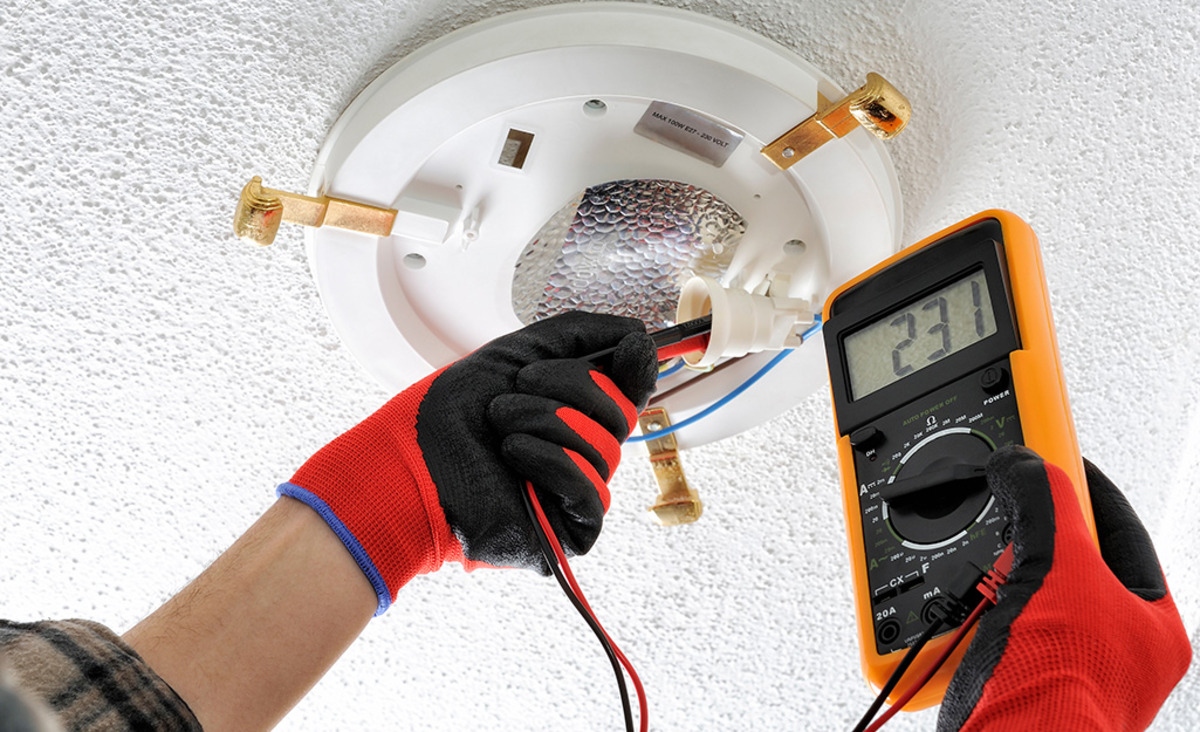
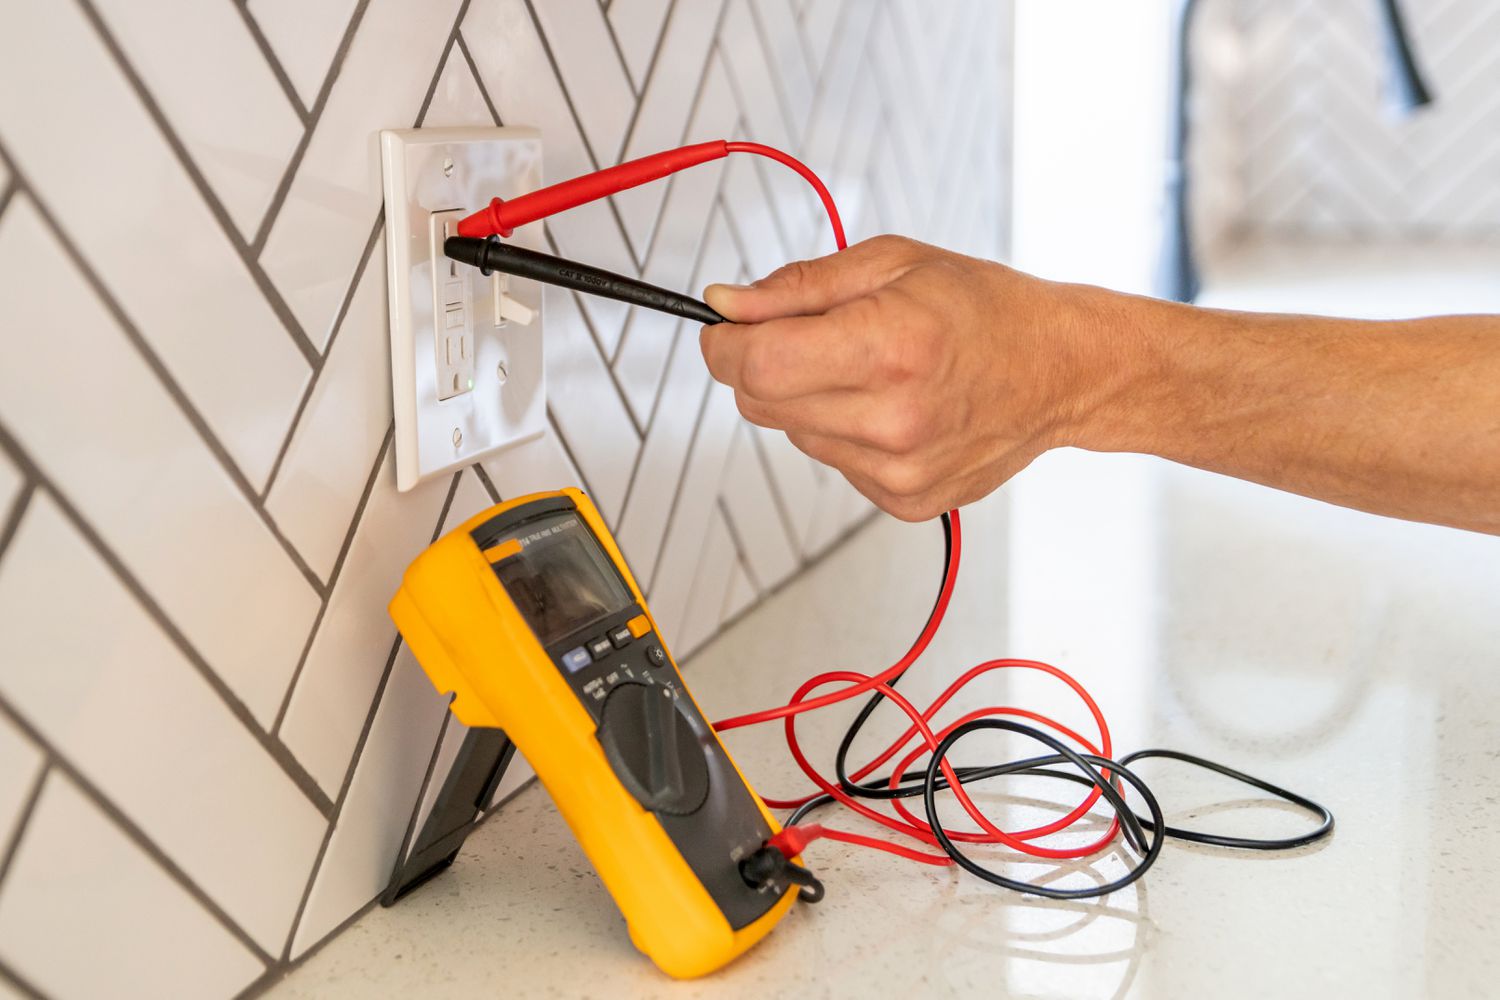
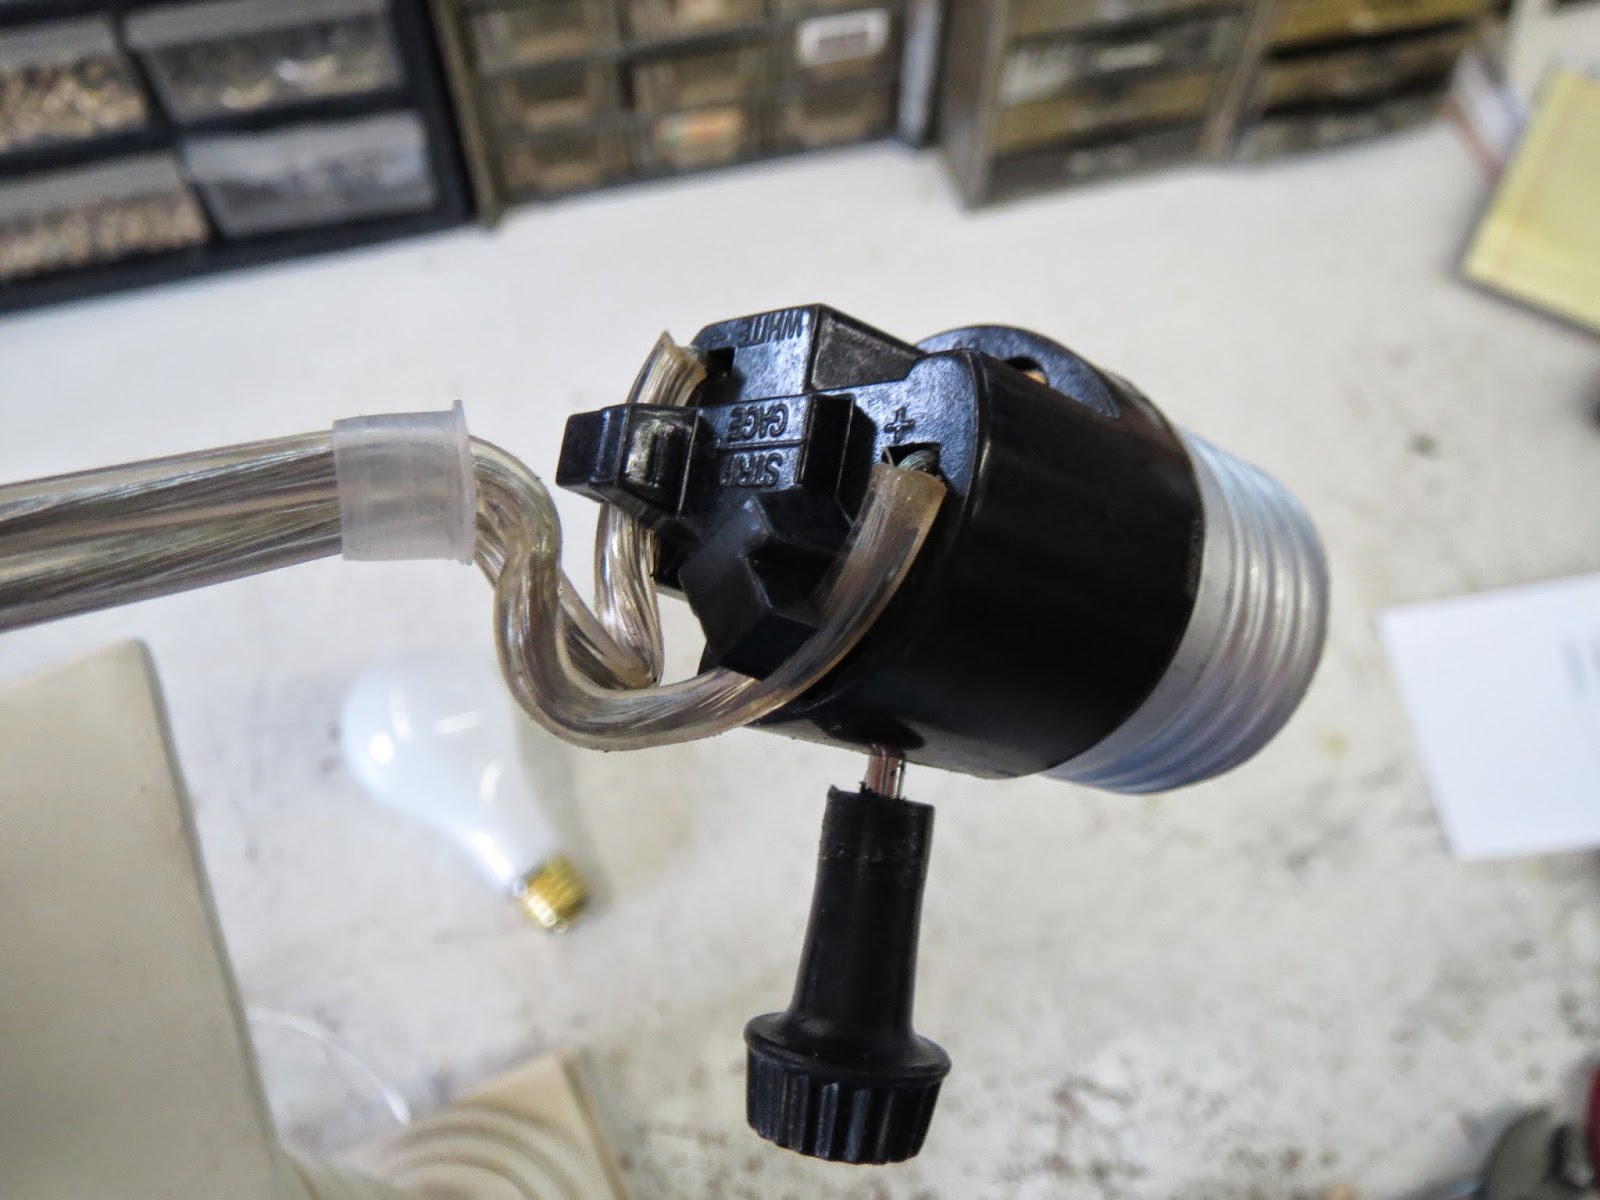
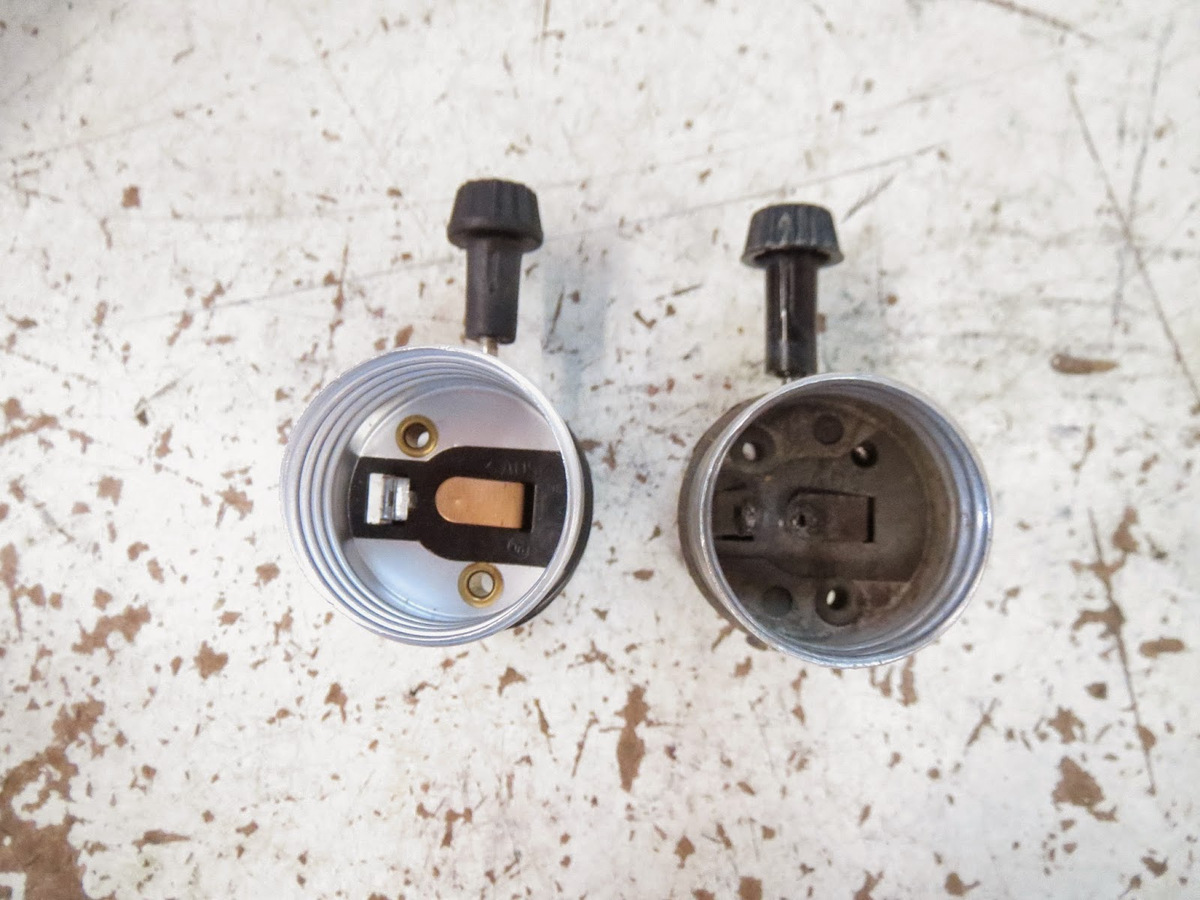
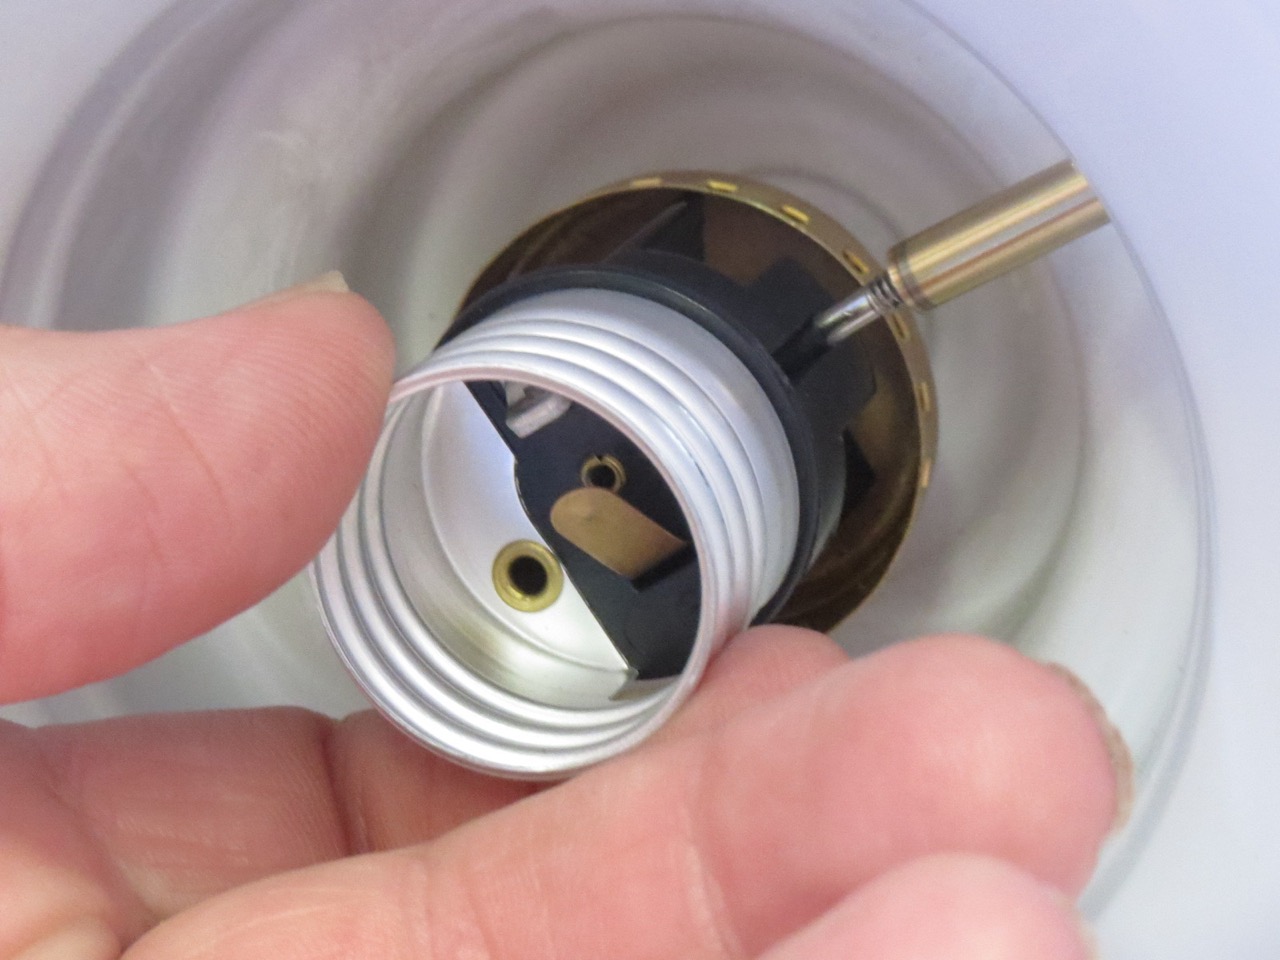
- Touch the probes: Place one probe on the center contact of the light socket and the other probe on the threaded metal part of the socket. Ensure the probes make good contact with the contacts.
- Observe the reading: Look at the multimeter display. If the light socket has continuity, the multimeter should display a reading, usually indicated by a beep or a low resistance value. If there is no continuity or the multimeter shows an infinite resistance, it indicates a problem with the socket.
If the light socket has continuity, it means that electricity can flow through the socket, and the issue may lie elsewhere, such as a faulty lightbulb or wiring. However, if there is no continuity, it suggests a problem with the socket itself.
To further diagnose the issue, you can move on to the next step: measuring the voltage in the light socket.
When testing a light socket with a multimeter, set the multimeter to the AC voltage setting, then touch the probes to the metal contacts inside the socket. If the voltage reading is within the expected range, the socket is functioning properly.
Step 5: Measure the voltage in the light socket
After testing the continuity of the light socket, the next step is to measure the voltage to determine if the socket is providing the appropriate electrical power. Follow these steps to measure the voltage in the light socket:
- Ensure the power is off: Before proceeding with the voltage measurement, verify that the power supply to the light fixture is turned off.
- Set the multimeter: Adjust your multimeter to the voltage mode. Usually, you will have options for AC (alternating current) or DC (direct current) voltage. For standard household light fixtures, select the AC voltage mode.
- Insert the probes: Insert the red probe into the socket’s center contact and the black probe into the threaded metal part. Ensure the probes make good contact with the contacts.
- Turn on the power: Restore the power supply to the light fixture by turning on the circuit breaker or fuse.
- Read the multimeter: Look at the multimeter display. It should show the voltage reading of the light socket. For typical household voltage, you should expect a reading between 110-120 volts.
- Note any fluctuations: While observing the multimeter, check if the voltage reading remains stable or if it fluctuates significantly. Fluctuations could indicate an issue with the electrical wiring or the power supply.
- Turn off the power: Once you have completed the voltage measurement, turn off the power to the light fixture again.
By measuring the voltage in the light socket, you can determine if the socket is receiving the proper electrical power. If the voltage reading is within the expected range and remains stable, it indicates that the socket is functioning correctly. However, if the voltage is significantly lower or higher than expected, or if it fluctuates, it suggests a potential issue that needs further investigation.
In the next step, we will check for loose connections that may be affecting the performance of the light socket.
Step 6: Check for loose connections
Loose connections can cause various issues with a light socket, including intermittent power supply and flickering lights. In this step, we will guide you through the process of checking for loose connections:
- Ensure the power is off: Before inspecting the connections, make sure the power supply to the light fixture is turned off.
- Remove the lightbulb: Unscrew and remove the lightbulb from the socket.
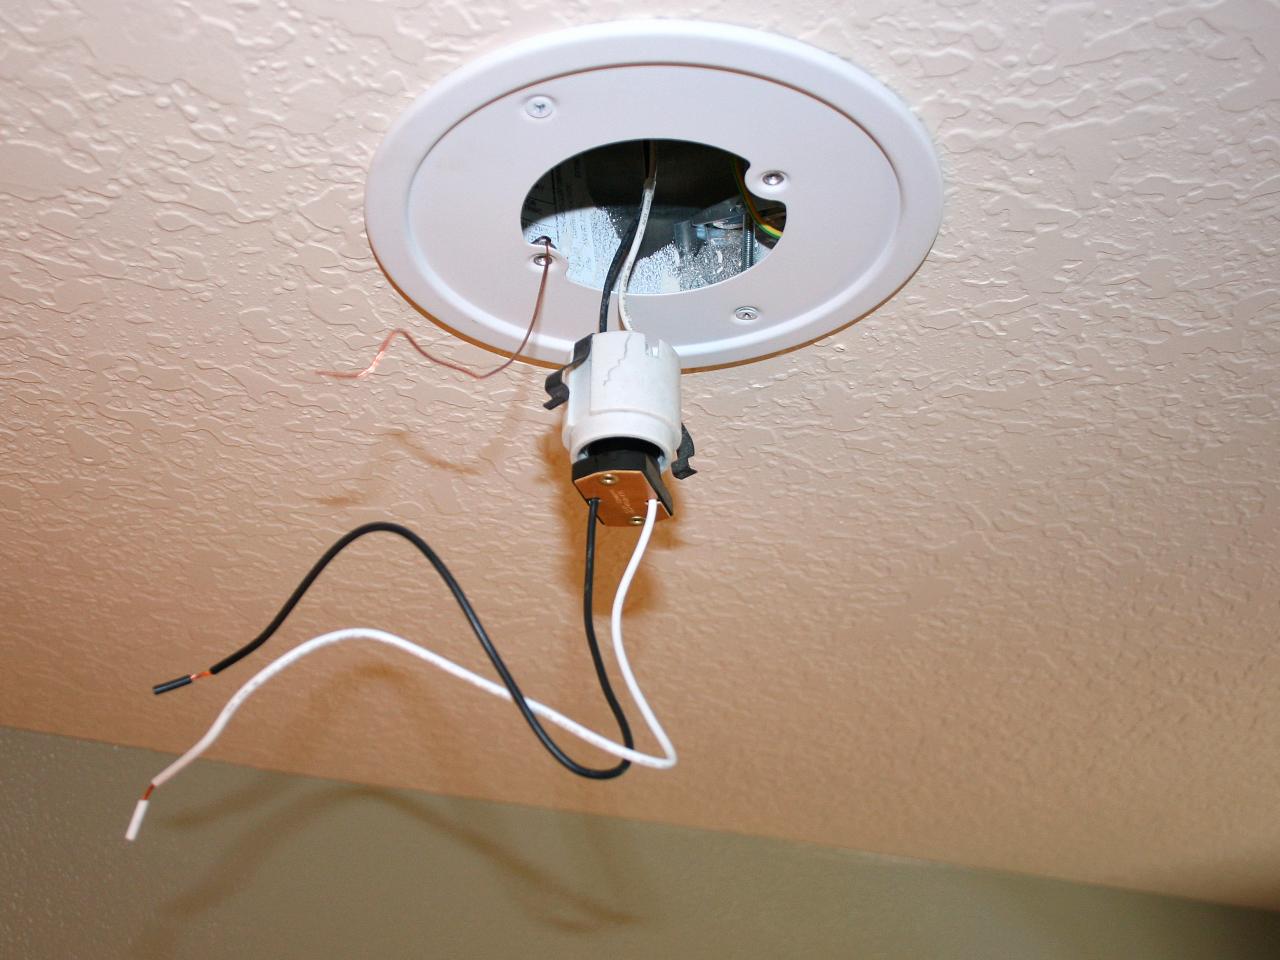
- Inspect the connections: Carefully examine the wiring connections inside the light socket and the terminals where the wires are connected. Look for any signs of loose or disconnected wires.
- Tighten loose connections: If you notice any loose wires or terminals, use a screwdriver or pliers to securely tighten them. Ensure the connections are snug but not over-tightened, as it may damage the socket.
- Check for corrosion or damage: Inspect the wires and terminals for any signs of corrosion, damage, or burn marks. If you encounter any of these issues, it may indicate a larger problem that requires professional assistance.
- Replace damaged components: If you identify any damaged or corroded wires or terminals, it is recommended to replace them with new ones. This will ensure a reliable and safe connection.
After checking for loose connections and addressing any issues, reinstall the lightbulb and proceed to the next step if necessary. If all connections are secure and in good condition, the issue may lie with the light socket itself, and it might be necessary to replace it.
Now, let’s move on to the final step: determining whether the light socket needs to be replaced.
Step 7: Replace the light socket if necessary
If you have followed the previous steps and determined that the light socket is the cause of the issue, you may need to replace it. Here’s how you can proceed:
- Ensure the power is off: Before replacing the light socket, turn off the power supply to the light fixture.
- Remove the lightbulb: Unscrew and remove the lightbulb from the socket.
- Disconnect the wires: Carefully disconnect the wires attached to the faulty light socket. Take note of how the wires are connected to ensure proper reinstallation.
- Remove the old socket: Depending on the type of light fixture, you may need to unscrew or detach the old socket using a screwdriver or pliers. Follow the specific instructions for your fixture.
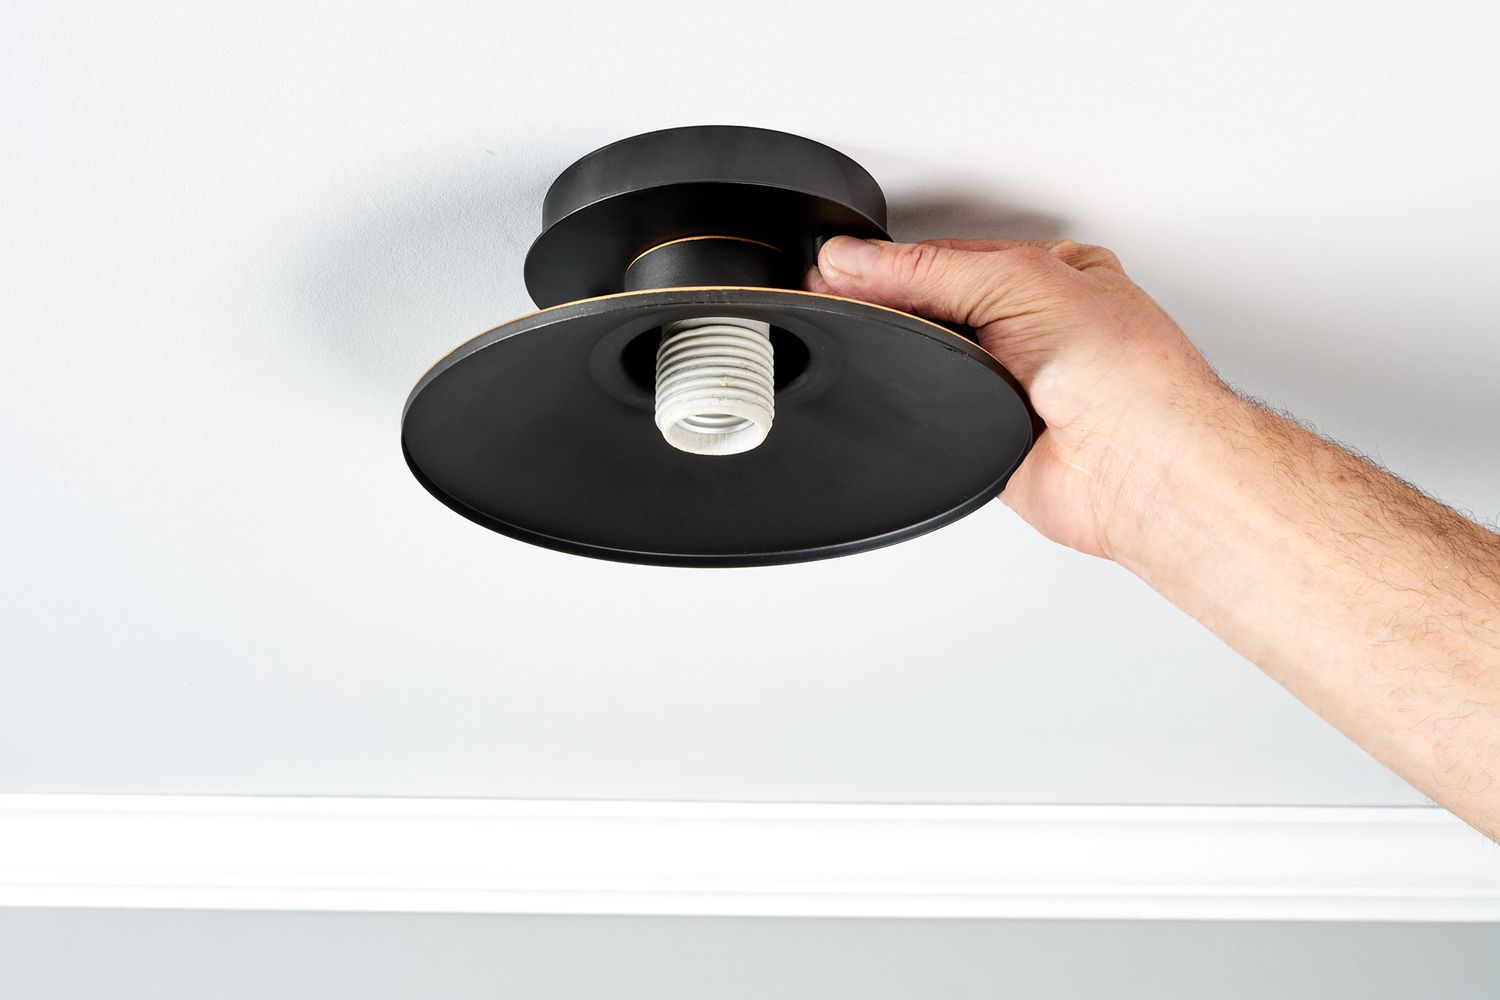
- Install the new socket: Take the new light socket and follow the reverse procedure of removing the old socket. Connect the wires to the appropriate terminals, ensuring a secure and proper connection.
- Secure the new socket: Once the new socket is installed, secure it in place by tightening any screws or fasteners. Ensure that it is firmly fixed and aligned properly with the light fixture.
- Reconnect the power: Turn on the power supply to the light fixture by restoring the circuit breaker or fuse.
- Test the new socket: Insert a lightbulb into the newly replaced socket and turn on the light switch. Check if the new socket is working properly, providing a stable power supply to the lightbulb.
If the new socket functions correctly and the light turns on without any issues, you have successfully replaced the light socket. However, if the problem persists, it may indicate a different underlying issue that requires further investigation or professional assistance.
Remember, if you are unsure or uncomfortable with electrical work, it is always advisable to seek the help of a licensed electrician to ensure proper installation and avoid any potential hazards.
With this final step, you have completed the process of testing and, if necessary, replacing a light socket with the help of a multimeter. By following these steps, you can identify and resolve common lighting issues effectively.
We hope this guide has been helpful, and may your future lighting endeavors be bright and trouble-free!
Conclusion
Testing a light socket with a multimeter is a practical and effective way to diagnose and resolve issues with your lighting fixtures. By following the step-by-step process outlined in this article, you can identify whether a faulty socket is the cause of your lighting problems, and take appropriate action to rectify the issue.
Throughout the testing process, it is important to prioritize safety. Always ensure that the power is turned off and take necessary precautions such as wearing safety goggles and insulated gloves. If you are unsure or uncomfortable with electrical work, it is highly recommended to seek professional assistance.
Gathering the necessary tools and setting your multimeter to the appropriate mode are essential first steps. Testing the continuity of the light socket can provide valuable insights into the integrity of the electrical circuit. Measuring the voltage helps determine if the socket is receiving the required power supply. Checking for loose connections is crucial as it can lead to intermittent power supply and other issues. Finally, if necessary, replacing the light socket can resolve persistent problems and restore proper functionality.
Remember to always follow the manufacturer’s instructions and guidelines when replacing the light socket. Ensure that the power is turned off before working on any electrical components, and take care to make secure and correct wire connections.
By conducting these tests and taking the appropriate actions, you can save time and money by avoiding unnecessary replacements and repairs. However, it is important to note that there may be cases where professional assistance is required, especially for complex electrical systems or if you are not confident in your abilities.
We hope this guide has provided you with the knowledge and confidence to test a light socket with a multimeter. May your future lighting projects be successful, and may you enjoy a well-illuminated and comfortable environment!
Frequently Asked Questions about How To Test A Light Socket With Multimeter
Was this page helpful?
At Storables.com, we guarantee accurate and reliable information. Our content, validated by Expert Board Contributors, is crafted following stringent Editorial Policies. We're committed to providing you with well-researched, expert-backed insights for all your informational needs.


0 thoughts on “How To Test A Light Socket With Multimeter”