Furniture
How To Replace A 3-Way Lamp Socket
Modified: August 27, 2024
Learn how to replace a 3-way lamp socket in your furniture with this simple step-by-step guide. Enhance the functionality and beauty of your favorite piece by easily fixing the socket issue.
(Many of the links in this article redirect to a specific reviewed product. Your purchase of these products through affiliate links helps to generate commission for Storables.com, at no extra cost. Learn more)
Introduction
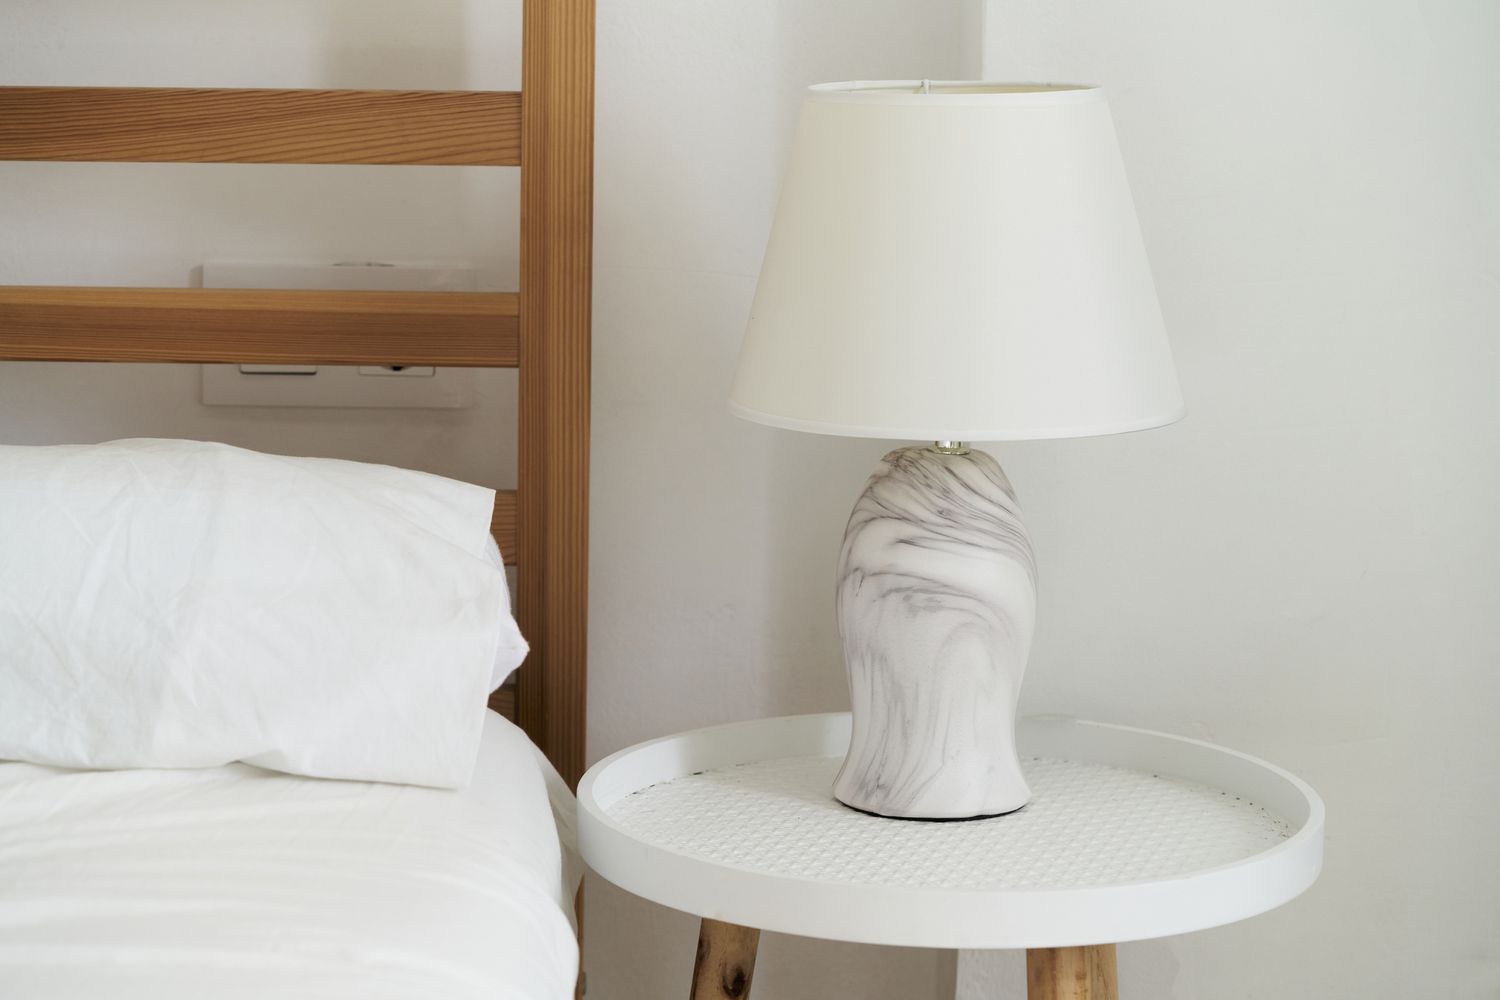
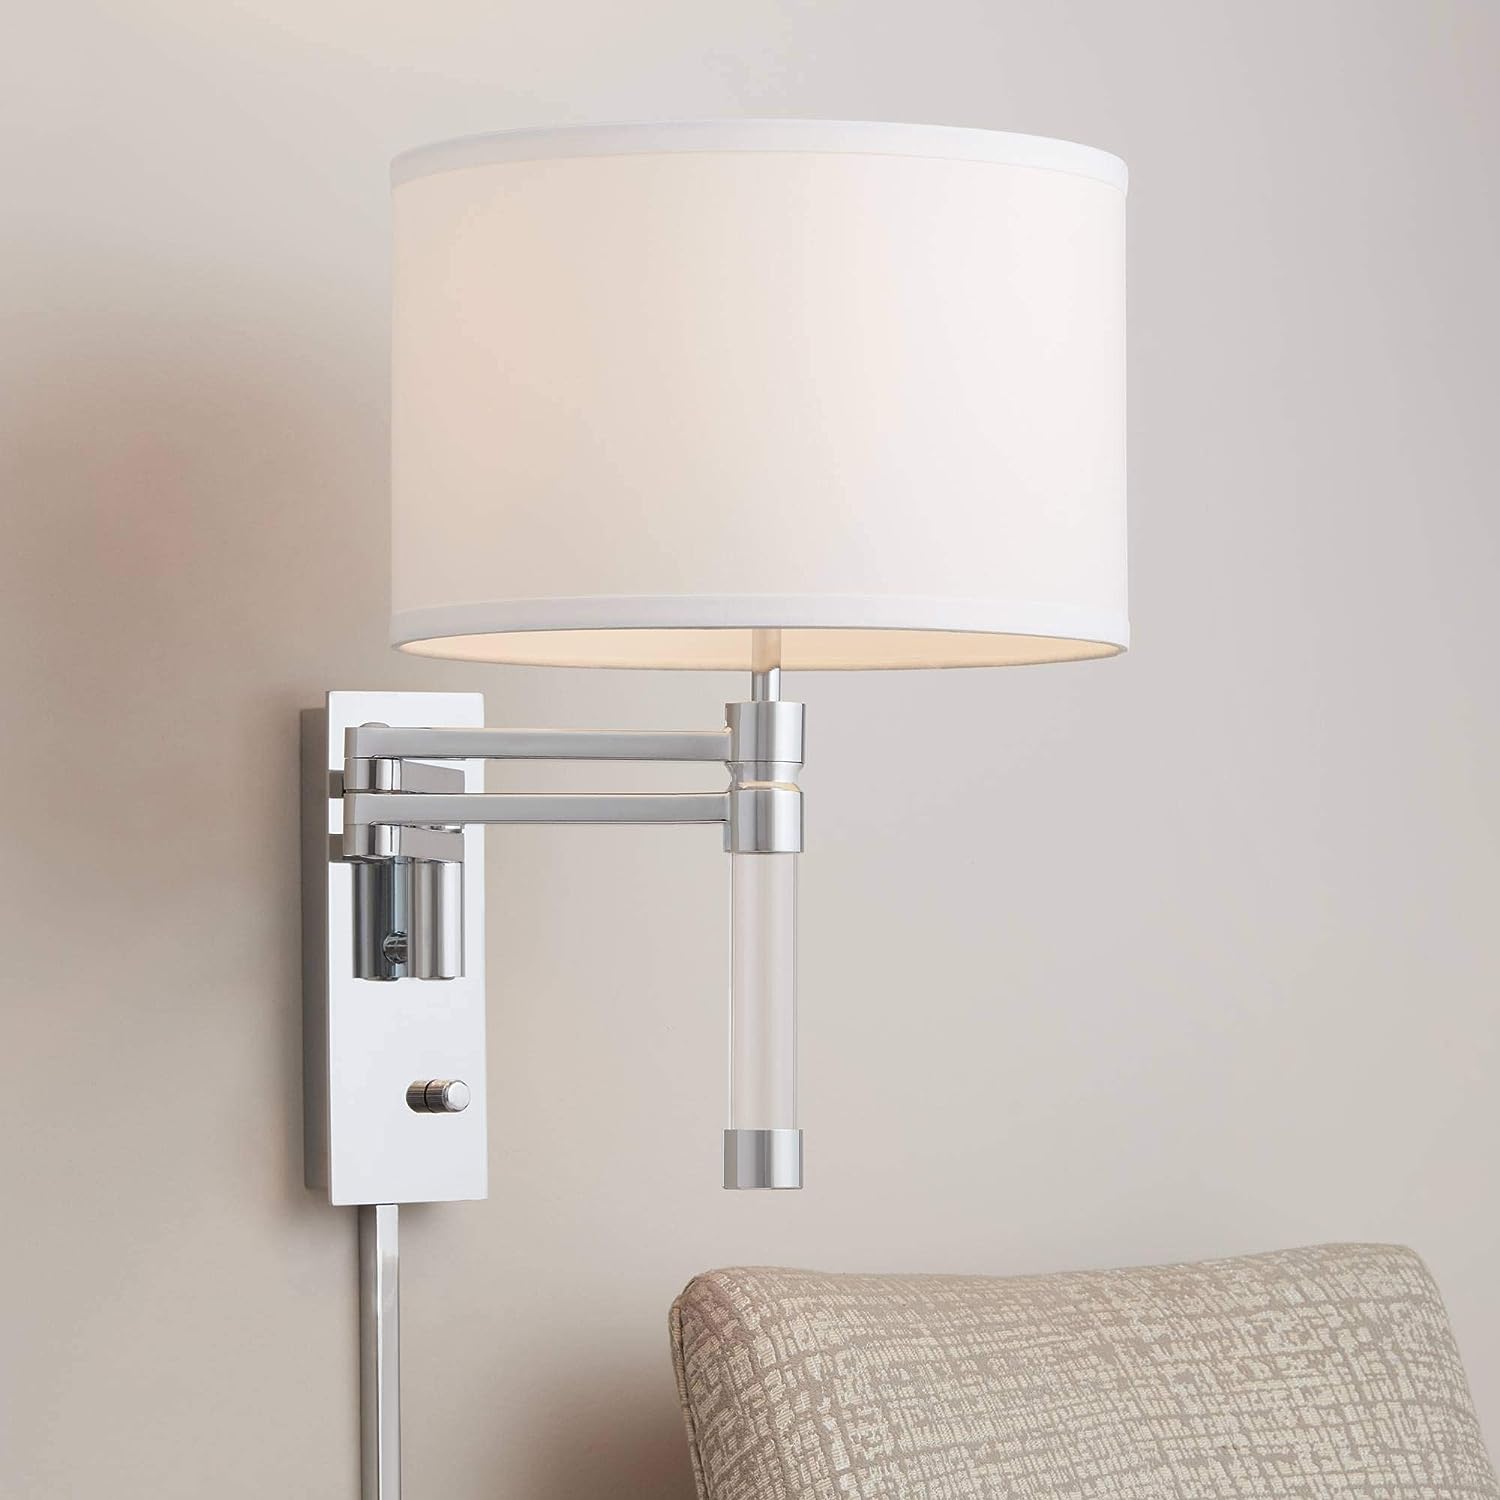
When it comes to home decor, lighting plays a crucial role in setting the mood and creating a comfortable ambiance. A 3-way lamp, with its adjustable brightness levels, is a popular choice for many households. However, over time, the lamp socket may wear out or become faulty, requiring replacement. If you’re experiencing issues with your 3-way lamp, don’t fret – replacing the lamp socket is a fairly simple process that you can do yourself with just a few basic tools.
In this article, we’ll take you through a step-by-step guide on how to replace a 3-way lamp socket. Along the way, we’ll provide you with helpful tips and safety precautions to ensure a smooth and successful installation.
Before we get started, it’s important to note that if you’re uncertain or uncomfortable working with electrical components, it’s always best to consult a qualified electrician. Your safety should be the top priority.
Now, let’s gather our tools and materials and get ready to give your 3-way lamp a new lease on life!
Key Takeaways:
- Safety first! Prioritize your well-being by following essential safety precautions, gathering the right tools, and carefully executing each step to successfully replace a 3-way lamp socket.
- Empower yourself with the knowledge and confidence to tackle DIY lamp repairs. Enjoy the satisfaction of restoring functionality and ambiance to your living space with a fully functional 3-way lamp.
Read more: How To Determine If A Lamp Is 3-Way
Safety Precautions
Before diving into the process of replacing a 3-way lamp socket, it’s essential to prioritize your safety. Dealing with electrical components carries certain risks, so it’s crucial to take the necessary precautions to avoid accidents or injuries. Here are some safety measures to keep in mind:
- Turn off the power: Before starting any work on your lamp, make sure to unplug it from the power source. This will eliminate the risk of electric shock.
- Allow the lamp to cool down: If the lamp has been recently used, give it some time to cool down. Touching hot bulbs or lamp parts can result in burns.
- Wear protective gear: It’s a good practice to wear safety glasses and gloves when handling electrical components. This will protect your eyes and hands from any potential injuries.
- Work in a well-lit area: Ensure that your workspace is well-lit to avoid any accidental mishaps.
- Follow manufacturer’s instructions: Every lamp might have specific instructions or warnings on its base or packaging. Take the time to read and understand them before proceeding with any repairs.
- Inspect the cord: Before starting the replacement process, examine the lamp cord for any signs of fraying or damage. If you notice any issues, it’s important to replace the cord entirely rather than just the socket.
- Stay organized: As you disassemble the lamp, keep track of the parts and screws to ensure easy reassembly later.
- Avoid water: Keep the lamp and your hands dry throughout the entire process. Water and electricity do not mix well.
- Ask for help if needed: If you’re unsure about any step or encounter difficulties during the process, don’t hesitate to ask for assistance from a knowledgeable friend or professional.
By following these safety precautions, you can minimize the risks involved in replacing a 3-way lamp socket. Remember, it’s always better to err on the side of caution when dealing with electrical components.
Tools and Materials Needed
Before you begin replacing the 3-way lamp socket, it’s important to gather all the necessary tools and materials. Having everything prepared beforehand will help ensure a smooth and efficient process. Here’s a list of what you’ll need:
- Screwdriver: A flathead or Phillips screwdriver, depending on the type of screws used in your lamp.
- Pliers: A pair of regular pliers or needle-nose pliers for gripping and manipulating wires.
- Wire cutters/strippers: These tools will come in handy for cutting and stripping the wires, if necessary.
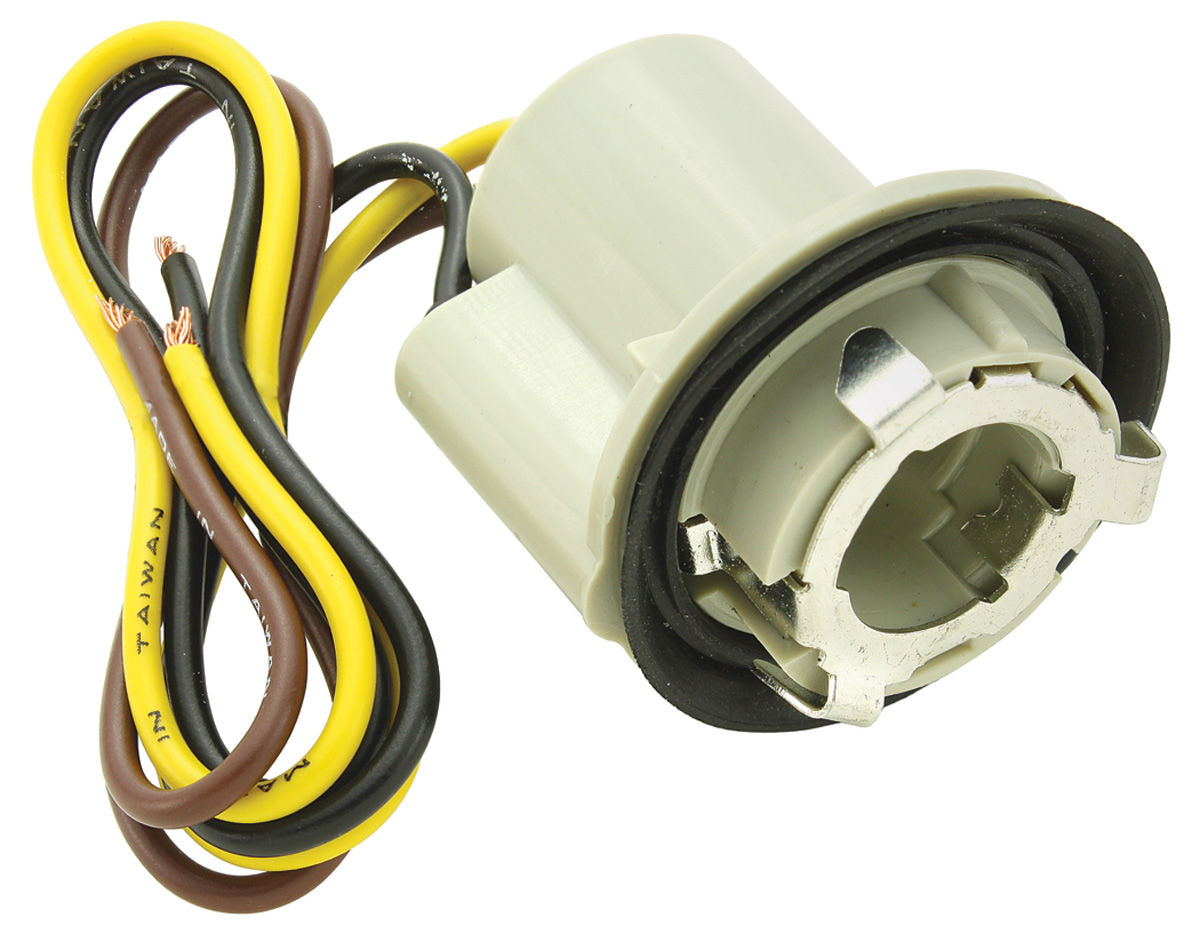
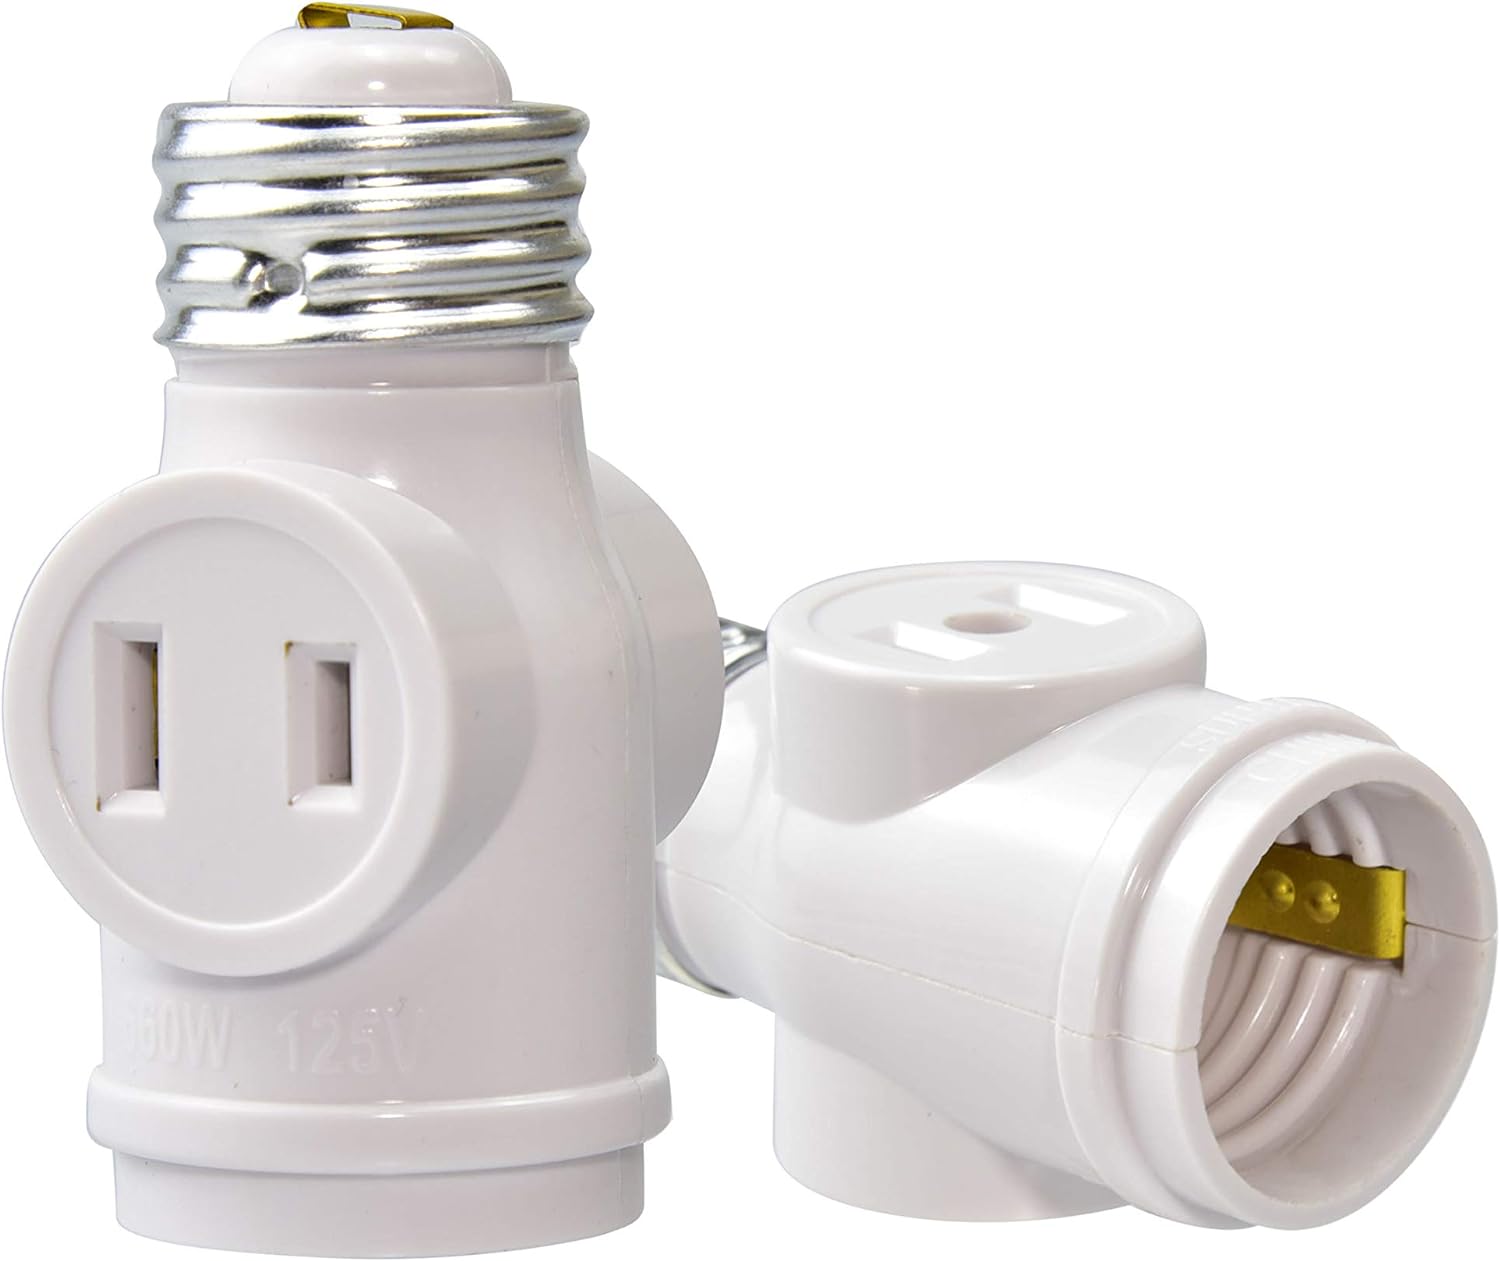
- New 3-way lamp socket: Make sure to purchase a replacement socket that matches the specifications of your existing socket. Look for a socket that is compatible with a 3-way bulb and has the same wattage rating.
- Electrical tape: This will be used to insulate and secure the wire connections.
- Wire connectors: These small plastic caps are used to join and secure the wires together.
- Optional: A small container or ziplock bag for holding screws and small parts during the disassembly process.
By having these tools and materials within reach, you’ll be well-prepared to tackle the task of replacing the 3-way lamp socket without any unnecessary interruptions or delays. Now that you’ve got everything you need, let’s move on to the step-by-step process of replacing the socket!
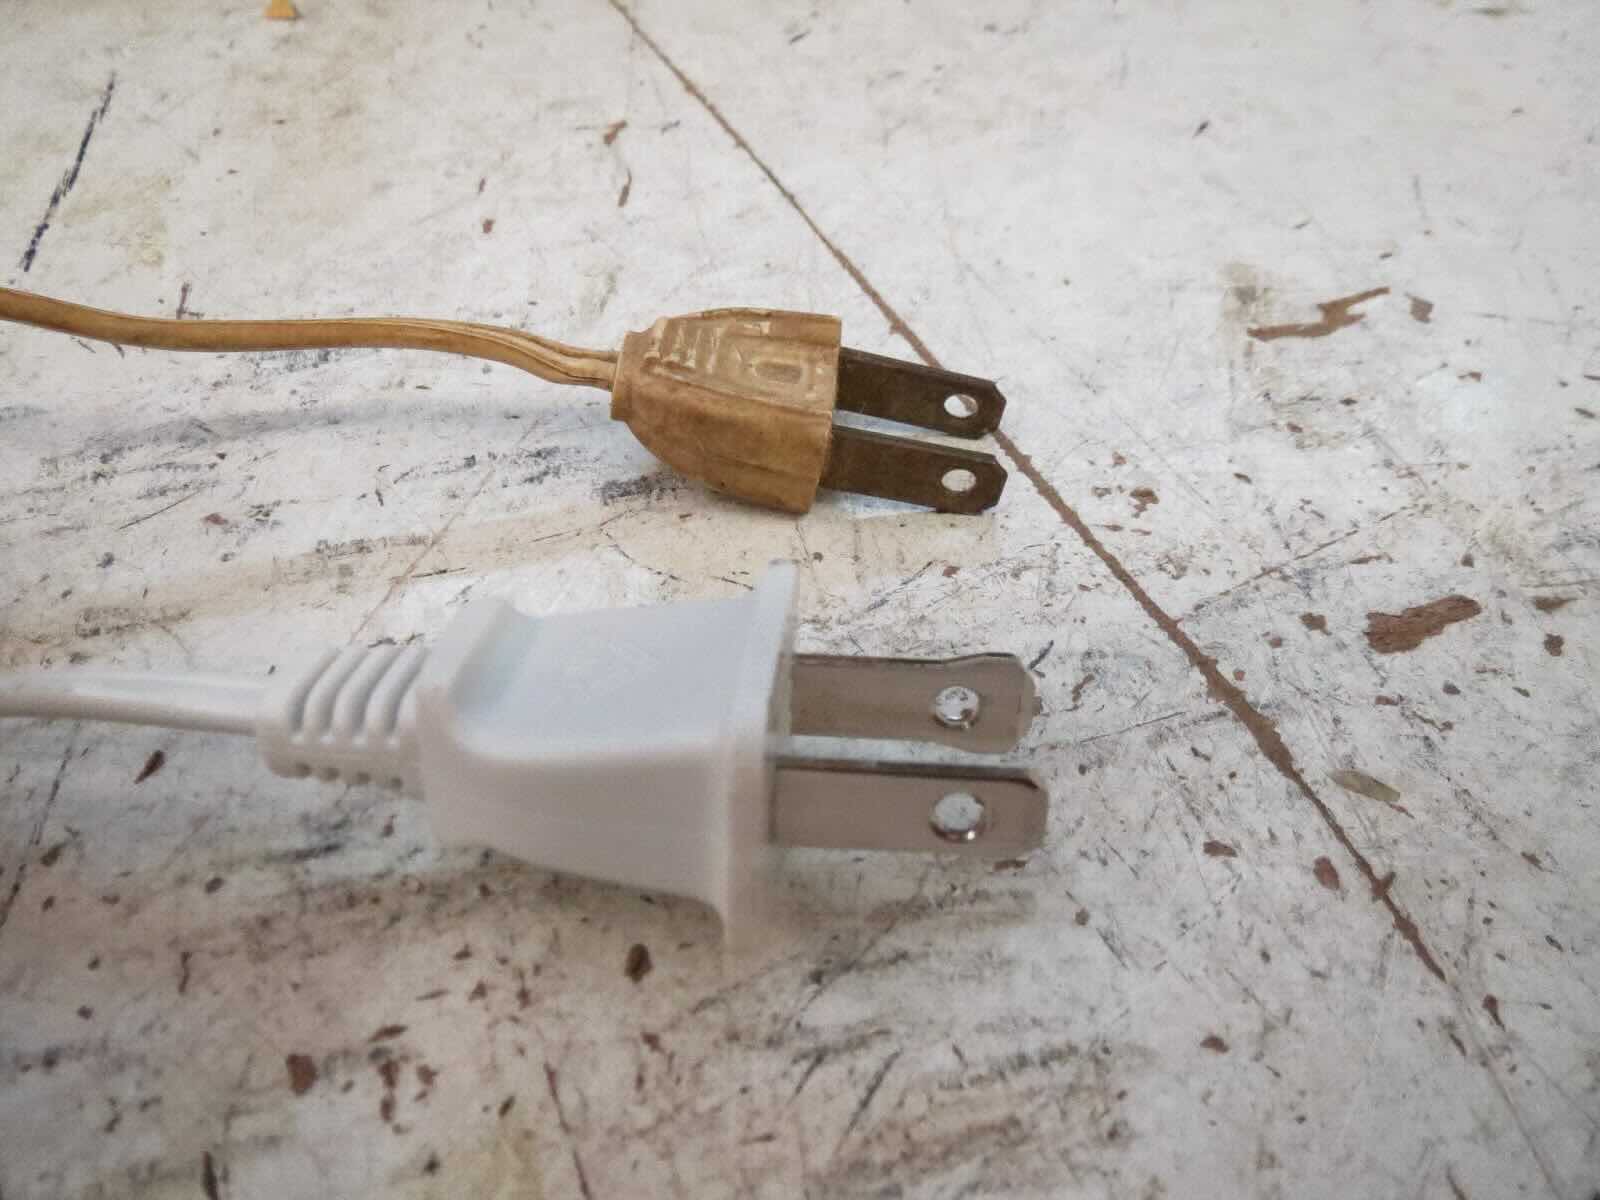
Step 1: Unplug the Lamp
Before starting any work on your 3-way lamp, the first and most important step is to unplug it from the power source. This ensures your safety and prevents any accidental electric shock or damage to the lamp. Follow these simple instructions to unplug the lamp:
- Locate the power cord: Identify the power cord coming out of the base of the lamp. It is usually located at the bottom or side of the lamp.
- Trace the power cord to the outlet: Follow the cord with your hand or visually trace it to the wall socket or power strip where it is plugged in.
- Remove the plug: Firmly grip the plug with your hand and gently pull it out from the outlet. Make sure to keep a firm hold on the plug and avoid pulling on the cord itself.
- Verify power disconnection: Test the lamp by turning the switch on or off. If the lamp does not turn on, it means the power has been successfully disconnected.
It is crucial to unplug the lamp before proceeding with any repairs or replacements, as working with live electricity can be extremely dangerous. Take the time to ensure that the lamp is completely disconnected from the power source.
With the lamp now unplugged, you are ready to move on to the next step of replacing the 3-way lamp socket. It’s always better to be safe than sorry, so double-check the power cord to confirm it is disconnected before continuing.
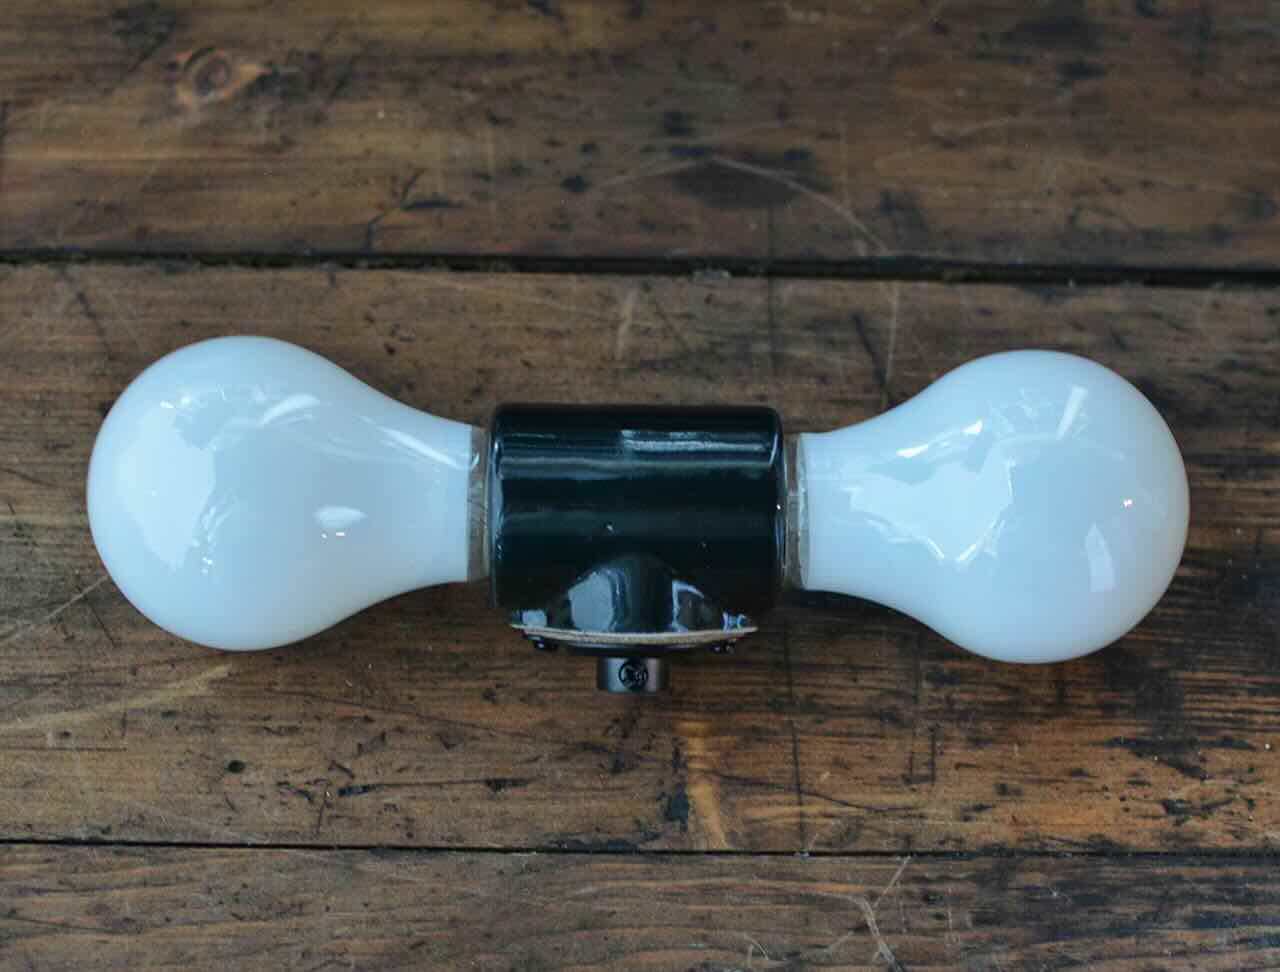
Step 2: Remove the Lampshade and Bulbs
Before you can access the lamp socket and replace it, you’ll need to remove the lampshade and bulbs. Follow these instructions to safely remove them:
- Turn off the lamp: If the lamp is still on, turn it off using the switch located on the socket or the lamp base.
- Allow the bulbs to cool down: If the lamp has been recently used, give the bulbs some time to cool down. Touching hot bulbs can result in burns.
- Remove the lampshade: Gently lift the lampshade off the lamp and set it aside in a safe place. Be careful not to bump or damage the lampshade while removing it.
- Remove the bulbs: Reach into the lamp socket and twist each bulb counterclockwise to loosen and remove it. Set the bulbs aside in a secure location to prevent breakage.
By following these steps, you’ll safely remove the lampshade and bulbs without risking any damage or injury. Remember to handle the bulbs with care as they can be fragile.
With the lampshade and bulbs removed, you’re now ready to proceed to the next step of detaching the lamp socket base.
Read more: How To Fix A 3-Way Lamp Switch
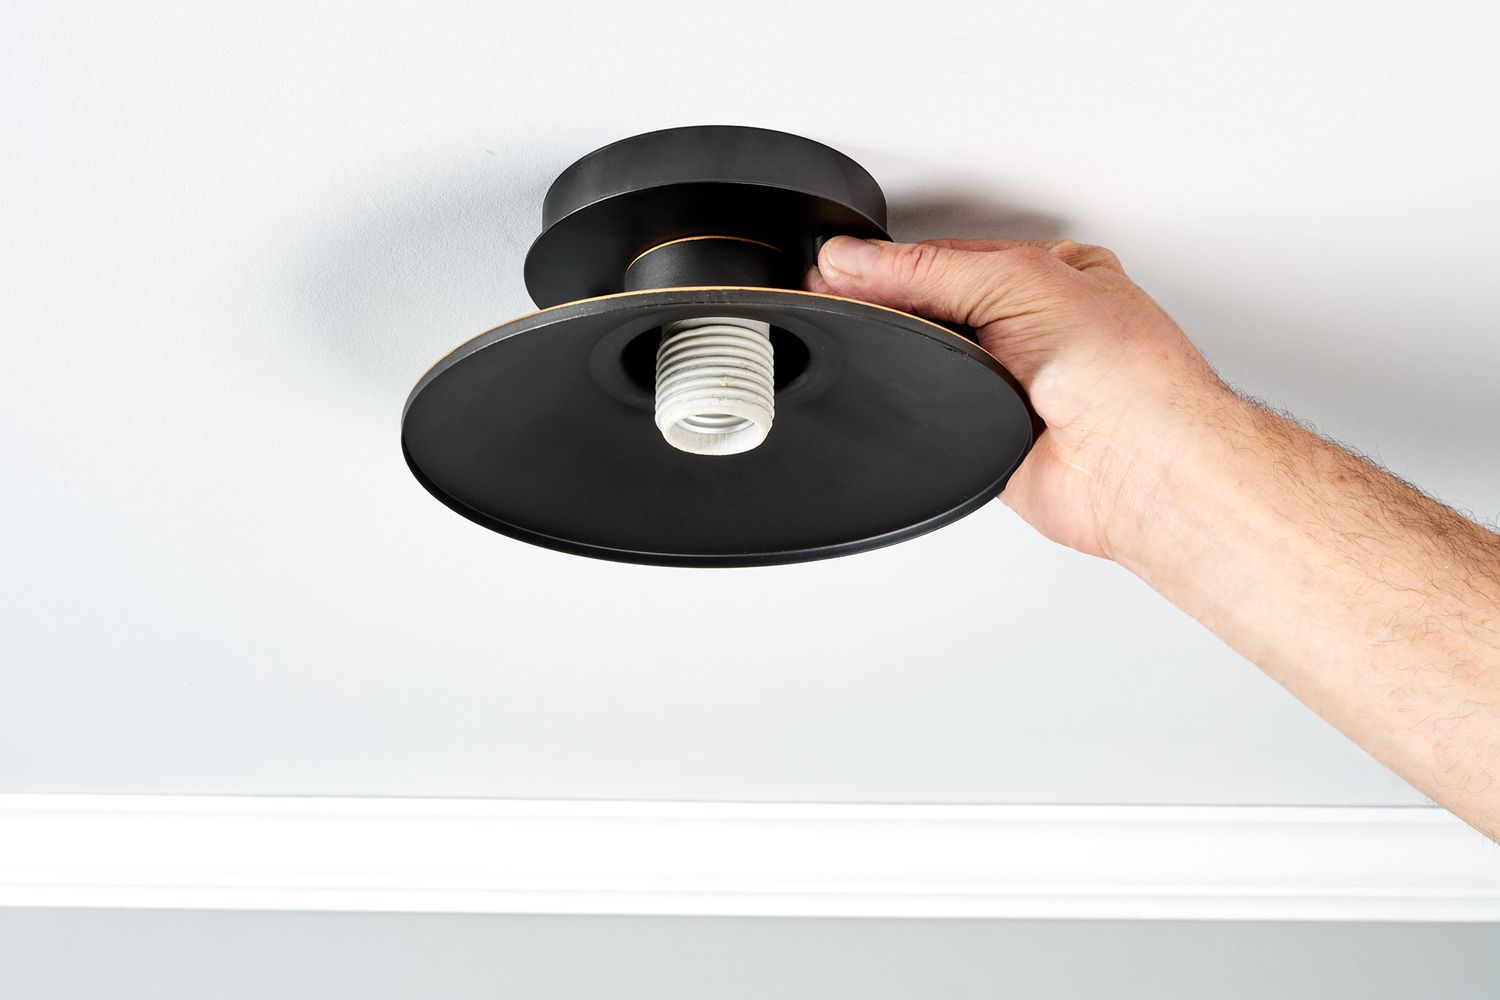
Step 3: Detach the Lamp Socket Base
Once you have removed the lampshade and bulbs, the next step is to detach the lamp socket base. Follow these instructions to safely disconnect the socket base from the lamp:
- Inspect the lamp socket: Take a moment to examine the socket base and familiarize yourself with its components. Note the screws, clips, or other mechanisms used to secure it.
- Remove any decorative elements: Some lamp designs may have decorative elements, such as a decorative collar or cover, surrounding the socket base. If present, gently remove these elements to access the socket base.
- Unscrew any securing screws: Using a screwdriver, carefully loosen and remove any screws that are holding the socket base in place. Set the screws aside in a safe place, as you will need them when reassembling the lamp later.
- Disconnect the socket base: Depending on the lamp design, the socket base may be connected by clips or other mechanisms. Carefully disconnect these connections to free the socket base from the lamp body.
It is important to handle the socket base with care to prevent any damage or breakage. Take your time during this step to ensure that all connections are properly released and that the socket base is fully detached from the lamp.
Now that you have successfully detached the lamp socket base, we can move on to the next step of disconnecting the wires from the old socket.
When replacing a 3-way lamp socket, make sure to disconnect the power and remove the old socket carefully. Take note of the wire connections before installing the new socket to ensure proper reconnection.
Step 4: Disconnect the Wires from the Old Socket
With the lamp socket base detached, the next step is to disconnect the wires from the old socket. Follow these instructions to safely remove the wires:
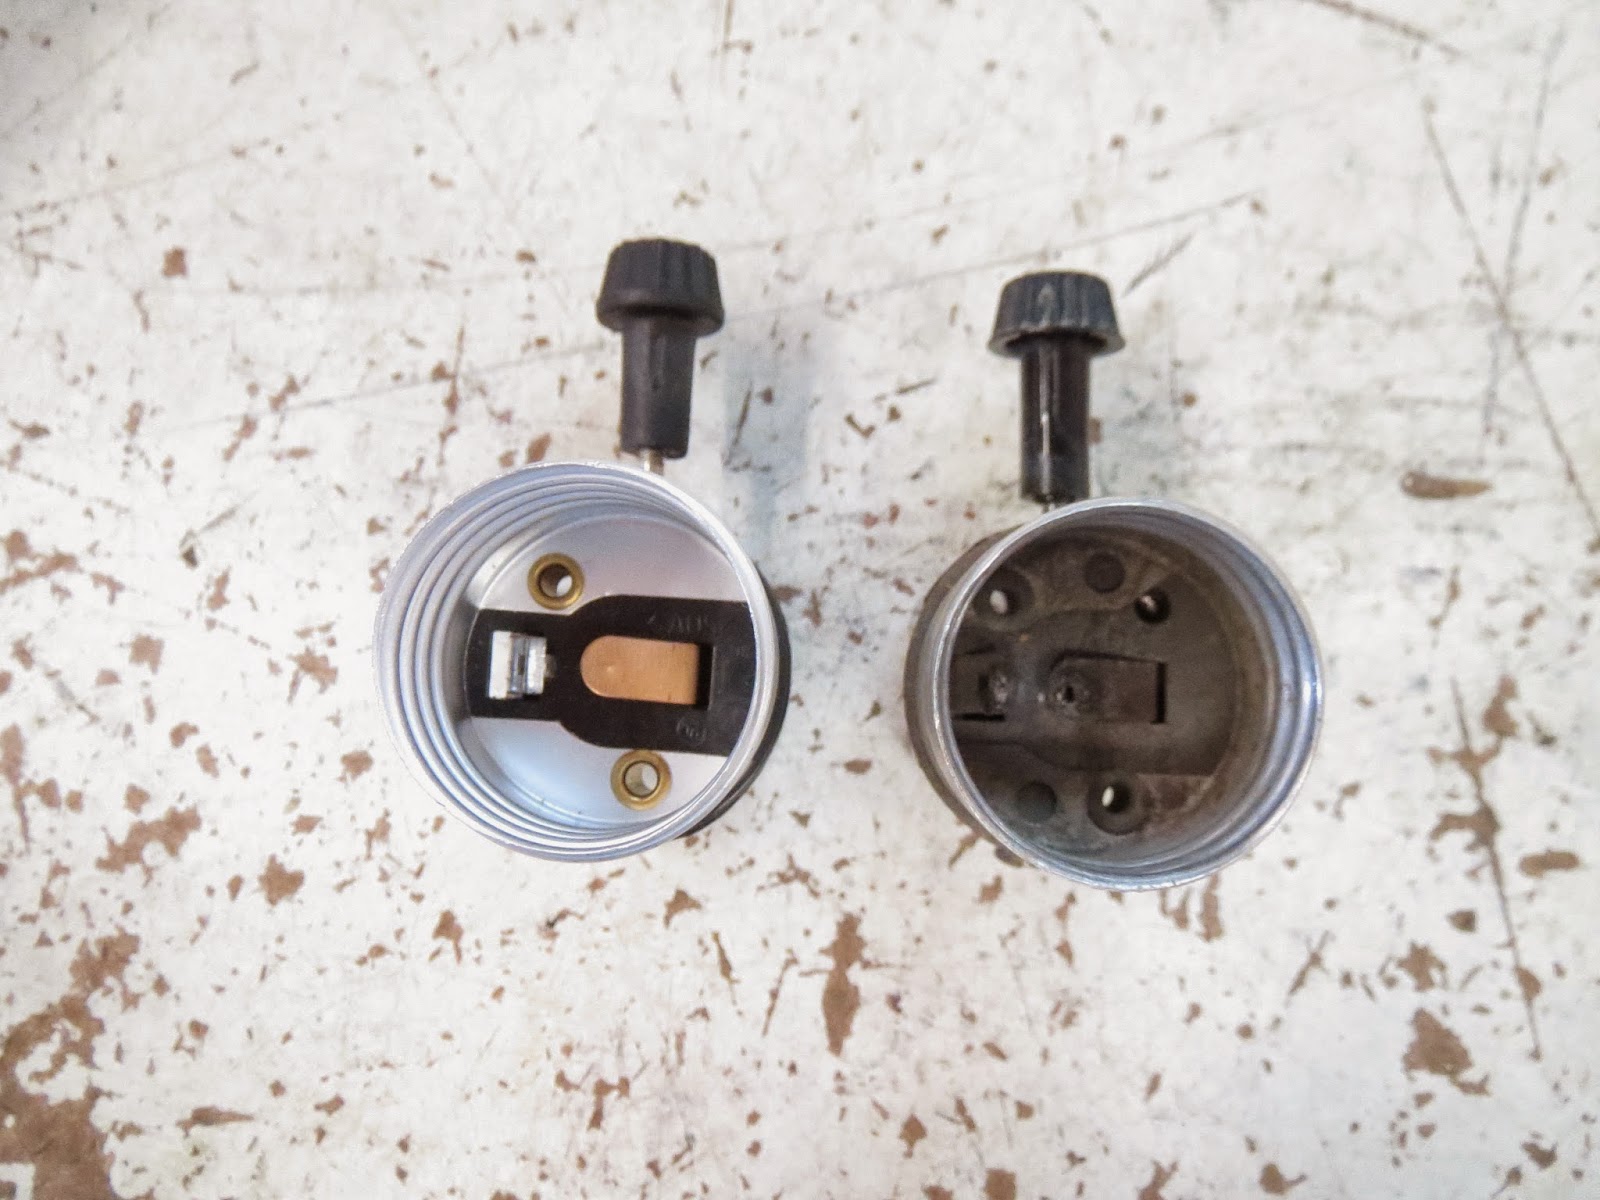
- Examine the wiring: Take a close look at how the wires are connected to the old socket. There are typically three wires: a black (hot) wire, a white (neutral) wire, and a green or copper (ground) wire.
- Identify the wire connections: The wires from the lamp cord are connected to the old socket using screws or wire connectors. Take note of how the wires are secured.
- Loosen the wire connections: Using a screwdriver or pliers, carefully loosen the screws or open the wire connectors to release the grip on the wires.
- Remove the wires: Once the wire connections are loosened, gently pull the wires out of the old socket. Take care not to damage or break the wires during this process.
When disconnecting the wires, it’s important to note the location of each wire and how they were originally connected. This will make it easier to install the new socket correctly in the following steps.
With the wires successfully disconnected, you’re now ready to prepare the new socket for installation.
Step 5: Prepare the New Socket
Now that you have disconnected the wires from the old socket, it’s time to prepare the new socket for installation. Follow these instructions to get the new socket ready:
- Inspect the new socket: Take a close look at the new socket and ensure that it matches the specifications of the old socket. Check for any defects or damage before proceeding.
- Identify the wire connections: Look for the screw terminals or wire connectors on the new socket. These are the points where the wires will be connected.
- Strip the wire ends if necessary: If the ends of the wires are not already stripped, use wire cutters/strippers to remove a small section of insulation from the ends of each wire. Be careful not to cut or damage the actual wire strands.
- Separate the wires: If the wires are twisted together, gently separate them so that each wire is free and ready for connection.
By carefully preparing the new socket, you ensure a smooth and successful installation process. Take your time during this step to ensure that everything is in order before moving on to the next step of connecting the wires to the new socket.
With the new socket prepared, you’re now ready to move on to the next step of connecting the wires.
Step 6: Connect the Wires to the New Socket
With the new socket prepared, it’s time to connect the wires and install it. Follow these instructions to safely and securely connect the wires to the new socket:
- Refer to the wiring diagram: If available, consult the wiring diagram provided with the new socket. This will help ensure that you connect the wires correctly.
- Connect the black (hot) wire: Take the black wire from the lamp cord and connect it to the brass or gold-colored screw terminal on the new socket. Loop the wire clockwise around the terminal and tighten the screw to secure the connection.
- Connect the white (neutral) wire: Take the white wire from the lamp cord and connect it to the silver-colored screw terminal on the new socket. Loop the wire clockwise around the terminal and tighten the screw to secure the connection.
- Connect the green or copper (ground) wire: If your lamp has a ground wire, connect it to the green screw or the grounding terminal on the new socket. Loop the wire clockwise around the terminal and tighten the screw to secure the connection.
- Double-check the connections: Once all the wires are securely connected to the new socket, tug gently on each wire to ensure they are firmly in place. Double-check that the wires are properly positioned and not touching any metal parts of the socket.
It’s important to ensure that the wires are connected to the correct terminals and that the connections are tight and secure. This will help prevent any electrical issues or loose connections later on.
With the wires successfully connected, you’re now ready to reattach the lamp socket base in the next step.
Step 7: Reattach the Lamp Socket Base
Now that the wires are securely connected to the new socket, it’s time to reattach the lamp socket base. Follow these instructions to safely and properly reattach the socket base:
- Position the socket base: Align the socket base with the lamp body, making sure that it fits snugly and securely in its original position.
- Secure the socket base: Depending on the lamp design, use the screws or clips that you had previously removed to reattach the socket base. Tighten the screws firmly, but be careful not to overtighten and damage the lamp body.
- Replace any decorative elements: If your lamp had any decorative elements that were removed earlier, now is the time to reattach them. Ensure they are properly aligned and securely in place.
By following these steps, you will ensure that the new socket base is reattached correctly and securely to the lamp. Take your time during this step to ensure that everything is aligned properly and any screws or clips are tightened appropriately.
With the socket base securely reattached, you’re one step closer to getting your 3-way lamp fully functional again. In the next step, we’ll move on to inserting the new bulbs and reassembling the lamp.
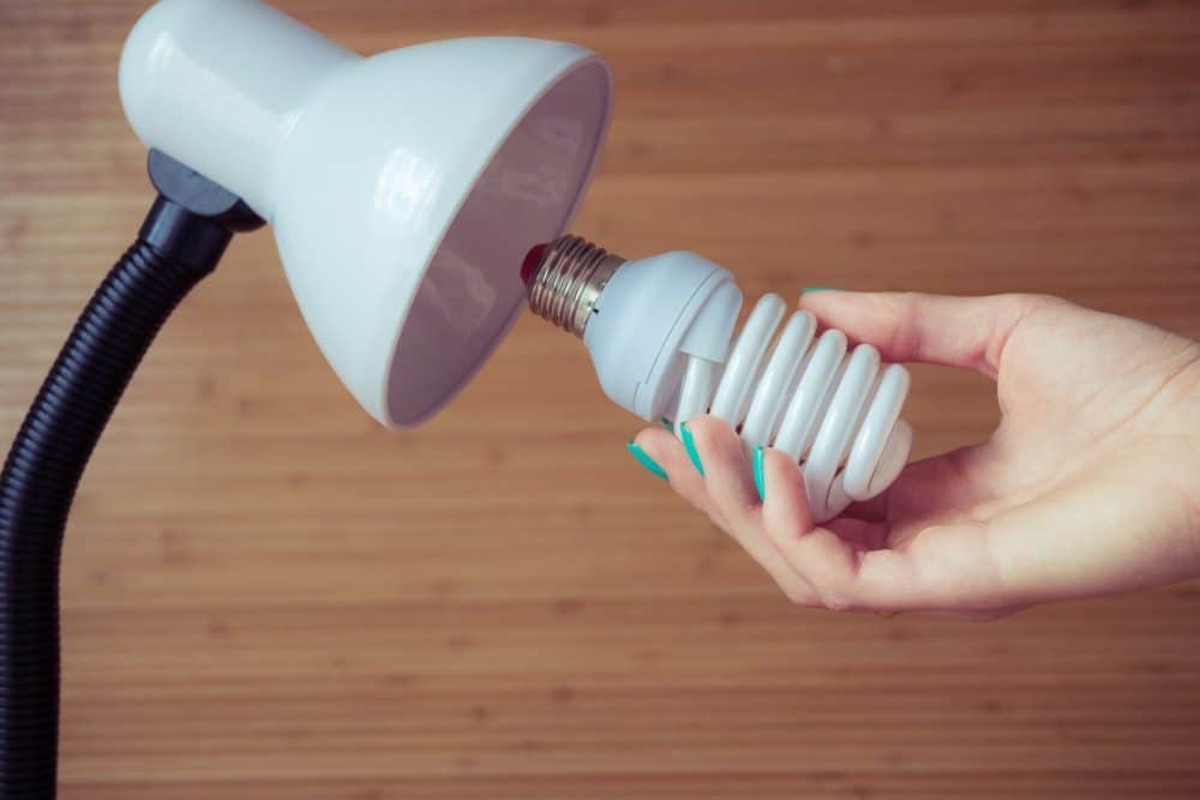
Step 8: Insert New Bulbs and Reassemble the Lamp
With the socket base securely reattached, it’s time to insert new bulbs and reassemble the lamp. Follow these instructions to complete the final step:
- Select the appropriate bulbs: Choose new bulbs that are compatible with your 3-way lamp. Check the wattage and type of bulbs recommended for your lamp, and make sure they match the specifications.
- Insert the bulbs: Take each bulb and align the base with the socket. Insert the bulb into the socket and gently twist it clockwise until it is fully seated. Repeat this step for each bulb.
- Test the lamp: Once the bulbs are installed, plug in the lamp and turn it on to test the new socket. Toggle the lamp switch to different settings to ensure that the 3-way functionality is working correctly.
- Reassemble the lamp: Once you have confirmed that the new socket is functioning properly, reassemble the lamp by placing the lampshade back onto the lamp and ensuring it is securely in position. Make any necessary adjustments to align the shade properly.
Now that you have inserted new bulbs and reassembled the lamp, you’re all set to enjoy the restored functionality of your 3-way lamp. Be sure to inspect the lamp and ensure that everything looks and functions as it should.
Congratulations! You have successfully replaced the 3-way lamp socket and restored your lamp to its former glory. It’s always satisfying to tackle a DIY project and see the positive results firsthand.
Remember, if you ever encounter any difficulties or don’t feel comfortable working with electrical components, it’s best to seek assistance from a qualified electrician. Your safety is paramount. Enjoy your beautifully lit space!
Conclusion
Replacing a 3-way lamp socket may seem like a daunting task, but with the right tools, materials, and step-by-step guidance, it can be a straightforward DIY project. By following the instructions outlined in this article, you’ve learned how to safely and effectively replace a faulty socket and restore the functionality of your 3-way lamp.
Throughout the process, we emphasized the importance of safety and provided essential safety precautions to ensure that you prioritize your well-being. Always remember to disconnect the lamp from the power source, wear protective gear, and work in a well-lit area to minimize any potential risks.
By gathering the necessary tools and materials, you were able to remove the lampshade and bulbs, detach the lamp socket base, disconnect the wires from the old socket, prepare the new socket, connect the wires to the new socket, reattach the lamp socket base, insert new bulbs, and finally, reassemble the lamp. Each step played a crucial role in completing the project successfully.
Now, you can bask in the warm glow of a fully functional 3-way lamp. Enjoy the adjustable brightness levels and create the perfect ambiance in your living space. It’s remarkable how a small repair can make a significant difference in the overall aesthetic and functionality of your lamp.
Remember, if you ever feel unsure or uncomfortable with any step of the process, it’s best to seek assistance from a qualified electrician. Your safety should always be the top priority.
With this newfound knowledge and the ability to replace a 3-way lamp socket, you have empowered yourself to tackle future lamp repairs with confidence. So, go ahead and brighten up your living space with a beautiful, fully functional 3-way lamp!
Frequently Asked Questions about How To Replace A 3-Way Lamp Socket
Was this page helpful?
At Storables.com, we guarantee accurate and reliable information. Our content, validated by Expert Board Contributors, is crafted following stringent Editorial Policies. We're committed to providing you with well-researched, expert-backed insights for all your informational needs.