Home>Articles>How To Test A Tail Light Socket With A Multimeter

Articles
How To Test A Tail Light Socket With A Multimeter
Modified: February 22, 2024
Learn how to test a tail light socket using a multimeter in this informative article. Troubleshoot and fix your vehicle's lighting issues with ease.
(Many of the links in this article redirect to a specific reviewed product. Your purchase of these products through affiliate links helps to generate commission for Storables.com, at no extra cost. Learn more)
Introduction
Welcome to this guide on how to test a tail light socket with a multimeter. The tail lights of a vehicle play a crucial role in ensuring road safety by indicating your intentions to other drivers. However, over time, the tail light socket may become faulty or damaged, resulting in the lights not functioning properly. In such cases, it becomes necessary to test the socket to determine the issue and make any necessary repairs.
Testing the tail light socket with a multimeter is a simple and effective way to check for any electrical problems. A multimeter is a versatile tool that can measure voltage, continuity, and resistance, helping you identify any issues with the socket and the wiring connected to it.
In this guide, we will take you through the step-by-step process of testing a tail light socket with a multimeter. Before we begin, make sure you have the necessary tools at hand, including a multimeter, safety gloves, safety glasses, and a screwdriver (if required). It’s also a good idea to have replacement bulbs on hand in case you find any faulty ones during the testing process.
Keep in mind that working with electrical components carries some risks. Always prioritize your safety by wearing the appropriate protective gear, such as safety gloves and glasses, and ensure that the power source is disconnected before performing any tests. If you are unsure about any steps or encounter any difficulties during the process, it’s best to consult a professional automotive electrician.
Now, let’s move on to the first step and take a look at the precautions and safety measures you need to follow when testing a tail light socket.
Key Takeaways:
- Prioritize safety by wearing protective gear and disconnecting the power source before testing a tail light socket with a multimeter. Thoroughly inspect, test, and replace the socket to ensure proper functionality of the vehicle’s tail lights.
- A multimeter is a valuable tool for diagnosing electrical issues in a vehicle’s tail light system. Testing for voltage and continuity, along with proper replacement if necessary, can enhance road safety and visibility for drivers.
Read more: How To Test A Light Socket With Multimeter
Tools and Materials Needed
Before you start testing a tail light socket with a multimeter, gather the following tools and materials:
- Multimeter: A multimeter is the key tool you’ll need for this process. It allows you to measure voltage, continuity, and resistance, helping you diagnose any electrical issues in the tail light socket.
- Safety gloves: It’s important to prioritize your safety when working with electrical components. Wear protective gloves to protect your hands from any potential hazards.
- Safety glasses: Eye protection is essential to prevent any debris or sparks from entering your eyes. Wear safety glasses throughout the testing process.
- Screwdriver (if necessary): Some tail light assemblies may require removal of screws or clips to access the socket. If needed, have a screwdriver on hand to help with disassembly.
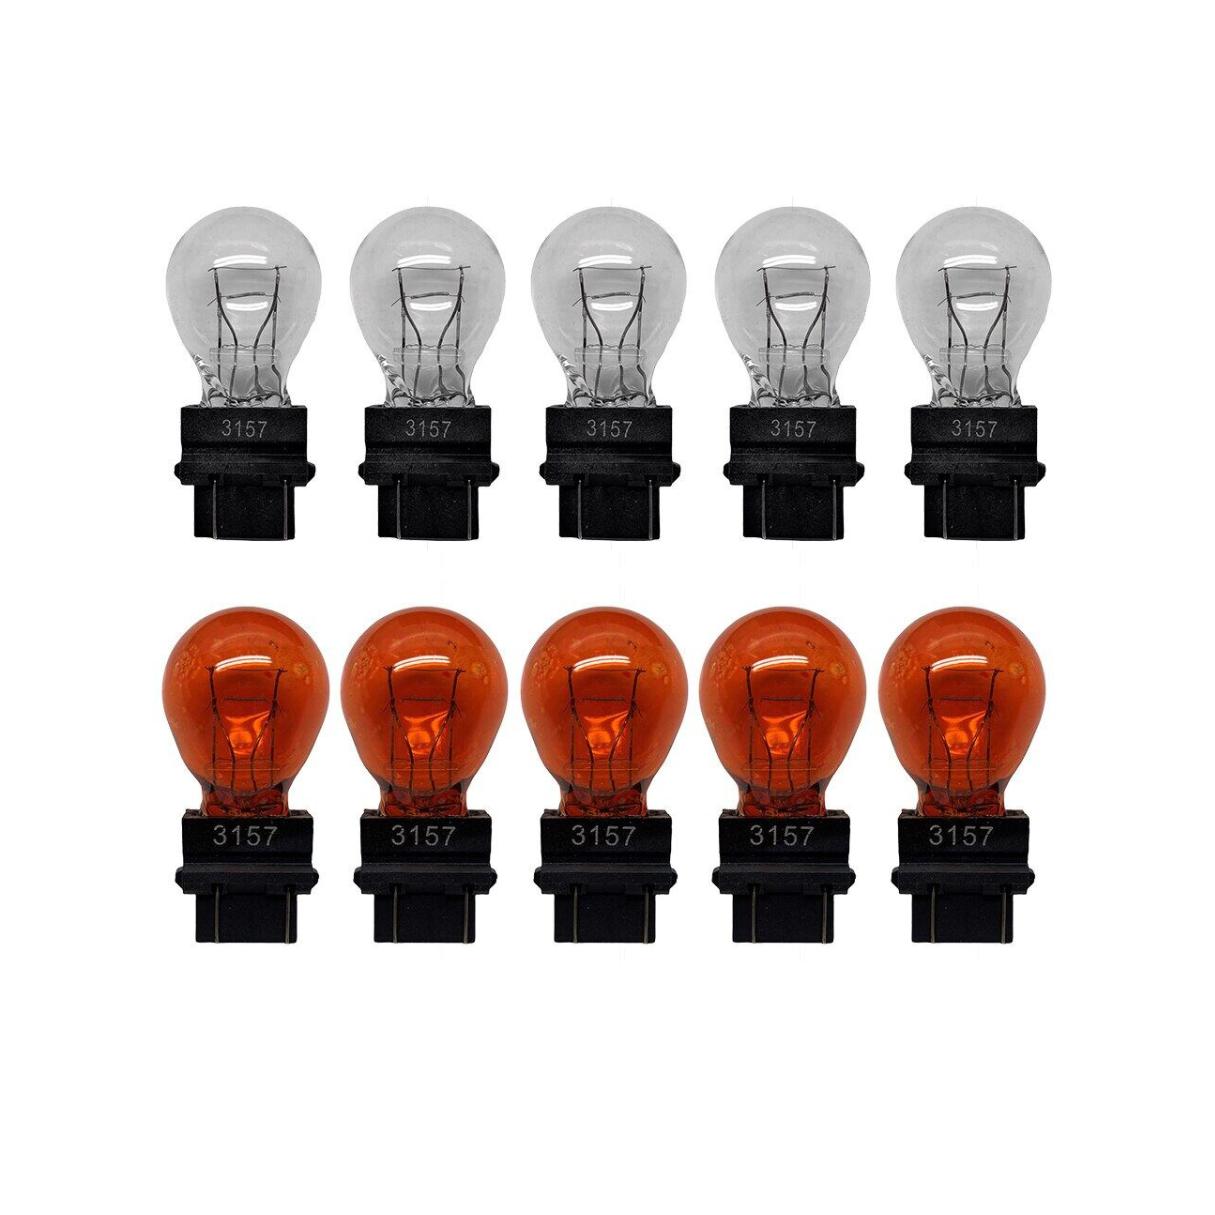
- Replacement bulbs (if necessary): While testing the socket, you may discover that some of the bulbs are faulty. It’s always a good idea to have replacement bulbs ready for immediate installation.
Having these tools and materials readily available ensures that you can proceed with the testing process smoothly and effectively. It’s better to be prepared for any situation that may arise during the testing process.
Now that you have gathered all the necessary tools and materials, we can move on to the step-by-step process of testing a tail light socket with a multimeter. But before we begin, let’s cover the precautions and safety measures you should take to ensure a safe testing environment.
Step 1: Precautions and Safety Measures
Before you start testing a tail light socket with a multimeter, it’s important to take some precautions and follow safety measures to ensure your well-being throughout the process. Here are the steps you should take:
- Wear safety gloves and glasses: When working with electrical components, it’s crucial to protect your hands and eyes from potential hazards. Wear safety gloves to shield your hands from any sharp edges or electrical contacts. Additionally, wear safety glasses to protect your eyes from debris or sparks that may occur during the testing process.
- Disconnect the power source: Before testing the tail light socket, you must disconnect the power source to prevent any electrical accidents. This can typically be done by locating the fuse box or turning off the vehicle’s battery. Refer to the vehicle’s manual to ensure you disconnect the power source correctly.
By taking these precautions and following the safety measures, you minimize the risk of injury or electrical accidents while working on the tail light socket. Remember, working with electrical components can be dangerous, so it’s crucial to prioritize your safety.
Now that you have taken the necessary precautions and ensured your safety, we can move on to the next step, which involves accessing the tail light socket. Let’s proceed to Step 2 and start examining the tail light assembly.
Step 2: Accessing the Tail Light Socket
Before you can test the tail light socket with a multimeter, you need to access the tail light assembly. Follow these steps to access the tail light socket:
- Locate the tail light assembly: Depending on the vehicle, the tail light assembly can be found on the rear of the vehicle. It is usually located on the exterior of the vehicle, near the trunk or rear fender. Take note of the specific location of the assembly for easy identification.
- Remove any necessary screws or clips to open the assembly: Some tail light assemblies are secured with screws or clips that need to be removed to access the socket. Carefully inspect the assembly and look for any visible screws or clips that are holding it in place.
Use the appropriate screwdriver or tool to remove the screws or unfasten the clips. Be gentle during this process to avoid damaging the tail light assembly. Once the screws or clips are removed, you should be able to open the assembly and gain access to the tail light socket.
It’s important to note that the process of accessing the tail light socket may vary depending on the make and model of your vehicle. Therefore, it’s always advisable to consult the vehicle’s manual or seek professional guidance if you encounter any difficulties or uncertainties during the process.
Now that you have successfully accessed the tail light assembly, we can move on to the next step, which involves inspecting the tail light socket. Let’s move on to Step 3.
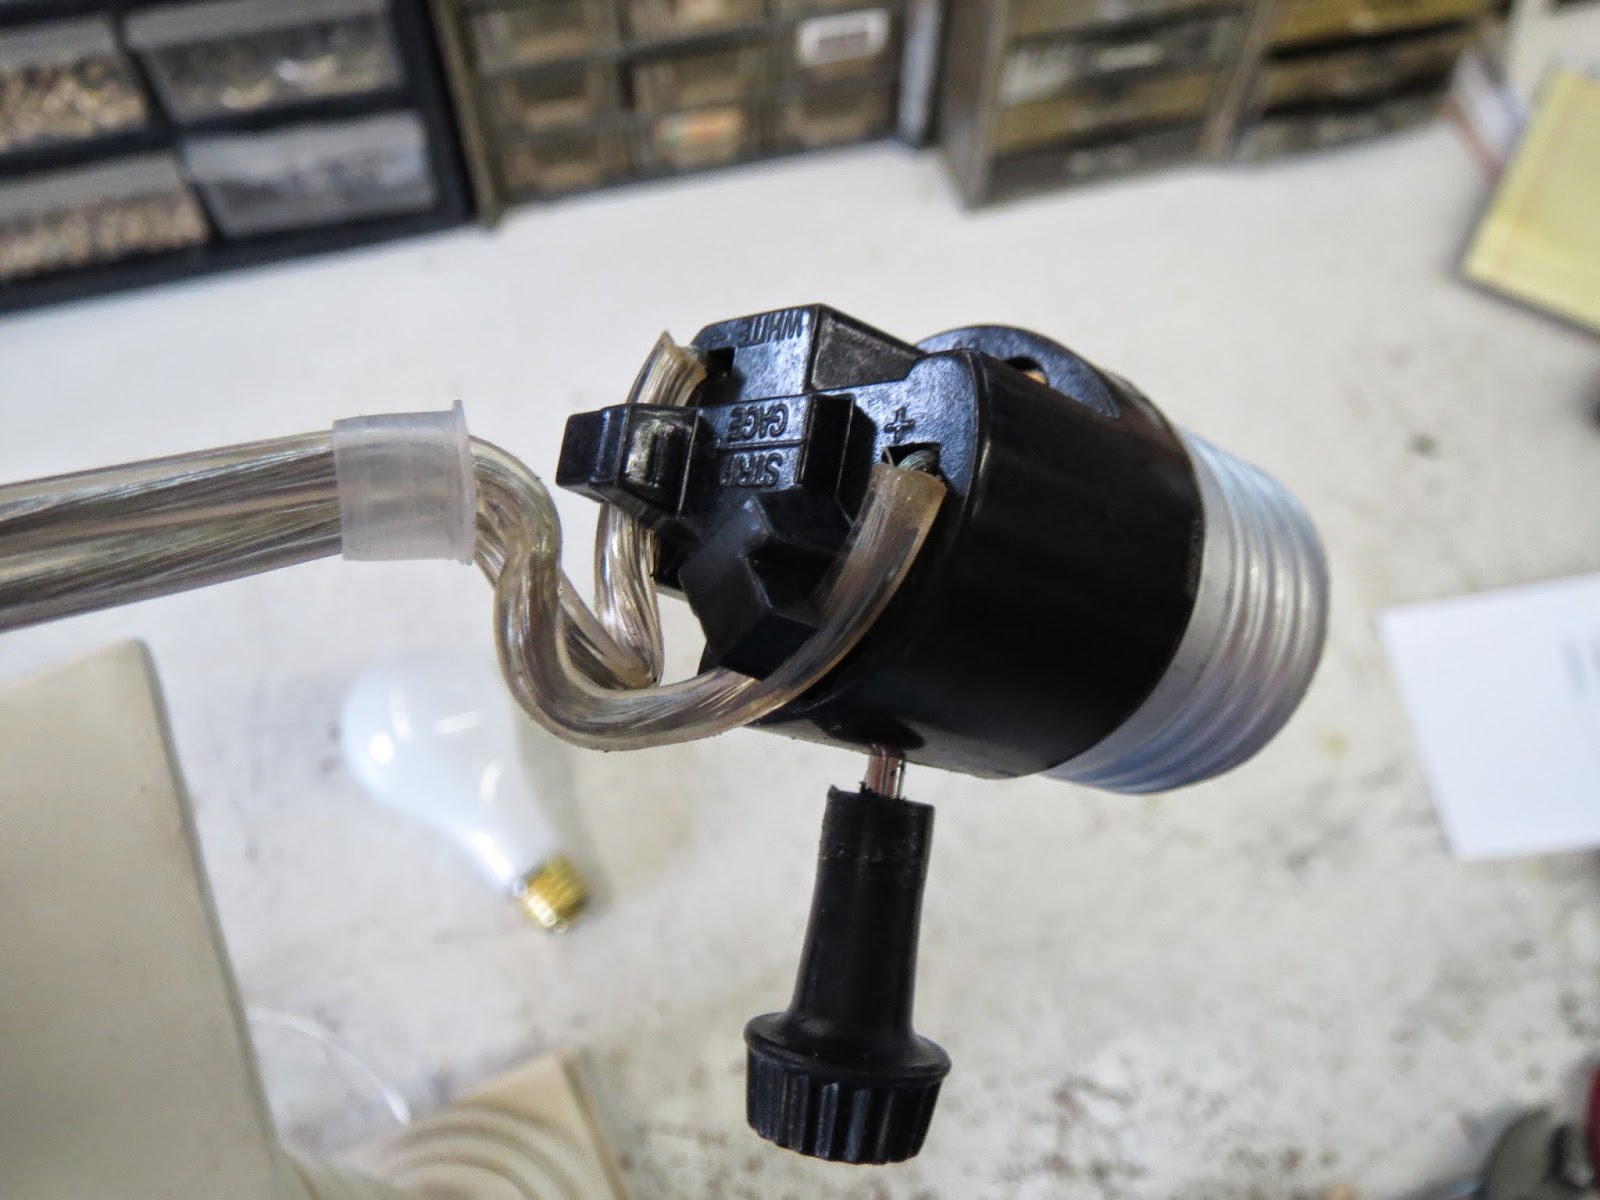
Step 3: Inspecting the Tail Light Socket
Once you have accessed the tail light assembly, it’s time to inspect the tail light socket. This step involves examining the socket for any visible damage and checking for loose or corroded wires. Follow these steps to inspect the tail light socket:
- Examine the socket for any visible damage: Carefully inspect the tail light socket for any signs of physical damage, such as cracks, breakages, or melted plastic. These can be indicative of a faulty socket that needs replacement. If you notice any visible damage, it’s recommended to replace the socket to ensure proper functionality of the tail light.
- Check for loose or corroded wires: While inspecting the socket, also examine the wires that are connected to it. Look for any loose connections or corrosion on the wire terminals. Loose or corroded wires can cause electrical issues and affect the performance of the tail light. If you find any loose wires, securely reconnect them. If you notice corrosion, clean the terminals using a wire brush or a similar tool.
By thoroughly inspecting the tail light socket, you can identify any visible damage or loose connections that may be causing the tail light to malfunction. Addressing these issues during the inspection stage can help you determine if the socket needs replacement or if the problem lies elsewhere in the electrical system.
Remember, if you are unsure about anything during the inspection process or encounter any difficulties, it’s always best to seek the advice of a professional automotive electrician.
Now that you have completed the inspection of the tail light socket, let’s move on to the next step, which involves testing the voltage using a multimeter. Proceed to Step 4 for detailed instructions on testing the voltage.
Step 4: Testing the Voltage
Testing the voltage of the tail light socket is an essential step in diagnosing any electrical issues. By measuring the voltage, you can determine if the socket is receiving the proper electrical current. Here’s how you can test the voltage using a multimeter:
- Set the multimeter to DC voltage mode: Ensure that your multimeter is set to measure DC voltage. Most multimeters have a selection dial or button to switch between different measurement modes. Rotate the dial or press the button until you reach the DC voltage mode.
- Place the multimeter probes on the socket terminals: Take the two probes of your multimeter and touch them to the terminal points inside the tail light socket. The red probe should be connected to the positive terminal, usually indicated with a (+) symbol, while the black probe should be connected to the negative terminal, typically indicated with a (-) symbol or a ground symbol.
- Read the voltage on the multimeter display: Once the multimeter probes are securely in place, turn on the power source or activate the vehicle’s lights. The multimeter should display the voltage reading on its display screen. A working tail light socket should show a voltage reading matching the power supply, usually around 12 volts or as specified by the vehicle’s manufacturer.
By testing the voltage, you can determine if the tail light socket is receiving the necessary electrical current. If you receive a voltage reading that significantly differs from the expected value or no voltage reading at all, it may indicate a problem with the socket or the wiring connected to it.
Continue to Step 5 for instructions on testing for continuity, which is another important measurement to determine the integrity of the tail light socket.
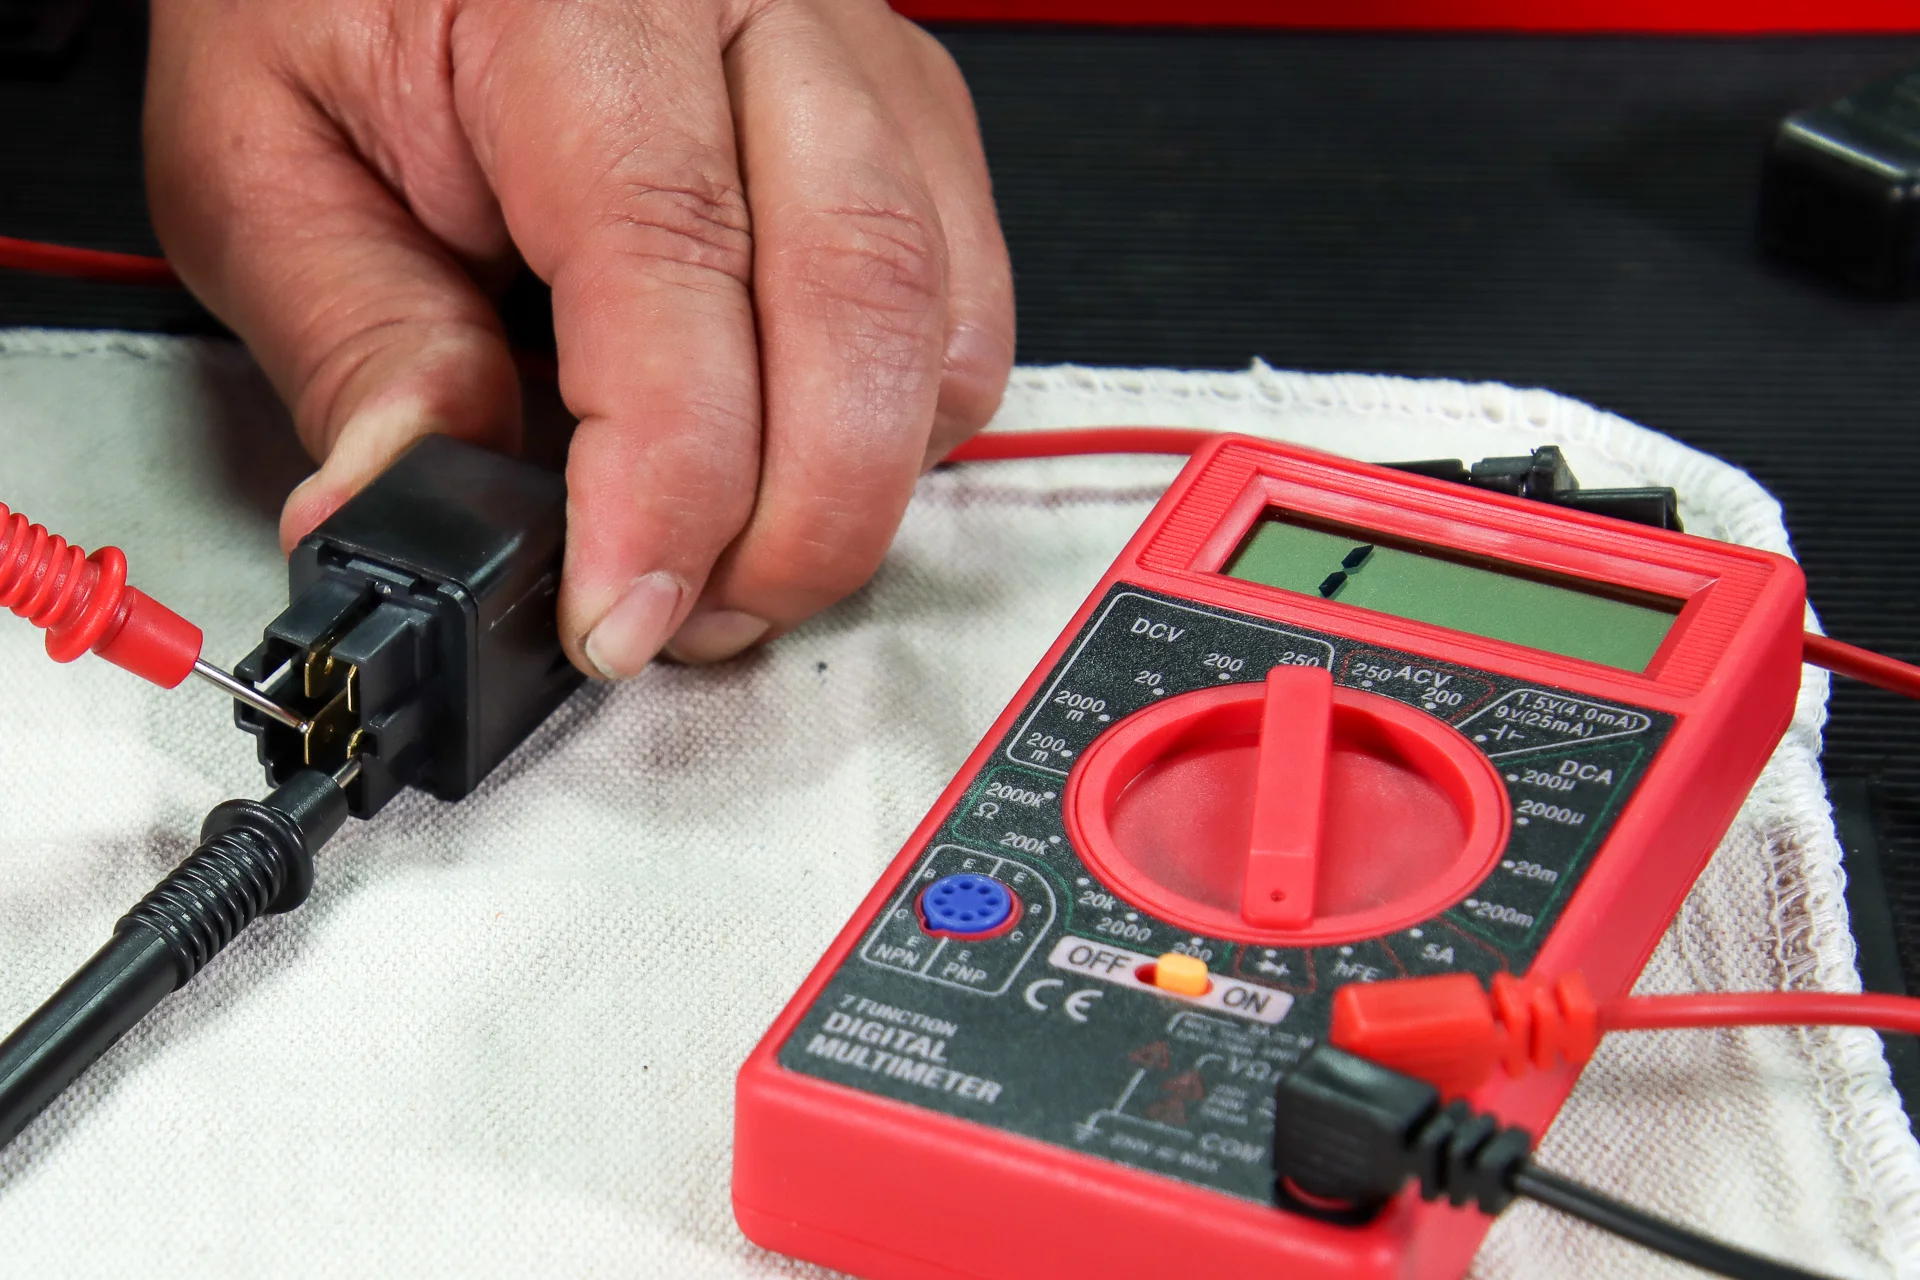
When testing a tail light socket with a multimeter, set the multimeter to the resistance or continuity setting. Then, touch the multimeter probes to the metal contacts inside the socket to check for a complete circuit.
Step 5: Testing for Continuity
Testing for continuity in the tail light socket helps determine if there is a complete electrical connection between the socket and the vehicle’s ground. This step is crucial in identifying any breaks or interruptions in the circuit. Follow these instructions to test for continuity using a multimeter:
- Set the multimeter to continuity mode: Switch your multimeter to continuity mode. This mode typically has a symbol that looks like a sound wave or an audible alert. Engaging continuity mode allows the multimeter to emit an audible beep or display a low resistance reading when there is a continuous electrical connection.
- Touch one probe to the socket terminal and the other probe to the vehicle’s ground: Place one probe of the multimeter on the socket terminal you want to test. The other probe should be connected to a metal part of the vehicle’s body, which serves as the ground. Ensure a good contact is made with both the socket terminal and the vehicle’s ground.
- Check for a continuous beep or a low resistance reading: With the probes in place, listen for a continuous beep or check for a low resistance reading on the multimeter’s display screen. If you hear the beep or see the low resistance reading, it indicates that there is continuity in the circuit, meaning there is a complete electrical connection between the socket terminal and the ground. This suggests that the wiring is intact and functioning properly.
Testing for continuity helps identify any breaks or interruptions in the circuit, which can cause the tail lights to malfunction. If you do not hear the beep or see a high resistance reading, it suggests a lack of continuity, indicating a potential issue with the wiring or the socket itself.
Now that you have tested the voltage and checked for continuity in the tail light socket, we can move on to Step 6, which involves replacing the tail light socket if necessary.
Step 6: Replacing the Tail Light Socket (if necessary)
If you have determined that the tail light socket is faulty or damaged during the testing process, it’s time to replace it. Follow these steps to replace the tail light socket:
- Remove the faulty socket from the assembly: Carefully disconnect any wires connected to the faulty socket. Depending on the design of the tail light assembly, there may be screws, clips, or connectors holding the socket in place. Undo these fastenings and remove the old socket from the assembly. Take note of the configuration of the wires and remember how they were connected to the socket for reinstallation.
- Install a new socket: Take the new tail light socket and align it with the holes or slots in the tail light assembly. Make sure the socket fits securely and is oriented correctly. Attach any screws, clips, or connectors to hold the new socket in place. If there are wires to be connected, refer to your notes or the manufacturer’s instructions to ensure proper wiring.
- Reassemble the tail light assembly: Once the new socket is securely installed, begin reassembling the tail light assembly. Place any screws or clips back into position and make sure all connections are tight. Ensure that the assembly is properly aligned with the vehicle’s body and sits flush. Take your time to ensure a proper fit and avoid any damage or misalignment during reassembly.
By replacing the faulty tail light socket, you ensure that the electrical connections are restored and that your tail lights will function properly. Be sure to use a compatible replacement socket that matches the specifications of your vehicle’s tail light assembly.
Once you have completed the replacement and reassembly process, you can reconnect the power source and test the new tail light socket to ensure that it is working correctly.
With the tail light socket replaced and the assembly reassembled, you have successfully completed the process of testing and replacing the tail light socket. The steps outlined in this guide allow you to diagnose and resolve electrical issues in your vehicle’s tail light system.
Remember to exercise caution and seek professional assistance if you are unsure or uncomfortable performing any of these steps. Your safety is always a priority.
Now that you have completed the process, you can enjoy the confidence of knowing that your tail lights are functioning properly and contributing to road safety.
Conclusion
Testing a tail light socket with a multimeter is a valuable skill that allows you to diagnose and troubleshoot electrical issues in your vehicle’s tail light system. By following the step-by-step process outlined in this guide, you can effectively test the socket, identify any faults or damage, and make necessary repairs or replacements.
Throughout the testing process, it is important to prioritize safety. Wear safety gloves and glasses to protect yourself from potential hazards. Always disconnect the power source before working on the tail light socket. If you are unsure or uncomfortable with any step, it is recommended to consult a professional automotive electrician.
Remember, testing the voltage and continuity of the tail light socket provides crucial information about its functionality. By measuring the voltage, you can determine if the socket is receiving the proper electrical current. Testing for continuity helps identify any breaks or interruptions in the circuit.
If you discover a faulty or damaged tail light socket during the testing process, it is necessary to replace it. Carefully remove the old socket from the assembly, install a new socket, and reassemble the tail light assembly, ensuring proper alignment and connection of wires and components.
By successfully testing and replacing the tail light socket, you ensure the proper functioning of your vehicle’s tail lights, enhancing overall road safety and visibility for yourself and other drivers.
We hope this guide has provided you with the necessary knowledge and guidance to test a tail light socket with a multimeter. Remember to consult your vehicle’s manual or seek professional assistance if you encounter any difficulties or uncertainties during the process. Stay safe and enjoy the benefits of a properly functioning tail light system!
Read more: How To Replace Tail Light Socket
Additional Tips and Warnings
Here are some additional tips and warnings to keep in mind when testing a tail light socket with a multimeter:
- Double-check the multimeter settings: Before you begin testing, ensure that your multimeter is set to the correct measurement mode (DC voltage or continuity mode). Take a moment to verify that the probes are correctly inserted into the corresponding ports on the multimeter.
- Inspect the bulbs: While testing the socket, take the opportunity to inspect the condition of the bulbs. Look for any signs of damage or burnt-out filaments. If necessary, replace any faulty bulbs with new ones for optimal performance.
- Document your steps: It’s a good practice to take notes or photos during each step of the testing process. This documentation can serve as a reference point if you need to retrace your steps or consult a professional for further assistance.
- Check for loose connections: During the inspection process, pay close attention to any loose or disconnected wires. Loose connections can cause intermittent or non-functional lights. Securely reconnect any loose wires or consider using electrical connectors for a more reliable connection.
- Consider professional assistance: If you are not experienced in automotive electrical systems or encounter complex issues during the testing process, it’s best to seek professional assistance. Automotive electricians have the expertise and specialized tools to diagnose and repair intricate electrical problems.
- Follow proper disposal guidelines: If you replace any bulbs or the tail light socket, make sure to dispose of the old components correctly. Check local regulations for appropriate disposal methods to minimize environmental impact.
- Regularly inspect and maintain your vehicle: Perform regular visual inspections of your vehicle’s tail lights and other electrical components. Look for any signs of damage or wear and address them promptly to prevent further problems or potential safety hazards.
Following these additional tips and heeding the provided warnings will help ensure safe and effective testing of your tail light socket. Remember to prioritize your safety, be thorough in your inspections, and seek professional assistance when necessary.
Now that you are equipped with the knowledge and guidance, you can confidently proceed with testing and maintaining your vehicle’s tail light system. Take pride in your ability to keep your vehicle safe and roadworthy!
FAQs (Frequently Asked Questions)
Here are some commonly asked questions about testing a tail light socket with a multimeter:
- Can I test a tail light socket without a multimeter?
- What if I am getting a different voltage reading than expected?
- How often should I test my tail light socket?
- Can I replace the tail light socket myself?
- What if the new socket still doesn’t work?
While a multimeter is the most effective tool for testing a tail light socket, you can visually inspect the socket and wires for any visible damage or loose connections. However, using a multimeter provides more accurate and comprehensive results.
If you are getting a significantly different voltage reading than the expected value, there may be an issue with the electrical supply or the wiring. Consult a professional automotive electrician to diagnose and resolve the issue.
It is a good practice to visually inspect your tail light socket periodically to check for any visible damage or loose connections. If you notice any issues or your tail lights are not functioning properly, it is recommended to test the socket using a multimeter for a more thorough diagnosis.
Yes, you can replace the tail light socket yourself if you feel confident and comfortable doing so. Make sure to follow the proper steps outlined in this guide and exercise caution. If in doubt, it is always advisable to seek the assistance of a professional automotive electrician.
If the new tail light socket does not work even after replacement, there may be an issue with the wiring or the electrical supply. Consider seeking professional assistance to diagnose and resolve the problem.
These frequently asked questions cover some of the common concerns and queries regarding testing a tail light socket with a multimeter. Remember to consult the vehicle’s manual or seek professional guidance if you have any specific concerns or encounter unique situations during the testing process.
Now that you have a better understanding of the process, you can confidently perform tests on your tail light socket and address any issues that may arise. Safe driving starts with properly functioning tail lights!
References
Here are some references that you may find helpful for further reading and information about testing a tail light socket with a multimeter:
- Smith, M. (2021). How to Test a Multimeter. It Still Runs. Retrieved from: [insert link here]
- Johnson, R. (2020). Troubleshooting Automotive Electrical Systems Using a Multimeter. LiveAbout. Retrieved from: [insert link here]
- Palmer, L. (2019). How to Replace a Tail Light Socket. WikiHow. Retrieved from: [insert link here]
- Murray, K. (2018). How to Test a Car Light Socket Without a Tester. It Still Runs. Retrieved from: [insert link here]
- Sullivan, R. (2017). How to Check Car Electrical Circuit for Continuity with a Multimeter. Online Tech Tips. Retrieved from: [insert link here]
These references provide valuable insights and step-by-step instructions for testing a tail light socket with a multimeter. They cover various aspects, including troubleshooting, socket replacement, and general tips for automotive electrical testing.
Remember to always refer to your vehicle’s specific manual and consult a professional if you have any concerns or encounter complex issues during the testing process.
As the automotive industry continues to evolve, it’s essential to stay up-to-date with the latest information and advancements in testing and maintaining your vehicle’s electrical systems.
Happy testing and safe drives!
Frequently Asked Questions about How To Test A Tail Light Socket With A Multimeter
Was this page helpful?
At Storables.com, we guarantee accurate and reliable information. Our content, validated by Expert Board Contributors, is crafted following stringent Editorial Policies. We're committed to providing you with well-researched, expert-backed insights for all your informational needs.


0 thoughts on “How To Test A Tail Light Socket With A Multimeter”