Articles
How To Wire A Light Bulb Socket
Modified: September 1, 2024
Learn how to wire a light bulb socket with this helpful article. Get step-by-step instructions and tips on installing and replacing light bulbs. Perfect for beginners!
(Many of the links in this article redirect to a specific reviewed product. Your purchase of these products through affiliate links helps to generate commission for Storables.com, at no extra cost. Learn more)
Introduction
When it comes to illuminating your space, the light bulb socket plays a crucial role in providing the connection between the electrical wiring and the light bulb itself. Over time, these sockets may wear out or become damaged, requiring replacement to ensure the safe and effective functioning of your lighting fixtures. While you may consider hiring an electrician for this task, with the right knowledge and tools, wiring a light bulb socket can be a simple and rewarding DIY project.
In this guide, we will walk you through the step-by-step process of wiring a light bulb socket. Whether you are replacing an old socket or installing a new one, this article will provide you with the necessary instructions to complete the task. By following these guidelines, you can save both time and money without compromising on safety.
Before we begin, it is important to note that working with electricity can be dangerous. It is essential to take the proper precautions to ensure your safety throughout the process. Make sure to turn off the power to the circuit you will be working on and use insulated tools. If you are unsure about any aspect of the project, it is highly recommended to consult with a qualified electrician.
Now, let’s gather the materials needed for this project.
Key Takeaways:
- DIY Wiring: Replace or install a light bulb socket with the right tools and precautions. Prioritize safety, follow step-by-step guidance, and enjoy a well-lit space while saving time and money.
- Secure Connection: Properly prepare, connect, and secure wires for a safe and efficient light bulb socket. Test the connection and enjoy the satisfaction of completing a DIY project while prioritizing safety.
Read more: How To Wire Up A Light Socket
Materials Needed
Before you start wiring a light bulb socket, make sure you have the following materials:
- A new light bulb socket: Choose a socket that is suitable for your specific light fixture. Make sure it is compatible with the type of bulbs you plan to use.
- A screwdriver set: This will be used to remove the old socket and install the new one.
- Wire strippers: These are necessary for removing the insulation from the wires.
- Electrical tape: This will help secure the connections and provide added insulation.
- A voltage tester: This is used to ensure that the power is turned off before starting any work.
- A ladder or step stool: Depending on the height of your light fixture, you may need a stable platform to reach and work safely.
It’s important to gather all the materials before starting the project to ensure a smooth and uninterrupted workflow. Now that you have everything you need, let’s move on to the first step: gathering the necessary tools.
Step 1: Gathering the Necessary Tools
Before you begin the process of wiring a light bulb socket, it is crucial to gather all the necessary tools. Having these tools handy will save you time and frustration during the project. Here are the tools you will need:
- A screwdriver set: You will need a flathead or Phillips screwdriver, depending on the type of screws used to secure the socket.
- Wire strippers: These specialized tools are designed to easily strip away the insulation from the wires.
- Electrical tape: This tape is used to secure the connections and provide insulation.
- A voltage tester: This tool is essential for ensuring that the power is turned off before starting any work on the socket.
- A ladder or step stool: Depending on the height of your light fixture, you may need a stable surface to safely reach and work on the socket.
- Optional: Needle-nose pliers or wire cutters may be useful for bending or cutting wires if needed.
Ensure that you have all the tools listed above before moving on to the next step. It is important to have the right tools to ensure the smooth execution of the project and your safety. Once you have gathered all the necessary tools, you can proceed to the next step: turning off the power.
Step 2: Turning Off the Power
Before you start working on the light bulb socket, it is crucial to turn off the power to the circuit you will be working on. This step is essential to ensure your safety and prevent any accidental electrical shocks. Follow the steps below to turn off the power:
- Locate your electrical panel: The electrical panel is usually located in the basement, garage, or utility room of your home. It contains a series of circuit breakers or fuses.
- Identify the circuit breaker: Look for the circuit breaker that corresponds to the lighting fixture where you will be replacing the socket. The breakers are usually labeled with room names or numbers.
- Turn off the breaker: Depending on the type of panel you have, you may need to flip the breaker to the “off” position or pull out the fuse to disconnect power to the circuit.
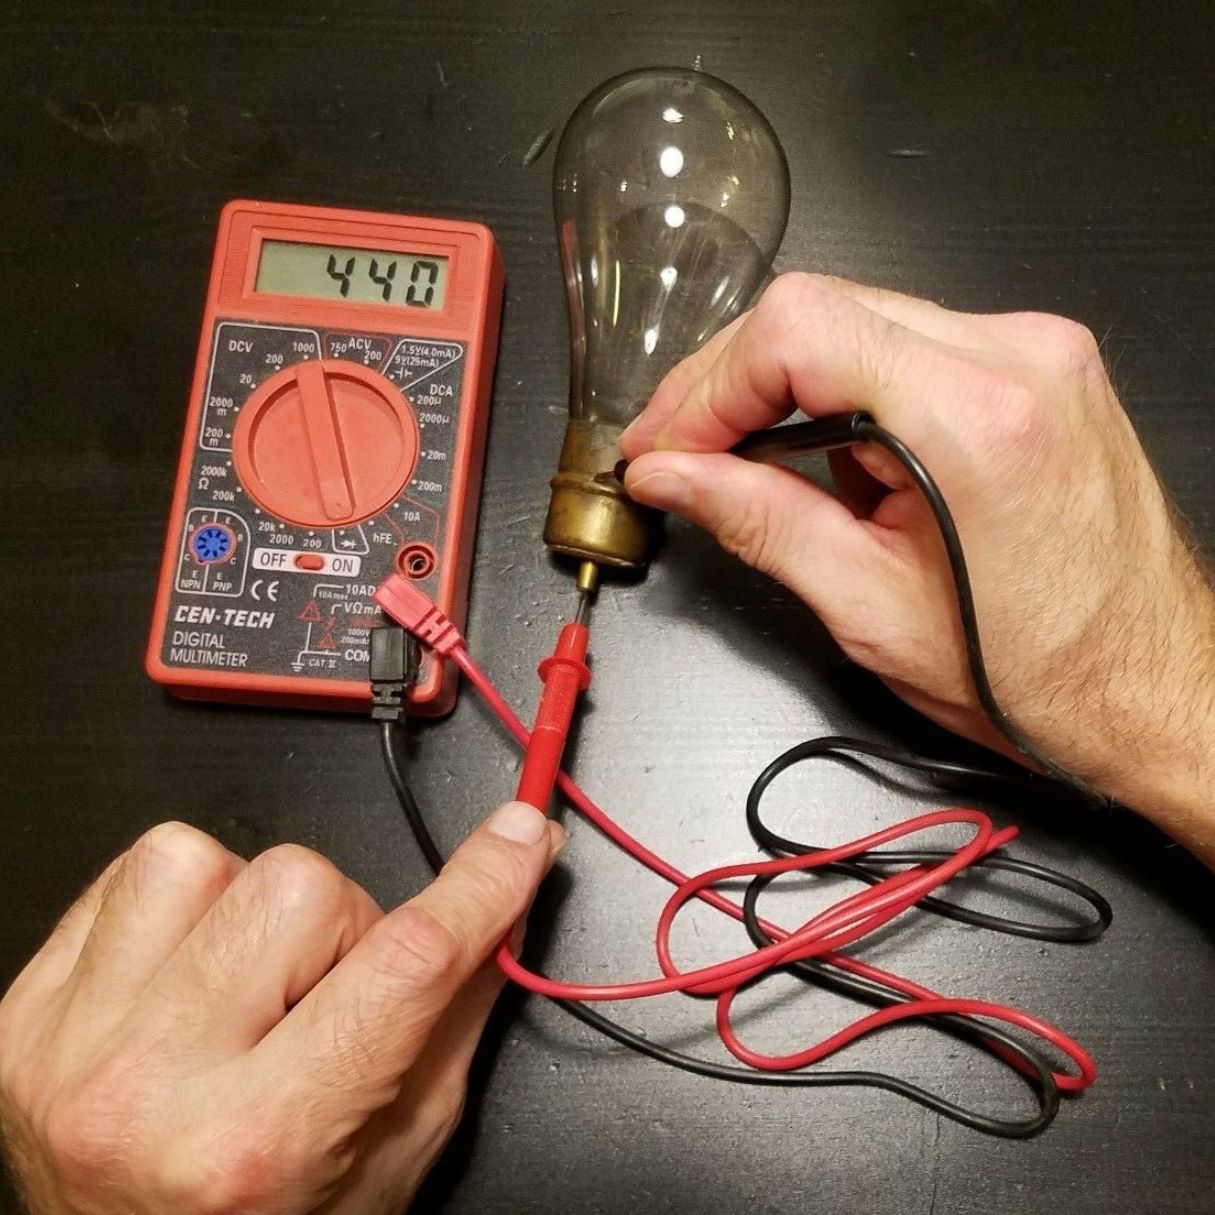
- Test the power: Use a voltage tester to ensure that the power is indeed turned off. Place the tester on a live wire or socket to see if it detects any voltage. If there is no voltage detected, you can safely proceed to the next step.
Note: If you are unsure about which circuit breaker to turn off or how to safely test for live wires, it is recommended to consult with a qualified electrician. Safety should always be the top priority when working with electricity.
Once you have turned off the power and confirmed that there is no voltage, you can proceed to the next step: removing the old socket.
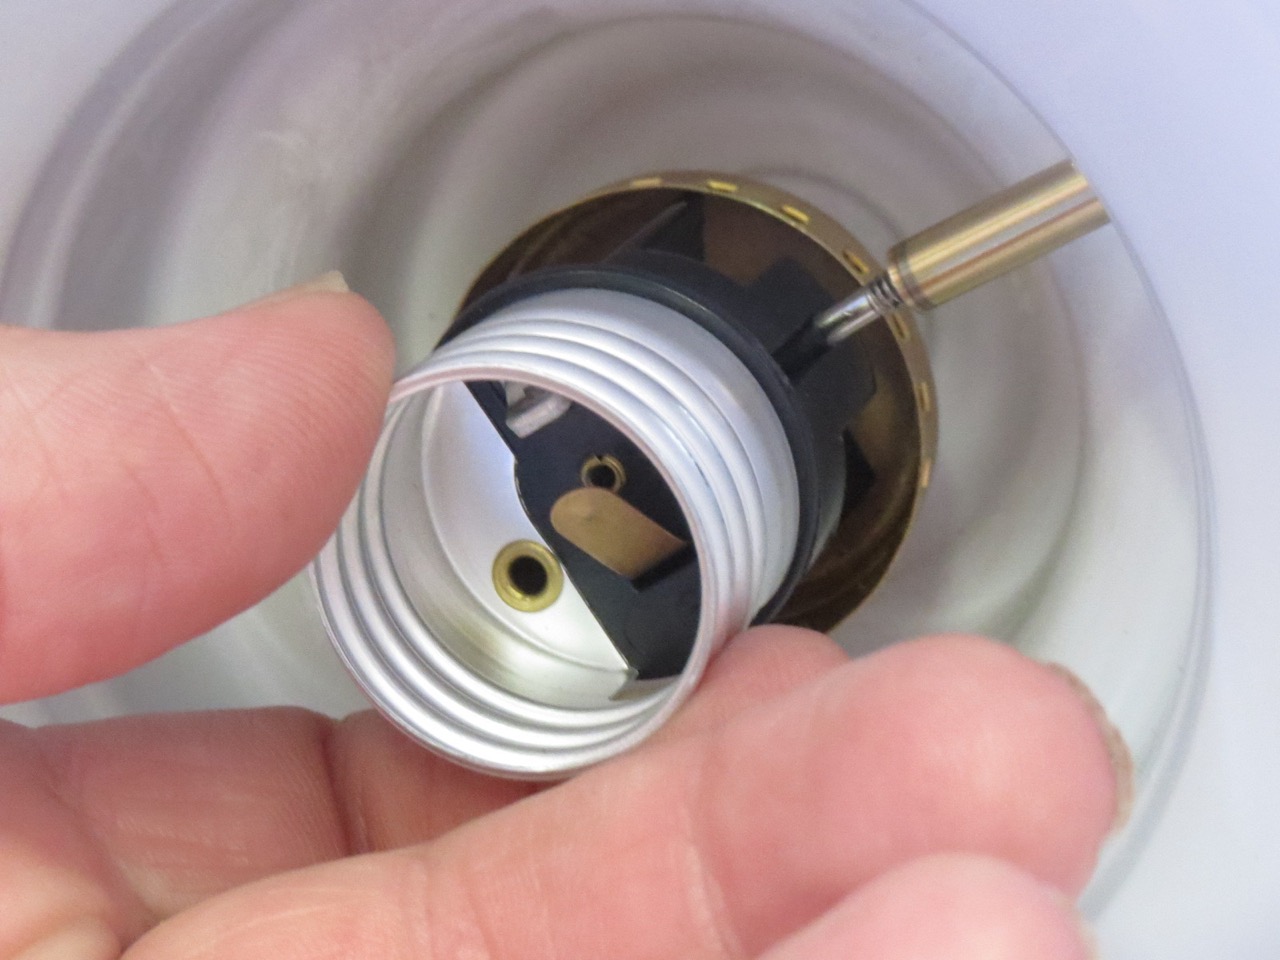
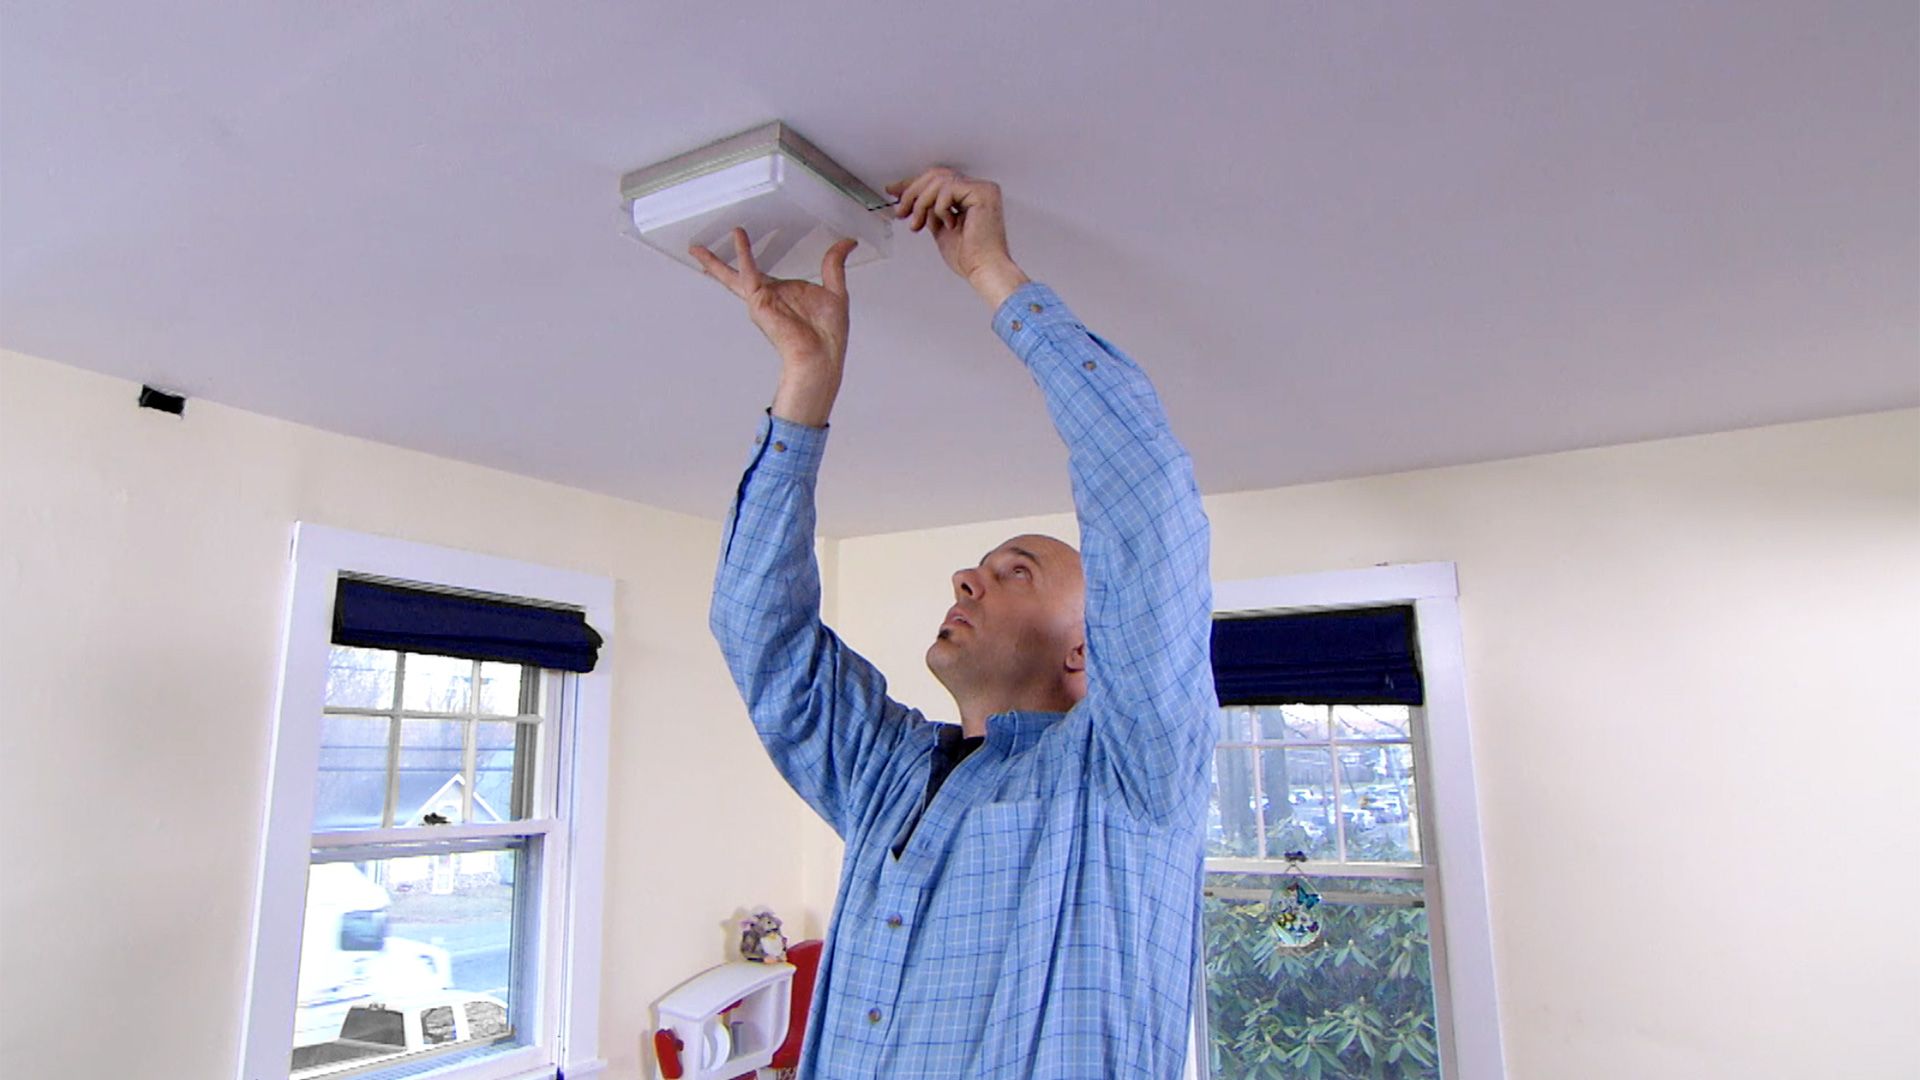
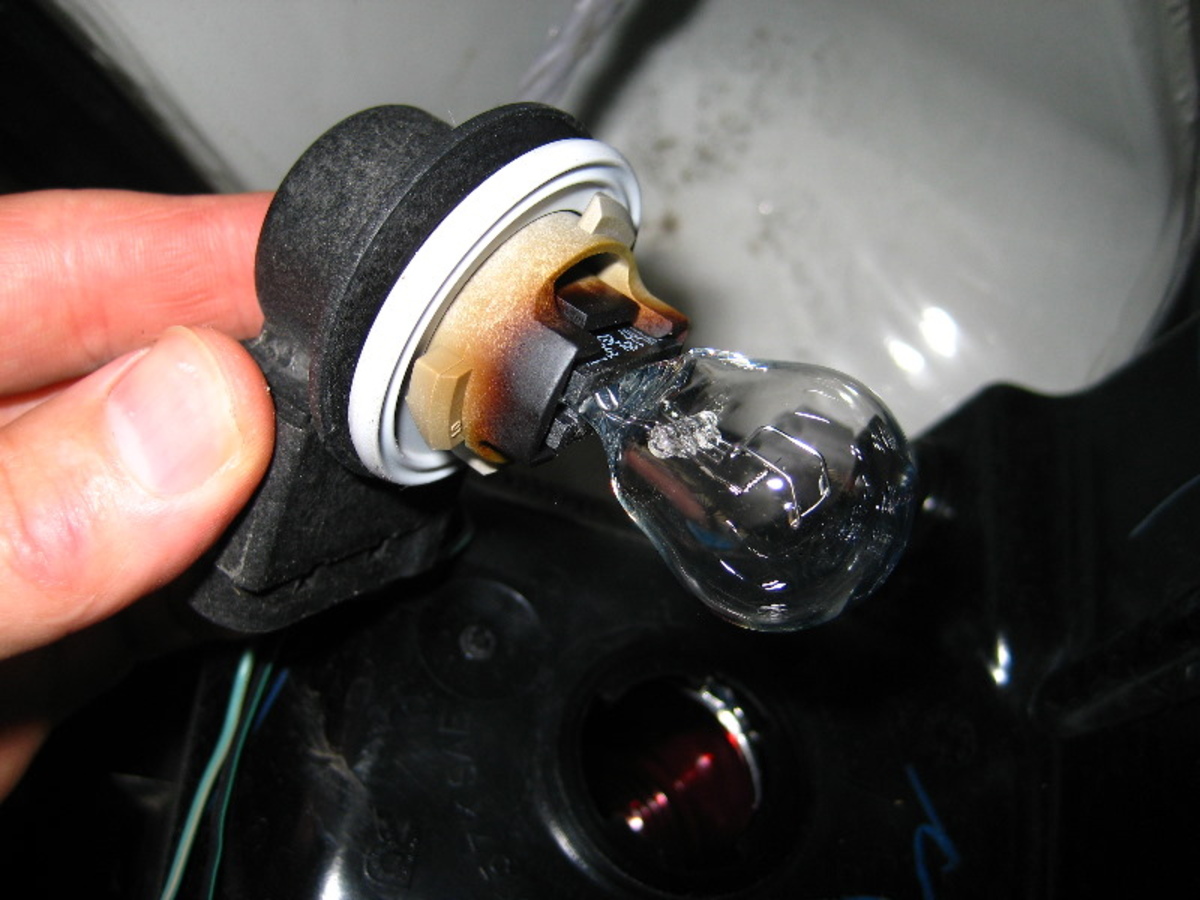
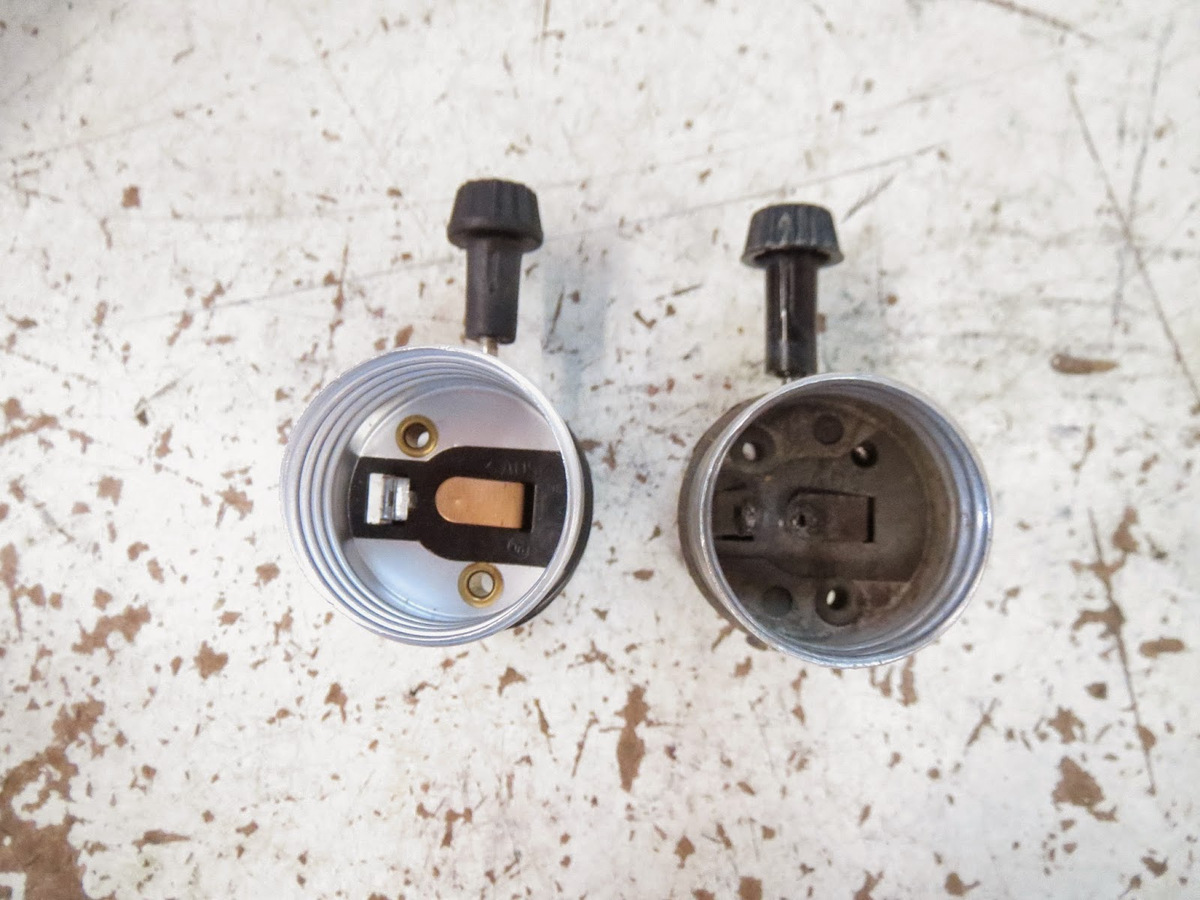
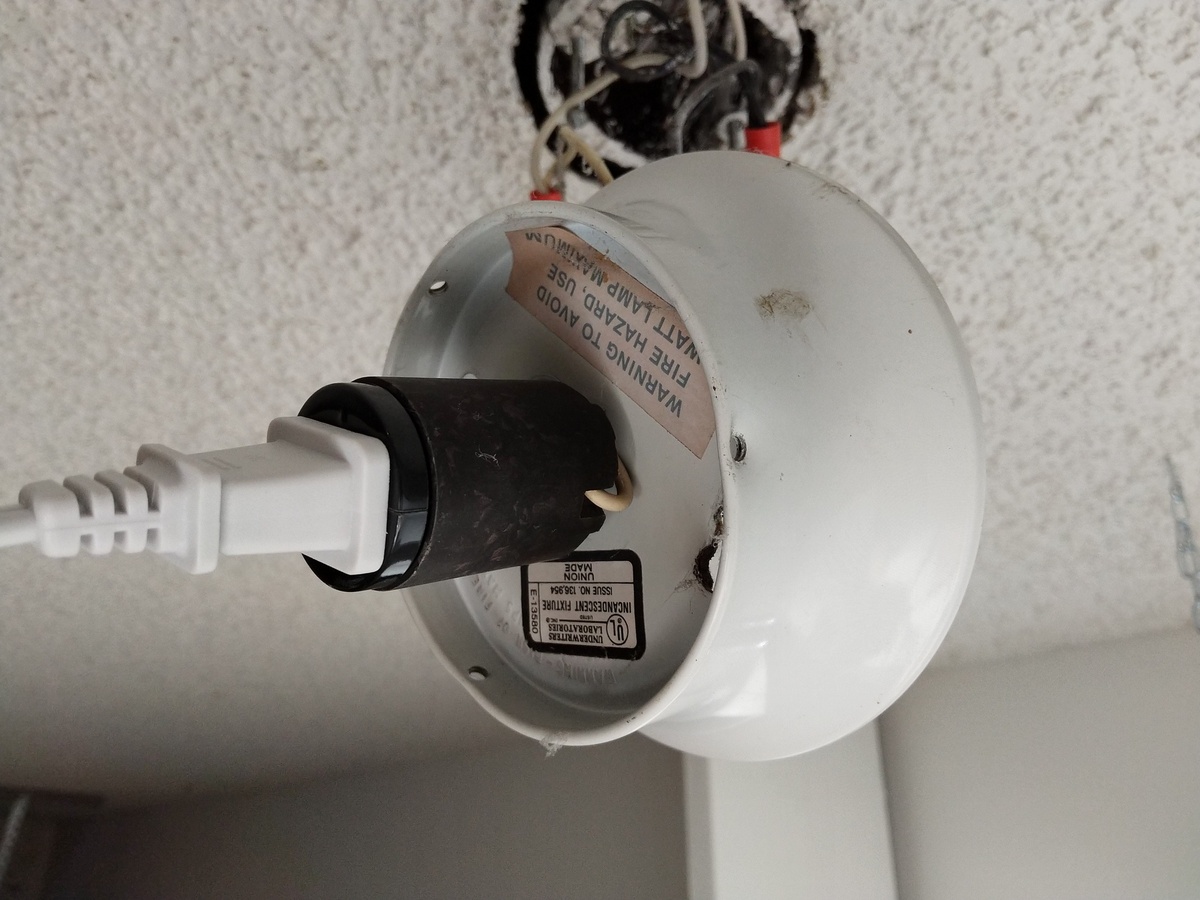
Step 3: Removing the Old Socket
Now that you have turned off the power, it’s time to remove the old socket. Follow the steps below to safely remove the old socket:
- Inspect the socket: Take a close look at the old socket to familiarize yourself with its structure. Notice how it is attached to the light fixture and identify any screws or clips that may be holding it in place.
- Disconnect the wires: Carefully disconnect the wires from the old socket. Depending on the design, there may be screws, clips, or wire connectors that hold the wires in place. Use a screwdriver or pliers, if needed, to loosen the connections.
- Remove the socket: Once the wires are disconnected, gently remove the old socket from the light fixture. Be cautious not to damage any surrounding components or wires.
- Inspect the wiring: Take a moment to inspect the wiring for any signs of damage or wear. If you notice any issues, such as frayed or exposed wires, it is advisable to address them before proceeding.
Properly removing the old socket is essential to create a clean connection for the new socket. Pay attention to the details and handle the wires with care to avoid any accidental damage or injury. Once the old socket is removed and the wiring is inspected, it’s time to prepare the wires for the new socket in the next step.
Read more: How To Replace Light Bulb Socket
Step 4: Preparing the Wires
With the old socket removed, it’s time to prepare the wires for the installation of the new socket. Follow the steps below to properly prepare the wires:
- Strip the wires: Use wire strippers to carefully strip off approximately 1/2 inch (1.27 cm) of insulation from the ends of the wires. This will expose the bare copper or aluminum conductor beneath.
- Inspect the wires: Take a moment to inspect the exposed ends of the wires. Ensure that there are no loose strands and that the conductor is in good condition. If necessary, trim any frayed or damaged sections of the wire.
- Twist the strands: Using your fingers or a pair of needle-nose pliers, gently twist the individual strands of the same wire together. This will create a more secure connection when attaching the wires to the new socket.
- Optional: If the wires are particularly long, you can trim them down to a more manageable length. Leaving excess wire can make the installation process more challenging and increase the risk of tangling or damaging the wires.
Properly preparing the wires is crucial for a secure and reliable connection between the new socket and the electrical wiring. Take your time to ensure that the wires are properly stripped, inspected, and twisted. Once the wires are prepared, you can move on to the next step: connecting the new socket.
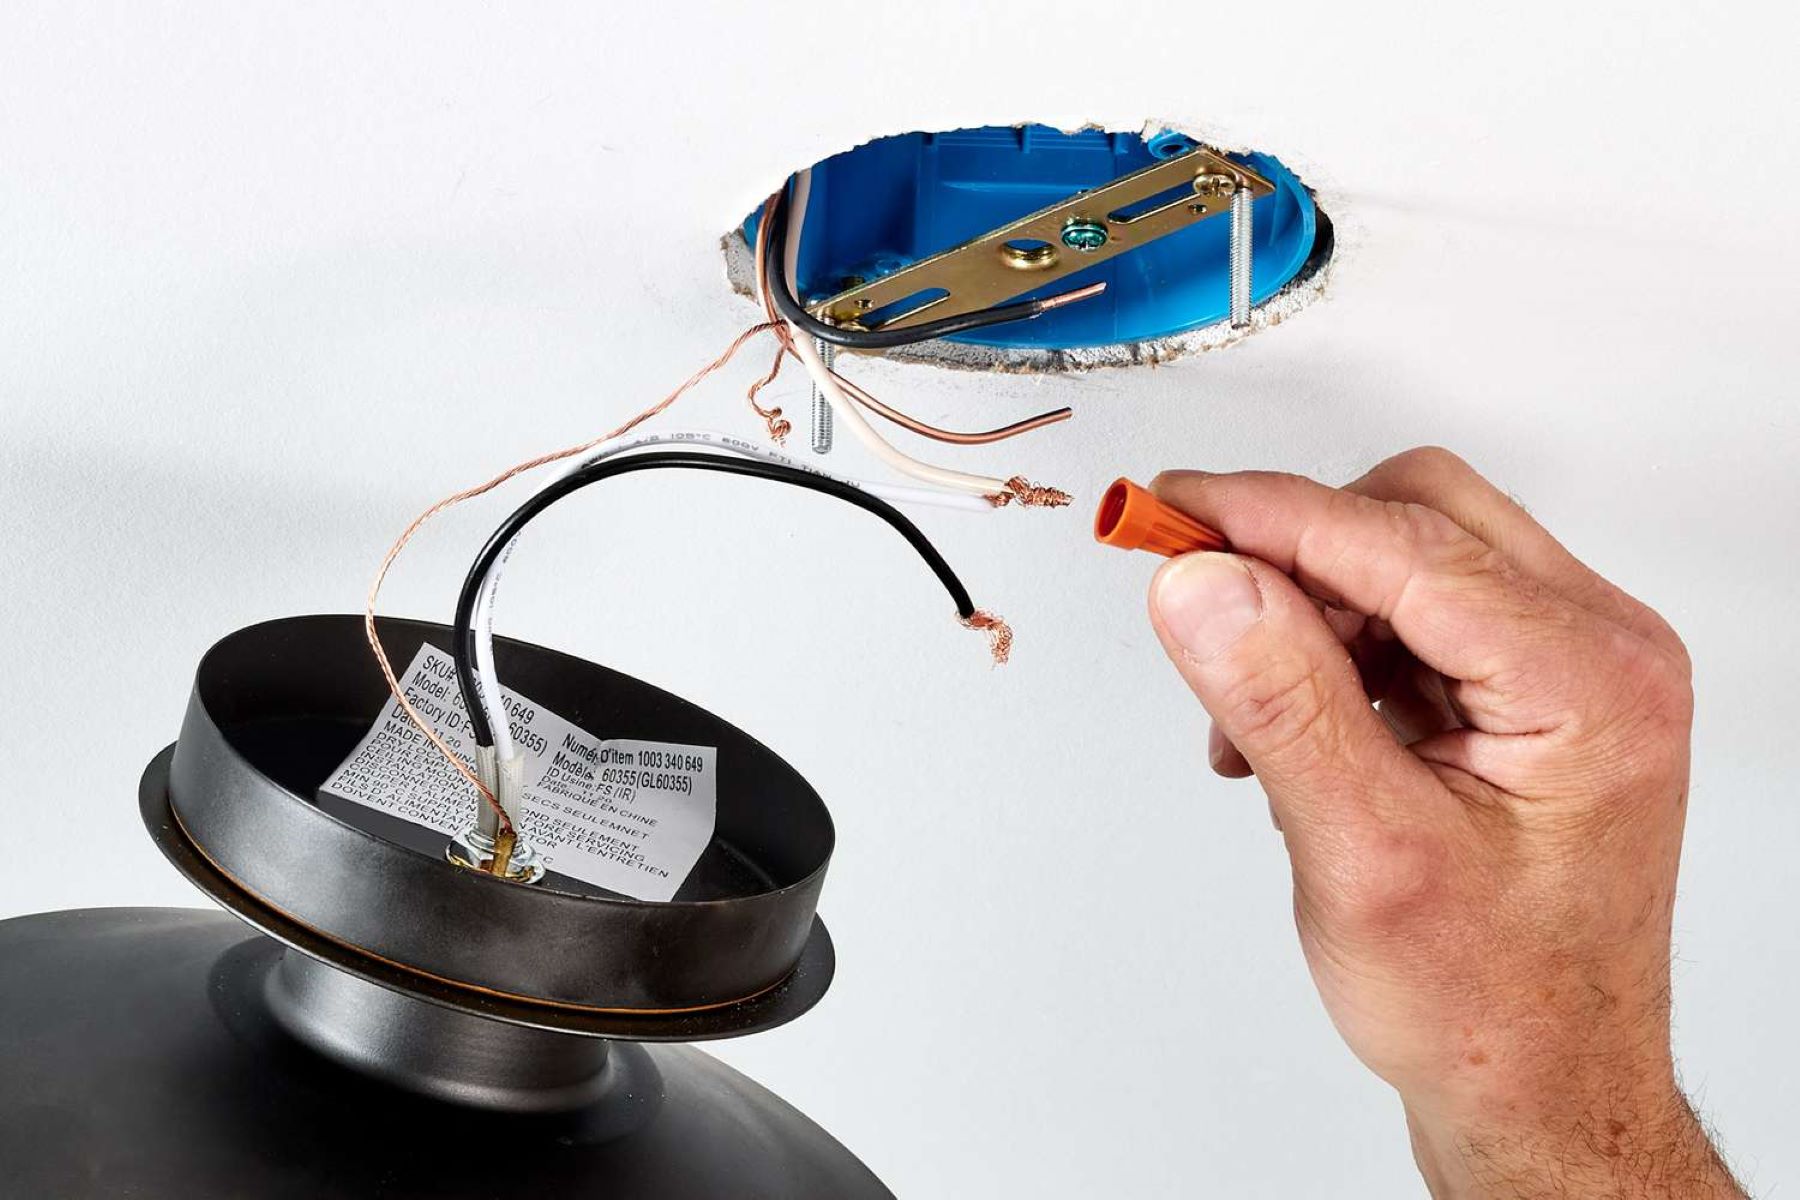
When wiring a light bulb socket, make sure to turn off the power to the circuit before starting. Connect the black wire to the brass screw and the white wire to the silver screw. Make sure all connections are secure before turning the power back on.
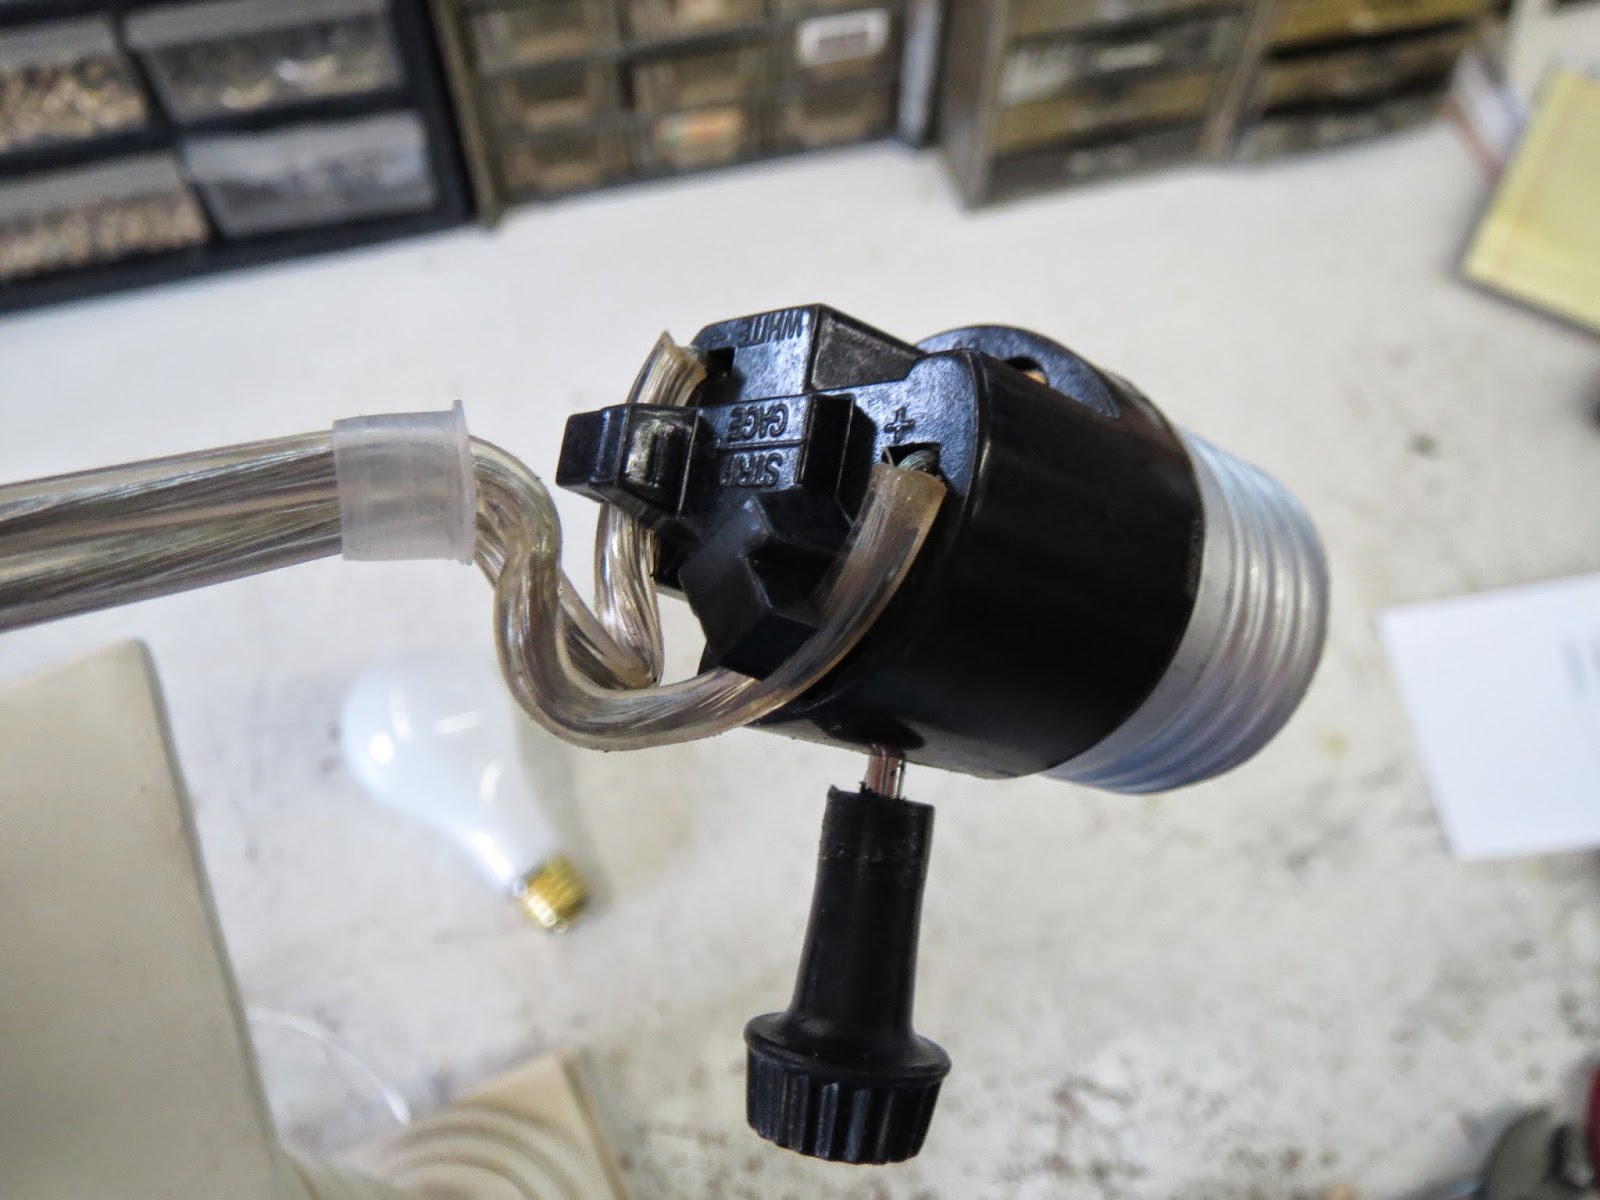
Step 5: Connecting the New Socket
Now that the wires are prepared, it’s time to connect the new socket. Follow the steps below to properly connect the new socket:
- Identify the labeled terminals: Examine the new socket and locate the labeled terminals. These terminals are typically marked with letters such as “L,” “N,” and “GND” or symbols that represent the corresponding wires.
- Connect the wires: Match the corresponding wires from the light fixture to the labeled terminals on the new socket. Typically, the black wire connects to the “L” terminal (live/hot), the white wire connects to the “N” terminal (neutral), and the green or bare wire connects to the “GND” terminal (ground).
- Secure the connections: Once the wires are properly positioned on the terminals, use a screwdriver or pliers to tighten the terminal screws. Ensure that the connections are secure but be careful not to overtighten, as this can damage the wires or the socket.
- Double-check the connections: Take a moment to double-check the connections to ensure that each wire is securely fastened to its corresponding terminal. This step is crucial for the safe and efficient operation of the new socket.
Connecting the new socket requires precision and attention to detail. Ensure that you match the correct wires to their corresponding terminals and securely tighten the screws. Once the connections are made, you can proceed to the next step: securing the wires.
Step 6: Securing the Wires
Now that the new socket is connected, it’s important to securely fasten and insulate the wires. Follow the steps below to properly secure the wires:
- Arrange the wires: Take the connected wires and neatly arrange them within the light fixture. Avoid any unnecessary tension or bending that could weaken the connections.
- Use electrical tape: Wrap electrical tape around the base of the socket where the wires are connected. This will provide added insulation and secure the wires in place. Make sure to wrap the tape tightly but avoid covering the terminal screws or any other important components.
- Tuck the wires inside the fixture: Carefully tuck the excess length of wires inside the light fixture. This will help keep the wires organized and prevent them from interfering with the functionality or aesthetics of the fixture.
- Double-check the connections: Once the wires are secured and tucked, double-check the connections to ensure that no loose or exposed wires are visible. Any exposed wires can be a safety hazard and may cause electrical shock or short circuits.
Properly securing the wires is essential for the long-term functionality and safety of the light bulb socket. By neatly arranging and insulating the wires, you minimize the risk of accidental damage or disconnection. Once the wires are secured, you can proceed to the next step: installing the light bulb.
Step 7: Installing the Light Bulb
With the wires securely fastened, it’s time to install the light bulb into the newly wired socket. Follow the steps below to correctly install the light bulb:
- Select the appropriate light bulb: Choose a light bulb that matches the specifications recommended by the manufacturer and is compatible with your light fixture. Make sure the wattage and type of bulb align with the socket’s requirements.
- Gently insert the bulb: Holding the base of the bulb, carefully insert it into the socket. Align the base with the socket and apply gentle but firm pressure until the bulb fits snugly into place.
- Rotate the bulb: Give the bulb a gentle twist clockwise to secure it further. This ensures a proper connection between the bulb and the socket, allowing for optimal electrical conductivity.
- Do not overtighten: It’s important not to overtighten the bulb, as this can cause damage to both the bulb and the socket. Simply twist it until it feels secure, but avoid using excessive force.
Properly installing the light bulb is essential for the lighting fixture to function correctly. Make sure to choose the appropriate bulb and handle it with care to avoid breakage. Once the bulb is securely installed, you’re ready to proceed to the final step: testing the connection.
Read more: How To Clean Corroded Light Bulb Sockets
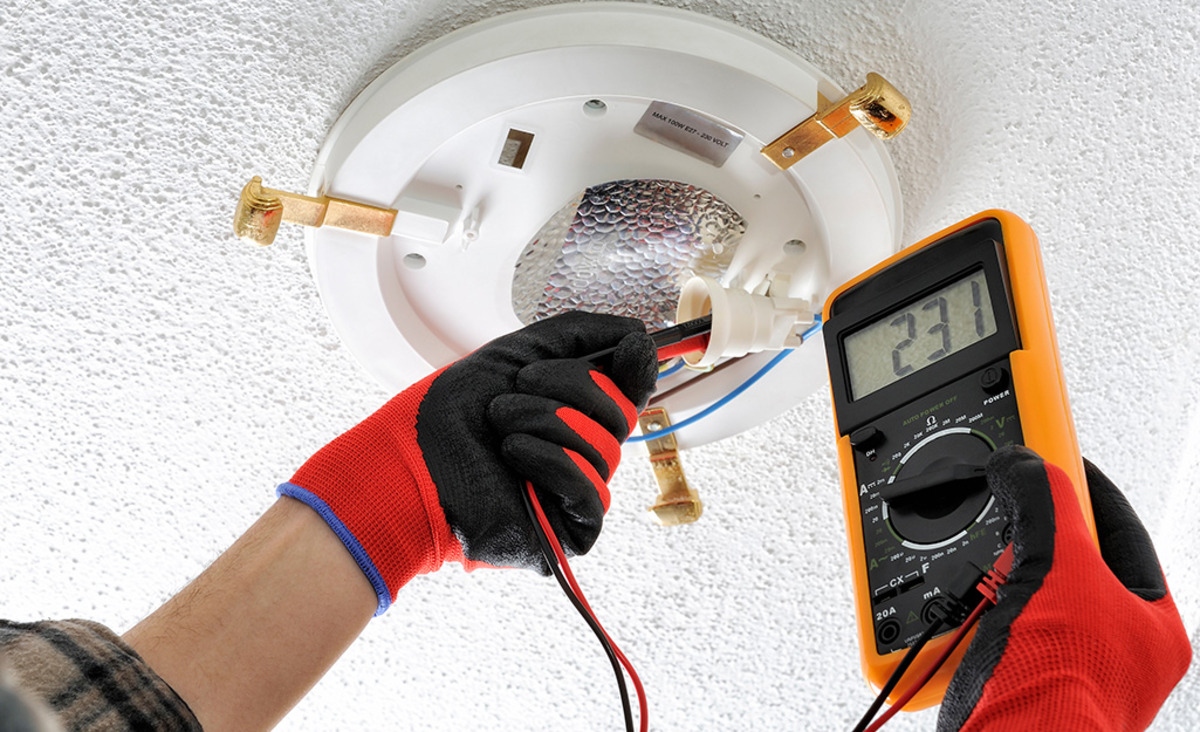
Step 8: Testing the Connection
After completing the wiring and installation of the light bulb, it’s important to test the connection to ensure everything is functioning properly. Follow the steps below to test the connection:
- Turn on the power: Go back to the electrical panel and switch on the circuit breaker that corresponds to the lighting fixture.
- Switch on the light: Use the light switch or control mechanism for the fixture to turn on the light bulb.
- Check for illumination: Observe the light bulb to ensure it is illuminating as expected. If the bulb does not light up, there may be an issue with the wiring or the bulb itself.
- Test the switch: Switch the light on and off multiple times to check the responsiveness of the switch and to verify that the connection is stable.
- Inspect for any issues: Take a close look at the newly installed socket and the surrounding area for any signs of sparking, overheating, or unusual sounds. If you notice anything abnormal, switch off the power immediately and consult with a qualified electrician.
Testing the connection is crucial to ensure that the wiring is properly installed and the light bulb is functioning as expected. By following these steps, you can identify any potential issues and address them promptly, ensuring the safety and efficiency of your lighting fixture.
Congratulations! You have successfully wired a light bulb socket. By taking the time to properly replace or install a new socket, you’ve not only saved money but also gained the satisfaction of completing a DIY project. Remember to always prioritize safety and consult with a professional if you are unsure about any aspect of the wiring process.
Now you can enjoy the well-lit environment provided by your newly wired light bulb socket.
Conclusion
Wiring a light bulb socket doesn’t have to be a daunting task. With the right tools, precautions, and step-by-step guidance, you can successfully replace or install a new socket to ensure effective lighting in your space. By following the outlined steps, you can save both time and money by completing the project yourself.
Throughout the process, it’s crucial to prioritize safety. Always remember to turn off the power to the circuit, use insulated tools, and be cautious when working with electricity. If you’re unsure about any aspect of the wiring process, it’s best to consult with a qualified electrician.
By gathering the necessary tools, turning off the power, removing the old socket, preparing the wires, connecting the new socket, securing the wires, installing the light bulb, and testing the connection, you can successfully wire a light bulb socket and enjoy a well-lit space.
Remember, attention to detail and proper execution are essential for a secure and efficient connection. Double-check the connections, ensure the wires are properly secured and insulated, and test the connection to verify its functionality.
Now that you have the knowledge and skills to wire a light bulb socket, you can confidently take on this DIY project. Whether you’re replacing an old socket or installing a new one, you have the power to create a safe and well-lit environment in your home or workspace.
So go ahead, grab your tools, and let there be light!
Now that you've mastered wiring a light bulb socket, why not upgrade your fixtures with some of the best options available for the new year? Our next guide, "10 Amazing Light Socket Replacements for 2024," showcases cutting-edge designs and functionalities that are sure to transform any room. Whether you're looking to spruce up your living space or add a modern twist to your lighting, these replacements offer both style and efficiency. Don't miss out on elevating your home's ambiance with these innovative choices!
Frequently Asked Questions about How To Wire A Light Bulb Socket
Was this page helpful?
At Storables.com, we guarantee accurate and reliable information. Our content, validated by Expert Board Contributors, is crafted following stringent Editorial Policies. We're committed to providing you with well-researched, expert-backed insights for all your informational needs.

0 thoughts on “How To Wire A Light Bulb Socket”