Articles
How To Reset A Lutron Maestro Dimmer Switch
Modified: August 26, 2024
Learn how to easily reset a Lutron Maestro dimmer switch with step-by-step instructions. Read our informative articles on troubleshooting and fixing common issues.
(Many of the links in this article redirect to a specific reviewed product. Your purchase of these products through affiliate links helps to generate commission for Storables.com, at no extra cost. Learn more)
Introduction
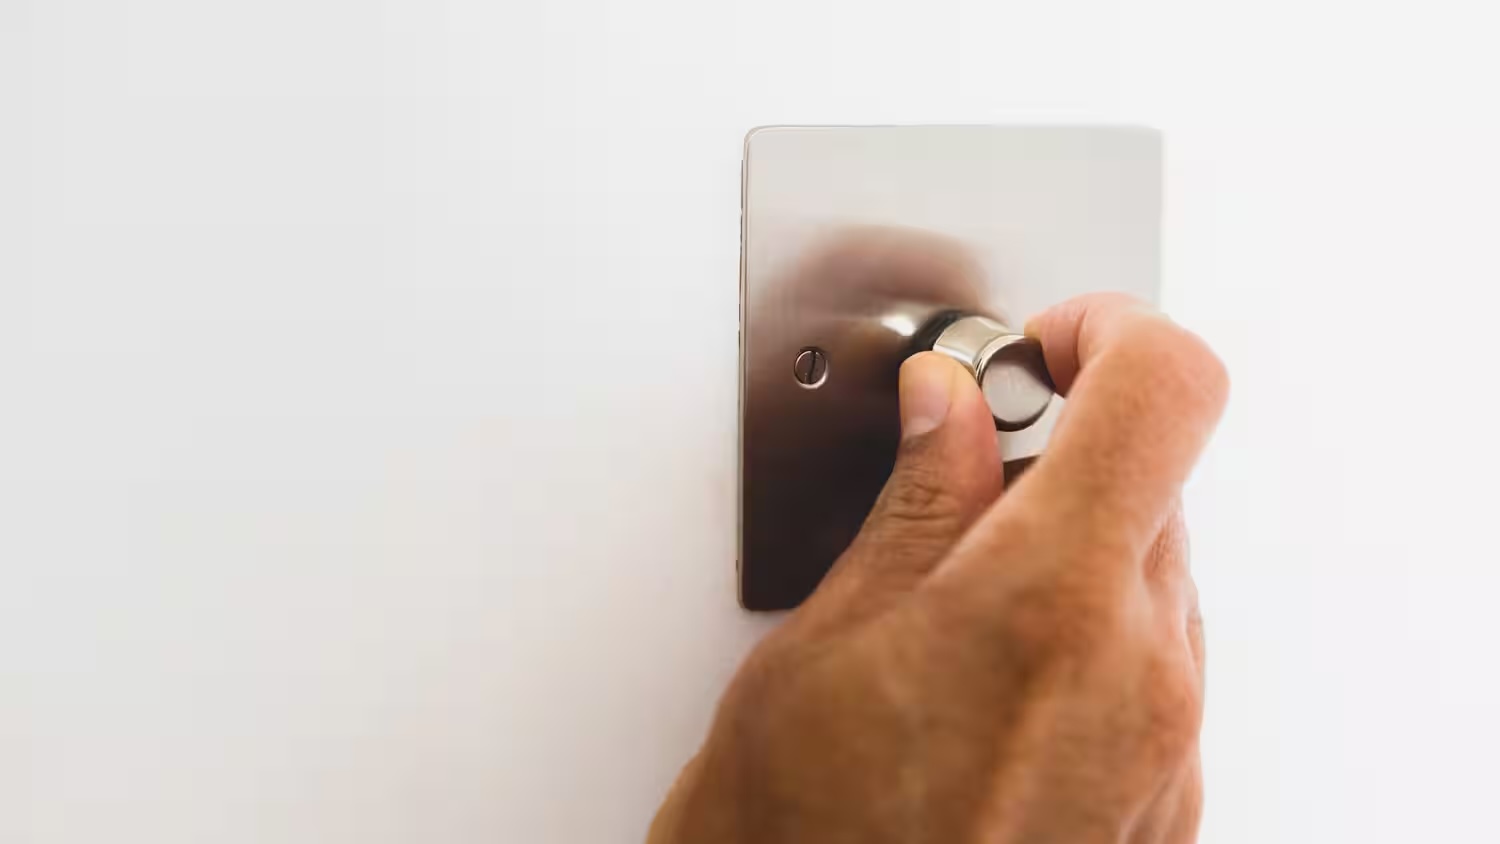
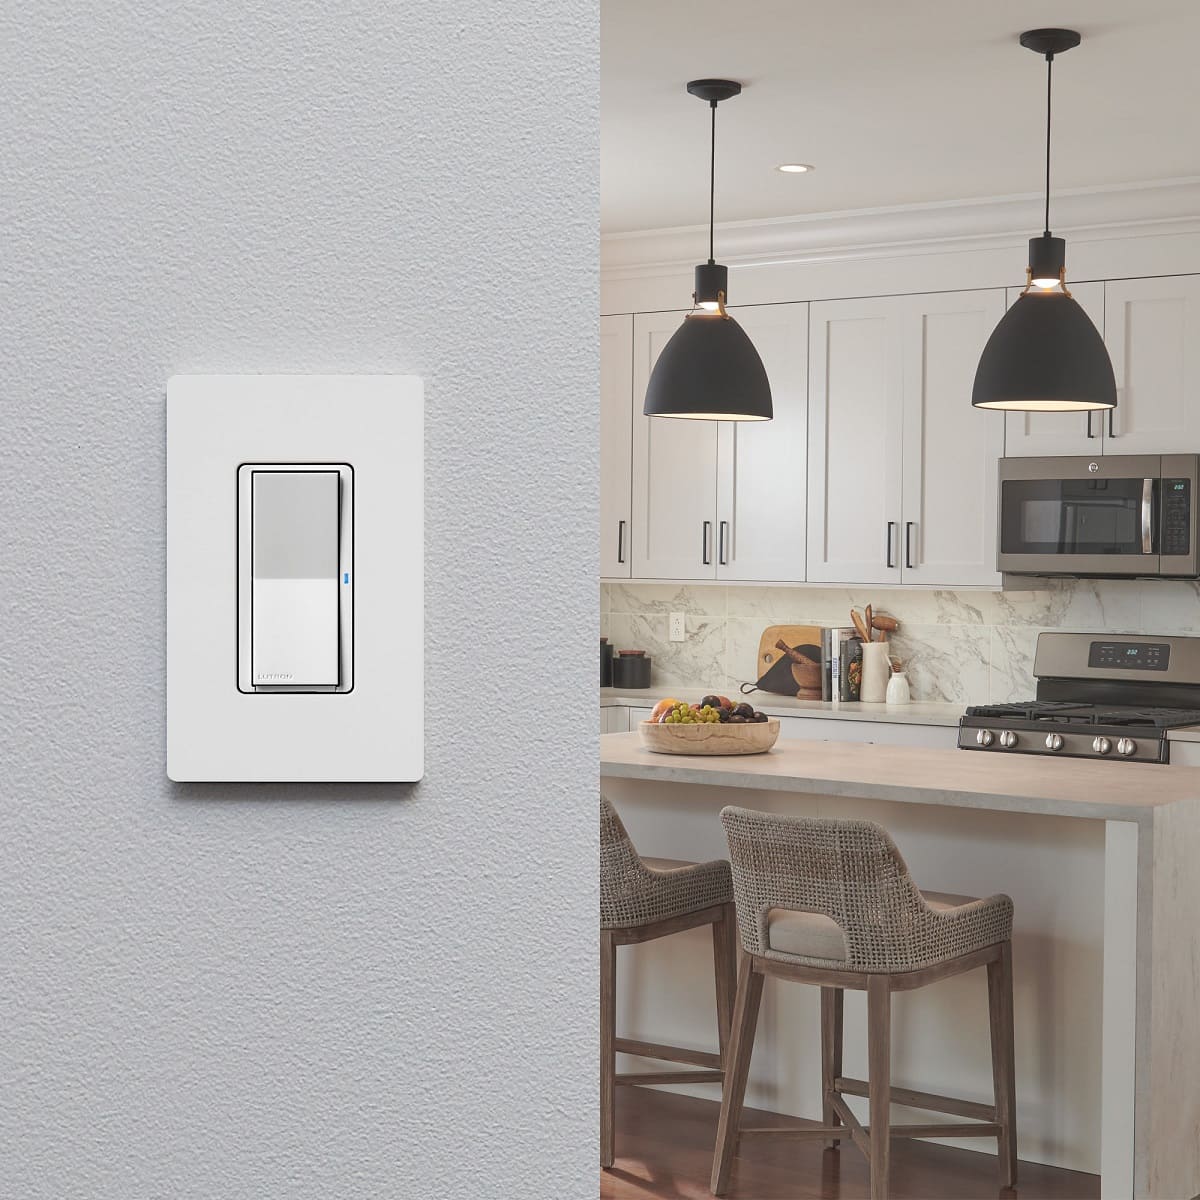
Welcome to this guide on how to reset a Lutron Maestro dimmer switch. Dimmer switches are a fantastic addition to any home, allowing you to adjust the brightness level of your lights and create the perfect ambiance for any occasion. However, there may come a time when you need to reset your dimmer switch, whether it’s due to a malfunction or to reconfigure its settings.
Resetting your Lutron Maestro dimmer switch is a simple process that can often resolve common issues such as flickering lights or unresponsive controls. It’s important to note that resetting the dimmer switch will restore it to its default factory settings, so any customized programming or settings will be erased. However, this can be a useful troubleshooting step to rule out any potential issues before seeking further assistance.
In this guide, we will walk you through the step-by-step process of resetting your Lutron Maestro dimmer switch. Whether you’re a DIY enthusiast or a homeowner looking to resolve a dimmer switch issue, this guide has got you covered.
Before we begin, please ensure your safety by following these precautions:
- Turn off the power at the circuit breaker before touching any electrical components.
- Use caution when handling electrical wires and components to avoid electrical shock.
- If you are uncomfortable working with electricity, it is recommended to seek professional assistance.
Now that we have covered the necessary safety precautions, let’s dive into the step-by-step process of resetting your Lutron Maestro dimmer switch.
Key Takeaways:
- Resetting a Lutron Maestro dimmer switch is a simple process that can resolve common issues like flickering lights or unresponsive controls. Prioritize safety, follow the step-by-step guide, and enjoy personalized lighting control in your home.
- After resetting the dimmer switch, testing its functionality is crucial. Verify that the lights turn on without flickering and the dimmer control smoothly adjusts the brightness. Seek further assistance if issues persist beyond the reset process.
Step 1: Turn off the Power
The first step in resetting your Lutron Maestro dimmer switch is to turn off the power at the circuit breaker. This is crucial to ensure your safety and prevent any electrical accidents while working on the dimmer switch.
Locate the circuit breaker panel in your home. It is usually found in the basement, utility room, or garage. Open the panel door and find the breaker that controls the power to the area where the dimmer switch is located.
Identify the switch that corresponds to the area where the dimmer switch is installed. Carefully switch it to the “off” position. It’s a good practice to double-check that the power is off by trying to turn on the lights controlled by the dimmer switch.
Once you have confirmed that the power is off, you can proceed with the next step of the reset process.
Note: If you are unsure which breaker controls the power to the dimmer switch, you can turn off the main power switch for the entire house. However, this will also cut off power to other areas of the house, so it’s best to only do this if necessary.
Remember, safety should always be your top priority when working with electrical components. Take the necessary precautions and never attempt to work on the dimmer switch with the power still on.
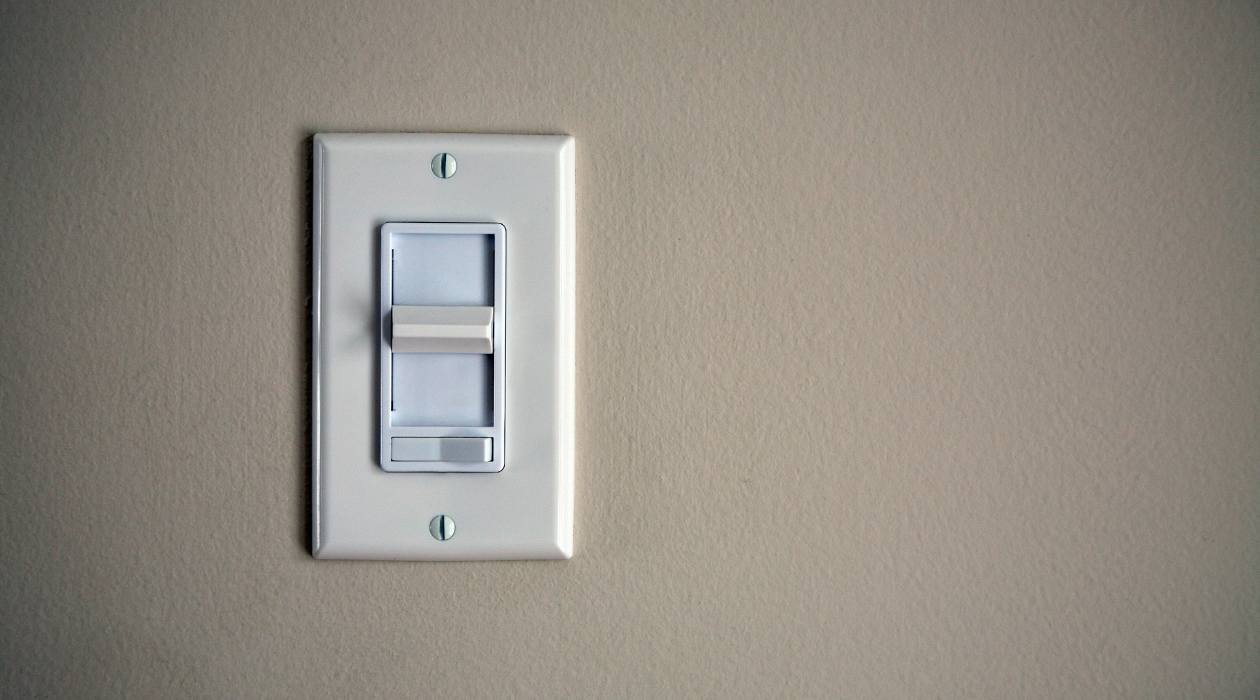
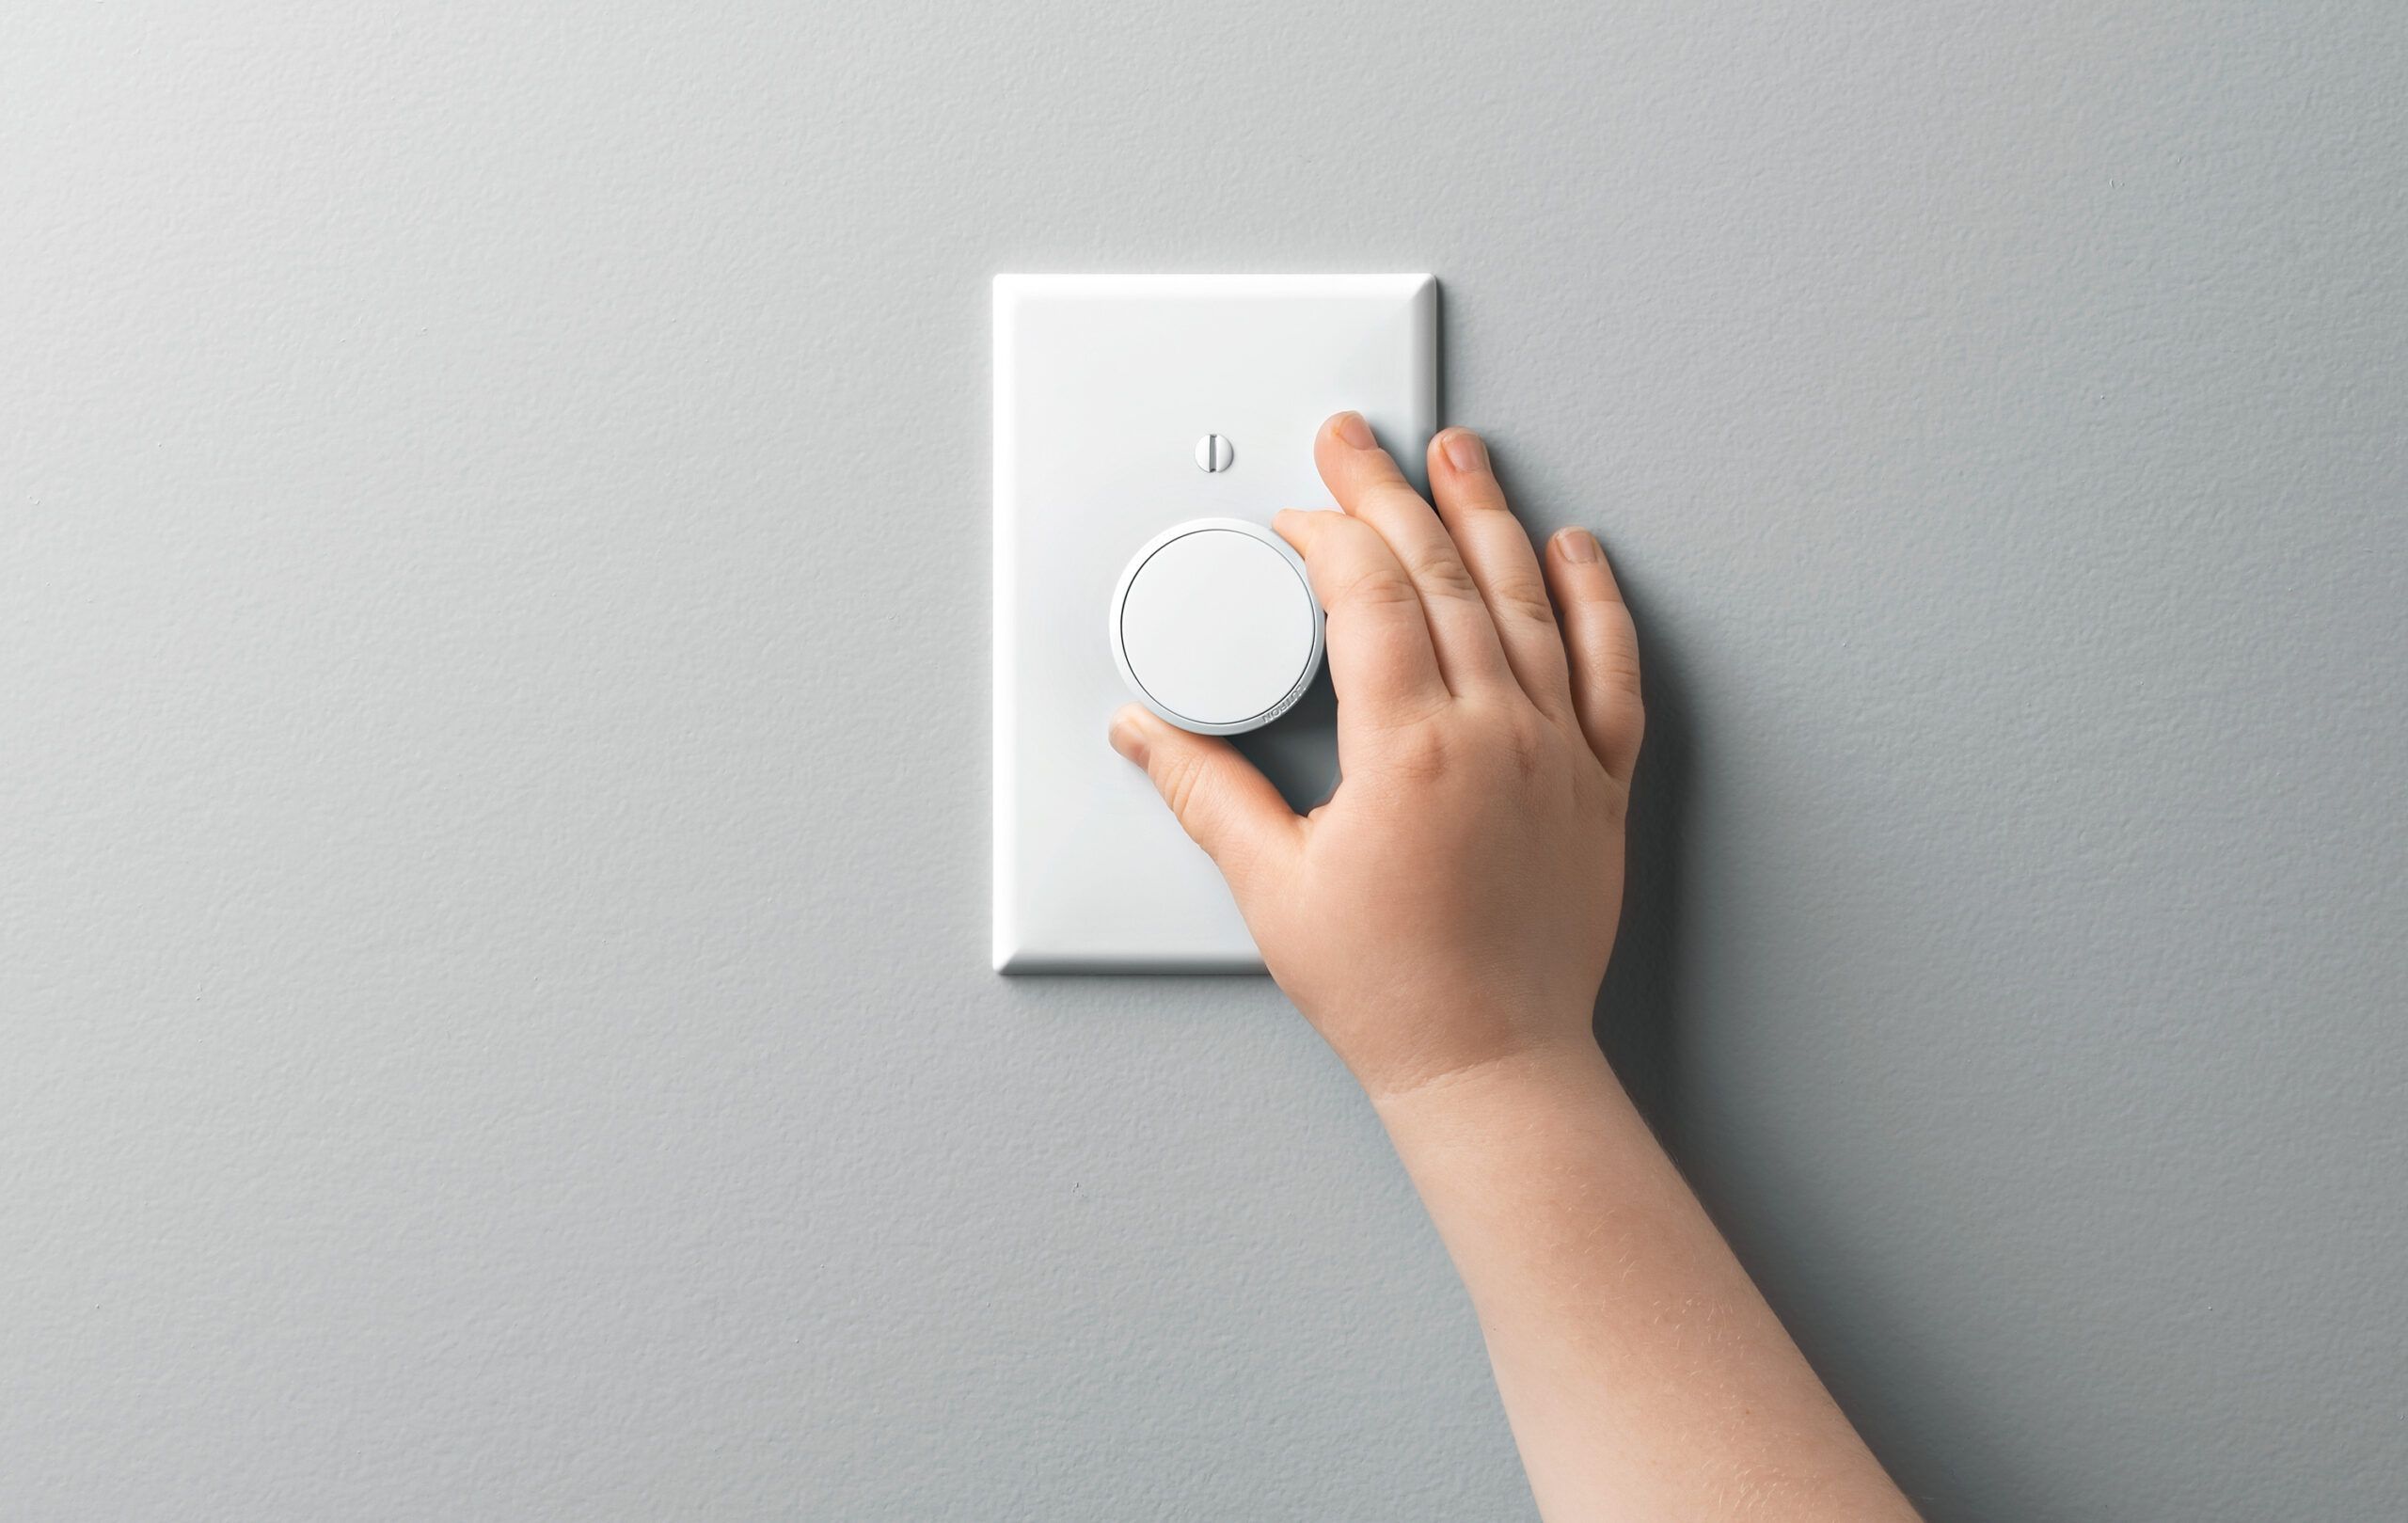
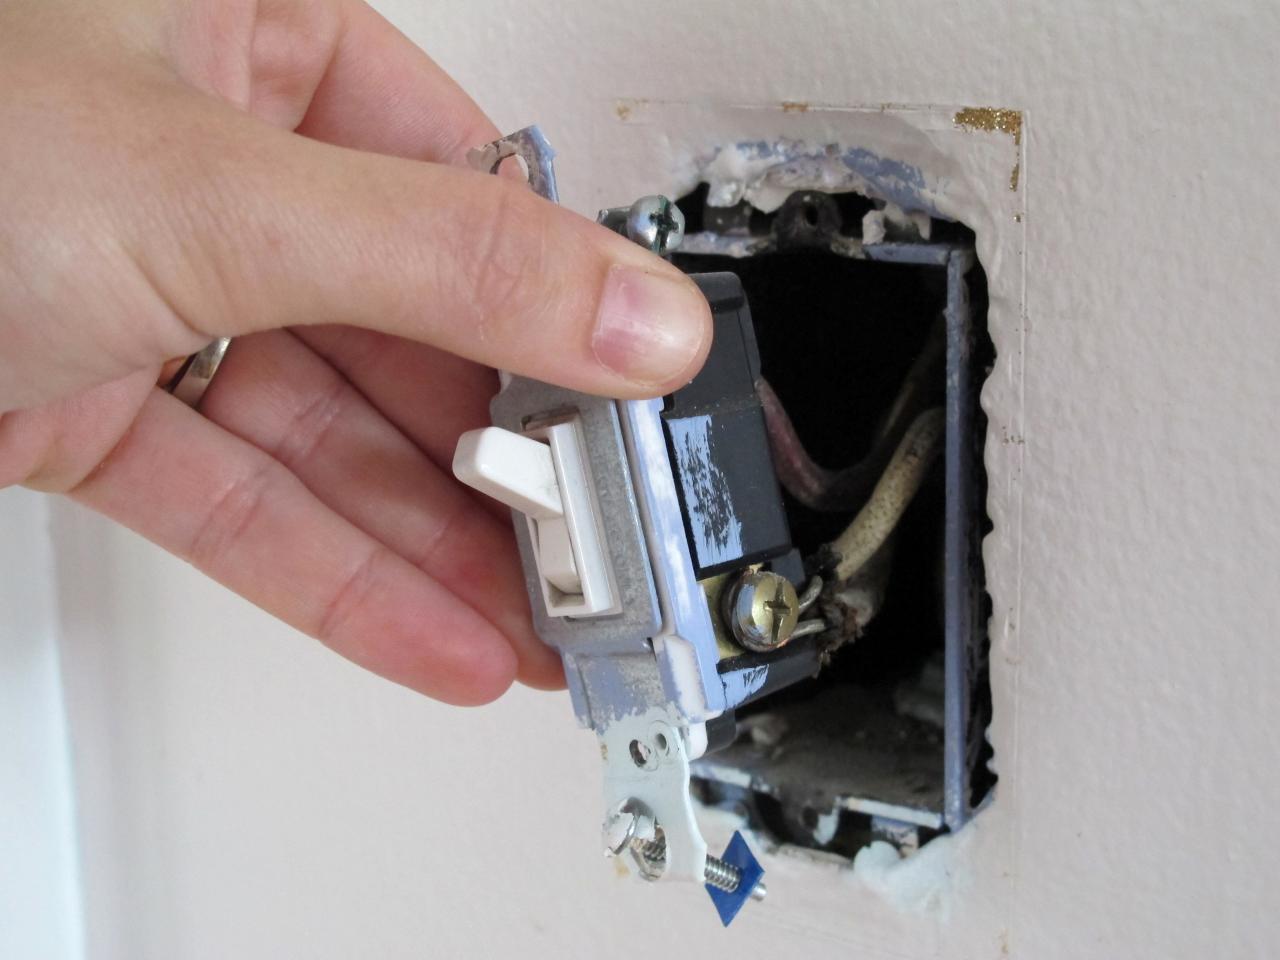
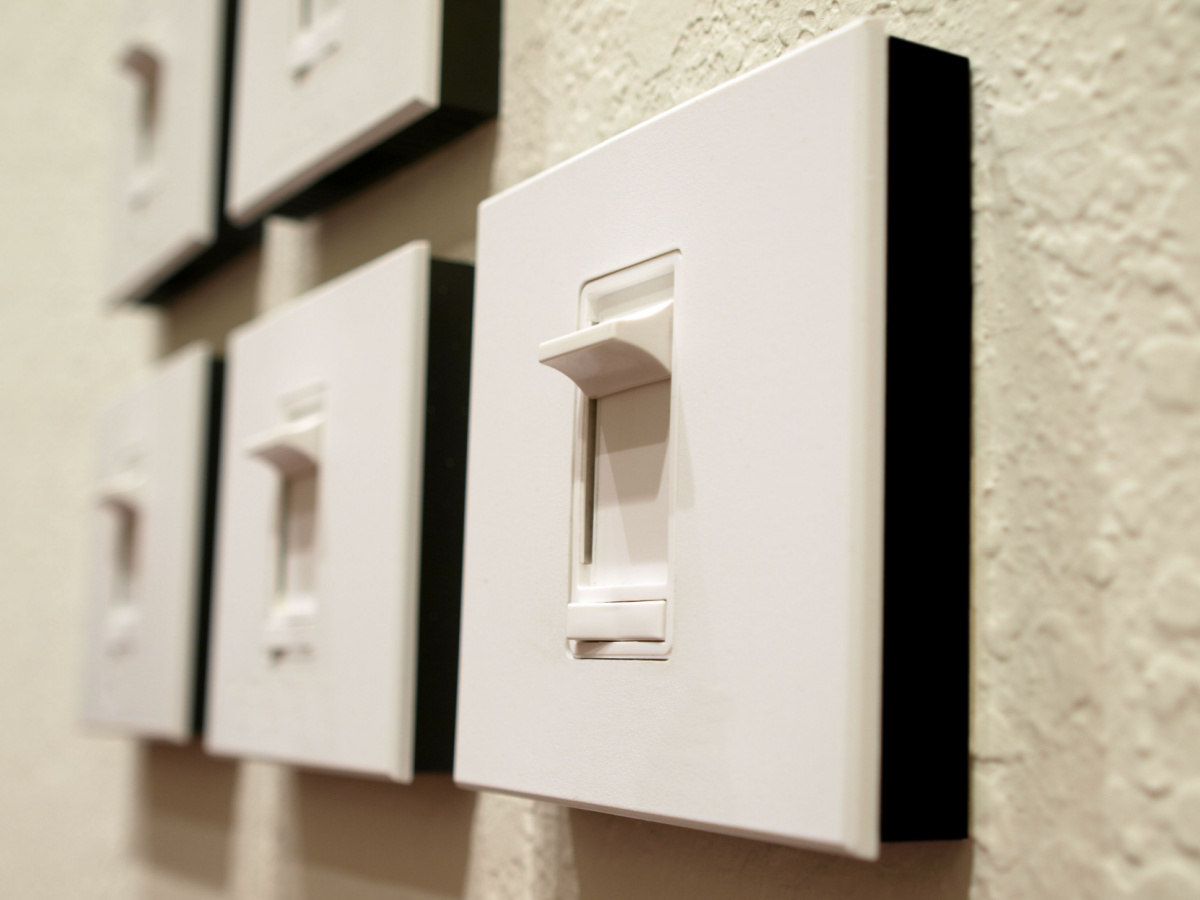
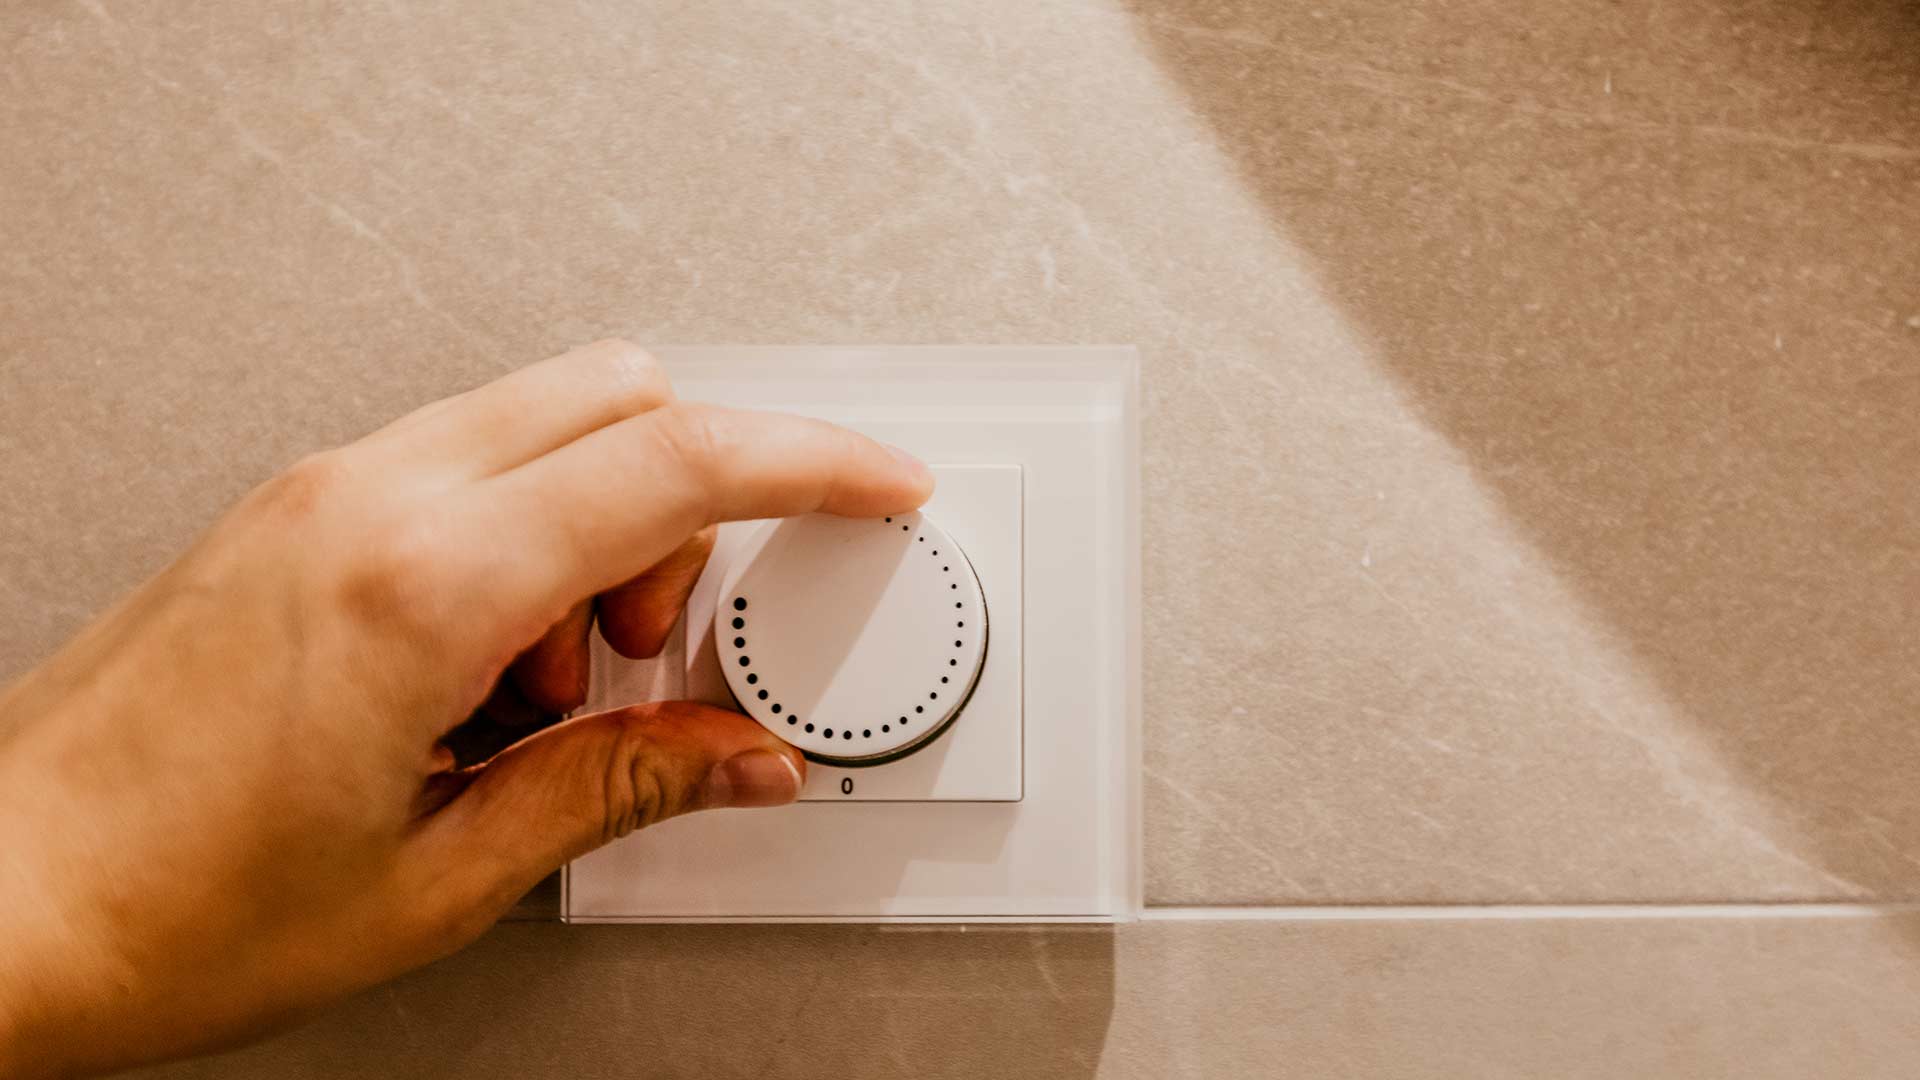
Step 2: Remove the Faceplate
With the power turned off, the next step in resetting your Lutron Maestro dimmer switch is to remove the faceplate. The faceplate covers the dimmer switch and provides a protective barrier.
Start by carefully inspecting the faceplate to locate any screws or fasteners that are holding it in place. Most faceplates have screws located at the corners or in the middle, but the exact placement may vary depending on the specific model of your dimmer switch.
Using a screwdriver or a suitable tool, gently remove the screws or fasteners that secure the faceplate. Place the screws in a safe place to avoid misplacing them during the reset process.
Once the fasteners have been removed, you can now carefully lift off the faceplate. Take your time to ensure that you do not damage any wires or other components behind the faceplate.
It’s important to note that some faceplates may have clips or locks instead of screws. In this case, you can use a small flat-head screwdriver or a similar tool to release the clips and remove the faceplate.
Now that the faceplate has been removed, you have clear access to the dimmer switch itself. This will allow you to perform the necessary steps to reset the dimmer switch as we proceed to the next step.
Take a moment to examine the exposed dimmer switch and familiarize yourself with its components. This will help you navigate the reset process more confidently.
With the faceplate removed, we are now ready to move on to the next step: accessing the reset button.
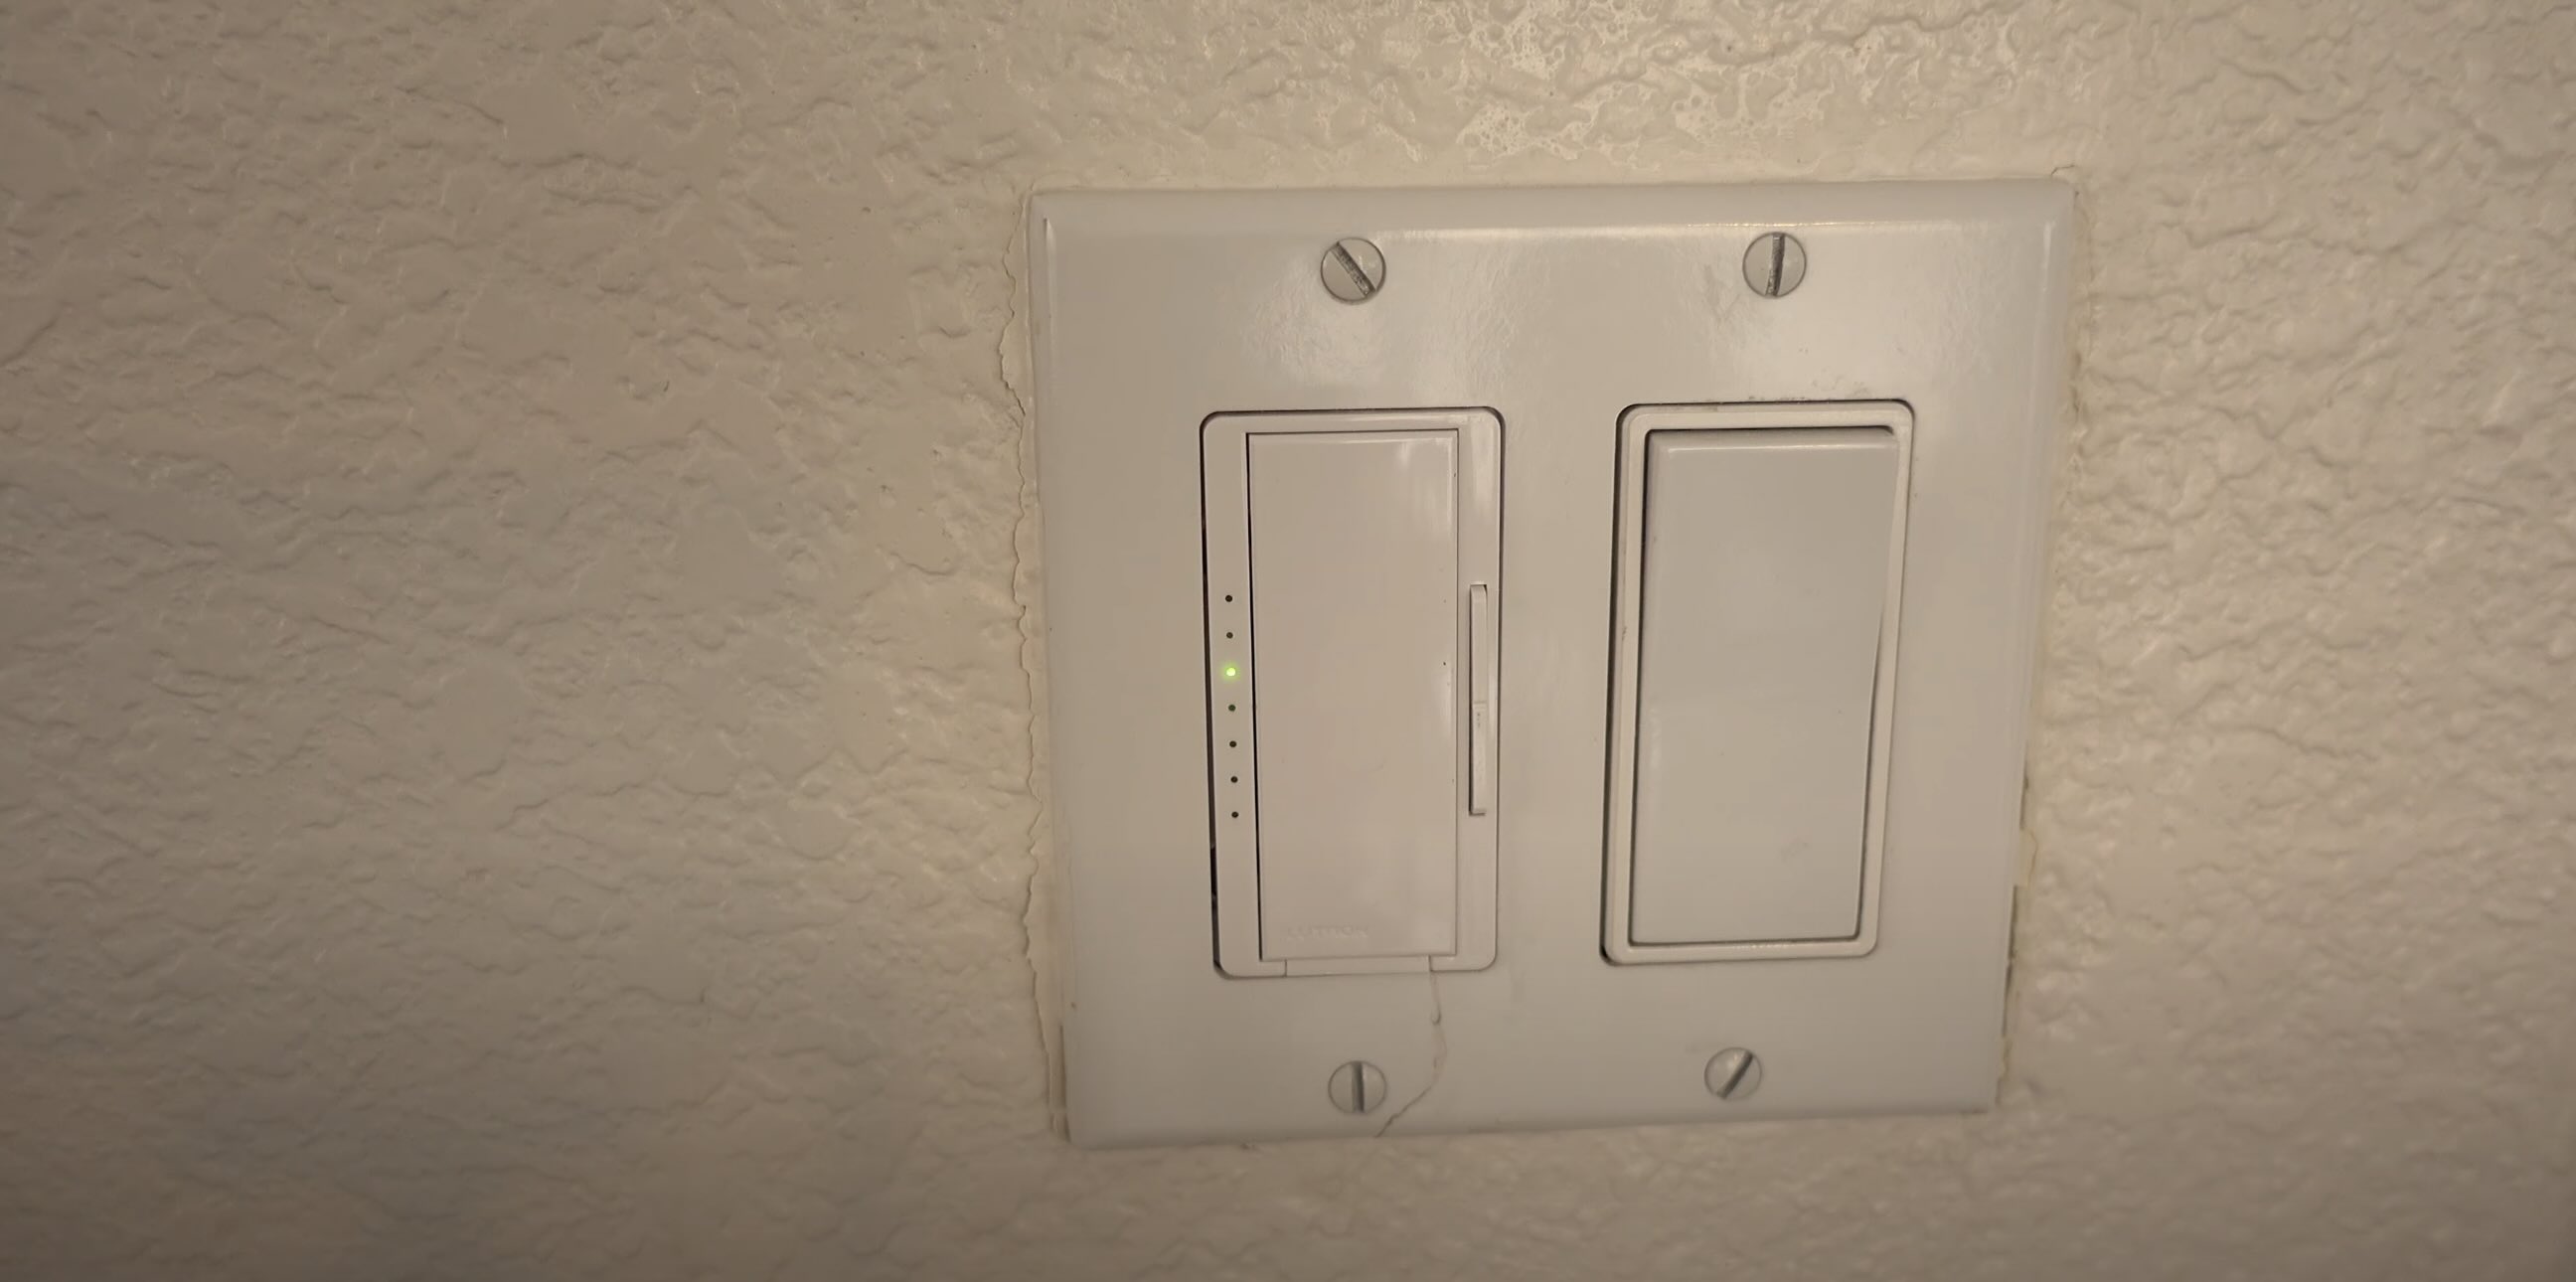
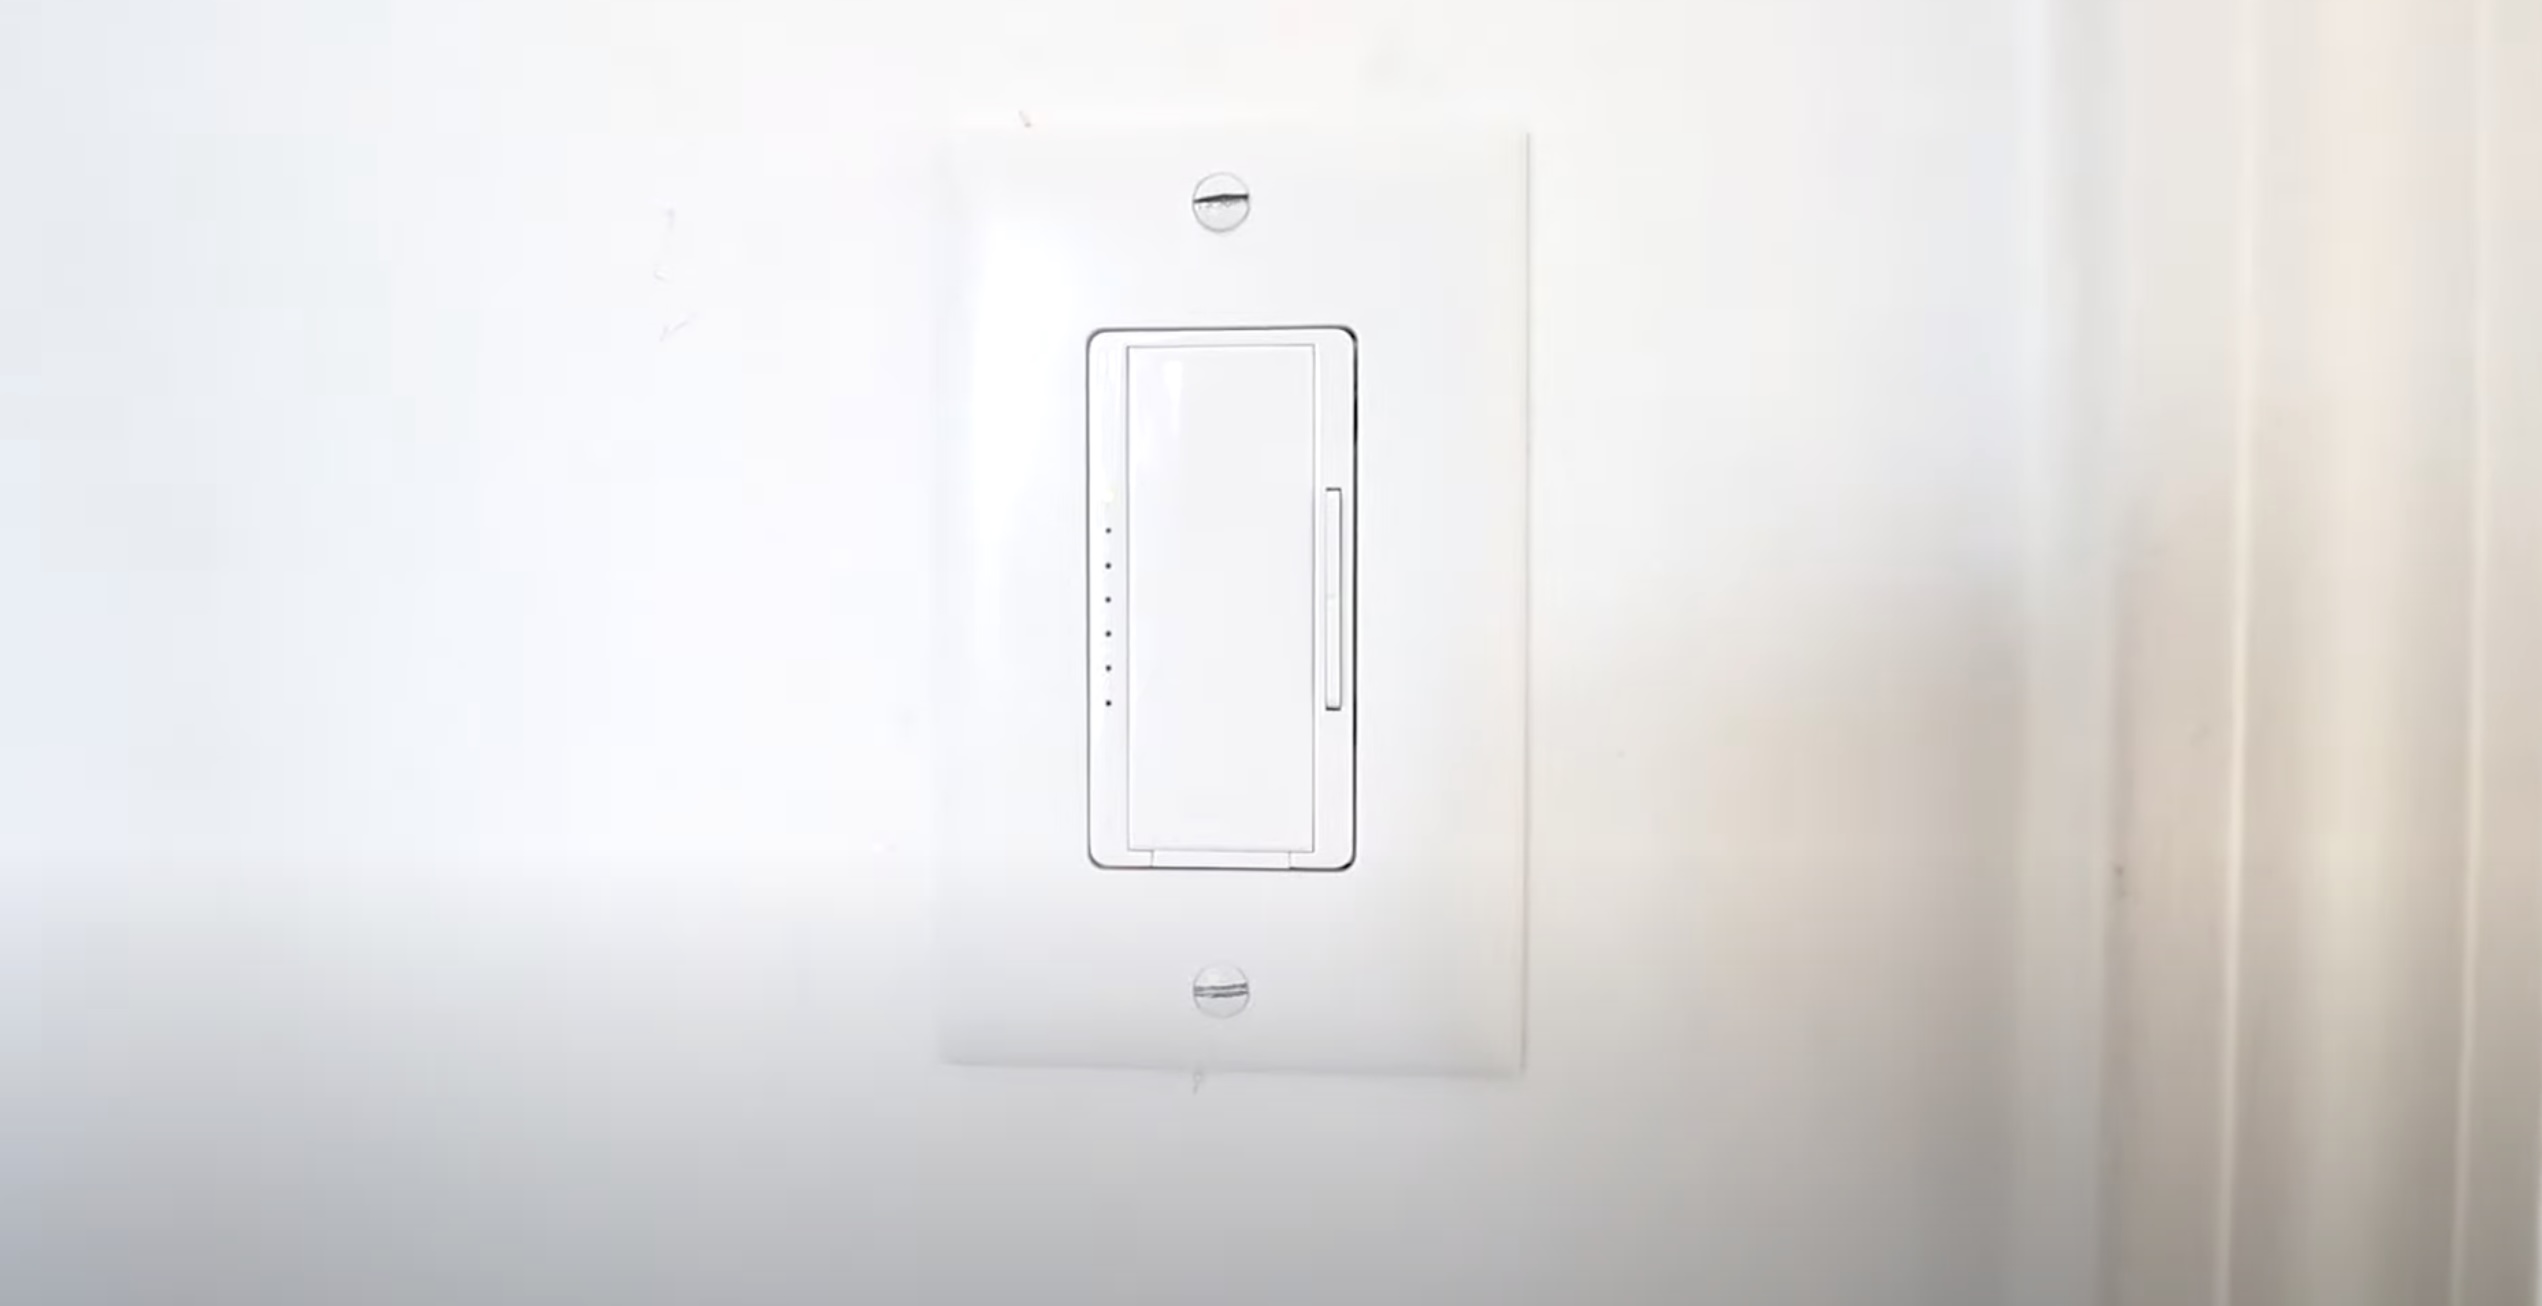
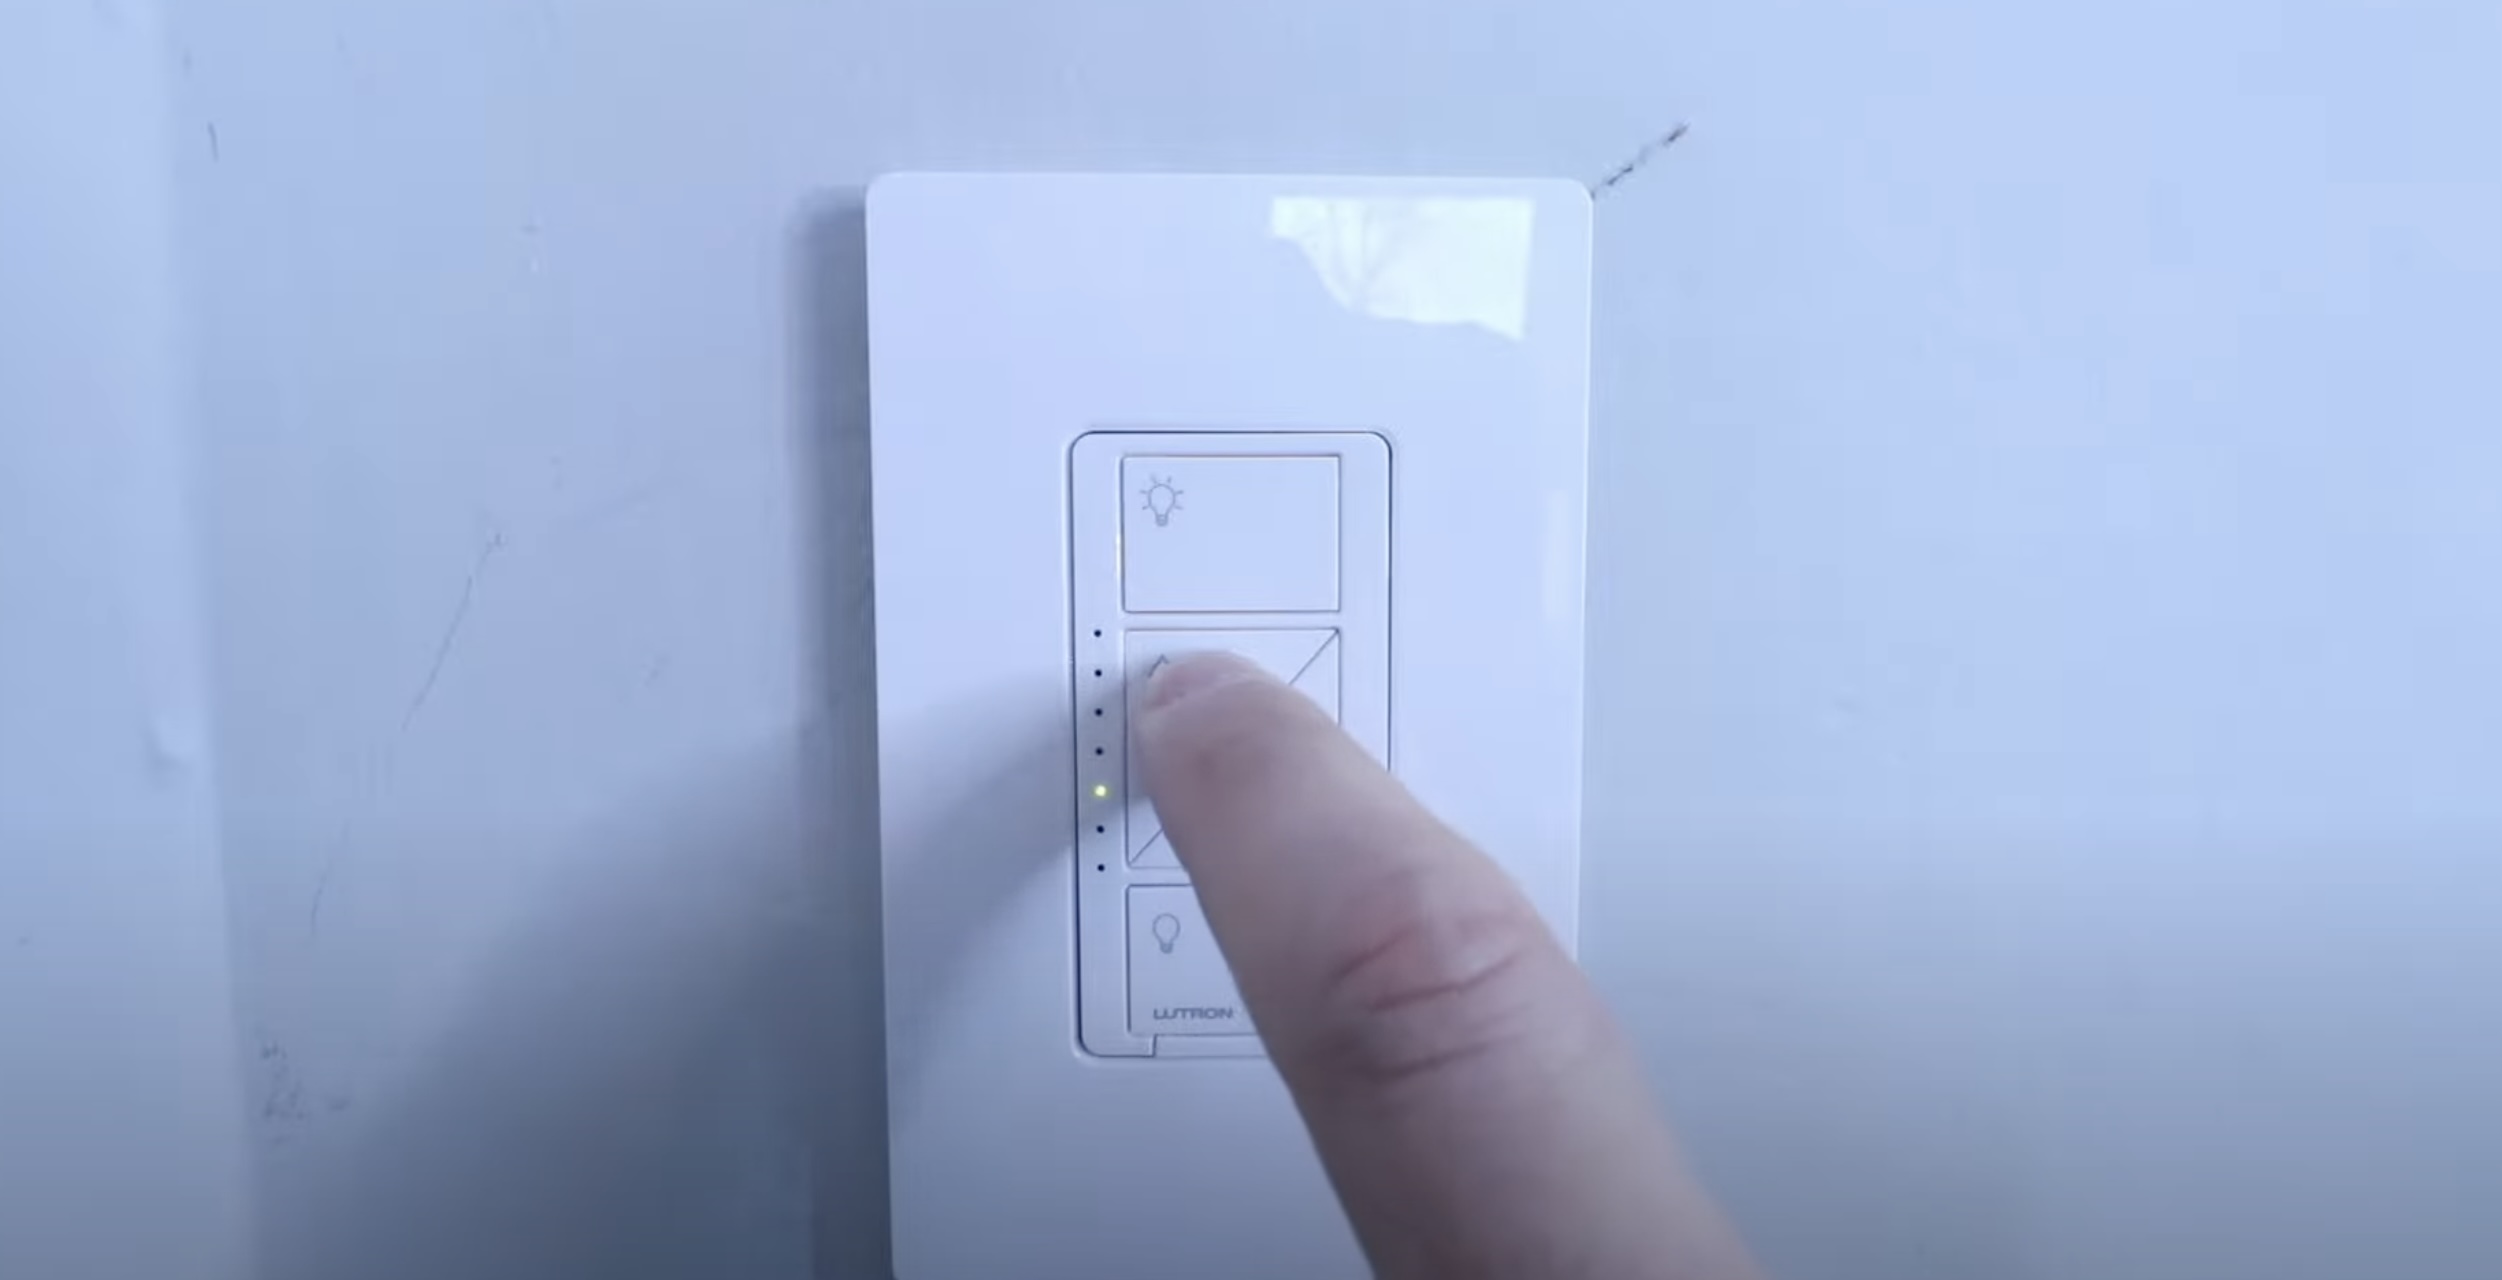
Step 3: Access the Reset Button
Now that you have removed the faceplate, it’s time to locate and access the reset button on your Lutron Maestro dimmer switch. The reset button is a small, recessed button that allows you to reset the dimmer switch to its factory settings.
Look for the reset button on the dimmer switch itself. It is typically located towards the bottom or side of the switch, but the exact placement may vary depending on the model of your dimmer switch. The button is usually labeled “Reset” or marked with an icon indicating its purpose.
You may need to use a small tool, such as a paperclip or a pen, to access the recessed reset button. Gently insert the tool into the button’s opening, applying slight pressure until you feel a click or resistance.
Be careful not to exert too much force and avoid using sharp objects that may damage the button or the switch. The goal is to press the reset button, not to apply excessive pressure.
Once you have engaged the reset button, hold it down for approximately 10-15 seconds. This duration may vary depending on the specific instructions provided by Lutron or the dimmer switch’s documentation. Refer to the manufacturer’s guidelines for the exact reset duration.
During this time, you may notice that the lights controlled by the dimmer switch will turn on and off or flash rapidly. These are normal indications that the reset process is underway.
After holding down the reset button for the required duration, release the button and get ready to move on to the next step: resetting the dimmer switch.
Accessing the reset button is a crucial step in resetting your Lutron Maestro dimmer switch. It allows you to initiate the reset process and prepare the dimmer switch for the next phase. Once you have successfully accessed the reset button, you are one step closer to resolving any issues you may be experiencing with your dimmer switch.
To reset a Lutron Maestro dimmer switch, turn the switch off, wait for 10 seconds, then turn it back on. If that doesn’t work, try cutting power to the switch at the circuit breaker for a few minutes before restoring power.
Step 4: Reset the Dimmer Switch
Now that you have accessed the reset button on your Lutron Maestro dimmer switch, it’s time to proceed with the actual reset process. Resetting the dimmer switch will revert it back to its default factory settings, erasing any custom programming or settings that were previously configured.
To begin the reset process, follow these steps:
- Ensure that the power to the dimmer switch is still turned off at the circuit breaker.
- Press and hold down the reset button on the dimmer switch.
- While holding down the reset button, turn the power back on at the circuit breaker.
- Continue to hold down the reset button for approximately 10-15 seconds, or as instructed by the manufacturer.
- After the designated reset duration, release the reset button.
During this process, you may observe the lights controlled by the dimmer switch flashing or turning on and off. This is an indication that the reset is in progress.
Once the reset is complete, the lights controlled by the dimmer switch will stabilize. You may notice a brief flicker or momentary dimming before the lights return to their normal state. This is a normal part of the reset process.
Please note that the specific instructions for resetting your Lutron Maestro dimmer switch may vary depending on the model. It’s recommended to consult the manufacturer’s documentation or website for detailed reset instructions tailored to your specific dimmer switch.
Once the dimmer switch has been reset, it is ready to be reprogrammed or configured according to your preferences. You can move on to the next step to test the dimmer switch and ensure that it is working properly.
Resetting the dimmer switch is a crucial step in resolving any issues or restoring its default functionality. By following the proper reset procedure, you can address common problems such as flickering lights or unresponsive controls.
Read more: How To Reset A Philips Hue Dimmer Switch
Step 5: Test the Dimmer Switch
After resetting your Lutron Maestro dimmer switch, it’s important to test its functionality to ensure that it is working properly. Testing the dimmer switch will help you verify if the reset process successfully resolved any issues or restored it to its default settings.
To test the dimmer switch, follow these steps:
- Turn on the power at the circuit breaker to restore electricity to the dimmer switch.
- Observe the lights controlled by the dimmer switch and check if they turn on without any flickering or abnormal behavior.
- Adjust the dimming level using the dimmer switch to confirm that it is responding correctly. Gradually increase and decrease the brightness to ensure smooth dimming functionality.
- If your dimmer switch has additional features or programmable settings, test and verify their functionality as well.
During the testing process, pay attention to any changes or issues that may arise. Some common problems that may indicate further troubleshooting may be required include flickering lights, buzzing noises, or unresponsive controls.
If you notice any issues during the testing phase, double-check that the dimmer switch is correctly installed and wired. Ensure that all connections are secure and that the dimmer switch is compatible with the type of lights you are using.
If you are still experiencing ongoing issues with your dimmer switch after the reset and testing, it may be necessary to contact Lutron customer support or seek assistance from a qualified electrician for further troubleshooting and resolution.
On the other hand, if the dimmer switch is functioning as expected, congratulations! You have successfully reset and tested your Lutron Maestro dimmer switch. Enjoy the enhanced lighting control and ambiance that your dimmer switch provides.
It’s always a good idea to keep the manufacturer’s documentation and contact information handy for future reference or any additional support that may be needed.
Testing the dimmer switch is the final step in the reset process. It allows you to ensure that the dimmer switch is functioning optimally and that any previous issues have been resolved. By following these test procedures, you can have confidence in the performance and reliability of your Lutron Maestro dimmer switch.
Conclusion
Congratulations! You have successfully learned how to reset your Lutron Maestro dimmer switch. By following the step-by-step guide provided in this article, you can confidently address common issues, restore factory settings, and enjoy the full functionality of your dimmer switch.
Resetting the dimmer switch is a valuable troubleshooting tool that can help resolve problems such as flickering lights, unresponsive controls, or incorrect programming. It is also a useful step to take if you are reconfiguring your lighting setup or need to start fresh with your dimmer switch settings.
Throughout the reset process, it’s essential to prioritize your safety by turning off the power at the circuit breaker and handling electrical components with caution. Always refer to the manufacturer’s guidelines and instructions specific to your Lutron Maestro dimmer switch to ensure a seamless reset experience.
After resetting the dimmer switch, don’t forget to test its functionality. Verify that the lights turn on without flickering, and the dimmer control smoothly adjusts the brightness. If any issues persist, consider double-checking the installation and seeking further assistance if necessary.
Remember to keep the manufacturer’s documentation and contact information readily available for future reference or additional support. Lutron customer support or a qualified electrician can provide further guidance if you encounter any challenges beyond the reset process.
With your Lutron Maestro dimmer switch successfully reset and tested, you can now enjoy the benefits of personalized lighting control in your home. Whether you’re creating a warm and cozy atmosphere for a movie night or setting the stage for a dinner party, your dimmer switch offers versatility and customization to suit any occasion.
Thank you for following this guide on how to reset a Lutron Maestro dimmer switch. We hope this article has been informative and helpful. May your lighting experience be enhanced with the functionality and convenience that your dimmer switch provides!
Frequently Asked Questions about How To Reset A Lutron Maestro Dimmer Switch
Was this page helpful?
At Storables.com, we guarantee accurate and reliable information. Our content, validated by Expert Board Contributors, is crafted following stringent Editorial Policies. We're committed to providing you with well-researched, expert-backed insights for all your informational needs.


0 thoughts on “How To Reset A Lutron Maestro Dimmer Switch”