Articles
How To Reset Hunter Fan Remote
Modified: August 17, 2024
Discover step-by-step instructions on how to reset your Hunter fan remote. Read our informative articles for troubleshooting tips and expert advice.
(Many of the links in this article redirect to a specific reviewed product. Your purchase of these products through affiliate links helps to generate commission for Storables.com, at no extra cost. Learn more)
Introduction
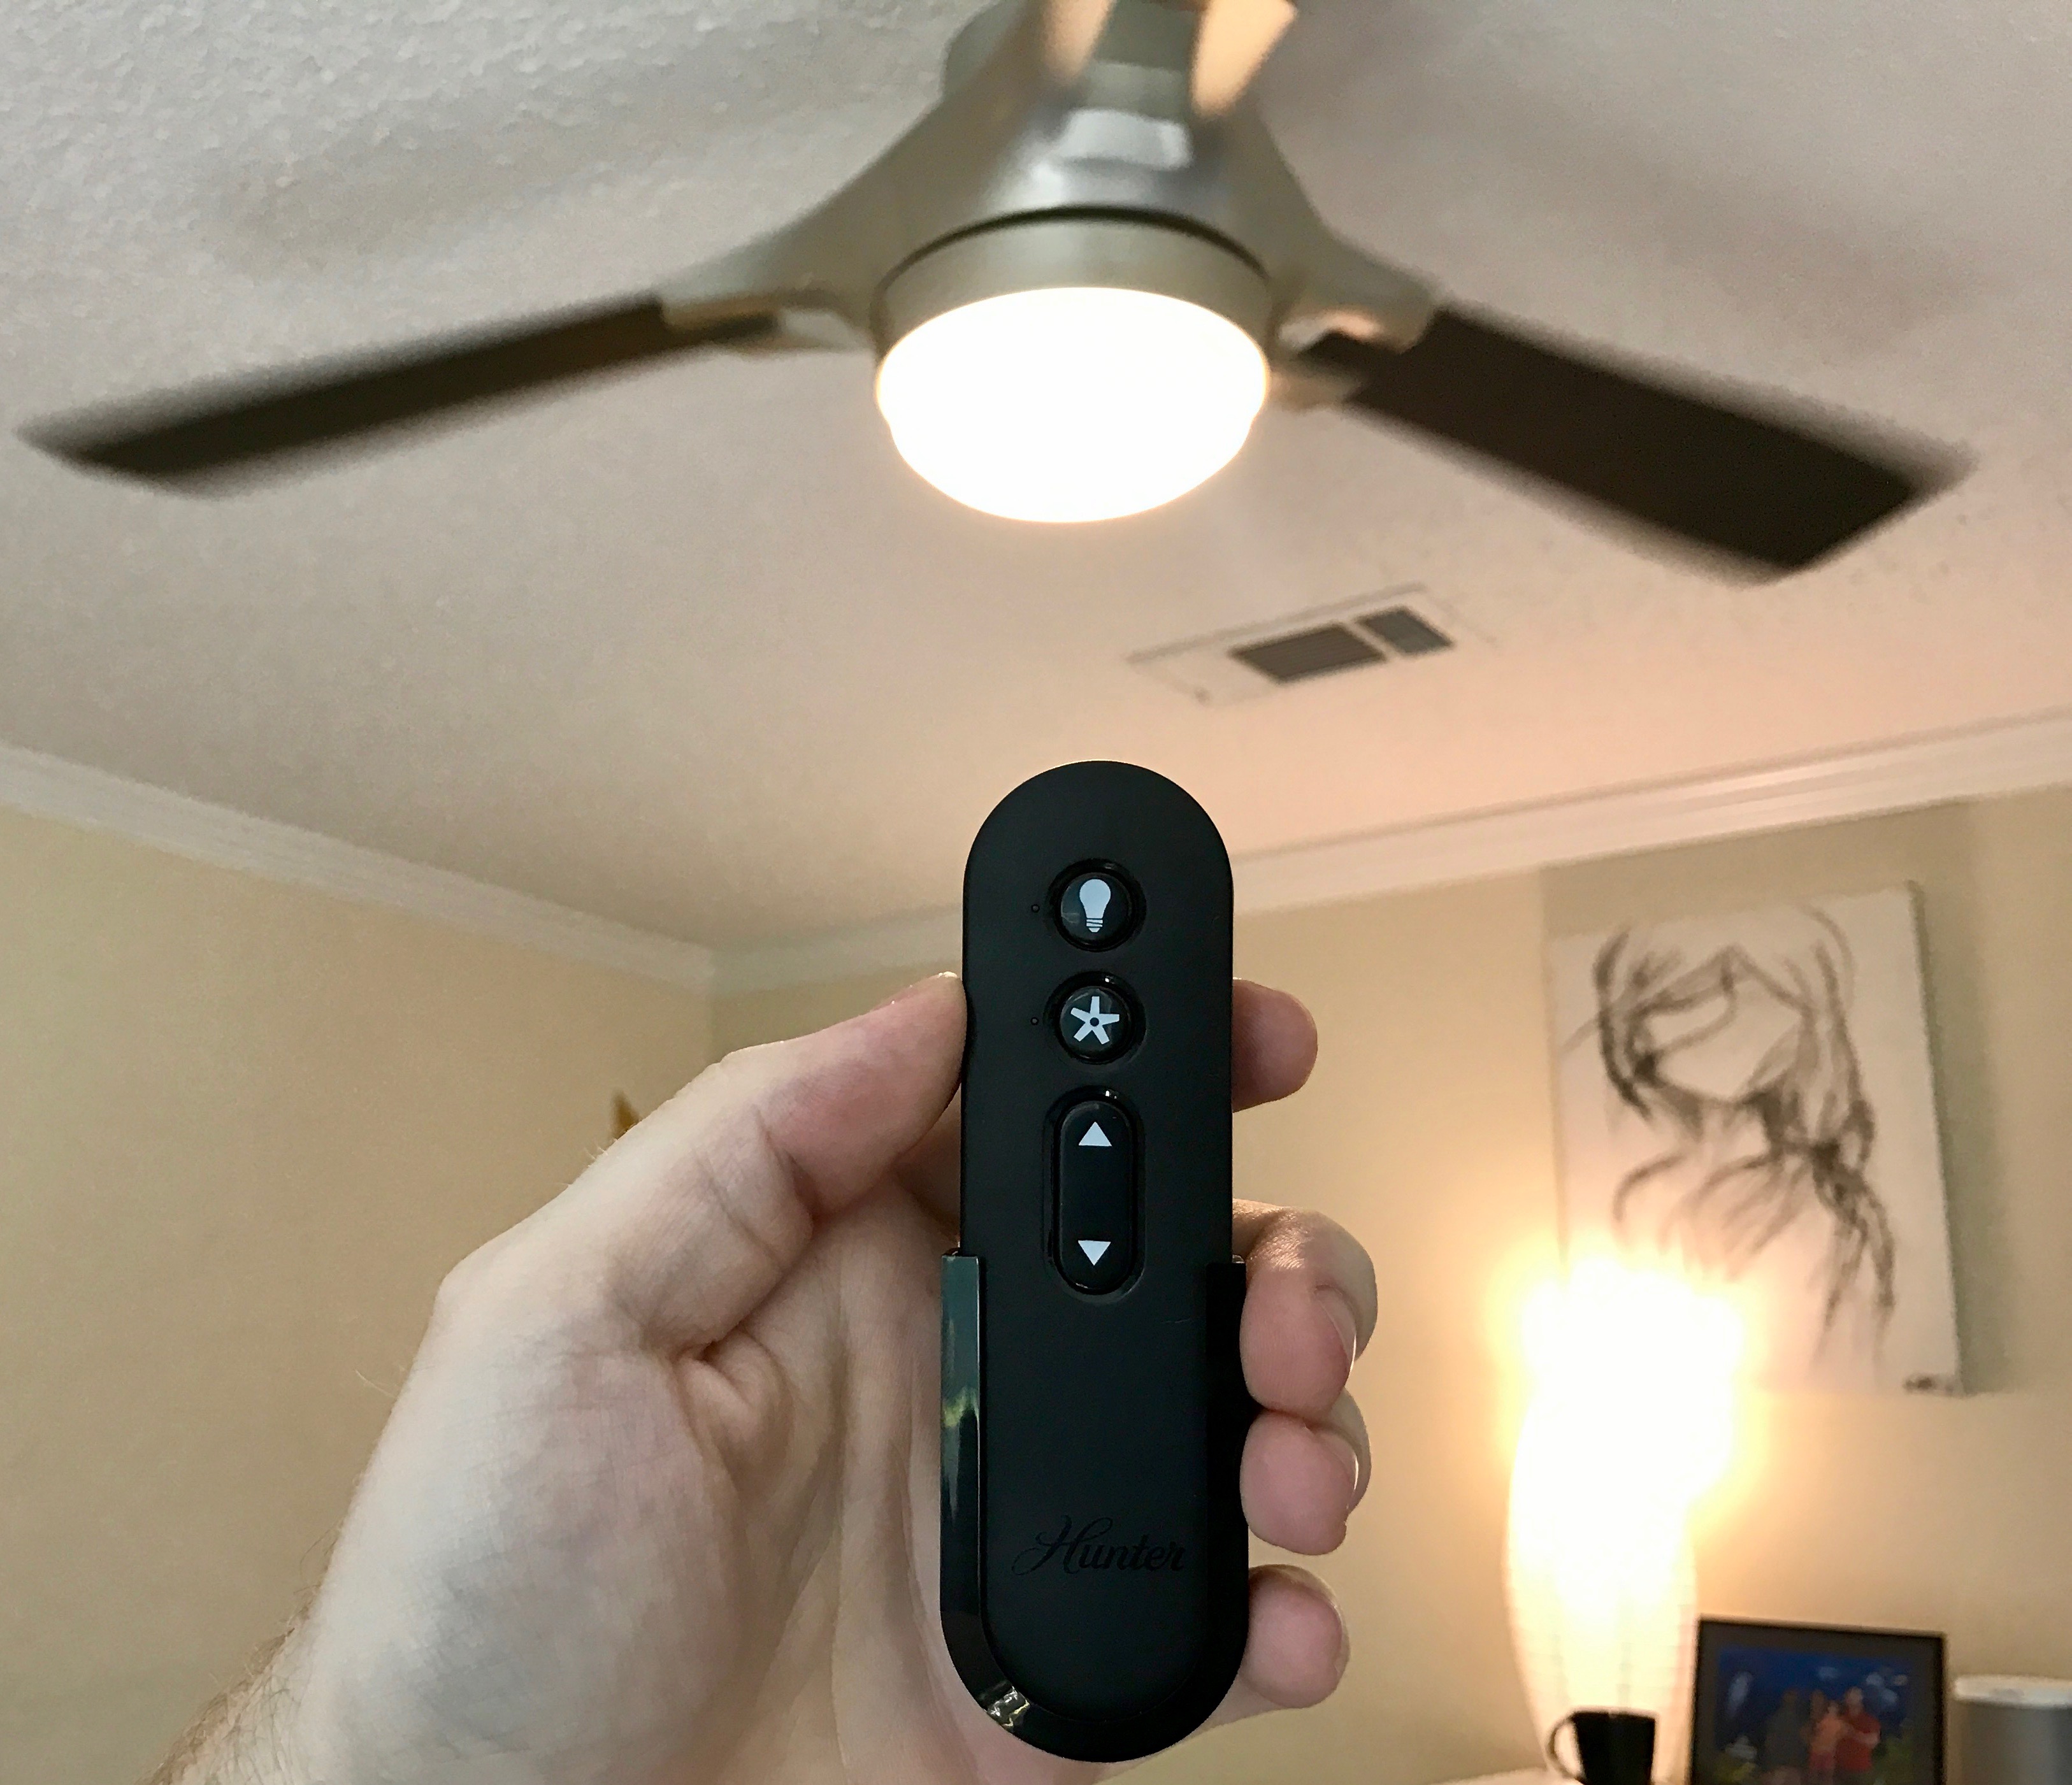
Having a Hunter fan remote is a convenient and stylish way to control your ceiling fan. It allows you to adjust the fan speed, turn the fan on or off, and even control the lighting settings, all from the comfort of your couch or bed. However, there may come a time when you encounter issues with your Hunter fan remote, such as it not responding to commands or the settings being out of sync with your fan.
In such situations, it can be frustrating not knowing how to fix the problem. But worry not, as this article will guide you through the process of resetting your Hunter fan remote, ensuring that it functions perfectly once again. Whether you have a standard Hunter remote or a universal remote compatible with Hunter fans, we’ve got you covered.
Before we dive into the resetting methods, let’s briefly understand how Hunter fan remotes work.
Key Takeaways:
- Resetting your Hunter fan remote is a straightforward process that can resolve common issues such as unresponsive buttons, inconsistent functionality, and incorrect settings, ensuring hassle-free operation and convenience.
- Understanding the technology behind Hunter fan remotes and implementing troubleshooting tips can further enhance the performance and reliability of your remote, allowing you to enjoy efficient and convenient control over your ceiling fan.
Understanding Hunter Fan Remotes
Hunter fan remotes utilize radio frequency (RF) technology to communicate with the fan’s receiver unit, which is installed inside the fan’s canopy. The remote sends signals to the receiver, commanding it to carry out specific actions, such as adjusting the fan speed or turning on the lights. This wireless communication between the remote and the receiver allows for convenient control of the ceiling fan from a distance.
However, sometimes the remote and the receiver can lose their connection, leading to issues like unresponsive buttons or incorrect settings. In such cases, resetting the remote is often the solution to reestablish communication and restore functionality.
Common Issues with Hunter Fan Remotes
Before attempting to reset the remote, it’s helpful to identify some of the common problems you might encounter with your Hunter fan remote. These issues include:
- The remote not responding to button presses.
- The fan or lights not turning on/off as intended.
- The fan not changing speed settings.
- The remote settings getting out of sync with the actual fan.
- The remote controlling multiple fans simultaneously.
If you’re experiencing any of these problems, don’t worry. Resetting the remote can often resolve these issues and get your Hunter fan working flawlessly again. There are several methods you can use to reset your Hunter fan remote, depending on the model and type of remote you have.
Key Takeaways:
- Resetting your Hunter fan remote is a straightforward process that can resolve common issues such as unresponsive buttons, inconsistent functionality, and incorrect settings, ensuring hassle-free operation and convenience.
- Understanding the technology behind Hunter fan remotes and implementing troubleshooting tips can further enhance the performance and reliability of your remote, allowing you to enjoy efficient and convenient control over your ceiling fan.
Understanding Hunter Fan Remotes
Hunter fan remotes utilize radio frequency (RF) technology to communicate with the fan’s receiver unit, which is installed inside the fan’s canopy. The remote sends signals to the receiver, commanding it to carry out specific actions, such as adjusting the fan speed or turning on the lights. This wireless communication between the remote and the receiver allows for convenient control of the ceiling fan from a distance.
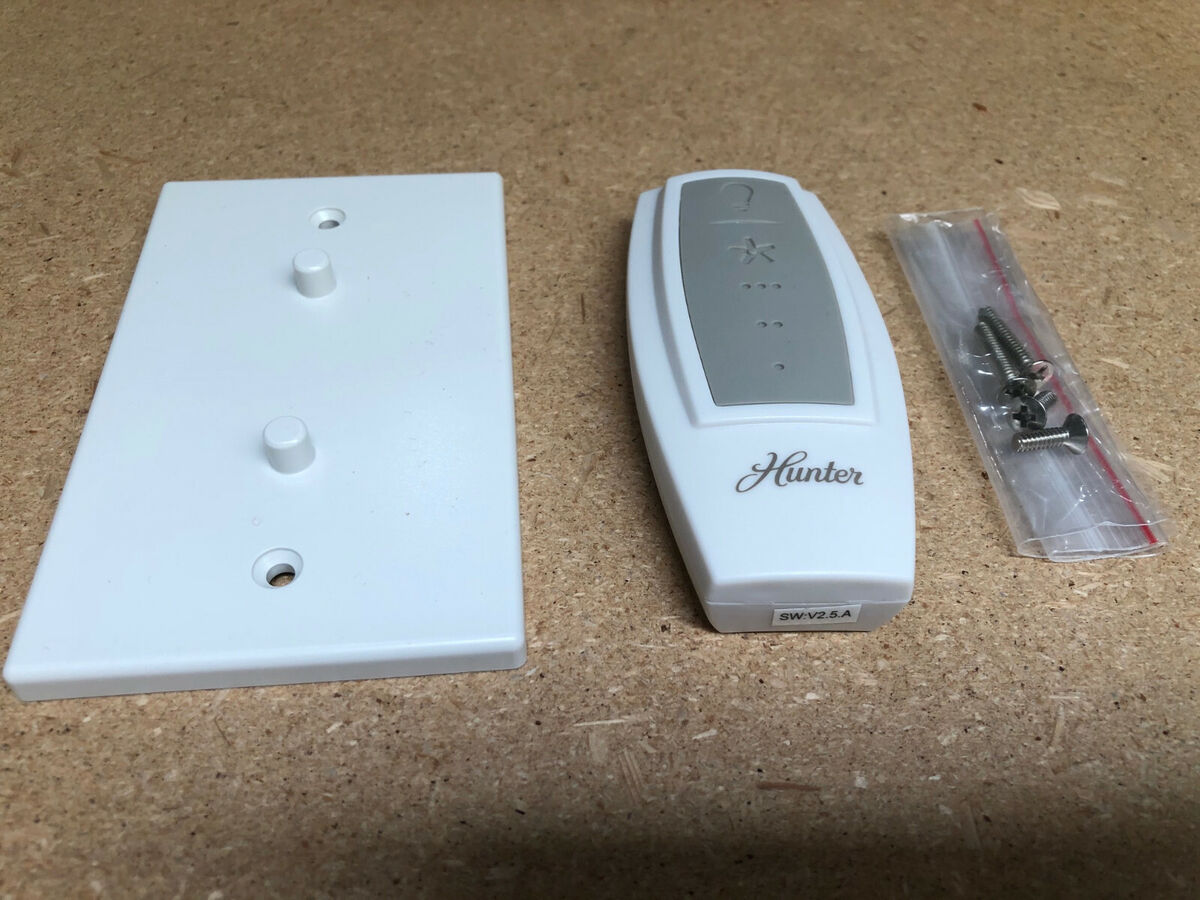
The basic components of a Hunter fan remote system include the handheld remote control and the receiver unit. The handheld remote control is equipped with buttons or switches that correspond to various fan and lighting functions. When you press a button on the remote, it sends a command signal to the receiver, instructing it to perform the desired action.
On the other hand, the receiver is typically installed inside the ceiling fan’s canopy or the fan’s motor housing. It acts as the intermediary between the remote and the fan itself. When the receiver receives the command signal from the remote, it interprets the signal and instructs the fan to adjust its speed, turn on or off, or control the lights accordingly.
It’s important to note that Hunter fans feature different types of remotes, including standard remotes and universal remotes. Standard remotes are specifically designed for use with Hunter ceiling fans and come bundled with the fan at the time of purchase. Universal remotes, on the other hand, are compatible with multiple fan brands and can be programmed to work with Hunter fans.
Hunter fan remotes also offer additional features and settings, such as fan speed options (low, medium, high), fan reversing capability (for changing the direction of airflow), and light dimming controls. These features can vary depending on the specific model of your Hunter fan and the remote that accompanies it.
While Hunter fan remotes are designed to be user-friendly, there may be instances where the remote and the receiver lose their connection, leading to issues like unresponsive buttons, incorrect settings, or the remote controlling multiple fans simultaneously. In such cases, resetting the remote is often the first step to troubleshoot and rectify the problem.
In the following sections, we will explore the various methods you can use to reset your Hunter fan remote, allowing you to regain control over your ceiling fan and enjoy its functionality to the fullest.
Common Issues with Hunter Fan Remotes
While Hunter fan remotes are known for their convenience and ease of use, there are some common issues that users may encounter from time to time. Understanding these issues can help you troubleshoot and reset your remote more effectively. Here are some of the most common issues with Hunter fan remotes:
- Unresponsive Remote: One of the main issues users experience is when their Hunter fan remote does not respond to button presses. This can be frustrating, especially when you are trying to adjust the fan speed or turn on the lights. In many cases, resetting the remote can help resolve this problem.
- Inconsistent Functionality: Another issue is when the fan or lights do not turn on or off as intended. You may find that the remote commands are not being executed by the fan receiver, leading to inconsistent functionality. Resetting the remote can often bring back the proper functioning of your fan and lights.
- Incorrect Settings: Sometimes, the settings on the remote can become out of sync with the actual fan. You may notice that the remote displays a different fan speed or lighting status than what is actually happening. Resetting the remote can help sync the settings and ensure accurate control of your Hunter fan.
- Multiple Fan Control: If you have multiple Hunter fans in your home, it is possible for the remote to control multiple fans simultaneously. This can be confusing and inconvenient, especially if you want to operate each fan individually. Resetting the remote can help resolve this issue and allow you to control each fan separately.
- Interference: In some cases, interference from other electronic devices or strong radio signals can disrupt the communication between the remote and the fan receiver. This can lead to a loss of functionality or an inconsistent response from the fan. Resetting the remote can help reestablish the connection and eliminate any interference issues.
It’s important to note that the specific issues you may encounter can vary depending on the model and type of Hunter fan remote you have. However, in most cases, resetting the remote is a simple and effective solution to address these common problems.
In the following sections, we will discuss different methods you can use to reset your Hunter fan remote. These methods are designed to work with different types of Hunter fan remotes, including standard remotes and universal remotes. By following the appropriate reset method for your specific remote, you can rectify the issues and restore the functionality of your Hunter fan remote.
Read more: How To Wire Hunter Ceiling Fan
Resetting the Hunter Fan Remote
If you’re facing issues with your Hunter fan remote, resetting it can often resolve the problem and restore its functionality. There are several methods you can use to reset your Hunter fan remote, depending on the model and type of remote you have.
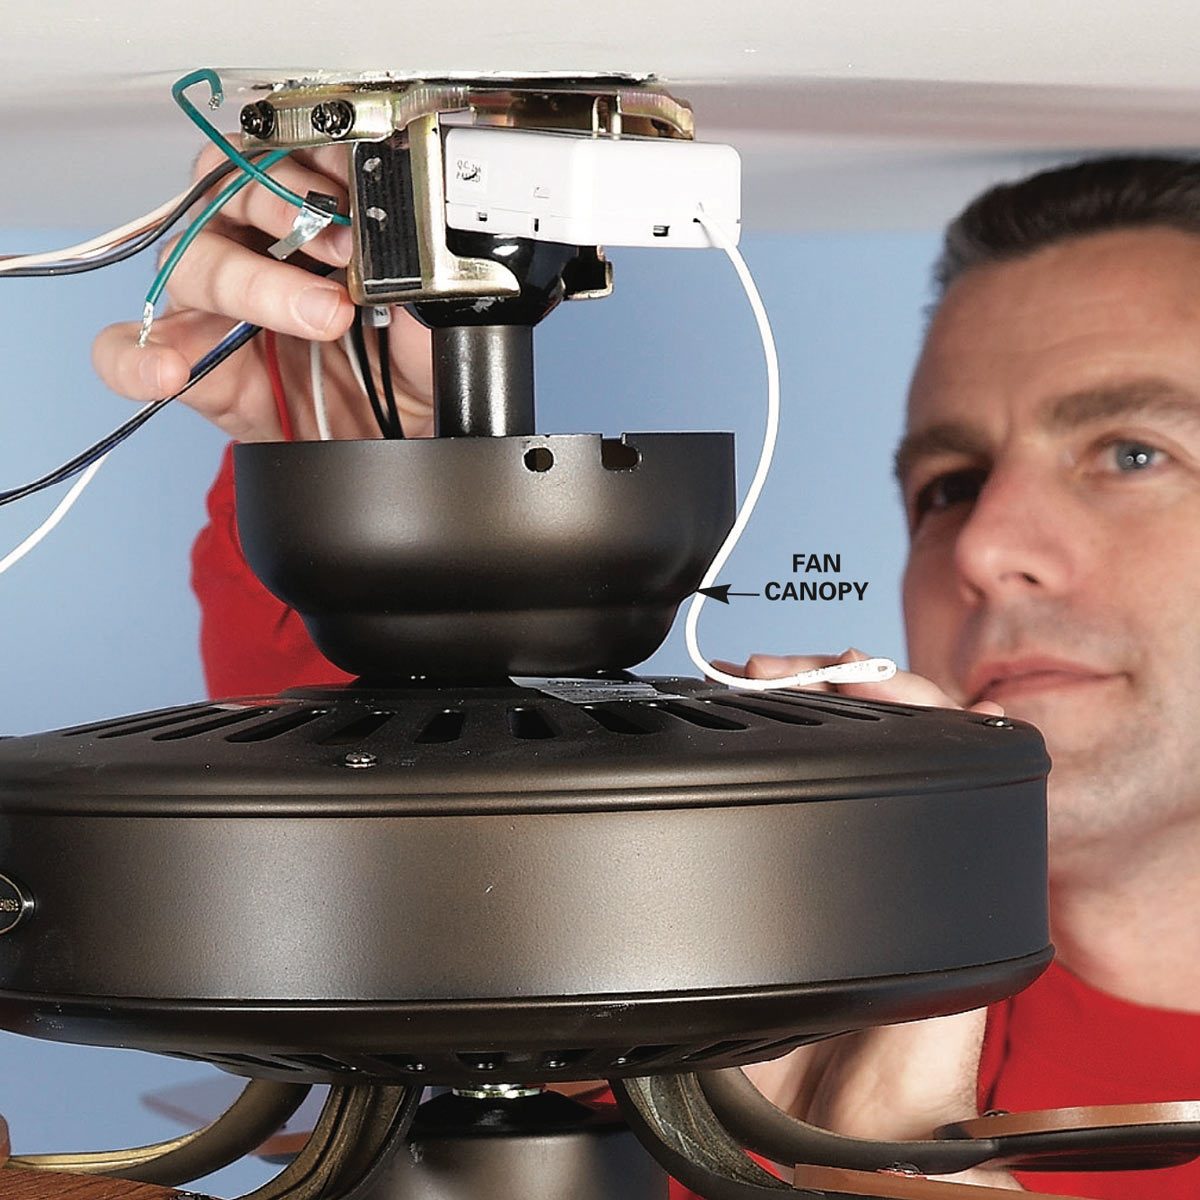
Method 1: Resetting the Remote through the Receiver
In this method, you will reset the connection between the remote and the fan receiver. Here’s how to perform a reset using this method:
- Turn off the power to the fan at the circuit breaker or wall switch.
- Locate the receiver unit, which is typically installed inside the fan’s canopy or motor housing.
- Press and hold the “Reset” button on the receiver for about five seconds.
- Release the “Reset” button and wait for the LED indicator on the receiver to stop flashing.
- Turn the power back on to the fan.
- Press and hold the fan’s “High” button on the remote for about three seconds until the LED indicator on the remote starts flashing.
- Once the LED stops flashing, the remote and receiver should be reset and ready to use.
This method allows you to reset the remote and reestablish communication with the fan receiver, ensuring that your commands are properly executed.
Method 2: Resetting the Remote using the Dip Switches
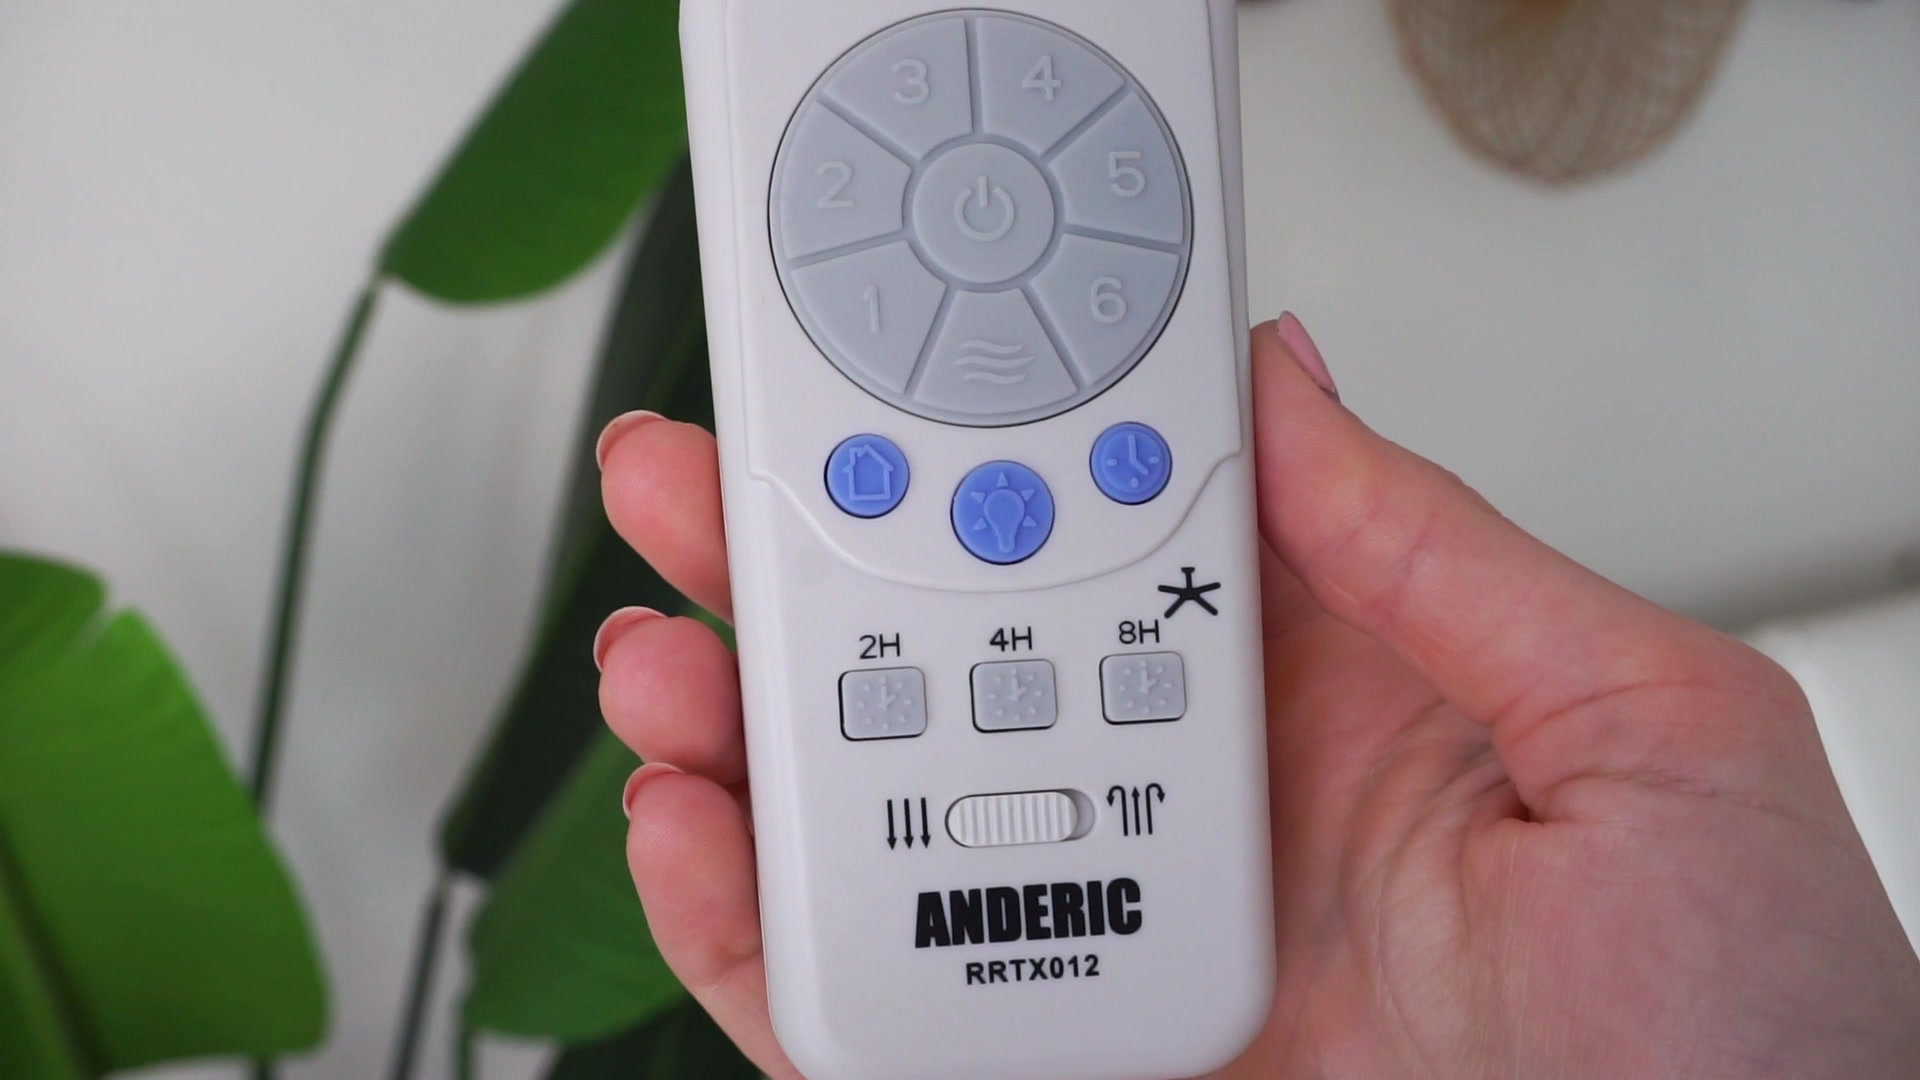
Some Hunter fan remotes use dip switches to establish a unique frequency between the remote and the fan receiver. If you have a remote with dip switches, you can reset the remote by reconfiguring the dip switches. Follow these steps:
- Turn off the power to the fan at the circuit breaker or wall switch.
- Remove the battery cover from the back of the remote to access the dip switches.
- Locate the dip switches on both the remote and the fan receiver.
- Using a small tool like a pen or screwdriver, change the position of the dip switches on both the remote and the receiver. Make sure the dip switches match exactly.
- Turn the power back on to the fan.
- Press any button on the remote to check if the reset was successful. The fan should respond accordingly.
By reconfiguring the dip switches, you can reset the remote’s frequency and establish a new connection with the fan receiver.
Method 3: Resetting the Remote using a Factory Reset
If you have tried the previous methods and your Hunter fan remote still isn’t functioning properly, you can perform a factory reset. This will reset the remote to its original factory settings. Keep in mind that this method may vary depending on the remote model. Refer to the user manual for specific instructions on performing a factory reset.
Performing a factory reset typically involves a combination of button presses or a specific sequence of actions. It’s important to follow the instructions carefully to ensure a successful reset.
After performing the factory reset, you may need to reprogram the remote to sync it with the fan receiver.
Keep in mind that resetting the remote will not affect the programmed settings of the fan itself, such as the fan speed or lighting preferences. It only resets the communication between the remote and the fan receiver.
These methods should help you reset your Hunter fan remote and resolve any issues you may be experiencing. In the next section, we will provide some troubleshooting tips in case you encounter any difficulties during the resetting process or face persistent problems with your remote.
Read more: How To Reverse Hunter Ceiling Fan
Method 1: Resetting the Remote through the Receiver
One of the methods to reset your Hunter fan remote is by resetting the connection between the remote and the fan receiver. This process helps restore communication and ensure proper functionality. Here’s a step-by-step guide on how to reset your remote using this method:
- Start by turning off the power to the fan. You can do this either by switching off the circuit breaker or using the wall switch.
- Locate the receiver unit, which is typically installed inside the fan’s canopy or motor housing. The receiver is responsible for receiving signals from the remote and carrying out the corresponding actions.
- On the receiver, you’ll find a small “Reset” button. Press and hold down this button for about five seconds.
- After holding down the “Reset” button, you’ll notice the LED indicator on the receiver start flashing. This indicates that the reset process has begun.
- Release the “Reset” button and wait for the LED indicator to stop flashing. This signifies that the receiver has been successfully reset.
- Once the reset is complete, you can turn the power back on to the fan using the circuit breaker or wall switch.
- To synchronize the remote with the receiver, press and hold the “High” button on the remote for approximately three seconds. This will activate the pairing process.
- Observe the LED indicator on the remote. When it stops flashing, it indicates that the remote and receiver have successfully reconnected.
By following these steps, you can effectively reset the remote through the receiver, restoring the connection and ensuring that your commands are recognized and executed.
Note that the method described here is applicable to most standard Hunter fan remotes. However, if you have a universal remote or a different model of Hunter fan remote, the reset process might vary. In such cases, it’s advisable to refer to the user manual or contact Hunter customer support for specific instructions.
Resetting the remote through the receiver is a straightforward process that can help resolve common issues such as unresponsive buttons or incorrect settings. However, if you continue to experience problems with your Hunter fan remote, you may want to explore other methods, such as resetting the remote using dip switches or performing a factory reset. These alternative methods can provide further troubleshooting options to regain control over your fan remote.
In the next section, we will discuss the second method of resetting the Hunter fan remote using dip switches.
To reset a Hunter fan remote, start by turning off the power to the fan. Then, press and hold the fan’s power button for 10 seconds. Finally, turn the power back on and test the remote.
Method 2: Resetting the Remote using the Dip Switches
If you have a Hunter fan remote that uses dip switches to establish a unique frequency between the remote and the fan receiver, resetting the remote can be done by reconfiguring the dip switches. This method allows you to reset the remote and establish a new connection with the fan receiver. Here’s a step-by-step guide on how to reset your remote using dip switches:
- Begin by turning off the power to the fan. You can do this by either switching off the circuit breaker or using the wall switch.
- Locate the dip switches on both the remote and the fan receiver. These switches are small, typically positioned on the back panel or inside the battery compartment of the remote, and on the receiver unit.
- Using a small tool like a pen or screwdriver, change the position of the dip switches on both the remote and the receiver. It’s essential to ensure that the dip switches match exactly to establish the correct frequency connection between the two.
- Once you have adjusted the dip switches, turn the power back on to the fan using the circuit breaker or wall switch.
- Test the functionality of the remote by pressing any button. If the reset was successful, the fan should respond accordingly to the commands.
By reconfiguring the dip switches on both the remote and the receiver, you effectively reset the remote’s frequency and establish a new connection. This process allows you to troubleshoot issues such as inconsistent functionality or unresponsive buttons.
It’s important to note that not all Hunter fan remotes use dip switches for frequency configuration. If your remote does not have dip switches, this method may not apply. In such cases, please refer to the user manual or contact Hunter customer support for specific instructions on resetting your remote.
Resetting the remote using the dip switches can resolve communication issues between the remote and the fan receiver. However, if you continue to experience difficulties or if you have a different model of Hunter fan remote, you may want to explore other methods of resetting, such as performing a factory reset. These alternative methods offer additional troubleshooting options to restore your remote’s functionality.
In the next section, we will discuss method three, which involves performing a factory reset on your Hunter fan remote.
Method 3: Resetting the Remote using a Factory Reset
If you’ve tried the previous methods and are still experiencing issues with your Hunter fan remote, performing a factory reset may be necessary. This method resets the remote to its original factory settings, eliminating any lingering issues and starting fresh. Here’s a step-by-step guide on how to perform a factory reset on your Hunter fan remote:
- Refer to the user manual or specific instructions provided with your Hunter fan remote to identify the process for performing a factory reset. The exact steps may vary depending on the model and type of remote you have.
- Start by turning off the power to the fan using the circuit breaker or wall switch.
- Depending on your remote, you may need to enter a specific button combination or follow a sequence of actions to initiate the factory reset process. For example, you may be required to press and hold a particular button while simultaneously pressing another button.
- Follow the instructions provided for the factory reset process carefully, ensuring that you hold the buttons for the specified duration or complete the required sequence of actions correctly.
- Once you have initiated the factory reset, wait for the remote to complete the process. This can vary depending on the remote model, and the LED indicator on the remote may give you an indication of the progress.
- After the factory reset is complete, turn the power back on to the fan using the circuit breaker or wall switch.
- Verify that the remote has been successfully reset by testing its functionality. Try adjusting the fan speed, turning the lights on or off, and ensuring that all buttons are responsive.
Performing a factory reset on your Hunter fan remote returns it to its default settings, erasing any programming or customizations you may have made. This process can often resolve persistent issues, such as unresponsive buttons or incorrect settings.
Remember, the steps provided here are general guidelines for performing a factory reset. The specific process may vary depending on your remote model, so it’s essential to consult the user manual or contact Hunter customer support for accurate instructions that match your remote.
By utilizing the factory reset method, you can effectively troubleshoot and restore your Hunter fan remote to its original state. If you continue to experience difficulties even after performing a factory reset, it may be necessary to reach out to Hunter customer support for further assistance.
In the next section, we will discuss some troubleshooting tips that can help you address common issues and ensure the optimal performance of your Hunter fan remote.
Troubleshooting Tips
Even after resetting your Hunter fan remote, you may encounter issues that require additional troubleshooting. Here are some helpful tips to troubleshoot common problems and ensure the optimal performance of your Hunter fan remote:
- Check the Battery: Make sure the battery in your remote is properly inserted and has sufficient power. A weak or depleted battery can cause unresponsive buttons or intermittent functionality. Consider replacing the battery if necessary.
- Verify the Line of Sight: Ensure that there are no obstructions between the remote and the fan receiver. Thick walls, furniture, or other objects can interfere with the signal and impact remote functionality. Maintain a clear line of sight between the remote and the receiver for optimal performance.
- Reposition the Dip Switches: If your remote uses dip switches, double-check that the dip switches on both the remote and the receiver are set to the same position. Inconsistent dip switch configurations can lead to communication issues and unreliable functionality.
- Eliminate Interference: Other electronic devices or strong radio signals in the vicinity can interfere with the remote signals. Keep other devices away from the fan and remote, or try changing the frequency or channel on the remote to avoid interference.
- Reprogram the Remote: If you have a programmable remote, reprogramming it can help sync the remote’s settings with the fan receiver. Consult the user manual for instructions on how to program the remote properly.
- Protect from Water Damage: Ensure that the remote and receiver do not come into contact with water or excessive moisture, as it can damage the components and disrupt functionality. Keep the remote and receiver in a dry and safe location.
- Consult the User Manual: If you are experiencing persistent issues with your Hunter fan remote, refer to the user manual for specific troubleshooting steps and recommendations. The manual provides detailed instructions and troubleshooting tips tailored to your specific remote model.
- Contact Hunter Customer Support: If you have tried all troubleshooting steps and are still unable to resolve the issue, it is recommended to reach out to Hunter customer support. They can provide expert assistance and guide you through advanced troubleshooting techniques or offer further solutions.
By following these troubleshooting tips, you can address common problems with your Hunter fan remote and ensure that it functions optimally. Remember to maintain regular maintenance and care for both the remote and the fan to extend their lifespan and prevent future issues.
In the next section, we will conclude our article with a brief summary of the methods discussed and the importance of troubleshooting for Hunter fan remote users.
Read more: How To Remove A Hunter Ceiling Fan
Conclusion
Resetting your Hunter fan remote is a practical solution to resolve common issues and restore its functionality. Whether you choose to reset the remote through the receiver, reconfigure the dip switches, or perform a factory reset, these methods can help you troubleshoot and address problems such as unresponsive buttons, inconsistent functionality, or incorrect settings.
Understanding the technology behind Hunter fan remotes, such as their use of radio frequency and the interaction between the remote and the fan receiver, can provide insights into how these devices work and facilitate the troubleshooting process.
In addition to resetting the remote, implementing troubleshooting tips like checking the battery, verifying line of sight, repositioning dip switches, eliminating interference, and consulting the user manual can further enhance the performance and reliability of your Hunter fan remote.
Remember to follow the specific instructions provided with your remote model and consult the user manual for accurate troubleshooting steps tailored to your device. If you continue to experience difficulties, contacting Hunter customer support can provide you with expert guidance and assistance.
By taking care of your Hunter fan and its remote, you can ensure years of efficient and convenient control over your ceiling fan. Regular maintenance, battery replacement, and protection from water damage are essential steps in prolonging the lifespan of your remote and maximizing its functionality.
In conclusion, resetting your Hunter fan remote is a simple yet effective way to troubleshoot and resolve issues. Whether it’s through the receiver reset method, reconfiguring dip switches, or performing a factory reset, these methods empower you to regain control and enjoy hassle-free operation of your Hunter fan remote.
So the next time you face any problems with your Hunter fan remote, don’t fret. Reset, troubleshoot, and enjoy the comfort and convenience that Hunter fans are renowned for!
Frequently Asked Questions about How To Reset Hunter Fan Remote
Was this page helpful?
At Storables.com, we guarantee accurate and reliable information. Our content, validated by Expert Board Contributors, is crafted following stringent Editorial Policies. We're committed to providing you with well-researched, expert-backed insights for all your informational needs.

0 thoughts on “How To Reset Hunter Fan Remote”