Articles
How To Wire A Ceiling Fan With A Remote
Modified: November 2, 2024
Learn how to wire a ceiling fan with a remote in this comprehensive guide. Discover step-by-step articles and tips to easily install and control your ceiling fan.
(Many of the links in this article redirect to a specific reviewed product. Your purchase of these products through affiliate links helps to generate commission for Storables.com, at no extra cost. Learn more)
Introduction
Welcome to our comprehensive guide on how to wire a ceiling fan with a remote control. Ceiling fans provide comfort and style to any room, and having the ability to control your fan with a remote adds convenience and versatility. Whether you’re replacing an old ceiling fan or installing a new one, this step-by-step guide will walk you through the process to ensure a successful installation.
A ceiling fan consists of several components, including the fan motor, fan blades, mounting bracket, and electrical wires. The remote control, on the other hand, allows you to adjust the fan’s speed, turn on and off the lights (if applicable), and even set a timer – all from the comfort of your couch or bed.
Before we dive into the wiring process, it’s important to gather the necessary tools and materials. You will need a screwdriver, wire cutters, wire strippers, electrical tape, wire connectors, and a remote control receiver kit. Make sure you have these items on hand before you begin the installation.
Safety should always be a top priority when working with electrical wiring. Before starting any electrical work, be sure to turn off the power to the circuit you’ll be working on. This can be done at the circuit breaker panel by switching off the corresponding breaker. Additionally, use caution and follow proper safety procedures throughout the process to avoid any accidents or injuries.
Now that we have a clear understanding of the components involved, gathered our tools, and established safety precautions, let’s proceed with the step-by-step guide on how to wire a ceiling fan with a remote control.
Key Takeaways:
- Prioritize safety and gather the right tools before wiring a ceiling fan with a remote. Turning off the power, handling wires carefully, and following manufacturer’s instructions are crucial for a successful and secure installation.
- Troubleshooting tips can help resolve common issues with remote-controlled ceiling fans. From checking batteries to verifying wiring connections, these tips ensure a smooth and convenient fan operation.
Read more: How To Wire A Ceiling Fan With 3 Wires
Understanding the Components
Before we start wiring a ceiling fan with a remote control, it’s essential to have a thorough understanding of the components involved. Let’s take a closer look at the ceiling fan and the remote control.
Ceiling Fan
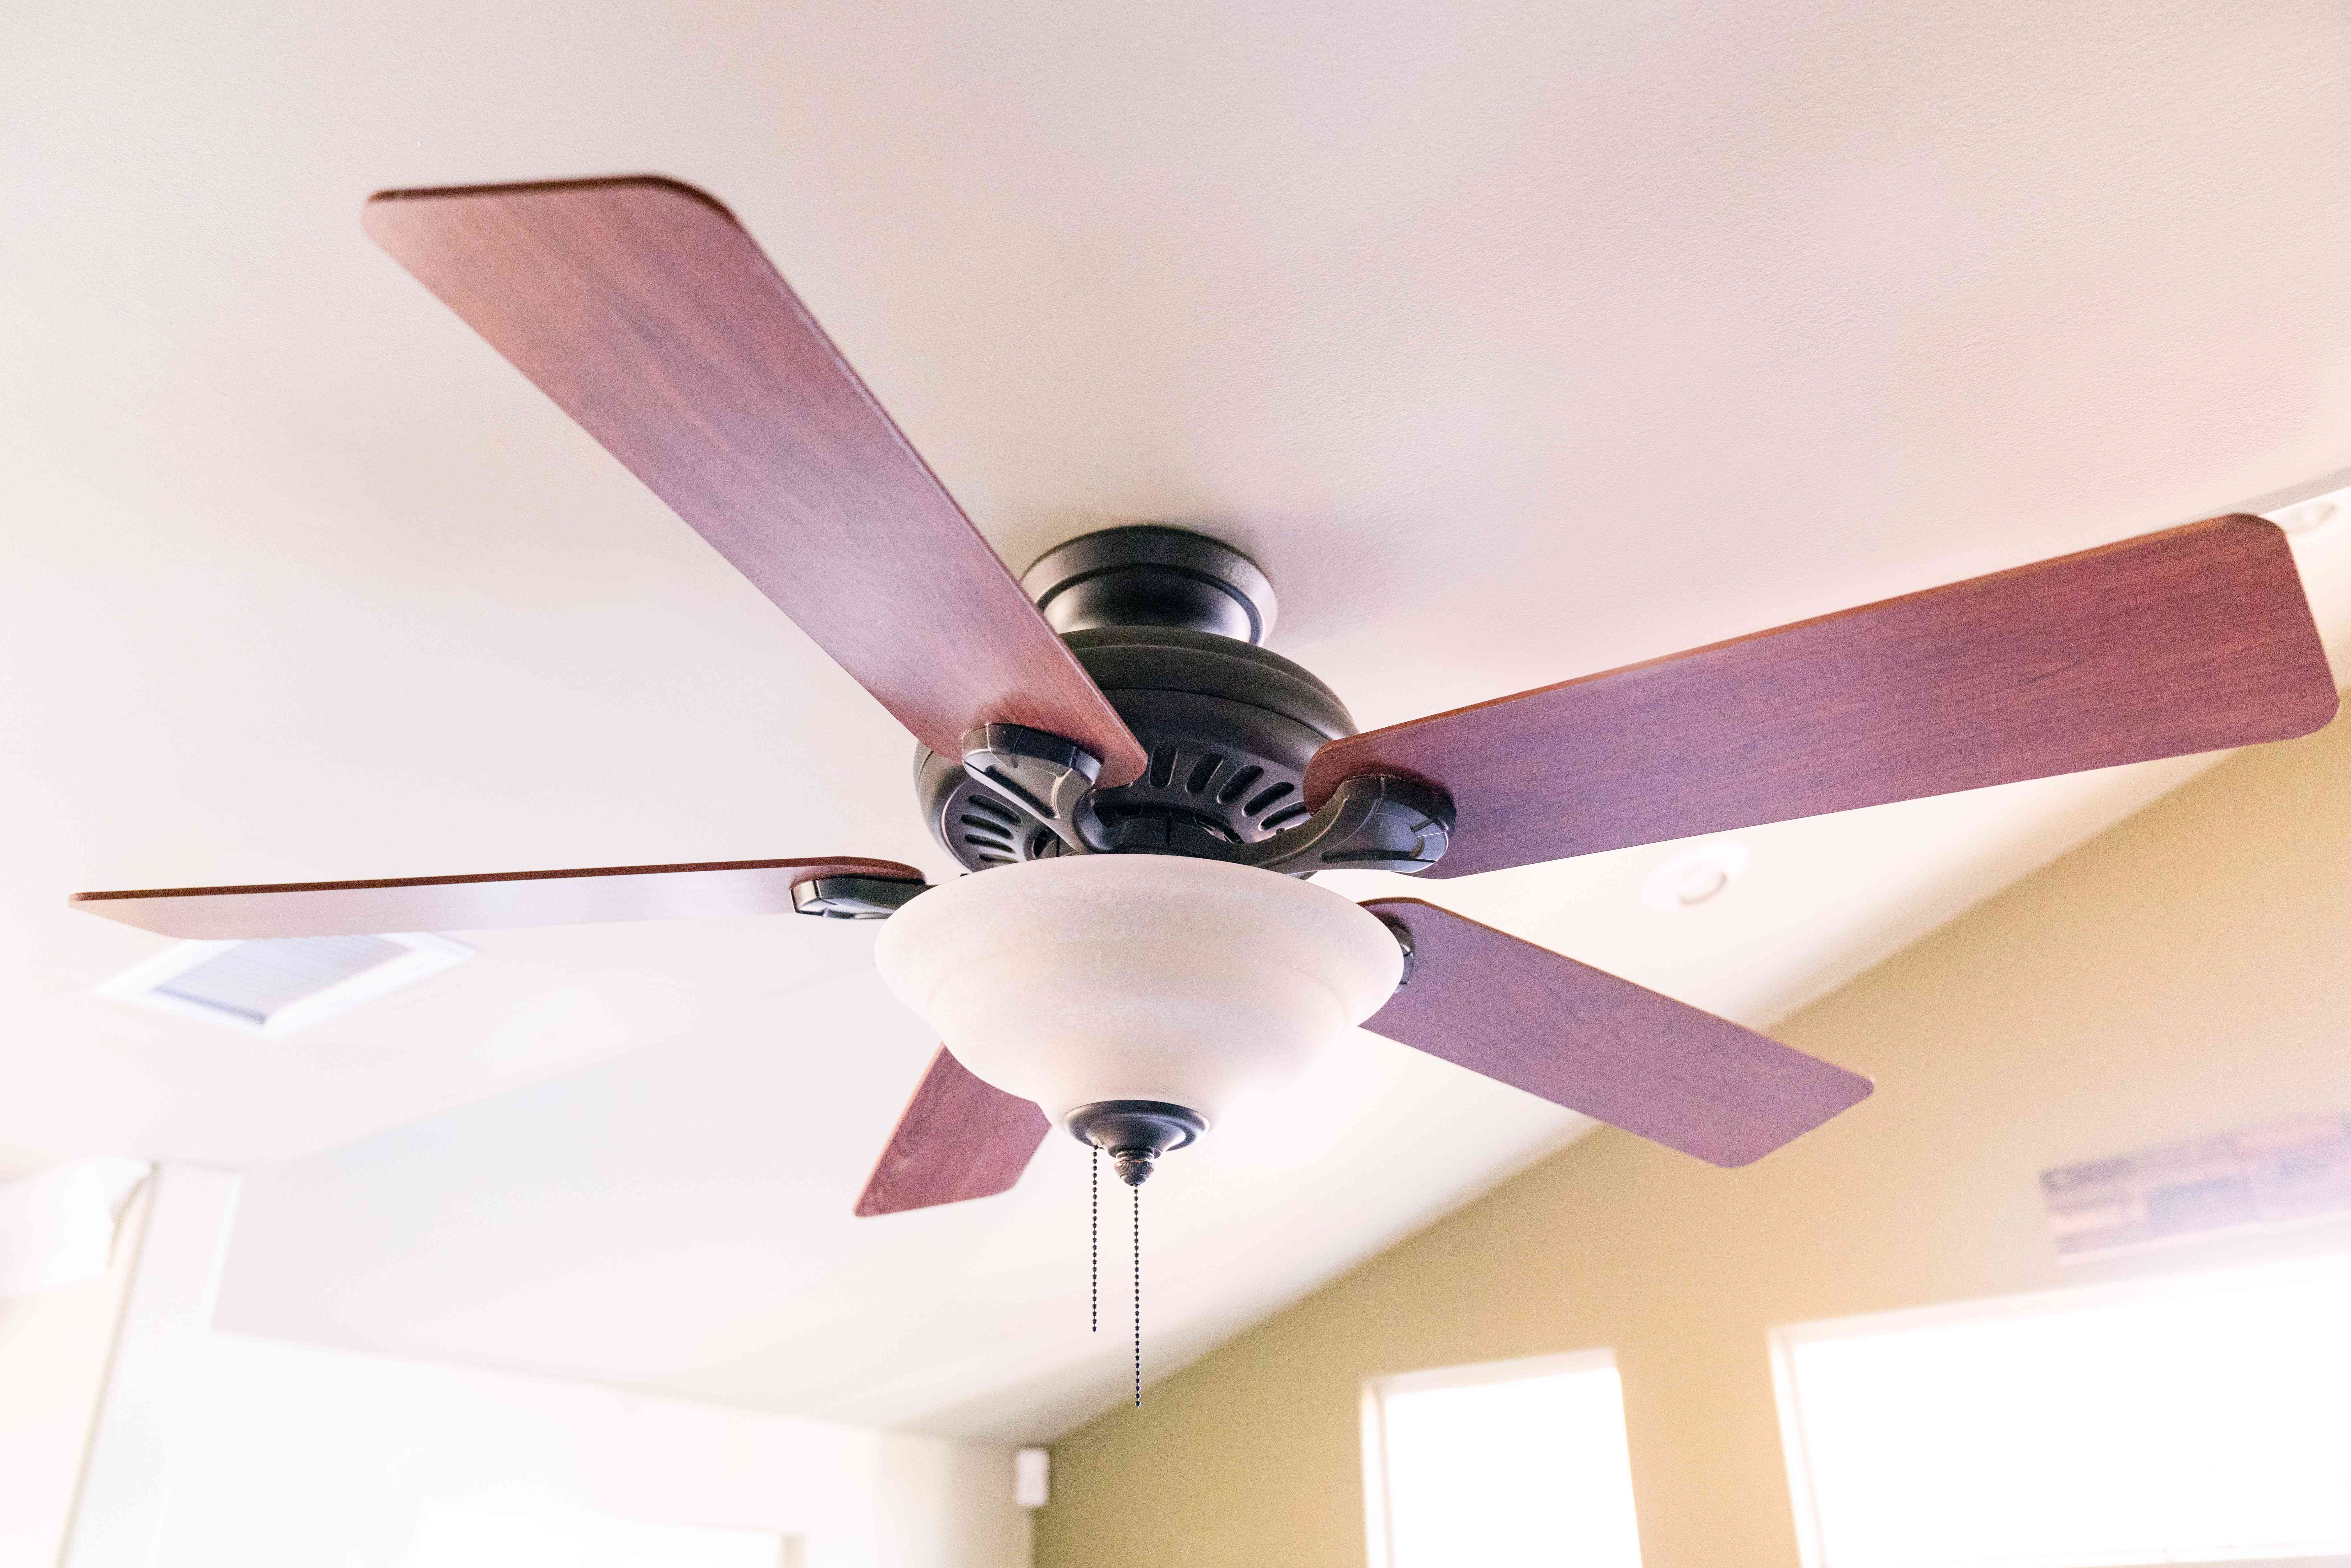
The ceiling fan is the main component that circulates the air in a room to create a cooling effect. It typically consists of a motor, fan blades, a mounting bracket, and electrical wiring. The motor is responsible for powering the fan blades and controlling their speed. The fan blades come in various sizes and designs and are attached to the motor shaft.
When choosing a ceiling fan, consider the size of the room and the height of the ceiling. A fan that’s too small for the room will struggle to effectively circulate the air, while a fan that’s too large may overpower the space. Additionally, ensure that the ceiling fan is compatible with a remote control, as not all models come with this feature.
Remote Control
The remote control is a convenient accessory that allows you to control the ceiling fan’s settings without the need for manual switches. It typically comes with buttons or switches to adjust the fan speed, turn the lights on and off (if applicable), and set a timer. The remote control communicates with a receiver installed in the fan to send commands.
Remote controls for ceiling fans come in different designs and functionalities. Some remotes are handheld, while others come with wall-mounted holders. Advanced models may feature additional functions like reverse mode, which changes the direction of the fan blades for year-round comfort.
When selecting a remote control for your ceiling fan, ensure compatibility with your specific fan model. It’s also worth considering additional features that may enhance convenience and functionality, such as dimmable lights or programmable timers.
Now that we have a clear understanding of the components involved, including the ceiling fan and the remote control, we can move on to the next step of wiring the fan with the remote control.
Tools and Materials Required
Before we begin wiring a ceiling fan with a remote control, it’s important to gather the necessary tools and materials. Having the right equipment at hand will ensure a smooth and successful installation process. Here are the tools and materials you’ll need:
Read more: How To Wire Hunter Ceiling Fan
Screwdriver
A screwdriver is an essential tool for removing or tightening screws throughout the installation process. It’s advisable to have both a flathead and a Phillips-head screwdriver to accommodate different types of screws that may be used in the fan and remote control.
Wire Cutters
Wire cutters, also known as wire snips or diagonal pliers, are used to cut electrical wires to the appropriate length during the installation. They have sharp, insulated blades that make clean and precise cuts, ensuring a secure connection.
Wire Stripper
A wire stripper is a specialized tool designed to remove the insulation from electrical wires. It has various-sized cutting slots that allow you to strip different gauges of wire easily. This tool ensures that you have clean, exposed wire ends for connection.
Electrical Tape
Electrical tape is a vital component for insulating and securing wire connections. It helps prevent exposed wires from coming into contact with each other or other conductive surfaces, reducing the risk of electrical shocks or short circuits.
Wire Connectors
Wire connectors, also referred to as wire nuts or twist-on connectors, are used to join and secure wires together. These connectors come in different sizes and are color-coded to match the wire gauges they are designed for. They provide a reliable and safe connection, ensuring proper electrical flow.
Remote Control Receiver Kit
A remote control receiver kit is a crucial component for wiring a ceiling fan with a remote control. This kit includes the receiver module, which is installed in the fan housing, as well as the necessary wiring harness and instructions. Make sure to choose a receiver kit that is compatible with your fan model.
Having these tools and materials ready before you start the installation process will save you time and help ensure a successful wiring project. Now that we have everything we need, let’s proceed to the next steps of wiring the ceiling fan with a remote control.
Safety Precautions
When working with electrical wiring, it’s crucial to prioritize safety to prevent accidents and ensure a secure installation. Here are some important safety precautions to keep in mind when wiring a ceiling fan with a remote control:
Turn off the Power
Before you begin any electrical work, always turn off the power to the circuit you’ll be working on. This can be done by switching off the corresponding breaker at the circuit breaker panel. Use a voltage tester to verify that the power is indeed off before proceeding. Working on live electrical wires can be extremely dangerous and should be avoided at all costs.
Read more: What Size Wire for a Ceiling Fan
Handle Wires Carefully
When handling electrical wires, it’s essential to exercise caution. Avoid pulling or twisting the wires excessively, as this can lead to damage or breakage. If you encounter frayed or damaged wires, they should be replaced rather than used for the installation. Always handle wires by the insulation and avoid touching exposed conductors.
Properly Insulate Connections
Insulating wire connections is crucial to prevent electrical shocks, short circuits, and potential fires. Ensure that all wire connections are properly insulated using electrical tape or appropriate wire connectors. Inspect the connections after securing them to ensure that no exposed wires are visible.
Securely Mount the Fan
Properly mounting the ceiling fan is essential for safety. Make sure that the mounting bracket is securely attached to the ceiling joist or support structure. Follow the manufacturer’s instructions to ensure a sturdy and stable installation. A poorly mounted fan can pose a safety risk if it becomes loose or falls from the ceiling.
Follow the Manufacturer’s Instructions
Always refer to the manufacturer’s instructions and guidelines specific to your ceiling fan and remote control model. These instructions provide essential information for the proper installation, wiring, and operation of your fan. Following the instructions will ensure a safe and reliable installation that meets all safety standards.
Remember to work at your own pace and avoid rushing through the installation. Taking your time and following safety precautions will result in a successful and secure wiring of your ceiling fan with a remote control. With safety as a priority, we can now proceed with the step-by-step guide to wiring the ceiling fan with a remote control.
Read more: What Is The Blue Wire For On A Ceiling Fan
Step-by-Step Guide
Wiring a ceiling fan with a remote control may seem daunting, but with this step-by-step guide, you’ll be able to complete the installation with ease. Let’s dive into the process:
1. Turn off the power
Before you begin any electrical work, make sure to turn off the power to the circuit you’ll be working on. This can be done by switching off the corresponding breaker at the circuit breaker panel. Use a voltage tester to double-check that the power is indeed off before proceeding.
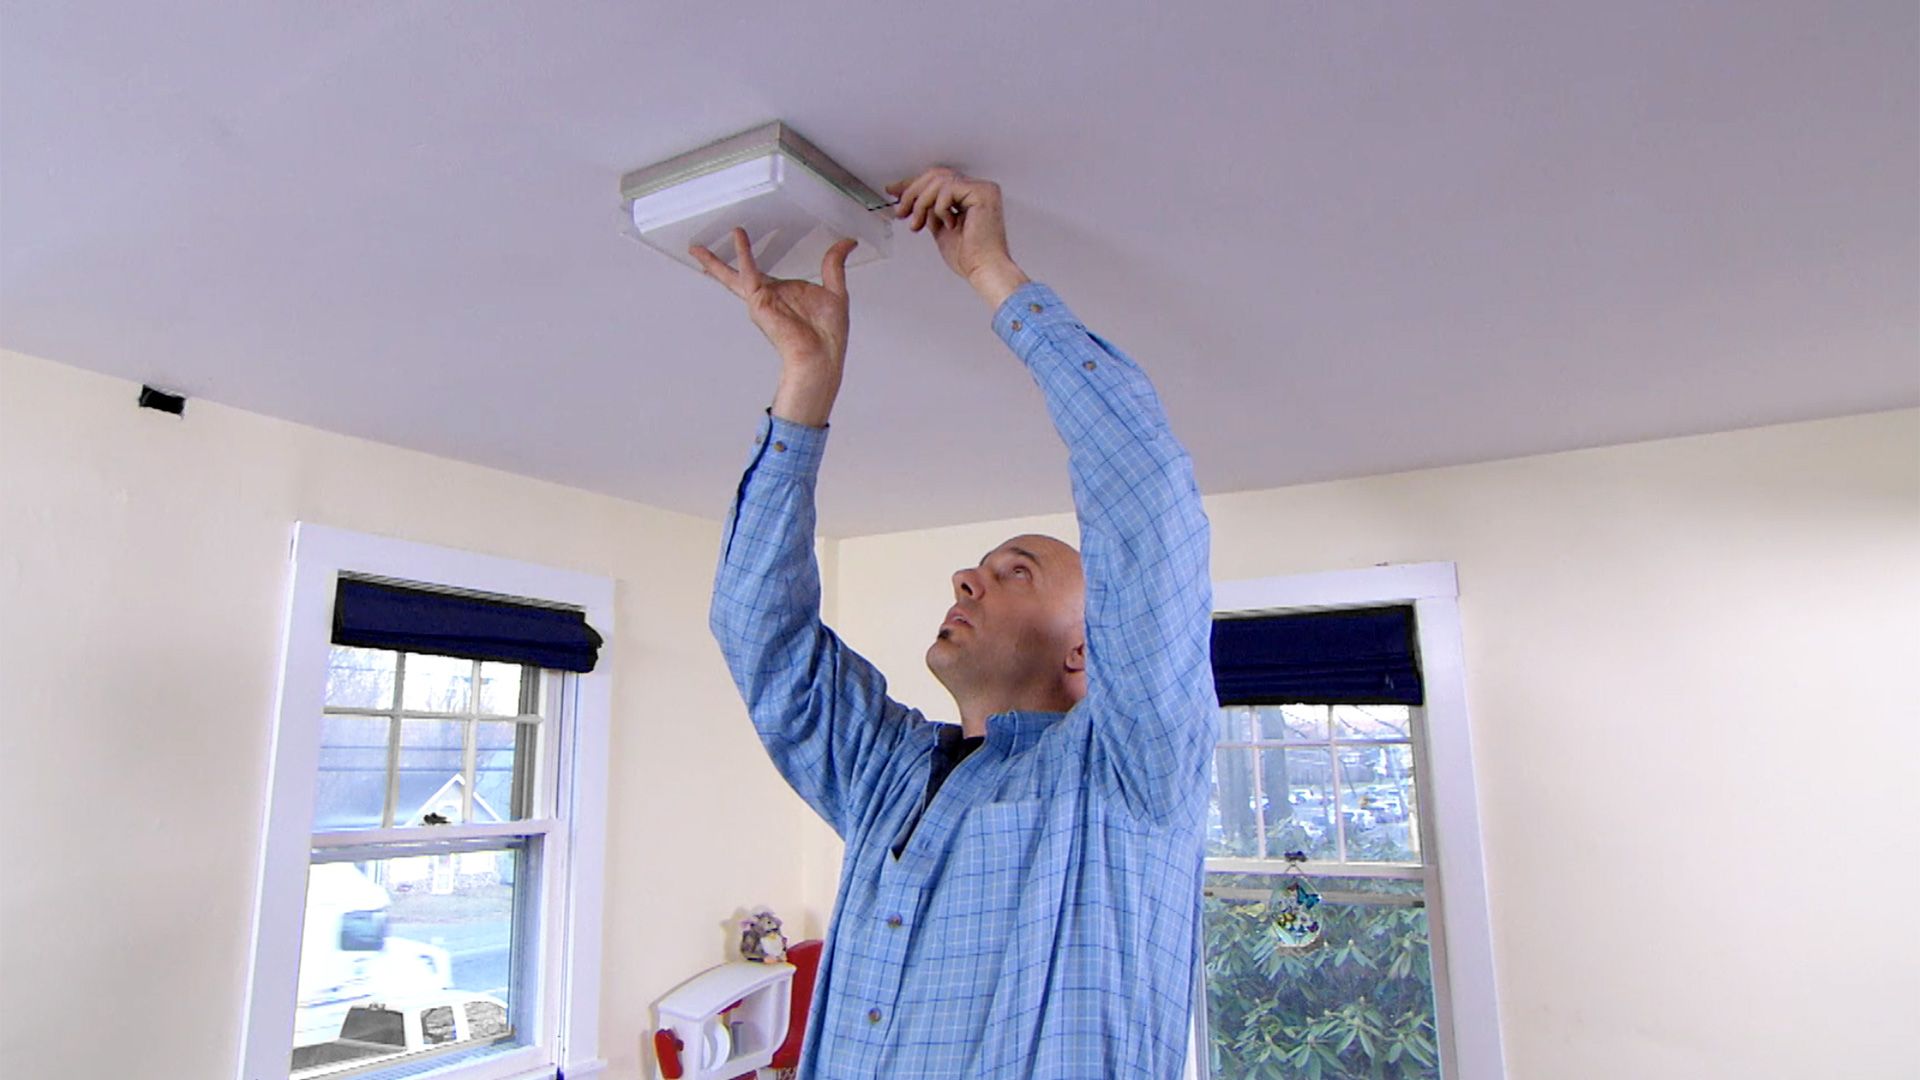
2. Install the mounting bracket
The mounting bracket is necessary to securely attach the ceiling fan to the ceiling. Follow the manufacturer’s instructions to install the bracket, ensuring it is properly aligned and firmly attached to a ceiling joist or support structure.
3. Hang the ceiling fan
With the mounting bracket in place, carefully lift the ceiling fan and hang it onto the bracket. Make sure the fan is centered and level, using a spirit level to confirm. Secure the fan to the bracket following the manufacturer’s instructions.
4. Connect the fan wires
Using wire connectors, connect the corresponding wires from the fan to the house wiring. Typically, the wires will be color-coded. Connect the black (or live) wire to the black or red wire from the house wiring, the white (or neutral) wire to the white wire, and the green or bare (or ground) wire to the copper or green wire. Follow the specific wiring diagram provided by the manufacturer.
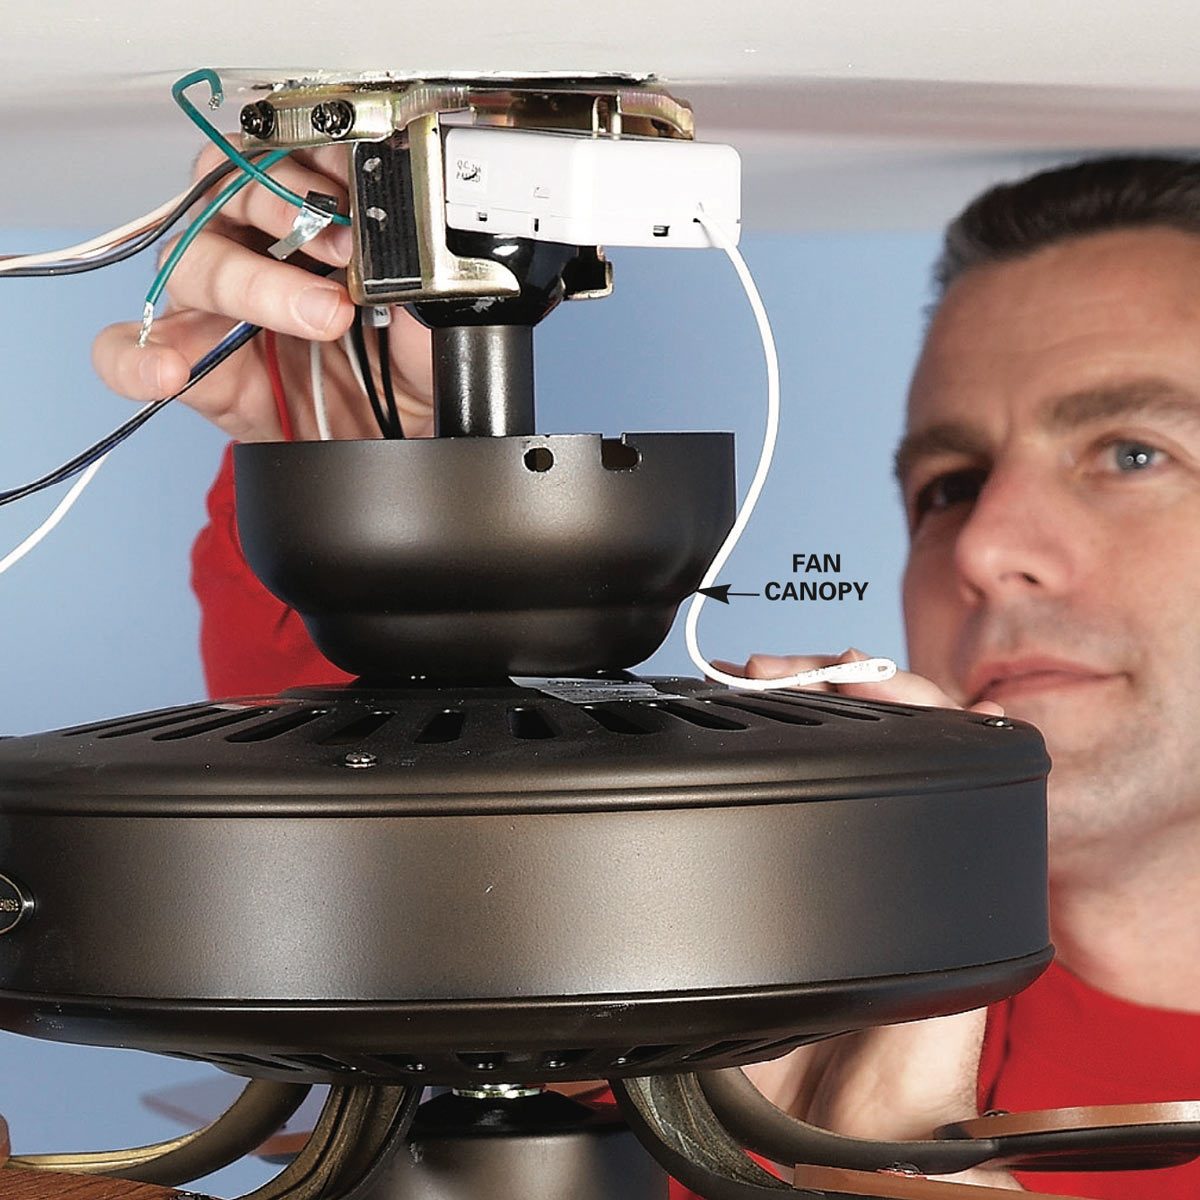
5. Install the remote control receiver
Locate a suitable spot within the fan housing to install the remote control receiver. Follow the manufacturer’s instructions to securely mount the receiver. Connect the wires from the fan to the receiver as directed by the wiring diagram.
6. Connect the remote control wires
Refer to the remote control receiver kit instructions to identify the wires for connecting the remote control to the fan. Connect the corresponding wires from the receiver to the remote control as instructed. Make sure the connections are secure and insulated.
7. Attach the fan blades
Attach the fan blades to the fan motor following the manufacturer’s instructions. Use the provided screws or clips to secure the blades in place. Double-check that all blades are attached securely and evenly spaced.
Read more: How To Wire A Ceiling Fan With Two Switches
8. Install the light kit (if applicable)
If your ceiling fan comes with a light kit, follow the manufacturer’s instructions to install it. Connect the wires from the light kit to the designated wires in the fan housing. Secure the light kit in place using the provided hardware.
9. Turn on the power and test the fan with the remote control
Once you have completed all the wiring and installation steps, turn the power back on at the circuit breaker panel. Test the fan and remote control by adjusting the fan speed, turning the lights on and off (if applicable), and verifying that all functions are working correctly. If everything operates as intended, congratulations! You have successfully wired a ceiling fan with a remote control.
Remember to refer to the manufacturer’s instructions and wiring diagrams throughout the process. If you encounter any difficulties or questions, it’s always best to seek professional assistance to ensure a safe and proper installation. Enjoy the comfort and convenience of controlling your ceiling fan with a remote control!
Troubleshooting Tips
While wiring and installing a ceiling fan with a remote control is usually a straightforward process, you may encounter some common issues. Here are a few troubleshooting tips to help you resolve two common problems: remote control not working and the fan not responding to remote commands.
Remote control not working
If the remote control is not working despite proper wiring and installation, consider the following troubleshooting steps:
1. Check the batteries: Ensure that the batteries in the remote control are fresh and correctly inserted. Replace them if necessary.
2. Verify the signal: Use the camera on your smartphone or a digital camera to check if the remote control is emitting a signal. Aim the remote at the camera and press any button on the remote while looking at the camera’s screen. If you see a blinking light on the camera’s screen, it indicates that the remote is working.
3. Check the remote’s programming: Some remote controls require programming for synchronization with the fan’s receiver. Consult the manufacturer’s instructions to verify if your remote requires programming and follow the programming steps.
4. Reset the remote and receiver: Reset both the remote control and the receiver by removing the batteries from the remote for a few minutes, and then disconnecting the power to the fan’s receiver. Reconnect the power and insert fresh batteries into the remote, then try again.
5. Replace the remote control: If none of the above steps work, the remote control may be defective. Contact the manufacturer or supplier to inquire about a replacement remote control.
Fan not responding to remote commands
If the remote control appears to work, but the fan does not respond to the commands, consider the following troubleshooting tips:
1. Check the wiring connections: Ensure that all wiring connections between the fan, receiver, and remote control are secure. Verify that the wires are correctly connected according to the wiring diagram provided by the manufacturer.
2. Confirm power to the receiver: Use a voltage tester to check if power is reaching the receiver. If there is no power, verify the wiring connections and ensure that the circuit breaker is not tripped.
3. Verify the fan’s settings: Some ceiling fans have switches on the fan housing that control the fan’s functionality. Check if these switches are set correctly, as they may override the remote control commands.
4. Reset the fan: Reset the fan by turning off the power at the circuit breaker, waiting for a few minutes, and then turning the power back on. This can resolve any temporary issues with the fan’s electronics.
5. Seek professional assistance: If the fan still does not respond to remote commands, it may indicate a more complex issue. In such cases, it is advisable to seek professional assistance from a licensed electrician or contact the fan manufacturer’s customer support for further guidance.
Remember to refer to the manufacturer’s instructions and warranty information for specific troubleshooting steps or warranty coverage. With patience and troubleshooting, you can overcome these common issues and enjoy the convenience and comfort of controlling your ceiling fan with a remote control.
Conclusion
Wiring a ceiling fan with a remote control adds convenience and versatility to your home. With the ability to adjust fan speed, control lighting (if applicable), and set timers from the comfort of your couch or bed, you can create the perfect ambiance for any room. By following the step-by-step guide and employing the troubleshooting tips provided, you can successfully wire your ceiling fan with a remote control.
Throughout the installation process, always prioritize safety. Turn off the power to the circuit you’re working on, handle wires carefully, insulate connections properly, and securely mount the fan. By following safety precautions, you can ensure a secure and accident-free installation.
Understanding the components of a ceiling fan and a remote control is essential. Familiarize yourself with the various parts and their functions to ensure a smooth installation process. Gather the necessary tools and materials, including a screwdriver, wire cutters, wire strippers, electrical tape, wire connectors, and a remote control receiver kit, to make the installation easier.
If you encounter any issues during the installation or operation of the fan, refer to the troubleshooting tips provided. From addressing a non-responsive remote control to a fan not responding to remote commands, these troubleshooting steps will help you identify and resolve common issues.
Remember, if you are unsure or uncomfortable with any part of the installation process, it’s always best to seek professional assistance. Electricians and fan manufacturers’ customer support teams can provide guidance and ensure the installation is done safely and correctly.
With the installation complete and proper functionality verified, you can now sit back and enjoy the benefits of your newly wired ceiling fan with a remote control. Whether it’s for cooling purposes, improving air circulation, or enhancing the visual appeal of your space, your ceiling fan will quickly become a valuable addition to your home.
Thank you for following this comprehensive guide on how to wire a ceiling fan with a remote control. We hope that this article has been informative and helpful in your journey to enhance your home’s comfort and convenience. Enjoy the comfort and effortless control of your ceiling fan!
Ready to take on more handy home projects? If you've just mastered wiring a remote-controlled ceiling fan, why not tackle another upgrade? Consider replacing an old light fixture with a new ceiling fan to enhance room comfort and style. Our guide on how to install a new ceiling fan offers clear instructions for a smooth transition. For those extending their handy skills outside, running electrical wiring to a garage can power up workspace functionality. Check out our detailed instructions on how to run overhead electrical wire to a garage for safe and effective methods. Lastly, immerse yourself in the rewarding world of DIY projects. Learn what is so great about DIY projects, enriching everyday life.
Frequently Asked Questions about How To Wire A Ceiling Fan With A Remote
Was this page helpful?
At Storables.com, we guarantee accurate and reliable information. Our content, validated by Expert Board Contributors, is crafted following stringent Editorial Policies. We're committed to providing you with well-researched, expert-backed insights for all your informational needs.


0 thoughts on “How To Wire A Ceiling Fan With A Remote”