Articles
How To Oil A Hunter Ceiling Fan
Modified: October 19, 2024
Learn how to properly oil a Hunter ceiling fan with our informative articles. Get step-by-step instructions and expert tips to keep your fan running smoothly and efficiently.
(Many of the links in this article redirect to a specific reviewed product. Your purchase of these products through affiliate links helps to generate commission for Storables.com, at no extra cost. Learn more)
Introduction
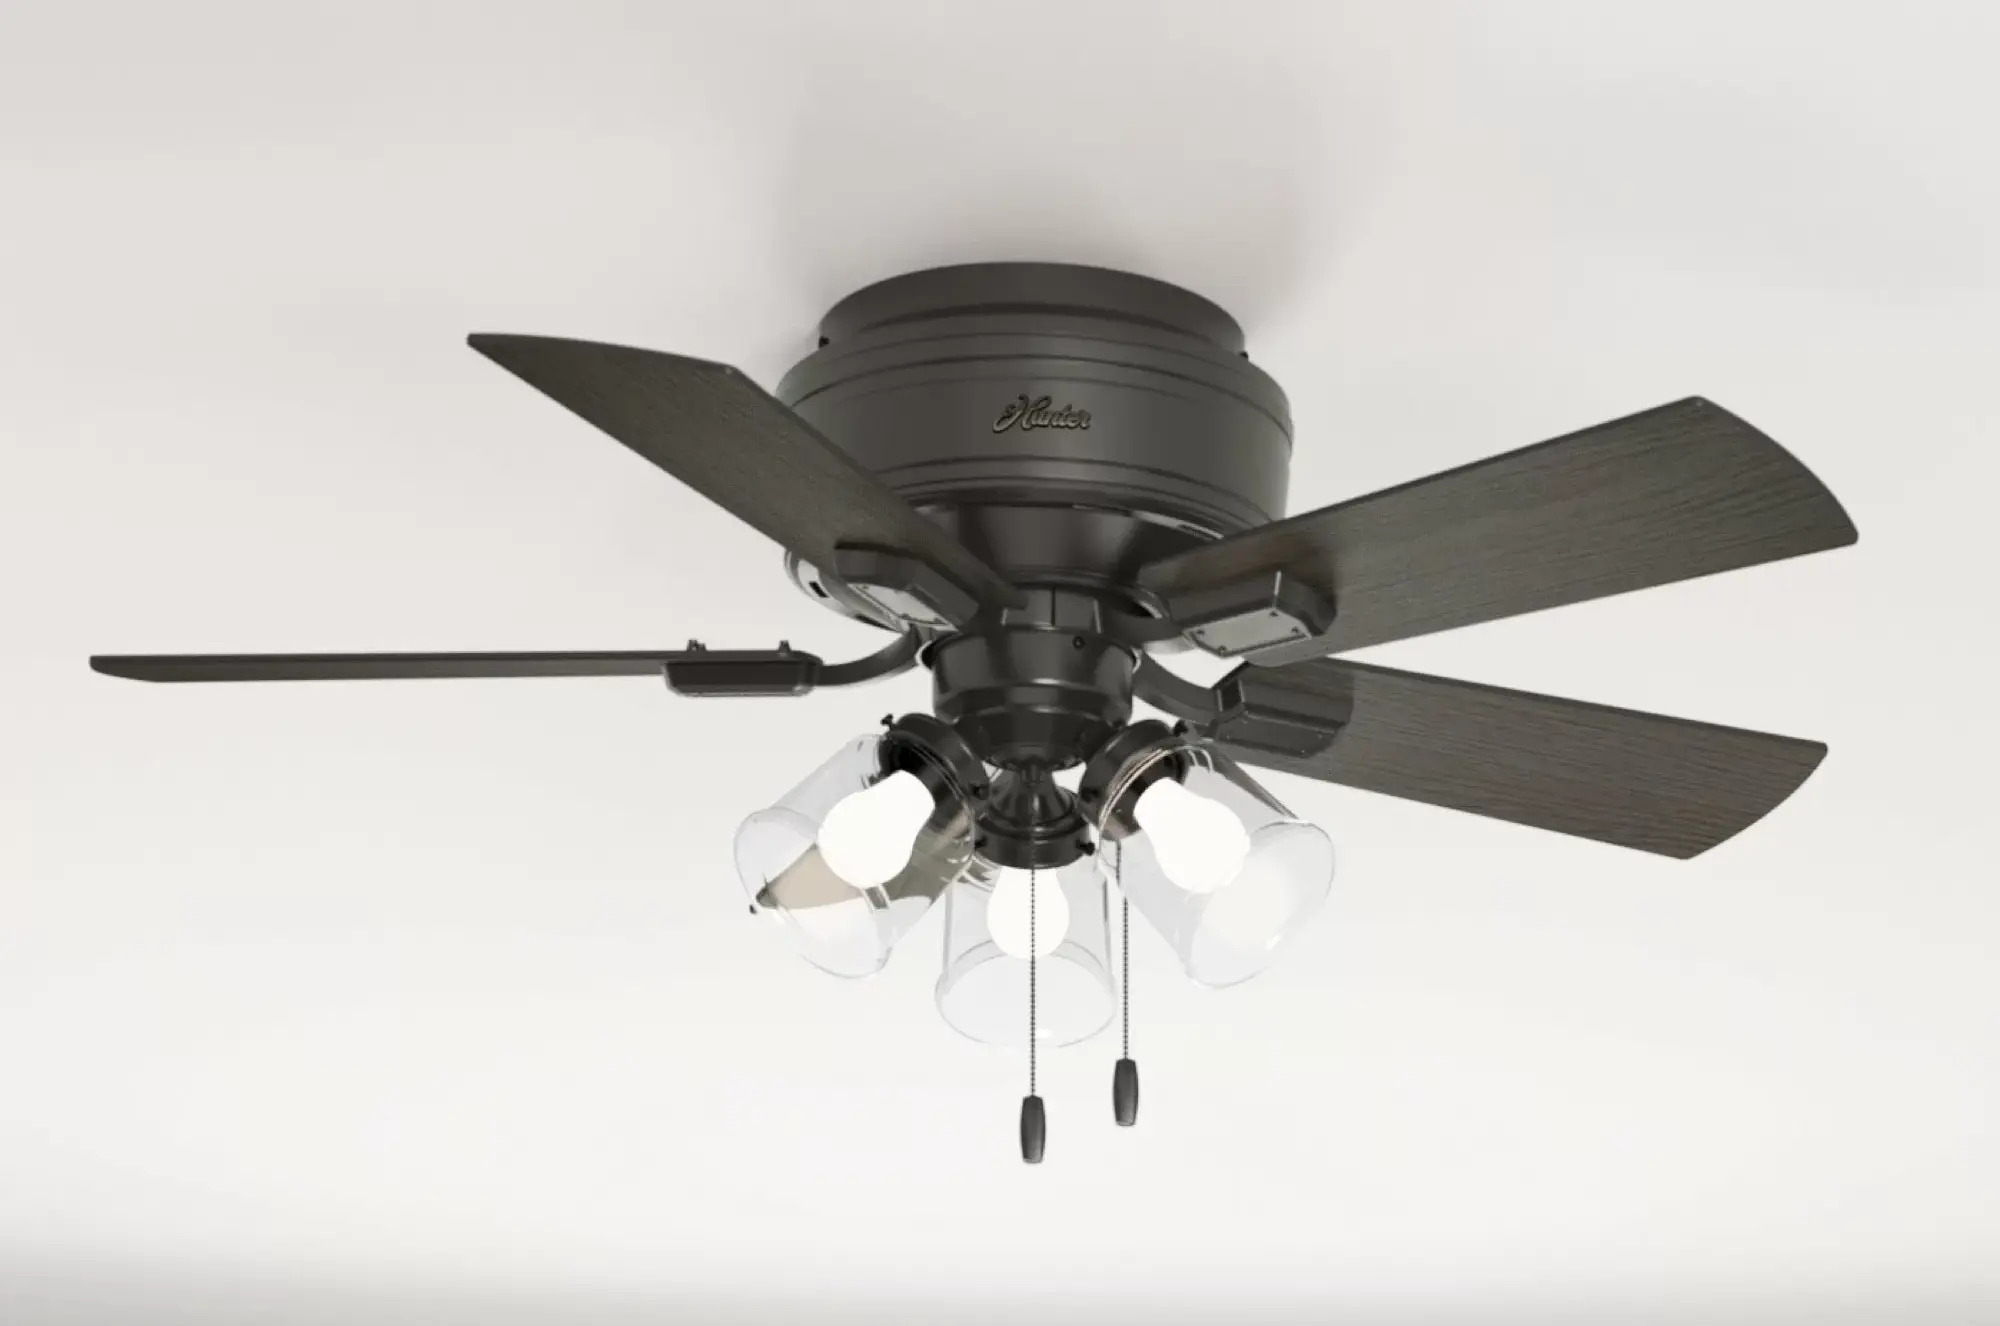
Hunter ceiling fans are known for their superior quality, stylish designs, and reliable performance. These ceiling fans offer not only an efficient way to cool down your space but also a beautiful addition to your home decor. To keep your Hunter ceiling fan running smoothly and efficiently, regular maintenance is key. One essential maintenance task is oiling the fan to ensure proper lubrication and prevent any squeaking or grinding noises.
Regularly oiling your Hunter ceiling fan can extend its lifespan and improve its overall performance. This simple maintenance task is easy to do and requires just a few basic supplies. By following the steps outlined in this guide, you’ll be able to oil your Hunter ceiling fan and keep it running smoothly for years to come.
Before you begin the oiling process, it’s important to gather all the necessary supplies. You’ll need a ladder or step stool to access the fan, a clean cloth or towel, and a high-quality ceiling fan oil. It’s crucial to use the right type of oil specifically designed for ceiling fans, as other types of lubricants may not provide the same level of performance.
It’s important to note that not all Hunter ceiling fans require oiling. Some newer models come with sealed, maintenance-free bearings that do not require regular lubrication. If you’re unsure whether your Hunter ceiling fan needs oiling, refer to the user manual or contact Hunter customer support for guidance.
In the following sections, we’ll guide you through the step-by-step process of oiling your Hunter ceiling fan to ensure optimal performance and smooth operation. By following these instructions carefully, you can maintain your ceiling fan’s functionality and keep it operating quietly and efficiently.
Key Takeaways:
- Regularly oiling your Hunter ceiling fan is essential for smooth operation, reduced friction, and extended lifespan. Follow the step-by-step guide to ensure optimal performance and quiet functionality.
- Properly maintaining your Hunter ceiling fan through regular oiling and maintenance checks enhances airflow, cooling, and the overall aesthetics of your home. Invest in the longevity and performance of your fan for years to come.
Read more: How To Wire Hunter Ceiling Fan
Preparing for Oiling
Before you start the oiling process, it’s essential to take a few preparatory steps to ensure safety and ease of access. Follow these steps to prepare your space and gather the necessary supplies:
- Turn Off the Fan: Before you begin any maintenance work on your ceiling fan, make sure it’s turned off. This will prevent any accidents or injuries while you’re working on the fan.
- Gather the Necessary Supplies: To oil your Hunter ceiling fan, you’ll need a ladder or step stool to reach the fan, a clean cloth or towel to wipe off any excess oil, and a high-quality ceiling fan oil. It’s important to use a specifically designed ceiling fan oil rather than general-purpose lubricants, as they may not provide the same level of performance or compatibility.
- Remove Light Kit (if applicable): If your Hunter ceiling fan has a built-in light kit, you may need to remove it before accessing the oiling points. Refer to the fan’s user manual for specific instructions on how to remove the light kit safely. Remember to turn off the power supply to the fan before attempting to remove any parts.
- Lower the Fan: Some Hunter ceiling fans come with a downrod that suspends them from the ceiling. Lower the fan using the appropriate controls or by following the instructions provided in the user manual. This will make it easier to access the oiling points and apply the oil effectively.
Once you’ve completed these preparatory steps, you’ll be ready to oil your Hunter ceiling fan. Make sure to have all the necessary supplies within reach and proceed to the next steps to apply the oil correctly and ensure the longevity and smooth operation of your fan.
Step 1: Turn Off the Fan
Before you start oiling your Hunter ceiling fan, it’s crucial to turn off the fan to ensure your safety. This step will prevent any accidental activation of the fan while you’re working on it. Follow these instructions to turn off your Hunter ceiling fan:
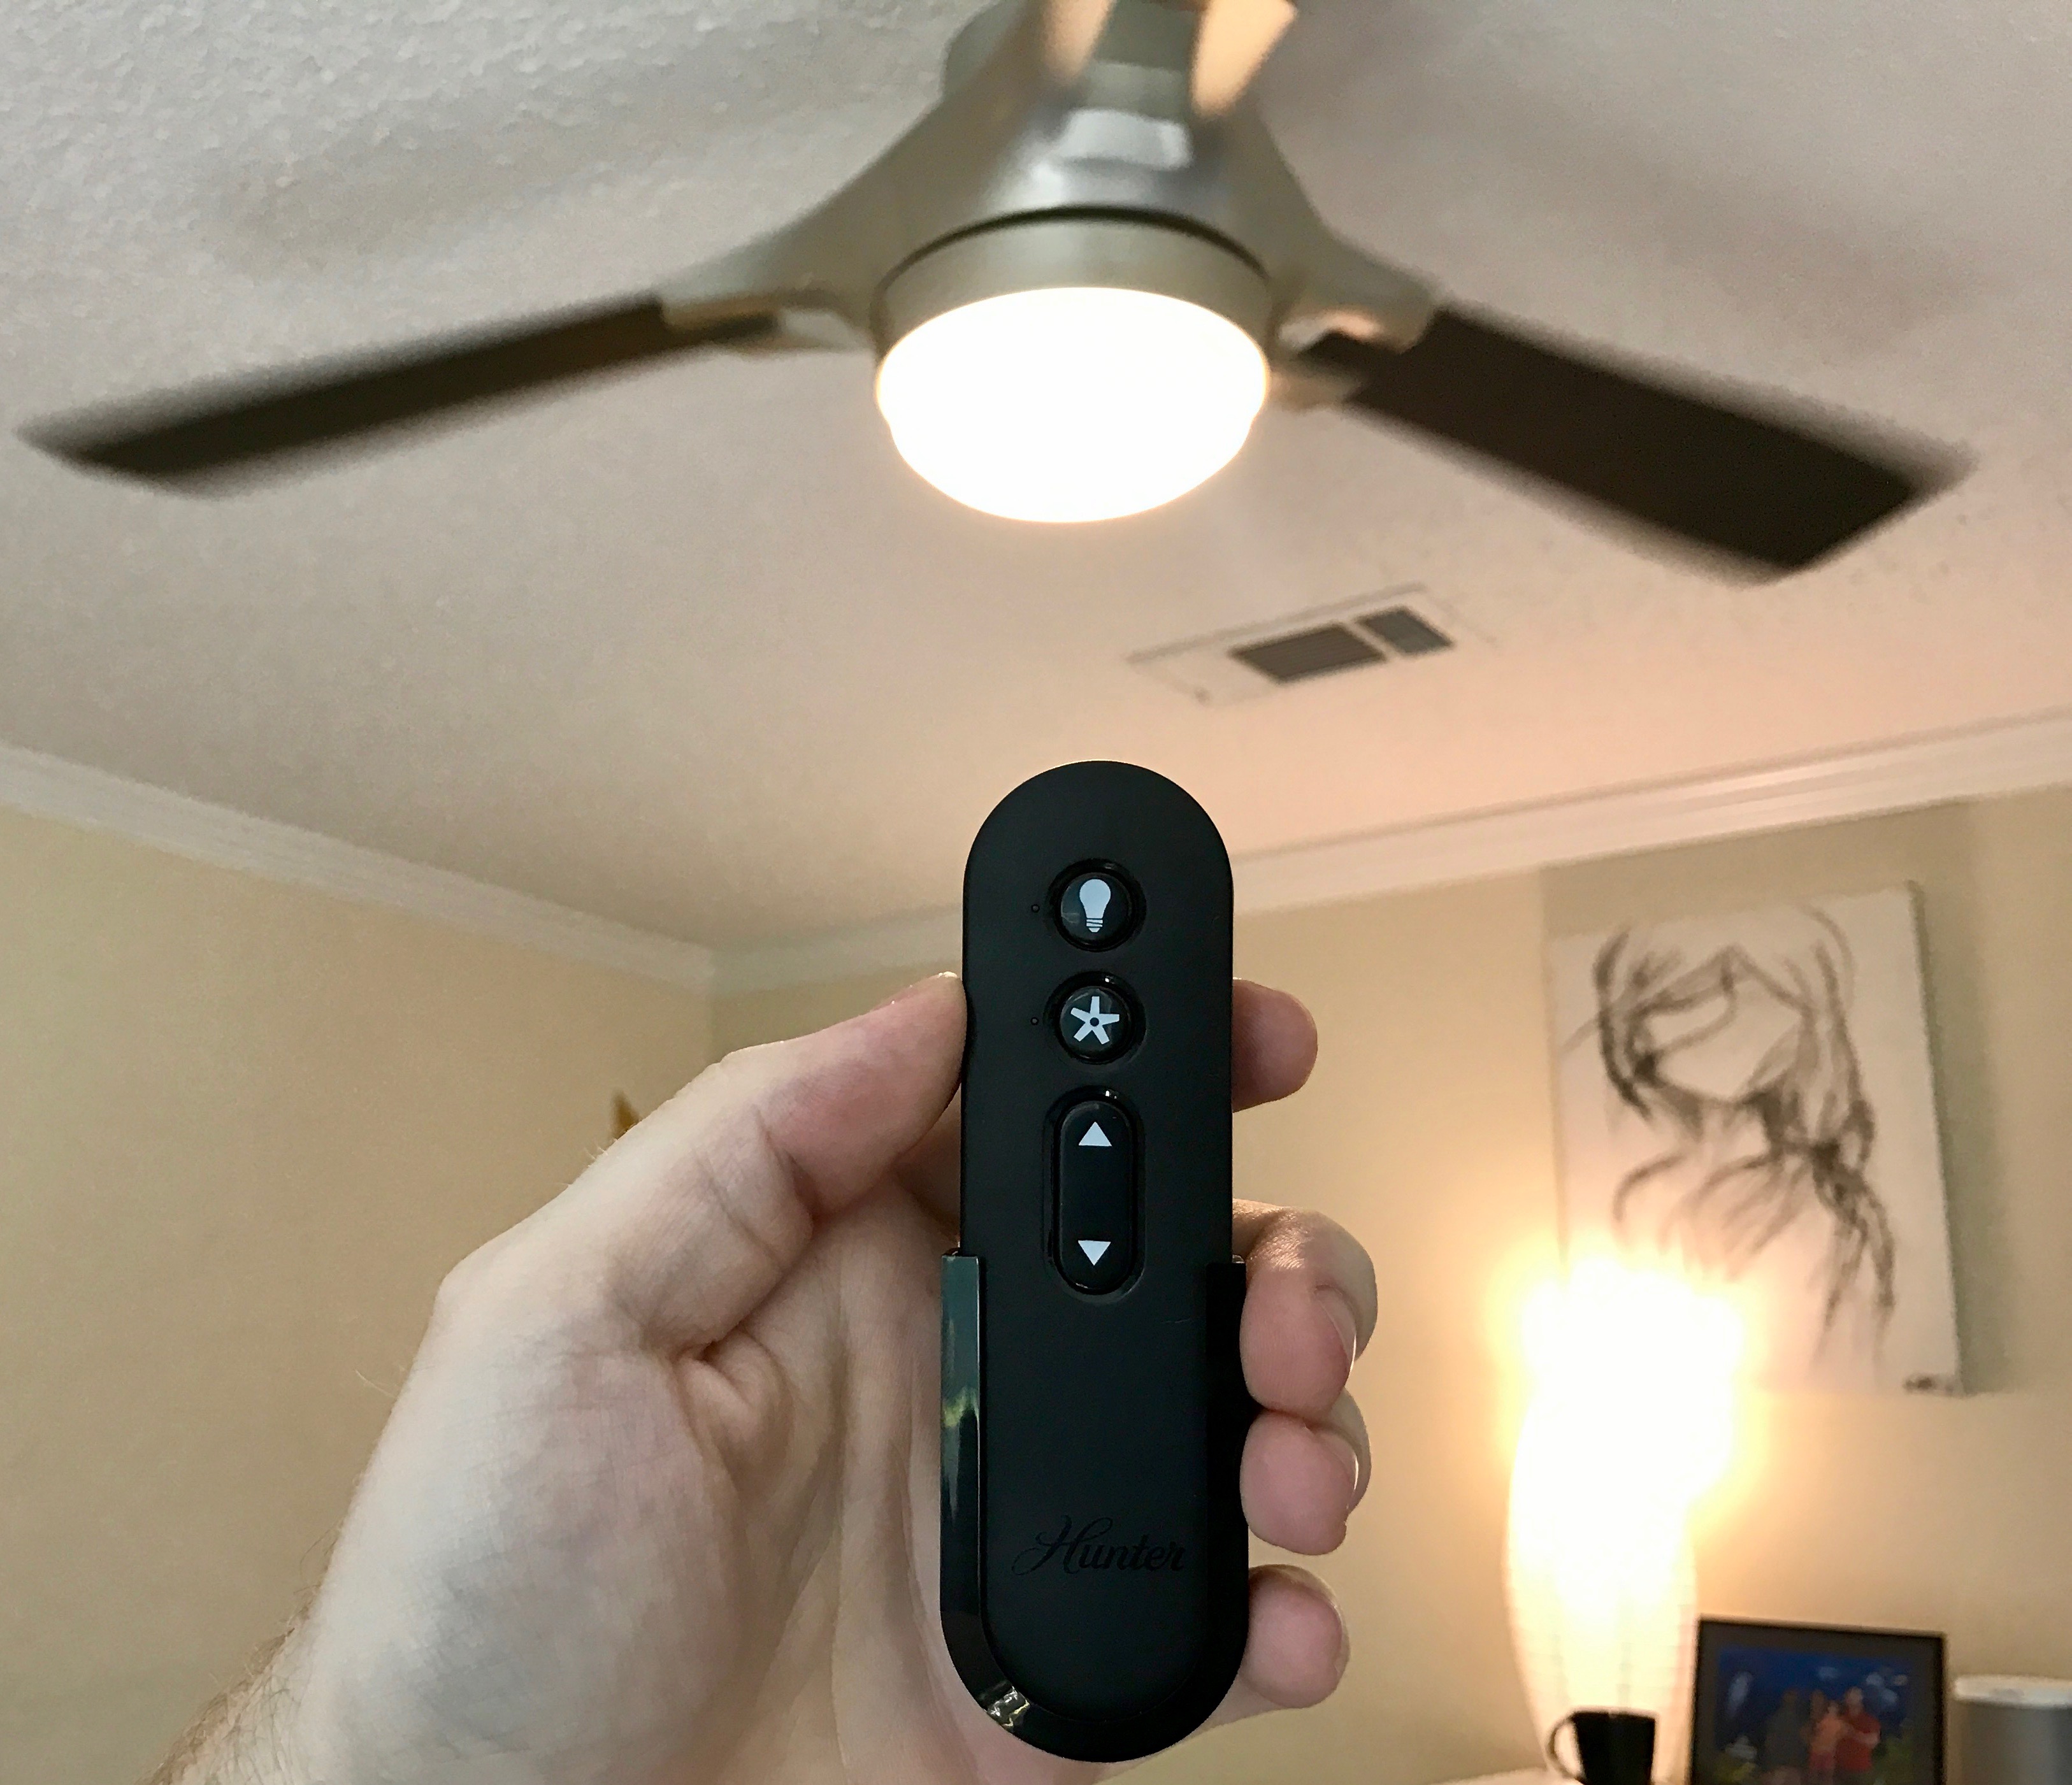
- Locate the fan’s control switch or remote control. The switch is usually located on a wall near the fan or on the fan itself.
- If your fan has a control switch, simply flip the switch to the “Off” position. This will cut off power to the fan, ensuring it doesn’t turn on accidentally.
- If your fan is controlled by a remote control, make sure to turn off the fan using the remote control’s power button. Ensure that the remote control is out of reach of children or anyone who might accidentally turn on the fan while you’re working on it.
- Once the fan is turned off, wait a few minutes to allow the blades to come to a complete stop. This is an essential safety precaution to avoid any accidental contact with the moving blades.
By following these steps, you can safely turn off your Hunter ceiling fan, ensuring that it remains inactive throughout the oiling process. Remember to always exercise caution when working with electrical devices, and never attempt to oil a running fan.
Once you’ve turned off the fan and ensured that it’s completely stopped, you can proceed to the next steps of gathering the necessary supplies and preparing the fan for oiling. These steps will ensure a smooth and efficient oiling process, allowing your Hunter ceiling fan to operate at its best.
Step 2: Gather the Necessary Supplies
Before you begin oiling your Hunter ceiling fan, it’s important to gather all the necessary supplies. Having the right tools on hand will ensure a smooth and successful oiling process. Here are the supplies you’ll need:
- Ladder or Step Stool: You’ll need a stable and secure ladder or step stool to reach the fan. Ensure that the ladder or step stool is in good condition and properly positioned to avoid accidents or falls. Always follow safety guidelines when using a ladder.
- Clean Cloth or Towel: Prepare a clean cloth or towel to wipe off any excess oil. This will help prevent any drips or stains on your fan or surrounding area. Ensure that the cloth or towel is free of any debris or particles that may scratch the fan’s surface.
- Ceiling Fan Oil: Invest in a high-quality ceiling fan oil specifically designed for lubricating ceiling fans. Avoid using general-purpose lubricants, as they may not provide the same level of performance or compatibility. Hunter offers their own brand of ceiling fan oil, which is formulated to ensure optimal performance and longevity of their fans.
Once you have gathered all the necessary supplies, place them within easy reach near the fan. This will allow you to access them easily during the oiling process and minimize any interruptions or delays.
By gathering these supplies beforehand, you’ll be well-prepared to oil your Hunter ceiling fan effectively. Having the right tools on hand will make the process smoother and ensure that your fan receives the appropriate care and maintenance it needs to continue running smoothly.
Step 3: Remove Light Kit (if applicable)
If your Hunter ceiling fan has a built-in light kit, you may need to remove it before you can access the oiling points. Removing the light kit will give you easier access to the fan’s motor and allow you to apply the oil more effectively. Follow these steps to safely remove the light kit:
- Refer to the user manual or installation instructions that came with your Hunter ceiling fan. Look for specific instructions on how to remove the light kit. As different models may have varying mechanisms, it’s important to follow the manufacturer’s guidelines for your specific fan.
- Switch off the power supply to the fan. This can be done by turning off the circuit breaker that controls the electricity to the fan. This precaution will prevent any accidents or electrical shocks while you’re removing the light kit.
- Depending on the design of your Hunter ceiling fan, you may need to unscrew certain parts or loosen screws to remove the light kit. Use a screwdriver or the appropriate tool to carefully remove the screws or fasteners holding the light kit in place.
- Once the screws or fasteners are removed, gently disconnect any electrical connections between the light kit and the fan’s wires. Follow the instructions provided in the user manual to disconnect the wires safely and avoid any damage.
- Set the light kit aside in a safe place. Make sure to keep all the screws and small parts together so that you can easily reassemble the light kit when needed.
Removing the light kit will give you better access to the fan’s motor and oiling points. However, not all Hunter ceiling fans have a detachable light kit. If your fan does not have a removable light kit, you can proceed to the next step without removing any additional components.
Once you have successfully removed the light kit and set it aside, you’re ready to proceed to the next steps of oiling your Hunter ceiling fan. Follow the remaining steps in this guide to ensure proper lubrication and keep your fan running smoothly.
Read more: How To Reverse Hunter Ceiling Fan
Step 4: Lower the Fan
Lowering the fan is an important step in preparing your Hunter ceiling fan for oiling. By lowering the fan, you can easily access the oiling points and ensure a smooth and effective oiling process. Follow these steps to lower your Hunter ceiling fan:
- Locate the controls or mechanisms that allow you to lower the fan. In most cases, this will involve adjusting the fan’s downrod or using a remote control with height adjustment functionality.
- If your Hunter ceiling fan has a downrod, you can lower the fan by unscrewing the hanger ball or downrod from the mounting bracket. Use the appropriate tools, such as a wrench or screwdriver, to safely loosen and detach the downrod. Be sure to support the fan’s weight while doing this to prevent any accidents or damage.
- If your fan is equipped with a remote control that allows for height adjustment, use the remote control to lower the fan. Follow the instructions in the user manual to adjust the fan’s height according to your needs.
- Lower the fan gradually and carefully. Ensure that the fan is securely supported during the process to prevent it from falling or getting damaged. Use caution and take your time to ensure a safe and controlled descent.
- Once the fan is lowered to a comfortable height, securely lock the downrod or reattach it to the mounting bracket. Double-check that it is stable and secure before proceeding to the next steps.
Lowering the fan makes it easier to access the oiling points and apply the oil effectively. It also provides a safer working environment, reducing the risk of accidents or injury during the oiling process.
Once you have successfully lowered your Hunter ceiling fan, you’re ready to move on to the next steps of oiling. These steps will guide you through the process of applying the oil and properly maintaining your fan for optimal performance and longevity.
Applying Oil
Now that you have prepared your Hunter ceiling fan for oiling, it’s time to apply the oil to ensure proper lubrication and smooth operation. Follow these steps to apply the oil effectively:
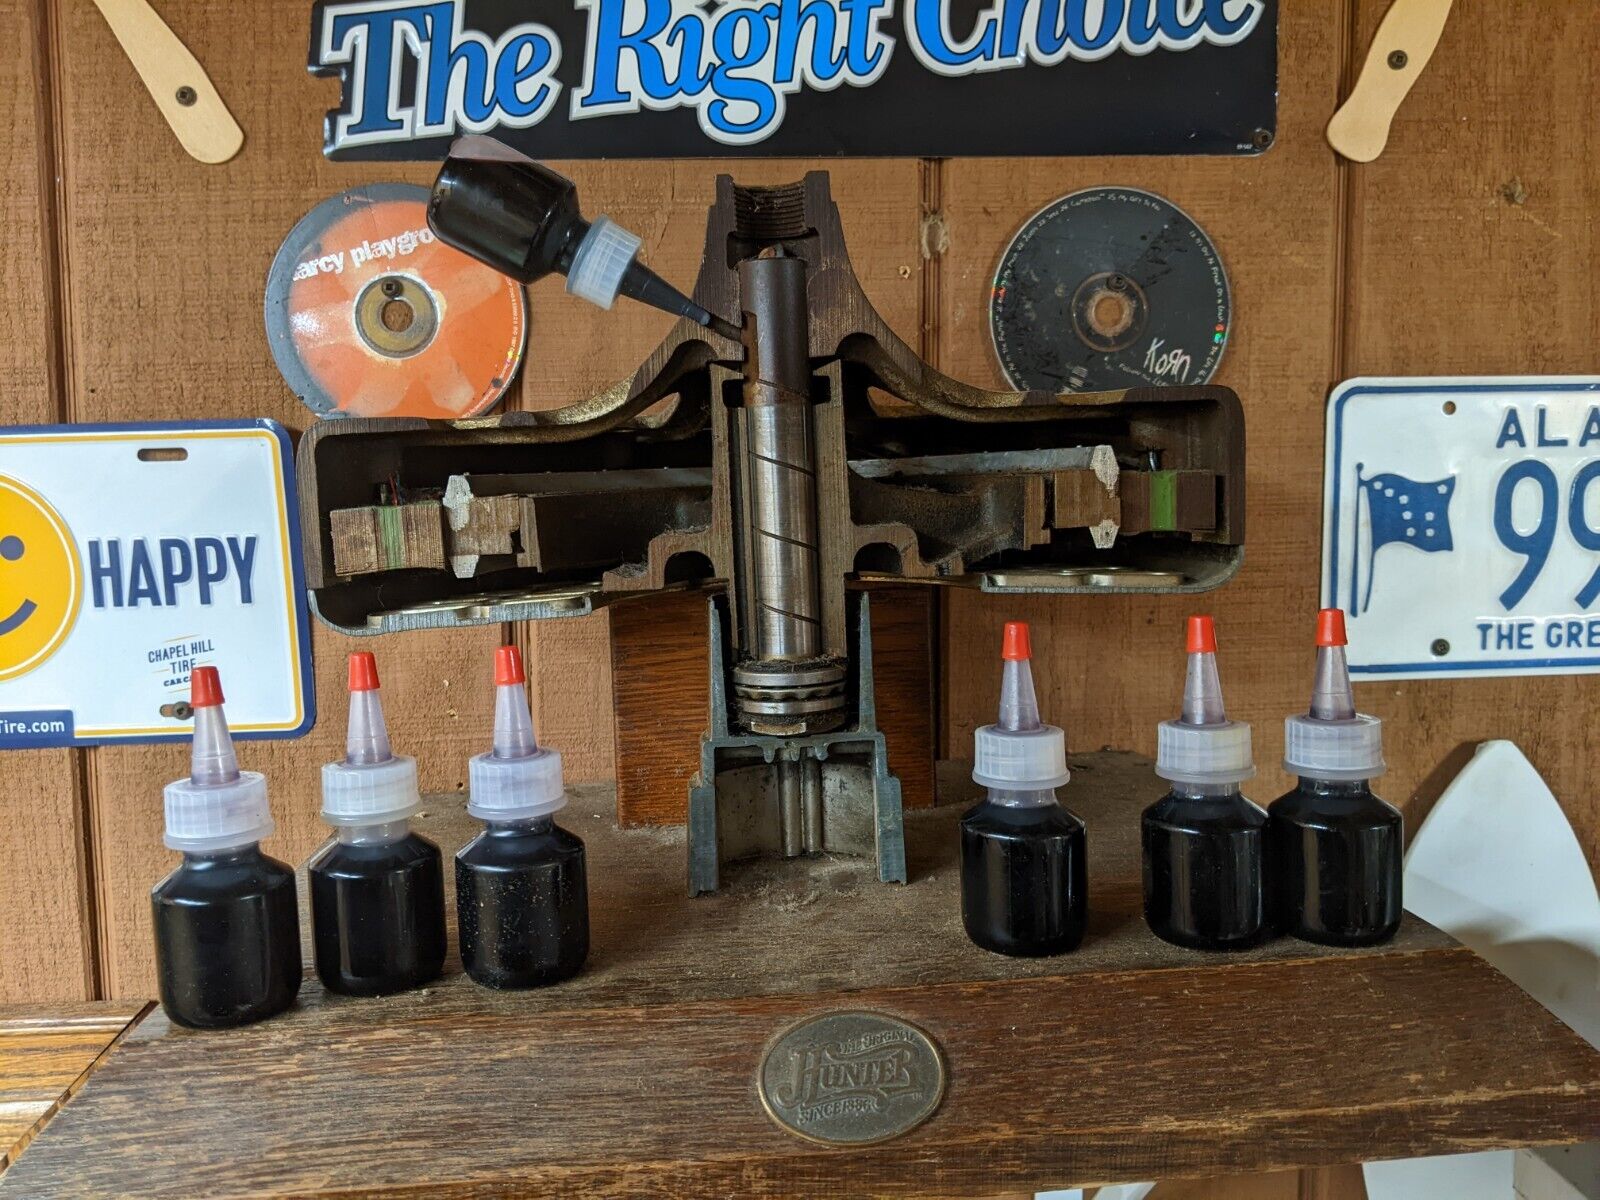
- Step 5: Locate the Oil Hole: Look for the oil hole on the motor housing of your Hunter ceiling fan. The oil hole is typically located near the center of the fan’s motor housing and may be labeled as “oil” or indicated with an arrow.
- Step 6: Apply the Oil: Take your high-quality ceiling fan oil and carefully insert the nozzle into the oil hole. Apply a few drops of oil into the hole, taking care not to overfill. The amount of oil needed may vary depending on your specific fan model, so consult your user manual for guidance.
- Step 7: Rotate the Blades: After applying the oil, it’s important to rotate the fan’s blades manually. This will help distribute the oil evenly throughout the motor and bearings. Gently spin the blades a few times in both directions to ensure proper oil distribution.
- Step 8: Wipe Off Excess Oil: Use a clean cloth or towel to wipe off any excess oil from the motor housing. This will prevent any drips or stains and keep your fan looking clean and well-maintained.
By following these steps, you’ll ensure that your Hunter ceiling fan receives the proper amount of oil and is well-lubricated for optimal performance. The oil helps reduce friction and prevents unnecessary wear and tear on the fan’s moving parts, resulting in smoother and quieter operation.
It’s important to note that the frequency of oiling your Hunter ceiling fan may vary depending on factors such as usage and environmental conditions. As a general guideline, consider checking and oiling your fan annually or every six months to maintain its performance.
Once you have applied the oil and wiped off any excess, you’re ready to reassemble your fan and restore power to it. Follow the remaining steps in this guide to complete the oiling process and ensure the proper functioning of your Hunter ceiling fan.
Use a non-detergent motor oil to lubricate the bearings of your Hunter ceiling fan. Apply a few drops to each bearing to keep the fan running smoothly and quietly.
Step 5: Locate the Oil Hole
Locating the oil hole on your Hunter ceiling fan is vital for applying the oil accurately and ensuring proper lubrication. The oil hole is typically located on the motor housing, and finding it is essential for the oiling process. Follow these steps to locate the oil hole on your Hunter ceiling fan:
- Inspect the motor housing of your Hunter ceiling fan. The motor housing is the part of the fan that encloses the motor and other internal components.
- Look for a small hole or opening on the motor housing. This hole is the oil hole where you will apply the lubricating oil.
- Check if the oil hole is labeled as “oil” or if it has an arrow indicating its location. Some models have a designated marking to make it easier to locate the oil hole.
- If you’re having difficulty locating the oil hole, refer to the user manual or installation instructions provided by Hunter for your specific fan model. These resources often include detailed diagrams or illustrations that can help you pinpoint the oil hole.
- Once you have identified the oil hole, take note of its position for future reference. This will make it easier for you to apply the oil during future maintenance visits.
By following these steps, you will successfully locate the oil hole on your Hunter ceiling fan. This crucial step allows for precise and effective application of the lubricating oil, ensuring that your fan’s internal components receive the proper lubrication for optimal performance and longevity.
Now that you’ve located the oil hole, you’re ready to proceed to the next step of applying the oil to your Hunter ceiling fan. Follow the remaining steps in this guide to complete the oiling process and maintain your fan’s smooth operation.
Step 6: Apply the Oil
Now that you have located the oil hole on your Hunter ceiling fan, it’s time to apply the lubricating oil. Applying the oil correctly will ensure proper lubrication of the fan’s internal components and promote smoother operation. Follow these steps to apply the oil effectively:
- Take your high-quality ceiling fan oil and carefully insert the nozzle into the oil hole. The nozzle is designed to fit securely into the hole, allowing for precise application of the oil.
- Gently squeeze the bottle to release a few drops of oil into the hole. Be mindful not to overfill the hole, as this can lead to excessive oiling and potential mess.
- Refer to the user manual or consult Hunter’s recommendations for the specific amount of oil to be applied. Each fan model may have slightly different oiling requirements.
- After adding the oil, allow it to settle and permeate the fan’s internal components. This will improve lubrication and reduce friction, resulting in smoother and quieter operation.
- Repeat the oiling process for any additional oil holes on the fan if applicable. Some Hunter ceiling fans may have multiple oil holes that require lubrication.
It’s important to use a high-quality ceiling fan oil specifically formulated for lubricating ceiling fans. Hunter offers its own brand of ceiling fan oil that is compatible with their fans, ensuring optimal performance and longevity.
Applying the oil in the correct amount and directly into the designated oil hole ensures proper lubrication for your Hunter ceiling fan. It reduces friction and wear, prolonging the life of your fan and improving its overall efficiency.
Once you have successfully applied the oil, you can proceed to the next steps of rotating the blades, wiping off excess oil, and reassembling your Hunter ceiling fan. Follow the remaining steps in this guide to complete the oiling process and keep your fan running smoothly and quietly.
Read more: How To Remove A Hunter Ceiling Fan
Step 7: Rotate the Blades
After applying the oil to your Hunter ceiling fan, it’s important to rotate the fan’s blades manually. Rotating the blades helps distribute the oil evenly throughout the motor and bearings, ensuring effective lubrication and smoother operation. Follow these steps to rotate the blades:
- Gently grasp one of the fan blades near the center hub. Be careful not to apply too much pressure or force that could damage the blades or motor.
- Gently push the blade in a clockwise direction. Rotate it a few times to facilitate the movement of the oil within the motor and bearings. This action allows the oil to properly lubricate the necessary components.
- Repeat the process for each fan blade, rotating them individually in a clockwise direction. This ensures that all blades receive adequate oil distribution.
- After rotating all the blades clockwise, repeat the process by rotating the blades counterclockwise. This helps ensure comprehensive oil distribution throughout the motor and bearings.
- Continue rotating the blades clockwise and counterclockwise several times, ensuring the oil is evenly spread. This step avoids any excess oil accumulation in one area and promotes smoother operation across all blades.
By manually rotating the blades, you help the oil reach all the necessary parts, minimizing friction and maximizing the efficiency of your Hunter ceiling fan. Proper lubrication is essential for optimal performance and longevity.
Once you have rotated the blades in both directions several times, you can proceed to the next step of wiping off any excess oil. This step ensures that the fan looks clean and well-maintained and prevents any drips that could damage your fan or surrounding surfaces.
Step 8: Wipe Off Excess Oil
After oiling your Hunter ceiling fan and rotating the blades, it’s important to wipe off any excess oil that may have accumulated. Wiping off the excess oil not only helps keep your fan looking clean but also prevents any drips or stains on the fan or surrounding surfaces. Follow these steps to wipe off excess oil:
- Take a clean cloth or towel and gently wipe the motor housing and blades of your Hunter ceiling fan. Pay special attention to areas where oil may have pooled or dripped.
- Avoid pressing too hard while wiping to prevent damaging the fan’s surface or spreading the excess oil around. Use gentle, sweeping motions to remove any excess oil.
- Continue wiping until no visible excess oil remains on the fan or your cloth. Make sure to remove any oil that may have accumulated in crevices or tight spaces.
- If necessary, dampen the cloth or towel with a small amount of water or a mild cleaning solution to help remove stubborn oil spots. Be cautious and follow the manufacturer’s recommendations for cleaning your specific ceiling fan model.
- Once you have wiped off the excess oil, inspect the fan’s surface to ensure it is clean and free of any oil residue. This step helps maintain the aesthetic appearance of your Hunter ceiling fan.
Removing excess oil ensures that your Hunter ceiling fan doesn’t attract dust or dirt and prevents any potential damage caused by dripping oil. It also keeps the fan looking fresh and well-maintained, enhancing the overall appeal of your space.
Once you have successfully wiped off any excess oil, you can proceed to reassembling your Hunter ceiling fan. Follow the remaining steps in this guide to complete the oiling process and enjoy the optimal functionality and smooth operation of your fan.
Step 9: Reassemble the Fan
After oiling and wiping off any excess oil from your Hunter ceiling fan, it’s time to reassemble the fan. Reassembling the fan ensures that all components are securely in place and ready for operation. Follow these steps to reassemble your Hunter ceiling fan:
- If you removed the light kit earlier in the process, now is the time to reattach it to the fan. Refer to the user manual or installation instructions for your specific fan model to ensure proper reattachment. Follow the provided guidelines to reconnect any electrical connections securely.
- Align the motor housing with the mounting bracket, making sure it fits snugly into place. Depending on your fan model, you may need to rotate the motor housing slightly to align the holes.
- Secure the motor housing to the mounting bracket by inserting and tightening the screws or fasteners. Use the appropriate tools, such as a screwdriver or wrench, to ensure a secure attachment. Make sure not to overtighten the screws, as this can cause damage.
- If your Hunter ceiling fan has a downrod, reattach it by aligning the hanger ball or downrod with the mounting bracket and securing it with the appropriate screws or fasteners.
- Double-check all connections and fasteners to ensure everything is securely in place. This step is crucial to prevent any wobbling or instability when the fan is in operation.
By carefully reassembling your Hunter ceiling fan, you ensure that all components are properly and securely positioned for safe and effective operation. Double-checking all connections and fasteners helps prevent any potential issues or accidents that may arise from loose fittings.
Once you have completed the reassembly process, you’re nearly finished with the oiling process. Continue to the final step, which involves turning on the fan and allowing it to run smoothly and efficiently.
Step 10: Turn On the Fan
After reassembling your Hunter ceiling fan, it’s time to turn it back on and enjoy its smooth and efficient operation. Follow these steps to safely turn on your fan:
- Ensure that all the wiring connections are secure and properly tightened. Check that the electrical connections for the light kit, if applicable, are also securely fastened.
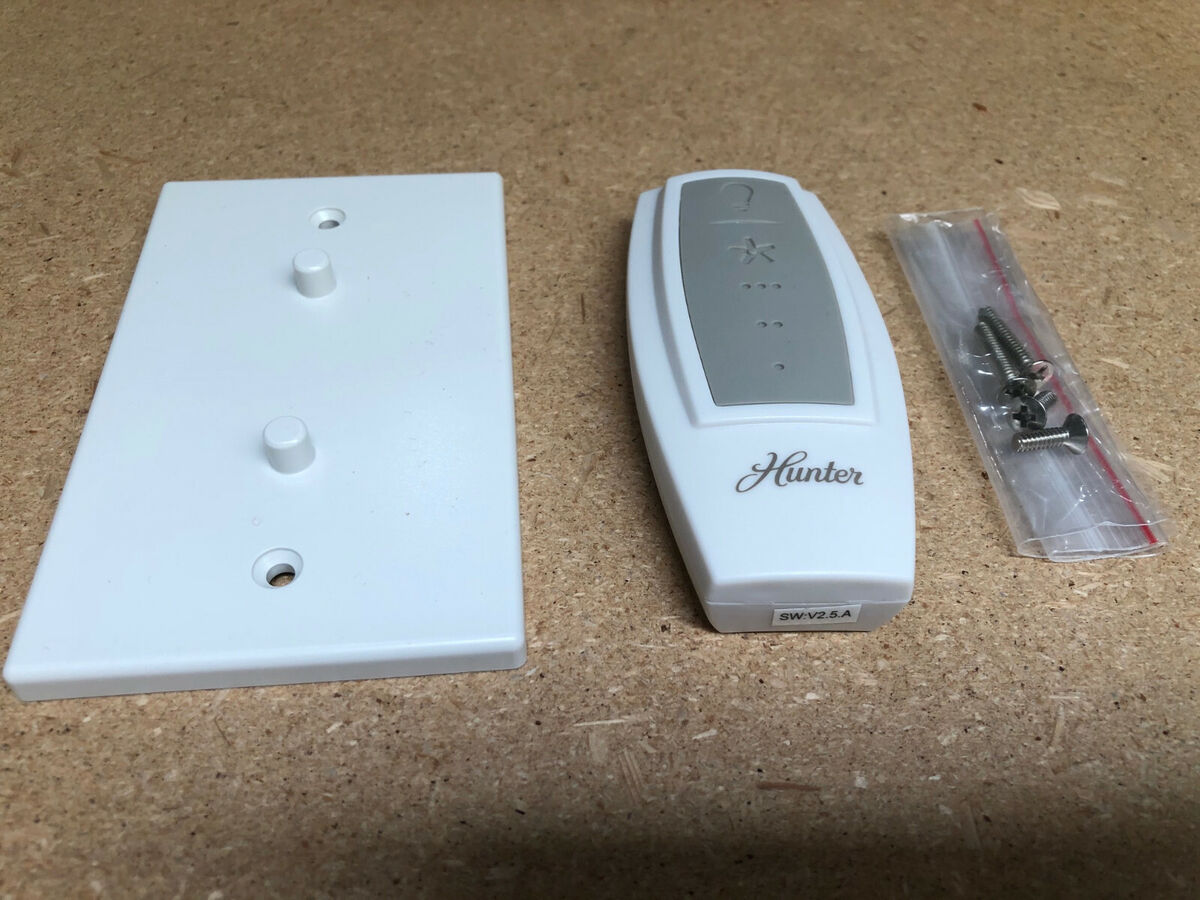
- Turn on the power supply to the fan. This can be done by flipping the circuit breaker or turning on the wall switch that controls the fan’s electricity. If your fan is operated by a remote control, ensure the batteries are properly inserted and have enough power.
- Using the fan’s control switch or remote control, turn on the fan. Start with the lowest speed setting and observe the fan’s operation. Make sure the fan is rotating smoothly and that there are no unusual sounds or vibrations.
- If you notice any abnormal operation or unusual noises, turn off the fan immediately and inspect the fan for any loose connections or parts. Ensure that all components are securely in place and consult the user manual or contact Hunter customer support for further assistance.
- Once you have verified that the fan is operating smoothly and without any issues, you can adjust the speed setting to your desired level. Enjoy the cool breeze and improved airflow provided by your well-maintained Hunter ceiling fan.
By carefully following these steps, you can safely turn on your Hunter ceiling fan and resume its regular use. Regularly monitoring the fan’s operation and addressing any potential issues promptly helps maintain its longevity and ensures optimal performance.
Congratulations! You have successfully oiled and maintained your Hunter ceiling fan, ensuring that it operates smoothly and efficiently. Remember to periodically check and oil your fan as part of its regular maintenance routine to keep it in top condition for years to come.
Conclusion
Oiling your Hunter ceiling fan is an essential maintenance task that ensures its smooth operation and extends its lifespan. By following the step-by-step process outlined in this guide, you can effectively oil your ceiling fan and keep it running at its best. Regular maintenance, including oiling, helps prevent unnecessary wear and tear, reduces friction, and promotes quiet operation.
Throughout this guide, we have covered the necessary preparations, such as turning off the fan and gathering the required supplies. We then walked through each step, from removing the light kit (if applicable) to lowering the fan, applying the oil, rotating the blades, and wiping off excess oil. Finally, we discussed reassembling the fan and safely turning it back on for operation.
Remember to consult your fan’s user manual for specific instructions and guidelines pertaining to your Hunter ceiling fan model. Additionally, it’s important to note that not all Hunter ceiling fans require oiling, as some newer models come with sealed, maintenance-free bearings. Always refer to the manufacturer’s instructions to determine if your fan requires oiling or if it has a different maintenance procedure.
Regularly maintaining your Hunter ceiling fan, including proper oiling, will ensure that it operates smoothly and efficiently, providing enhanced airflow and cooling for your space. It’s recommended to perform a maintenance check and oil your ceiling fan annually or every six months, depending on usage and environmental conditions.
By taking the time to oil your Hunter ceiling fan, you’re investing in its longevity and performance. A well-maintained fan can bring comfort, improve air circulation, and enhance the overall aesthetics of your home. So, get the necessary supplies, follow the steps outlined in this guide, and enjoy the benefits of a well-oiled Hunter ceiling fan for years to come.
Frequently Asked Questions about How To Oil A Hunter Ceiling Fan
Was this page helpful?
At Storables.com, we guarantee accurate and reliable information. Our content, validated by Expert Board Contributors, is crafted following stringent Editorial Policies. We're committed to providing you with well-researched, expert-backed insights for all your informational needs.


0 thoughts on “How To Oil A Hunter Ceiling Fan”