Articles
How To Wire Hunter Ceiling Fan
Modified: October 20, 2024
Learn how to wire a Hunter ceiling fan with our informative articles. Step-by-step instructions and tips for a successful installation.
(Many of the links in this article redirect to a specific reviewed product. Your purchase of these products through affiliate links helps to generate commission for Storables.com, at no extra cost. Learn more)
Introduction
Installing a ceiling fan in your home can not only provide comfort during hot summer months, but it can also enhance the overall aesthetic of a room. Hunter ceiling fans are known for their quality and durability, making them a popular choice among homeowners. However, installing a ceiling fan can be a daunting task for those who are not familiar with electrical wiring. In this article, we will guide you through the step-by-step process of wiring a Hunter ceiling fan, ensuring a safe and successful installation.
Before we dive into the installation process, it’s important to note that electrical work should always be done by a licensed professional. If you are not confident in your abilities or if your local building codes require it, consult with an electrician before proceeding with the installation. Safety should always be the top priority when working with electrical components.
With that said, for those who feel comfortable tackling this project on their own, let’s gather our tools and get started!
Key Takeaways:
- Ensure safety and confidence by gathering the necessary tools and materials, turning off the power, and following step-by-step instructions to wire and install your Hunter ceiling fan with ease.
- Enjoy the comfort and style of a well-functioning Hunter ceiling fan by testing the fan, making final adjustments, and prioritizing regular cleaning and maintenance for optimal performance and longevity.
Read more: How To Reverse Hunter Ceiling Fan
Step 1: Gather the necessary tools and materials
Before you begin the installation process, it’s important to gather all the necessary tools and materials. Having everything prepared beforehand will make the installation smoother and more efficient. Here are the tools and materials you will need:
- Screwdriver set – Make sure you have a variety of screwdrivers, including Phillips and flathead.
- Pliers – These will come in handy for securing wire connections.
- Wire stripper – A wire stripper is essential for removing the insulation from the electrical wires.
- Voltage tester – This will ensure that the power is turned off before starting the installation.
- Step ladder – Depending on the height of your ceiling, you may need a step ladder to reach the installation area.
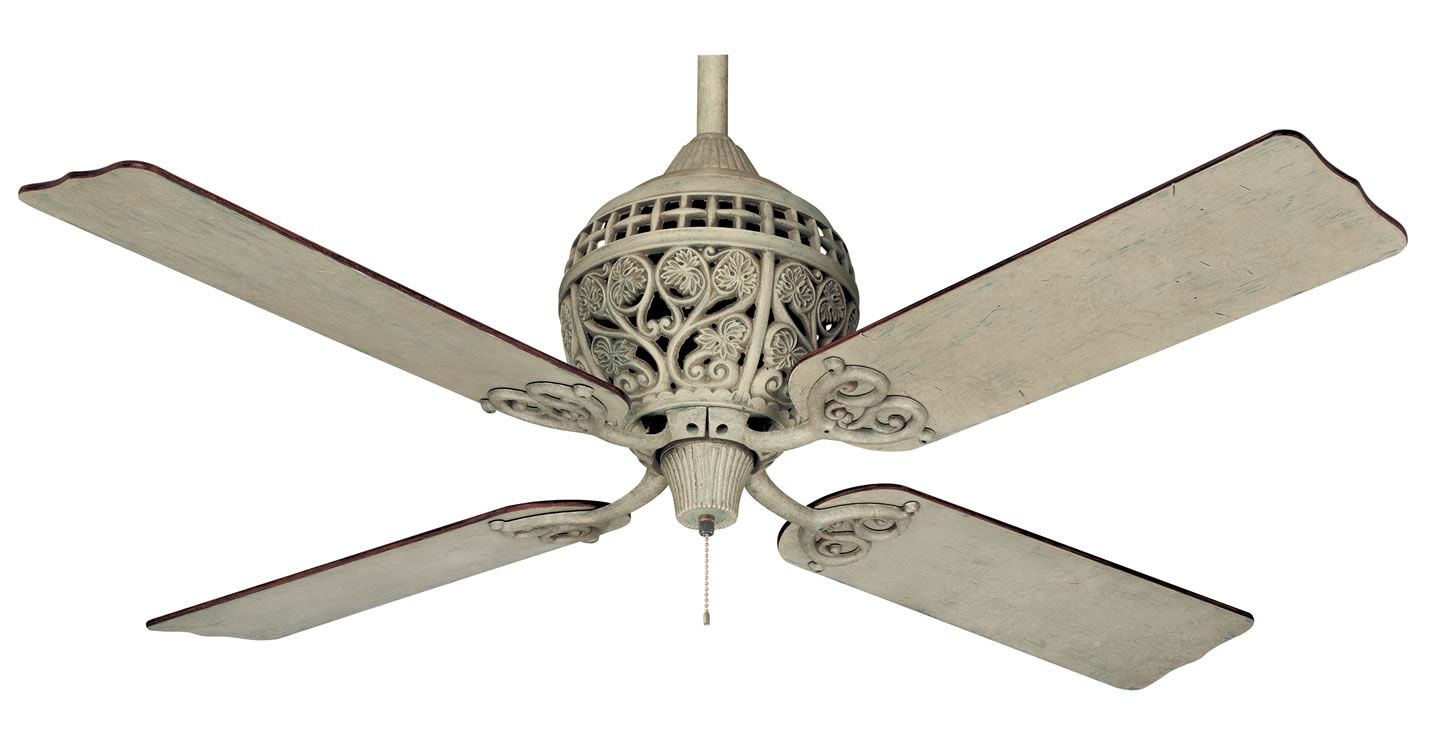
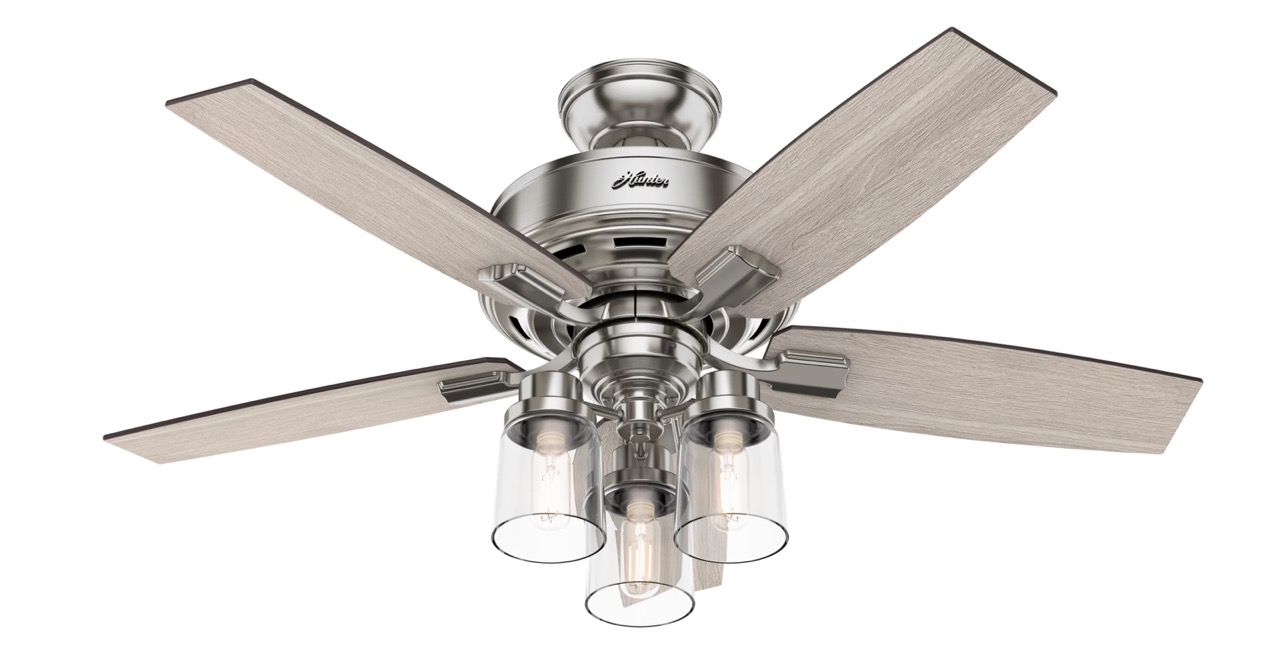
- Hunter ceiling fan – Of course, you’ll need the actual Hunter ceiling fan that you plan to install. Make sure it comes with all the necessary components, including the mounting bracket and fan blades.
- Mounting hardware – This includes screws, anchors, and any other hardware needed to secure the fan to the ceiling.
- Electrical tape – Electrical tape is used to secure wire connections and prevent them from coming loose.
- Wire connectors – These connectors are used to join wires together.
- Wire nuts – Wire nuts are used to cover and protect wire connections.
Once you have gathered all these tools and materials, double-check to make sure you have everything you need. It’s better to be fully prepared before starting the installation.
With your tools and materials ready, you can move on to the next step: turning off the power.
Step 2: Turn off the power
Before you begin any electrical work, it is crucial to turn off the power to the area where you will be installing the Hunter ceiling fan. This step is essential for your safety and should not be skipped.
To turn off the power, locate the circuit breaker panel in your home. It is typically located in the basement, utility room, or garage. Open the panel door to reveal the circuit breakers.
Look for the circuit breaker that controls the power to the room where you will be working. Most homes have labeled circuit breakers, but if yours don’t, you may need to test each breaker to find the correct one.
Once you have identified the correct circuit breaker, flip it to the “off” position. This will cut off the power supply to the room, ensuring that there is no electrical current running through the wires.
After turning off the power, use a voltage tester to confirm that there is no electricity flowing to the area. Simply touch the two probes of the voltage tester to the exposed wires or the terminals of the light switch. If the tester doesn’t light up or make any noise, it indicates that the power is indeed turned off.
Always double-check with the voltage tester before proceeding with any electrical work. It’s better to be safe than sorry.
With the power turned off and confirmed, you can now move on to the next step: removing the existing ceiling fan (if applicable).
Step 3: Remove the existing ceiling fan (if applicable)
If you already have a ceiling fan installed in the area where you plan to install the Hunter ceiling fan, you will need to remove it before proceeding. If there is no existing fan, you can skip this step and move on to the next one.
Start by turning off the power to the existing fan by following the steps outlined in Step 2. This ensures that you are working with a safe electrical environment.
Next, locate the screws or bolts that hold the fan blades to the motor housing. Use a screwdriver or an appropriate tool to remove these fasteners and detach the fan blades from the motor.
After removing the fan blades, you will see the canopy cover that covers the motor housing. Use a screwdriver to remove the screws that hold the canopy in place. Once the screws are removed, carefully lower the canopy cover down and expose the wiring.
You will now see the wiring connections between the fan and the electrical supply. Use a wire nut or electrical connector to disconnect these wires. Make sure to take note of how the wires are connected so that you can properly reconnect them later when installing the Hunter ceiling fan.
Once the wiring is disconnected, you can remove the mounting bracket that holds the fan to the ceiling. Again, use a screwdriver or an appropriate tool to remove the screws or bolts that secure the mounting bracket in place.
With the mounting bracket and existing fan removed, you have a clean slate to install the Hunter ceiling fan. Take a moment to inspect the ceiling for any damage or issues that may need to be addressed before proceeding.
Now that the old fan is removed, it’s time to move on to the next step: assembling the Hunter ceiling fan.
Step 4: Assemble the Hunter ceiling fan
With the old ceiling fan removed (if applicable), you can now begin assembling the Hunter ceiling fan. Follow these steps to ensure a smooth and successful assembly process:
- Unbox the Hunter ceiling fan and lay out all the components. Check if everything is included as stated in the instruction manual.
- Read the instruction manual thoroughly to familiarize yourself with the assembly process. Make sure to follow the specific instructions provided by Hunter for your model of ceiling fan.
- Attach the fan blades to the blade brackets. Depending on the model, you may need to slide the blades into the brackets and secure them with screws or snap them into place.
- If your Hunter ceiling fan comes with a light kit, attach it as per the instructions provided. This usually involves connecting wires and securing the light kit to the fan housing.
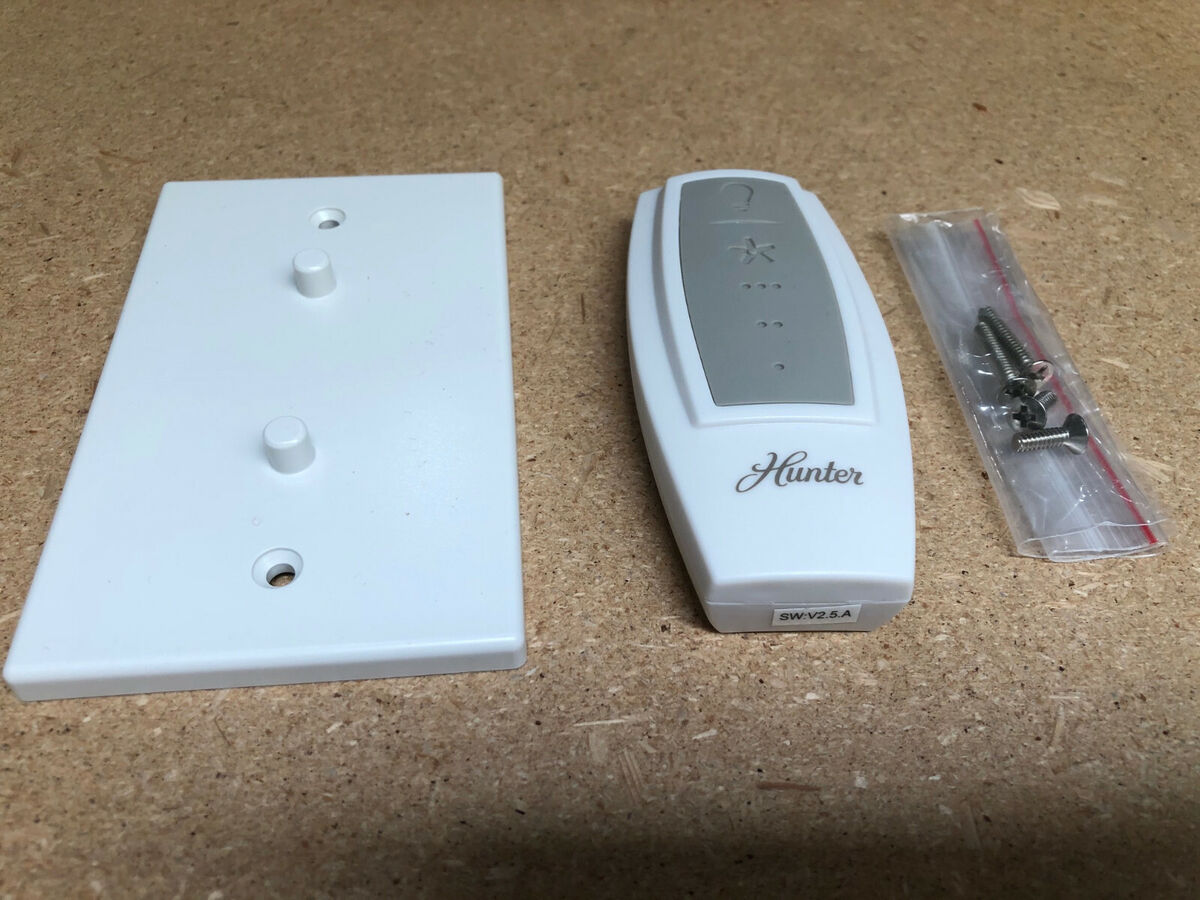
- Attach any additional components such as pull chains or remote control receivers, following the manufacturer’s instructions.
- Insert the downrod into the motor housing and secure it with screws, ensuring it is stable and aligned properly.
- Double-check that all the screws and connections are tight and secure.
It’s important to take your time during the assembly process and ensure that all components are properly attached. This will help prevent any issues or malfunctions once the fan is installed.
Once the Hunter ceiling fan is fully assembled, you can move on to the next step: attaching the mounting bracket.
Read more: How To Remove A Hunter Ceiling Fan
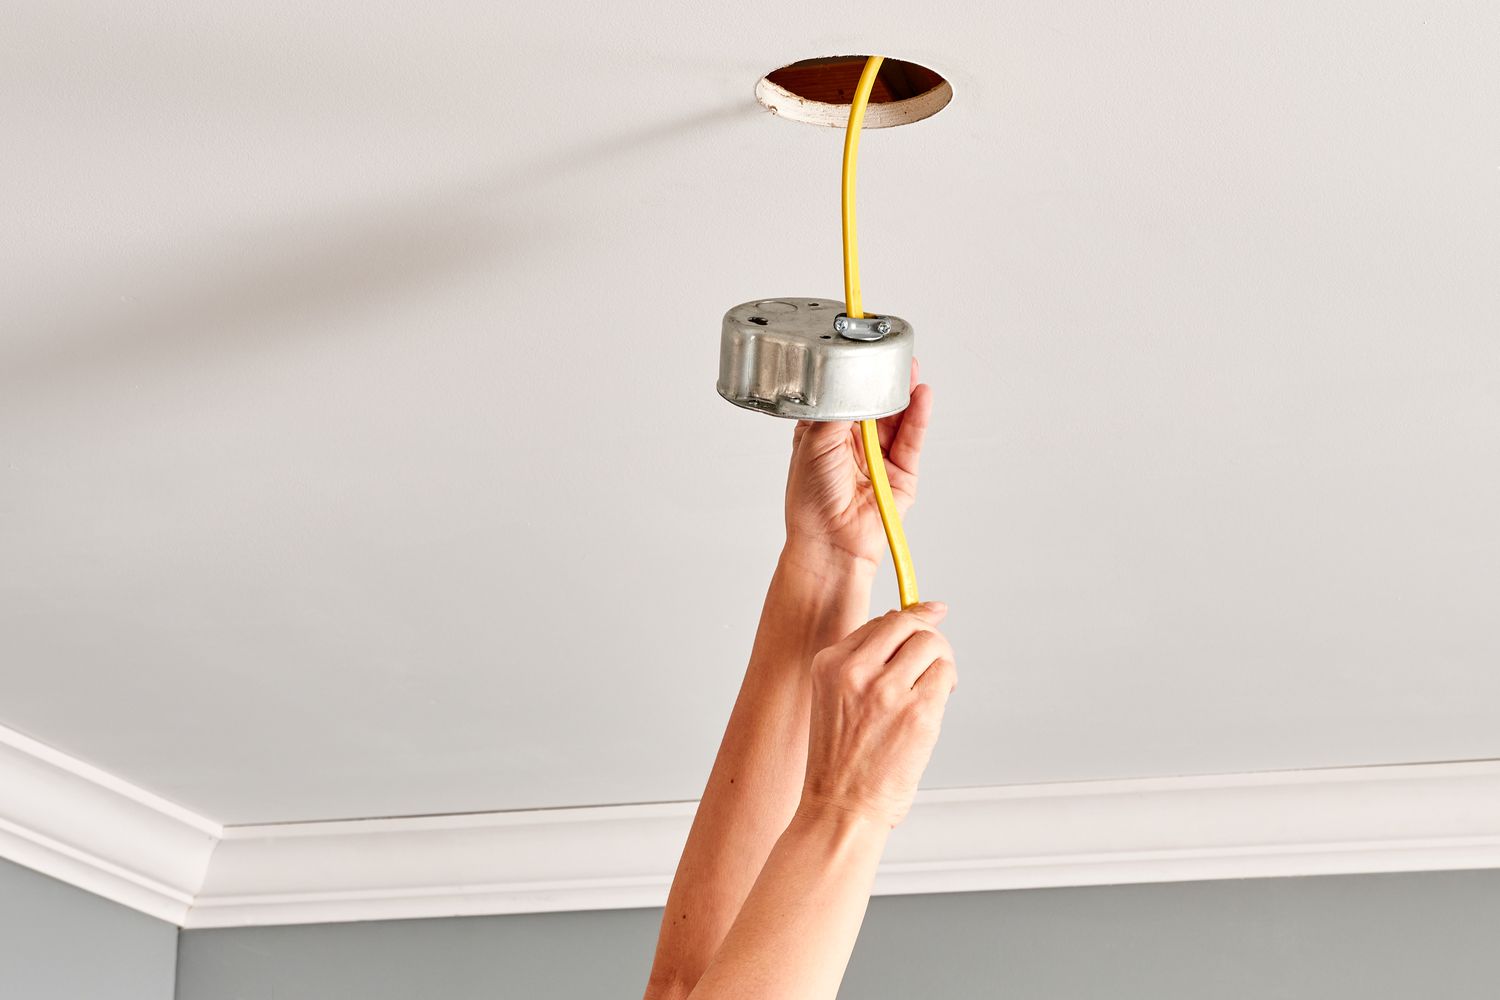
Step 5: Attach the mounting bracket
With the Hunter ceiling fan fully assembled, it’s time to attach the mounting bracket to the ceiling. The mounting bracket is an essential component that provides support and stability for the fan. Follow these steps to securely attach the mounting bracket:
- Locate the mounting bracket included with your Hunter ceiling fan. It is usually a metal bracket with several screw holes.
- Hold the mounting bracket against the ceiling at the desired installation location. Ensure that it is level and aligns with the existing electrical box or mounting point.
- Mark the screw hole positions on the ceiling using a pencil or pen.
- Using an appropriate drill bit, drill pilot holes at the marked positions. The size of the drill bit should match the size of the screws provided with the mounting bracket.
- Attach the mounting bracket to the ceiling by inserting screws through the bracket’s screw holes and into the pilot holes in the ceiling. Use a screwdriver or electric drill to securely fasten the screws.
- Double-check that the mounting bracket is firmly attached and does not move or wobble.
During this step, make sure to use appropriate safety precautions, such as wearing safety glasses and ensuring a stable ladder or scaffolding if needed. If you are unsure about attaching the mounting bracket, consult a professional electrician for assistance.
With the mounting bracket securely in place, you are ready to move on to the next step: installing the fan blades.
When wiring a Hunter ceiling fan, make sure to turn off the power at the circuit breaker before starting. Follow the manufacturer’s instructions carefully and use a voltage tester to ensure the power is off before touching any wires.
Step 6: Install the fan blades
Now that the mounting bracket is securely attached to the ceiling, it’s time to install the fan blades onto the Hunter ceiling fan. Follow these steps to ensure a proper and safe installation:
- Remove the screws or fasteners that are holding the blade brackets in place.
- Align the holes on the blade brackets with the holes on the motor housing.
- Insert the screws provided with the Hunter ceiling fan into the holes and tighten them securely. Make sure that each blade is evenly spaced and securely attached.
- Repeat the process for each fan blade, ensuring that they are all installed correctly.
It’s important to note that Hunter ceiling fans typically have reversible blades with different finishes on each side. Choose the desired blade finish and make sure it is facing downward when installing the fan blades.
Once all the fan blades are installed, give them a gentle tug to ensure that they are securely attached to the motor housing. If there is any wobbling or looseness, double-check the installation and tighten the screws as needed.
With the fan blades securely in place, you are ready to move on to the next step: connecting the wires.
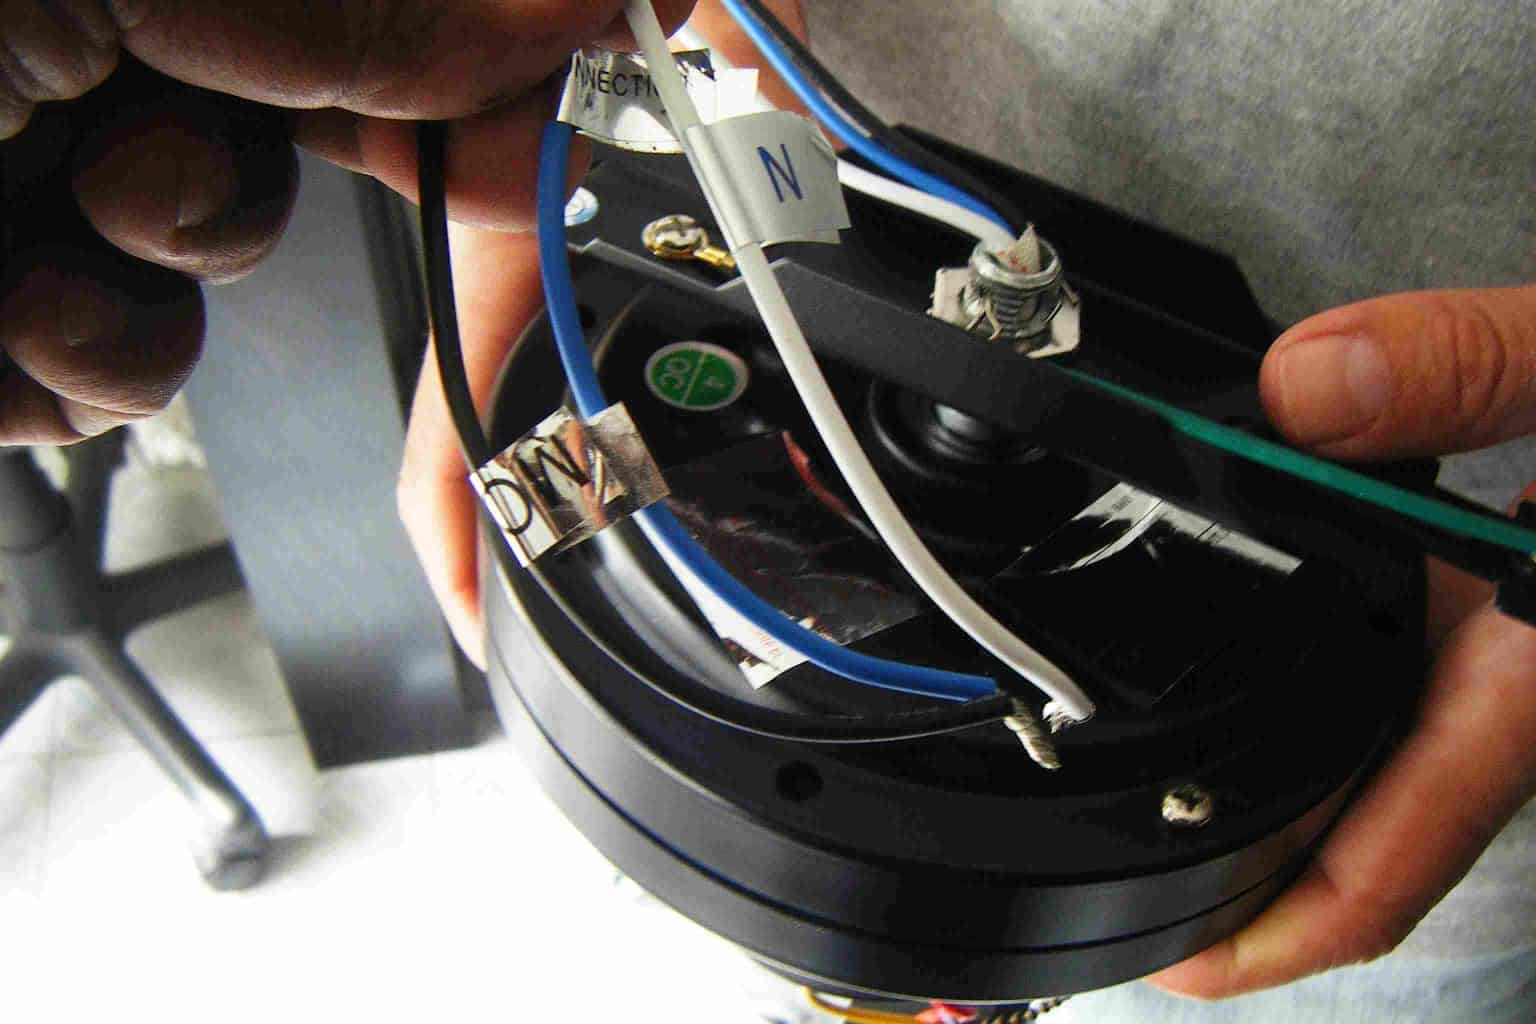
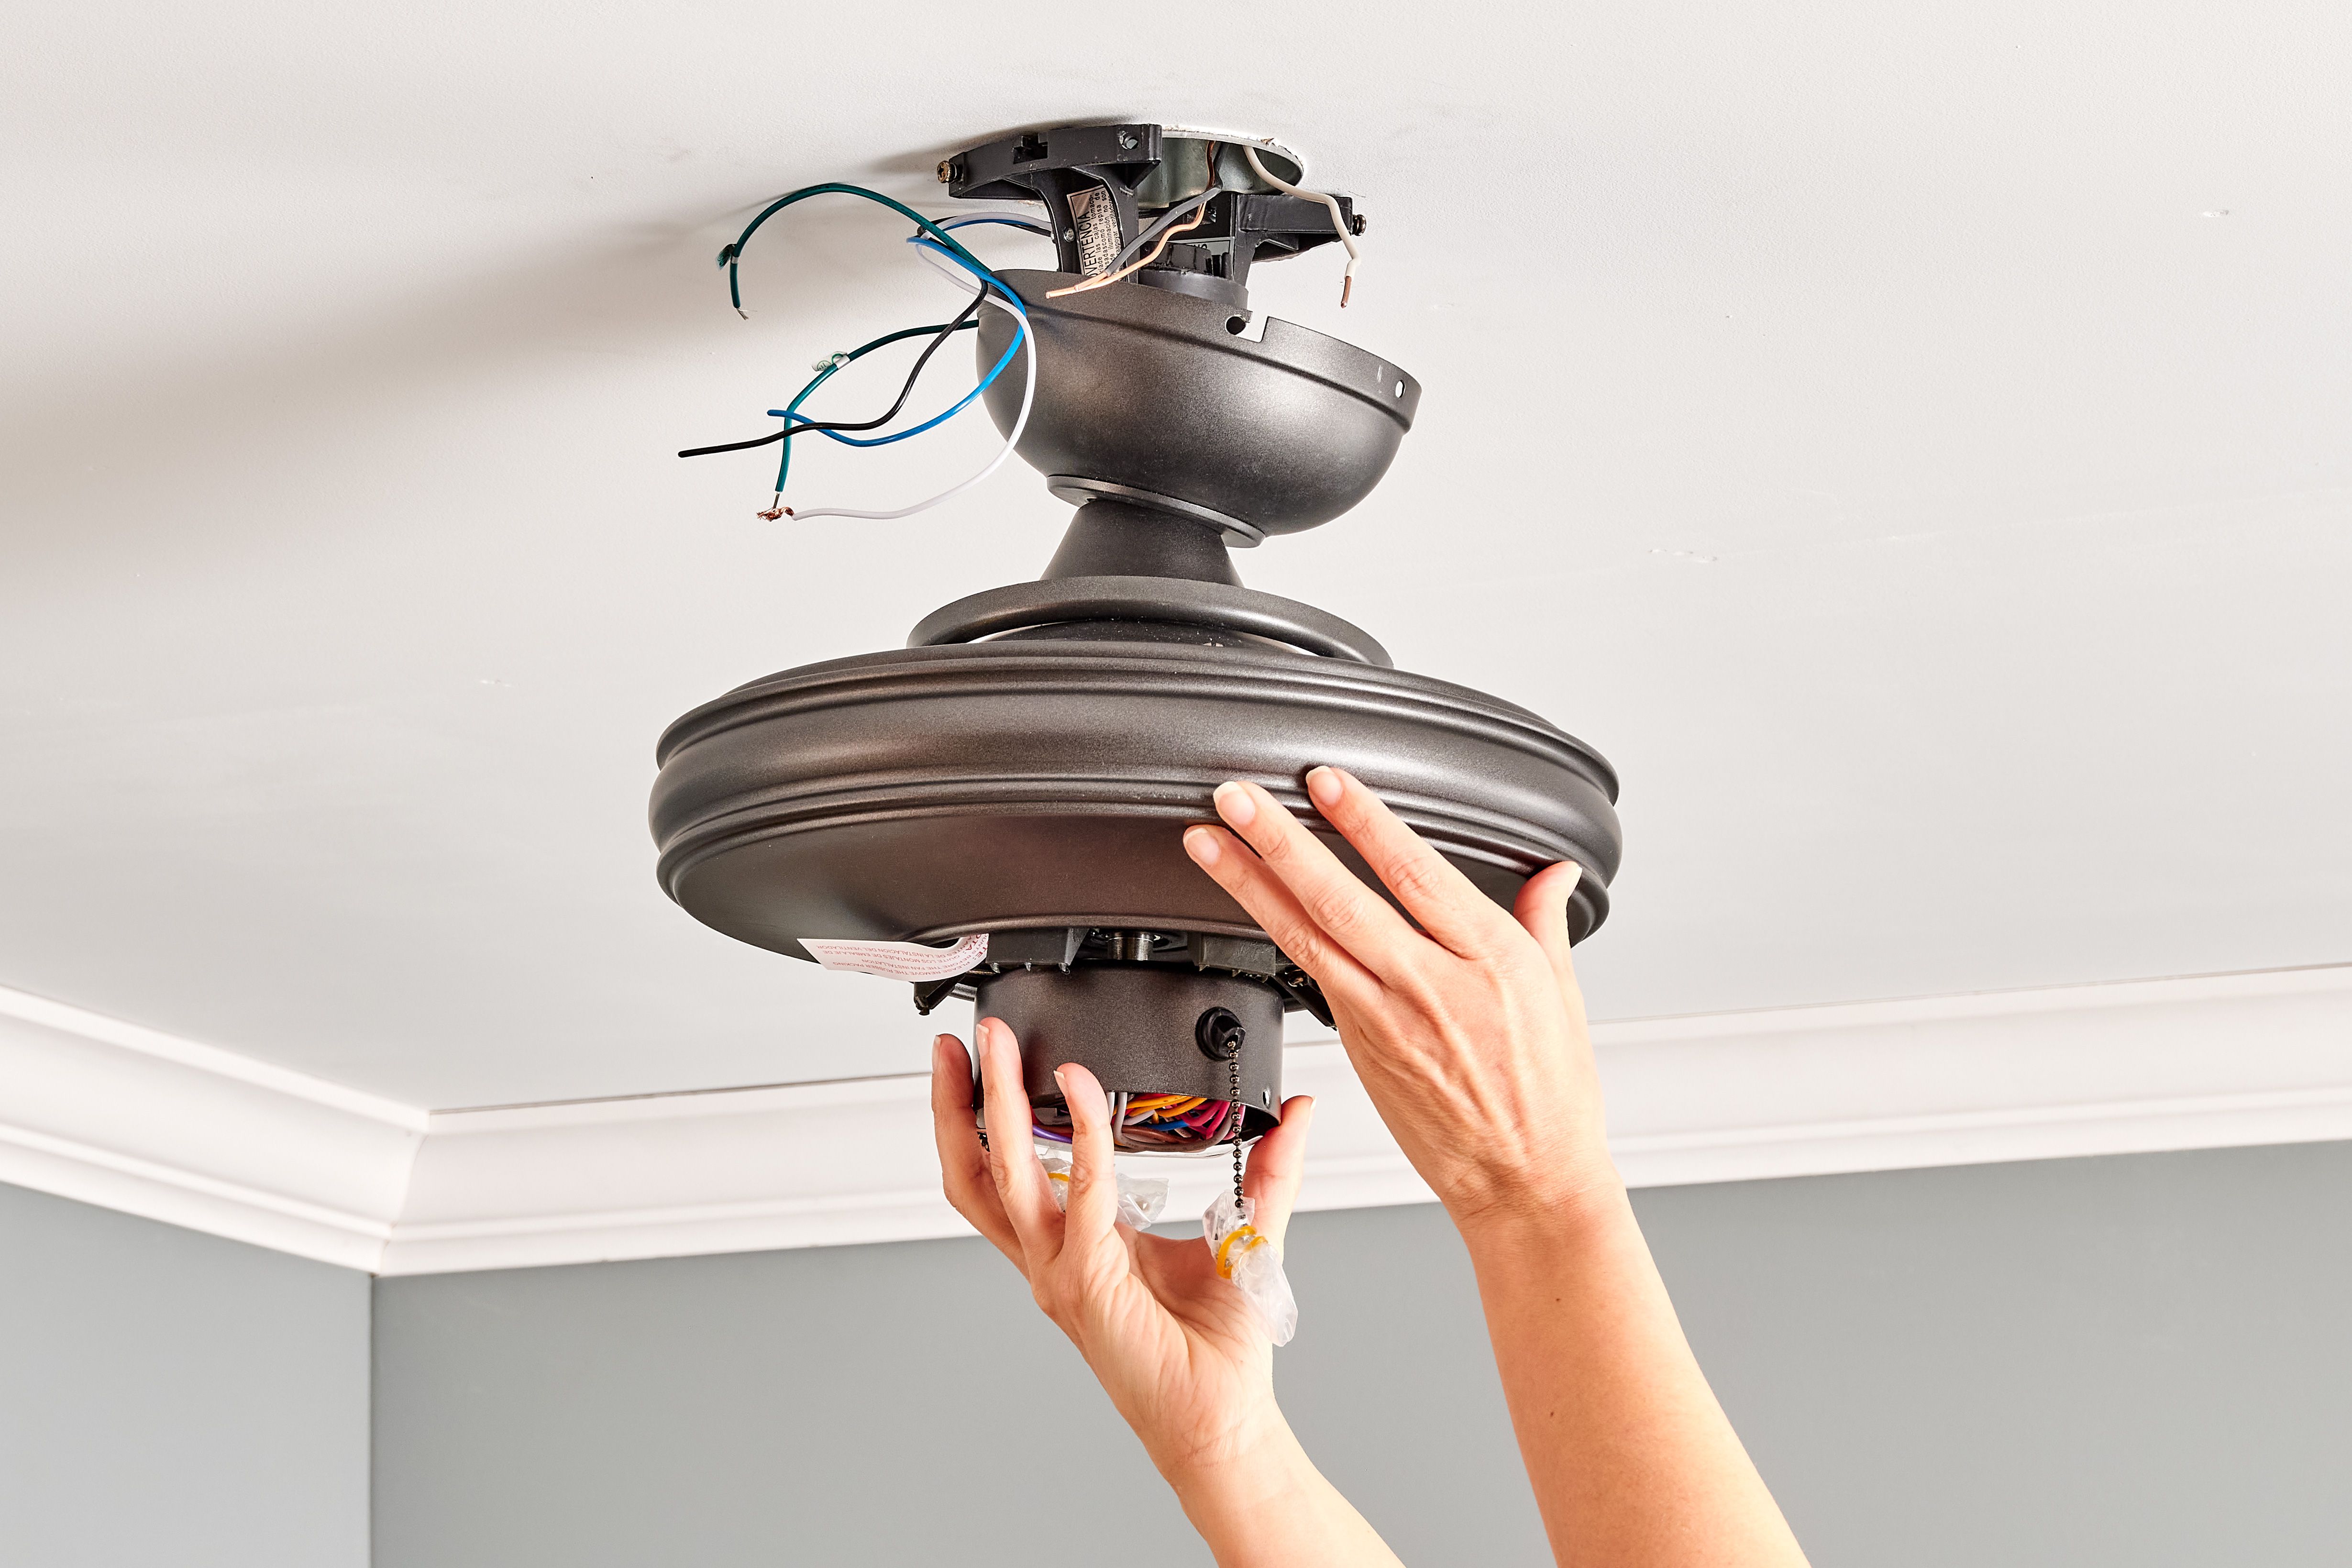
Step 7: Connect the wires
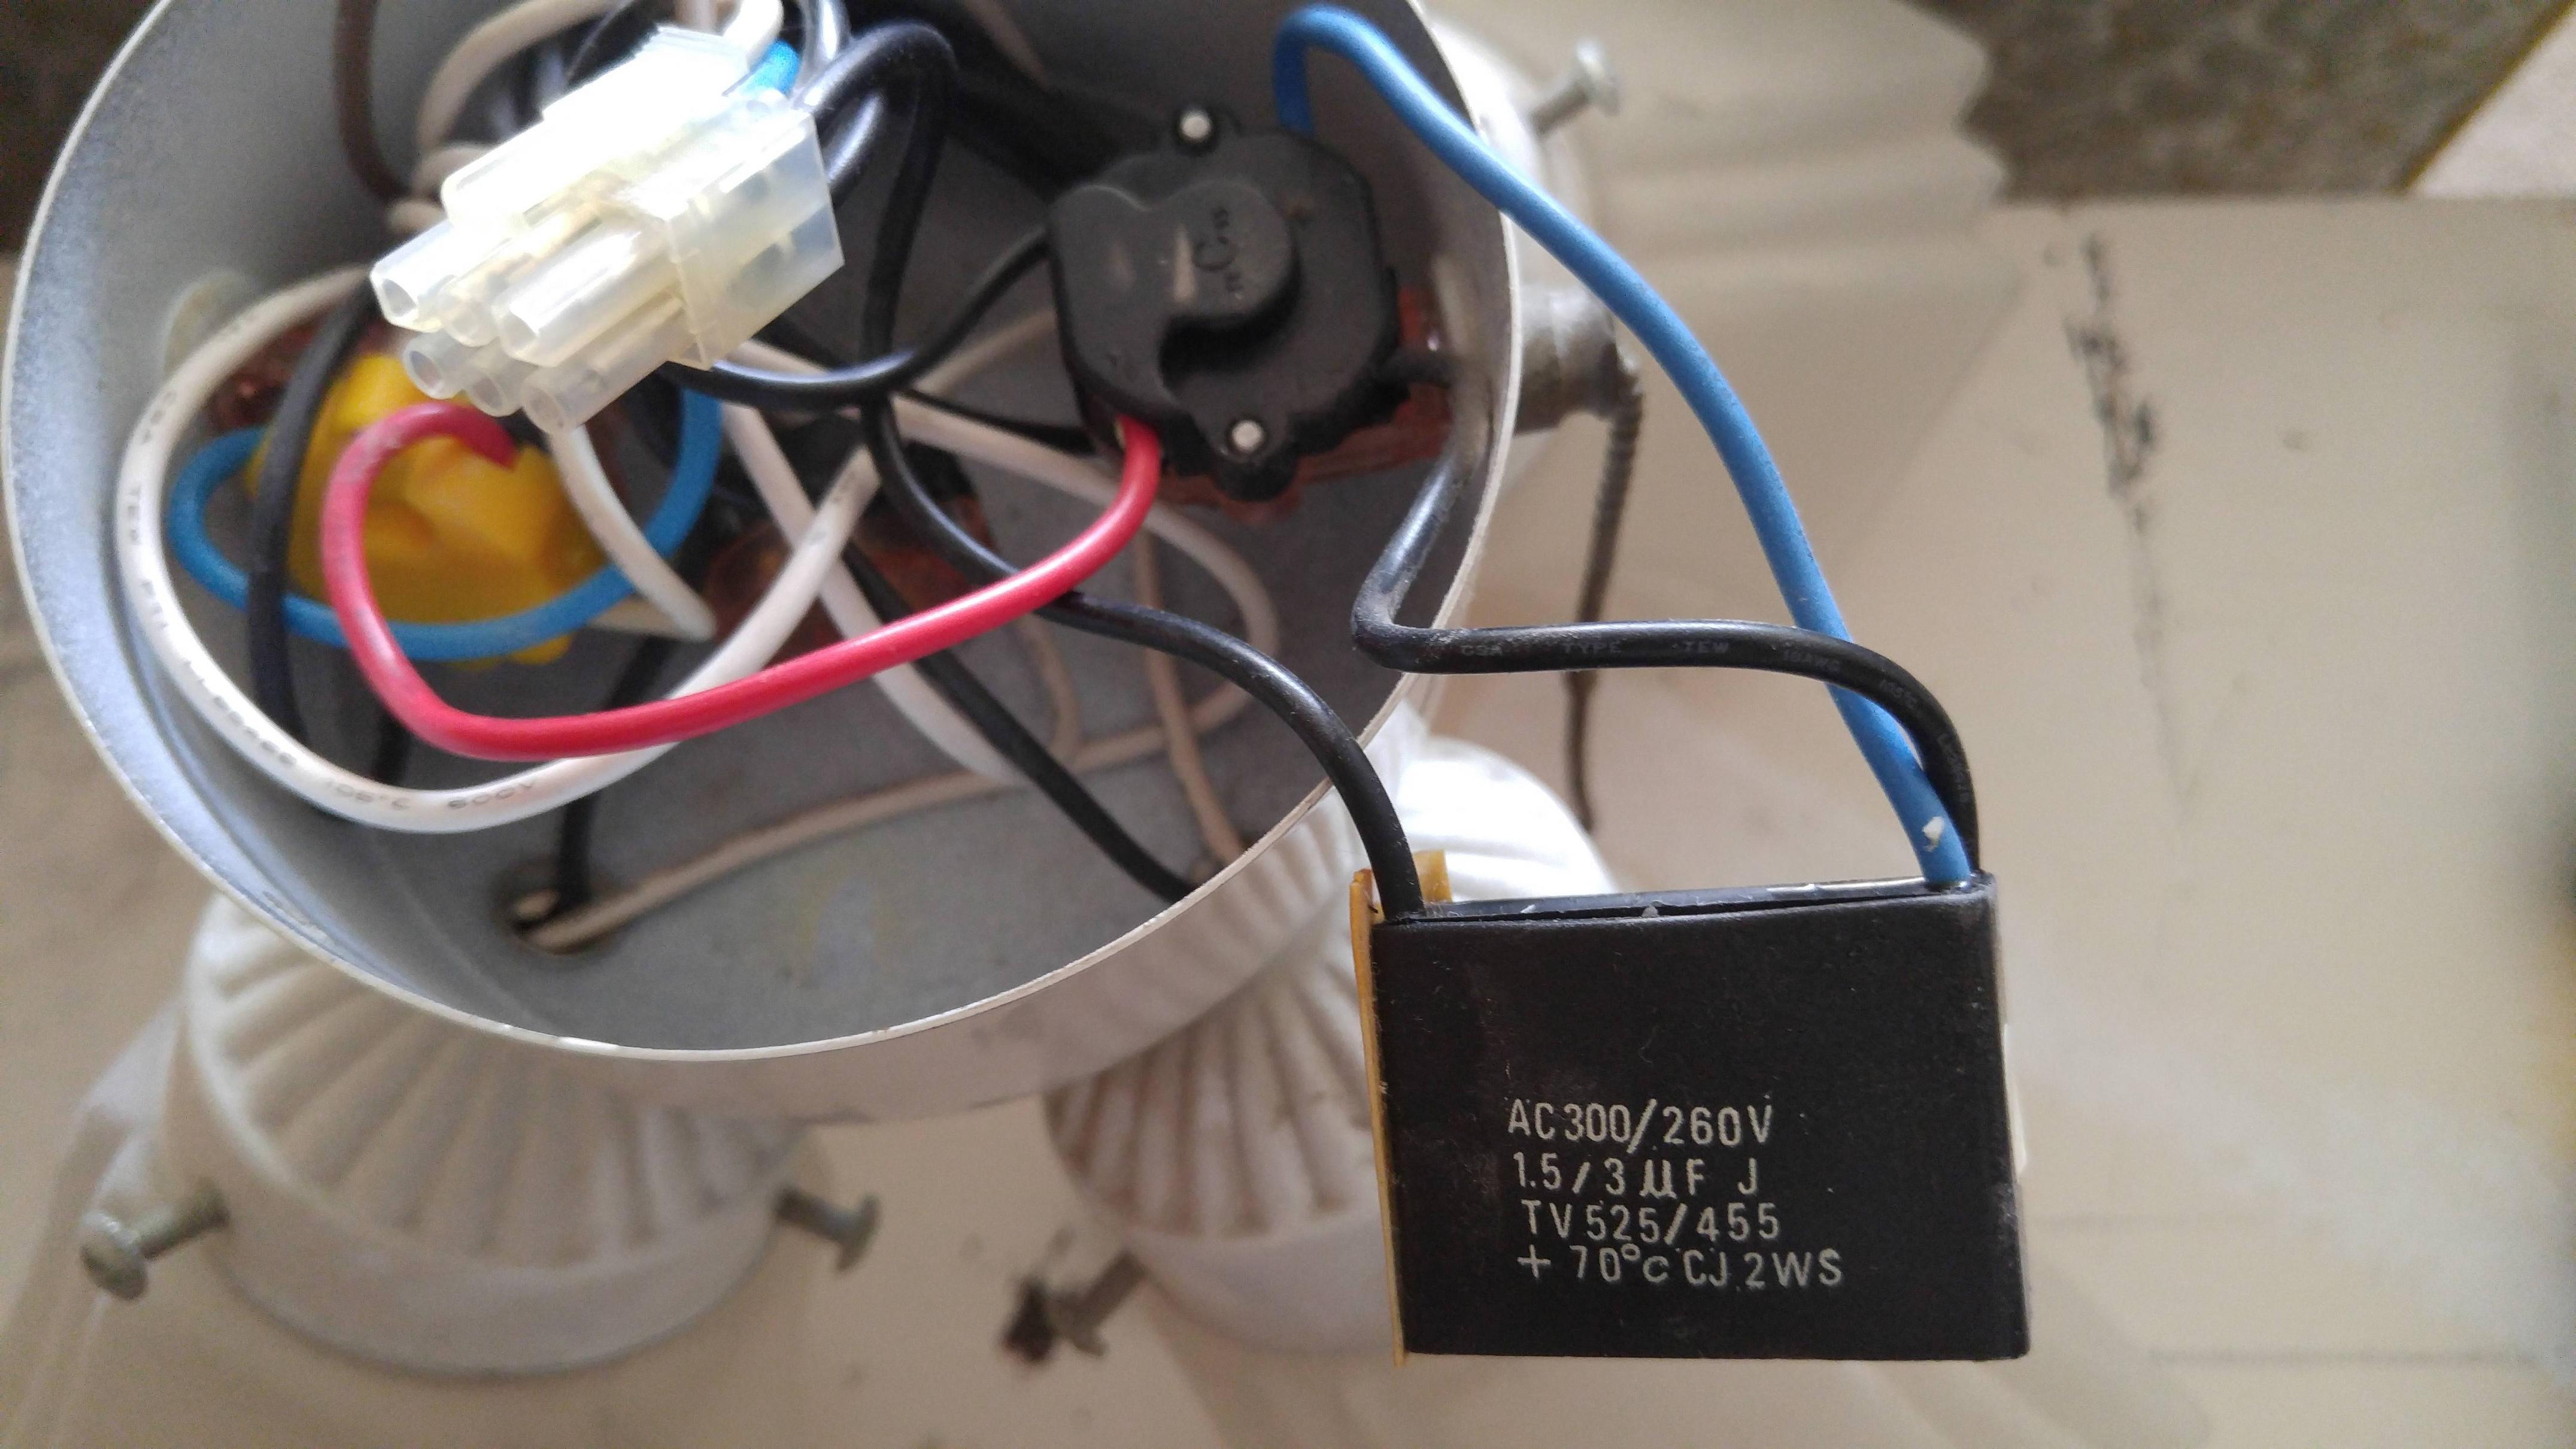
Connecting the wires properly is a critical step in wiring a Hunter ceiling fan. Follow these steps to ensure a safe and successful connection:
- Turn off the power at the circuit breaker panel to prevent any electrical accidents.
- Locate the wiring harness that is attached to the Hunter ceiling fan.
- Identify the color-coded wires: typically, black for the fan motor, blue for the light kit (if applicable), white for the neutral wire, and green or copper for the ground wire.
- Locate the corresponding wires in your electrical box: black for hot wire, white for neutral wire, and green or copper for ground wire.
- Strip the insulation from the ends of the wires using a wire stripper, exposing about half an inch of bare wire.
- Connect the black wire from the ceiling fan to the black or hot wire in the electrical box using a wire nut or electrical connector. Twist the wires together clockwise, then secure the connection with the wire nut.
- If your Hunter ceiling fan comes with a light kit, connect the blue wire from the fan to the red or hot wire in the electrical box, following the same twisting and securing process as the black wire.
- Connect the white wire from the ceiling fan to the white or neutral wire in the electrical box. Again, twist the wires together clockwise and secure the connection.
- Connect the green or copper wire from the ceiling fan to the green or copper wire in the electrical box. This is the ground wire, which ensures proper electrical grounding and safety.
- Once all the connections are made, carefully tuck the wires and wire connectors into the electrical box to ensure they do not interfere with the fan installation.
Remember to double-check that all wire connections are secure and tight before proceeding. If you are unsure about any step, consult the instruction manual or seek assistance from a licensed electrician.
With the wires properly connected, you are ready to move on to the next step: securing the canopy and attaching the fan motor.
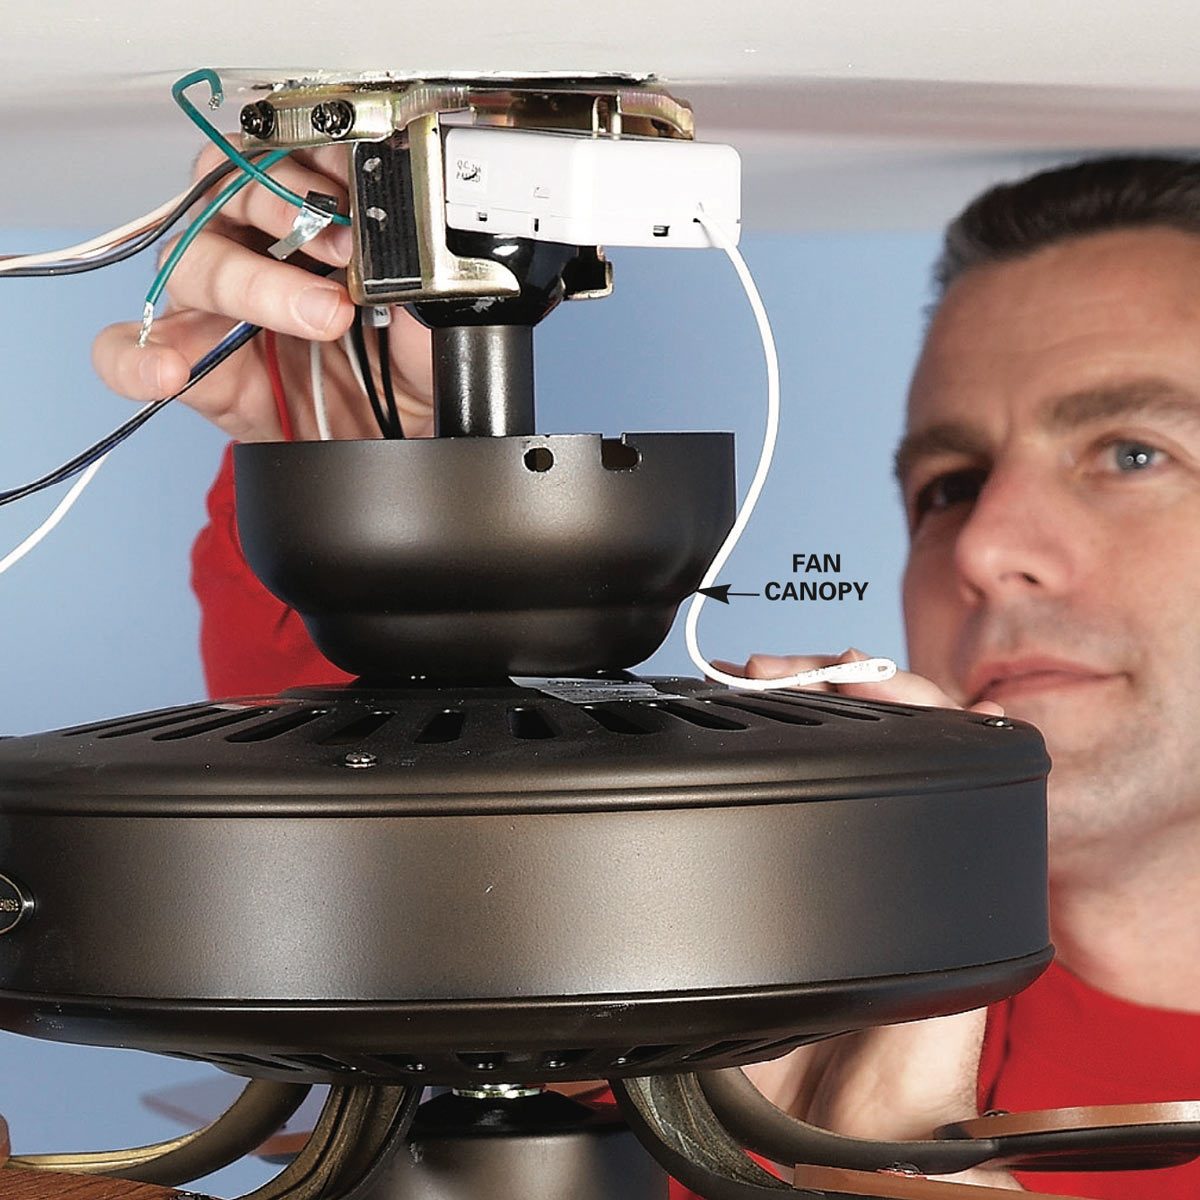
Step 8: Secure the canopy and attach the fan motor
Securing the canopy and attaching the fan motor are the next steps in wiring a Hunter ceiling fan. Follow these instructions to complete this part of the installation:
- Slide the canopy cover over the downrod and up to the ceiling, covering the wiring and mounting bracket.
- Align the holes on the canopy cover with the holes on the mounting bracket.
- Insert the screws through the holes and secure them with a screwdriver, ensuring that the canopy cover is tightly attached to the mounting bracket.
- Once the canopy cover is secure, carefully lift the Hunter fan motor assembly and align it with the mounting bracket.
- Insert the screws provided with the fan into the pre-drilled holes on the mounting bracket and tighten them to secure the fan motor.
- Gently shake the fan motor to ensure it is securely attached and there is no wobbling or looseness. If needed, tighten the screws further to ensure stability.
During this step, be mindful of the weight of the fan motor and take appropriate safety measures to ensure its safe installation. If you are unsure about any part of this step, refer to the instruction manual or seek the help of a professional electrician.
Once the canopy is secured and the fan motor is properly attached, you can proceed to the next step: installing the light kit (if applicable).
Read more: How To Oil A Hunter Ceiling Fan
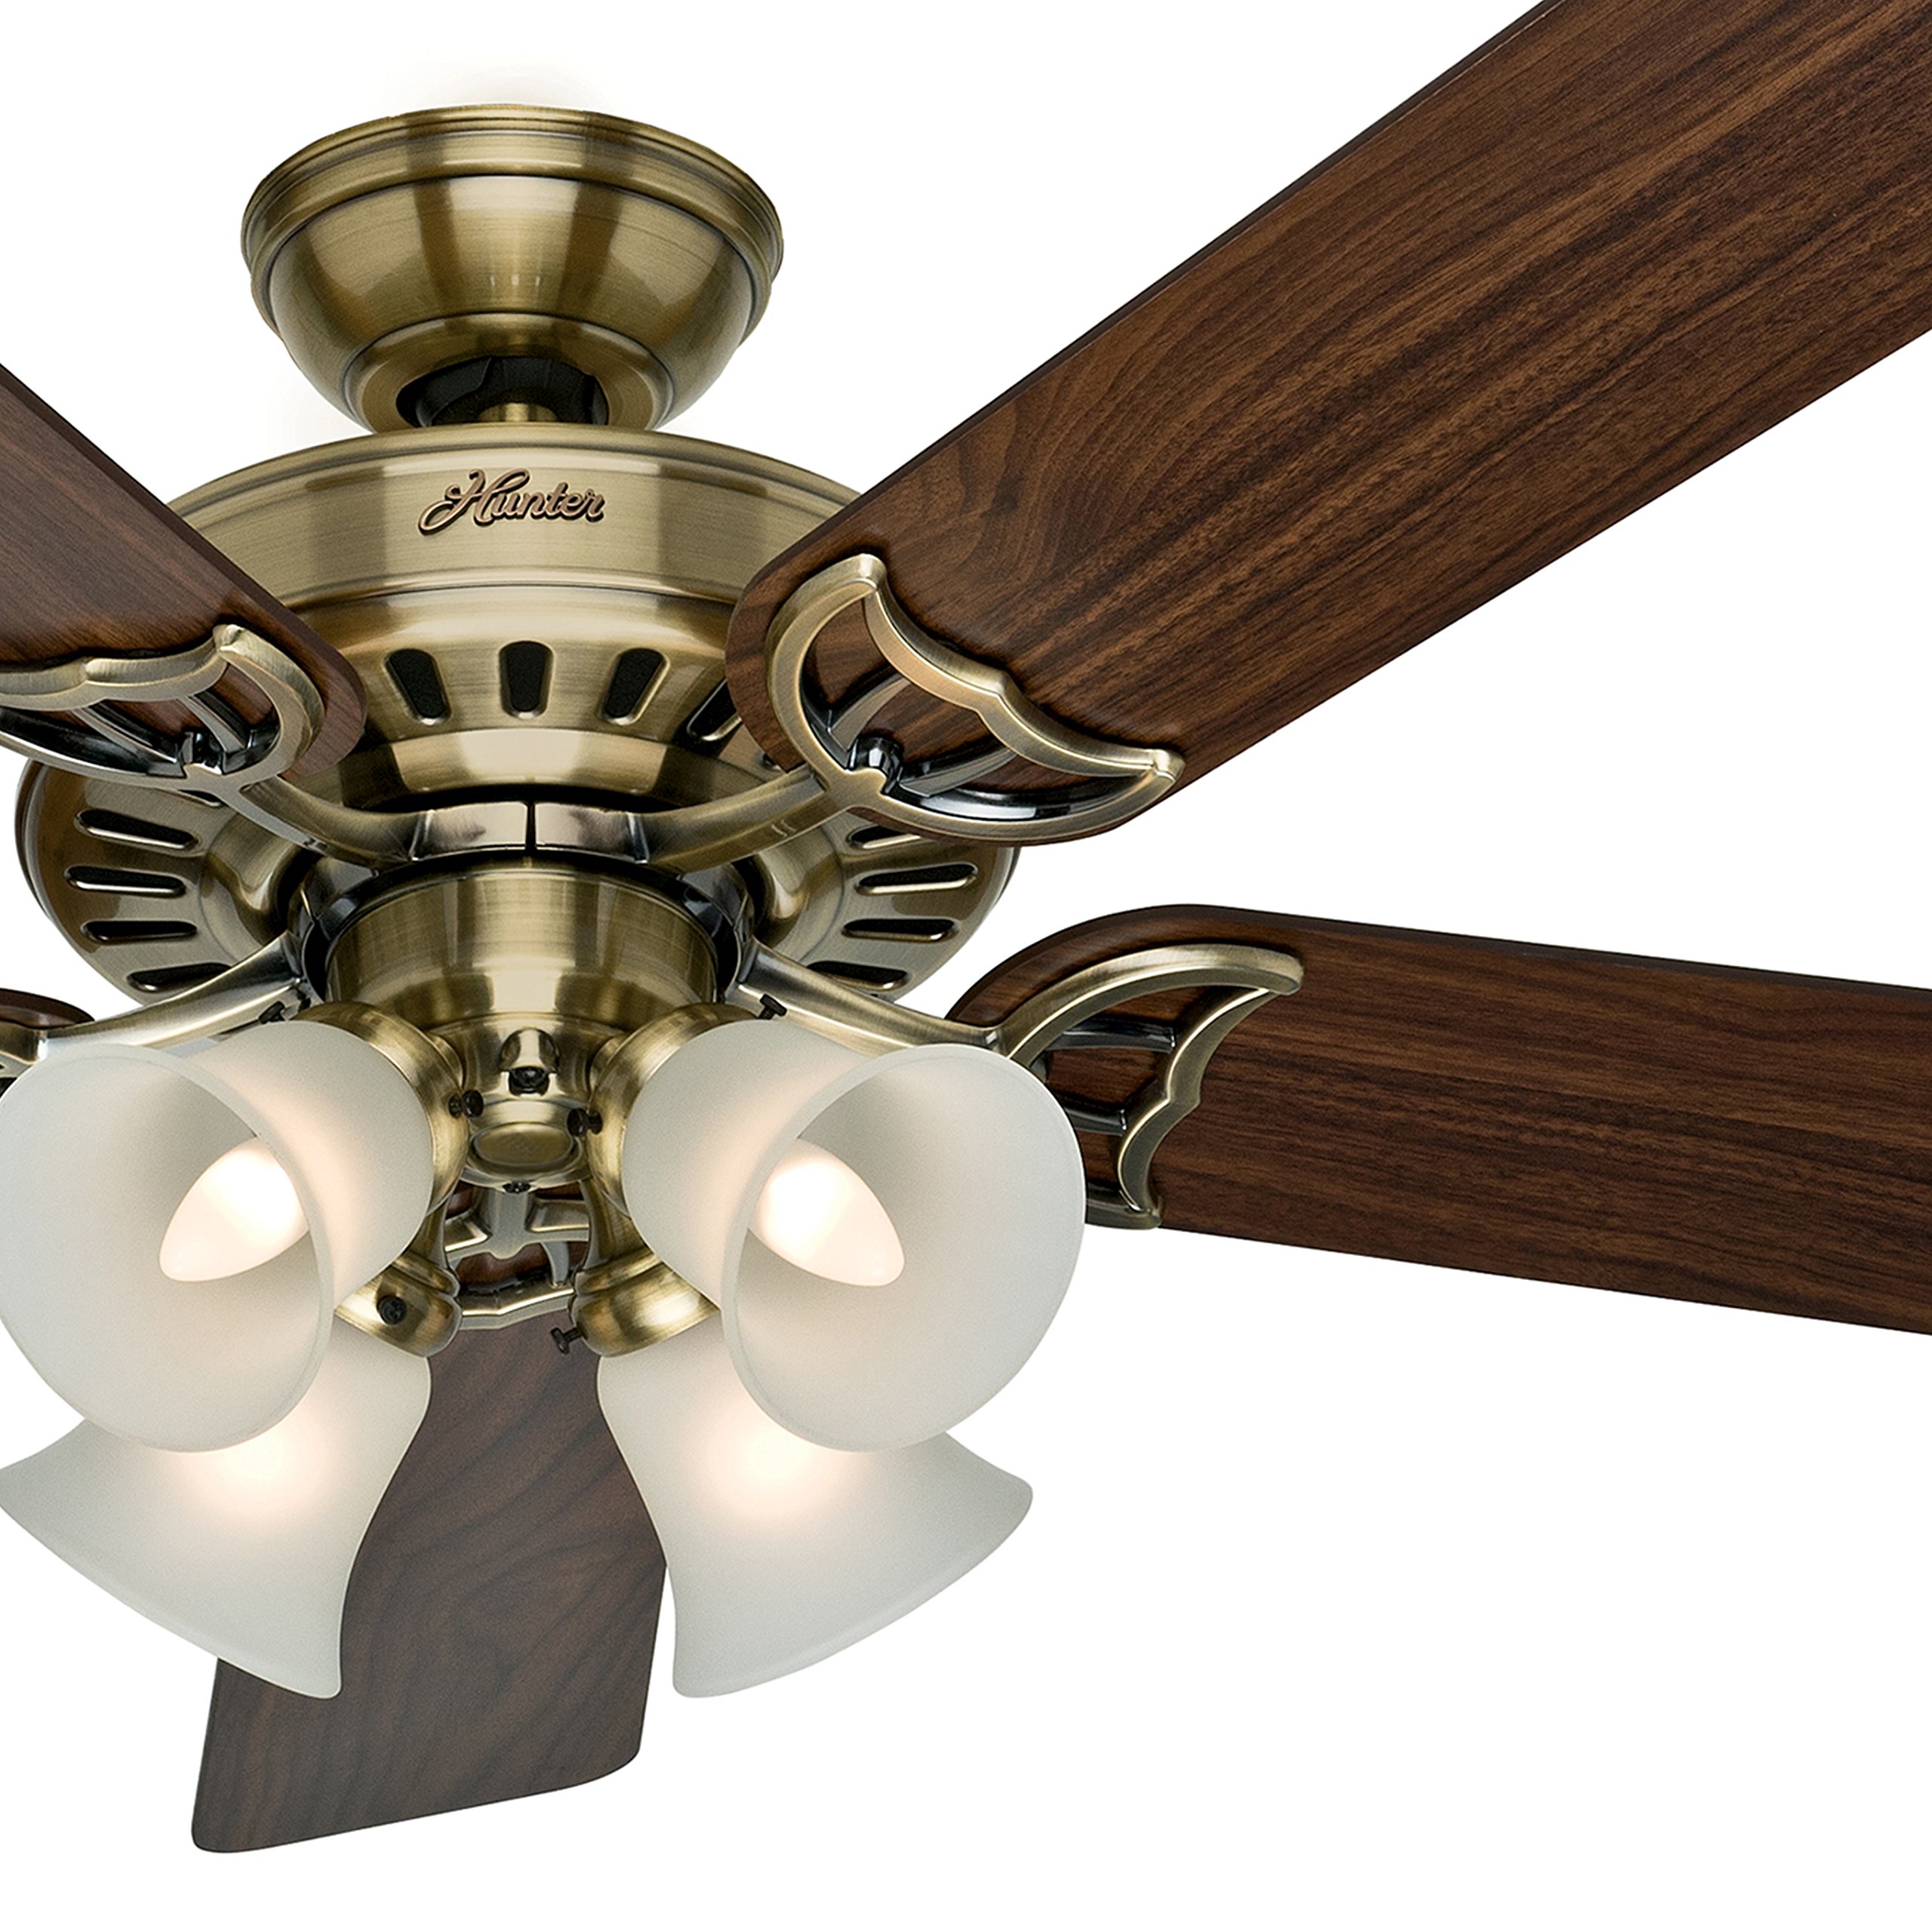
Step 9: Install the light kit (if applicable)
If your Hunter ceiling fan comes with a light kit, you can proceed with installing it in this step. Follow these instructions to properly install the light kit:
- Ensure that the power is turned off at the circuit breaker panel to prevent any electrical accidents.
- Locate the light kit assembly that is included with your Hunter ceiling fan. It typically consists of a light fixture, light bulbs, and a wiring harness.
- Position the light kit assembly underneath the fan motor, aligning the holes on the assembly with the pre-drilled holes on the fan motor housing.
- Insert the screws provided with the light kit into the pre-drilled holes and tighten them securely to attach the light kit to the fan motor housing.
- Connect the wiring harness of the light kit to the corresponding wires on the fan motor housing. Match the wire colors (typically blue to blue or black to black) and use wire nuts or electrical connectors to secure the connections.
- Attach the light bulbs to the light fixture as per the instructions provided with the light kit. Take care not to overtighten the bulbs to avoid damage.
Once the light kit is installed, turn on the power at the circuit breaker panel and test the light by flipping the light switch. Ensure that the light bulbs are working properly and that there are no electrical issues.
Always follow the specific instructions provided by Hunter for your model of ceiling fan and light kit. If you encounter any difficulties or are unsure about any steps, consult the instruction manual or seek the assistance of a licensed electrician.
With the light kit installed (if applicable), you are ready for the final step: testing the fan and making final adjustments.
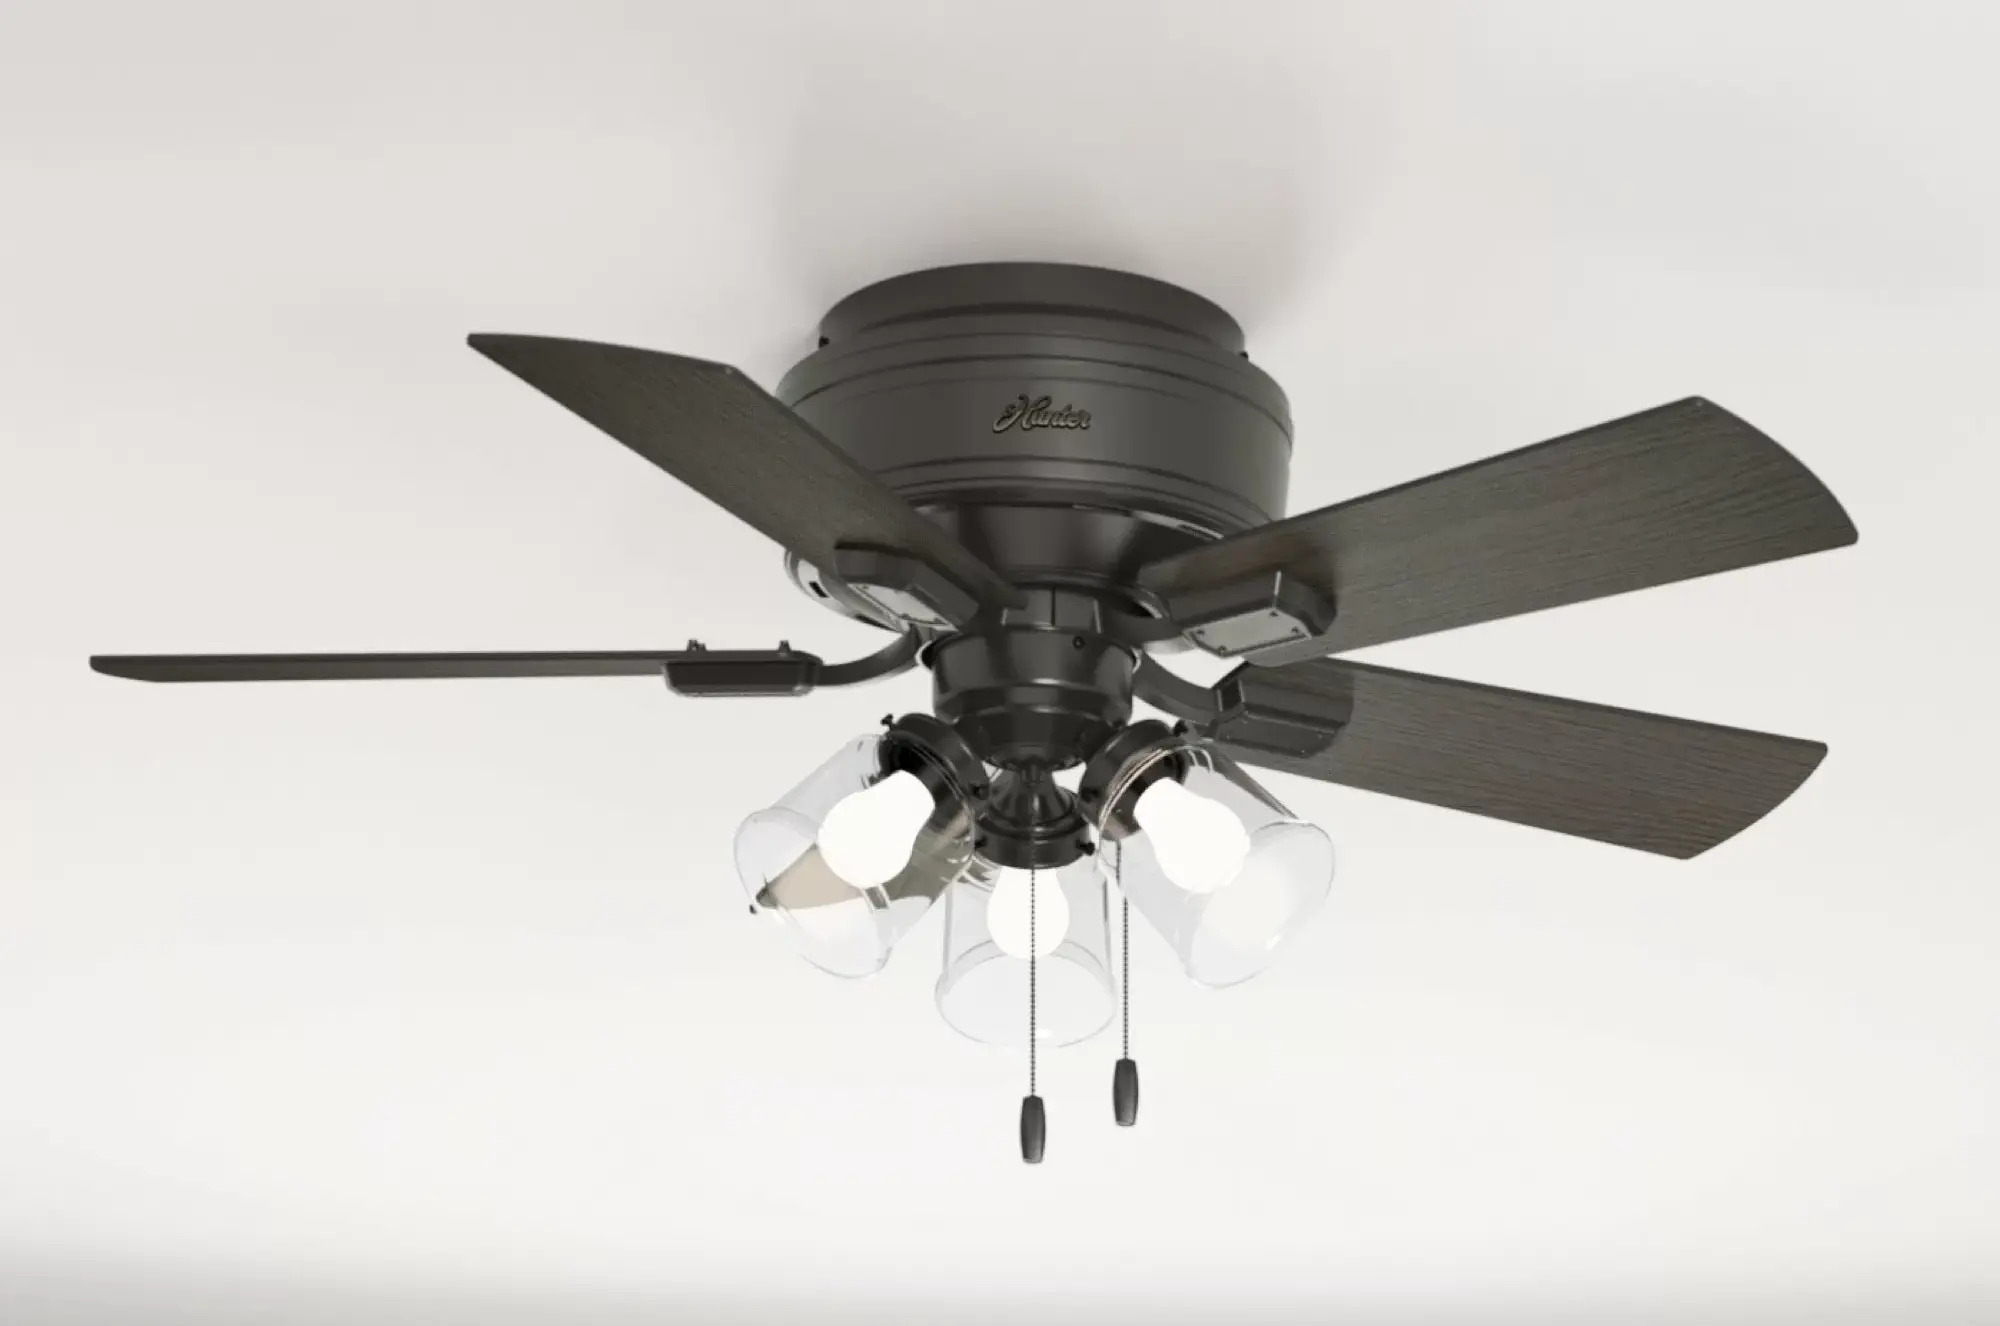
Step 10: Test the fan and make final adjustments
After completing the installation of your Hunter ceiling fan, it’s important to test it and make any necessary final adjustments. Follow these steps to ensure that your fan is functioning properly:
- Turn on the power at the circuit breaker panel.
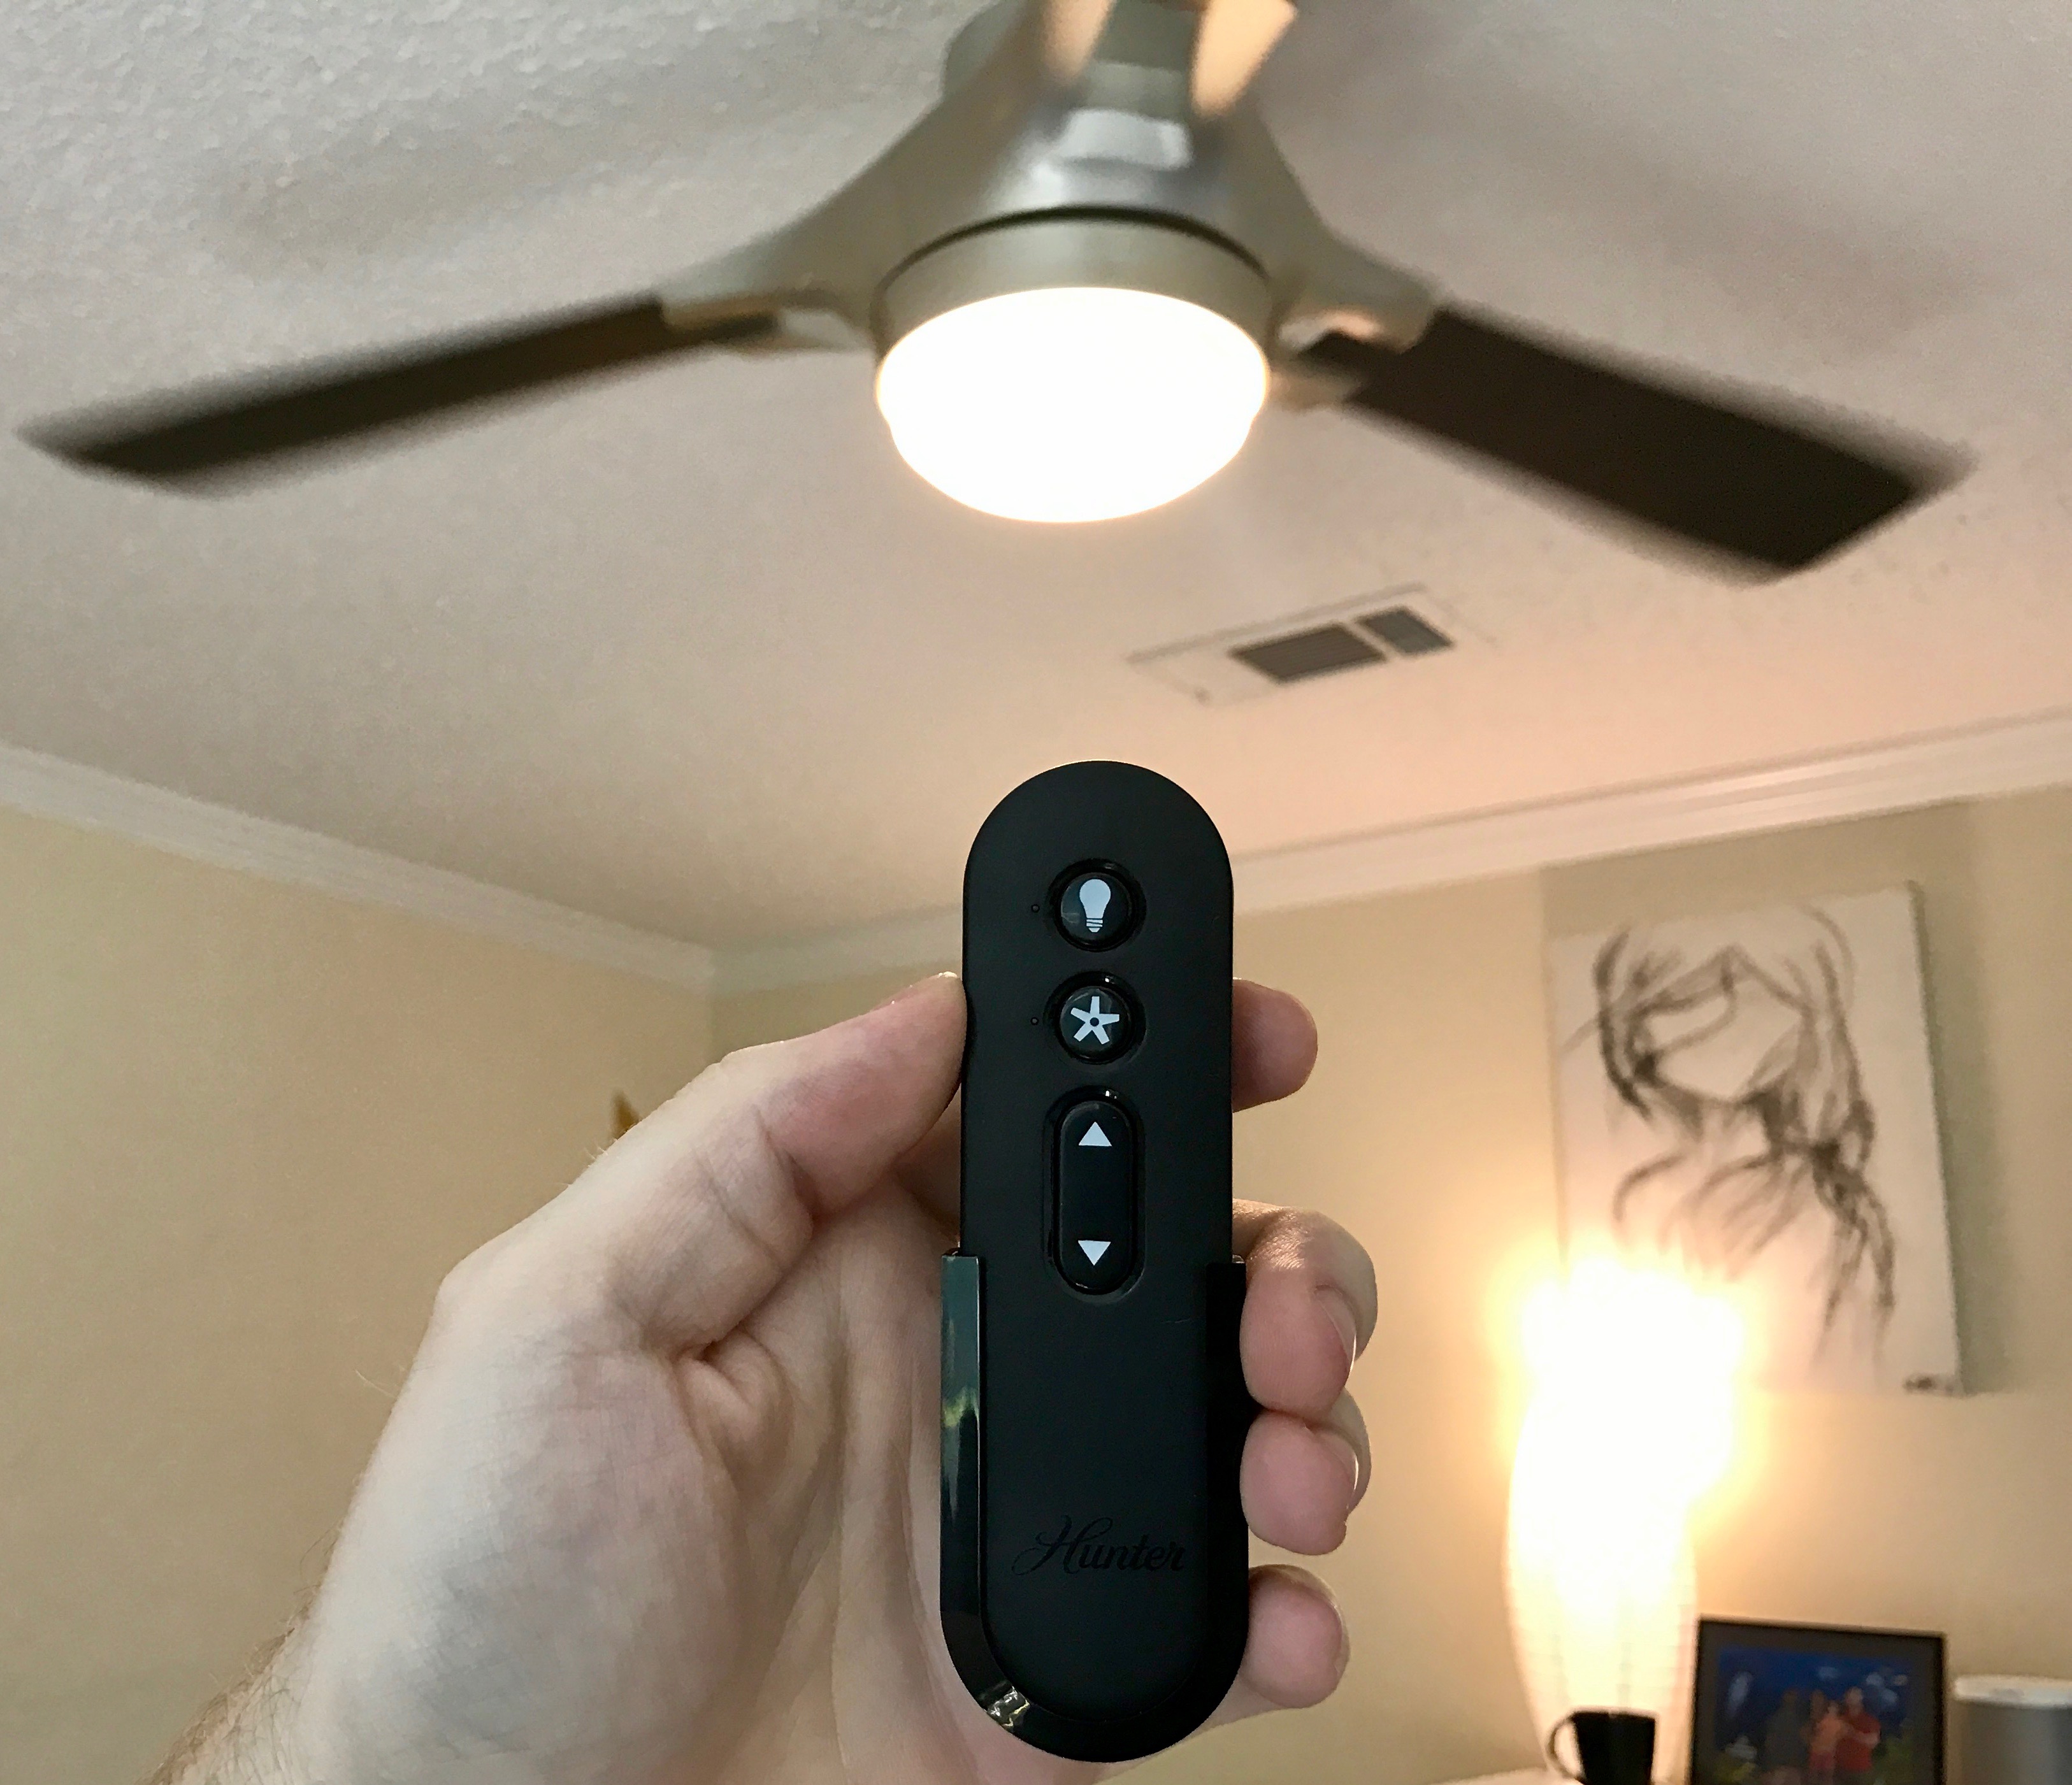
- Use the fan switch on the wall or remote control to turn on the fan motor. Start with the lowest speed setting and gradually increase it to see if the fan operates smoothly.
- Observe the fan blades as they rotate. Ensure that they are balanced and not wobbling excessively. If you notice any wobbling, use a balancing kit (usually included with the fan) to correct it. This typically involves attaching weights to the blades to achieve balance.
- Check the light kit (if applicable) to ensure that the light bulbs are functioning properly. If necessary, tighten the bulbs or replace them if they are faulty.
- Listen carefully for any unusual noises coming from the fan motor or other components. If you hear any grinding, scraping, or humming sounds, it may indicate a mechanical issue. In such cases, consult the instruction manual or contact Hunter customer support for assistance.
- Make any final adjustments to the fan’s speed, direction, and light settings according to your preferences using the wall switch or remote control, if available.
If you encounter any difficulties or notice any issues during the testing process, refer to the instruction manual or seek the help of a professional electrician. Ensuring that your Hunter ceiling fan is functioning properly will not only provide comfort and airflow, but also increase the longevity of the fan.
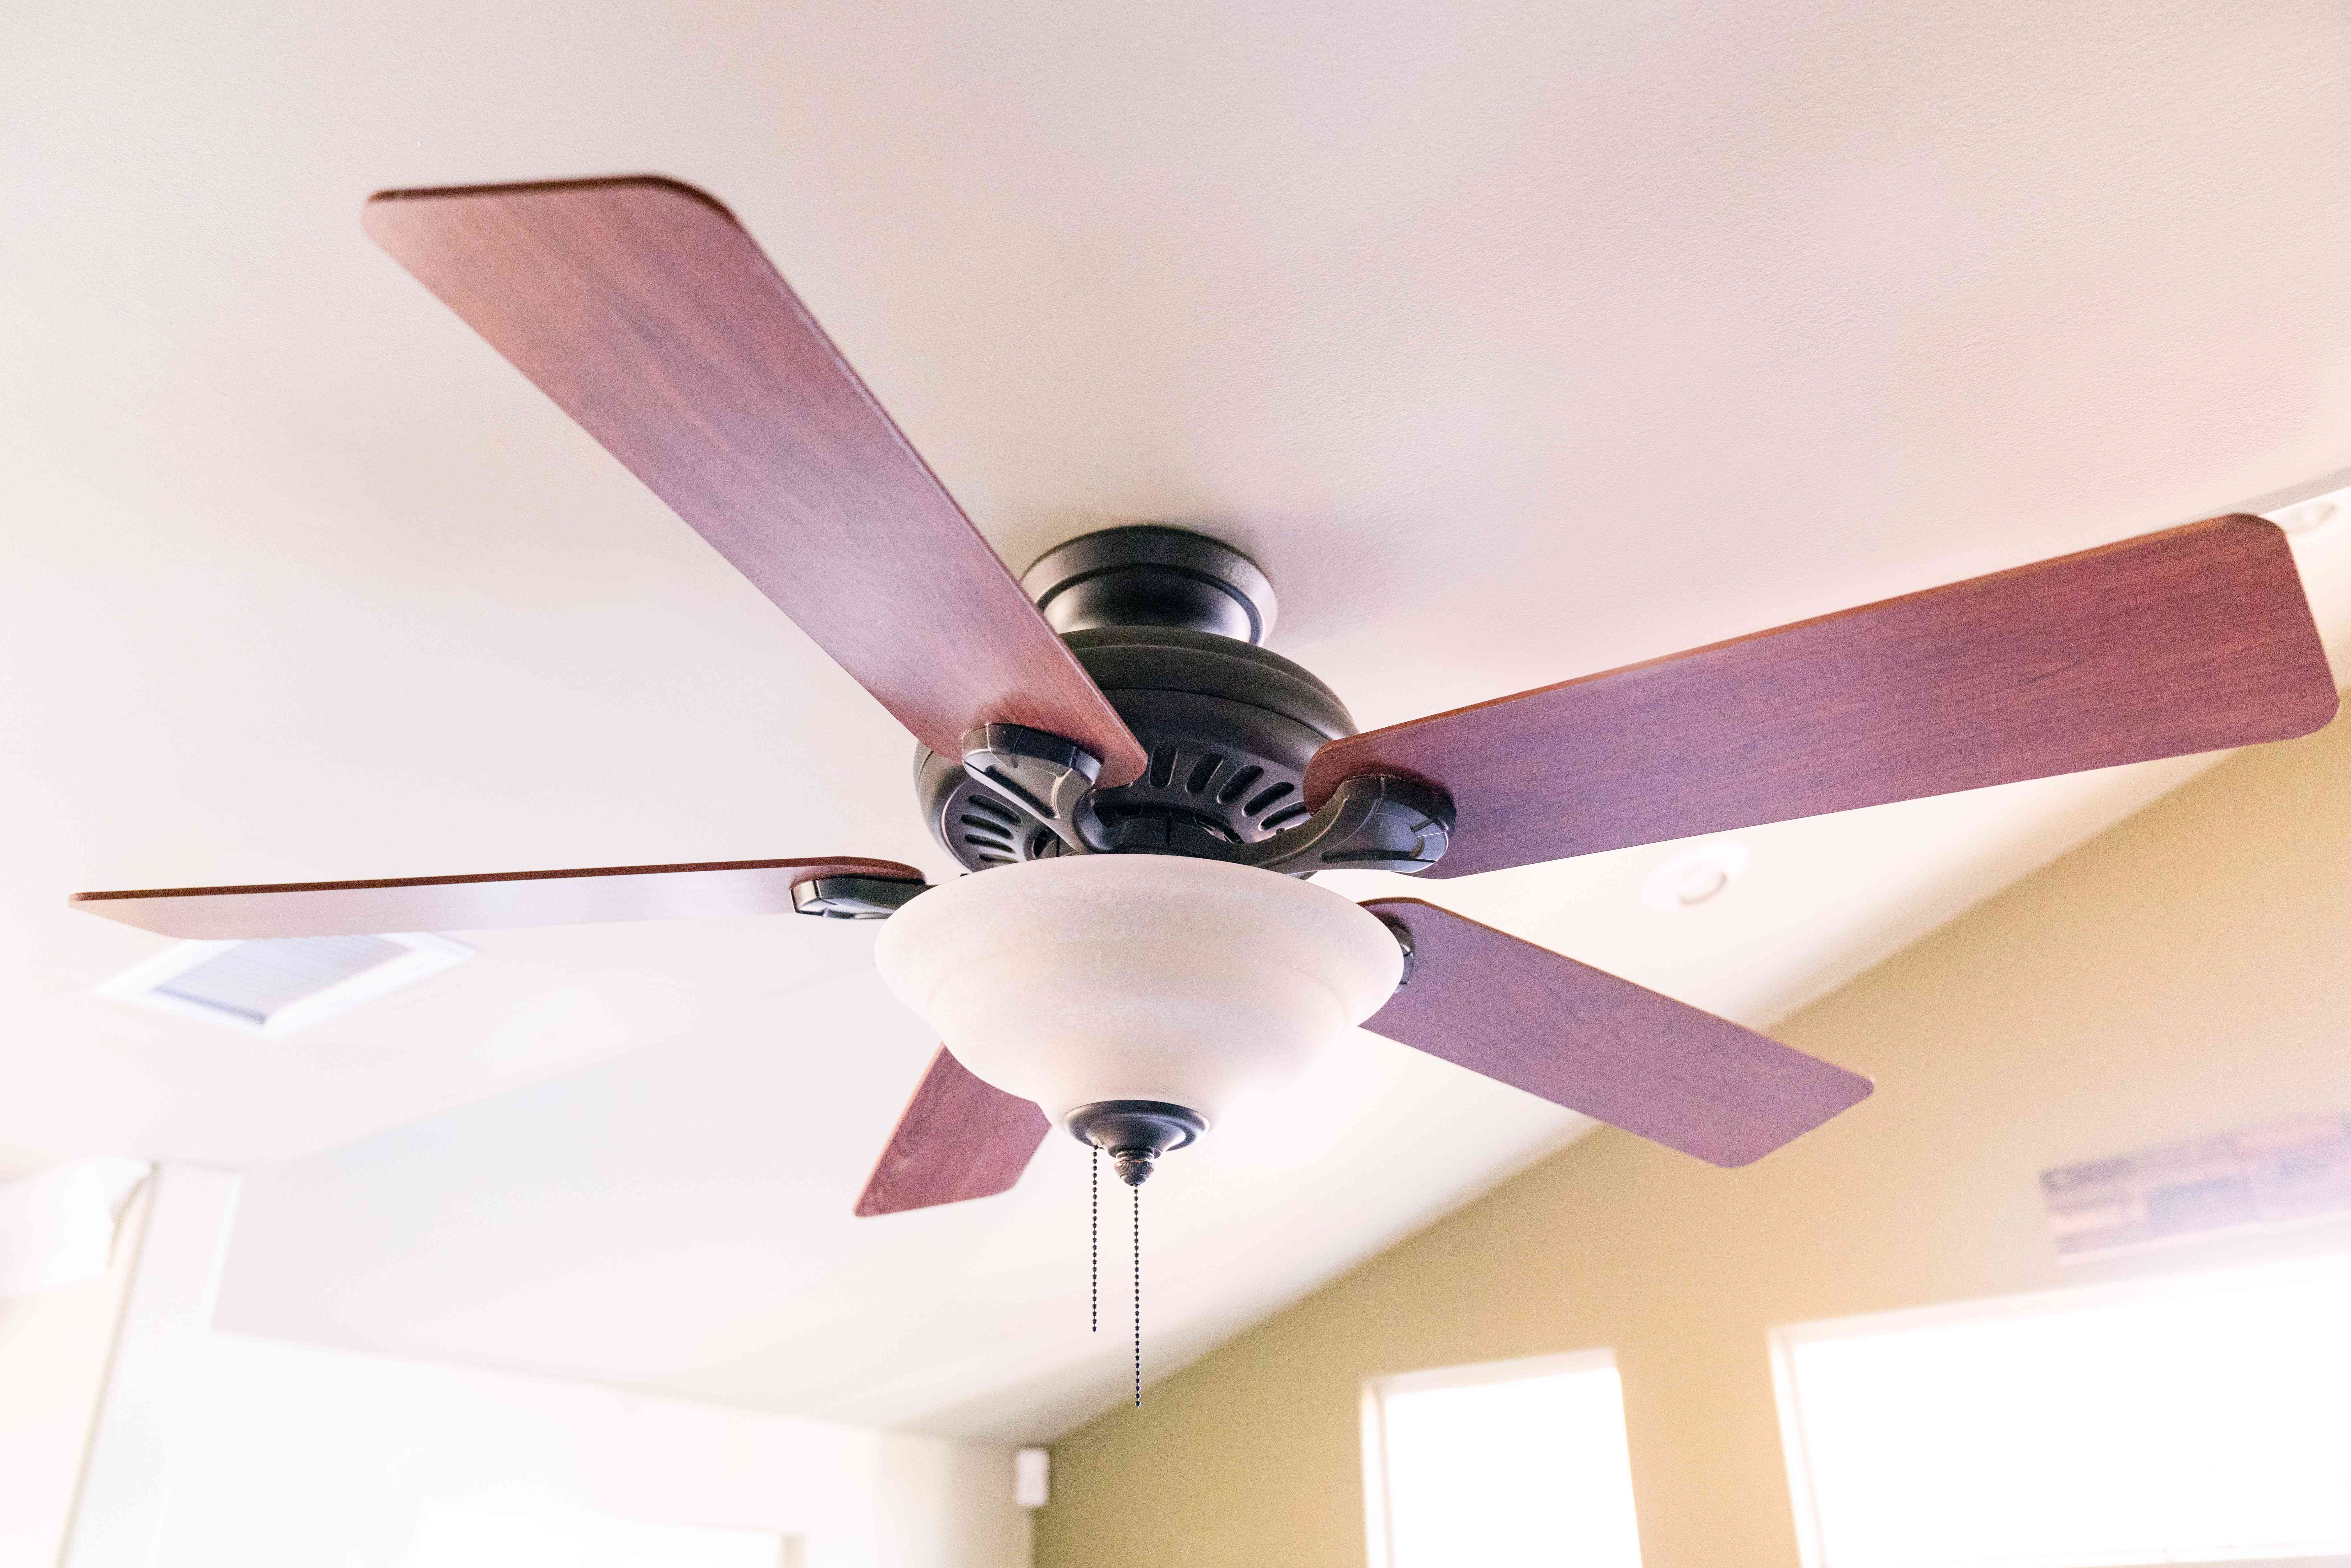
With the fan tested and any necessary adjustments made, you have successfully wired and installed your Hunter ceiling fan. Enjoy the cool breeze and the enhanced aesthetics that it brings to your space!
Before concluding the installation process, it’s essential to clean up any debris or packaging materials, and to dispose of them properly. Ensure that the area is safe and tidy before considering the project complete.
Remember to always prioritize safety when working with electrical components or wiring. If you are uncertain about any step or aspect of the installation, it is recommended to consult a licensed electrician for assistance.
Congratulations on completing the installation of your Hunter ceiling fan!
Conclusion
Installing a Hunter ceiling fan is a rewarding project that not only improves comfort but also adds style to your home. By following the step-by-step instructions outlined in this article, you can successfully wire and install your Hunter ceiling fan with confidence. Remember to always prioritize safety during the installation process and consult a licensed electrician if needed.
Throughout the installation, we covered essential steps such as gathering the necessary tools and materials, turning off the power, removing an existing ceiling fan (if applicable), assembling the Hunter ceiling fan, attaching the mounting bracket, installing the fan blades, connecting the wires, securing the canopy, attaching the fan motor, installing the light kit (if applicable), testing the fan, and making final adjustments.
It’s important to always refer to the specific instructions provided by Hunter for your particular model of ceiling fan, as there may be slight variations in the installation process. Pay attention to the details and make sure all connections are secure to ensure proper functioning and safety.
By successfully completing the installation, you can now enjoy the benefits of a well-functioning and stylish Hunter ceiling fan in your home. Stay cool during hot summer days and improve air circulation in your living spaces. Additionally, the addition of a properly installed ceiling fan can enhance the overall ambiance and aesthetics of any room.
Remember to periodically clean and maintain your Hunter ceiling fan to keep it operating efficiently and prolong its lifespan. Regularly dust the blades, clean the fan motor housing, and lubricate any moving parts as recommended by the manufacturer.
Thank you for following this comprehensive guide on how to wire a Hunter ceiling fan. We hope that this article has been helpful in guiding you through the installation process. Enjoy your newly installed Hunter ceiling fan and the comfort and style it brings to your home!
Frequently Asked Questions about How To Wire Hunter Ceiling Fan
Was this page helpful?
At Storables.com, we guarantee accurate and reliable information. Our content, validated by Expert Board Contributors, is crafted following stringent Editorial Policies. We're committed to providing you with well-researched, expert-backed insights for all your informational needs.


0 thoughts on “How To Wire Hunter Ceiling Fan”