Articles
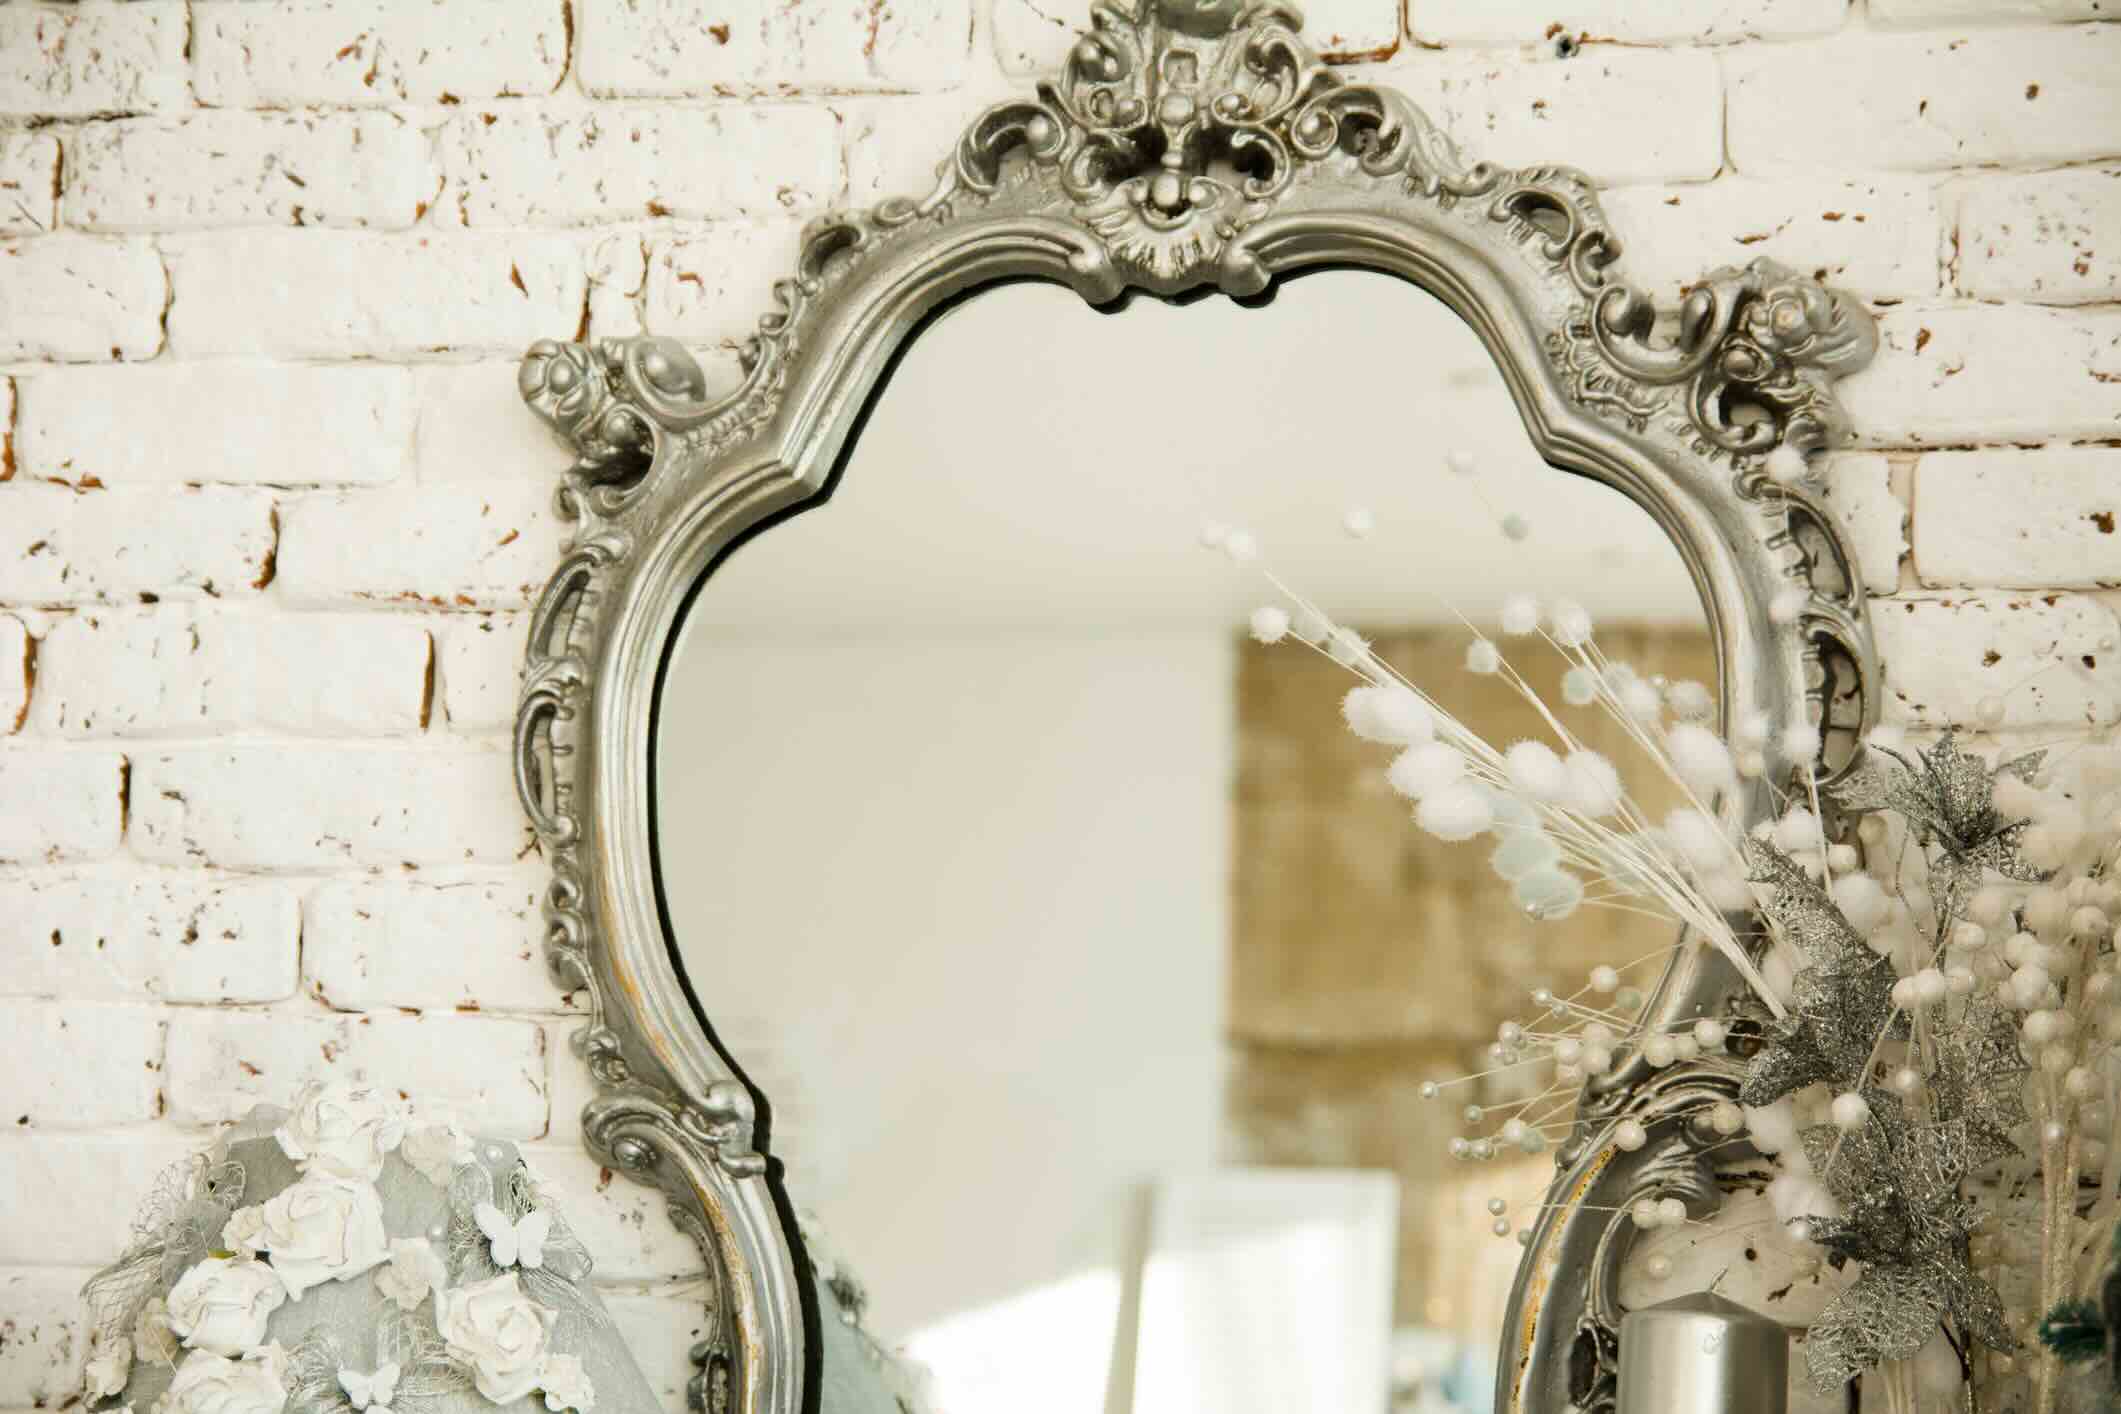
How To Restore Old Mirrors
Modified: December 7, 2023
Learn helpful tips and techniques for restoring old mirrors with our collection of insightful articles. Bring new life to your antiques with these expert restoration methods.
(Many of the links in this article redirect to a specific reviewed product. Your purchase of these products through affiliate links helps to generate commission for Storables.com, at no extra cost. Learn more)
Introduction
Restoring old mirrors can be a rewarding and satisfying project for anyone with a passion for preservation and vintage aesthetics. Whether you have inherited a family heirloom or stumbled upon a beautiful antique mirror at a flea market, bringing new life to these timeless pieces can elevate the style and ambiance of any space.
However, before embarking on a mirror restoration journey, it is important to understand the process and the steps involved. This comprehensive guide will walk you through the necessary procedures to restore old mirrors, from assessing their condition to applying the finishing touches. By following these steps, you can transform a dull and worn-out mirror into a stunning focal point that adds character and charm to your home.
Before diving into the restoration process, it’s worth noting that some mirrors may require professional assistance due to their age, fragility, or value. If you have any doubts or concerns about the condition of your mirror, consulting with an expert is always a wise choice.
Now, let’s begin our journey to restore old mirrors and bring their beauty back to life!
Key Takeaways:
- Restoring old mirrors involves assessing, cleaning, repairing, and enhancing the mirror and frame. The process not only brings back the mirror’s beauty but also preserves its history and adds character to any space.
- By following the restoration steps with care and attention to detail, you can transform a worn-out mirror into a stunning focal point. The satisfaction of bringing new life to an old mirror is unmatched and adds both sentimental and aesthetic value to your home.
Read more: How To Restore Old Clawfoot Bathtub
Step 1: Assess the Mirror’s Condition
The first and most crucial step in restoring an old mirror is to carefully assess its condition. This involves determining any visible damage, such as cracks, chips, or scratches on the glass surface, as well as evaluating the overall stability of the frame.
Start by inspecting the mirror in good lighting conditions. Look for any signs of corrosion or discoloration on the glass. Note down any areas where the silvering, which gives the mirror its reflective surface, may have deteriorated or become patchy.
Next, examine the frame of the mirror. Pay attention to any missing or loose pieces, as well as signs of wear, such as chipped or peeling paint, or cracks in the wood or other materials. Take note of any intricate details or ornamental elements on the frame that may require special attention during the restoration process.
It’s important to consider the age and historical value of the mirror before deciding on the extent of the restoration. If the mirror is an antique or holds sentimental value, you may want to preserve its original patina and character, rather than aiming for a complete makeover.
Make sure to document the mirror’s condition with detailed notes and photographs. This will not only help you in planning the restoration process but also act as a reference point for comparison as you progress through the restoration.
If you are unsure about the severity of any damage or the best approach to take, consulting with a professional conservator or antique expert is highly recommended. They can provide valuable insights and guidance to ensure the proper restoration of your mirror while preserving its authenticity.
Step 2: Remove Any Dirt or Debris
Once you have assessed the condition of the mirror and documented any damage, it’s time to move on to the next step: removing any dirt or debris that may have accumulated over the years.
Start by gently dusting the mirror’s surface using a soft, lint-free cloth or a feather duster. This will help remove loose particles and prevent scratching the glass during the cleaning process. Be careful not to apply too much pressure, especially if the mirror is delicate or has damaged areas.
If there are stubborn stains or grime on the mirror, you can dampen a clean cloth with a mild glass cleaner or a mixture of warm water and a small amount of mild dish soap. Make sure to wring out excess liquid to avoid saturating the mirror.
Gently wipe the mirror with the damp cloth, using light circular motions. Avoid scrubbing the surface vigorously, as this could damage the glass or the silvering. Pay special attention to the edges and corners, where dirt and debris tend to accumulate.
If there are any decorative elements, such as intricate carvings or frames, use a soft brush, like a small paintbrush or a toothbrush, to carefully remove dirt from those areas. Be gentle and take your time to ensure that you don’t cause any further damage.
Once you have cleaned the surface, use a separate clean, dry cloth to remove any residual moisture. This step is crucial to prevent water spots or streaks from forming on the mirror.
Remember to work in a well-ventilated area and avoid using harsh chemicals or abrasive cleaners, as they can damage the mirror’s surface. When in doubt, refer to the manufacturer’s instructions or consult an expert for specific cleaning recommendations.
With the mirror now free of dirt and debris, you can move on to the next step in the restoration process, which is cleaning the mirror’s surface.
Step 3: Clean the Mirror’s Surface
After removing any dirt and debris from the mirror in the previous step, it’s time to focus on cleaning the mirror’s surface to restore its clarity and shine. A clean and well-maintained mirror not only enhances its visual appeal but also ensures a clear reflection.
When cleaning the mirror’s surface, it’s important to avoid using harsh chemicals or abrasive materials that can damage the glass or the silvering. Instead, opt for a mild glass cleaner or a solution of equal parts distilled water and white vinegar, which is effective in removing smudges, fingerprints, and other marks.
Start by applying the cleaning solution to a soft, lint-free cloth or a microfiber cloth. Avoid spraying the solution directly onto the mirror to prevent it from seeping into the edges or causing damage to the silvering.
Gently wipe the mirror’s surface in straight, overlapping strokes, working from the top to the bottom. This will help ensure an even and thorough cleaning. Pay attention to any remaining smudges or streaks and continue wiping until the surface is clean and clear.
If there are stubborn stains or marks that are not easily removed, you can use a non-abrasive sponge or a cotton swab dipped in the cleaning solution to target those areas. Be cautious not to scrub too vigorously, as this may damage the mirror’s surface.
Once you have finished cleaning the mirror’s surface, use a clean, dry cloth to remove any excess moisture. This will help prevent water spots or streaks from forming.
It’s important to note that if the mirror has a delicate or damaged silvering, it’s best to consult with a professional conservator or antique expert before attempting to clean it. They will be able to provide specific recommendations and guidance to ensure the safe and proper cleaning of the mirror’s surface.
With the mirror’s surface now clean and clear, you’re ready to move on to the next step in restoring your old mirror, which is repairing any damage that may be present.
Step 4: Repair Any Damage
After assessing the mirror’s condition and cleaning its surface, it’s time to address any damage that may be present. This step involves repairing cracks, chips, or any other visible flaws that may affect the mirror’s functionality and aesthetics.
If you have identified any cracks or chips on the mirror’s surface, you can use a clear epoxy or mirror adhesive to repair them. Start by applying a small amount of adhesive along the crack or chip and carefully press the pieces together. Hold them in place firmly until the adhesive sets, following the manufacturer’s instructions.
For more severe damage or extensive repairs, it’s best to consult a professional glass or mirror repair specialist. They have the expertise and tools needed to handle complex repairs and ensure the best results.
In addition to the mirror’s surface, you should also inspect the frame for any damage. If there are loose or missing pieces, you can use wood glue or an appropriate adhesive to reattach them. Apply the adhesive to both surfaces, press the pieces together, and hold them in place until the adhesive has fully dried.
If the frame has areas with chipped or peeling paint, you can gently sand them down to create a smooth surface. Then, apply a layer of primer and let it dry before painting over it with a matching or desired color. This will help restore the frame’s appearance and protect it from further damage.
For frames made from materials other than wood, such as metal or plastic, consult with a restoration specialist or follow manufacturer instructions for the best repair techniques.
Remember, it’s crucial to take your time and approach repairs with care. Rushing or using improper techniques can result in further damage to the mirror or frame. If you’re uncertain about the best repair methods or have concerns about the mirror’s value, seek professional assistance to ensure a successful restoration.
With any necessary repairs completed, the mirror is now ready for the next step, which involves removing or replacing the old backing.
Read more: How To Restore An Old Picnic Basket
Step 5: Remove or Replace Old Backing
When restoring an old mirror, it’s common to encounter deteriorated or damaged backing materials. The backing serves to protect the back of the mirror and provide stability. In this step, we will focus on removing the old backing and replacing it, if necessary, to ensure the mirror remains securely held within its frame.
Start by examining the condition of the existing backing material. If it is in good condition and can be salvaged, you can remove it gently using a scraper or putty knife. Take extra care to avoid damaging the mirror or the frame during this process.
If the backing material is deteriorated, cracked, or non-existent, it’s best to remove it completely. You can accomplish this by carefully scraping away any remnants using a suitable tool or by applying a solvent that can dissolve adhesive residue. Make sure to follow the manufacturer’s instructions and work in a well-ventilated area.
Once the old backing has been removed, you can now assess the need for a replacement. If the mirror is securely fitted within its frame without any visible gaps or movement, a new backing may not be necessary. However, if the mirror feels loose or if there are gaps between the mirror and the frame, it’s recommended to proceed with replacing the backing.
There are various options for backing materials, including mirror mastic, cardboard, foam board, or plywood. The choice depends on the specific needs of your mirror as well as personal preference. Mirror mastic is a commonly used adhesive for securing the mirror to the frame, providing a strong and durable backing.
To replace the backing, measure the dimensions of the mirror and cut the chosen material to fit accurately within the frame. Apply the adhesive or attach the backing using screws or clips, following the manufacturer’s instructions. Make sure that the backing is centered and secure, providing even support to the mirror.
Remember to allow sufficient time for the adhesive to dry, firmly securing the mirror to the backing. Avoid moving or manipulating the mirror during this time to prevent any damage to the newly restored mirror.
With the old backing removed and a new one in place, your mirror is now ready for the next step in the restoration process, which is reattaching or replacing hanging hardware.
To restore an old mirror, clean the glass with a mixture of water and vinegar, then apply a thin layer of silvering solution to the back of the glass to restore its reflective surface.
Step 6: Apply New Backing
Once you have removed the old backing and assessed the need for a replacement, it’s time to apply a new backing to ensure the stability and secure positioning of the mirror within its frame.
The choice of backing material depends on the specific needs of your mirror as well as personal preference. Common options include mirror mastic, cardboard, foam board, or plywood. Mirror mastic is a popular choice due to its strong adhesive properties and durability.
To begin, measure the dimensions of the mirror and cut the chosen backing material to fit accurately within the frame. Ensure that the backing material covers the back of the mirror entirely, providing even support and protection.
If using mirror mastic, apply a thin, even layer of the adhesive to the back of the mirror. Be sure to follow the manufacturer’s instructions for proper application. Carefully position the mirror onto the backing material within the frame and press it firmly to ensure adhesion.
If using cardboard, foam board, or plywood as the backing material, secure it to the frame using screws or clips. Place the backing material within the frame and align it with the mirror. Use a screwdriver or appropriate tools to secure the material in place, ensuring a tight fit.
Make sure that the backing is centered and provide sufficient support to the mirror. Stability is key to prevent the mirror from shifting, cracking, or falling out of the frame.
Allow sufficient time for the adhesive to dry or for the backing material to be securely fastened. Avoid any movement or manipulation of the mirror during this time to ensure the integrity of the newly applied backing.
Once the backing is in place and secure, you can move on to the next step in the restoration process, which involves reattaching or replacing hanging hardware.
By applying a new backing, you are not only enhancing the stability of the mirror but also prolonging its lifespan and ensuring its safe display for years to come.
Step 7: Reattach or Replace Hanging Hardware
Properly reattaching or replacing the hanging hardware is a crucial step in the restoration process, as it ensures that your restored mirror can be securely mounted on a wall or displayed in the desired location. In this step, we will focus on identifying the hanging hardware needs and ensuring that it is correctly installed on the mirror.
Start by assessing the condition of the existing hanging hardware, such as brackets, D-rings, or wire. Check for any signs of rust, damage, or weakness that may compromise the stability and safety of the mirror when hanging.
If the existing hanging hardware is in good condition, you can carefully remove it from the mirror for cleaning or necessary repairs. Use appropriate tools, such as a screwdriver or pliers, to gently detach the hardware without causing any damage to the mirror or the frame.
If the hanging hardware is damaged or unsuitable for your needs, it’s best to replace it entirely. Select new hardware that is appropriate for the weight and size of your mirror, ensuring that it provides adequate support and secure attachment.
When attaching or replacing the hanging hardware, consider the orientation and desired placement of the mirror. If you plan to hang the mirror vertically, make sure that the hardware is positioned accordingly. Measure and mark the desired placement of the hardware on the frame.
For brackets or D-rings, use screws or nails to attach them securely to the frame, following the manufacturer’s instructions. Make sure that the hardware is aligned and level to guarantee proper weight distribution when hanging.
If using wire, thread it through the designated hooks or rings on each side of the mirror. Wrap the wire around itself and secure it tightly to create a stable hanging point. Be cautious of any excess wire that may pose a safety hazard or cause the mirror to tilt.
Once the hanging hardware is properly attached or replaced, test its stability by gently tugging on the mirror to ensure that it is securely held in place. Make any necessary adjustments or tighten screws as needed.
Before proceeding to the final steps of your mirror restoration, it’s important to ensure that the hanging hardware is securely installed and can support the weight of the mirror. This will ensure its safe display and enjoyment for years to come.
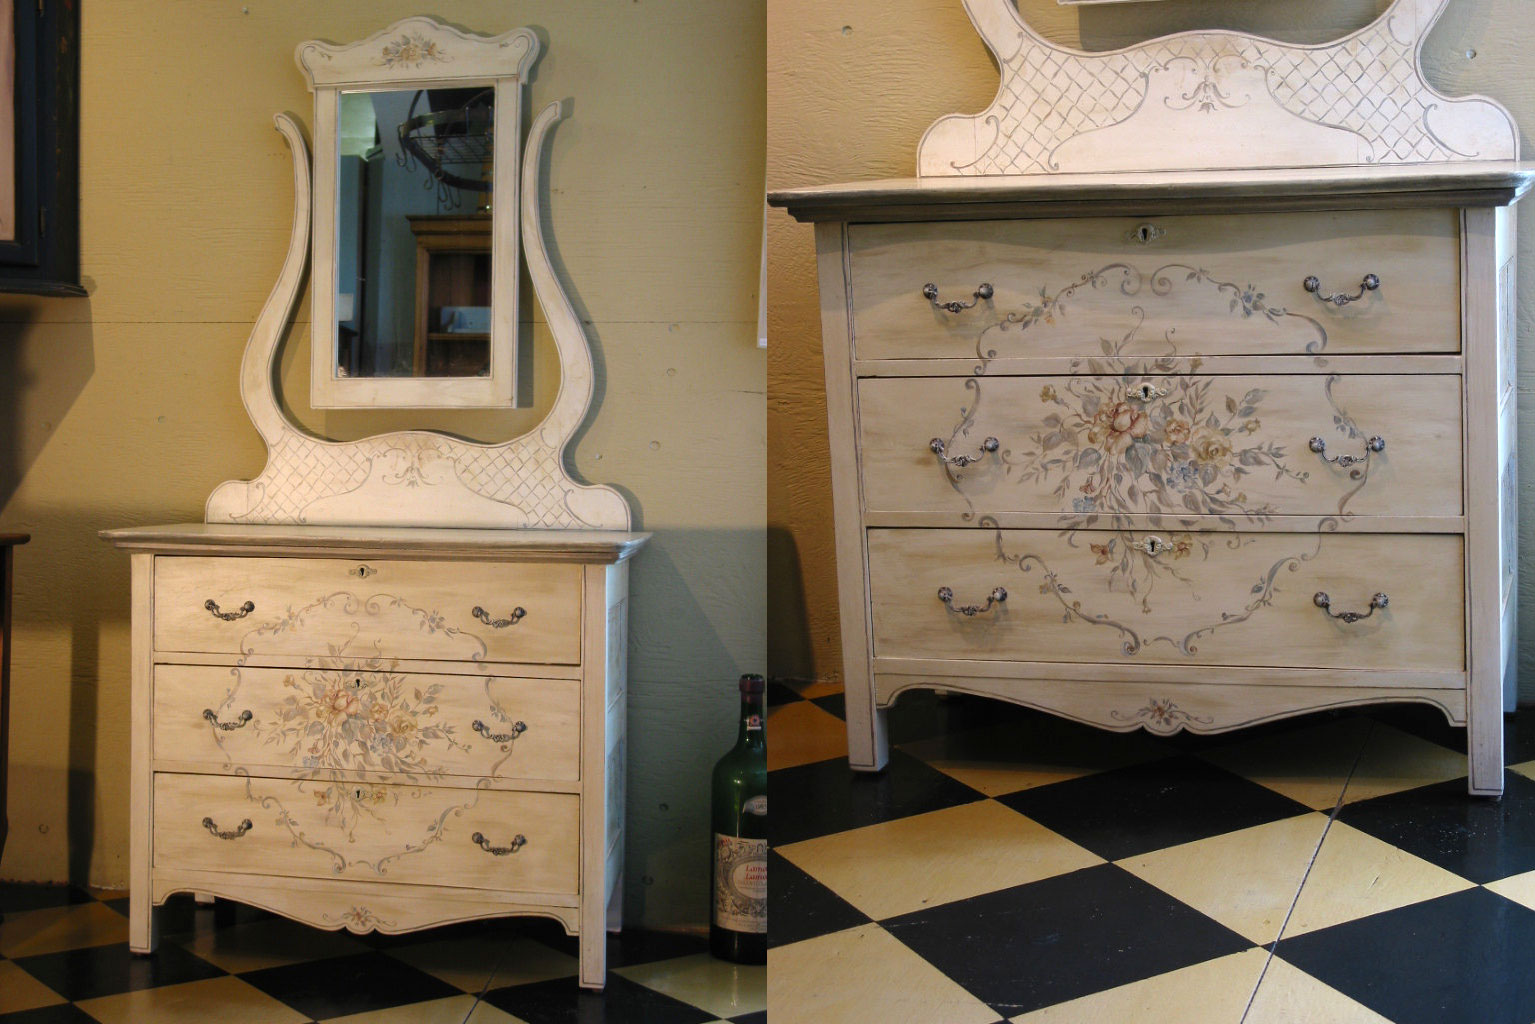
Step 8: Restore or Enhance the Frame
The frame of a mirror plays a significant role in its overall appearance and can greatly impact the final result of the restoration. In this step, we will focus on restoring or enhancing the frame to bring out its beauty and complement the newly restored mirror.
Start by thoroughly inspecting the frame for any damage or imperfections, such as chipped paint, scratches, or signs of aging. Determine the desired outcome: whether you want to restore the frame to its original condition or enhance it with a new finish or decorative elements.
If the frame requires minimal touch-ups, you can start by cleaning the surface with a mild detergent or a gentle cleaner to remove any dirt or grime accumulated over time. Use a soft cloth or sponge to gently scrub the frame, paying attention to intricate details and hard-to-reach areas.
If there are any loose or chipped paint, you may opt to carefully scrape off the damaged portions using a scraper or putty knife. Smooth the surface by sanding it lightly with fine-grit sandpaper, removing any rough edges or remaining paint chips.
Once the surface is smooth and clean, you can proceed with restoring the frame to its original appearance. Apply a coat of primer to the frame to ensure even adhesion of the paint. Let it dry completely before proceeding with the next steps.
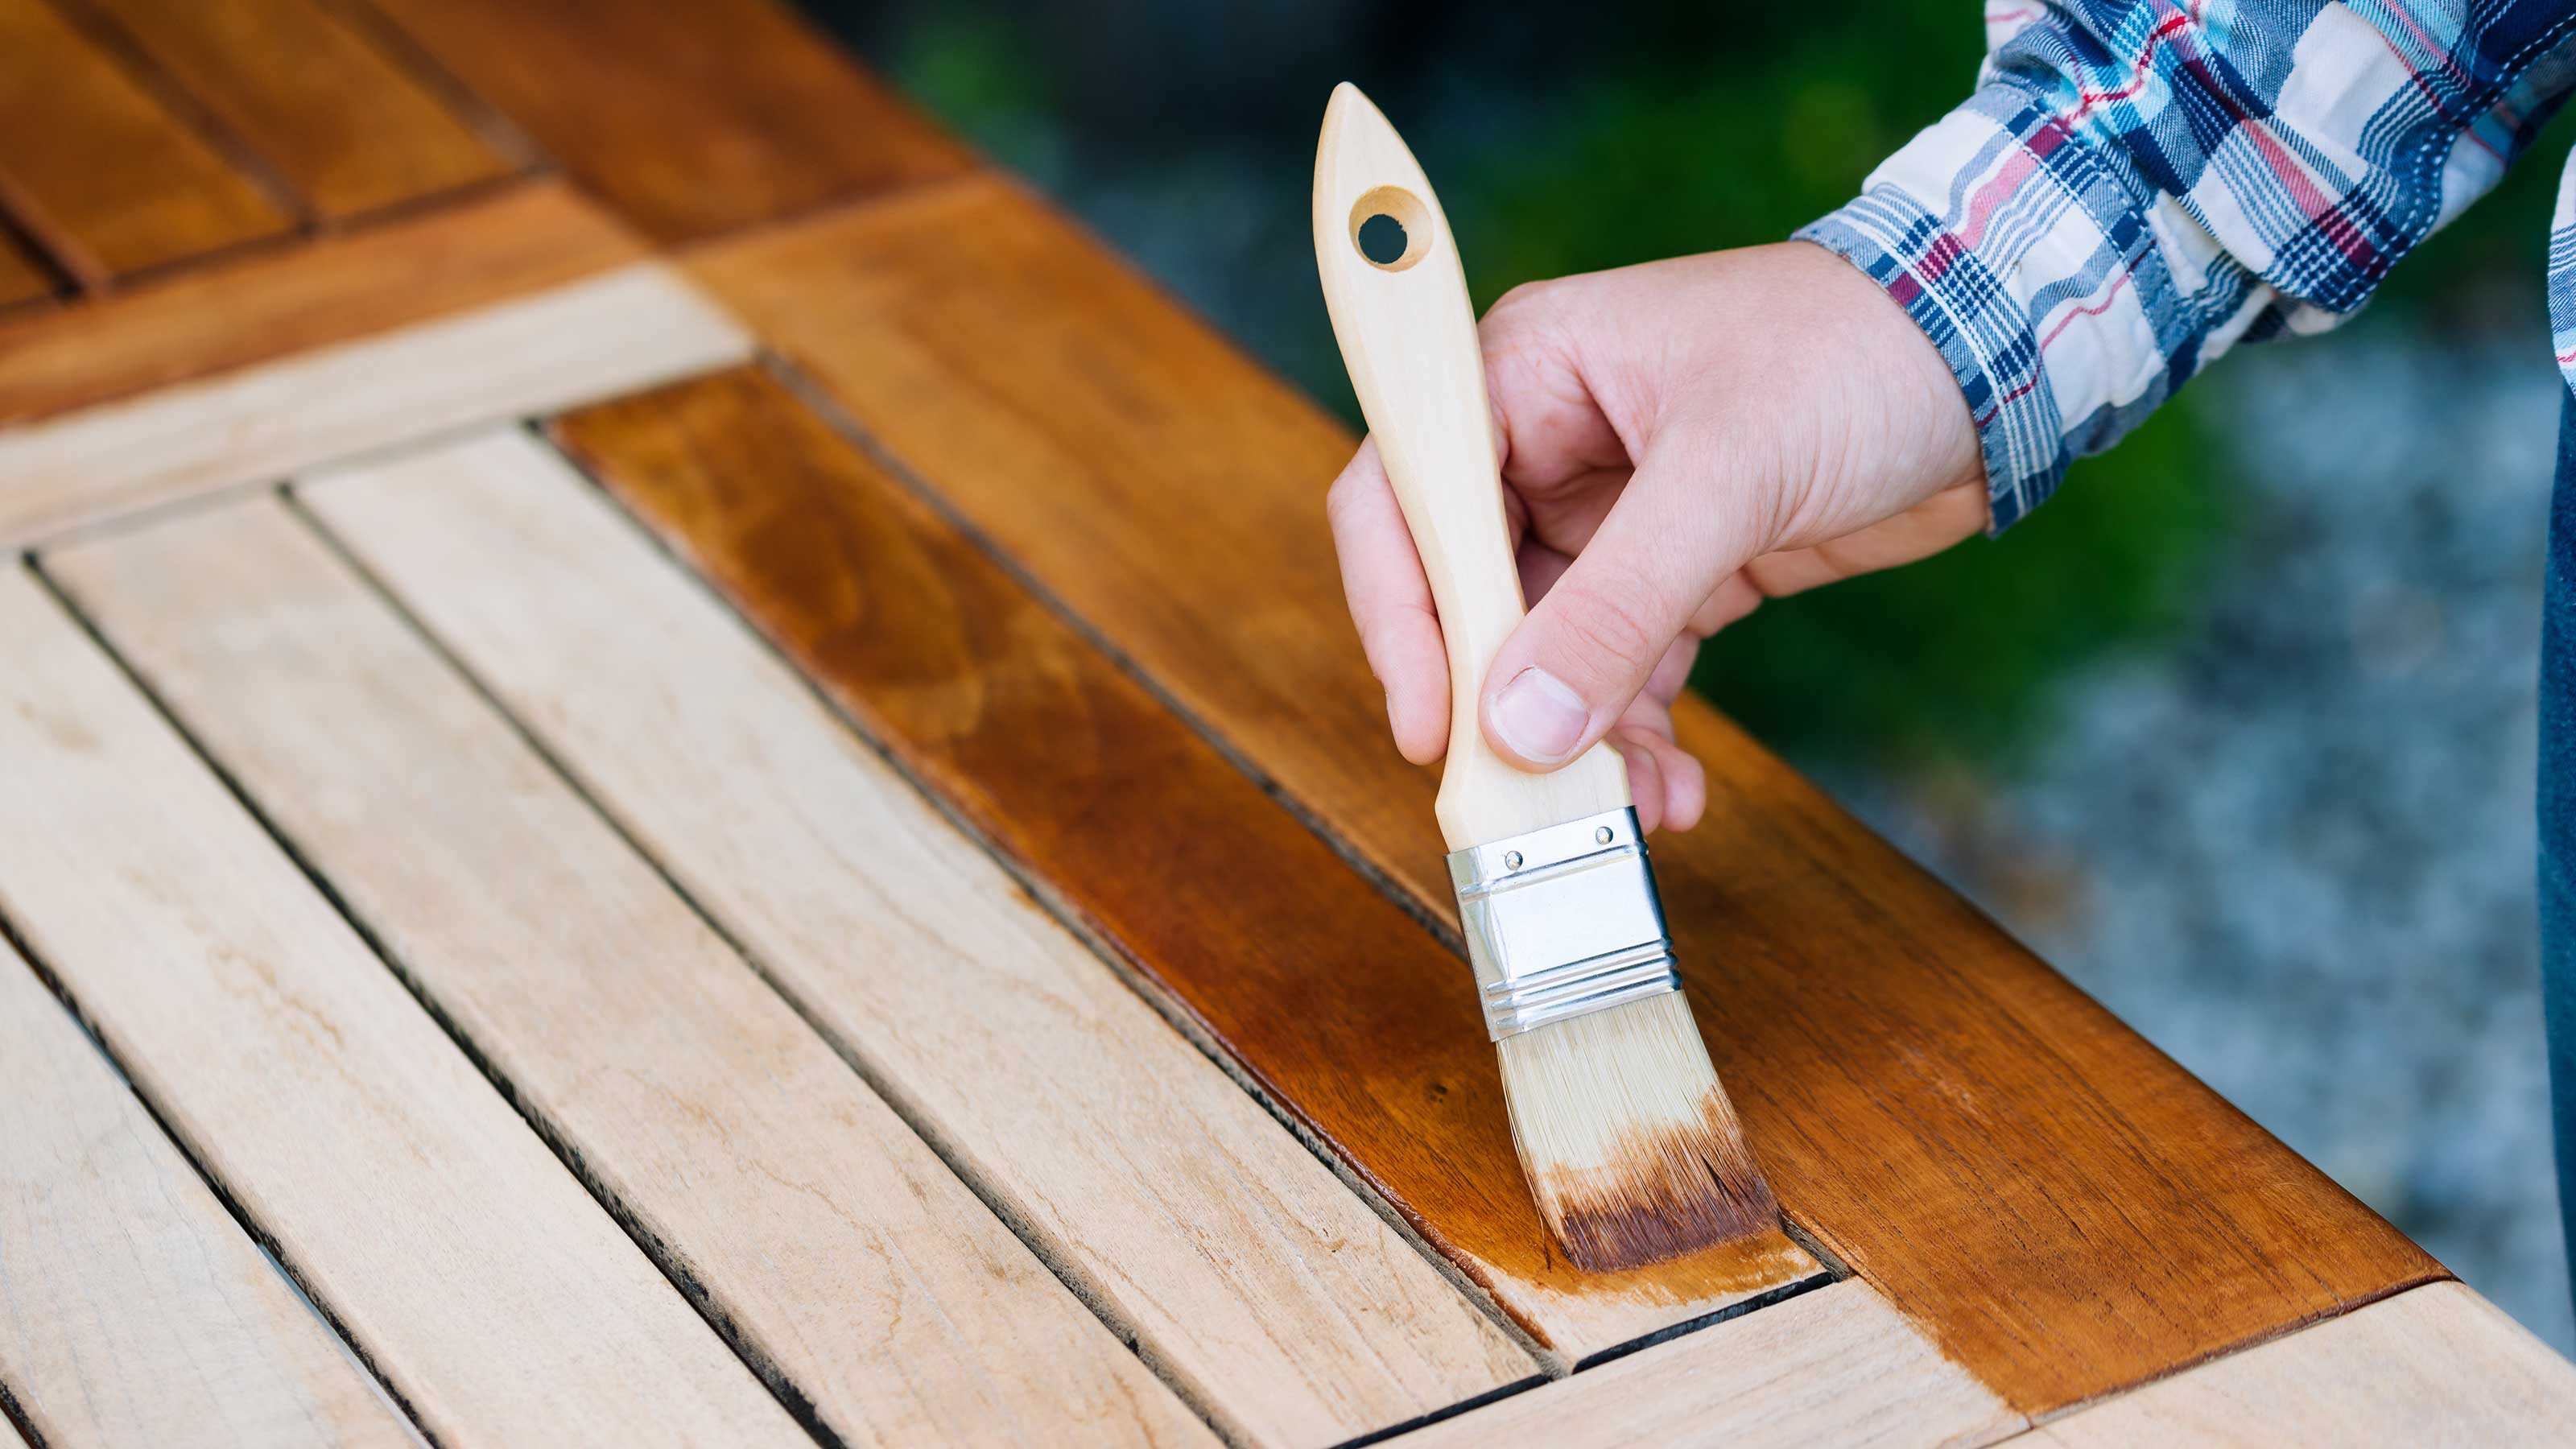
If you wish to enhance the frame with a new finish or color, consider using a paint or stain that complements the overall style and decor of the room. Apply the paint or stain evenly, using a brush or roller, following the manufacturer’s instructions. Multiple coats may be necessary to achieve the desired color and coverage.
If desired, you can also explore other creative options to enhance the frame, such as applying a distressed or antiqued finish for a vintage look, adding decorative elements like stencils or decals, or incorporating gilding or metallic accents for a touch of elegance.
Keep in mind that the restoration or enhancement of the frame should be done with care and attention to detail. Take your time to ensure a smooth and professional finish, allowing each layer to dry completely before proceeding to the next step.
Restoring or enhancing the frame can bring a new life and character to the mirror, complementing the restored glass and creating a visually pleasing focal point in any space.
Read more: What Are Old Mirrors Made Of
Step 9: Apply a Protective Finish
Applying a protective finish is a crucial step to safeguard the restored mirror and frame, ensuring their longevity and preserving their beauty for years to come. A protective finish acts as a barrier against dirt, moisture, and other potential damaging factors.
Before applying any protective finish, ensure that the mirror and frame are free of dust or debris. Use a soft, lint-free cloth to gently clean the surfaces and ensure a smooth application.
There are several options for protective finishes, including varnishes, waxes, or sealants. The choice depends on the desired outcome, the materials used, and personal preference. Consider factors such as the level of glossiness, ease of application, and compatibility with the mirror and frame materials.
If the frame has been painted, a clear, non-yellowing varnish can be applied to provide a protective layer and enhance the paint’s durability. Apply the varnish evenly using a brush or roller, following the manufacturer’s instructions for drying time and multiple coats, if necessary.
If you prefer a more natural or matte finish, a furniture wax or polish can be used to protect the frame while adding a subtle sheen. Apply the wax in a circular motion using a clean cloth, buffing it gently into the surface. Allow the wax to dry and then buff it with a separate clean cloth to bring out its shine.
For the mirror’s surface, it’s important to choose a protective finish that is specifically formulated for glass. There are glass sealants available that can provide a clear and durable protective coating. Follow the manufacturer’s instructions for application, ensuring that the sealant is evenly applied without streaks or bubbles.
Remember to work in a well-ventilated area and follow safety precautions, such as wearing gloves or a mask, as recommended by the product instructions.
Allow the protective finish to dry completely before moving or handling the restored mirror and frame. This will ensure that the finish has bonded properly and will provide optimal protection.
By applying a protective finish, you are taking the necessary steps to preserve the restoration work and maintain the mirror and frame’s aesthetic appeal. This final touch enhances their durability and ensures their longevity, allowing you to enjoy the restored mirror for years to come.
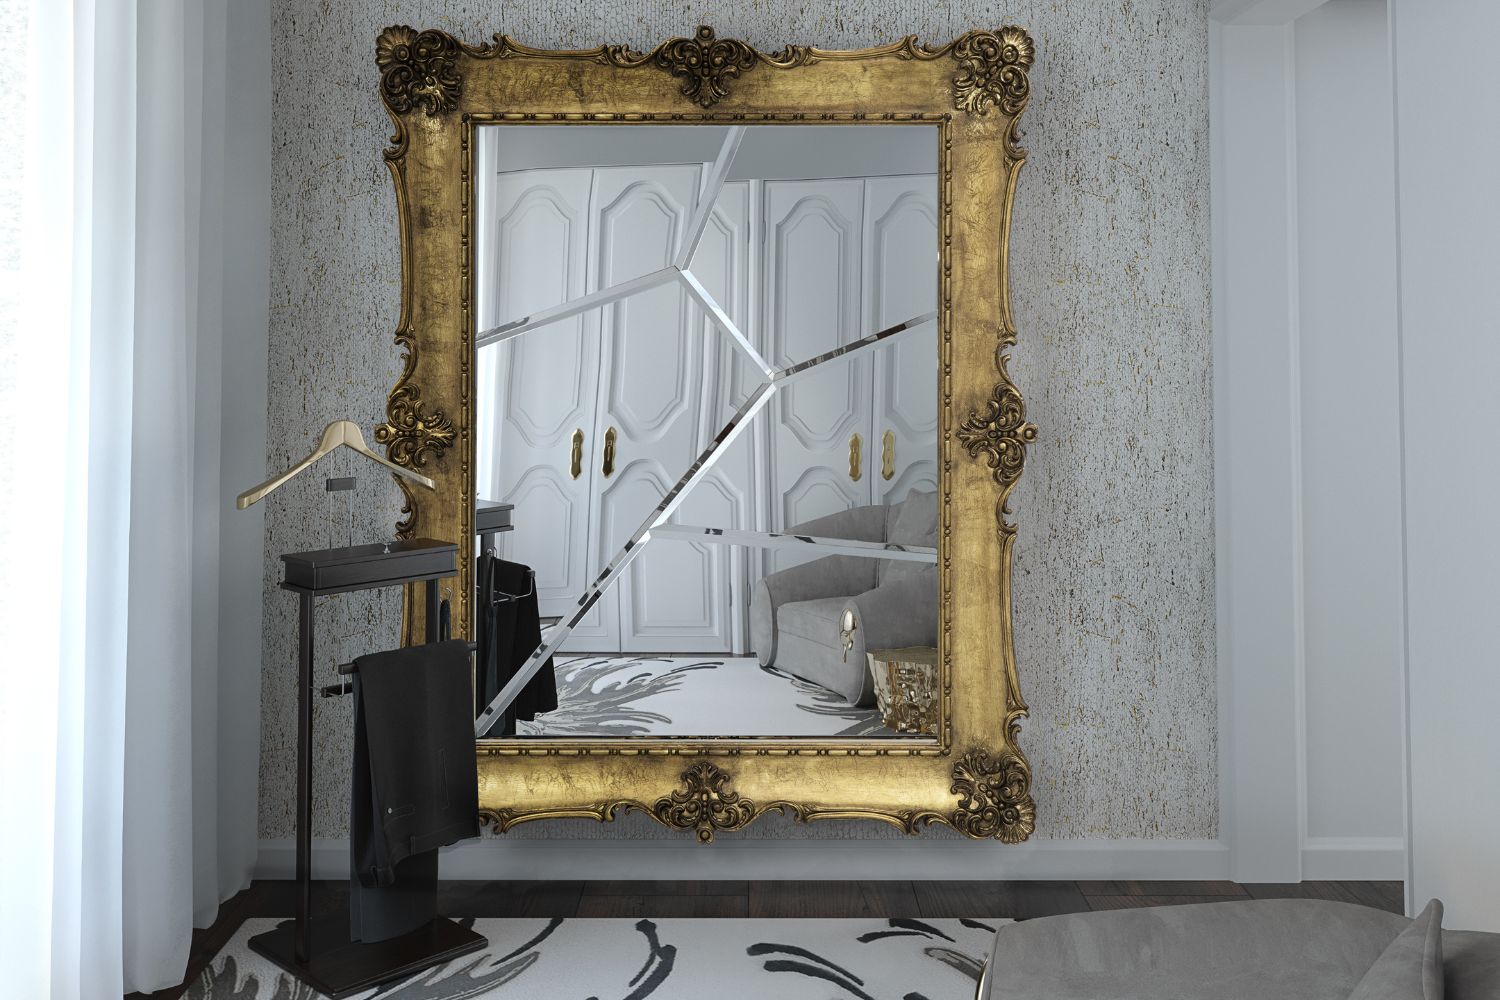
Step 10: Display and Enjoy Your Restored Mirror
Congratulations on successfully restoring your mirror! With all the hard work and attention to detail that you’ve put into the restoration process, it’s time to proudly display and enjoy the fruits of your labor.
Before positioning the mirror, consider the best location in your home that will showcase its beauty and complement the overall decor. Take into account factors such as lighting, wall color, and the mirror’s size and style.
When hanging the mirror, ensure that the chosen spot can support its weight securely. Use appropriate wall anchors, screws, or picture-hanging hooks based on the mirror’s size and weight.
Take extra care when handling the mirror to avoid dropping or damaging it. It’s recommended to have assistance from another person to ensure a smooth and safe installation.
Ensure that the mirror is level and properly aligned. Use a spirit level or measure the distance from the ceiling or floor to ensure accuracy.
Consider adding decorative elements around the mirror to enhance its visual impact. You can hang artwork, position plants, or incorporate other complementary decor pieces to create a cohesive and aesthetically pleasing arrangement.
With the mirror in place, step back and admire the transformation. Take a moment to appreciate the beauty and craftsmanship of the restored mirror, and how it adds depth, light, and character to the space.
Regularly clean and maintain the mirror to preserve its shine and clarity. Use a soft, lint-free cloth and a non-abrasive glass cleaner to remove any dust or smudges. Avoid using harsh chemicals or abrasive materials that may damage the mirror’s surface or finish.
Periodically inspect the frame and the integrity of the hanging hardware to ensure they remain in good condition. Make any necessary repairs or adjustments promptly to maintain the mirror’s stability and safety.
Finally, enjoy your restored mirror and the unique charm it brings to your home. Let it reflect your personal style and create a welcoming and visually appealing atmosphere in the room where it is displayed.
Remember, the restoration process is not only about restoring the physical aspects of the mirror but also the joy and satisfaction that comes from breathing new life into a cherished piece of decor.
So sit back, admire, and appreciate your restored mirror – a testament to your dedication, creativity, and love for preserving and enhancing timeless beauty.
Conclusion
Restoring an old mirror is a labor of love that allows you to breathe new life into a cherished piece of decor. Through steps such as assessing the mirror’s condition, removing dirt and debris, repairing damage, and applying protective finishes, you have embarked on a transformative journey that brings out the beauty and potential of the mirror.
Throughout the restoration process, it’s important to approach each step with care and attention to detail. By assessing the mirror’s condition, you gain a deeper understanding of its unique qualities and any required repairs. Removing dirt and debris helps reveal the mirror’s true shine and clarity, while repairing any damage ensures its stability and longevity.
Applying a protective finish is essential in preserving the mirror and frame, safeguarding them against the effects of time and external factors. With the final step of displaying and enjoying your restored mirror, you finally get to showcase your hard work and admire the beauty it brings to your space.
Restoring an old mirror not only serves a functional purpose but also allows you to connect with history, carry on a family legacy, or simply appreciate the craftsmanship of a bygone era. It’s a chance to create a meaningful focal point that adds character and charm to any room.
Remember that the restoration process is as much about the journey as it is about the end result. Take your time, exercise patience, and enjoy each step along the way. The satisfaction that comes from bringing new life to an old mirror is unmatched.
Whether it’s an antique family heirloom or a vintage find, the restored mirror now holds both sentimental and aesthetic value. It becomes a piece that tells a story, evokes nostalgia, and makes a statement in your home.
So go ahead and take on the challenge of restoring an old mirror. Embrace the creativity, the attention to detail, and the sense of accomplishment that come with the process. Enjoy the beauty of your restored mirror and the joy it brings to your space for years to come.
Frequently Asked Questions about How To Restore Old Mirrors
Was this page helpful?
At Storables.com, we guarantee accurate and reliable information. Our content, validated by Expert Board Contributors, is crafted following stringent Editorial Policies. We're committed to providing you with well-researched, expert-backed insights for all your informational needs.


0 thoughts on “How To Restore Old Mirrors”