Articles
How To Stain Cedar Siding
Modified: January 8, 2024
Learn how to stain cedar siding with these informative articles. Get expert tips and advice on achieving a beautiful finish for your home.
(Many of the links in this article redirect to a specific reviewed product. Your purchase of these products through affiliate links helps to generate commission for Storables.com, at no extra cost. Learn more)
Introduction
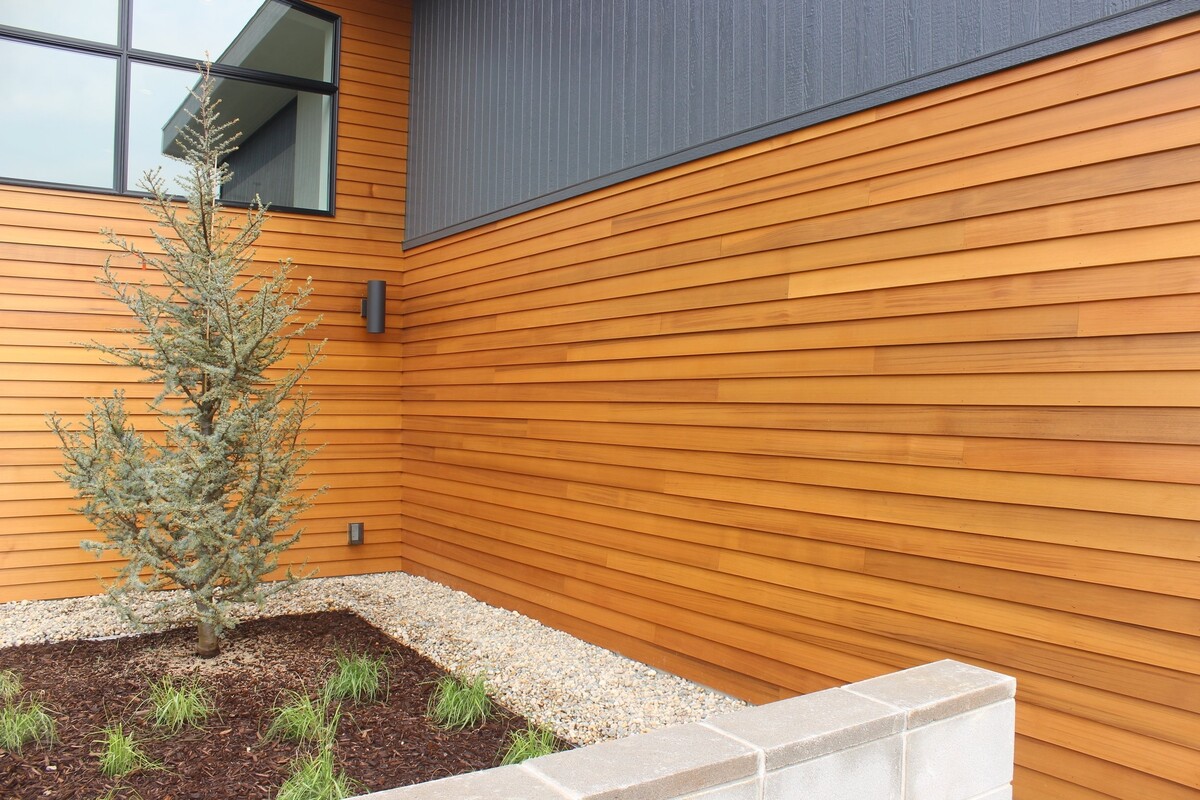
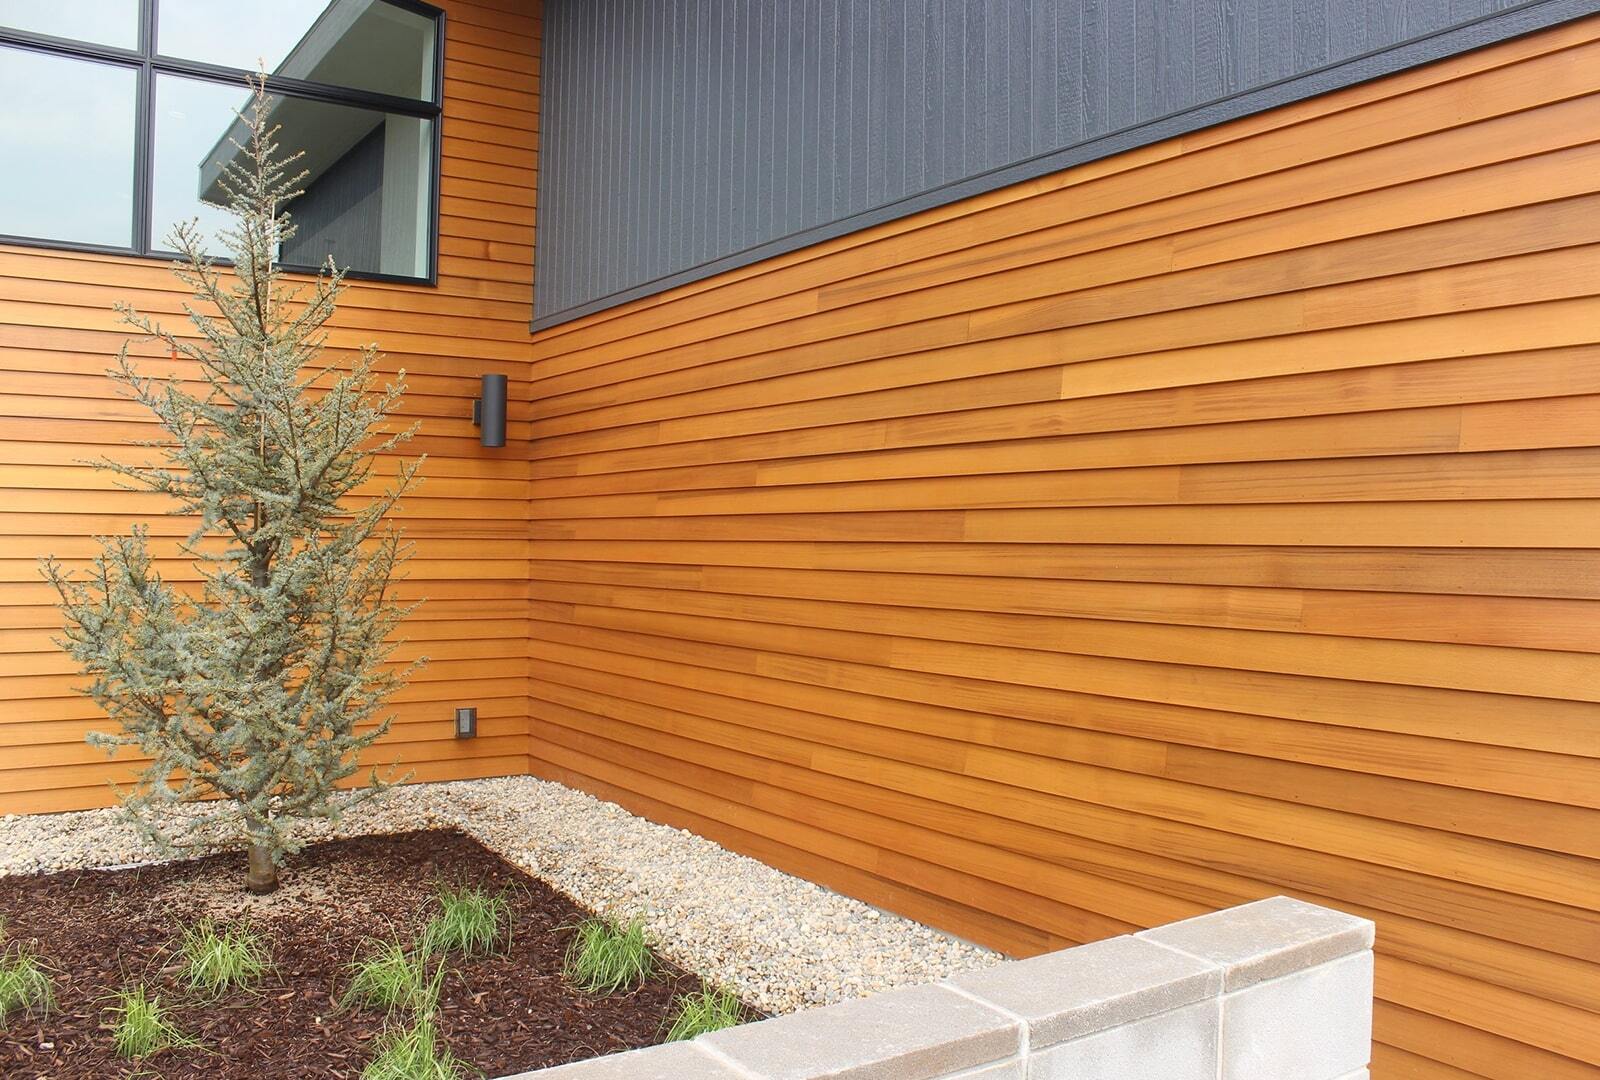
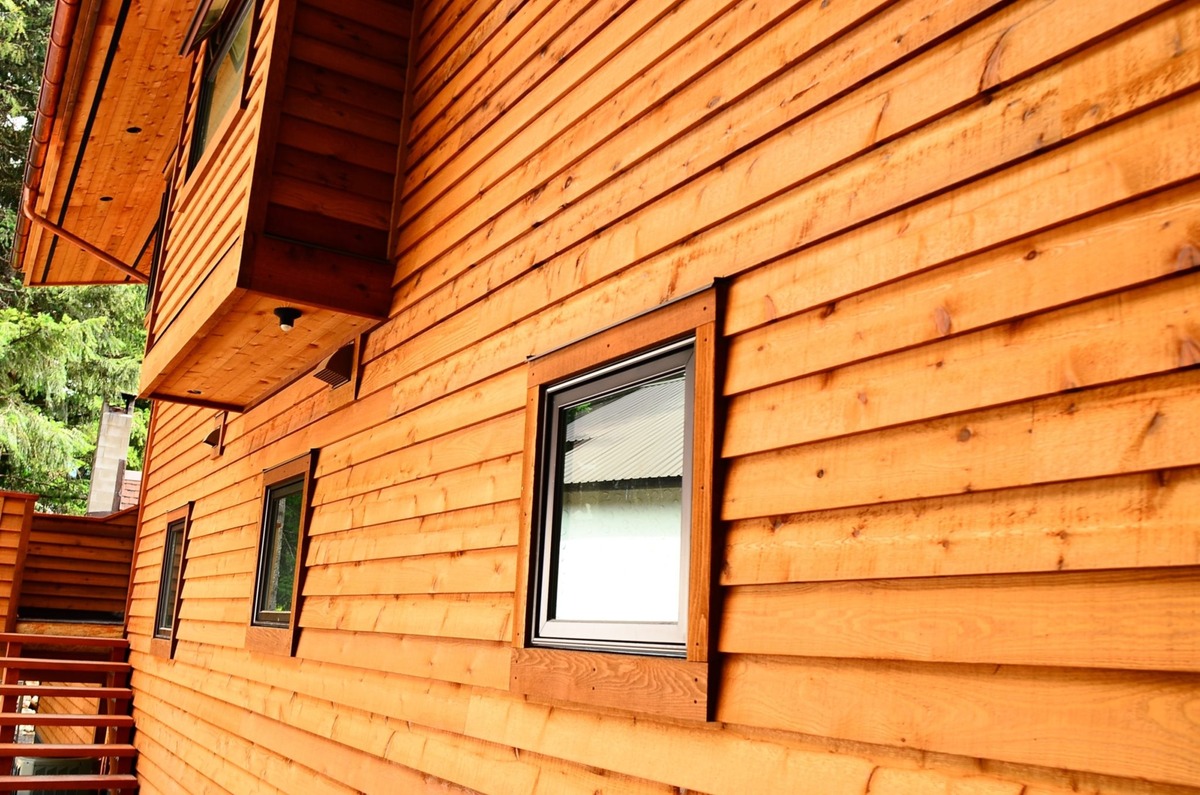
Welcome to the comprehensive guide on how to stain cedar siding! Cedar siding is a popular choice for homeowners due to its natural beauty and durability. However, over time, the color of cedar siding can fade or become weathered, making it necessary to stain the wood. Staining cedar siding not only brings back its original luster but also provides an added layer of protection against moisture and UV damage.
In this article, we will walk you through the step-by-step process of staining cedar siding, from cleaning and preparing the wood to applying the stain and finishing touches. But before we dive into the details, let’s go over some important safety precautions and the materials you will need for this project.
Key Takeaways:
- Prioritize safety by wearing protective clothing, working in a well-ventilated area, and following manufacturer’s instructions. Properly prepare the cedar siding for staining to achieve a professional and long-lasting finish.
- Apply the stain evenly, work in manageable sections, and allow sufficient curing time for a beautiful and durable result. Enjoy the transformation of your cedar siding and appreciate the results of your hard work!
Safety Precautions
Before you begin staining your cedar siding, it is essential to prioritize safety. Here are some important precautions to keep in mind:
-
Wear protective clothing: Staining cedar siding involves working with chemicals that can be harmful to your skin and eyes. Wear long-sleeved shirts, long pants, gloves, safety glasses, and a mask to protect yourself from potential hazards.
-
Work in a well-ventilated area: Stain fumes can be strong and potentially harmful if inhaled. Ensure that you are working in a well-ventilated space, or consider using fans or opening windows for proper air circulation.
-
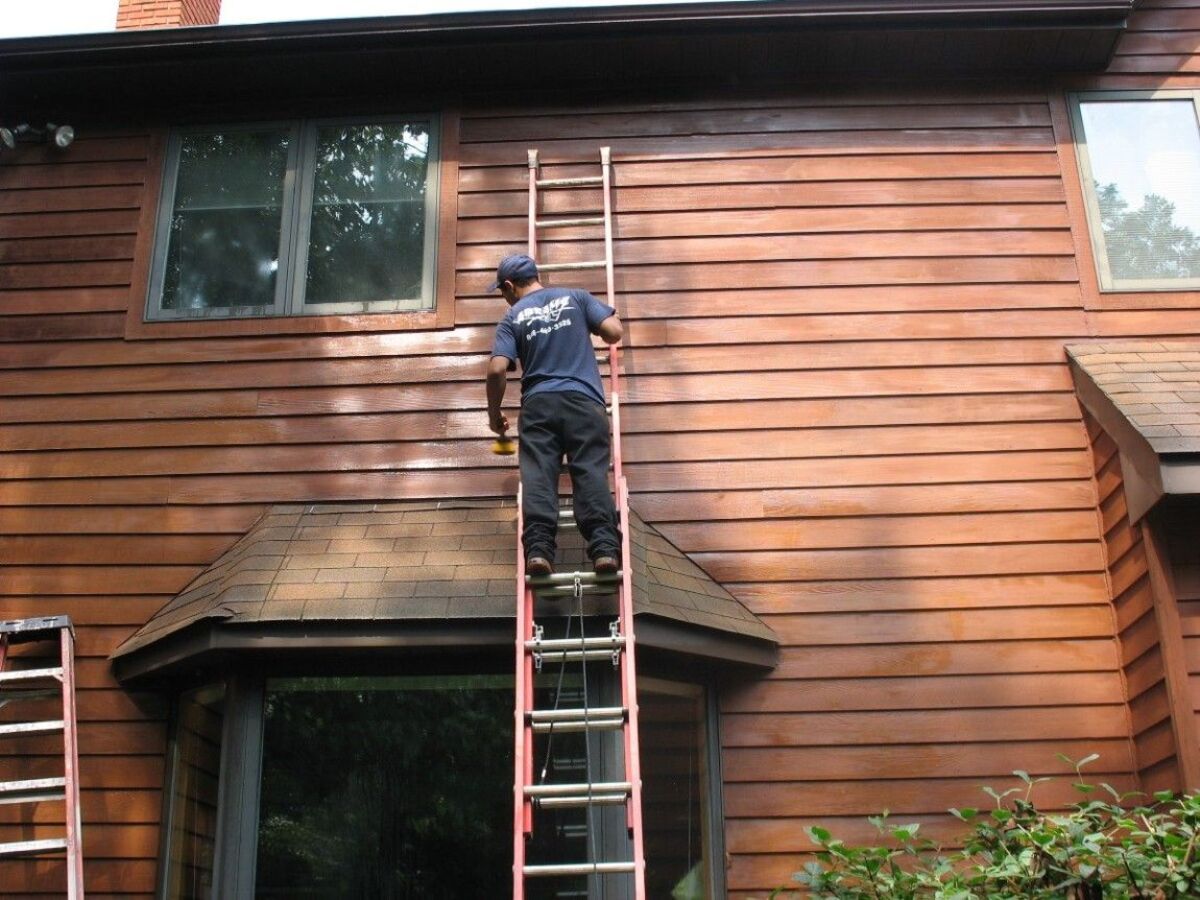
Use a sturdy ladder: If you need to reach higher areas of your siding, use a stable and properly positioned ladder. Ensure that it is on a level surface and follow ladder safety guidelines to prevent accidents.
-
Keep children and pets away: It’s important to create a safe working environment by keeping children and pets away from the area where you are staining. Store your staining materials securely to prevent accidental ingestion or contact.
-
Follow manufacturer’s instructions: Read and follow the instructions provided by the manufacturer of the stain and any other products you are using. This includes guidelines for preparation, application, and cleanup.
-
Dispose of waste properly: Properly dispose of any waste materials, such as rags or brushes used with the stain. Follow local regulations for disposal or consider using environmentally friendly alternatives.
By taking these safety precautions, you can ensure a safer and more enjoyable experience while staining your cedar siding. Now, let’s move on to the materials you will need for this project.
Materials Needed
Before you can begin staining your cedar siding, gather the following materials:
-
Cedar stain: Choose a stain specifically formulated for cedar siding. Consider factors such as color, opacity, and whether the stain provides UV protection.
-
Paintbrush or sprayer: Decide whether you prefer using a brush or a sprayer to apply the stain. Brushes allow for better control and precision, while sprayers are faster for larger areas.
-
Stain applicator: If you choose to use a brush, opt for a high-quality stain applicator brush designed for smooth application.
-
Protective equipment: Wear gloves, safety glasses, and a mask to protect your hands, eyes, and respiratory system from stain and fumes.
-
Cleaning solution: You will need a cleaning solution specifically formulated for cedar siding to remove dirt, grime, and any previous coatings.
-
Pressure washer: While not necessary, a pressure washer can be helpful for thorough cleaning of the cedar siding before staining.
-
Sanding equipment: Depending on the condition of the cedar siding, you may need sandpaper, a sanding block, or a power sander to smooth out rough areas.
-
Drop cloths or plastic sheeting: Protect surrounding areas and plants from stain splatters and potential damage by covering them with drop cloths or plastic sheeting.
-
Painter’s tape: Use painter’s tape to mask off areas you do not want to be stained, such as windows, trim, and doors.
-
Safety equipment: Have a ladder available if needed, as well as a first aid kit in case of any minor accidents or injuries.
By having these materials ready before you begin, you can work efficiently and with ease. In the next section, we will guide you through the first step: cleaning the cedar siding.
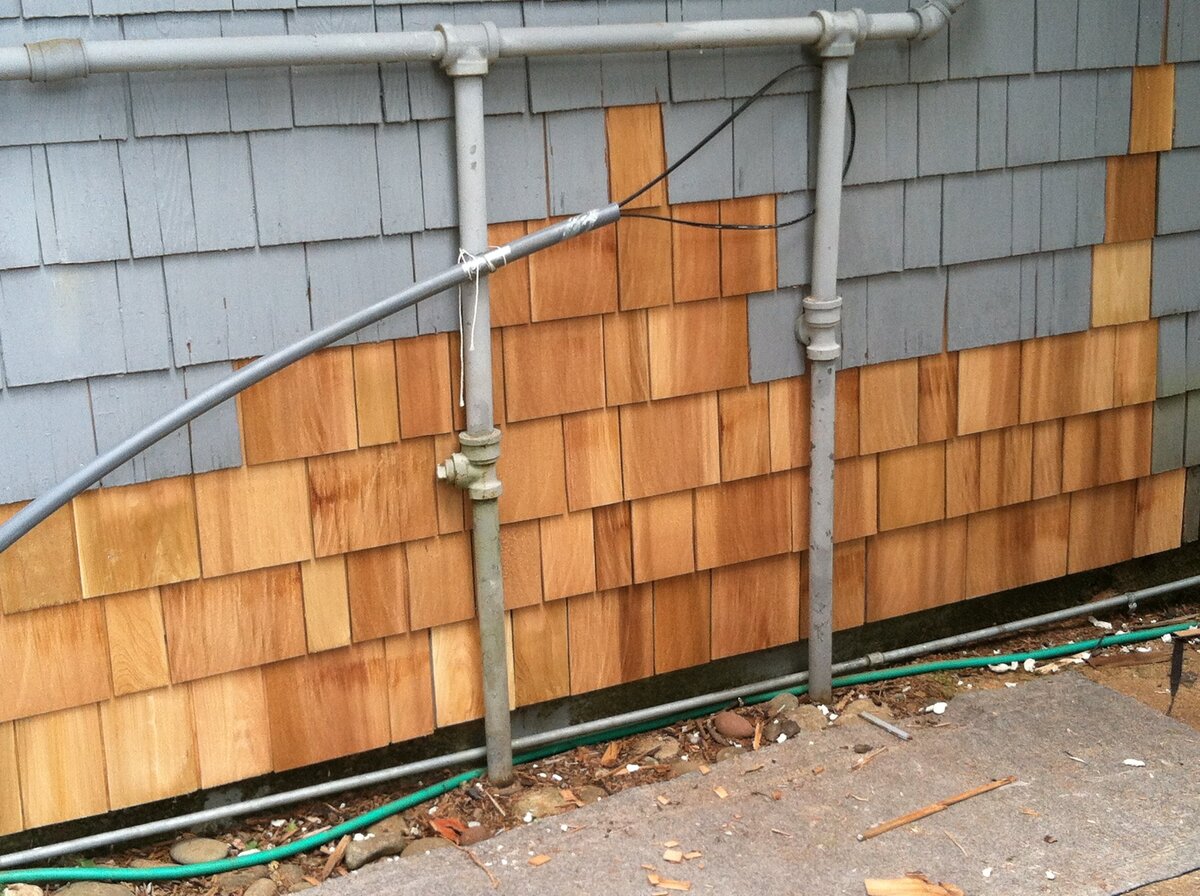
Step 1: Cleaning the Cedar Siding
Before you can apply the stain, it is crucial to thoroughly clean the cedar siding to remove any dirt, grime, or previous coatings. Follow these steps to ensure a clean surface:
-
Prepare the cleaning solution: Dilute the cedar siding cleaner according to the manufacturer’s instructions. Mix it with water in a bucket or sprayer as recommended.
-
Protect surrounding areas: Cover any nearby plants, windows, or surfaces you don’t want to be affected by the cleaning solution with drop cloths or plastic sheeting. This will prevent any accidental damage.
-
Apply the cleaning solution: Use a sprayer or a long-handled brush to apply the cleaning solution to the cedar siding. Start from the bottom and work your way up, ensuring even coverage.
-
Let the solution sit: Allow the cleaning solution to sit on the cedar siding for the recommended amount of time specified by the manufacturer. This will give it sufficient time to break down dirt and grime.
-
Scrub if necessary: For stubborn stains or areas with heavy buildup, use a soft-bristle brush to scrub the cedar siding gently. Be careful not to apply too much pressure, as it can damage the wood.
-
Rinse the siding: Use a pressure washer or a garden hose with a nozzle attachment to thoroughly rinse off the cleaning solution and any loosened dirt. Start from the top and work your way down.
-
Allow the cedar siding to dry: Give the cedar siding ample time to dry completely before moving on to the next step. This is important to ensure proper adhesion of the stain.
-
Inspect the surface: Once the cedar siding is dry, inspect it for any remaining dirt or stains. If necessary, repeat the cleaning process until the surface is clean and ready for staining.
By following these steps, you will have a clean and prepared surface for applying the stain. We will now move on to step 2: preparing the cedar siding for staining.
When staining cedar siding, make sure to thoroughly clean the surface and allow it to dry completely before applying the stain. This will ensure better adhesion and a more even finish.
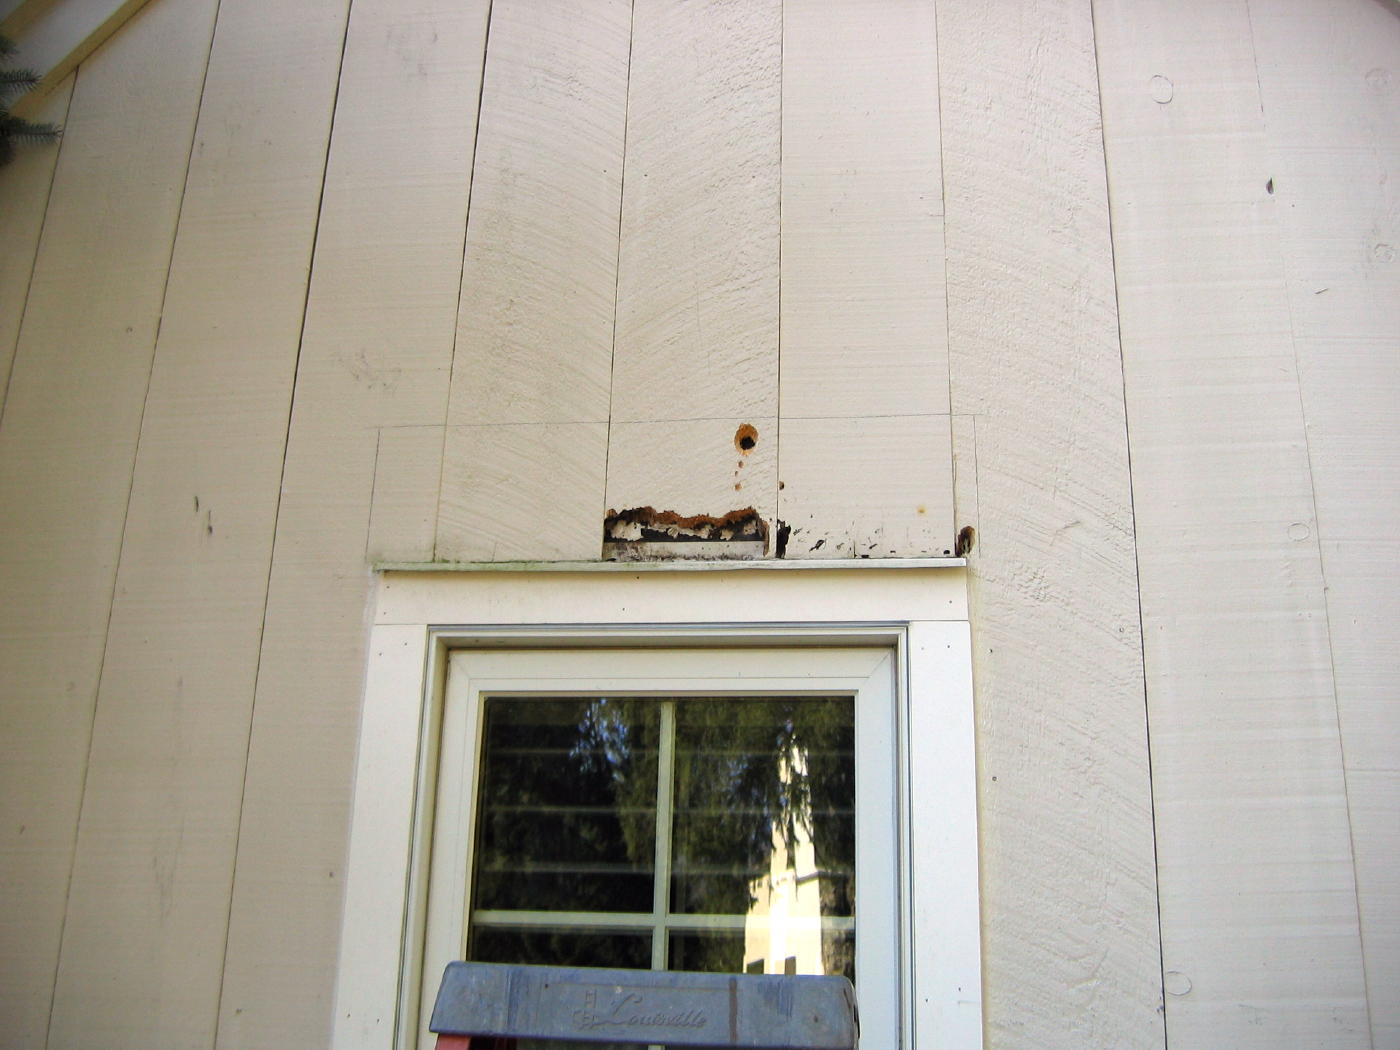
Step 2: Preparing the Cedar Siding
Once you have cleaned the cedar siding, it’s time to prepare it for staining. This step ensures that the surface is smooth, free from imperfections, and ready to absorb the stain effectively. Follow these steps to properly prepare the cedar siding:
-
Sand the surface: Inspect the cedar siding for any rough spots, splinters, or imperfections. Use sandpaper or a power sander to smooth out these areas. Sand in the direction of the wood grain for the best results.
-
Remove any loose or flaking stain: If there are any areas with old stain that is peeling or flaking off, use a paint scraper or putty knife to remove it. Make sure to clean up any debris or dust afterwards.
-
Check for mold or mildew: Cedar siding can be prone to mold and mildew growth, especially in damp environments. Inspect the surface for any signs of mold or mildew, and if found, treat it with a mildew cleaner or bleach solution according to the manufacturer’s instructions.
-
Repair any damaged areas: If there are any cracked or damaged boards, replace them with new cedar siding before proceeding with the staining process. Ensure that the replacements match the existing siding in terms of color and size.
-
Apply a wood conditioner (optional): Depending on the type of stain you are using, you may choose to apply a wood conditioner to the cedar siding. This helps the wood absorb the stain more evenly and reduces blotchiness. Follow the instructions on the wood conditioner product.
-
Mask off areas: Use painter’s tape to mask off areas you want to protect from the stain, such as windows, trim, and doors. This will ensure clean and neat edges once the staining process begins.
By properly preparing the cedar siding, you are setting the stage for a successful and long-lasting stain application. In the next step, we will guide you through the process of applying the stain to the cedar siding.
Read more: How To Wash Cedar Siding
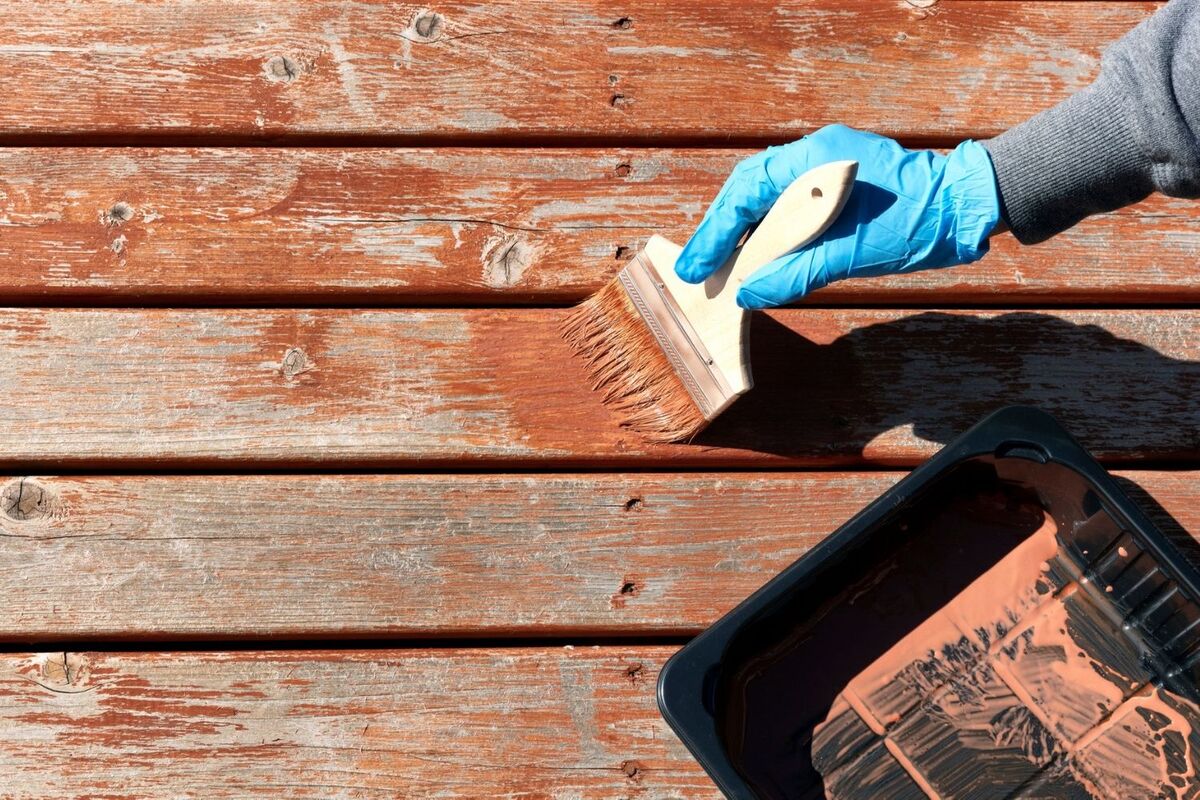
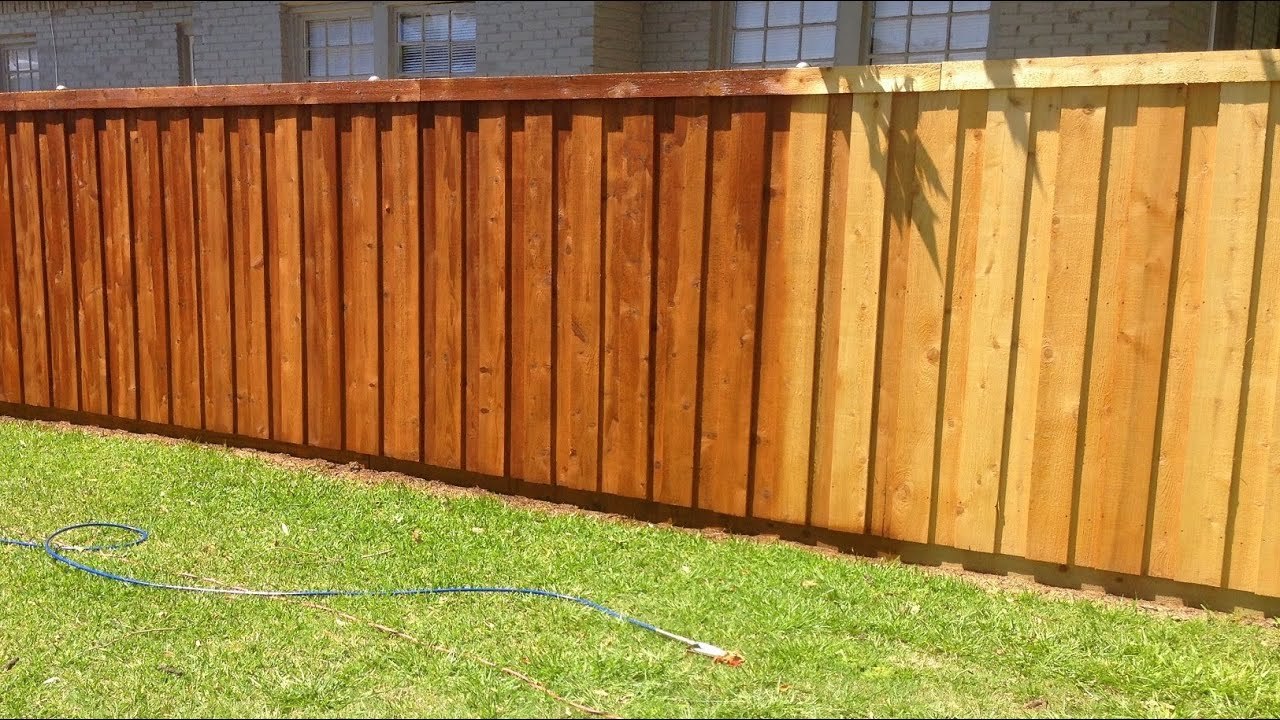
Step 3: Applying the Stain
With the cedar siding cleaned and prepared, it’s time to apply the stain. Follow these steps to achieve an even and professional-looking finish:
-
Read the instructions: Before you begin, carefully read and follow the instructions provided by the stain manufacturer. This will ensure you apply the stain correctly and achieve the desired results.
-
Mix the stain: If required, mix the stain thoroughly according to the manufacturer’s instructions. Some stains may need to be stirred or shaken well before use.
-
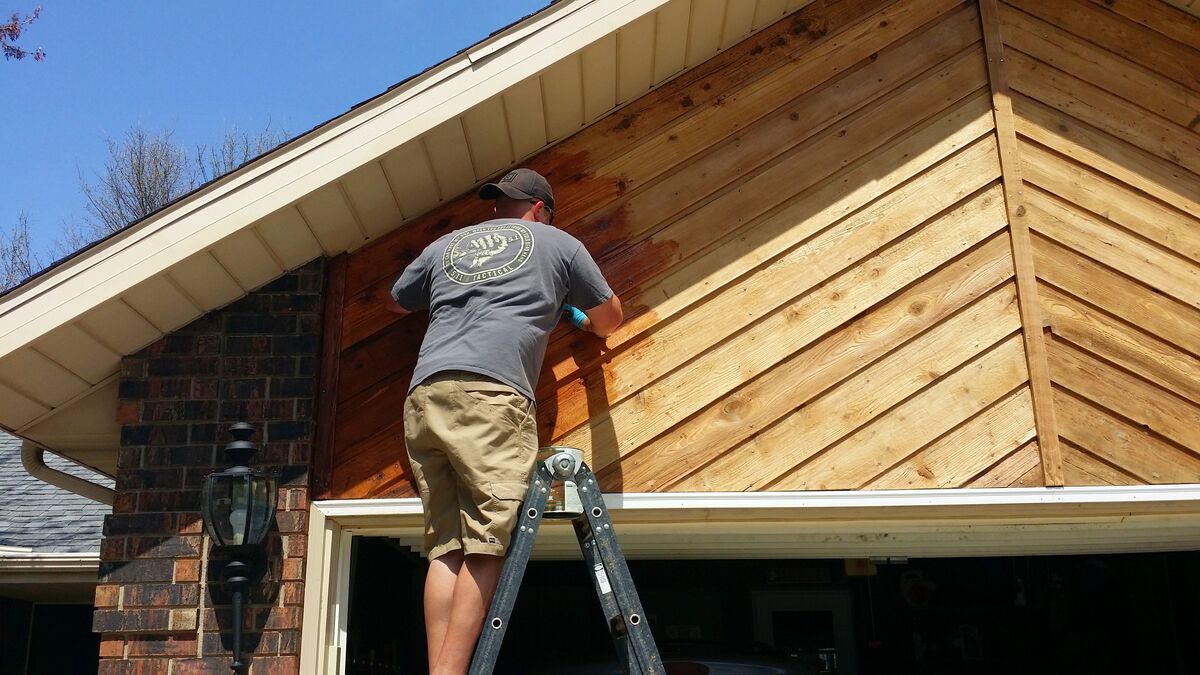
Start from the top: Begin applying the stain to the cedar siding from the top and work your way down. This helps prevent any drips or streaks from occurring on already stained areas.
-
Choose your application method: You can use either a paintbrush or a sprayer to apply the stain. A brush allows for better control and coverage, while a sprayer is faster for larger areas. Select the method that suits your preference.
-
Apply even coats: Dip your brush into the stain or load your sprayer according to the manufacturer’s instructions. Apply even coats of stain, working with the wood grain for a smooth and consistent finish.
-
Overlap strokes: When using a brush, make sure to overlap your brush strokes slightly to avoid any visible lines or streaks in the finished result.
-
Work in sections: If you have a large area of cedar siding to stain, divide it into manageable sections. Complete one section at a time, ensuring a seamless transition between each section.
-
Wipe off excess stain: After applying the stain, use a clean cloth or rag to wipe off any excess product. This will prevent an uneven or sticky finish.
-
Allow the stain to dry: Follow the manufacturer’s instructions regarding the drying time for the stain. Avoid touching or disturbing the freshly stained surface until it is fully dry.
By following these steps, you can achieve a beautiful and long-lasting finish on your cedar siding. In the final step, we will cover the curing and finishing process to complete the staining project.
Step 4: Curing and Finishing
After applying the stain to your cedar siding, there are a few more steps to ensure the stain cures properly and the finish is protected. Follow these final steps to complete the staining process:
-
Allow sufficient curing time: The stain will require time to cure and fully penetrate the wood. Follow the manufacturer’s instructions for the recommended curing time before undertaking any finishing or sealing.
-
Inspect the finish: Once the stain has cured, inspect the cedar siding for any areas that may need touch-ups or additional coats. If needed, apply another coat of stain to achieve the desired color and protection.
-
Consider a sealer (optional): To provide additional protection and extend the lifespan of the stain, you can apply a clear sealer on top. Choose a sealer that is compatible with the stain and follow the manufacturer’s instructions for application.
-
Remove painter’s tape: If you used painter’s tape to protect certain areas during the staining process, carefully remove it once the stain has dried. This will reveal clean and crisp edges.
-
Clean up your tools: Properly clean your brushes, sprayers, and other staining tools according to the manufacturer’s instructions. Dispose of any leftover stain or cleaning materials in accordance with local regulations.
-
Enjoy your newly stained cedar siding: Once all the finishing touches are complete, step back and admire the transformation of your cedar siding. Not only does it look refreshed and beautiful but it is also better protected against the elements.
By following these final steps, you ensure that your cedar siding is properly cured, finished, and ready to withstand the test of time. Congratulations on completing the staining process!
Conclusion
Staining cedar siding is a rewarding process that not only enhances the natural beauty of the wood but also protects it from the elements. By following the step-by-step guide provided in this article, you can achieve professional-looking results and extend the lifespan of your siding.
Remember to prioritize safety throughout the staining process by wearing protective clothing, working in a well-ventilated area, and following the manufacturer’s instructions for the stain and any other products used. Taking these precautions will ensure a safe and enjoyable experience.
Proper preparation is key to a successful staining project. Thoroughly clean the cedar siding to remove any dirt or previous coatings, and prepare the surface by sanding, repairing any damage, and applying a wood conditioner if necessary. This ensures that the stain adheres properly and provides an even finish.
When it comes to applying the stain, choose your preferred method and work in even coats, overlapping strokes to avoid streaks or visible lines. Take your time and work in manageable sections for better control and coverage.
After staining, allow the cedar siding to cure properly before considering additional coats or a protective sealer. Inspection, touch-ups, and removing painter’s tape are the final steps to complete the project.
By following these guidelines, your cedar siding will be transformed, rejuvenated, and better protected against the elements. Remember to properly clean and store your staining tools and materials.
Now go ahead and enjoy the beauty and durability of your newly stained cedar siding. Sit back, relax, and appreciate the results of your hard work. Your home will have a refreshed and inviting appearance that will last for years to come.
Frequently Asked Questions about How To Stain Cedar Siding
Was this page helpful?
At Storables.com, we guarantee accurate and reliable information. Our content, validated by Expert Board Contributors, is crafted following stringent Editorial Policies. We're committed to providing you with well-researched, expert-backed insights for all your informational needs.


0 thoughts on “How To Stain Cedar Siding”