Articles
How Much To Replace Garage Door Spring
Modified: October 28, 2024
Get detailed information on how much it costs to replace a garage door spring. Read our informative articles for expert advice and tips on garage door repairs.
(Many of the links in this article redirect to a specific reviewed product. Your purchase of these products through affiliate links helps to generate commission for Storables.com, at no extra cost. Learn more)
Introduction
Welcome to our comprehensive guide on how much it costs to replace a garage door spring. If you own a garage, you know how essential a properly functioning garage door is. The garage door springs play a crucial role in the smooth operation of opening and closing your garage door. However, over time, garage door springs can wear out or break, requiring replacement.
In this article, we will delve into the various factors that affect the cost of garage door spring replacement. From understanding the different types of garage door springs to signs that indicate it’s time for a replacement, we have you covered. Additionally, we will explore the average cost of replacing garage door springs and discuss whether you should attempt a DIY replacement or hire a professional.
Replacing garage door springs is not only important for the functionality of your garage door, but it also ensures the safety of you and your family. Understanding the process and cost involved will help you make informed decisions when the time comes for spring replacement.
We understand that the cost of garage door spring replacement can vary depending on several factors. From the type of spring to the size of your garage door, these factors can affect the overall cost. By providing you with this information, we hope to empower you to make the best choice for your garage door spring replacement needs.
So, if you’re ready to dive in and gain a comprehensive understanding of garage door spring replacement costs, let’s get started!
Key Takeaways:
- Understanding the signs of a worn-out garage door spring, such as visible wear, jerky door movement, and loud noises, is crucial for timely replacement to prevent accidents and further damage.
- When considering garage door spring replacement, weighing the pros and cons of DIY versus professional services is essential. Prioritizing safety and making an informed decision based on expertise and budget is key.
Read more: How Much Does Garage Door Spring Repair Cost
Understanding Garage Door Springs
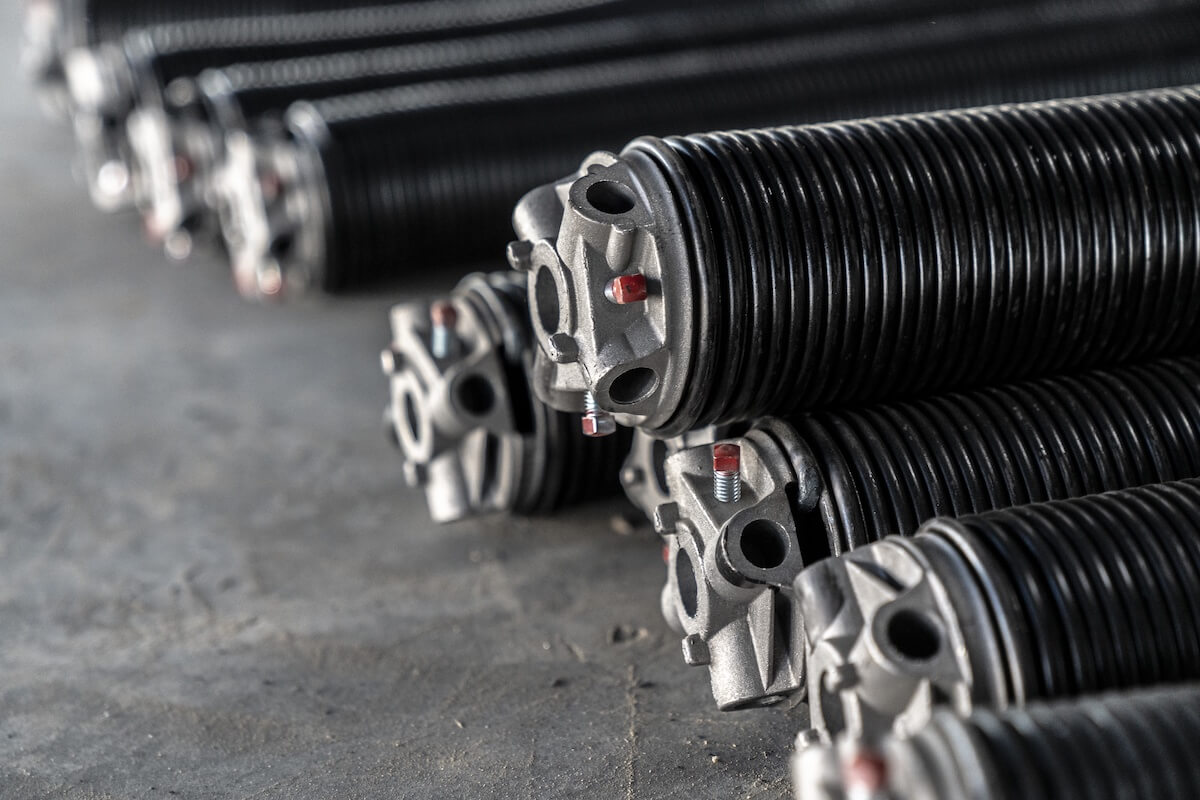
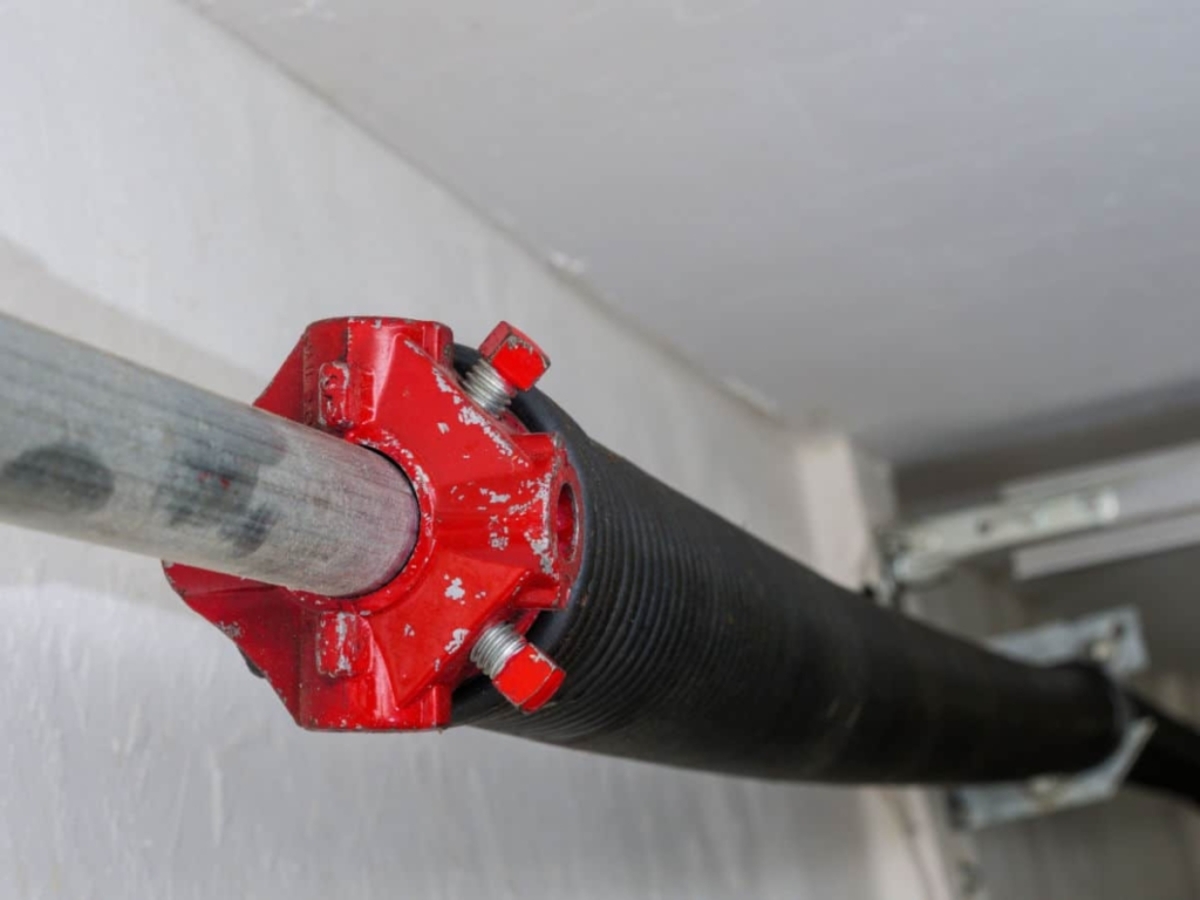
Before delving into the cost of garage door spring replacement, it’s essential to have a solid understanding of the different types of garage door springs. There are two main types: torsion springs and extension springs.
Torsion springs are typically used for heavier garage doors and are mounted above the garage door opening. They work by twisting and storing energy when the door is opened, and then releasing that energy to close the door. Torsion springs are known for their durability and can last for many years with proper maintenance.
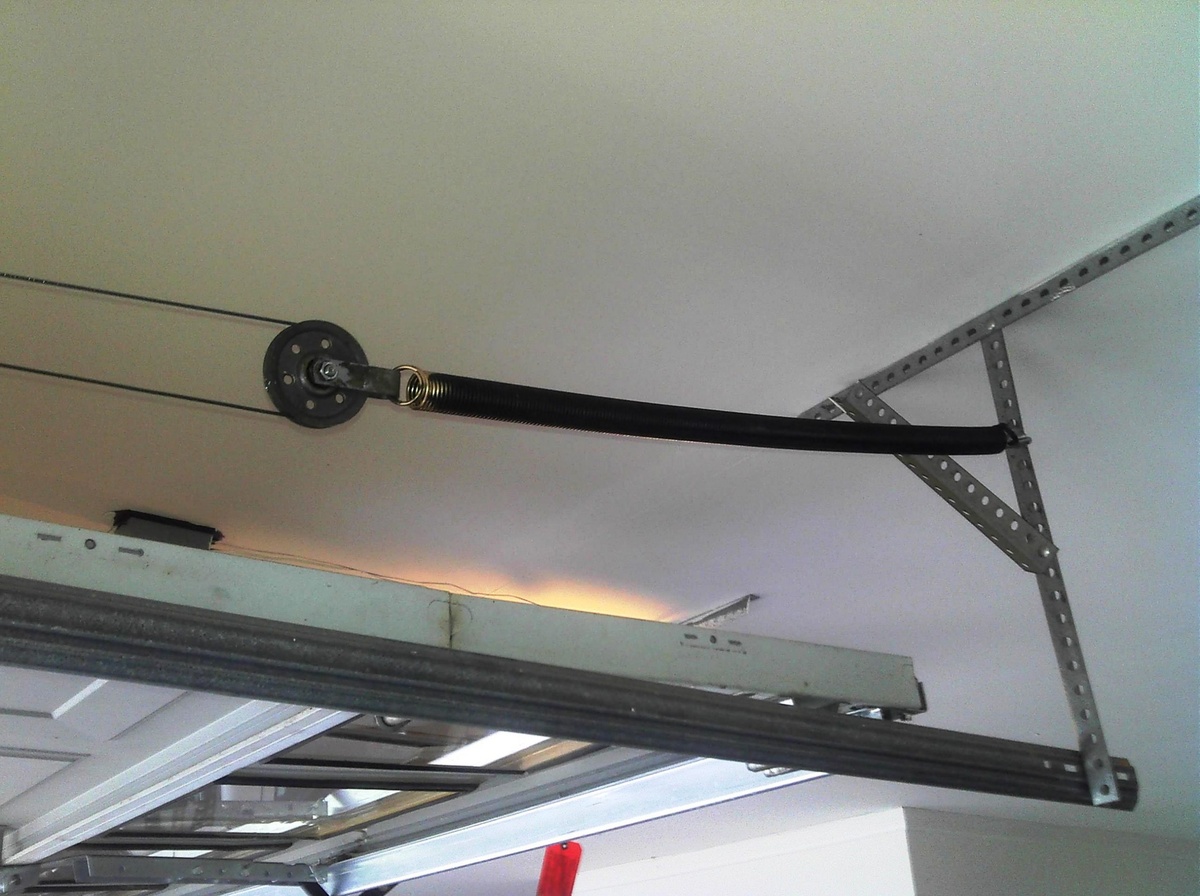
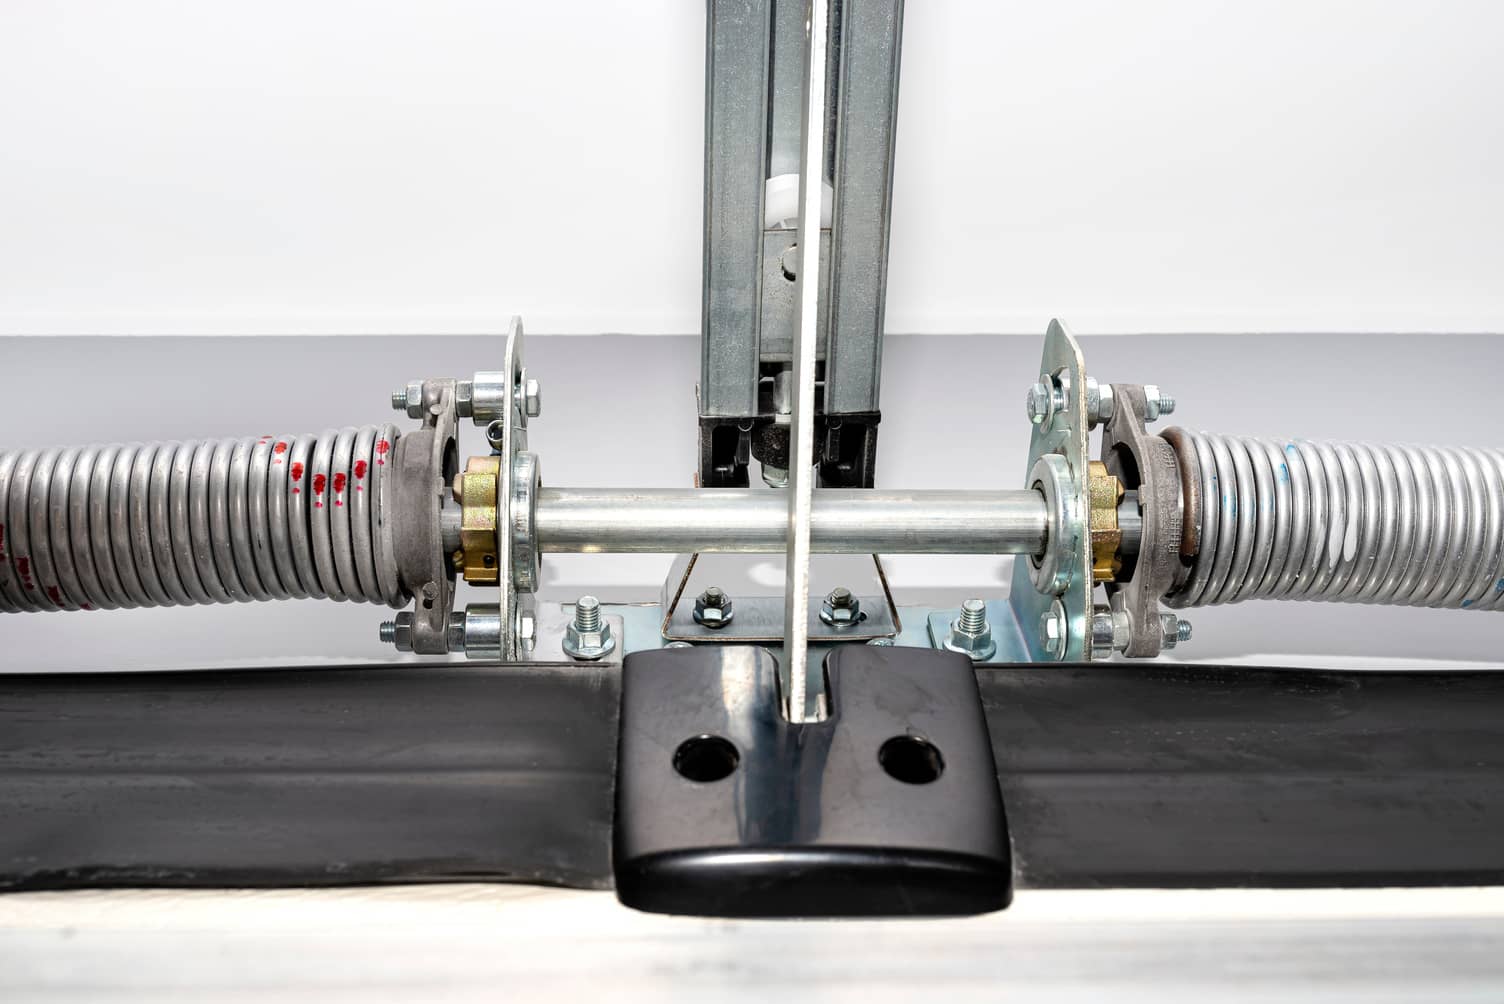
On the other hand, extension springs are most commonly found in lighter garage doors. These springs are mounted on either side of the door and extend and contract as the door opens and closes. They work by stretching and releasing energy to assist in the movement of the door. Extension springs are more prone to wear and tear and may need to be replaced more frequently.
When it comes to garage door spring replacement, it’s crucial to choose the correct type and size to ensure optimal performance. Consulting with a professional or referring to your garage door manufacturer’s specifications can help you determine the right spring for your door.
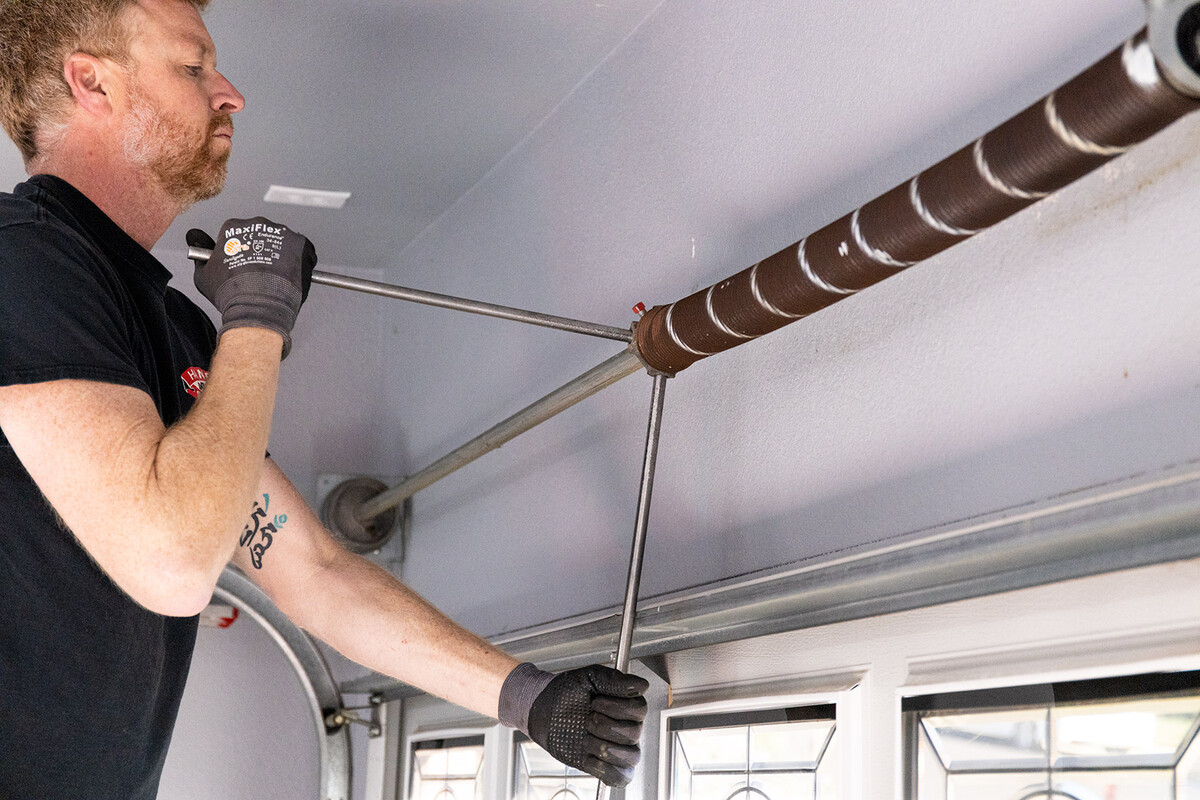
It’s worth noting that attempting to replace garage door springs yourself can be dangerous. These springs are under high tension and can cause serious injury if mishandled. It’s always recommended to seek the assistance of a trained professional for the installation or replacement of garage door springs.
Now that we have a basic understanding of garage door springs, let’s explore the signs that indicate it’s time for a replacement.
Signs that Your Garage Door Spring Needs to be Replaced
Identifying the signs that your garage door spring needs to be replaced is crucial to prevent any potential accidents or malfunctions. Here are some common indicators that it’s time to replace your garage door spring:
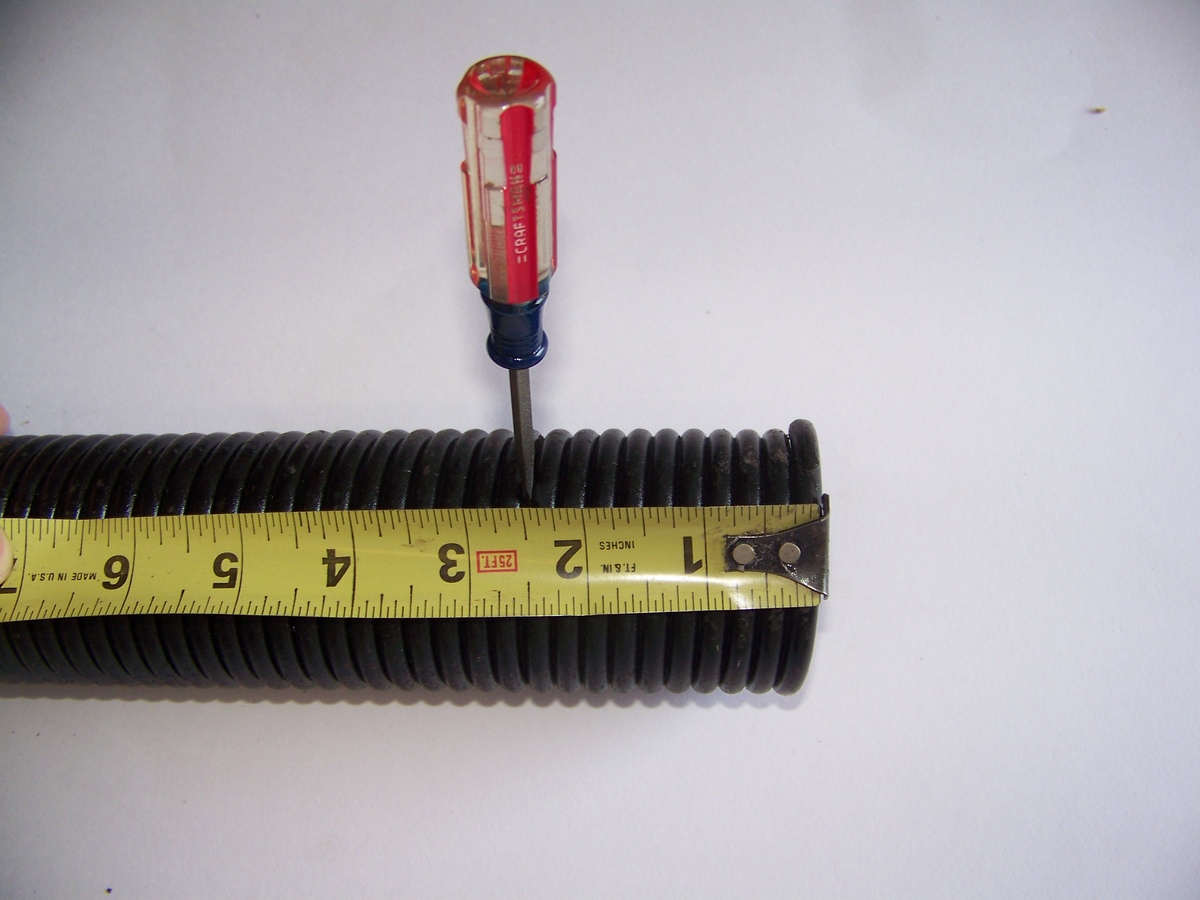
- Visible wear and tear: Inspect your garage door springs for any signs of wear or damage. Look for signs of rust, corrosion, or cracks. If you notice any of these, it’s a clear indication that the spring is compromised and needs replacement.
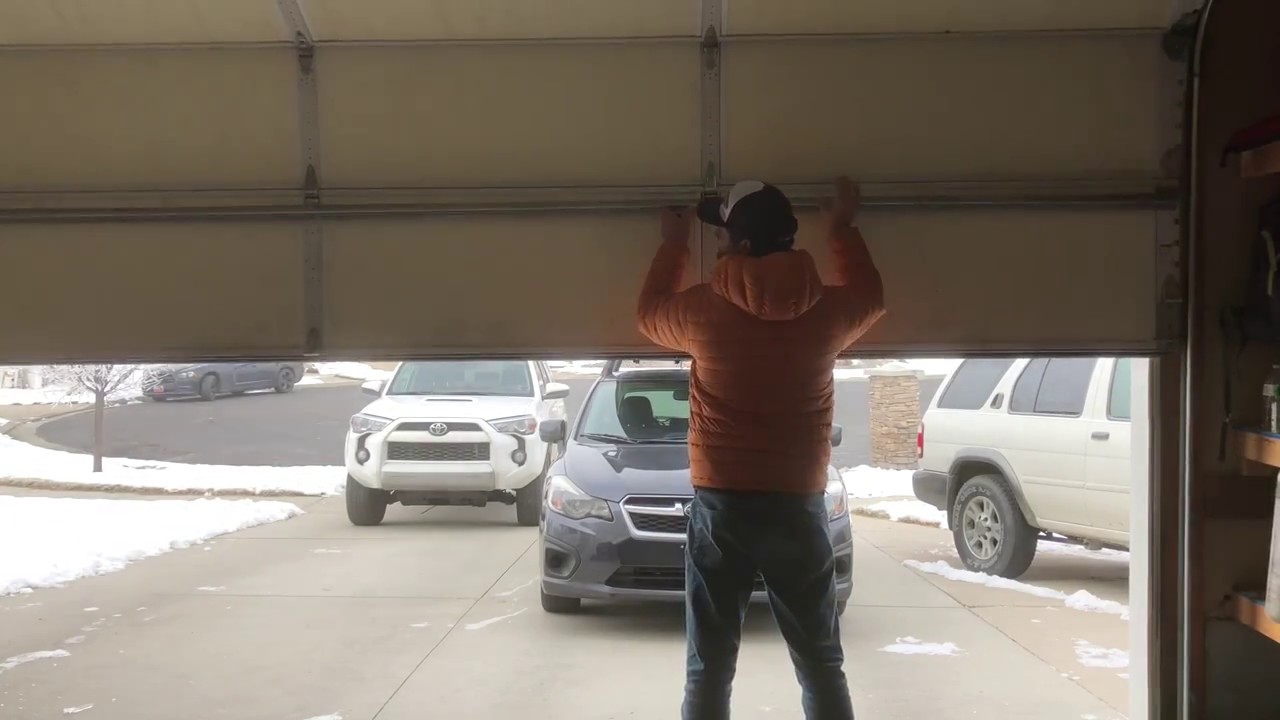
- Uneven or jerky door movement: If you notice that your garage door is not opening and closing smoothly, it could be a sign of a worn-out spring. As the spring loses its tension, it may struggle to provide the necessary force to lift the door evenly.
- Loud noise during operation: Excessive noise, such as grinding, squeaking, or screeching, during the operation of your garage door may indicate a problem with the spring. This can occur when the spring is worn out or damaged, causing it to rub against other components.
- Door imbalance: If one side of your garage door hangs lower than the other, it’s a tell-tale sign of a faulty spring. This imbalance can cause strain on the door opener and other parts of the garage door system, potentially leading to more expensive repairs down the line.
- Sudden inability to open or close: If your garage door suddenly refuses to open or close, it could be due to a broken spring. When a spring breaks, it no longer provides the necessary tension to support the weight of the door, rendering it inoperable.
If you notice any of these signs, it’s crucial to address the issue promptly to avoid further damage or safety hazards. Contacting a professional garage door repair service to assess and replace the spring is the safest and most effective solution.
Now that we have an understanding of the signs that indicate a need for spring replacement, let’s explore the various factors that can impact the cost of garage door spring replacement.
Factors Affecting the Cost of Garage Door Spring Replacement
When it comes to determining the cost of garage door spring replacement, several factors come into play. Understanding these factors will help you get an estimate and make an informed decision. Here are some key factors that can affect the overall cost:
- Type of spring: The type of spring you need for your garage door will impact the cost. Torsion springs are generally more expensive than extension springs due to their durability and ability to handle heavier loads.
- Number of springs: Depending on the size and weight of your garage door, you may need one or multiple springs for replacement. The cost will increase if multiple springs are required.
- Size of the door: The size of your garage door plays a significant role in the cost of spring replacement. Larger doors require more robust and expensive springs to handle the weight and tension.
- Quality of the springs: Opting for higher quality springs can come with a higher price tag. However, investing in durable and long-lasting springs can save you money in the long run by reducing the frequency of replacements.
- Professional labor: Hiring a professional to replace your garage door springs will incur additional labor costs. The level of expertise and experience of the technician can also impact the price.
- Location: The cost of living and local market conditions can vary from one area to another. Labor costs may be higher in certain regions, which can influence the overall cost of spring replacement.
- Additional repairs: In some cases, other components of the garage door system may also require repairs or replacements. For example, if the spring broke due to excessive door imbalance, fixing the balance issue may incur additional costs.
It’s important to keep these factors in mind when budgeting for garage door spring replacement. Consulting with a professional or requesting quotes from different service providers can give you a better idea of the specific costs involved in your situation.
Next, let’s explore the average cost of garage door spring replacement to give you a general idea of what to expect.
Average Cost of Garage Door Spring Replacement
The cost of garage door spring replacement can vary depending on the factors mentioned earlier. While it’s difficult to provide an exact figure without considering specific details, we can give you a general idea of the average cost range.
On average, the cost of replacing a single garage door spring can range from $150 to $350. This estimate includes the cost of the spring itself and the labor involved in installation. However, it’s important to note that this is just an average, and the actual cost can vary based on various factors.
If your garage door has multiple springs, the cost will increase accordingly. For example, if you have a double-car garage door with two springs, you can expect the total replacement cost to be in the range of $250 to $600.
Keep in mind that these prices are rough estimates and can differ based on your location, the type and size of springs required, and the level of expertise of the service provider. It’s always recommended to obtain multiple quotes from reputable garage door repair companies to ensure you’re getting a fair price.
Additionally, it’s worth considering the long-term benefits of investing in high-quality springs. While they may have a higher initial cost, durable springs can last longer and reduce the need for frequent replacements, ultimately saving you money in the long run.
Now that we have an idea of the average cost involved, let’s discuss the pros and cons of DIY spring replacement versus hiring a professional.
When replacing a garage door spring, it’s important to use the correct size and type of spring for your specific door. Consult a professional to ensure the job is done safely and effectively.
Read more: How To Rewind A Garage Door Spring
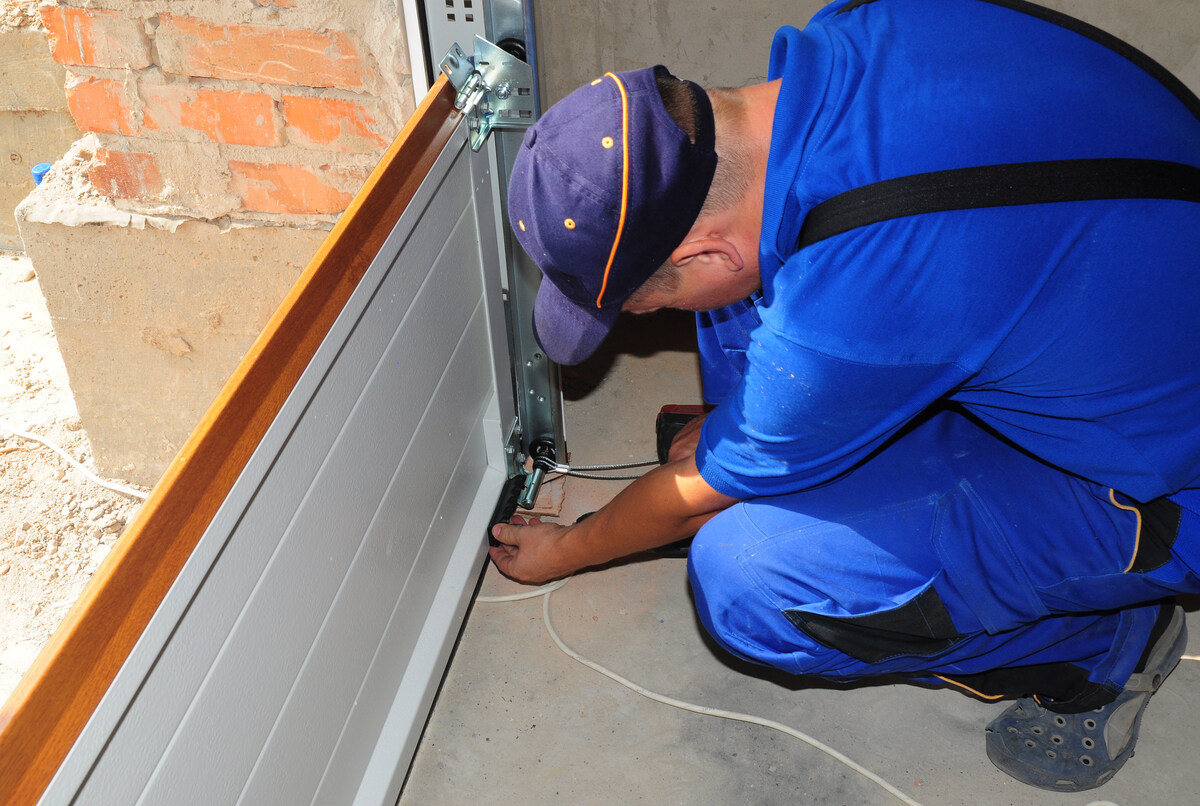
DIY vs Professional Garage Door Spring Replacement
When it comes to replacing garage door springs, one of the most common debates is whether to attempt a DIY approach or hire a professional. Let’s explore the pros and cons of each option to help you make an informed decision:
DIY Garage Door Spring Replacement:
Pros:
- Cost savings: Undertaking the replacement yourself can save you money on labor costs.
- Learning experience: DIY spring replacement can provide an opportunity to learn more about your garage door system.
- Flexibility: You can choose your own schedule and work at your own pace.
Cons:
- High-risk factor: Garage door springs are under high tension and can cause serious injury if mishandled. It’s crucial to have the necessary knowledge and experience to safely perform the replacement.
- Limited tools and resources: DIYers may lack access to specialized tools and resources that professionals have, which can impact the quality and effectiveness of the replacement.
- Potential for costly mistakes: Incorrect installation or mismatched parts can result in further damage to the garage door system, ultimately leading to more expensive repairs.
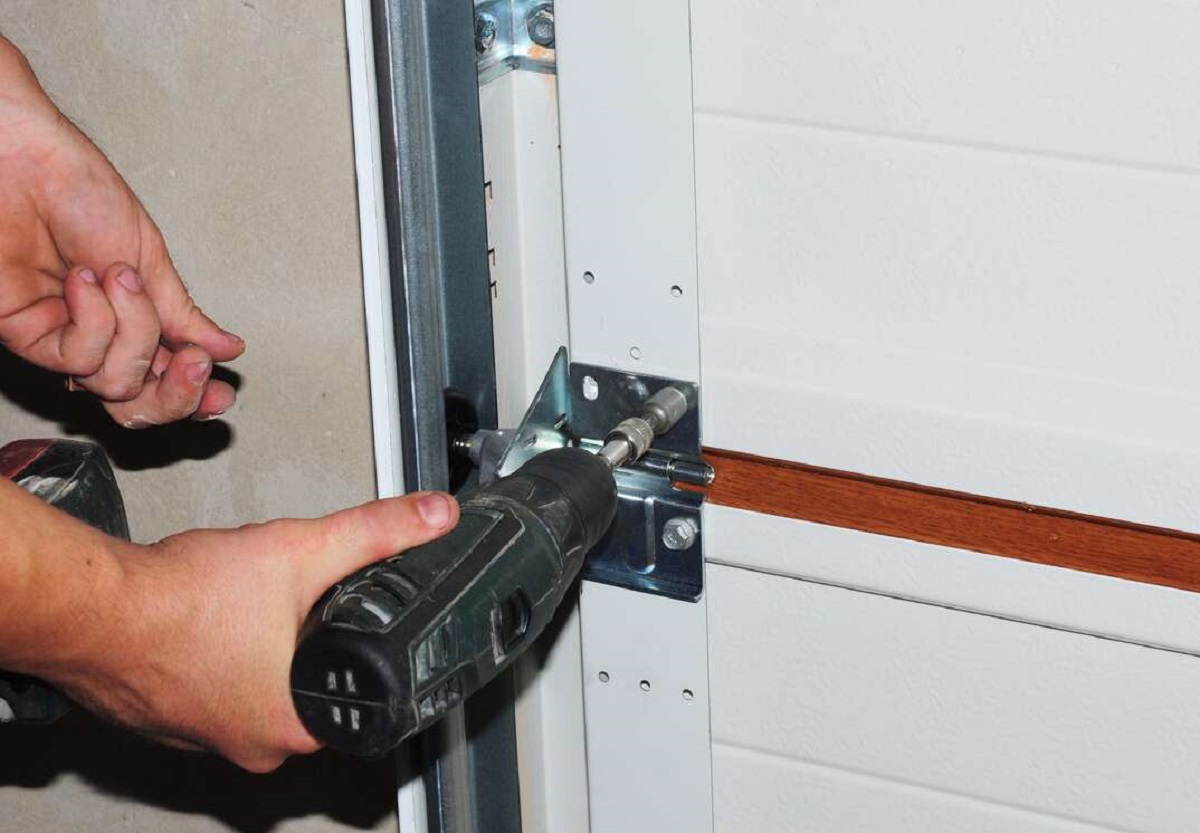
Professional Garage Door Spring Replacement:
Pros:
- Expertise and experience: Professionals have the necessary training and knowledge to efficiently and safely replace garage door springs.
- Proper tools and equipment: Garage door repair companies come prepared with specialized tools and equipment to ensure a successful replacement.
- Time savings: Hiring a professional can save you valuable time, allowing you to focus on other tasks or activities.
Cons:
- Higher cost: Professional services come with a price tag, including the cost of labor and potentially higher-quality springs.
- Limited control over the process: When hiring professionals, you have less control over the replacement process and timing.
Ultimately, the decision between DIY and professional garage door spring replacement depends on your level of expertise, comfort with DIY projects, and budget. If you have extensive experience and knowledge in garage door repairs, feel confident in your abilities, and have the necessary tools, DIY may be a viable option. However, if you lack the necessary skills, experience, or want to ensure a safe and efficient replacement, it’s recommended to hire a professional.
In either case, safety should always be the top priority. If you are uncertain about performing a DIY replacement or have any concerns regarding the process, it’s best to consult with a professional garage door repair service.
Now that we’ve discussed the DIY versus professional options, let’s conclude our guide.
Conclusion
In conclusion, understanding the cost of garage door spring replacement is essential for homeowners who want to ensure their garage doors are functioning properly and safely. By being knowledgeable about the different types of garage door springs and recognizing the signs that indicate a need for replacement, you can take timely action to avoid further damage or accidents.
The cost of garage door spring replacement can vary based on factors such as the type of spring, number of springs needed, size of the door, and the quality of the springs. Additionally, professional labor costs and location can also influence the overall cost. By considering these factors and obtaining multiple quotes, you can make an informed decision and budget accordingly.
When it comes to the actual replacement, you have the option to pursue a DIY approach or hire a professional. While DIY may offer potential cost savings and a learning experience, it comes with risks, including the potential for injury and costly mistakes. On the other hand, professional garage door spring replacement provides the expertise, proper tools, and time savings, but at a higher cost.
Regardless of the approach you choose, prioritizing safety is paramount. Garage door springs are under high tension, and attempting to replace them without the necessary knowledge and experience can be dangerous. If you’re unsure or uncomfortable with the process, it’s best to rely on the expertise of a professional garage door repair service.
In summary, replacing garage door springs is a crucial maintenance task to ensure the smooth and safe operation of your garage door. Understanding the cost factors, recognizing the signs of a worn-out spring, and making an informed decision regarding DIY or professional replacement can help you maintain the functionality and security of your garage door for years to come.
Thank you for joining us on this comprehensive guide to understanding the cost of garage door spring replacement. We hope you found the information valuable and that it helps you make the best choices for your garage door spring replacement needs.
Frequently Asked Questions about How Much To Replace Garage Door Spring
Was this page helpful?
At Storables.com, we guarantee accurate and reliable information. Our content, validated by Expert Board Contributors, is crafted following stringent Editorial Policies. We're committed to providing you with well-researched, expert-backed insights for all your informational needs.

0 thoughts on “How Much To Replace Garage Door Spring”