Articles
How To Replace Garage Door Spring
Modified: February 23, 2024
Learn how to replace a garage door spring with our informative articles. Find step-by-step instructions and expert tips to ensure a safe and successful replacement.
(Many of the links in this article redirect to a specific reviewed product. Your purchase of these products through affiliate links helps to generate commission for Storables.com, at no extra cost. Learn more)
Introduction
Replacing a garage door spring may seem like a daunting task, but with the right tools and a little know-how, it can be done safely and efficiently. Garage door springs are an essential component of the door’s operation, as they counterbalance the weight and help in lifting and lowering the door smoothly.
Over time, garage door springs can wear out or break due to constant use and the strain they endure. When this happens, it is important to replace them promptly to avoid any inconvenience or potential safety hazards.
In this article, we will guide you through the process of replacing a garage door spring, step by step. We will outline the tools and materials you will need, provide instructions for disconnecting power to the garage door opener, releasing tension on the spring, removing the old spring, installing the new one, reconnecting power to the opener, and testing the garage door operation.
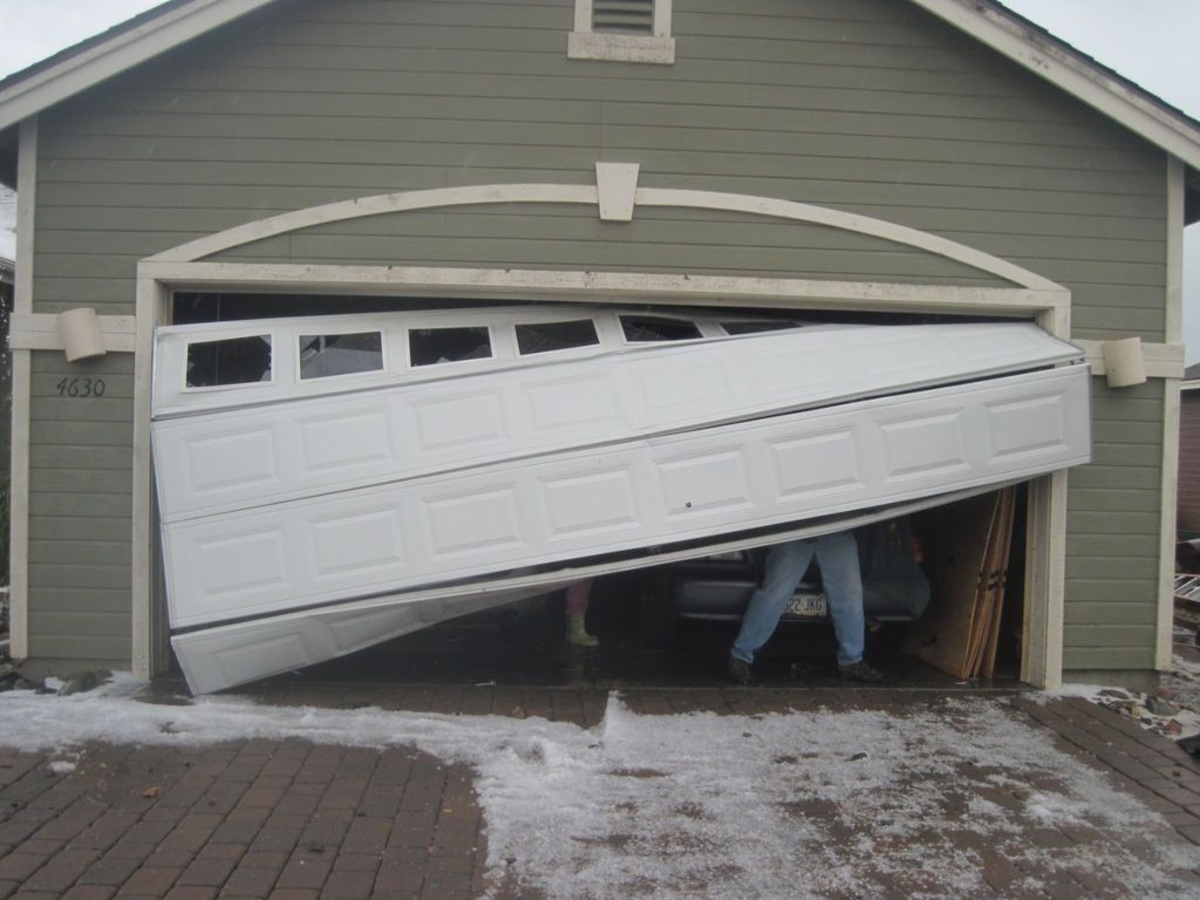
It is crucial to note that garage door spring replacement can be dangerous if not done correctly. If you are unsure about any step or lack the necessary experience, it is highly recommended to seek professional assistance. Safety should always be the top priority when dealing with garage door springs.
Now, let’s get started with the first step: gathering the tools and materials needed for the replacement process.
Key Takeaways:
- Safety First
Replacing a garage door spring requires caution and precision. Prioritize safety by gathering the right tools, disconnecting power, releasing tension, and seeking professional help if needed to avoid potential accidents. - DIY Success
With the right tools and know-how, replacing a garage door spring is a manageable DIY project. Follow the step-by-step process, prioritize safety, and enjoy the convenience of a smoothly functioning garage door.
Read more: How Much To Replace Garage Door Spring
Step 1: Gather Tools and Materials
Before you begin the garage door spring replacement process, it is essential to gather all the necessary tools and materials. Having everything on hand will ensure a smooth and efficient workflow. Here’s a list of what you’ll need:
- 1. Safety glasses and gloves: These will protect your eyes and hands from any debris or potential injuries.
- 2. Adjustable wrench or socket wrench set: You’ll need these to loosen and tighten nuts and bolts during the replacement.
- 3. Vice grips or locking pliers: These will come in handy for holding the tension on the spring and preventing it from unwinding.
- 4. C-clamps or locking pliers: These will help keep the garage door in place and prevent it from moving while you work on the spring.
- 5. Stepladder: Depending on the height of your garage door, you may need a stepladder to reach certain parts.
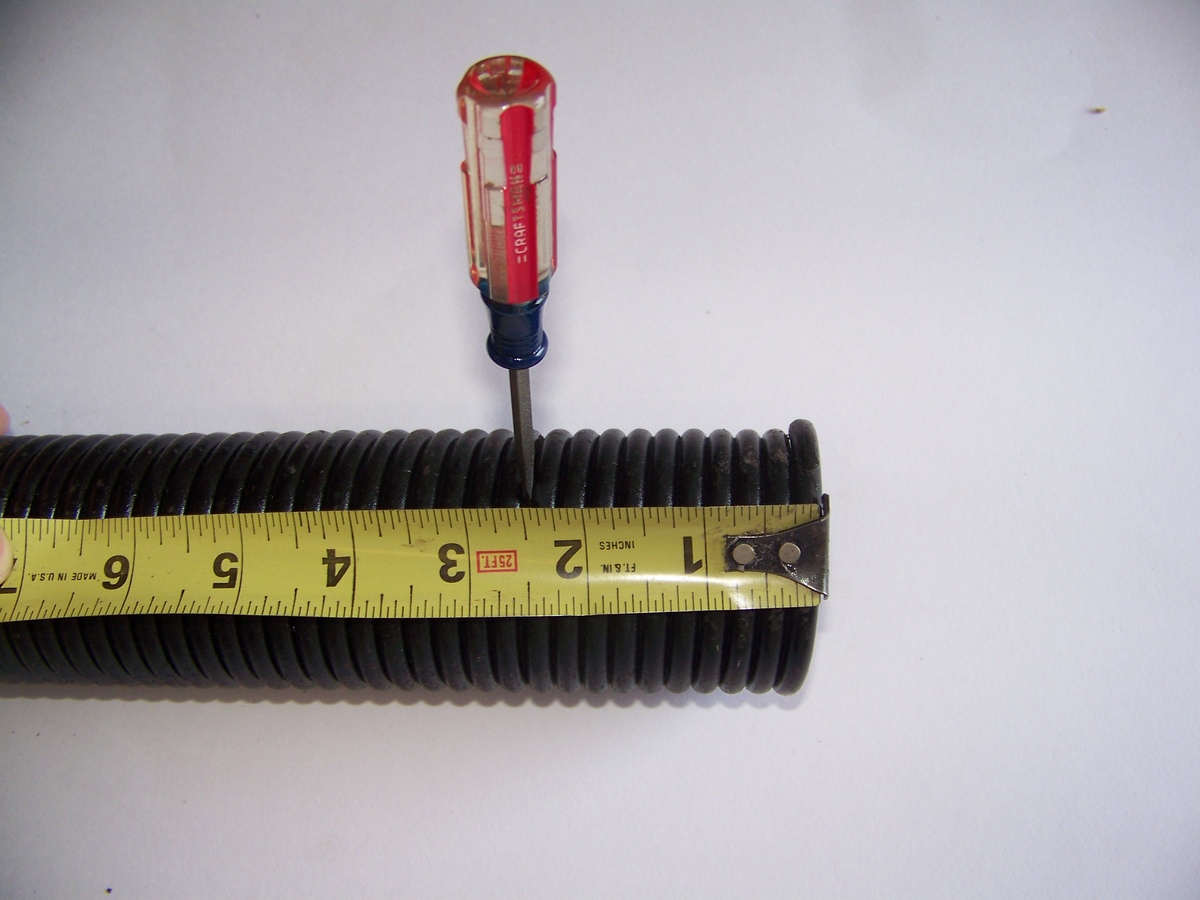
- 6. Tape measure: This will be useful for taking measurements and ensuring proper alignment of the new spring.
- 7. Replacement garage door spring: Make sure to purchase the correct type and size of spring that matches your garage door’s specifications.
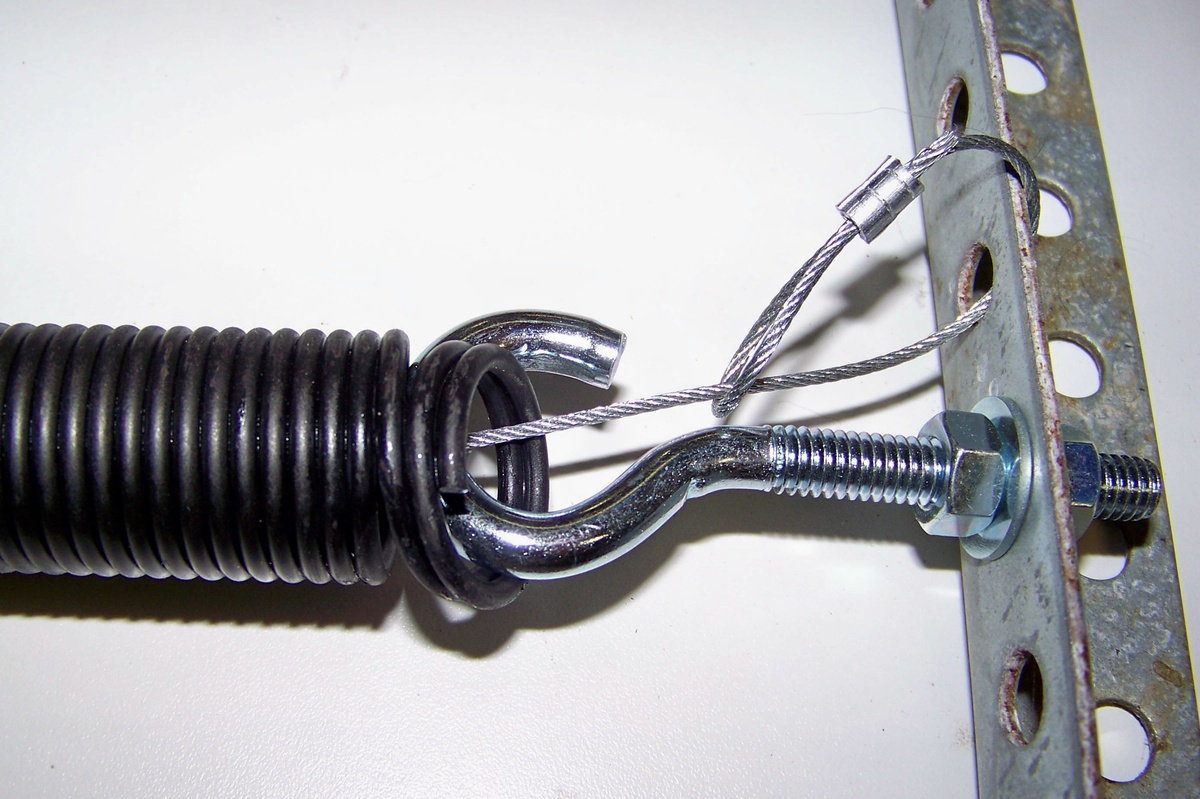
- 8. Replacement cables: If your cables are worn or damaged, it is recommended to replace them along with the spring for optimal performance.
- 9. Safety cable: This cable is a crucial safety feature that prevents the spring from becoming a projectile in case it breaks. It should always be installed with the new spring.
- 10. Instruction manual or online resources: It is helpful to have the manufacturer’s instructions or access to reliable online resources to guide you through the specific steps for your garage door model.
Once you have gathered all the necessary tools and materials, you’ll be ready to proceed to the next step, which involves disconnecting power to the garage door opener.
Step 2: Disconnect Power to the Garage Door Opener
Before working on the garage door spring, it is crucial to disconnect the power to the garage door opener to ensure your safety. Follow these steps to disconnect the power:
- Start by locating the power source for your garage door opener. This will typically be a power cord or an electrical outlet near the opener.
- If your garage door opener has a power cord, unplug it from the electrical outlet. If it is hardwired, locate the circuit breaker connected to the opener and turn it off.
- Once the power is disconnected, test the opener by pressing the button on your garage wall or using the remote control. The door should not move or respond since the power is turned off.
- For added safety, place a sign or tape over the wall button or control panel to remind others not to operate the door while you are working on it.
Disconnecting the power to the garage door opener will prevent any accidental activation of the door while you are working on the spring, reducing the risk of injury. After ensuring the power is off, you can proceed to the next step, which involves releasing the tension on the garage door spring.
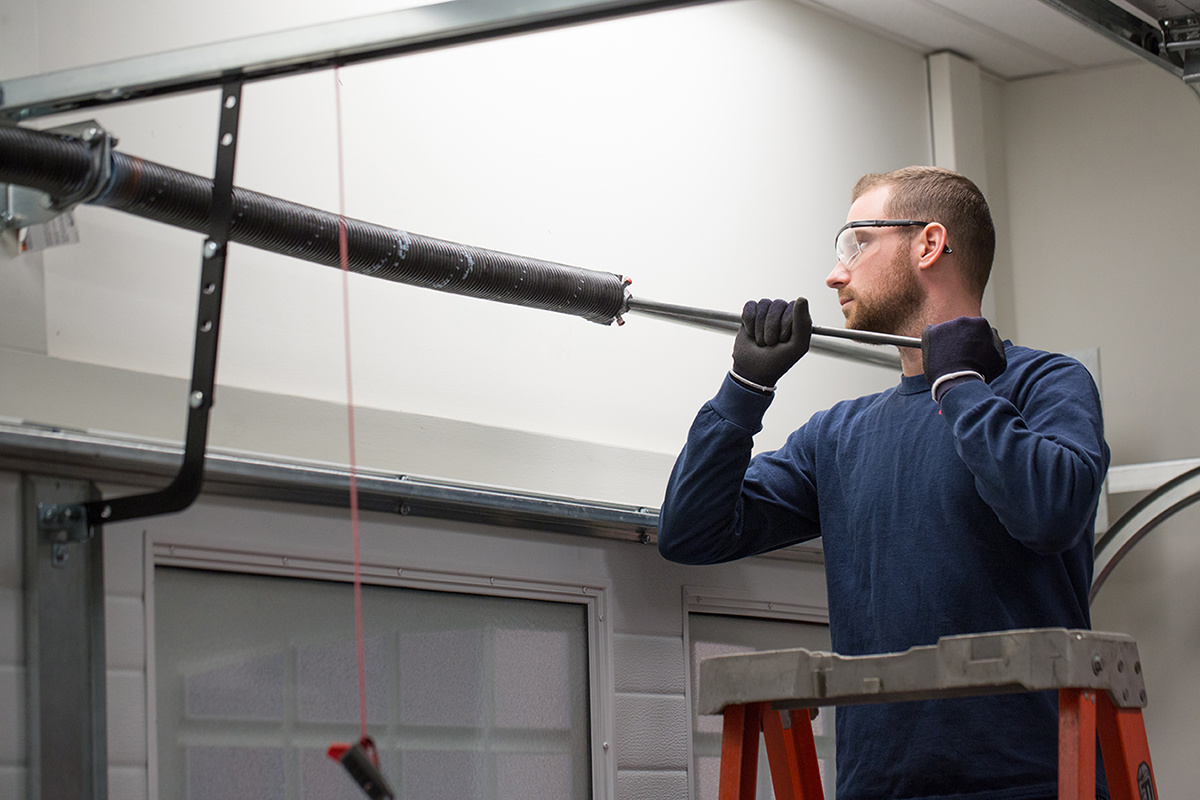
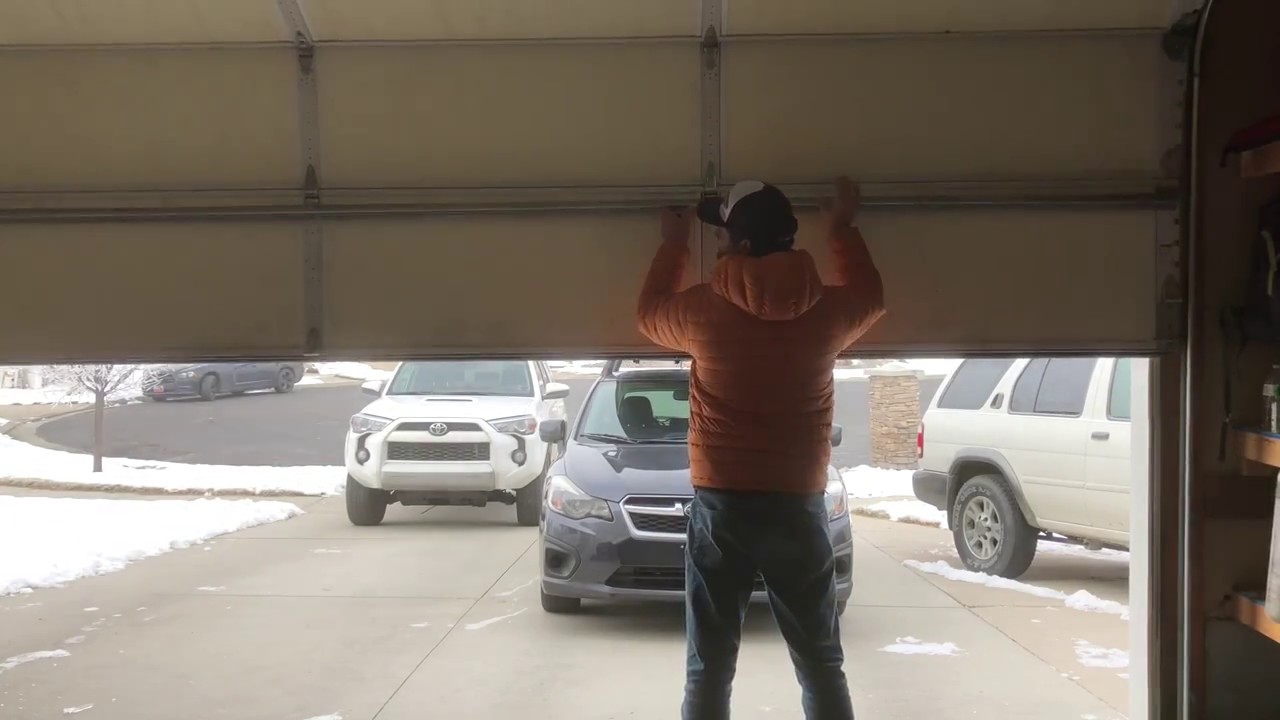
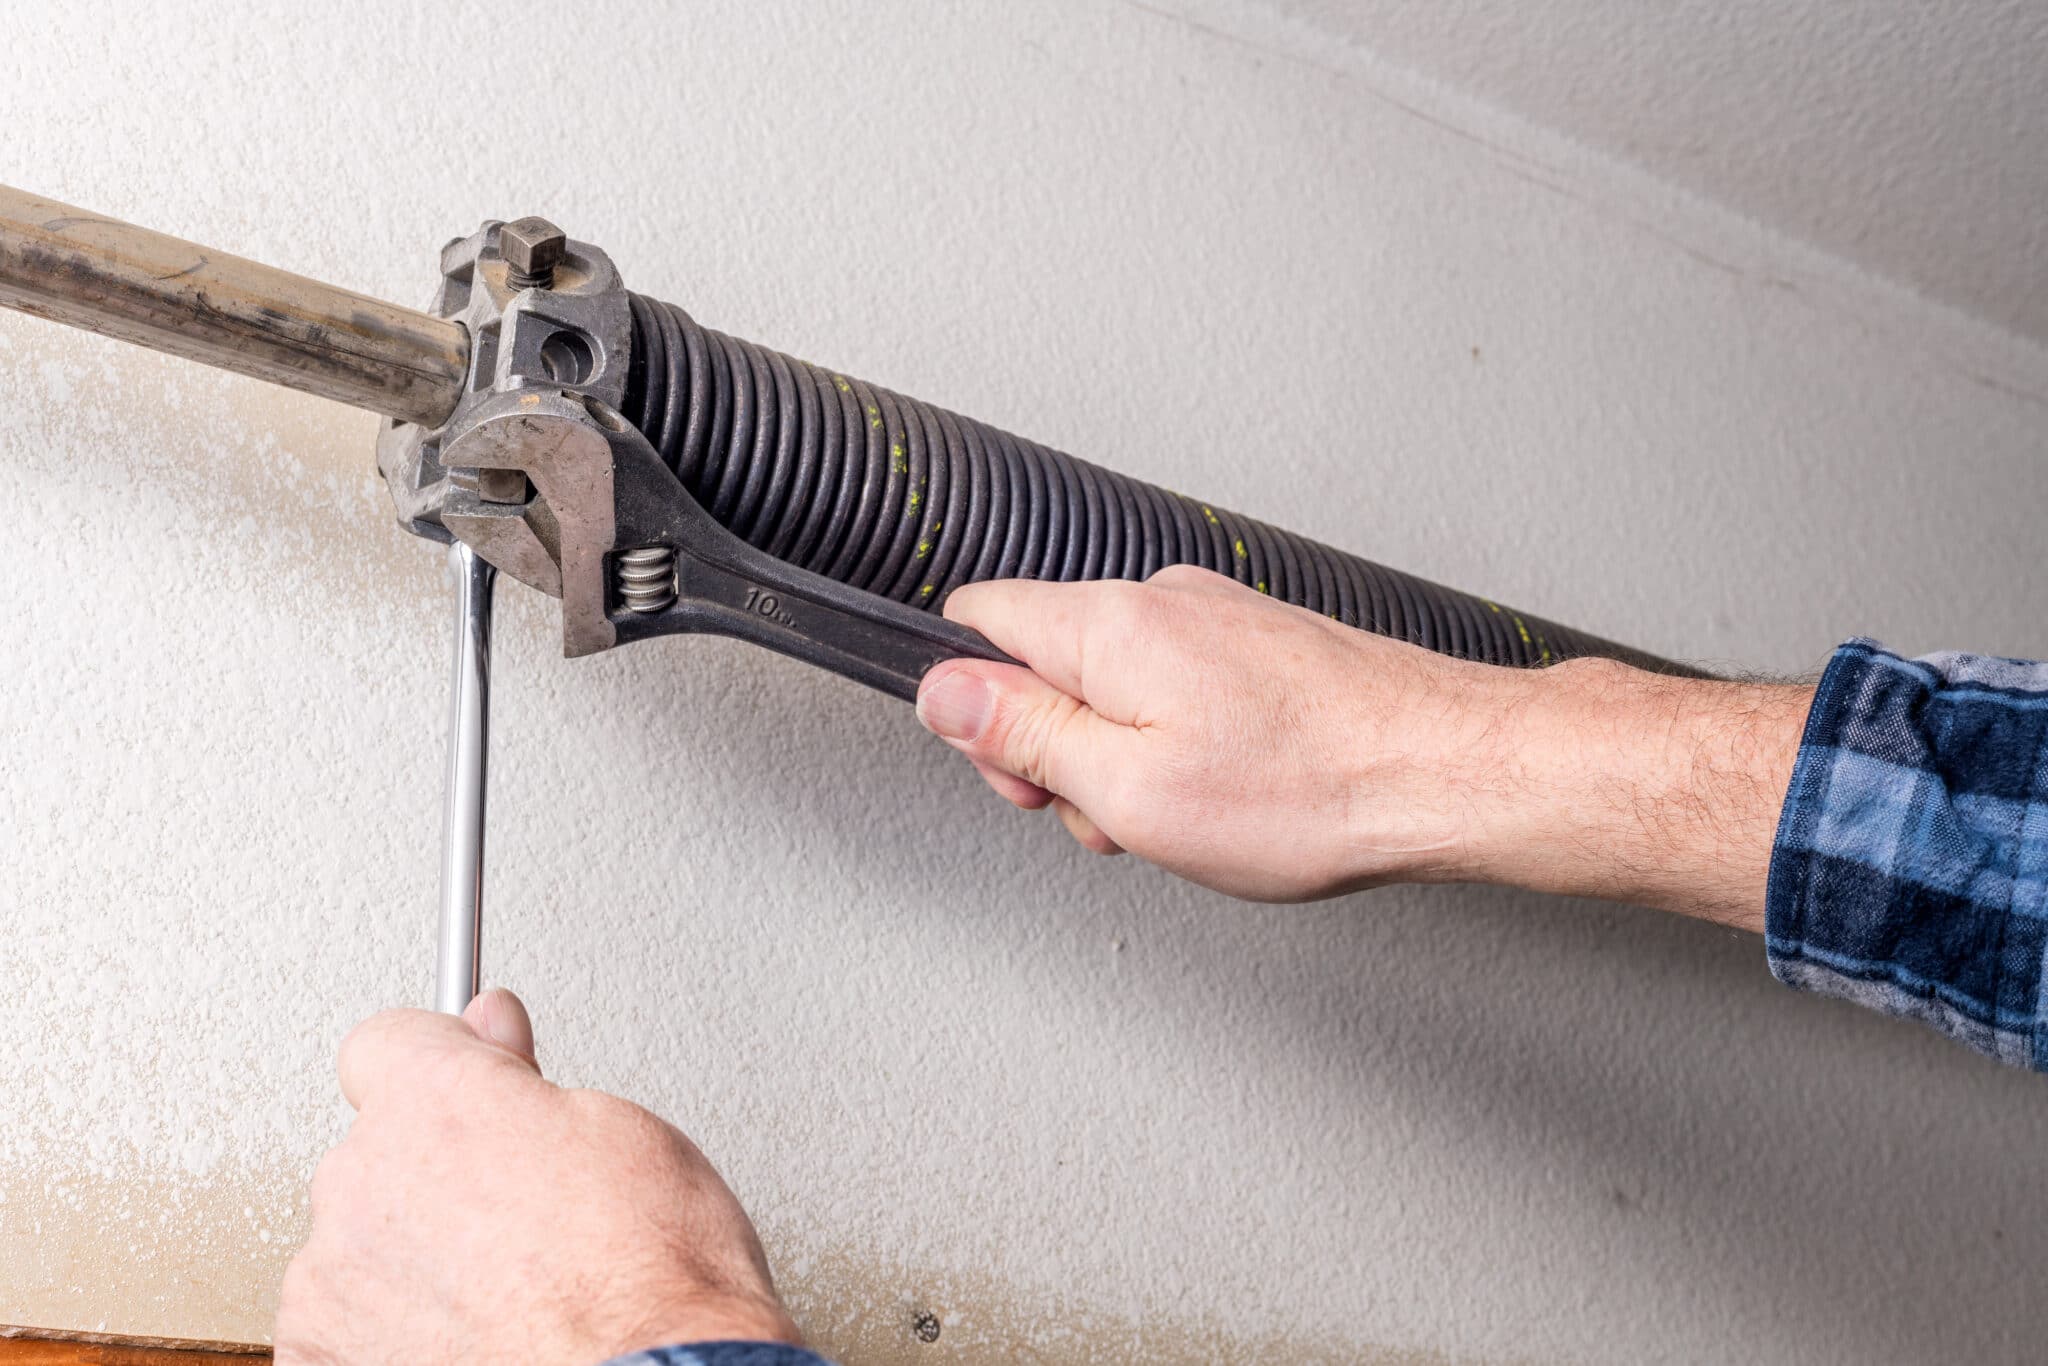
Step 3: Release Tension on the Garage Door Spring
Releasing the tension on the garage door spring is a crucial step to ensure your safety during the replacement process. Here’s how you can safely release the tension:
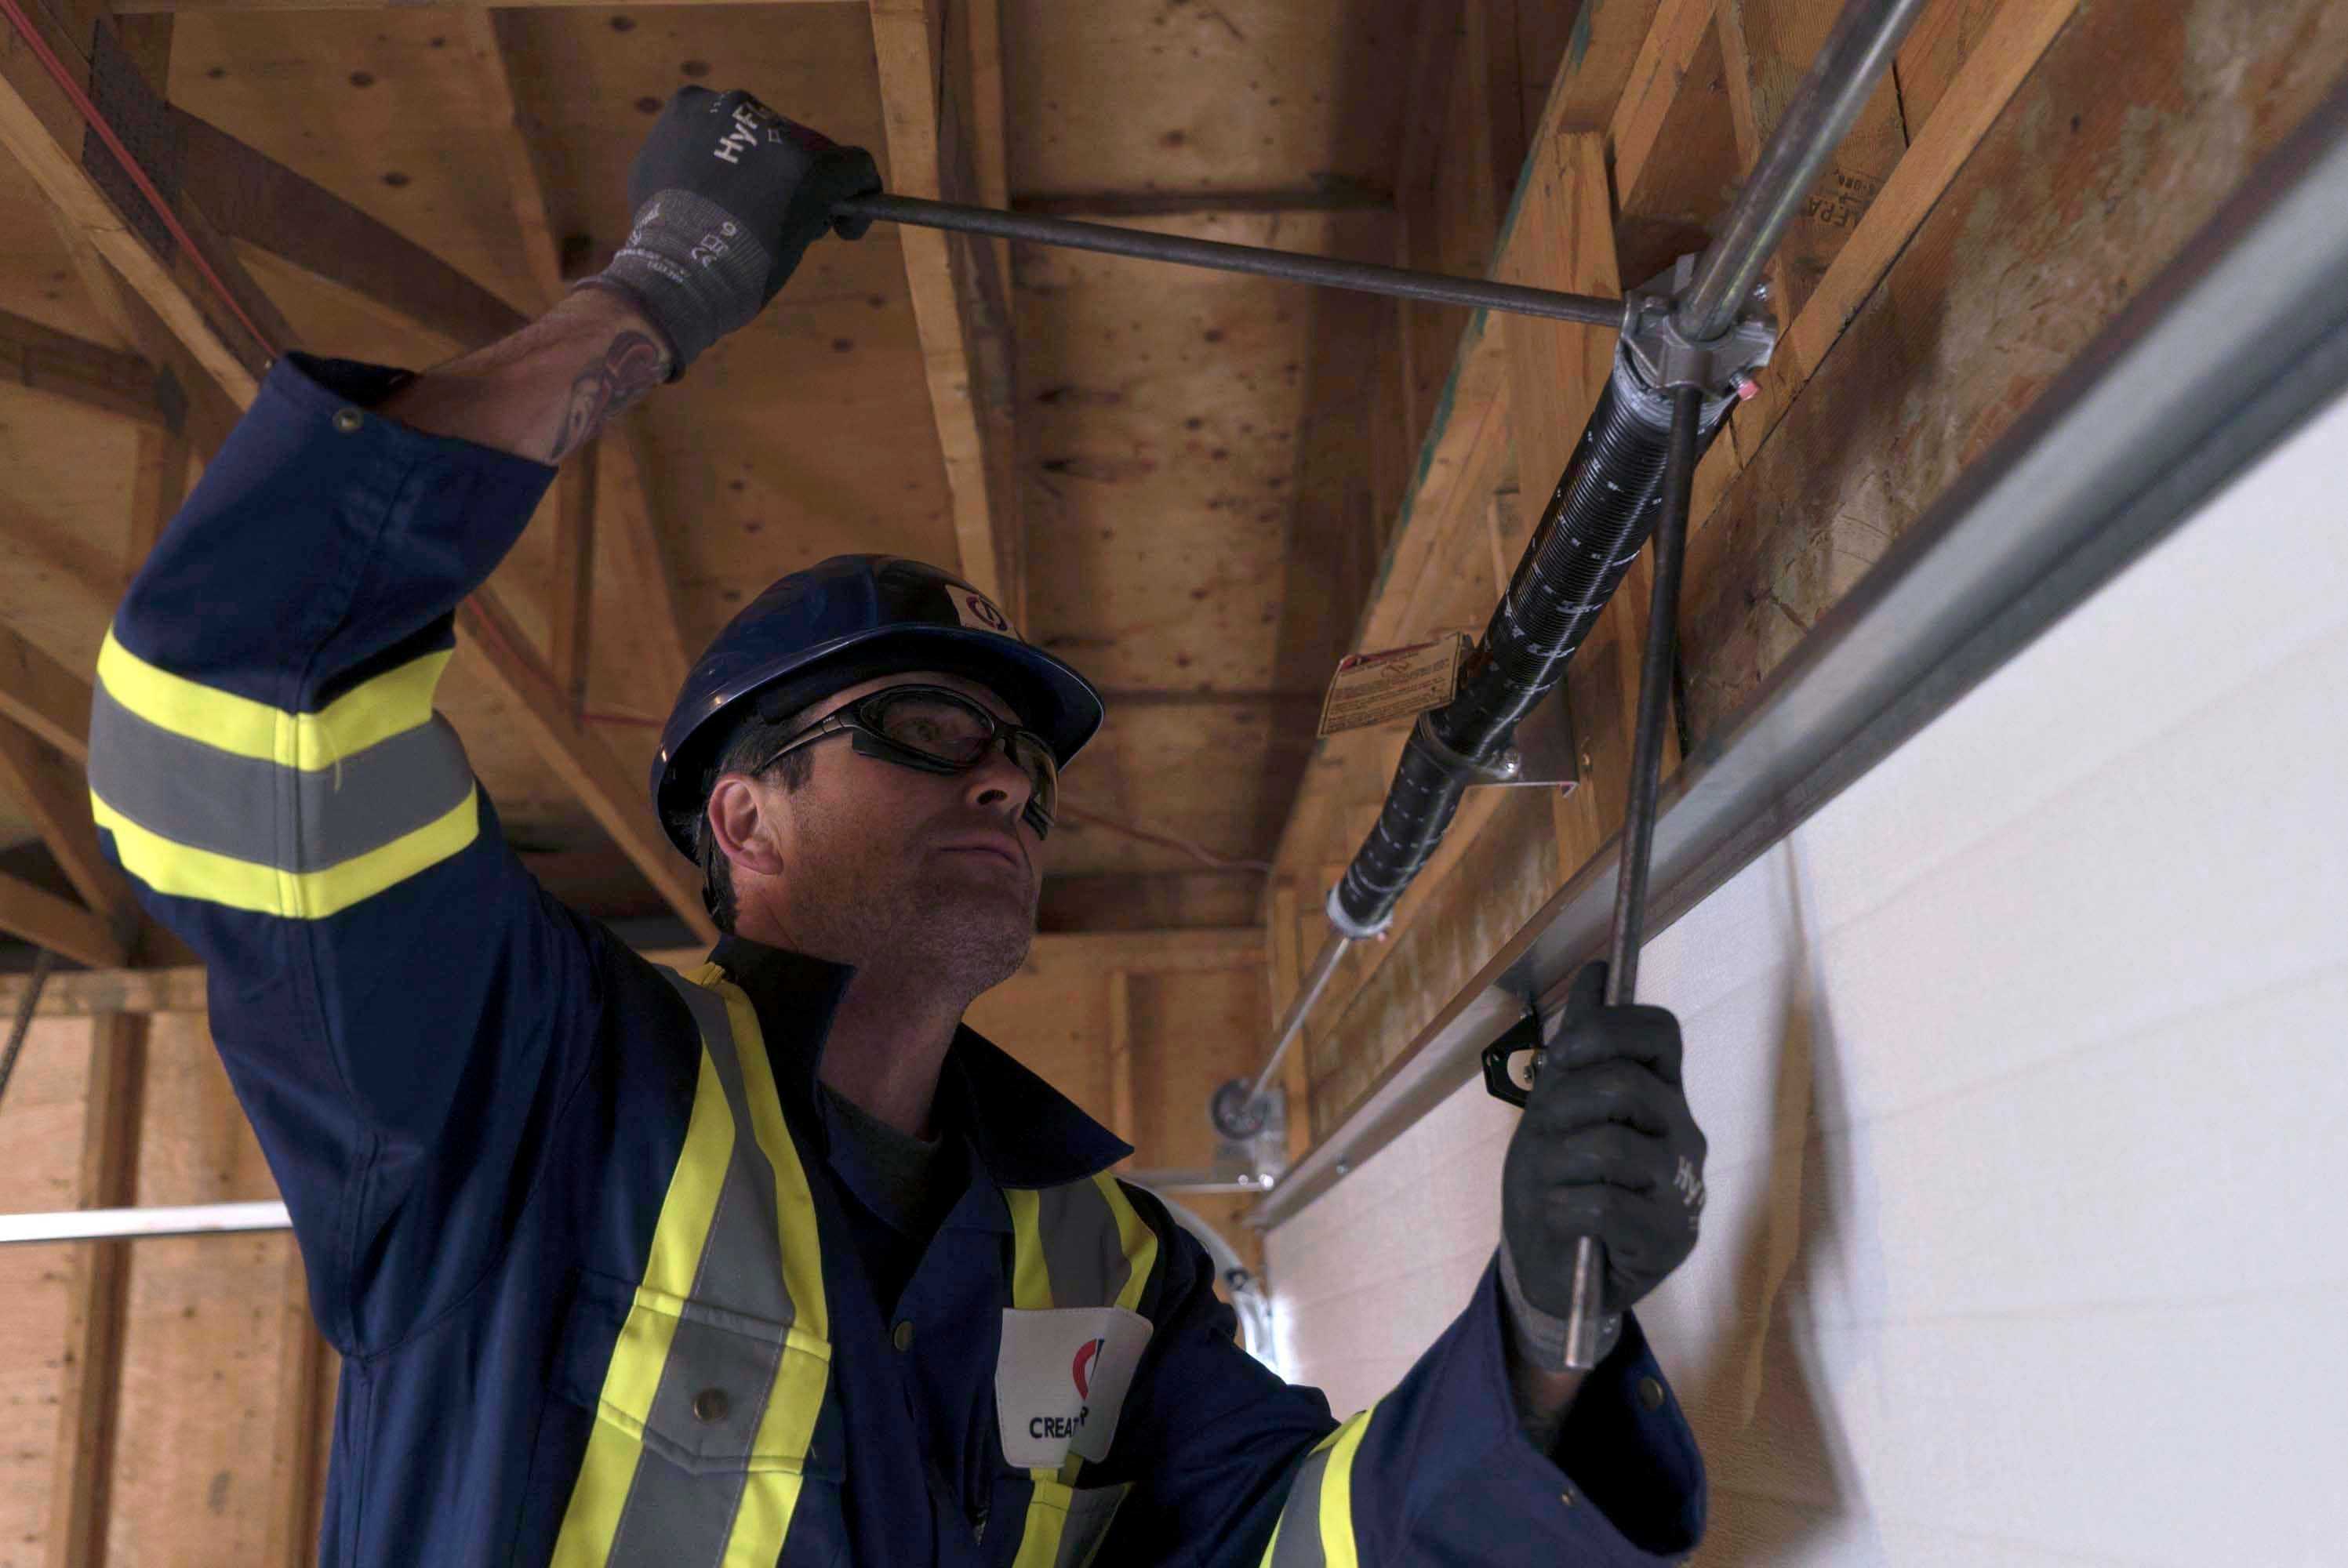
- First, locate the winding cone on the torsion spring. This cone is typically found at the end of the spring shaft, closest to the center of the garage door.
- Using a winding bar or a sturdy metal rod that fits into the holes of the winding cone, insert the bar into one of the holes facing away from the center of the garage door.
- Hold onto the bar securely with a firm grip and slowly rotate it in a downward motion to release tension on the spring. Be cautious and keep a controlled grip on the winding bar at all times.
- As you turn the winding bar, the spring will unwind, and the tension on the door will be released. Continue turning until the spring is fully unwound and the tension is relieved.
- Repeat this process on the other side of the garage door to release tension from the second spring if your door has a double spring system.
- Once the tension is released, use c-clamps or locking pliers to secure the door in place. This will prevent it from accidentally opening or closing while you are working on the spring.
Releasing the tension on the garage door spring is essential for your safety. It reduces the risk of the spring unexpectedly unwinding and causing injury. Now that the tension is released, you can proceed to the next step, which involves removing the old garage door spring.
Step 4: Remove the Old Garage Door Spring
With the tension released and the door secured, you can now remove the old garage door spring. Follow these steps to safely remove the spring:
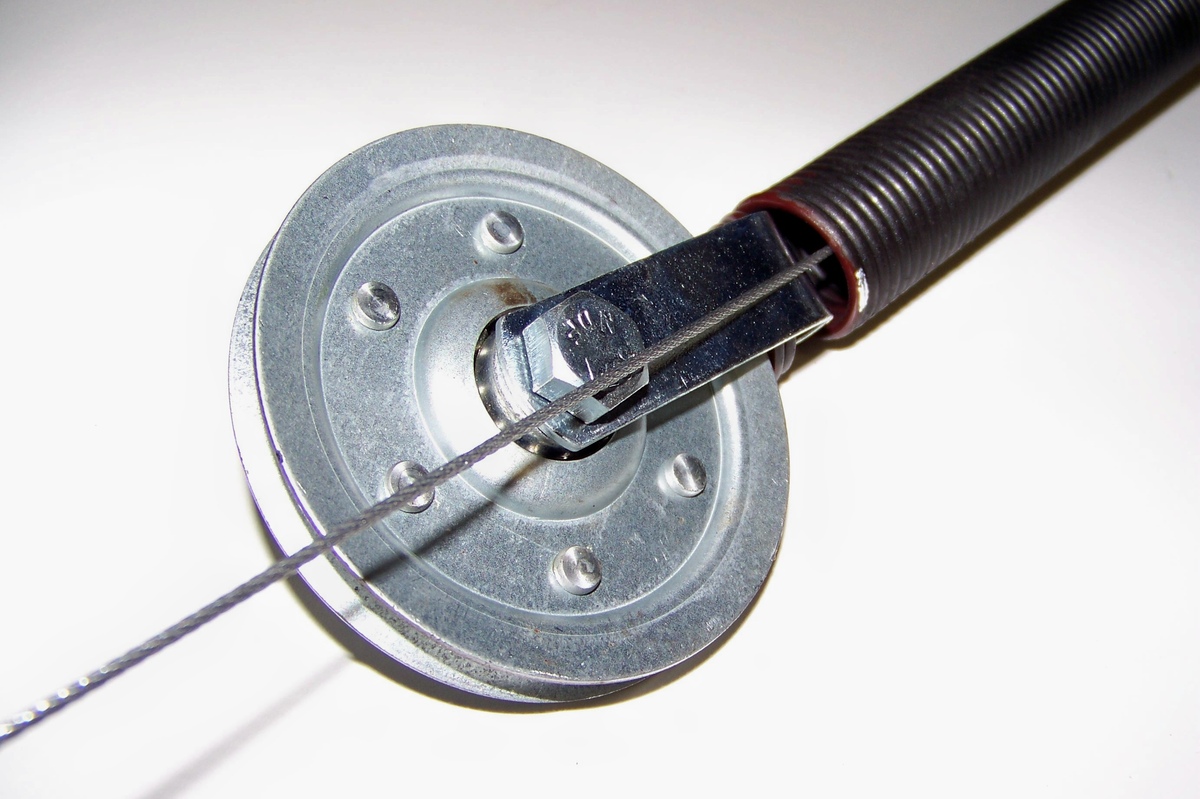
- Begin by identifying the type of garage door spring you have. There are two common types: torsion springs and extension springs. The removal process will vary slightly depending on the type of spring.
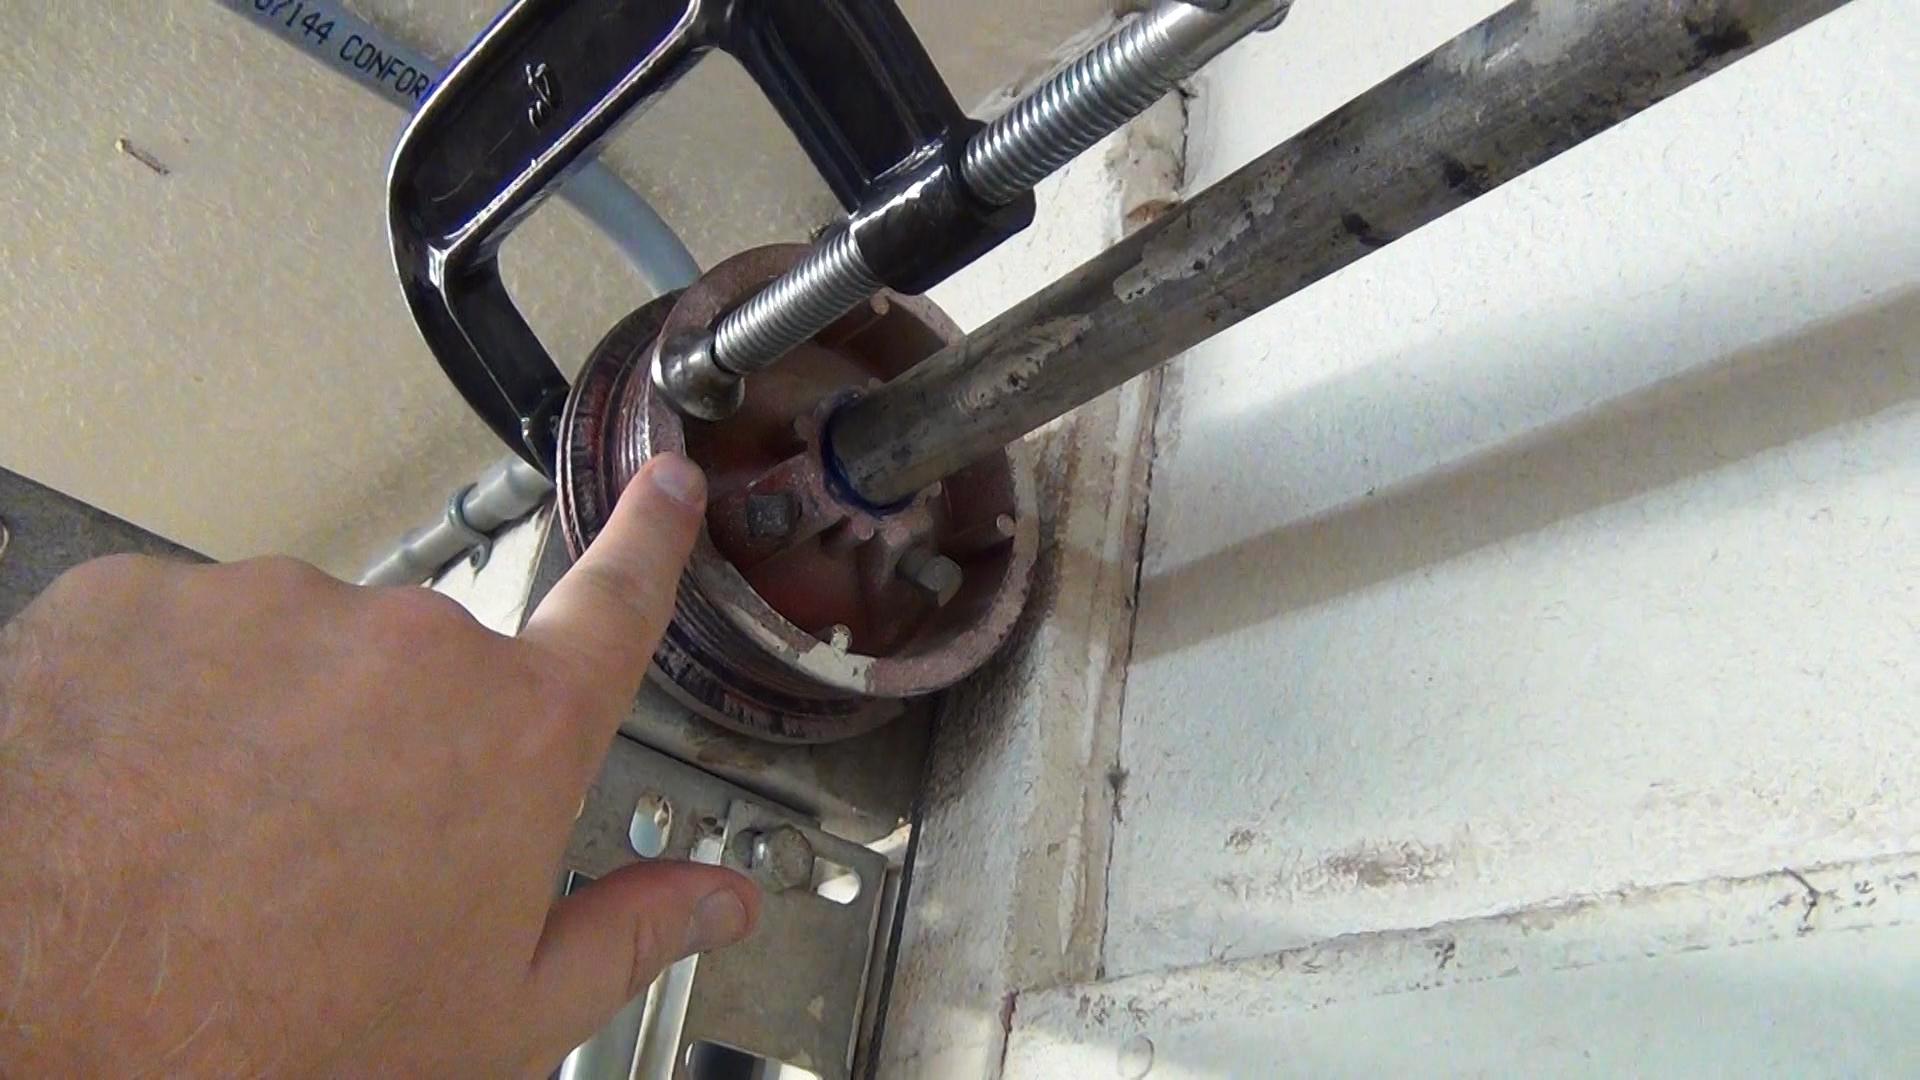
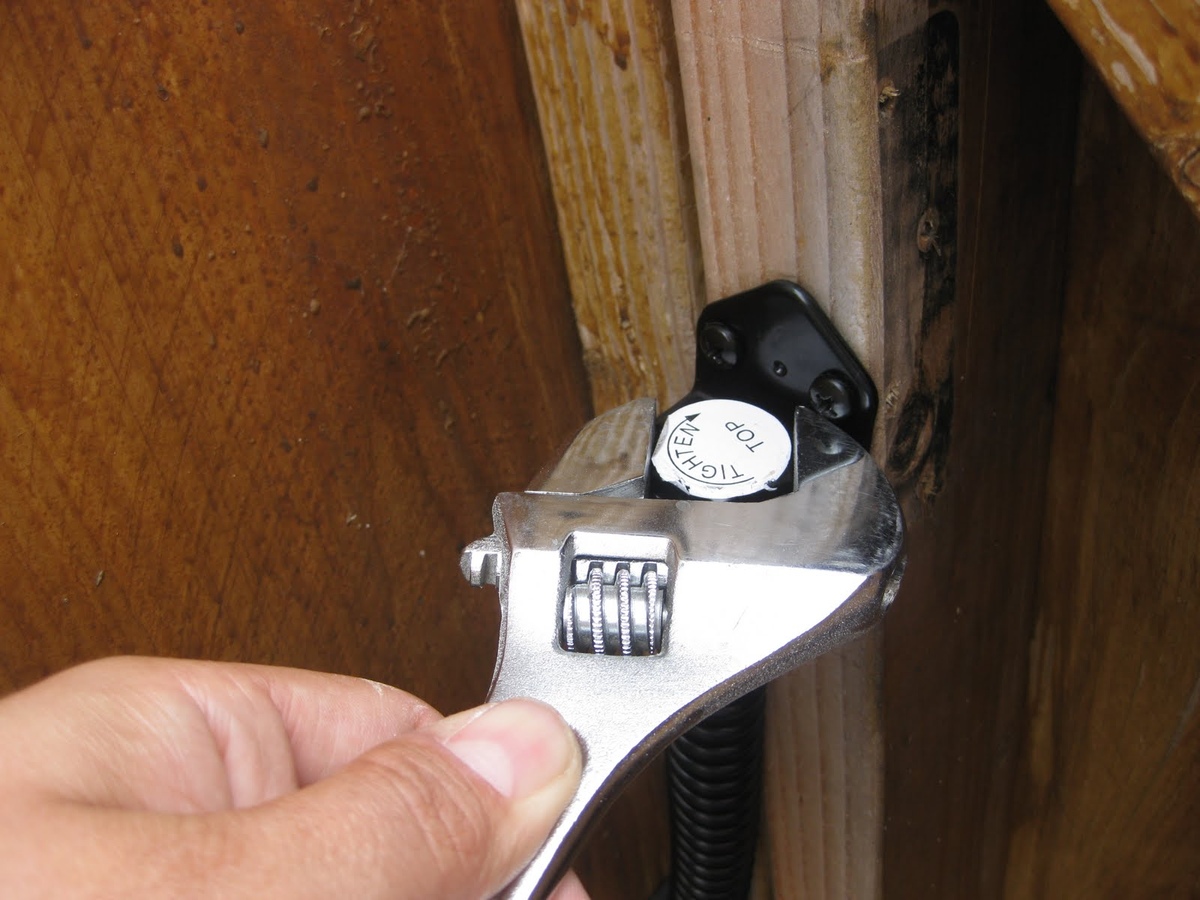
- If you have a torsion spring, locate the stationary cone at the end of the spring shaft opposite the winding cone. Use an adjustable wrench or a socket wrench to loosen and remove the set screws securing the stationary cone in place. Once the screws are removed, you can slide the cone off the shaft.
- If you have an extension spring, carefully disconnect it from the pulley system and unhook it from the track brackets on each side of the door. Be cautious as the spring may still have some tension in it.
- Once the spring is detached, carefully remove it from the garage door assembly. If you have a torsion spring, the shaft may still be in place. You can remove the shaft by loosening the set screws on both ends and sliding it out.
- Inspect the old spring for any signs of wear, damage, or metal fatigue. If the spring is worn or broken, it is recommended to replace it with a new one to ensure optimal performance and safety.
- Dispose of the old spring and any other components properly and responsibly.
Removing the old garage door spring requires caution and attention to detail. Take your time and ensure that you follow the specific instructions for the type of spring you have. Once the old spring is removed, you can move on to the next step, which involves installing the new garage door spring.
When replacing a garage door spring, always release the tension from the old spring before removing it to avoid injury. Use the appropriate tools and follow safety precautions. If unsure, consult a professional.
Read more: How To Replace A Broken Garage Door Spring
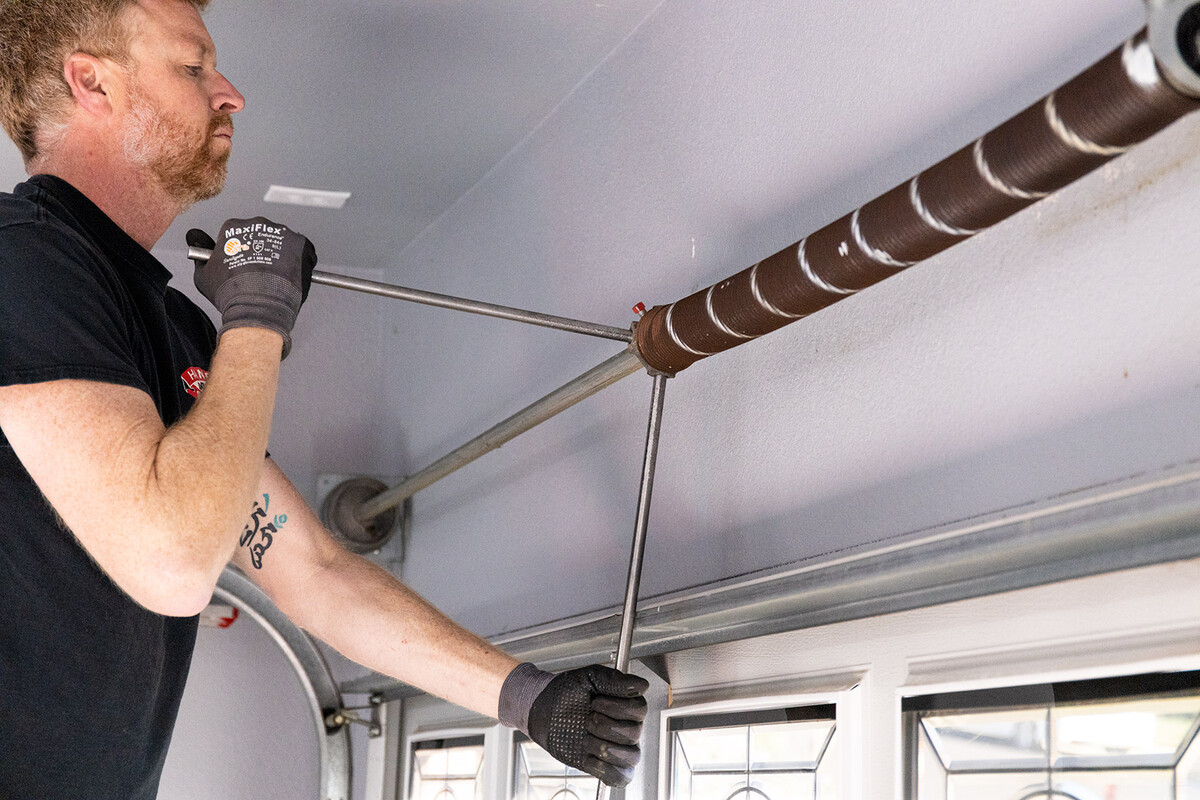
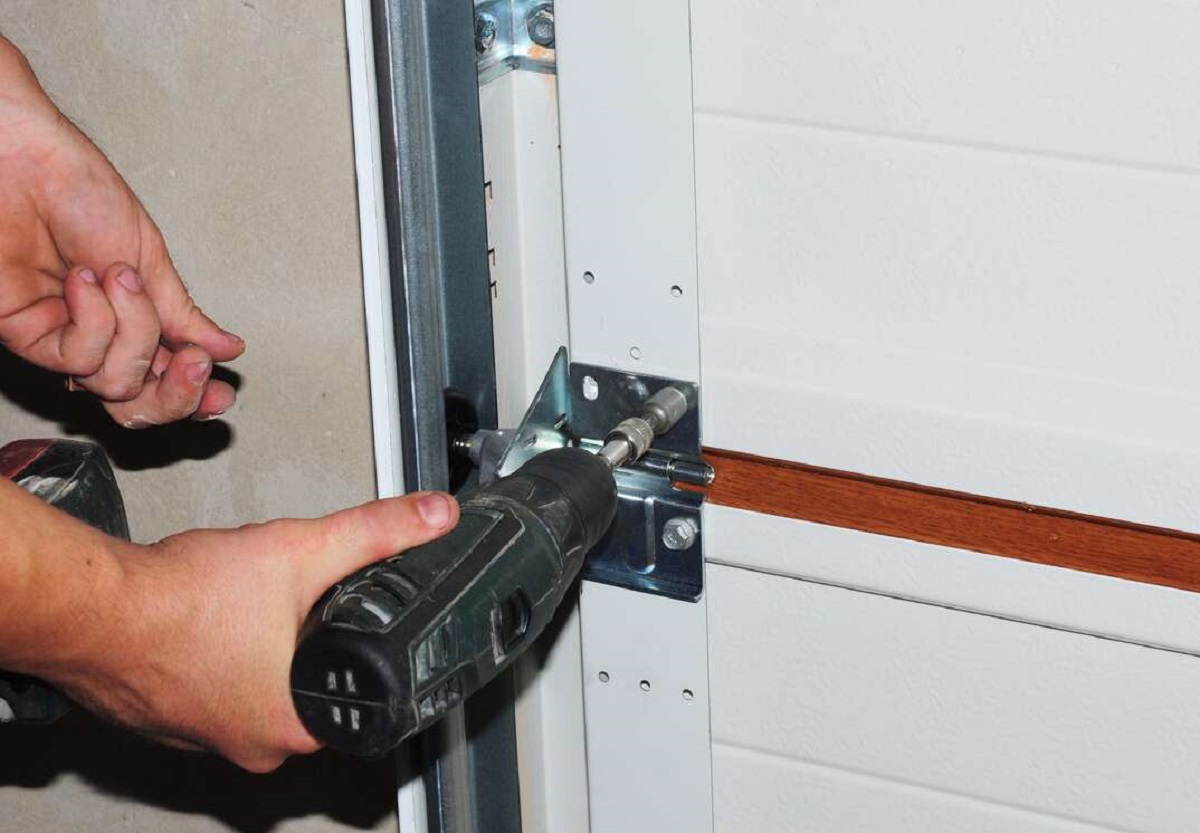
Step 5: Install the New Garage Door Spring
Now that the old garage door spring has been removed, it’s time to install the new spring. Follow these steps to properly install the new garage door spring:
- Begin by carefully examining the new spring to ensure it matches the specifications of your old spring in terms of size, type, and length. Aligning the new spring correctly is crucial for proper operation.
- If you have a torsion spring, insert the torsion rod into the bracket on one side of the garage door. Slide the new torsion spring onto the torsion rod, making sure it is centered and properly aligned.
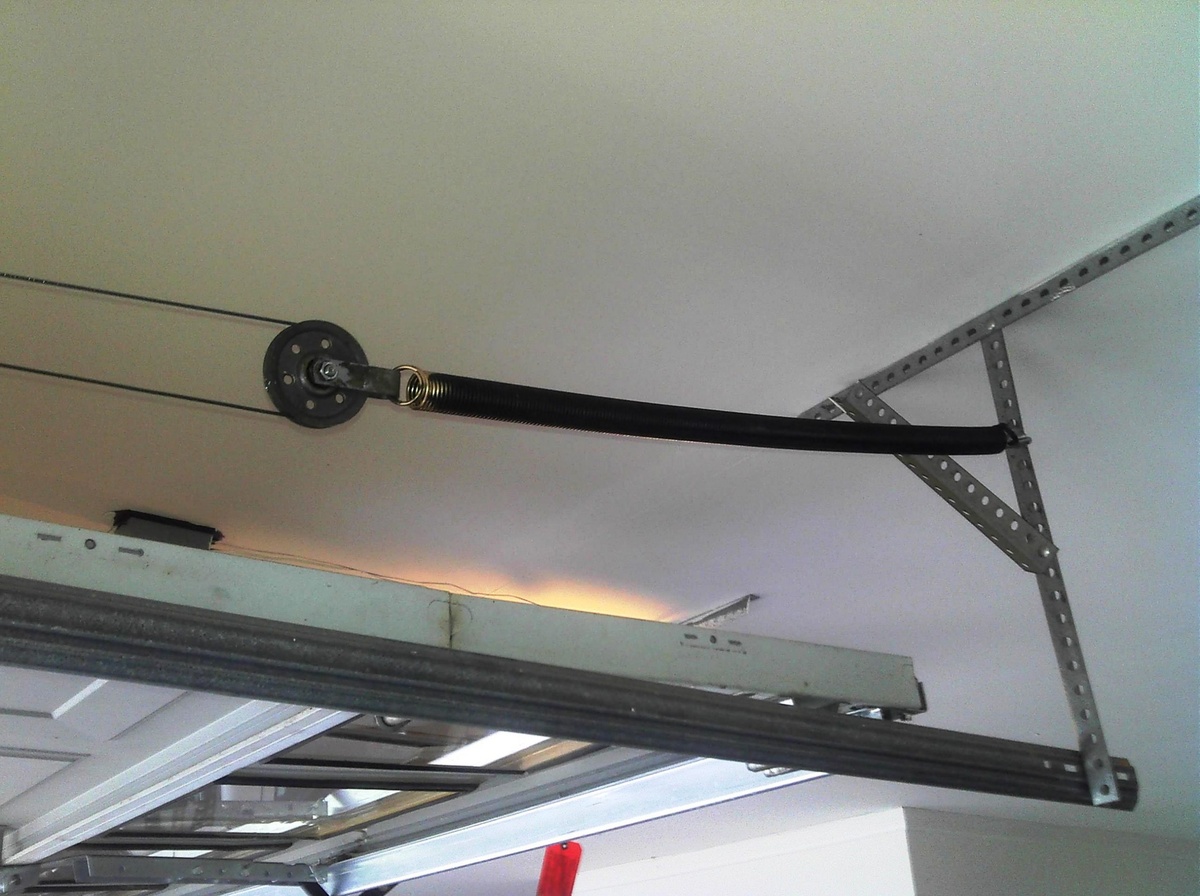
- If you have an extension spring, position one end of the spring on the track bracket, and hook the other end onto the track bracket on the opposite side of the door. Ensure that the spring is securely attached and properly aligned.
- If you have a torsion spring, slide the stationary cone onto the torsion rod and secure it in place by tightening the set screws. Make sure the cone is properly seated and aligned with the winding cone at the other end of the spring shaft.
- If you have an extension spring, connect the spring to the pulley system by attaching the safety cable to the end of the spring and running it through the pulley. Ensure that the cable is securely fastened and properly aligned in the pulley system.
- If you have a double spring system, repeat the installation process on the other side, ensuring both springs are installed symmetrically.
- Once the new spring(s) is installed, slowly wind the torsion spring(s) using a winding bar or metal rod. Follow the manufacturer’s instructions or consult a professional to determine the appropriate number of turns to apply.
- Check the balance of the door by manually raising and lowering it a few times. The door should move smoothly and remain at different positions without falling or rising on its own.
Installing the new garage door spring requires precision and attention to detail. If you are unsure about any step or lack the necessary experience, it is highly recommended to seek professional assistance. Once the new spring is installed, you can proceed to the next step, which involves reconnecting power to the garage door opener.
Step 6: Reconnect Power to the Garage Door Opener
With the new garage door spring installed, it’s time to reconnect the power to the garage door opener. Follow these steps to safely reconnect the power:
- Locate the power source for your garage door opener. This will typically be a power cord or an electrical outlet near the opener.
- If you unplugged the power cord or turned off the circuit breaker, now is the time to plug it back in or turn the circuit breaker back on.
- Once the power is reconnected, test the garage door opener by pressing the button on your garage wall or using the remote control. The door should respond and operate smoothly.
- Check for any unusual noises or movements in the garage door. If you notice any issues or if the door is not functioning properly, it might be necessary to make adjustments or call a professional for assistance.
- Remove any signs or tape that were placed over the wall button or control panel to remind others not to operate the door.
Reconnecting the power to the garage door opener allows you to test the functionality of the new spring and ensure that the door operates as it should. Take a moment to observe the door’s movement and listen for any unusual sounds. If everything looks and sounds satisfactory, you can proceed to the final step, which involves testing the garage door operation.
Step 7: Test the Garage Door Operation
After completing the installation and reconnecting the power, it’s important to test the garage door to ensure it is functioning correctly. Follow these steps to test the garage door operation:
- Stand clear of the garage door and any moving parts before operating it.
- Using the wall button or the remote control, open the garage door fully and observe its movement.
- Pay attention to any jerky or uneven movements, unusual noises, or difficulties in opening or closing the door smoothly. These may indicate issues with the spring tension or other components.
- Once the door is fully opened, test the closing function and observe the door’s movement again.
- Ensure that the door closes securely and without any obstructions. Check that the safety sensors are working correctly and that the door stops and reverses if an object is detected in its path.
- If you notice any problems or abnormalities during the testing process, it is important to stop using the garage door immediately and consult a professional for further inspection and adjustments.
Testing the garage door operation is a crucial step to ensure that the new spring has been installed correctly and that the door is safe to use. If you observe any issues or concerns, it’s best to address them promptly to avoid potential accidents or further damage to the door.
Congratulations! You have successfully replaced the garage door spring and tested the door’s operation. By following these steps and taking the necessary precautions, you have improved the functionality and safety of your garage door.
If you have any doubts or concerns during the replacement process, it’s recommended to seek professional assistance to ensure the task is done safely and correctly. Remember to always prioritize your safety and take the necessary precautions when working with garage door springs.
Now you can enjoy the convenience and peace of mind that comes with a smoothly functioning garage door.
Conclusion
Replacing a garage door spring may seem like a daunting task, but with the right tools, knowledge, and safety precautions, it is a manageable DIY project. By following the step-by-step process outlined in this article, you can successfully replace a garage door spring and restore the functionality and safety of your garage door.
Remember, safety should always be the top priority when dealing with garage door springs. If you are unsure or uncomfortable with any step of the process, it is highly recommended to seek professional assistance. Garage door springs are under high tension and can be dangerous if not handled properly.
Gathering the necessary tools and materials, disconnecting power to the garage door opener, releasing tension on the spring, removing the old spring, installing the new one, reconnecting power, and testing the garage door operation are the key steps in this replacement process. Each step plays a crucial role in ensuring a smooth and successful replacement.
If you encounter any issues or concerns during the replacement process, it is always best to consult a professional. They can provide expert advice and assistance to address any problems you may encounter.
By staying informed and following proper guidelines, you can maintain the functionality and longevity of your garage door system. Replacing a garage door spring may require some time and effort, but the end result is a safe and properly functioning garage door that provides convenience and security for your home.
Remember to always prioritize your safety, carefully follow the instructions, and seek professional help when needed. With the right approach, replacing a garage door spring can be a successful and rewarding DIY project.
Frequently Asked Questions about How To Replace Garage Door Spring
Was this page helpful?
At Storables.com, we guarantee accurate and reliable information. Our content, validated by Expert Board Contributors, is crafted following stringent Editorial Policies. We're committed to providing you with well-researched, expert-backed insights for all your informational needs.
0 thoughts on “How To Replace Garage Door Spring”