
Articles
How To Roof A Valley
Modified: December 7, 2023
Learn the step-by-step process of roofing a valley with our informative articles. Discover expert tips and techniques for a seamless and sturdy roof installation.
(Many of the links in this article redirect to a specific reviewed product. Your purchase of these products through affiliate links helps to generate commission for Storables.com, at no extra cost. Learn more)
Introduction
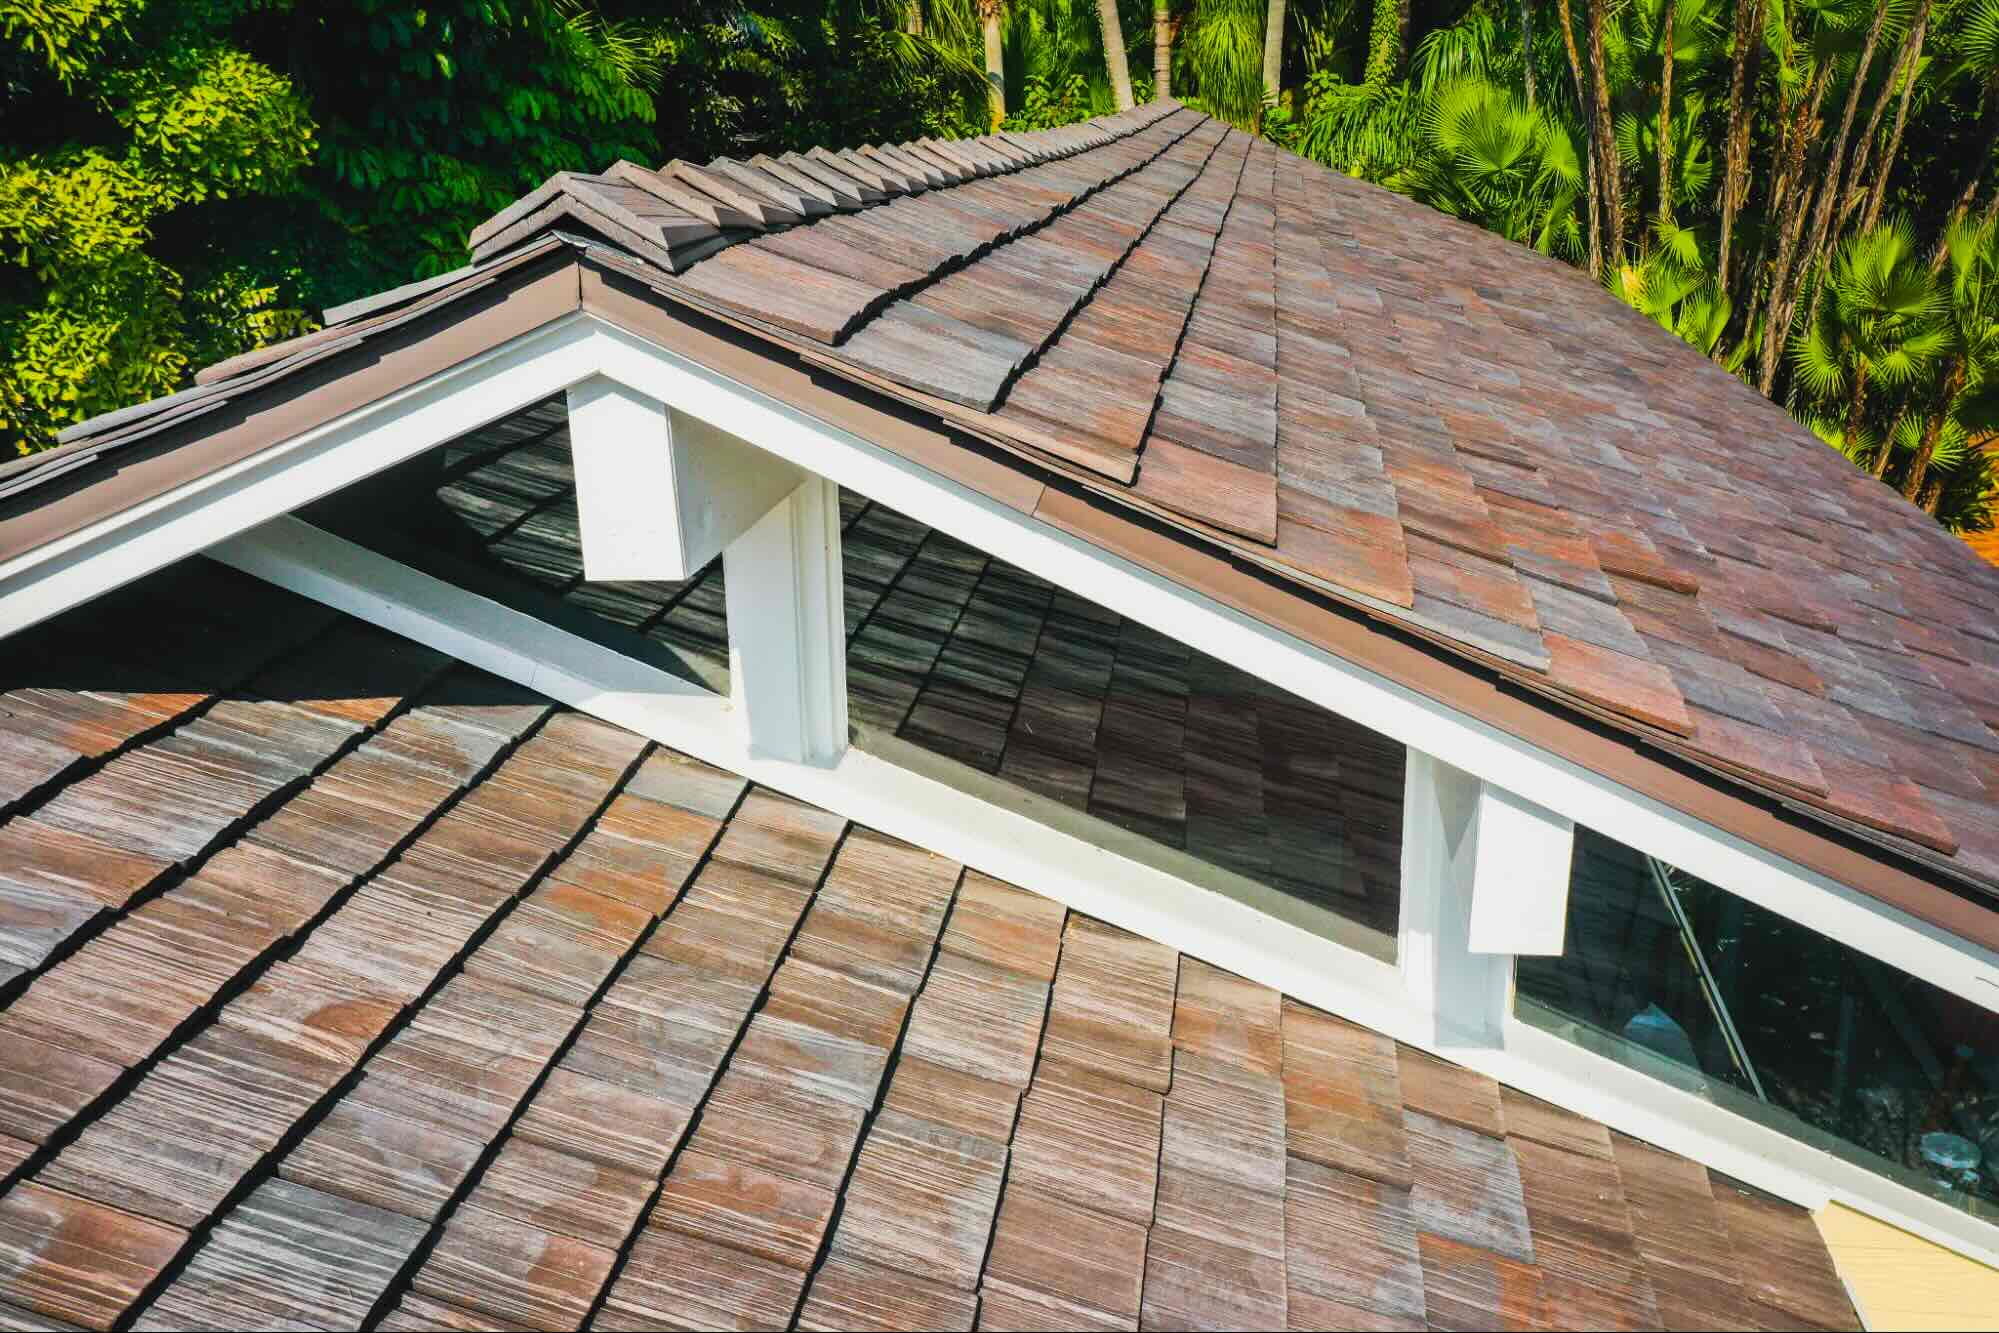
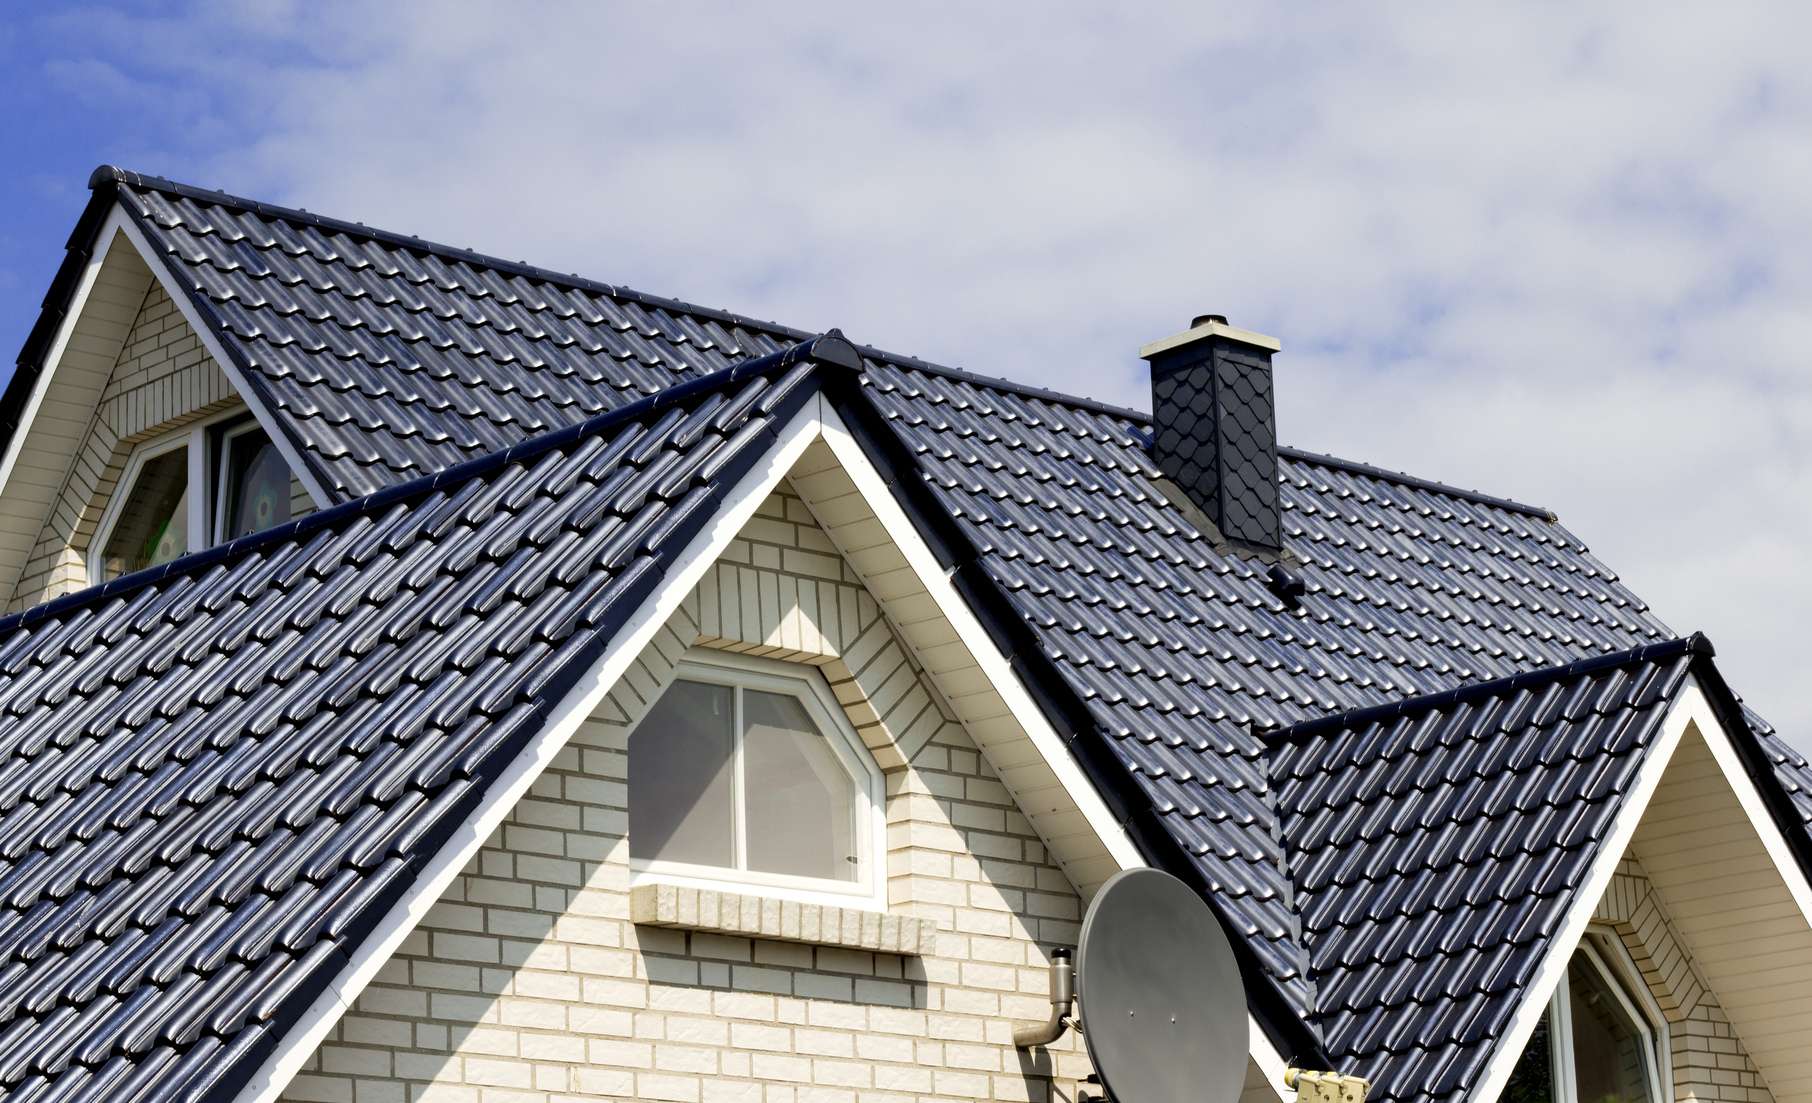
Welcome to this comprehensive guide on how to roof a valley. The valley of a roof is the area where two roof planes intersect, forming a V-shaped channel. Properly roofing a valley is essential to ensure the durability and functionality of your roof. This step-by-step tutorial will guide you through the process of measuring, marking, installing the underlayment, valley flashing, shingles, and ridge cap to create a watertight and aesthetically pleasing valley.
Roofing a valley requires careful planning and precise execution. By following these steps, you will be able to tackle this task with confidence and achieve professional results. Let’s get started!
Key Takeaways:
- Roofing a valley involves precise measurement, careful underlayment installation, and secure shingle placement. Attention to detail and proper clean-up are crucial for a durable and visually appealing result.
- The step-by-step process of roofing a valley ensures proper water drainage and protection against leaks. With the right skills and maintenance, a professionally roofed valley enhances the longevity and aesthetics of any building.
Read more: How Far Is Grass Valley, California
Step 1: Measure and mark the valley
The first step in roofing a valley is to accurately measure and mark the area where the valley will be located. Start by identifying the centerline of the valley where the two roof planes meet. This can usually be determined by visual inspection or by using a string to create a straight line.
Next, use a tape measure to measure the width of the valley. This measurement will determine the amount of valley flashing and the number of shingles needed. Make sure to account for any additional allowances for overlaps and adjustments.
Once you have measured the width, mark the edges of the valley on each roof plane. This can be done using chalk or a pencil. Ensure that the markings are straight and parallel to the centerline to maintain a symmetrical appearance.
It is also important to take into consideration the pitch or slope of the roof when marking the valley. The pitch will affect the angle at which the shingles will be laid, and it may require additional adjustments when cutting the shingles.
By accurately measuring and marking the valley, you will have a solid foundation for the rest of the roofing process. This step is crucial to ensure that the subsequent steps are executed correctly and result in a seamless and balanced valley.
Step 2: Install the underlayment
Installing the underlayment is a crucial step in roofing a valley as it provides an additional layer of protection against moisture and acts as a barrier between the shingles and the roof deck. The underlayment also helps to create a smooth surface for the shingles to be placed upon.
Start by carefully unrolling the underlayment material along the length of the valley, starting from the bottom and working your way up. Ensure that the underlayment overlaps with the adjacent roof planes to create a continuous, watertight barrier. Use roofing nails or staples to secure the underlayment in place, ensuring that they are evenly spaced and properly fastened.
When installing the underlayment, it is essential to pay attention to any protrusions, such as vent pipes or chimneys, that intersect with the valley. Cut the underlayment carefully to accommodate these obstacles, making sure to extend the underlayment up and over the protrusions to maintain a continuous barrier.
Remember to follow the manufacturer’s guidelines for the specific type of underlayment being used. Different types of underlayment, such as synthetic or felt, may have varying installation requirements. Ensure that the underlayment is properly secured, free of wrinkles or creases, and covers the entire valley area.
Installing the underlayment provides a crucial layer of protection to prevent water penetration and protect the roof structure. This step is essential in ensuring the longevity and durability of your roofing system.
Step 3: Install the valley flashing
The valley flashing is a crucial component in roofing a valley as it helps to redirect water away from the intersection of the roof planes. It is typically made of metal, such as aluminum or galvanized steel, and is installed along the valley to provide added waterproofing and protection.
Start by positioning the first piece of the valley flashing at the lowest point of the valley, ensuring that it extends past the edge of the underlayment on both sides. Secure it in place using roofing nails or screws, making sure to drive them through the flashing and into the roof deck.
Place the following pieces of valley flashing, overlapping each one by a few inches, working your way up the valley. The overlapping design helps to ensure a watertight seal, preventing any water from seeping through the joints.
When installing the valley flashing, be mindful of any obstacles such as vent pipes, chimneys, or skylights. Cut and shape the flashing as needed to fit around these obstacles, ensuring that the flashing is snug and properly sealed. Use metal snips or a utility knife to make accurate cuts.
It is important to install the valley flashing correctly to prevent water intrusion and potential damage. Ensure that the flashing is securely fastened and properly positioned along the valley, creating a smooth and uninterrupted surface for the shingles to be laid.
By properly installing the valley flashing, you are taking an important step towards creating a robust and waterproof roofing system.
Step 4: Lay the shingles in the valley
Laying the shingles in the valley requires careful attention to detail to ensure they are properly aligned and securely fastened. This step is crucial for achieving a clean and professional finish to your roofing project.
Start by determining the pattern in which you will lay the shingles. There are different methods to choose from, such as the closed-cut method or the woven method. The closed-cut method involves overlapping each layer of shingles, with the bottom layer fully covering the valley flashing. The woven method, on the other hand, involves alternating shingles from each roof plane, creating a woven pattern in the valley.
Regardless of the method you choose, begin by placing a shingle at the bottom of the valley, aligning it with the centerline. Ensure that the shingle overhangs the valley flashing on each side. Secure the shingle in place using roofing nails, ensuring they are driven through the designated nail strip.
Continue laying the shingles along the valley, overlapping each one and aligning them with the centerline. Ensure that each shingle is properly aligned and extends past the valley flashing. Use roofing nails or staples to secure the shingles, following the manufacturer’s recommendations for the specific type of shingles being used.
It is important to maintain a consistent and uniform appearance while laying the shingles in the valley. Take care to stagger the seams, avoiding vertical alignment, which helps to create a stronger and more visually appealing valley.
As you lay the shingles in the valley, pay attention to any irregularities or gaps. Make adjustments as needed to ensure a tight and seamless fit. Trim the shingles if necessary, using a utility knife or roofing hatchet, to achieve the desired shape and size.
Laying the shingles in the valley is a critical step in roofing a valley, as it ensures proper drainage and protects against water infiltration. Take your time and exercise precision to achieve a clean and professional result.
When roofing a valley, always use a metal flashing to protect the area where two roof planes meet. This will prevent water from seeping through and causing damage.
Read more: How Far Is Auburn From Grass Valley
Step 5: Cut the shingles to fit the valley
Once the shingles are laid in the valley, you may need to make some cuts to ensure they fit properly and align with the shape of the valley. Cutting the shingles correctly is essential for achieving a neat and seamless appearance.
Start by assessing the areas where the shingles need to be trimmed. Use a measuring tape or a straight edge to measure the length and width of the space that needs to be filled with a shingle.
Next, transfer the measurements onto the shingle that needs to be cut. Use a chalk or a pencil to mark the cutting line, ensuring it is straight and accurate. Keep in mind any overlapping requirements for the type of shingles you are using.
Using a utility knife or a roofing hatchet, carefully cut along the marked line. Apply enough pressure to cut through the shingle material but be cautious not to damage the surrounding shingles or yourself. For more complex cuts, such as fitting around vent pipes or chimneys, consider using metal snips or a jigsaw for greater precision.
After making the necessary cuts, test the shingle in the valley to ensure it fits properly and snugly. Make any additional adjustments as needed to achieve a perfect fit. The cut shingle should align smoothly with the surrounding shingles, maintaining a consistent and uniform appearance.
Remember to dispose of any excess shingle pieces or debris properly. Keeping the work area clean and free of debris will help prevent accidents and ensure a safe and efficient installation process.
Cutting the shingles to fit the valley is a skill that requires precision and attention to detail. Take your time and make accurate cuts to achieve a professional and seamless finish.
Step 6: Secure the shingles in place
Once the shingles are laid and cut to fit the valley, it is important to secure them in place to ensure they stay in position and withstand various weather conditions. Properly securing the shingles will help maintain the integrity of the roof and prevent any potential leaks.
Start by applying roofing adhesive or sealant along the edges and underside of each shingle in the valley. This extra layer of protection helps to create a strong bond and seal between the shingles, enhancing their resistance to strong winds and heavy rainfall.
As you secure the shingles, use roofing nails or staples to further anchor them to the roof deck. Position the fasteners just above the cutout portion of the shingle, ensuring they penetrate through the shingle and into the roof deck below. Be mindful not to overdrive the nails, as this can damage the shingles or compromise their integrity.
While securing the shingles, pay attention to maintaining a consistent spacing between each fastener. Follow the manufacturer’s guidelines for the specific type of shingle being used to determine the appropriate spacing and recommended fastener placement.
Take care to avoid overdriving the nails, as this can create a risk of water penetration and compromise the effectiveness of the roof. Ensure the shingles are securely fastened, but not excessively tightened, to maintain their durability and prevent any unnecessary damage.
Throughout the securing process, periodically inspect the shingles to verify they are properly aligned and flat against the roof surface. Make any necessary adjustments to maintain a clean and uniform appearance.
By securely fastening the shingles in place, you are ensuring the overall stability and longevity of your roofing system. This step is crucial in preventing any potential damage or vulnerabilities that could compromise the integrity of the valley.
Step 7: Install the ridge cap
The ridge cap is the final touch in roofing a valley, providing a protective cover for the exposed ridge of the roof. It not only enhances the aesthetics of the roof but also helps to prevent water infiltration along the ridge line.
Begin by measuring the length of the ridge and determining the number of ridge cap shingles needed. Ridge cap shingles are specifically designed to create a smooth and durable cover for the ridge.
Start at one end of the ridge and position the first ridge cap shingle, ensuring it overhangs the ridge by the designated amount. Secure the ridge cap shingle in place using roofing nails or screws, ensuring they are driven through the designated nail strip and into the roof deck.
Continue installing the ridge cap shingles along the length of the ridge, overlapping each shingle in a consistent pattern. This overlapping design helps to ensure a watertight seal and provides added protection against wind-driven rain.
When installing the ridge cap, be mindful of any intersections with vent pipes or chimneys. Cut and shape the ridge cap shingles as needed to accommodate these obstacles, ensuring a snug and secure fit. Use metal snips or a utility knife for accuracy.
As you install the ridge cap, periodically step back to assess the overall appearance and alignment. Make any necessary adjustments to ensure a clean and uniform ridge line. The ridge cap should be securely fastened and provide a seamless transition between the roof planes.
It is important to follow the manufacturer’s guidelines and recommendations for installing the specific type of ridge cap shingles being used. This will help ensure proper installation techniques and maximize the performance and durability of the ridge cap.
By installing the ridge cap, you are adding the finishing touch to your roofing project. It not only enhances the appearance of the roof but also plays a crucial role in protecting against water infiltration along the ridge line.
Step 8: Clean up and final touches
Once the roofing of the valley is complete, it’s important to take the time to clean up the work area and add some final touches that will ensure the project is finished to a high standard. Proper clean up and attention to detail will not only give your roof a polished look, but also help extend its lifespan and functionality.
Begin by clearing away any debris, tools, and unused materials from the work area. This includes sweeping up any loose nails, shingle pieces, and other debris that may have accumulated during the installation process. Dispose of these items responsibly, following local regulations and guidelines.
Next, inspect the roof and the valley area for any loose or improperly secured shingles or flashing. Secure any loose shingles or flashing by adding additional roofing nails or screws where necessary. This will help prevent any potential damage or leaks caused by shifting or dislodged components.
After securing the shingles and flashing, check for any visible gaps or irregularities in the valley. Use roofing sealant or caulk to fill in any gaps or cracks, ensuring that the valley is completely sealed and protected against water infiltration.
Finally, step back and visually assess the finished roof and valley. Look for any areas that may need touch-ups or improvements. Make any necessary adjustments to achieve a consistent and visually appealing appearance.
Keep in mind that regular maintenance and annual roof inspections are essential. Taking the time to inspect and maintain your roof on a regular basis will help identify and address any issues before they escalate into more significant problems.
By completing the clean-up and final touches, you are ensuring that your roofing project is not only functionally sound but also aesthetically pleasing. This attention to detail will help protect your roof and enhance its overall lifespan and performance.
Read more: When Is Wildflower Season In Death Valley
Conclusion
Congratulations! By following these step-by-step instructions, you have successfully learned how to roof a valley. Roofing a valley is a crucial aspect of any roofing project, as it ensures proper water drainage and protects against leaks and water damage.
Throughout the process, you have learned how to measure and mark the valley, install the underlayment, valley flashing, shingles, and ridge cap. Each step plays a vital role in creating a secure and aesthetically pleasing valley that will stand the test of time.
Remember, attention to detail is key when roofing a valley. Take the time to accurately measure and mark the valley, properly install the underlayment and valley flashing, carefully lay and secure the shingles, and add the finishing touch of the ridge cap. These meticulous steps will ensure a durable and watertight roof.
Additionally, don’t forget about proper clean up and regular maintenance. By keeping the work area tidy and inspecting your roof periodically, you can prolong its lifespan and prevent any potential issues from escalating.
Now that you have the knowledge and skills to roof a valley, feel confident in tackling your next roofing project. Whether you are a DIY enthusiast or working with a professional contractor, understanding the process will help you achieve a successful outcome.
Remember, safety should always be a priority when working on a roof. Take appropriate precautions, such as using proper safety equipment and having someone spot you while you work at heights.
With proper installation and maintenance, your newly roofed valley will provide long-lasting protection against the elements and contribute to the overall durability and aesthetics of your home or building.
So, go ahead and put your newfound knowledge into practice and enjoy the satisfaction of a job well done!
Frequently Asked Questions about How To Roof A Valley
Was this page helpful?
At Storables.com, we guarantee accurate and reliable information. Our content, validated by Expert Board Contributors, is crafted following stringent Editorial Policies. We're committed to providing you with well-researched, expert-backed insights for all your informational needs.


0 thoughts on “How To Roof A Valley”