Articles
How To Make A Roof
Modified: October 20, 2024
Learn the step-by-step process of making a roof with our informative articles. Get expert tips and guidance for a successful roofing project.
(Many of the links in this article redirect to a specific reviewed product. Your purchase of these products through affiliate links helps to generate commission for Storables.com, at no extra cost. Learn more)
Introduction
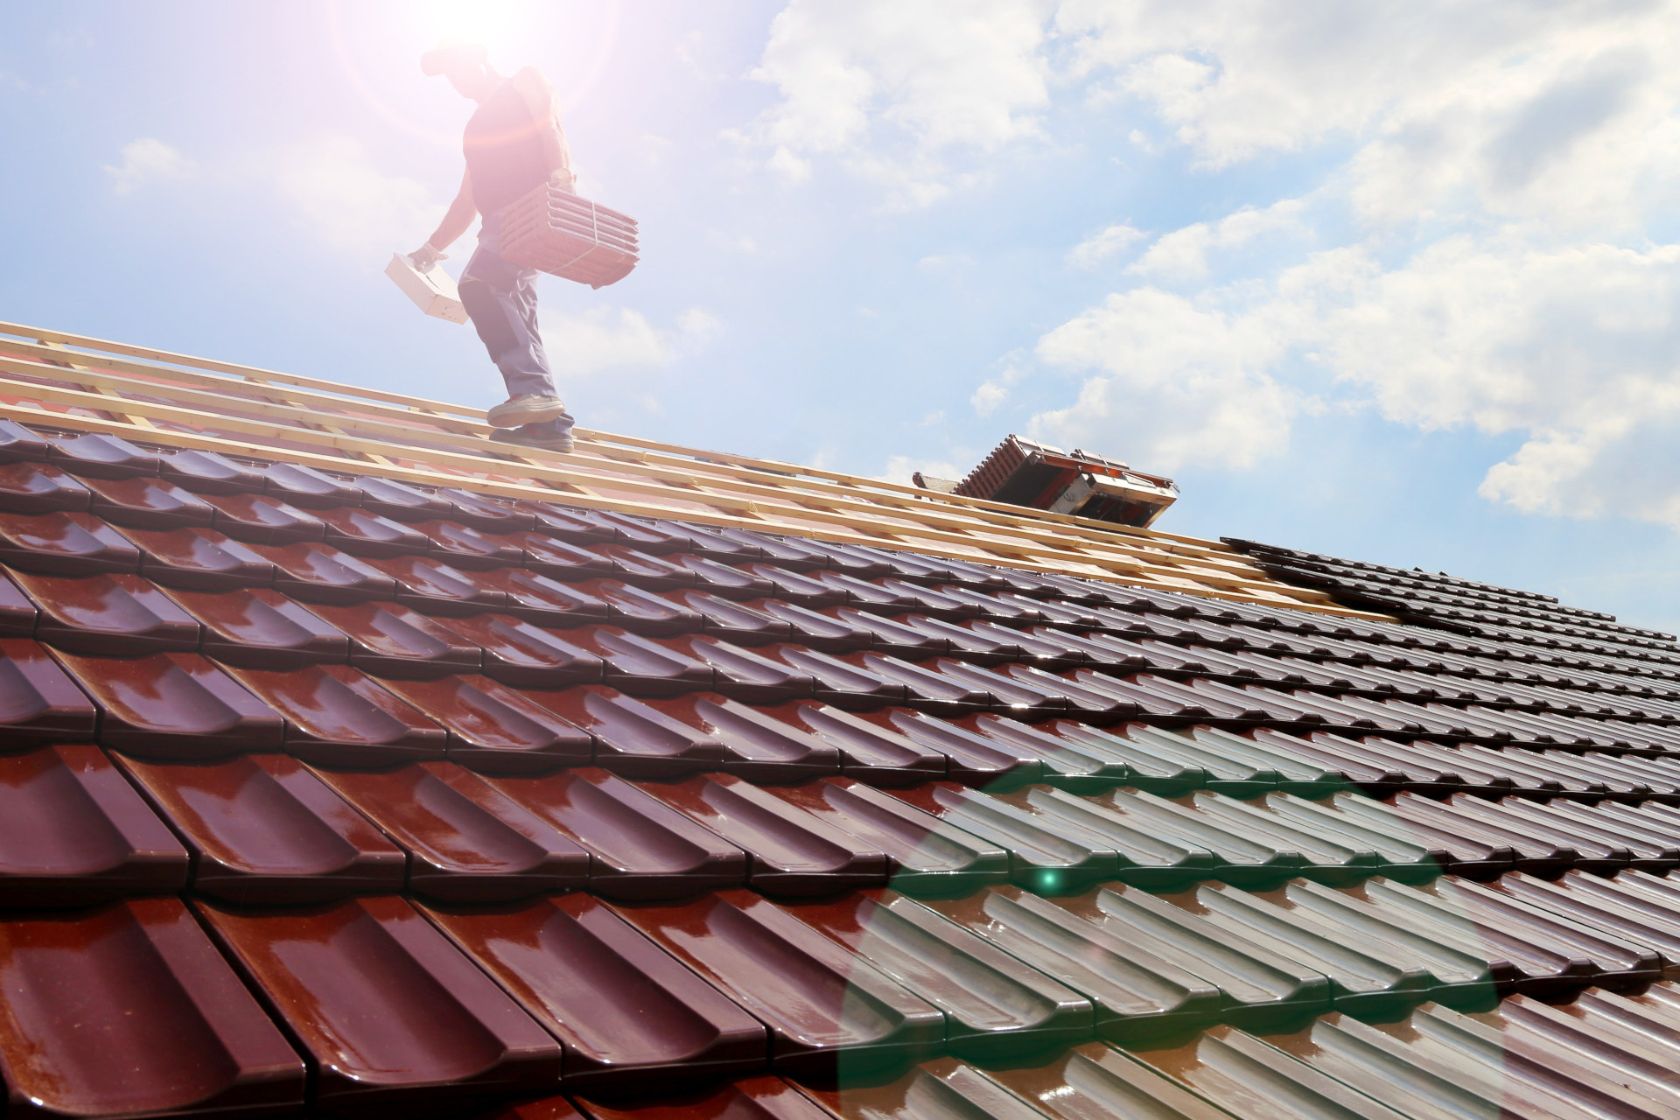
Building or repairing a roof is an essential part of home maintenance. A well-constructed roof provides protection from the elements, adds value to your property, and enhances the overall aesthetics of your home. Whether you are constructing a new roof or replacing an old one, it is important to have a clear understanding of the process involved.
In this article, we will walk you through the steps of making a roof. We will provide you with valuable insights and practical tips to ensure a successful roof construction project. So grab your tools, put on your safety gear, and let’s dive into the world of roofing!
Key Takeaways:
- Proper planning, material selection, and meticulous installation are crucial for a successful roof construction project. Pay attention to details, conduct thorough inspections, and address issues promptly to maximize the lifespan of your roof.
- While this article provides a comprehensive overview of the roof-making process, it’s important to prioritize safety and consider hiring a professional roofing contractor if you’re not comfortable with the tasks involved.
Read more: How To Roof A Flat Roof Shed
Materials Needed
Before you begin the process of making a roof, it’s important to gather all the necessary materials. Here is a list of essential items you will need:
- Roofing Shingles: Choose high-quality shingles that are suitable for your climate and provide adequate protection.
- Underlayment: This is a waterproof layer that goes between the roof deck and the shingles to provide additional protection.
- Flashing: Used to prevent water seepage in areas such as vents, chimneys, and skylights.
- Nails: Opt for roofing nails that are corrosion-resistant and the appropriate length for your shingles.
- Roofing Paper: Provides an extra layer of protection against moisture and acts as a vapor barrier.
- Roofing Cement: Used for sealing and securing loose shingles or flashing.
- Ice and Water Shield: Essential for regions prone to ice dams and heavy snowfall to prevent water infiltration.
- Drip Edge: Installed along the edges of the roof to direct water away from the fascia and prevent water damage.
- Ventilation: Ensures proper airflow in the attic and prevents moisture buildup.
- Safety Gear: Don’t forget to prioritize your safety by wearing gloves, goggles, and a helmet.
In addition to these materials, you will also need a variety of tools such as a hammer, utility knife, roofing nail gun or hammer, measuring tape, chalk line, ladder, and a ladder stabilizer. It’s crucial to have all these materials and tools ready before you start the roof construction process.
Step 1: Measure and Plan
Before you begin the installation process, it’s crucial to accurately measure your roof and create a detailed plan. Here are the steps involved:
- Start by measuring the length and width of your roof using a measuring tape. Multiply these two numbers to determine the square footage of your roof.
- Next, assess the slope or pitch of your roof. This will determine the type of roofing materials you can use. Steeper slopes may require special considerations or additional safety measures.
- Identify any unique features of your roof, such as valleys, skylights, or chimneys. These areas may require extra attention during the installation process.
- Create a detailed plan that outlines the layout of the shingles and the placement of any necessary flashing or ventilation.
- Consider the aesthetic aspect of your roof. Choose a shingle color and style that complements the overall architecture and design of your home.
By taking the time to measure and plan, you will ensure that you have the correct materials and a clear understanding of the layout before you begin the installation process. This will help minimize errors and streamline the entire roof construction project.
Step 2: Choose Roofing Materials
Choosing the right roofing materials is crucial for the longevity and durability of your roof. Here are some factors to consider when selecting roofing materials:
- Climate: Take into account the climate in your area. If you experience extreme weather conditions, such as heavy rain or snow, choose materials that are highly resistant to water and can withstand severe weather.
- Budget: Determine your budget and choose materials that align with your financial capabilities. Keep in mind that there are various options available at different price points.
- Aesthetic Appeal: Consider the overall style and design of your home. Select roofing materials that enhance the visual appeal of your property and complement its architectural elements.
- Longevity: Evaluate the lifespan of different roofing materials. Some materials, such as asphalt shingles, have a shorter lifespan compared to metal or tile roofs.
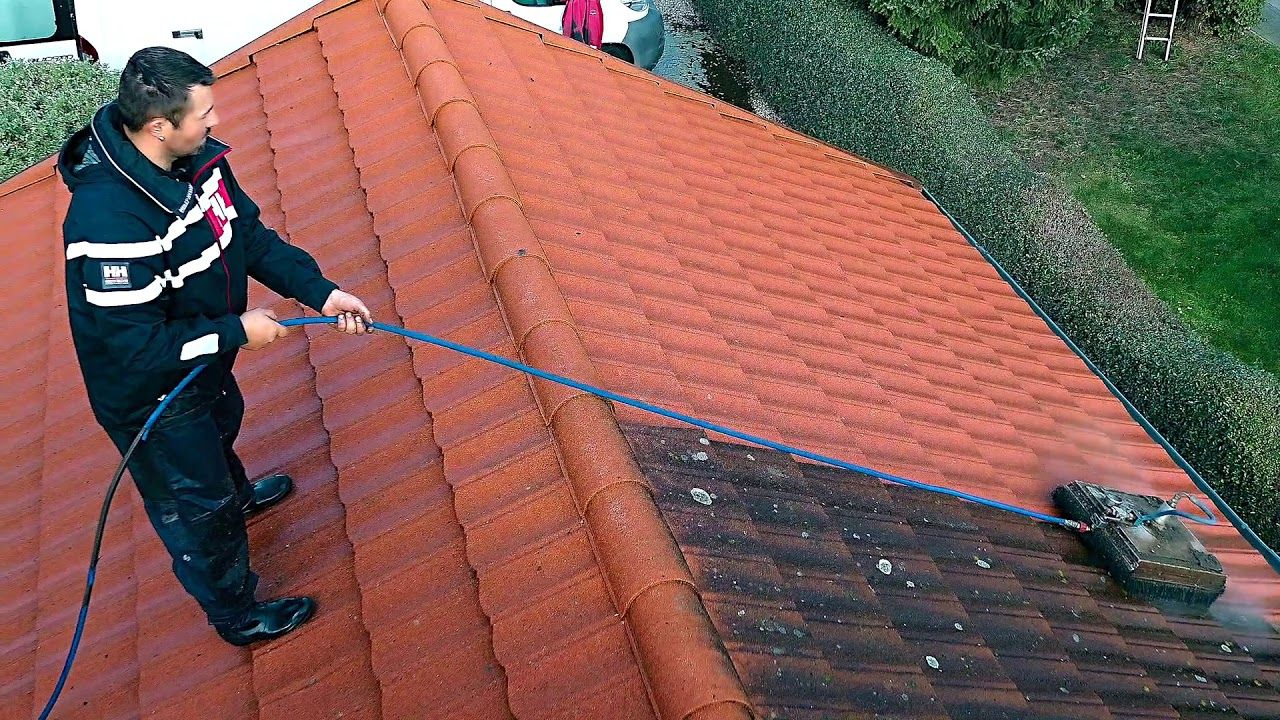
- Maintenance: Think about the level of maintenance required for each type of roofing material. Some materials may require regular cleaning and inspections, while others are relatively low-maintenance.
Common types of roofing materials include:
- Asphalt Shingles: Affordable and widely used, asphalt shingles come in various colors and styles.
- Metal Roofing: Durable and long-lasting, metal roofs offer excellent resistance to fire, wind, and impact.
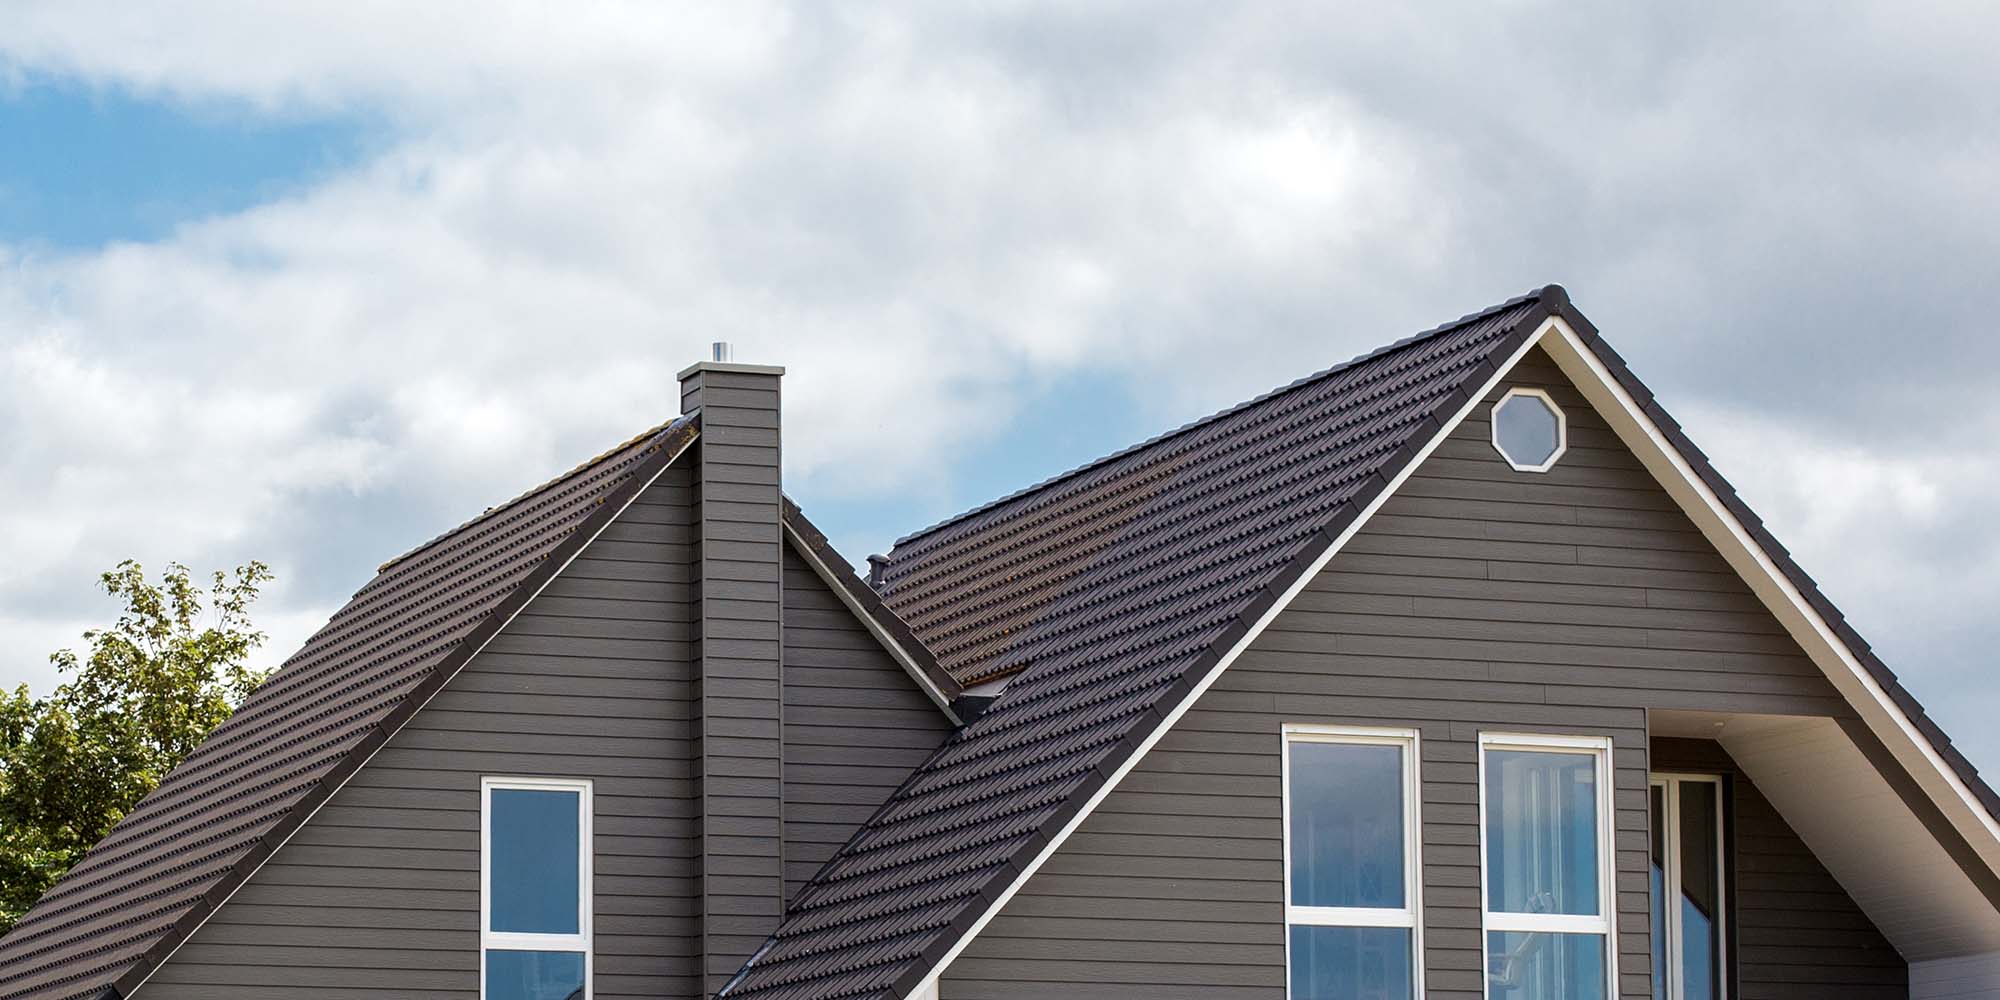
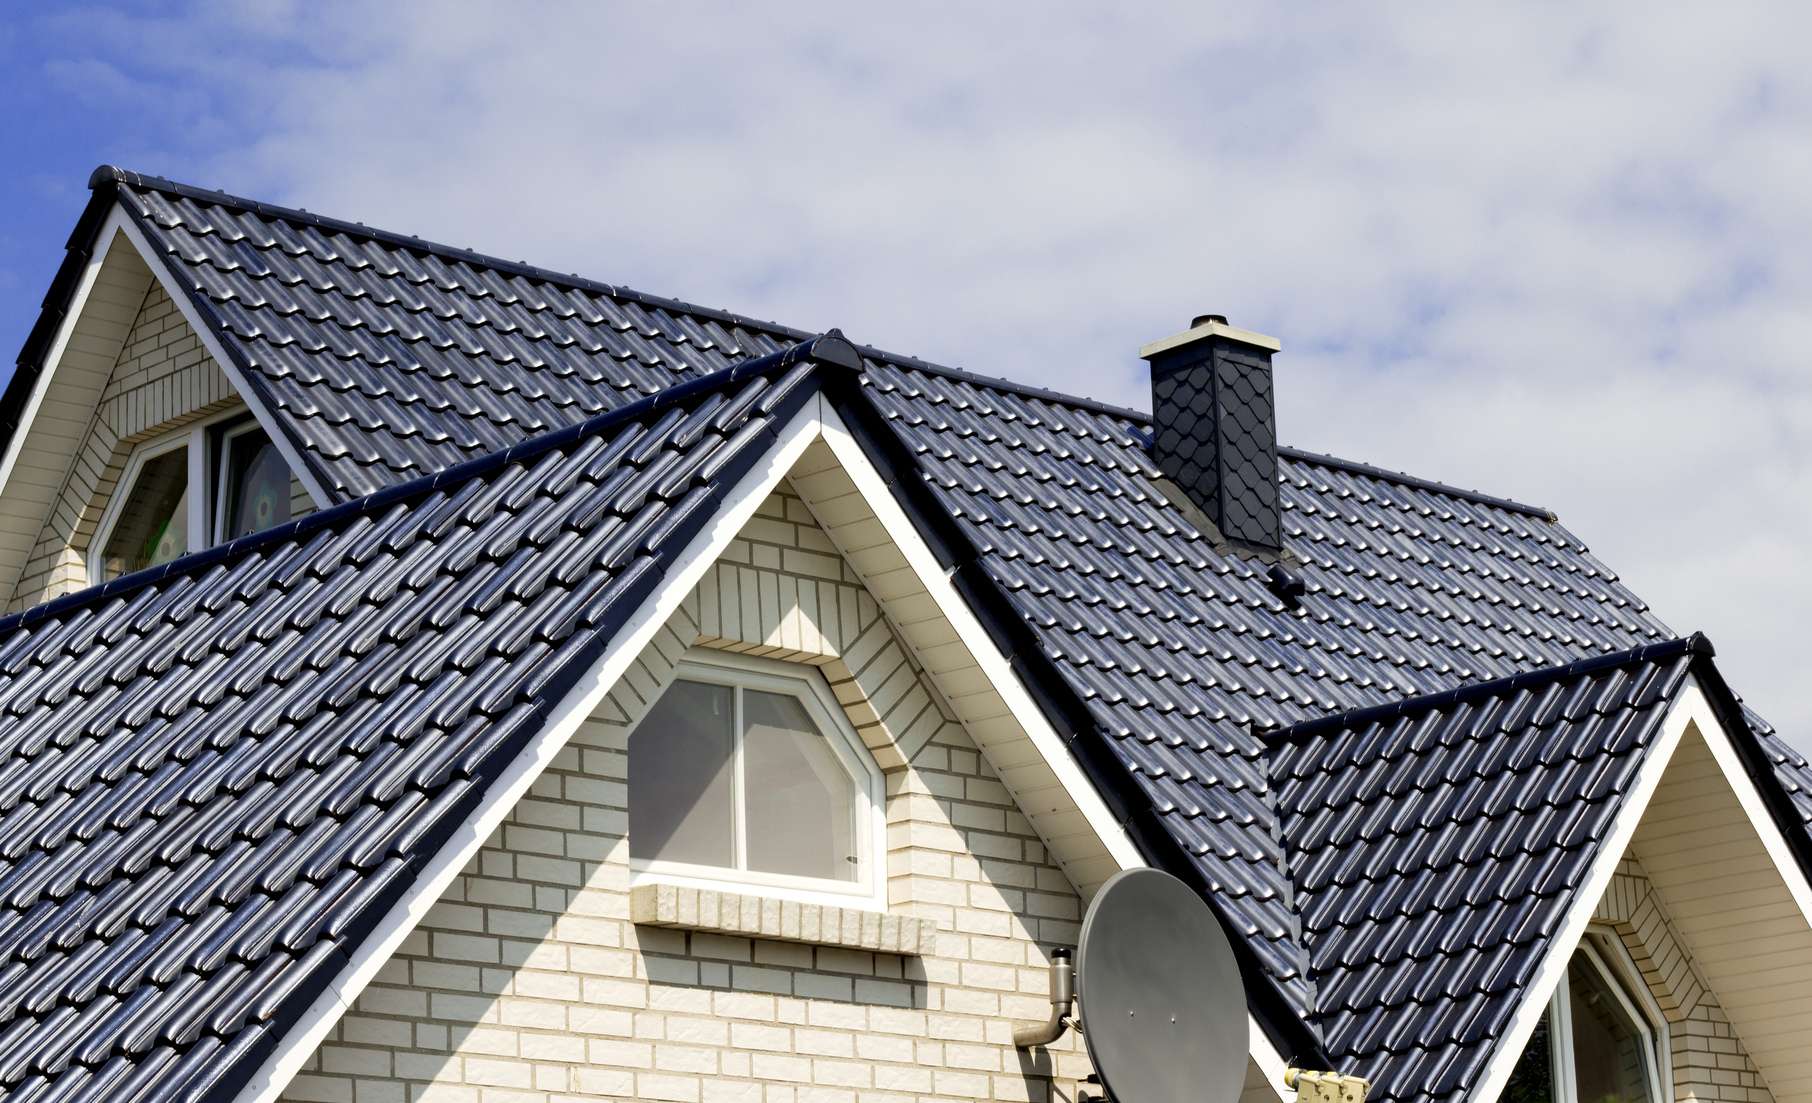
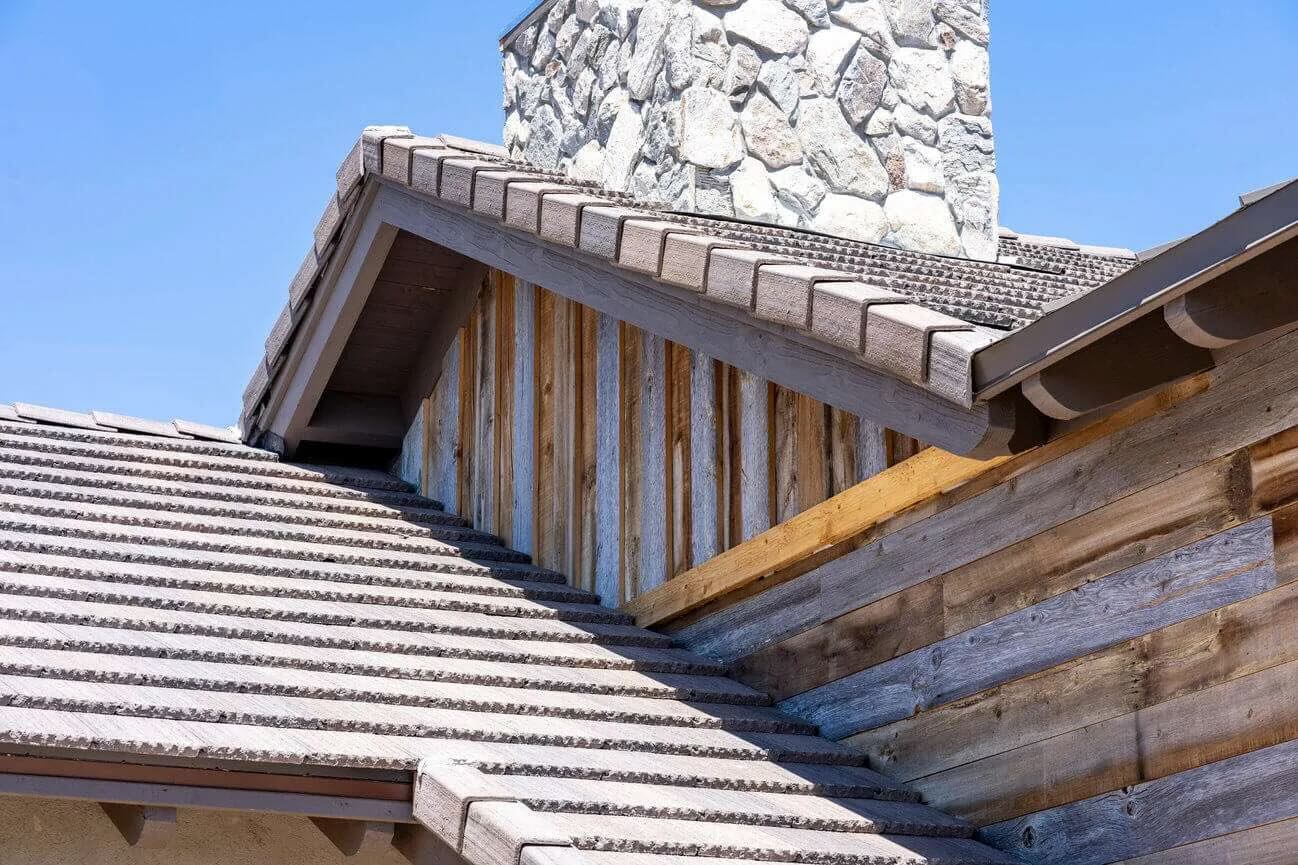
- Tile Roofing: Known for their aesthetic appeal and longevity, tile roofs are popular in Mediterranean-style homes.
- Slate Roofing: Elegant and highly durable, slate roofs can last for decades with proper maintenance.
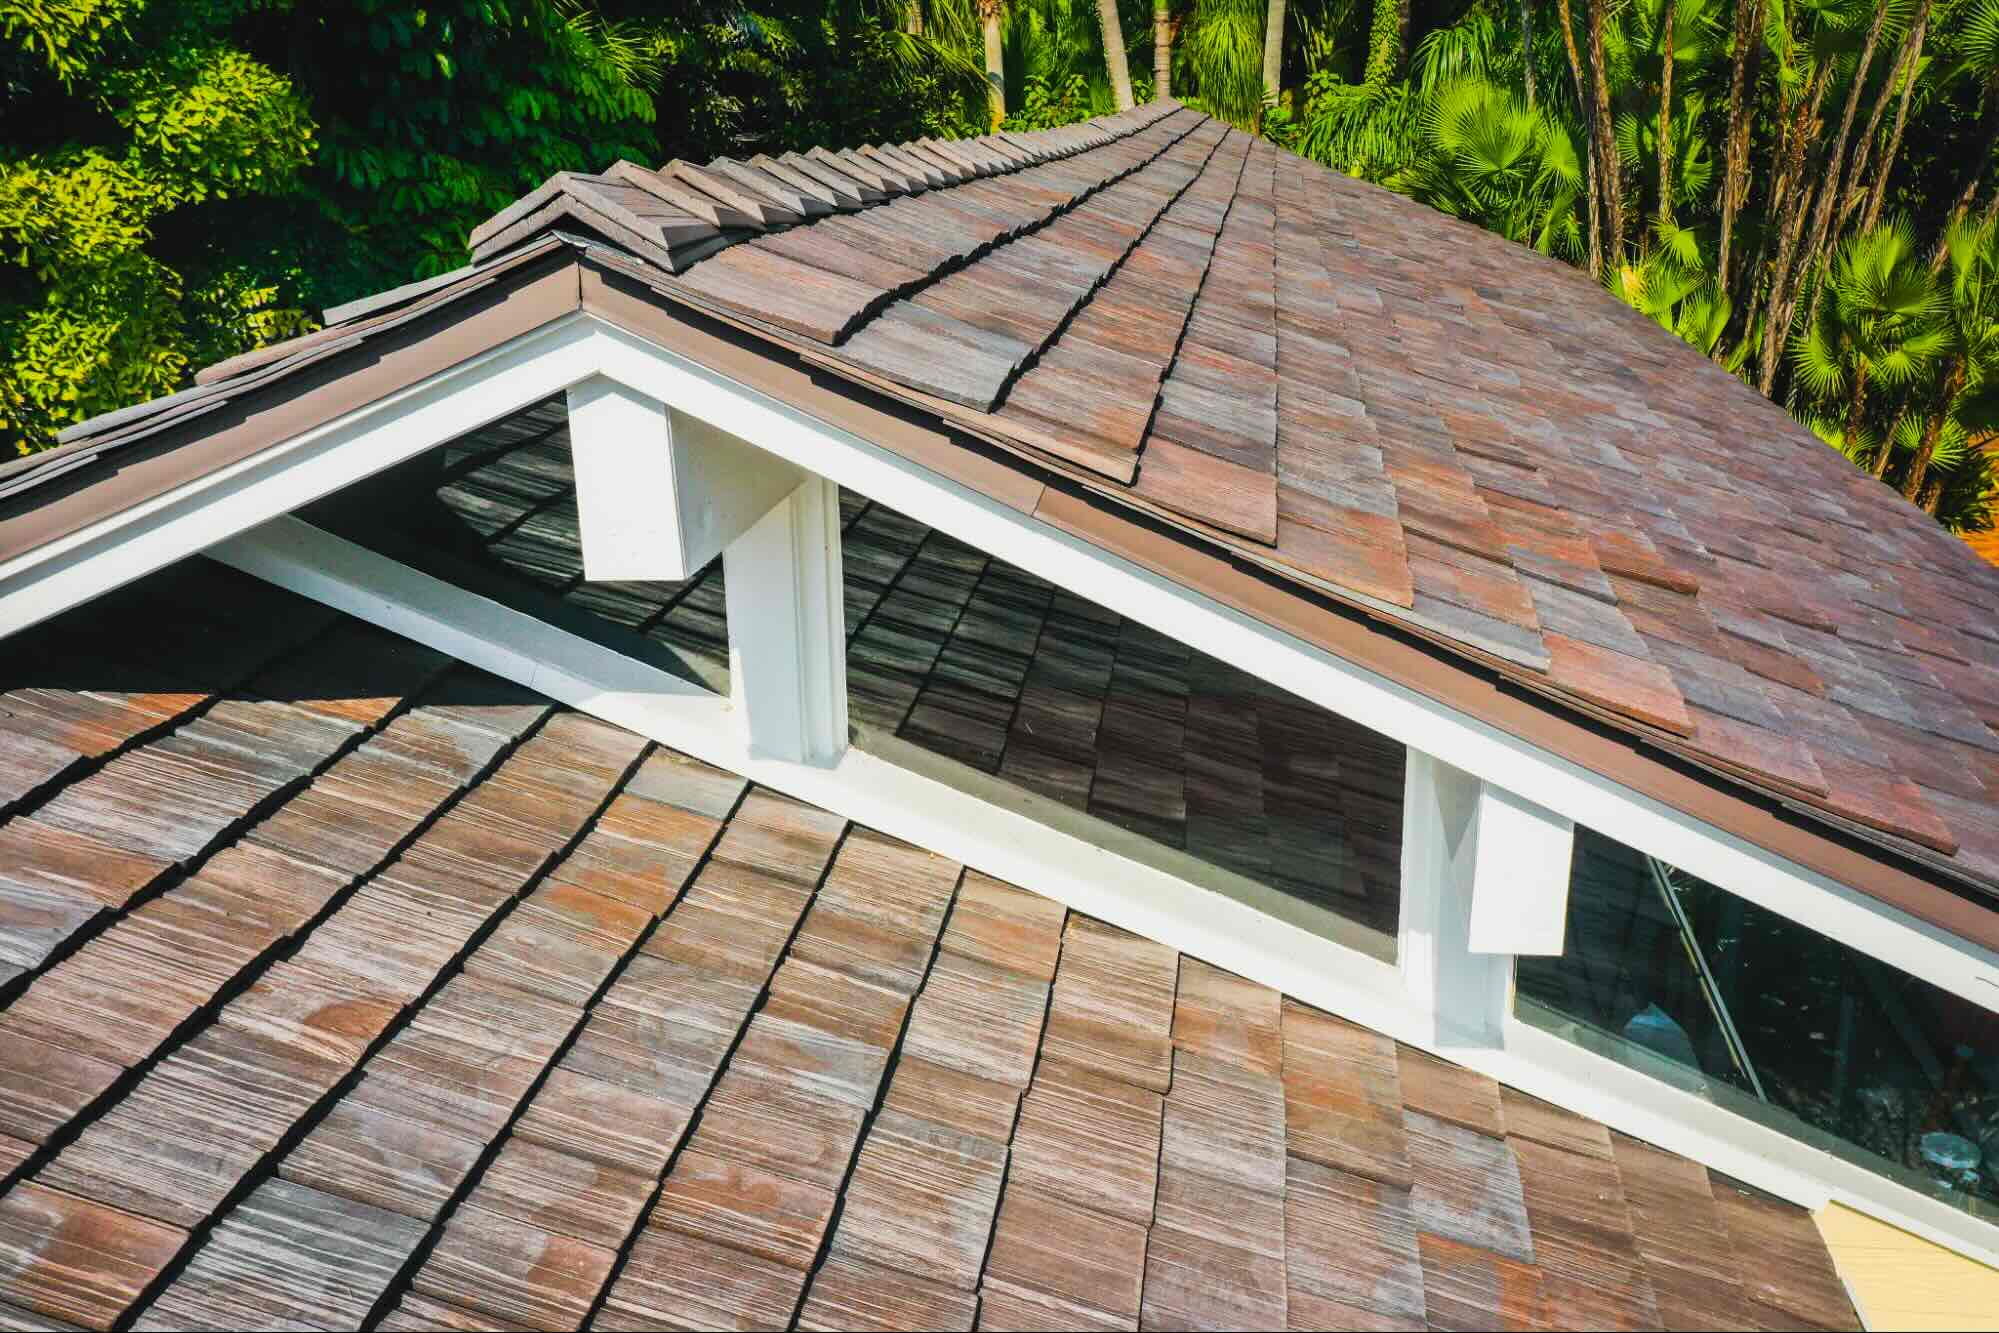
- Wood Shingles or Shakes: These offer a rustic charm but require regular maintenance and may be subject to fire hazards.
Consider consulting with a roofing professional to determine the best materials for your specific needs and budget. They can provide expert advice and recommend the most suitable options for your climate and aesthetic preferences.
Step 3: Prepare the Surface
Preparing the surface of your roof is an essential step to ensure a smooth and durable installation. Here’s what you need to do:
- Clear the roof of any debris or loose materials. This includes removing old shingles, nails, and any other objects that may hinder the installation process.
- Inspect the roof for any signs of damage or rot. If you find any areas that need repair, make the necessary fixes before proceeding with the installation.
- Replace any damaged or rotten wood underlayment. Solid and structurally sound underlayment is crucial for the stability and strength of your roof.
- Check the roof for proper ventilation. Ensure that there are sufficient vents to allow for proper airflow and prevent moisture buildup in the attic.
- Apply a primer or roof sealant to the surface of the roof. This will help create a strong bond between the roof deck and the underlayment.
Preparing the surface of your roof is vital as it creates a solid foundation for the installation of the roofing materials. It not only ensures the longevity of your roof but also helps prevent potential issues such as leaks and water damage.
It’s important to note that if you are not comfortable or have limited experience with roofing repairs, it’s best to hire a professional roofing contractor to handle the surface preparation. They have the expertise and equipment to properly assess and address any underlying issues, ensuring a successful roof installation.
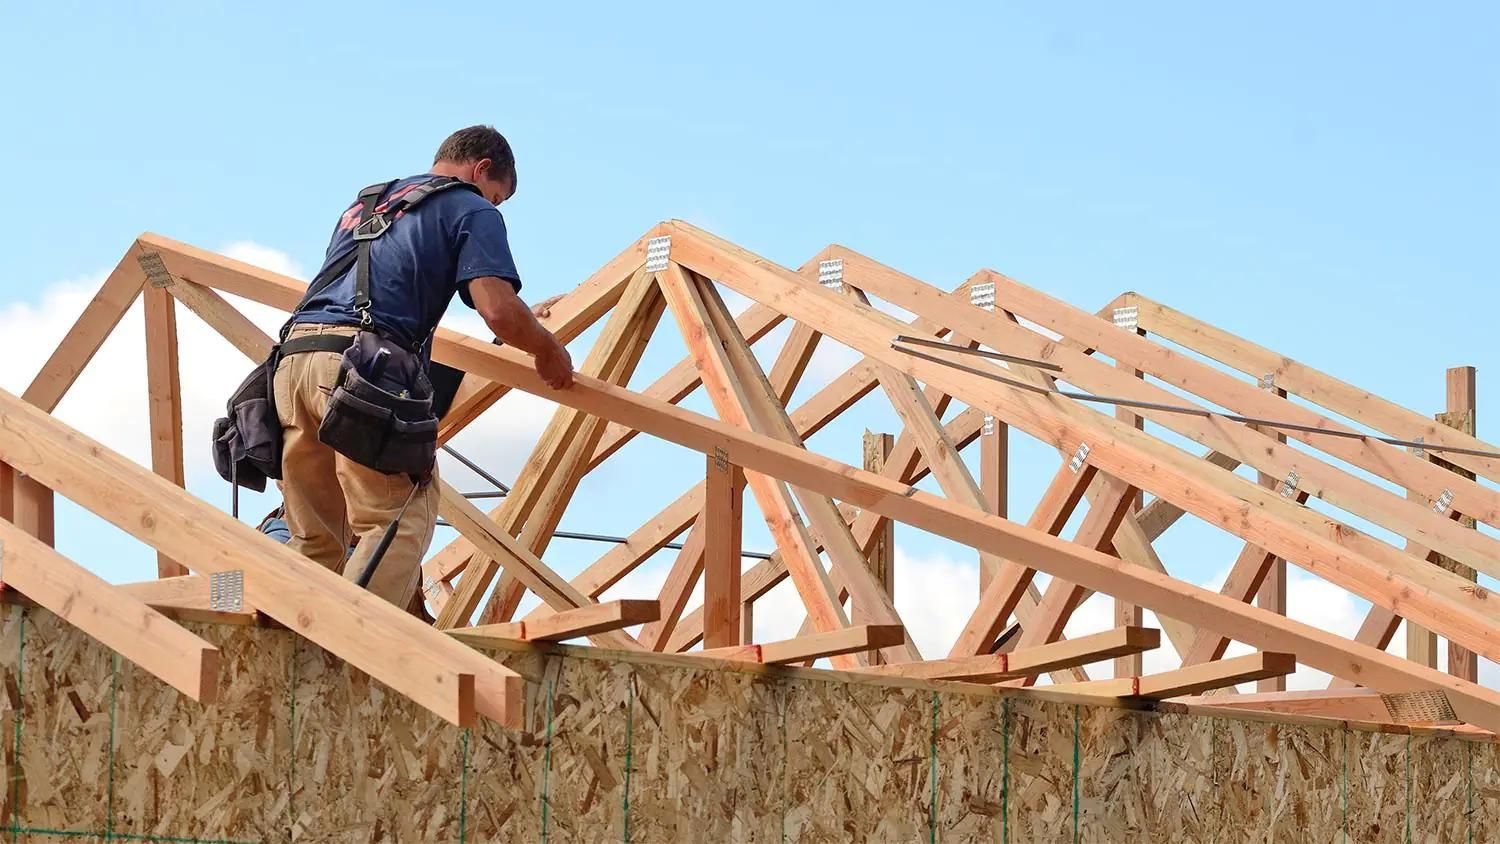
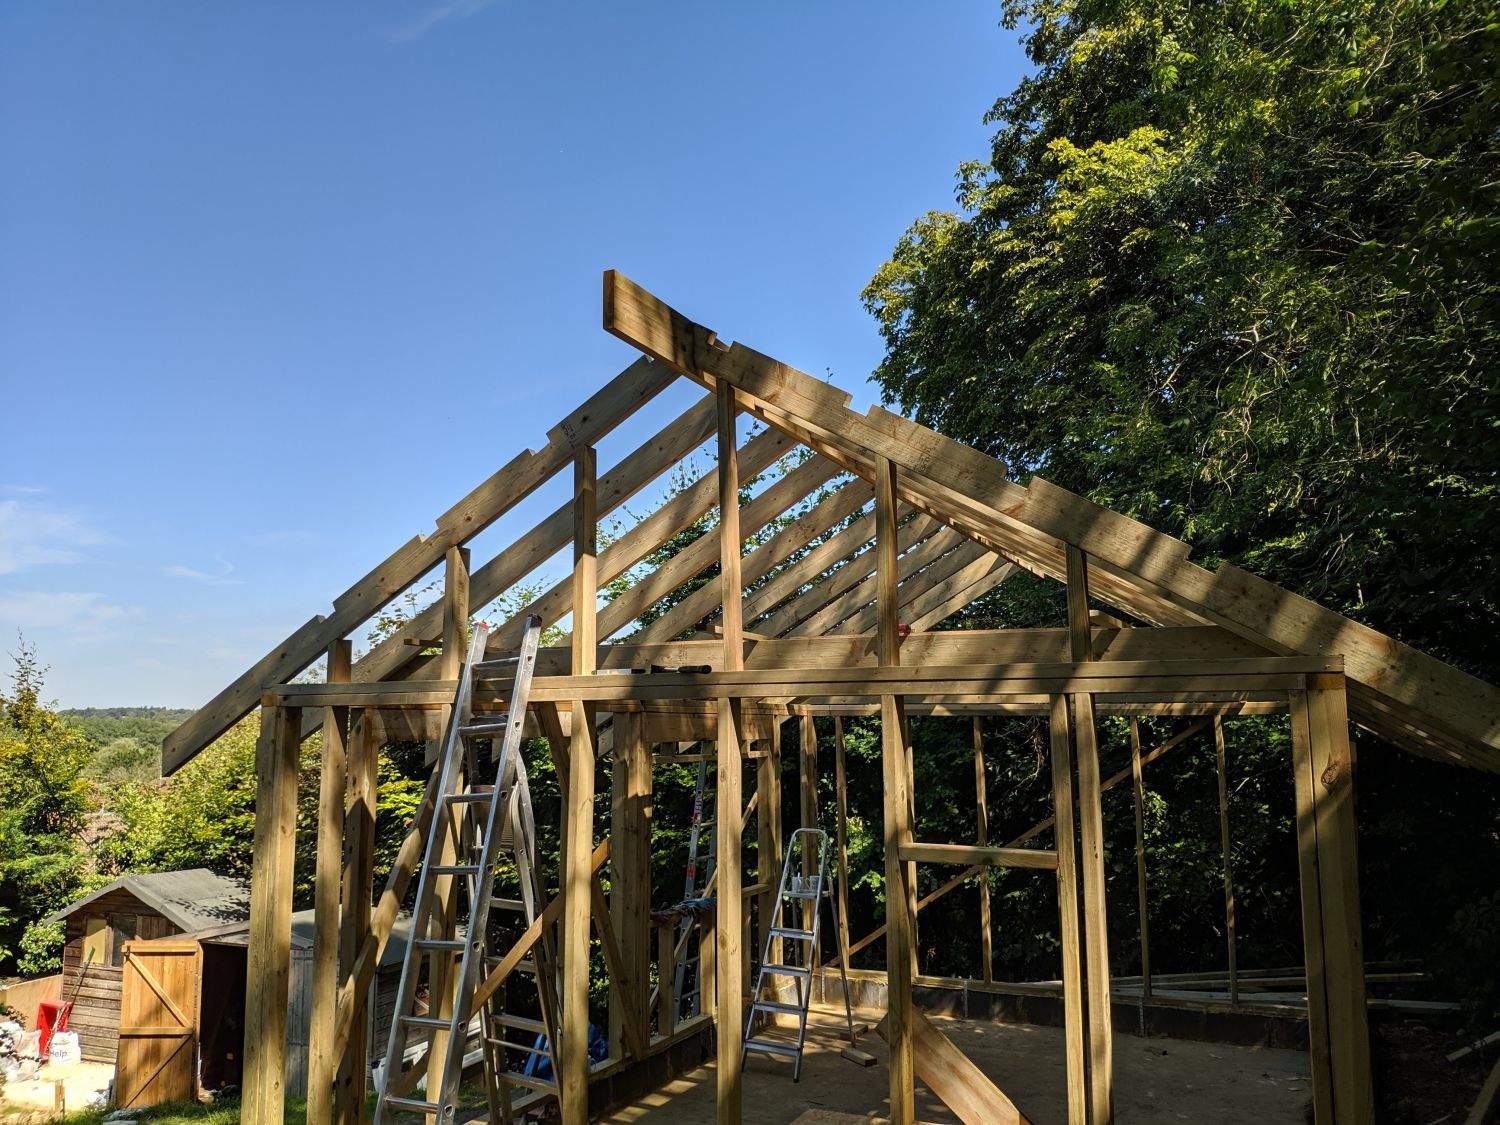
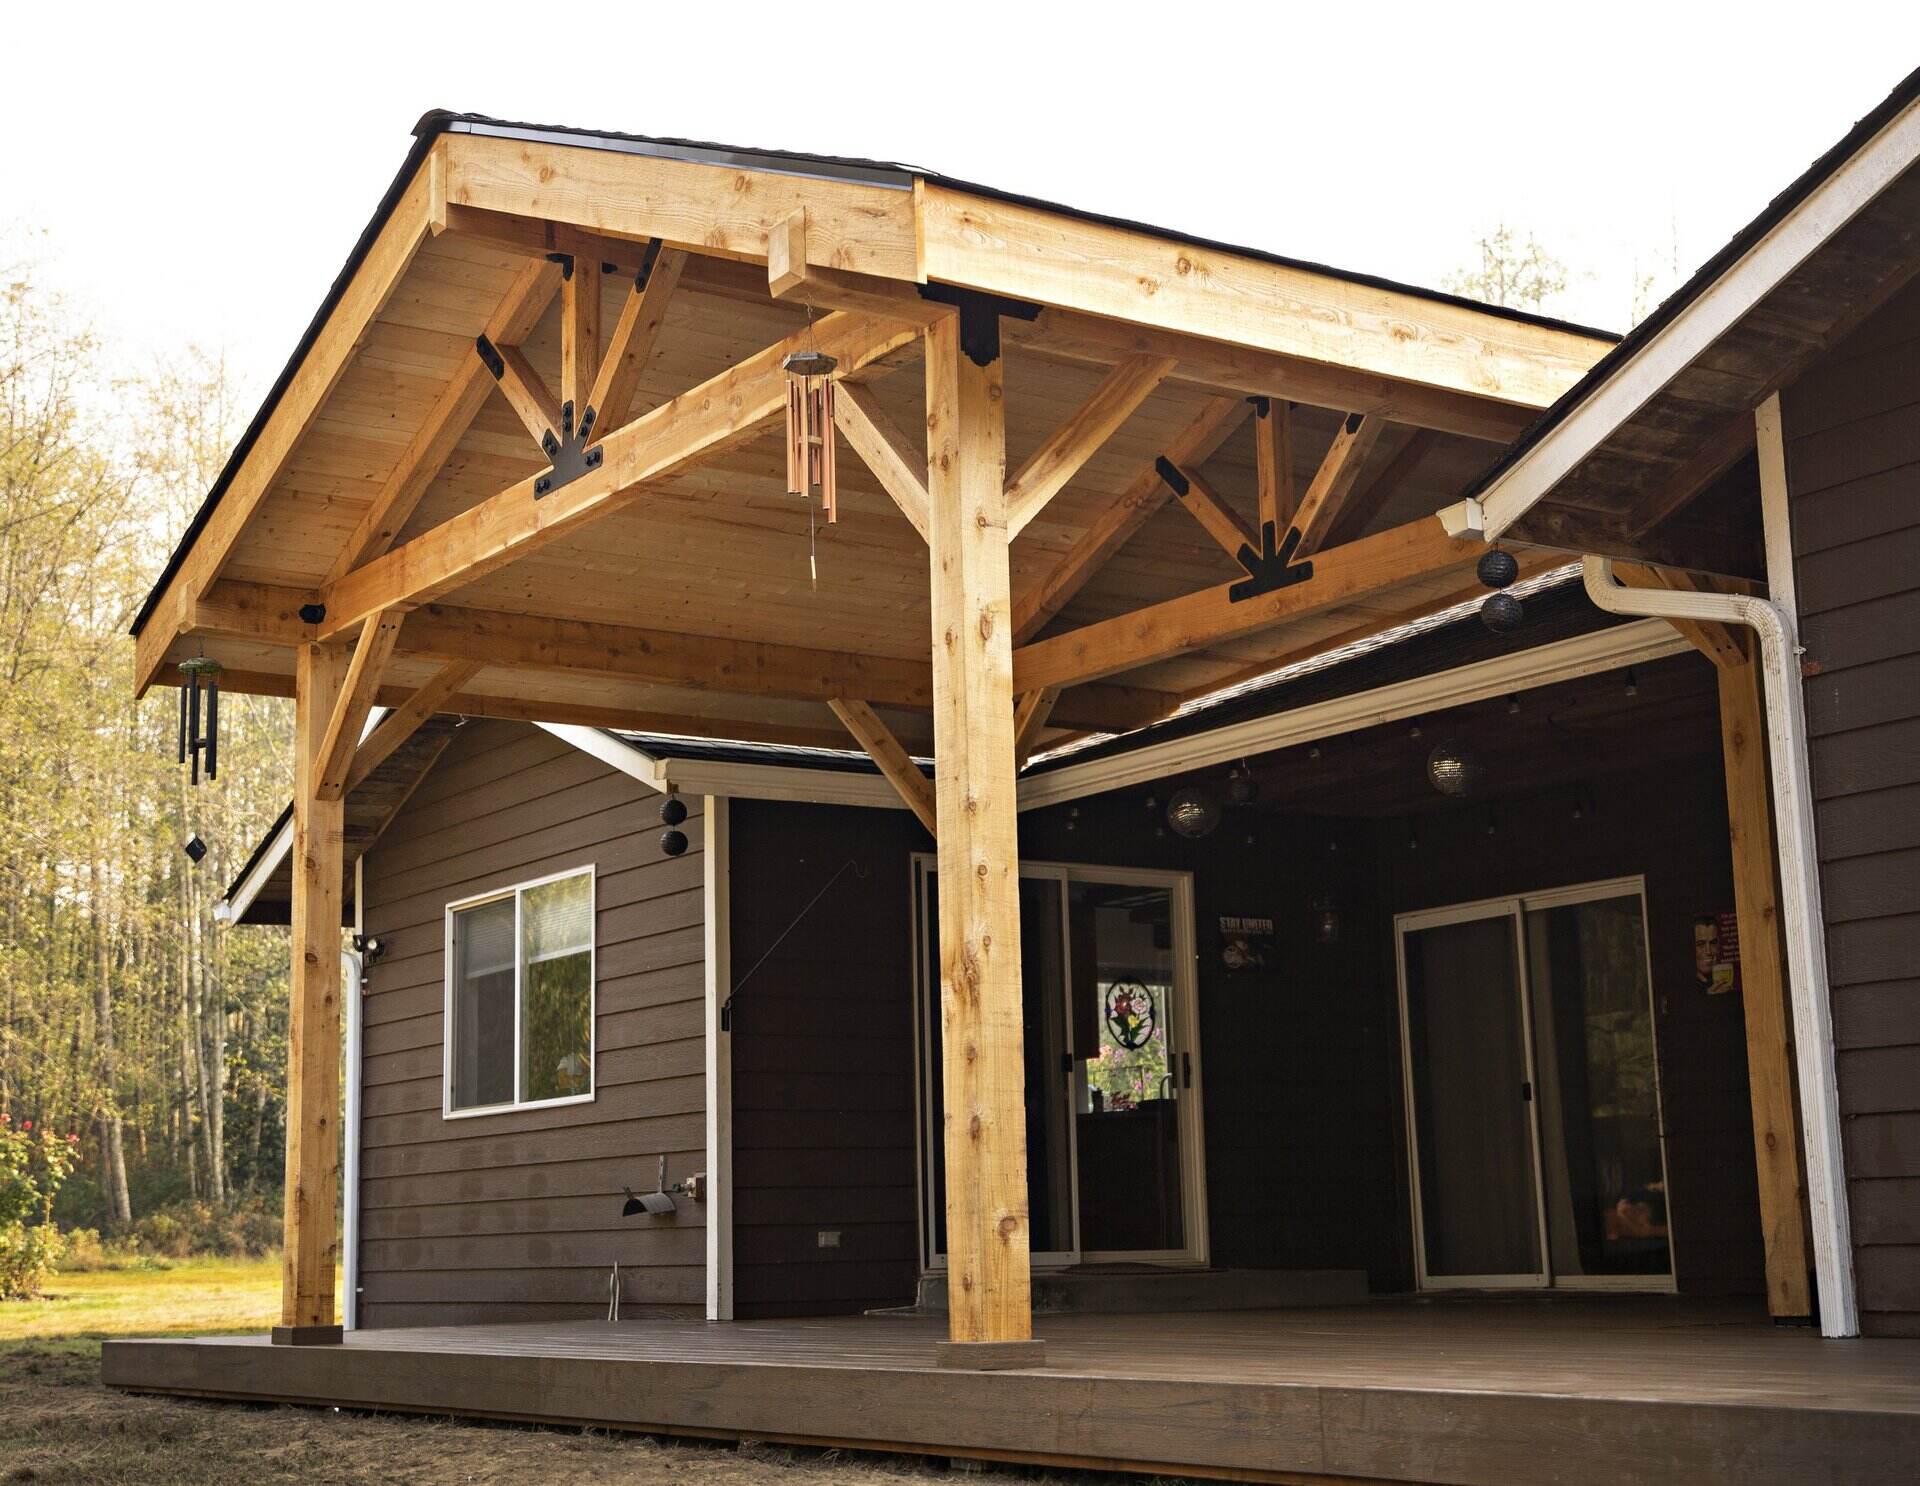
When making a roof, ensure that the trusses or rafters are properly spaced and aligned to provide adequate support for the roofing material. Use quality materials and follow local building codes for safety and durability.
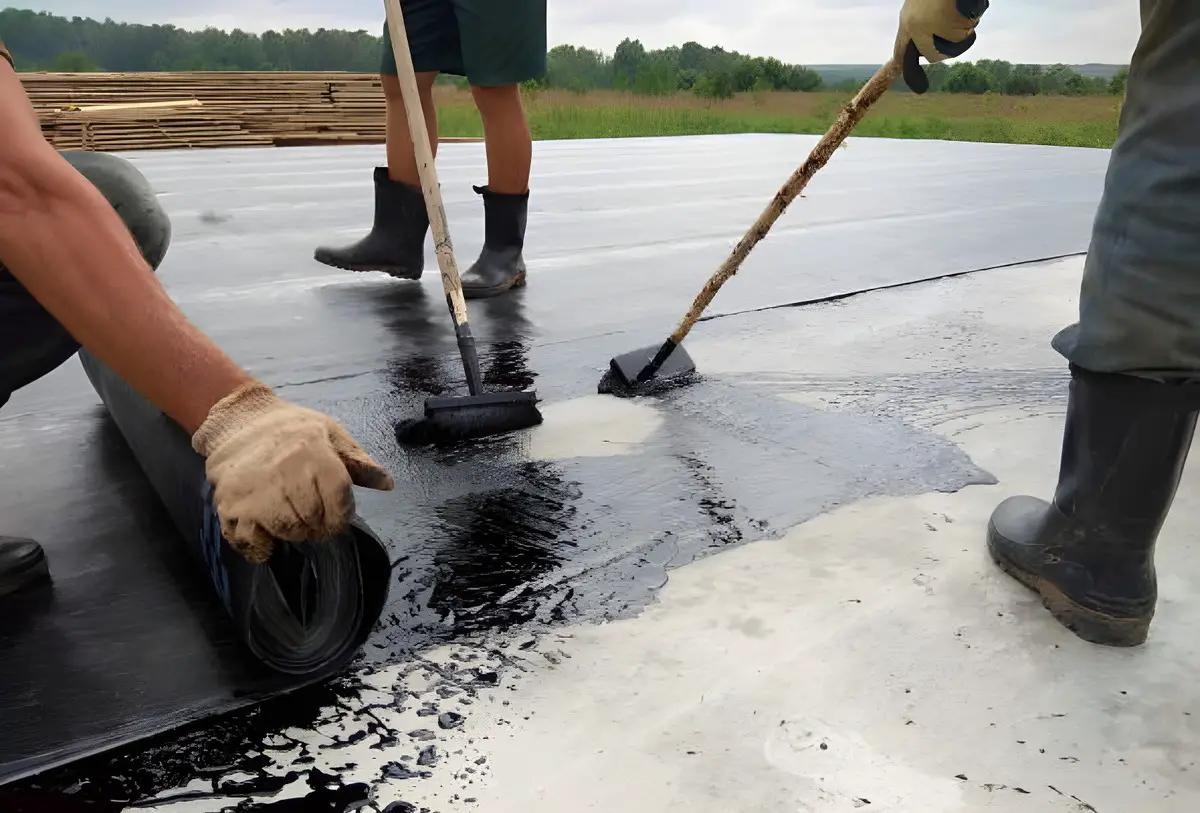
Step 4: Install Underlayment
The underlayment is a crucial component of your roof as it provides an additional layer of protection against water penetration. Follow these steps to properly install the underlayment:
- Start at the bottom of the roof and roll out the underlayment horizontally along the roof deck. Ensure that it overlaps by a few inches to create a watertight barrier.
- Secure the underlayment with roofing nails or staples, placing them approximately 6 to 8 inches apart. Be careful not to overdrive the fasteners, as this can damage the underlayment.
- Repeat the process, working your way up the roof, overlapping each row of underlayment with the previous one. This helps ensure proper water drainage and prevents any potential leaks.
- When you reach obstacles such as vents or chimneys, make sure to properly cut and seal the underlayment around these areas to prevent water infiltration.
- Once the underlayment is installed, make sure to inspect it for any tears, gaps, or areas that may need extra reinforcement. Make the necessary repairs before proceeding with the installation of the roofing shingles.
The underlayment acts as an added layer of protection against moisture, providing an extra barrier between the roof deck and the shingles. It helps to prevent leaks and extends the lifespan of your roof. Properly installing the underlayment is essential in ensuring the overall performance and durability of your roof.
If you’re unsure about the installation process or want to ensure a professional job, consider hiring a roofing contractor who has experience in underlayment installation. They will have the knowledge and expertise to properly install the underlayment and ensure its effectiveness in protecting your roof.
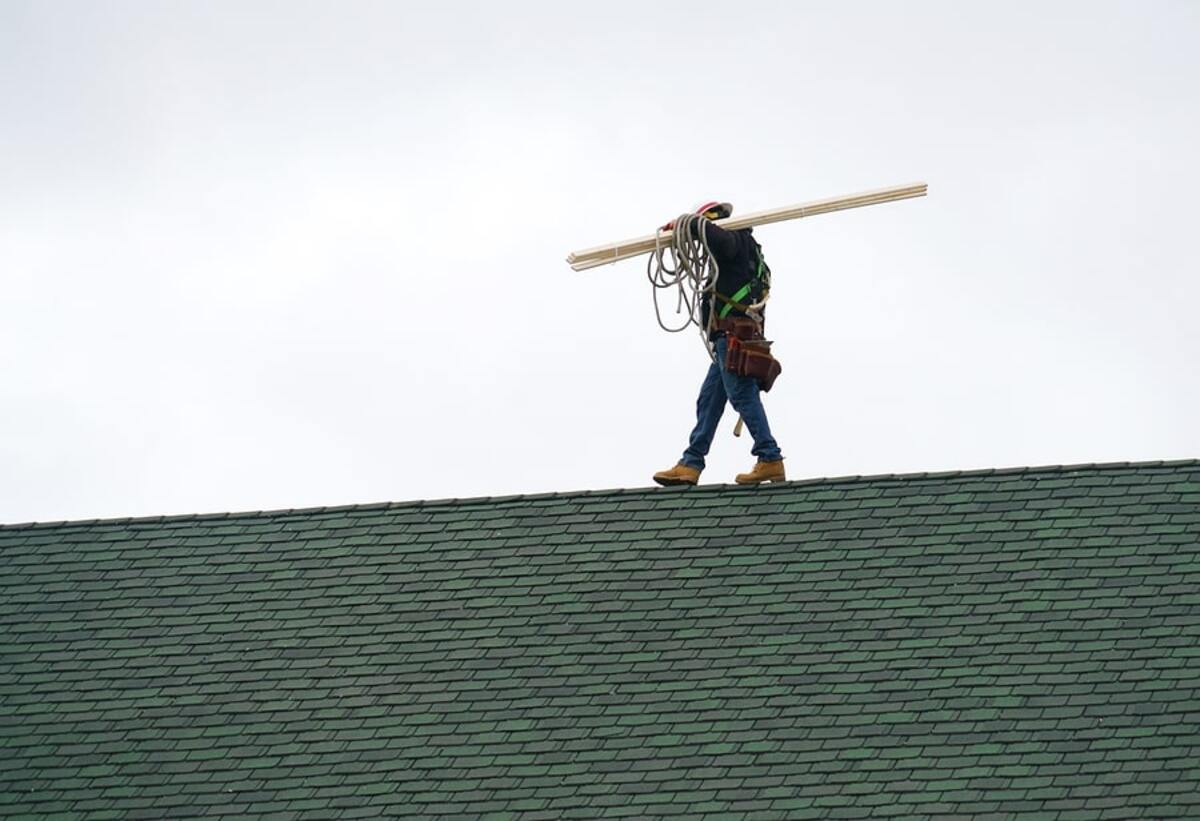
Step 5: Install Roofing Shingles
Installing the roofing shingles is the most visible and crucial step in making a roof. Proper installation ensures the durability and aesthetic appeal of your roof. Follow these steps to install the roofing shingles:
- Start at the bottom edge of the roof and align the first row of shingles along the edge. Leave a small overhang, typically about ¼ to ⅜ of an inch, to allow for water drainage.
- Nail the shingles in place using roofing nails. Place the nails near the top edge of the shingle, making sure to avoid the sealant strip. Use the appropriate number of nails per shingle as recommended by the manufacturer.
- Continue installing the shingles in a staggered pattern, overlapping each row. This is known as the “offset” or “staggered” pattern and helps ensure the shingles interlock properly.
- Trim the last shingle of each row to fit as needed, using a utility knife or roofing cutter.
- For areas such as valleys or peaks, use flashing and follow the manufacturer’s instructions to achieve proper installation.
- Continue installing the shingles row by row until you reach the top of the roof. Pay attention to maintaining proper alignment and ensuring a tight fit between each shingle.
- Use a chalk line to keep the rows straight and consistent throughout the installation process.
- Inspect the installed shingles for any signs of damage, lifting, or improper installation. Make any necessary repairs or adjustments as you go.
Properly installing the roofing shingles is critical for the overall structure and appearance of your roof. It ensures that your roof is watertight, protects against weather elements, and enhances the curb appeal of your home.
If you’re unsure about the installation process or want to ensure a professional job, consider hiring a roofing contractor. They have the expertise and experience to install the shingles accurately and efficiently, giving you peace of mind and a long-lasting roof.
Step 6: Install Flashing and Ventilation
Properly installing flashing and ventilation is essential for a durable and efficient roof. Flashing helps prevent water penetration at vulnerable areas such as vents, chimneys, and skylights, while ventilation ensures proper airflow in the attic. Follow these steps to install flashing and ventilation:
- Begin by installing drip edge flashing along the edges of the roof. This helps redirect water away from the fascia and prevents water damage.
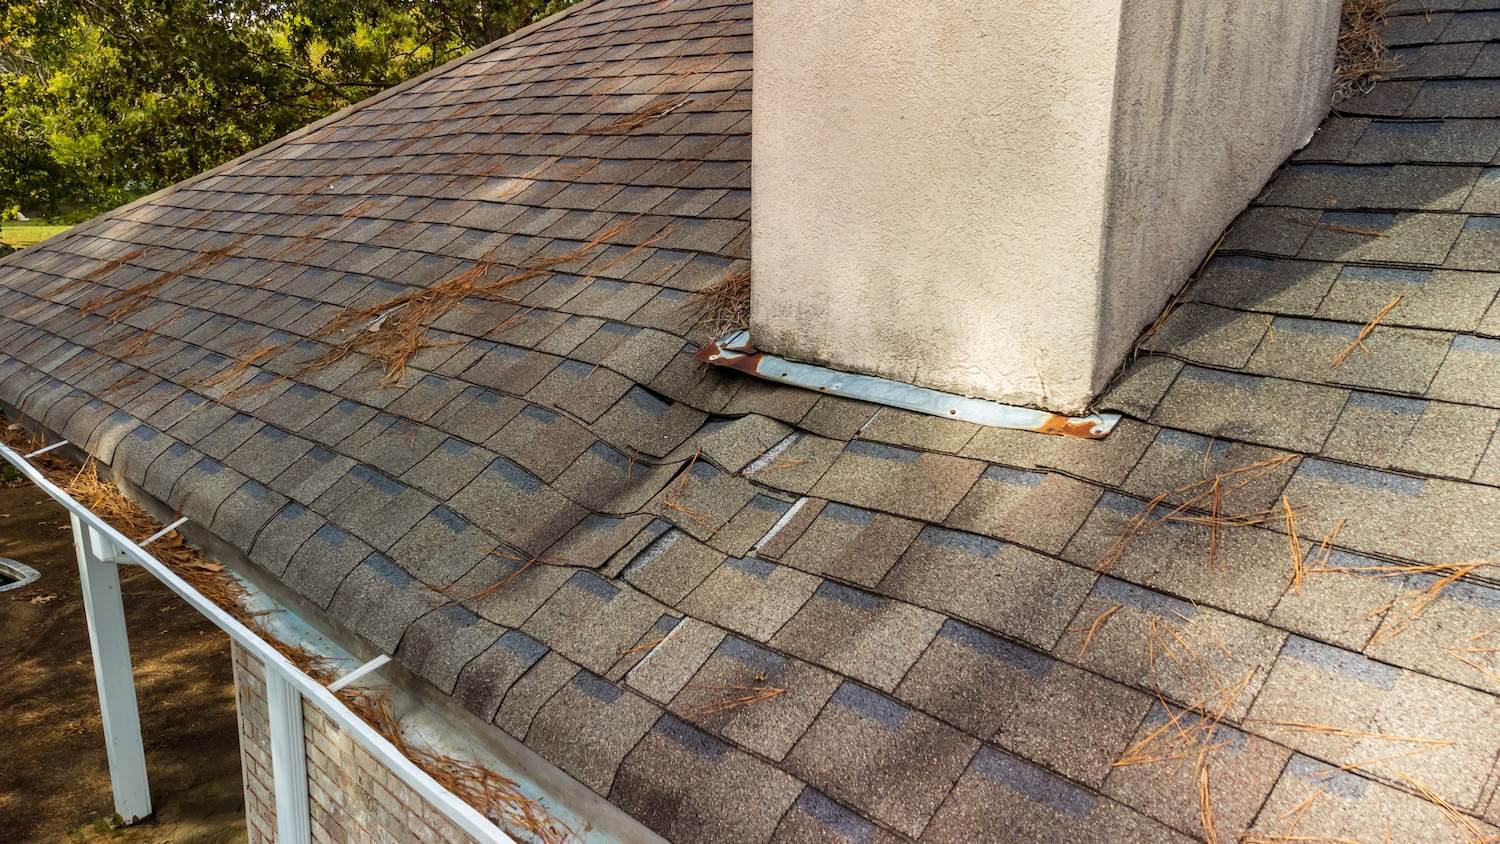
- Install step flashing along the sides of chimneys, walls, and other vertical surfaces. Step flashing should be interwoven with the shingles, ensuring a tight seal against water intrusion.
- Install base flashing at the bottom of chimneys and walls. This provides an extra layer of protection against water seepage.
- Seal any gaps or openings with roofing cement to ensure a watertight seal.
- Next, focus on ventilation. Install ridge vents at the peak of the roof to facilitate proper airflow and exhaust hot air from the attic. Ridge vents should be installed over an opening in the roof sheathing, allowing air to escape.
- Install soffit vents along the eaves of the roof to allow fresh air to enter the attic. Soffit vents should be evenly spaced and properly sized to provide adequate ventilation.
- Ensure that all vents, flashing, and roofing materials are properly sealed and fastened to prevent water infiltration.
Properly installed flashing and ventilation are crucial for the long-term integrity and performance of your roof. They help protect against water damage, reduce the risk of mold and mildew growth, and maintain a comfortable and energy-efficient home.
If you’re not familiar with the installation process or want to ensure that flashing and ventilation are installed correctly, it’s recommended to consult with a professional roofing contractor. They have the expertise and knowledge to handle the installation and ensure optimal functionality.
Step 7: Inspect and Seal the Roof
After completing the installation of the roofing materials, it’s important to thoroughly inspect and seal the roof to ensure its durability and protection. Here are the steps to follow:
- Carefully inspect the entire roof surface for any signs of damage, loose shingles, or gaps in the flashing. Look for any areas that may require additional sealing or repair.
- Check for proper alignment and ensure that all shingles are securely fastened. Replace any loose or damaged shingles immediately.
- Inspect the edges of the roof, including the drip edge and fascia, to ensure a tight and proper fit. Secure any loose or damaged sections.
- Inspect and clean the gutters and downspouts to ensure that they are free from debris and functioning properly. Clogged gutters can cause water backup and damage to your roof.
- Seal any gaps, cracks, or openings with roofing cement or sealant. Pay close attention to areas around vents, chimneys, and other protrusions.
- Check for proper attic ventilation. Ensure that vents are clear and unobstructed to allow for proper airflow and prevent moisture buildup.
- Perform a final visual inspection of the entire roof to ensure that all components are in place and in good condition.
By conducting a thorough inspection and addressing any issues promptly, you can prevent further damage and extend the lifespan of your roof. This step is crucial for maintaining the integrity and performance of your roof over time.
Regular inspections and maintenance are recommended at least once a year, or after severe weather events, to identify and address any potential problems early on.
If you’re unsure about the inspection process or if you notice significant issues during your inspection, it’s advisable to seek the assistance of a professional roofing contractor. They can assess the condition of your roof, perform necessary repairs, and provide expert advice on maintenance and care.
Read more: How To Tie A Shed Roof Into An Existing Roof
Conclusion
Constructing or repairing a roof is a significant undertaking that requires careful planning, the right materials, and precise execution. By following the steps outlined in this article, you can ensure a successful roof construction project that provides long-lasting protection and enhances the beauty of your home.
From measuring and planning to installing the underlayment, roofing shingles, flashing, and ventilation, each step plays a critical role in the overall functionality and durability of your roof. It’s essential to pay attention to details, conduct thorough inspections, and address any issues promptly to maximize the lifespan of your roof.
While this article provides a comprehensive overview of the roof-making process, it’s important to note that working on a roof can be dangerous and requires specialized knowledge and skills. If you are not comfortable with the tasks involved or do not have experience in roofing, it’s best to hire a professional roofing contractor. They have the expertise, tools, and safety measures to ensure a proper installation, saving you time, effort, and potential risks.
Remember, a well-constructed and maintained roof not only provides protection from the elements but also enhances the value and curb appeal of your home. So, whether you are building a new roof or repairing an existing one, make sure to approach the task with proper planning, the right materials, and a commitment to quality craftsmanship. Your roof will thank you for it!
Frequently Asked Questions about How To Make A Roof
Was this page helpful?
At Storables.com, we guarantee accurate and reliable information. Our content, validated by Expert Board Contributors, is crafted following stringent Editorial Policies. We're committed to providing you with well-researched, expert-backed insights for all your informational needs.


0 thoughts on “How To Make A Roof”