

Articles
How To Seal A Screened Porch
Modified: February 22, 2024
Learn how to seal a screened porch with these informative articles. Discover tips and techniques for keeping your porch protected from the elements and extending its lifespan.
(Many of the links in this article redirect to a specific reviewed product. Your purchase of these products through affiliate links helps to generate commission for Storables.com, at no extra cost. Learn more)
Introduction
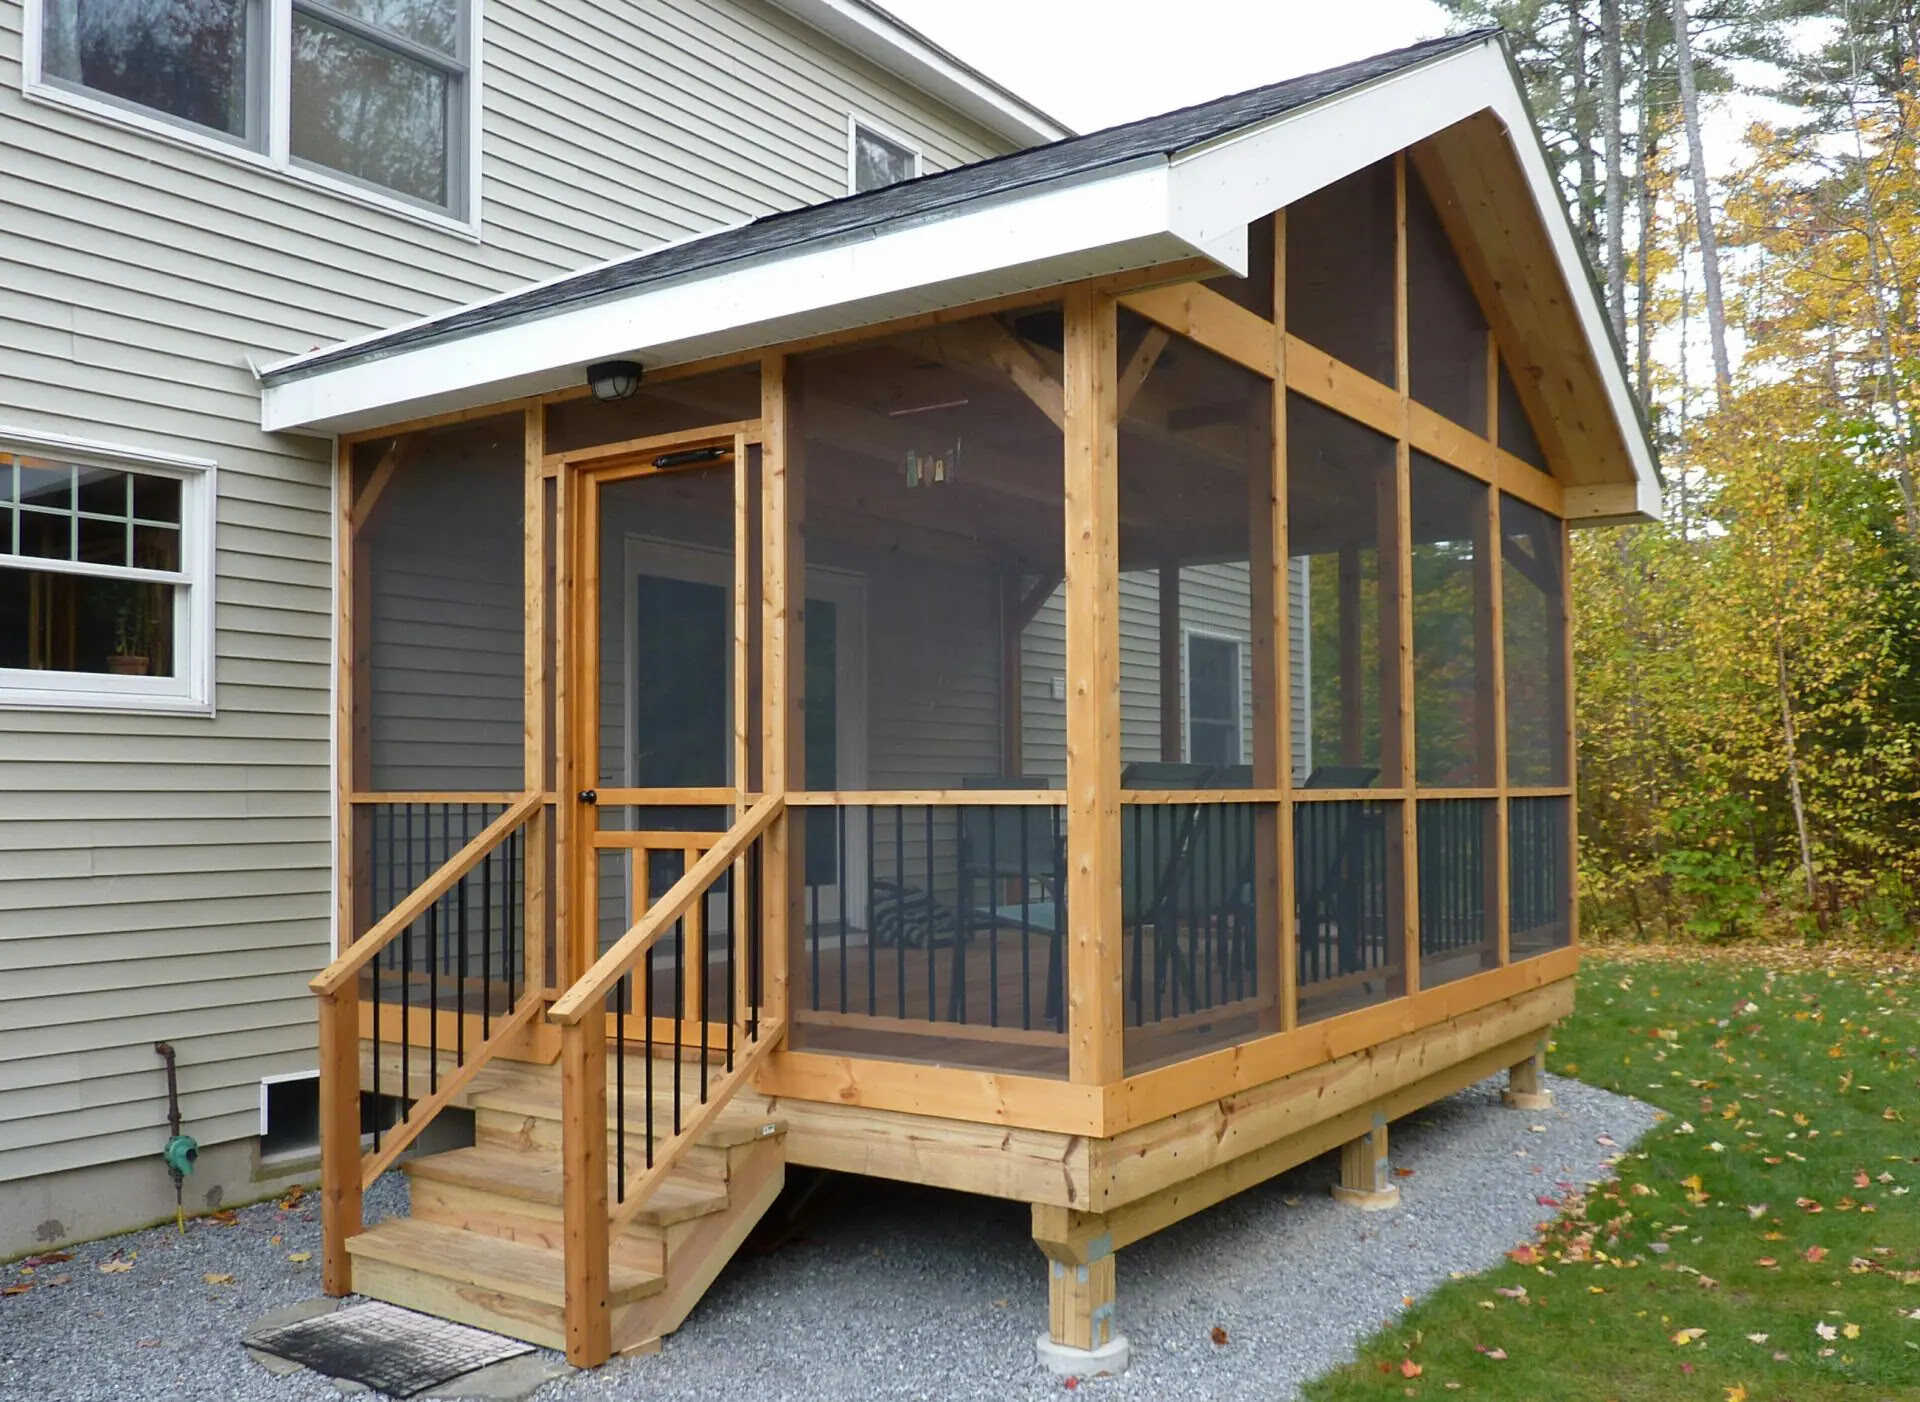
Welcome to the world of screened porches! If you’re fortunate enough to have a screened porch, you know that it’s a wonderful extension of your living space. It provides the perfect setting to relax, entertain, and enjoy the outdoors without the hassle of bugs and other pesky critters. However, over time, the screens and sealant on your porch may begin to wear down, compromising its efficiency and appearance. That’s where this guide comes in!
In this article, we’ll walk you through the step-by-step process of sealing a screened porch to ensure it remains in top-notch condition. From preparing the porch to choosing the right sealing products, we’ve got you covered. So, let’s roll up our sleeves and get ready to revitalize your screened porch!
Key Takeaways:
- Properly preparing, cleaning, and inspecting your screened porch before sealing is crucial for maximizing the effectiveness of the sealant and ensuring the longevity of your outdoor space.
- Choosing the right sealing product, applying it with care, and allowing for thorough drying will result in a revitalized, protected, and inviting screened porch that enhances your outdoor living experience.
Read more: How To Screen In A Porch
Step 1: Prepare the Porch
Before you start the sealing process, it’s essential to prepare the porch properly. This step ensures that the surface is clean, free from debris, and in the best possible condition for sealing. Here’s what you need to do:
- Remove any furniture or decorations: Clear out your screened porch by removing any furniture, decorations, or plants. This will provide you with enough workspace and prevent any potential damage or obstruction during the sealing process.
- Sweep and vacuum: Use a broom or brush to sweep away dirt, leaves, and dust from the porch floor and walls. Additionally, use a vacuum cleaner to remove any fine particles that may have settled on the screens or in hard-to-reach areas.
- Wash the screens: Mix a mild detergent or specially formulated screen-cleaning solution with warm water. Use a soft brush or sponge to gently scrub the screens, removing any dirt or grime that has accumulated over time. Rinse thoroughly with clean water and allow them to dry completely before proceeding.
- Check for any obstructions: Inspect the porch for any obstructions or damage, such as loose screws, nails, or broken hinges. Replace or repair any hardware that is worn out or poses a safety risk.
By taking the time to prepare your porch properly, you ensure that the sealing process goes smoothly and maximizes the effectiveness of the sealant. A clean and well-prepared porch is the foundation for a successful sealing job, so don’t skip this important step!
Step 2: Clean the Screened Porch
Once you’ve prepared the porch, the next step is to thoroughly clean it. Cleaning the screened porch helps remove dirt, stains, and other build-up that can interfere with the sealing process. Here’s how to get your porch sparkling clean:
- Rinse with water: Start by rinsing the entire porch with a gentle stream of water. Use a hose or a pressure washer set to a low setting to remove loose debris and dirt from the floor, walls, and screens.
- Prepare a cleaning solution: Mix a solution of warm water and mild detergent or a commercial porch cleaner. Follow the manufacturer’s instructions for the correct dilution ratio.
- Scrub the surfaces: Use a soft-bristled brush or a sponge to scrub the porch surfaces, including the screens, walls, and floors. Pay close attention to any areas with stains or stubborn dirt. Be gentle yet thorough to avoid causing damage to the screens or the porch structure.
- Rinse thoroughly: After scrubbing, rinse the porch thoroughly with clean water. Make sure to remove all traces of the cleaning solution to prevent any residue from interfering with the sealant.
- Allow to dry completely: Give the porch ample time to dry completely before moving on to the next step. This ensures that the sealant adheres properly and provides the best protection for your porch.
Cleaning your screened porch not only makes it look better but also ensures that the sealant adheres properly and provides long-lasting protection. By removing dirt, grime, and stains, you create a clean surface that allows the sealant to bond effectively, extending the life of your porch and protecting it from the elements.
Step 3: Inspect for Damage
Before proceeding with the sealing process, it’s crucial to thoroughly inspect your screened porch for any signs of damage. Identifying and addressing any issues early on will help prevent further deterioration and ensure a successful sealing job. Here’s how to conduct a comprehensive inspection:
- Check the screens: Carefully examine each screen panel for tears, holes, or loose threads. Use a small piece of tape or a marker to mark any areas that require repair or replacement.
- Inspect the porch structure: Look for any signs of damage or deterioration in the porch structure, such as warped wood, rot, or loose connections. Address any structural issues before proceeding with the sealing process.
- Examine the floor: Check the porch floor for any cracks, damaged tiles, or uneven surfaces. These issues should be repaired to ensure a smooth and stable surface for applying the sealant.
- Inspect the hardware: Inspect the hardware, such as door handles, hinges, and latches, for any signs of wear or damage. Replace any broken or malfunctioning hardware to ensure that your porch functions properly after the sealing process.
- Look for signs of water damage: Check for any signs of water damage on the walls, ceiling, or floor. Look for discoloration, mold, mildew, or any soft spots that may indicate water infiltration. Address any water damage issues before proceeding with the sealing process.
By thoroughly inspecting your screened porch, you can identify and address any potential issues that may impact the effectiveness of the sealing process. Taking the time to repair or replace damaged components ensures that your porch remains in top condition and extends its longevity.
Step 4: Patch and Repair
After inspecting your screened porch and identifying any damage, it’s time to patch and repair any issues before proceeding with the sealing process. Addressing these repairs ensures that your porch is structurally sound and ready for the application of the sealant. Here’s what you need to do:
- Repair the screens: For screens with minor tears or holes, you can use a screen repair kit to patch them. Follow the manufacturer’s instructions to cut the patch to the appropriate size and adhere it to the damaged area. For larger tears or extensive damage, it may be necessary to replace the entire screen panel.
- Fix structural issues: If you noticed any warped wood, rot, or loose connections during the inspection, address these issues before sealing. Replace or repair any damaged portions of the porch structure using suitable materials and techniques.
- Fill cracks and repair the floor: Use an appropriate filler or sealant to fill any cracks or gaps in the porch floor. Smooth out the filler using a putty knife or a trowel, ensuring that the surface is level and even. Allow the filler to dry according to the manufacturer’s instructions before proceeding.
- Replace damaged hardware: If you found any broken or malfunctioning hardware during the inspection, replace it with new, functional hardware. This ensures that your porch operates smoothly and securely once the sealing process is complete.
- Address water damage: If you discovered any signs of water damage, it’s crucial to address the underlying cause before proceeding. Fix any leaks, improve drainage, and address any structural issues that may be contributing to water infiltration.
Patching and repairing your screened porch ensures that it is in optimal condition and ready for the sealing process. By addressing any damage or structural issues, you create a sturdy and long-lasting foundation for the sealant, maximizing the effectiveness and longevity of your porch.
Read more: What Is A Screened Porch
Step 5: Apply Primer
Once you have prepared and repaired your screened porch, the next step is to apply a primer. Primer acts as a bonding agent between the surface of your porch and the sealant, ensuring proper adhesion and enhancing the durability of the seal. Here’s how to apply primer to your porch:
- Select the appropriate primer: Choose a primer that is specifically designed for the material of your porch, such as wood, concrete, or metal. Read the manufacturer’s instructions and ensure that the primer is compatible with the sealant you will be using.
- Prepare the surface: Clean the porch surface thoroughly to remove any dust, dirt, or debris that may interfere with the adhesion of the primer. Use a damp cloth or sponge to wipe down the entire porch and allow it to dry completely.
- Apply the primer: Using a brush or roller, apply an even coat of primer to the entire screened porch surface. Follow the manufacturer’s instructions regarding drying time and recommended number of primer coats.
- Sand (if necessary): If the primer creates a rough or uneven surface, lightly sand it using fine-grit sandpaper. This will ensure a smooth and even base for the sealant application.
- Allow the primer to dry: Give the primer ample time to dry according to the manufacturer’s instructions. This may take several hours or overnight, so be patient and avoid any contact or activity that may disturb the drying process.
Applying a primer to your screened porch before sealing helps create a strong bond between the surface and the sealant, improving the performance and longevity of the seal. It is an important step that shouldn’t be skipped as it enhances the overall effectiveness of your sealing application.
Use a high-quality outdoor sealant to fill in any gaps or cracks in the screened porch. Make sure to clean and dry the area thoroughly before applying the sealant for best results.
Step 6: Choose the Right Sealing Product
Choosing the right sealing product is crucial for a successful screened porch sealing project. The type of product you select will depend on factors such as the material of your porch, climate conditions, and personal preferences. Here are some factors to consider when choosing a sealing product:
- Material compatibility: Ensure that the sealing product is suitable for the material of your porch. For example, if you have a wood porch, you’ll want to choose a sealant that is designed specifically for wood surfaces.
- Weather resistance: Consider the climate conditions in your area. If your porch is exposed to harsh sunlight, extreme temperatures, or heavy rainfall, look for a sealant that offers strong weather resistance and UV protection.
- Waterproofing properties: If your porch is prone to water infiltration or you live in a rainy area, opt for a sealing product with excellent waterproofing properties. This will help protect the porch from moisture damage and extend its lifespan.
- Appearance: Think about the desired appearance of your sealed porch. Do you want a clear sealant that enhances the natural beauty of the material, or are you open to a tinted sealant that adds a touch of color? Consider the visual aesthetic that you want to achieve.
- Application method: Determine whether you prefer a sealing product that can be brushed, rolled, or sprayed onto the porch surface. Consider your comfort level with different application methods and choose one that suits your needs.
- Longevity and maintenance: Look for a sealing product that offers long-lasting protection and requires minimal maintenance. Consider the expected lifespan of the sealant and whether it will need to be reapplied regularly.
Research different sealing products, read reviews, and consult with experts if needed to make an informed decision. By selecting the right sealing product, you’ll ensure that your screened porch is adequately protected and maintains its beauty for years to come.
Step 7: Seal the Screened Porch
With the preparation work completed and the right sealing product chosen, it’s time to seal your screened porch. Follow these steps to apply the sealant and protect your porch:
- Read and follow the instructions: Carefully read the instructions provided by the sealant manufacturer. Follow their guidelines regarding application techniques, drying time, and any specific precautions.
- Start from the top: Begin applying the sealant from the top of the porch and work your way down. This allows any excess sealant to run down smoothly and prevents drips or uneven coverage.
- Use a brush or roller: Choose the appropriate tool for applying the sealant to your porch based on the manufacturer’s recommendations. A brush or paint roller is typically used for even coverage.
- Apply a thin, even coat: Dip the brush or roller into the sealant, removing any excess before applying. Start from one corner and work your way across the entire porch, applying a thin, even coat of sealant on the surfaces and screens.
- Pay attention to corners and edges: Ensure that you thoroughly seal all corners, edges, and joints to prevent any moisture or air leaks. Use a smaller brush or a foam brush for better precision in hard-to-reach areas.
- Work in sections: If your porch is large, divide it into smaller sections and work on one section at a time. This helps maintain control over the application and prevents the sealant from drying too quickly.
- Allow for proper drying time: Check the drying time specified by the manufacturer and make sure to allow sufficient time for the sealant to dry completely. This typically takes several hours or even overnight.
Take your time and ensure thorough coverage of the sealant on all surfaces and screens. Properly sealing your porch not only enhances its appearance but also provides long-lasting protection against the elements and extends its lifespan.
Step 8: Allow the Sealer to Dry
After applying the sealant to your screened porch, it’s important to allow it ample time to dry. Giving the sealer enough time to dry properly ensures that it cures and forms a strong, protective barrier on the surface. Follow these guidelines to allow the sealer to dry effectively:
- Check the manufacturer’s instructions: Refer to the instructions provided by the sealant manufacturer to determine the recommended drying time. Different sealants may have varying drying times, so it’s essential to follow the specific guidelines for the product you’ve chosen.
- Keep the porch undisturbed: Avoid any activity or contact with the porch during the drying process. This includes walking on the sealed surfaces, moving furniture or decorations back onto the porch, or exposing it to moisture.
- Avoid wet conditions: Ensure that your porch remains dry during the drying period. If rain is in the forecast, cover the porch or take necessary precautions to prevent water from coming into contact with the freshly sealed surfaces.
- Provide proper ventilation: If possible, open windows or use fans to encourage air circulation around the porch. This helps to facilitate the drying process and ensures a quicker curing time.
- Monitor the drying progress: Keep an eye on the sealed surfaces to ensure that the sealer is drying evenly and without any issues. Look for any areas where the sealer may be pooling or not adhering properly, as these may require touch-ups or additional drying time.
- Allow for extended drying time if necessary: Factors such as high humidity or cool temperatures can prolong the drying time of the sealer. If needed, be patient and allow for additional drying time to ensure optimal results.
Properly drying the sealer is crucial to achieving the desired results and ensuring long-lasting protection for your screened porch. Make sure to follow the manufacturer’s instructions and take necessary precautions to allow for an adequate drying period.
Read more: How To Frame A Screen Porch
Step 9: Apply Additional Coats (if necessary)
In some cases, applying a single coat of sealer may not be sufficient to achieve the desired level of protection or appearance for your screened porch. If this is the case, you may need to apply additional coats of sealer. Here’s what you need to know:
- Assess the coverage: After the initial coat of sealer has dried, assess the coverage and overall appearance of your porch. Look for any spots that may have been missed or areas where the sealant appears thin.
- Sand (if applicable): If you notice any rough or uneven areas on the surfaces, you may need to lightly sand them before applying an additional coat of sealer. This helps smooth out any imperfections and ensures a more even and uniform finish.
- Clean the surfaces: Before applying another coat, make sure to clean the porch surfaces thoroughly. Remove any dust, dirt, or debris that may have accumulated since the previous application. This ensures proper adhesion and a smooth finish.
- Apply the additional coats: Follow the same process as before, applying the sealer evenly and thinly using a brush or roller. Allow each coat to dry completely before applying the next layer. The drying time may vary depending on the specific sealant you are using, so refer to the manufacturer’s instructions.
- Assess coverage after each coat: After each additional coat, step back and reassess the coverage. Look for any areas that may still require touch-ups or additional coats. Repeat the process until you are satisfied with the coverage and appearance of your screened porch.
Applying additional coats of sealer helps to build a stronger and more durable protective layer on your screened porch. It also allows you to achieve a more uniform and enhanced appearance. Assess the need for additional coats based on your specific requirements and the results you want to achieve.
Step 10: Reinstall Furniture and Decorations
After the sealing process is complete and the sealer has dried thoroughly, it’s time to reintroduce furniture and decorations back onto your screened porch. Reinstalling these items not only adds personality and functionality to your space but also allows you to fully enjoy the newly sealed porch. Follow these steps for a seamless reinstallation:
- Clean and dust: Before placing any furniture or decorations back on the porch, give them a good wipe-down to remove any dust or debris that may have accumulated while the sealing process was underway.
- Arrange furniture: Consider the layout and functionality of your porch and carefully arrange the furniture in a way that maximizes space and comfort. Create cozy seating areas, designate dining spaces, and incorporate any other elements you desire.
- Add decorations: Enhance the atmosphere of your screened porch by adding decorations such as potted plants, artwork, cushions, and lighting. Personalize the space to reflect your style and create an inviting ambiance.
- Protect the sealant: Take precautions to prevent any potential damage to the newly sealed porch surfaces. Use furniture pads or coasters under heavy items to prevent scratching or indentations. Avoid dragging furniture across the surfaces.
- Regular maintenance: Commit to regular maintenance to keep your porch in top condition. Clean it regularly, wipe down furniture, and inspect for any signs of damage or wear. Regular maintenance will help prolong the life of the sealant and ensure the continued enjoyment of your screened porch.
Reinstalling furniture and decorations allows you to truly bring your screened porch back to life. Take the time to arrange and decorate the space according to your preferences, creating a welcoming and comfortable area to relax, entertain, or simply enjoy the outdoors.
Conclusion
Congratulations on successfully sealing your screened porch! By following the step-by-step process outlined in this guide, you have taken the necessary steps to protect and enhance your outdoor living space. The careful preparation, cleaning, repair, and sealing have ensured that your porch is ready to withstand the elements and provide you with years of enjoyment.
Remember, maintaining your newly sealed porch is key to its longevity and continued beauty. Regular cleaning, inspection, and addressing any necessary repairs will help preserve the integrity of the sealant and keep your porch in optimal condition.
Sealing a screened porch not only enhances its appearance but also provides protection from the elements, prevents insect infiltration, and extends the lifespan of the porch. It creates a comfortable and inviting space for relaxation, entertaining, or enjoying the outdoors without the nuisance of bugs and critters.
Now, it’s time to sit back, relax, and enjoy your revitalized screened porch. Whether it’s sipping a morning coffee, hosting a gathering with friends and family, or simply unwinding in the tranquility of nature, your sealed porch will be a source of joy and respite.
Thank you for taking the time to follow this guide. We hope it has provided you with valuable insights and tips for sealing your screened porch effectively. Embrace and cherish your transformed outdoor space and create lasting memories for years to come!
Frequently Asked Questions about How To Seal A Screened Porch
Was this page helpful?
At Storables.com, we guarantee accurate and reliable information. Our content, validated by Expert Board Contributors, is crafted following stringent Editorial Policies. We're committed to providing you with well-researched, expert-backed insights for all your informational needs.









0 thoughts on “How To Seal A Screened Porch”