Articles
How To Frame A Screen Porch
Modified: October 18, 2024
Learn how to frame a screen porch with step-by-step instructions and expert tips. Check out our comprehensive articles for all your DIY needs.
(Many of the links in this article redirect to a specific reviewed product. Your purchase of these products through affiliate links helps to generate commission for Storables.com, at no extra cost. Learn more)
Introduction
Welcome to our comprehensive guide on how to frame a screen porch! A screen porch is a fantastic addition to any home, offering a comfortable space to enjoy the outdoors without the annoyance of pesky bugs. Building a screen porch not only enhances the aesthetic appeal of your property but also provides a functional and versatile outdoor living area.
Whether you are looking to create a relaxing space to unwind or a gathering spot for entertaining friends and family, creating a frame for your screen porch is the first step towards bringing your vision to life. In this article, we will walk you through the essential steps to construct a sturdy and stylish frame for your screen porch project.
Before we dive in, it’s important to note that the specific requirements and complexity of framing a screen porch may vary depending on the size of the porch, local building codes, and your individual preferences. Be sure to check with your local authorities and obtain any necessary permits before starting your project. It is also recommended to consult with a professional contractor if you have any concerns or questions.
Now, let’s get started on this exciting journey of creating your own screen porch oasis!
Key Takeaways:
- Create a bug-free oasis by following our step-by-step guide to framing a screen porch. From building a sturdy frame to adding the finishing touches, transform your porch into a versatile and inviting outdoor sanctuary.
- Embrace the joy of outdoor living with a beautifully framed screen porch. Our comprehensive guide provides the essential steps to construct a functional and stylish space where you can relax, entertain, and enjoy the beauty of the outdoors.
Read more: How To Screen In A Porch
Step 1: Gather Necessary Tools and Materials
Before you begin framing your screen porch, it is essential to gather all the necessary tools and materials. Having everything on hand will ensure a smoother and more efficient process. Here are the tools and materials you will need:
- Measuring Tape: To accurately measure the dimensions of your porch area
- Level: To ensure your frame is straight and aligned
- Hammer: For driving nails and securing components
- Circular Saw: To cut the lumber to the desired lengths
- Drill: For creating pilot holes and attaching screws
- Screwdriver: For tightening screws
- Safety Glasses: To protect your eyes from dust and debris
- Gloves: To protect your hands
- Extension Cord: If needed for power tools
In addition to the tools, you will also require the following materials:
- Pressure-Treated Lumber: Choose the appropriate size and length for your porch frame
- Galvanized Screws or Nails: For securing the lumber together
- Screen Panels: Opt for high-quality screen panels to ensure durability and effectiveness in keeping out insects
- Roofing Materials (if applicable): Depending on your design, you may need roofing materials such as shingles or metal sheets
- Trim Pieces: To provide a finished look to the edges of the frame
Take the time to gather all the tools and materials mentioned above. This will save you from interruptions during the construction process and allow you to work efficiently. Once you have everything ready, move on to the next step: preparing the porch area.
Step 2: Prepare the Porch Area
Now that you have your tools and materials ready, it’s time to prepare the porch area where you will be building the frame. This step involves ensuring a level and sturdy foundation for your screen porch. Follow these steps to prepare the porch area:
- Clear the area: Remove any furniture, decorations, or debris from the porch area. This will give you a clean canvas to work with.
- Measure and mark the layout: Use a measuring tape to determine the dimensions of your porch area. Mark the layout on the ground using stakes and string. This will help guide you in setting up the frame.
- Level the ground: Use a shovel to remove any unevenness or obstructions on the ground. Ensure that the surface is level and free from any debris or rocks.
- Install footings (if necessary): Depending on the soil composition and local building codes, you may need to install footings to provide stability to your porch. Consult with a professional or local authorities to determine if footings are required and follow the recommended guidelines for installation.
- Add a moisture barrier (optional): To protect your frame from moisture and potential damage, you can choose to install a moisture barrier on the ground before proceeding. This is especially beneficial if your porch area is prone to dampness.
Preparing the porch area is a crucial step as it sets the foundation for the construction process. Take your time to accurately measure, level the ground, and consider any additional preparations required specific to your location. Once you have prepared the porch area, you are ready to move on to the next step: building the frame for the porch.
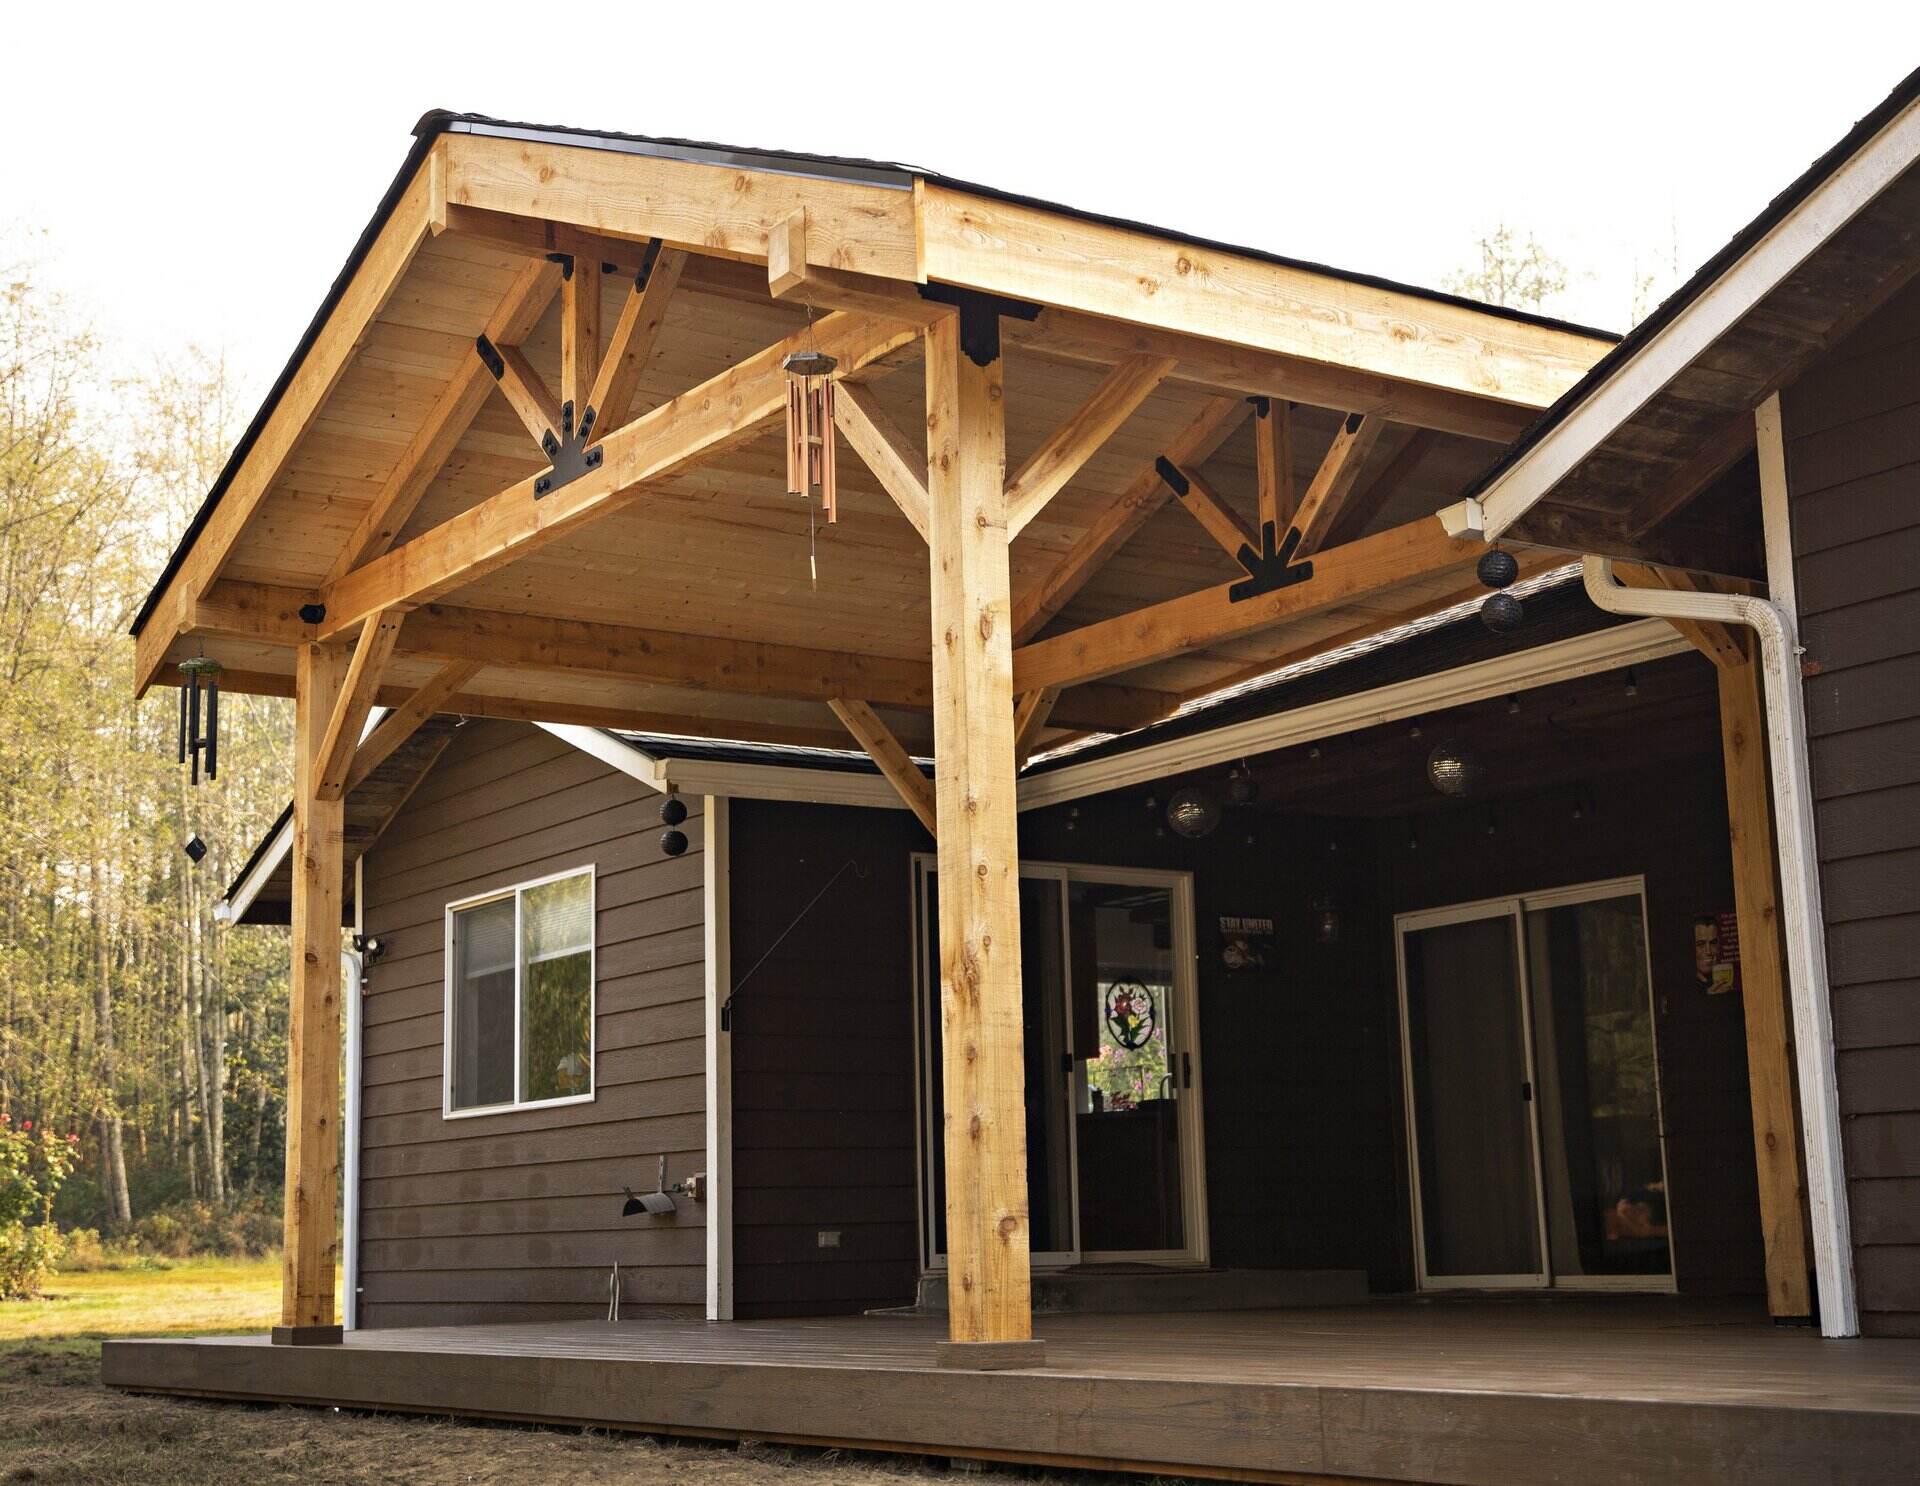
Step 3: Build the Frame for the Porch
With the porch area prepared, it’s time to start building the frame for your screen porch. The frame will provide structural support and serve as the backbone of your porch. Follow these steps to construct the frame:
- Measure and cut the lumber: Using your measuring tape and circular saw, measure and cut the pressure-treated lumber according to the dimensions of your porch layout. Take care to ensure accurate measurements and straight cuts.
- Start with the perimeter: Begin by assembling the perimeter frame. Lay out the cut pieces of lumber along the marked layout and connect the corners with galvanized screws or nails. Use a level to ensure that the frame is straight and level.
- Add intermediate supports: Depending on the size of your porch, you may need to add additional supports along the interior of the frame. Measure and cut the lumber pieces to fit between the perimeter frame and attach them securely.
- Create joists: Install joists across the width of the frame at regular intervals. These joists will provide additional support for the porch flooring. Again, use screws or nails to secure the joists to the frame.
- Check for stability: Once the frame is complete, check for stability by gently shaking it. Ensure that it is secure and does not wobble. Make any necessary adjustments to strengthen the frame if needed.
Building the frame is a critical step in the construction of your screen porch. Take your time to ensure accurate measurements and secure connections between the lumber pieces. By following these steps, you will have a sturdy and stable frame ready for the next phase of the construction process.
When framing a screen porch, make sure to use pressure-treated lumber for the base plates and any wood that will come in direct contact with the ground to prevent rot and decay.
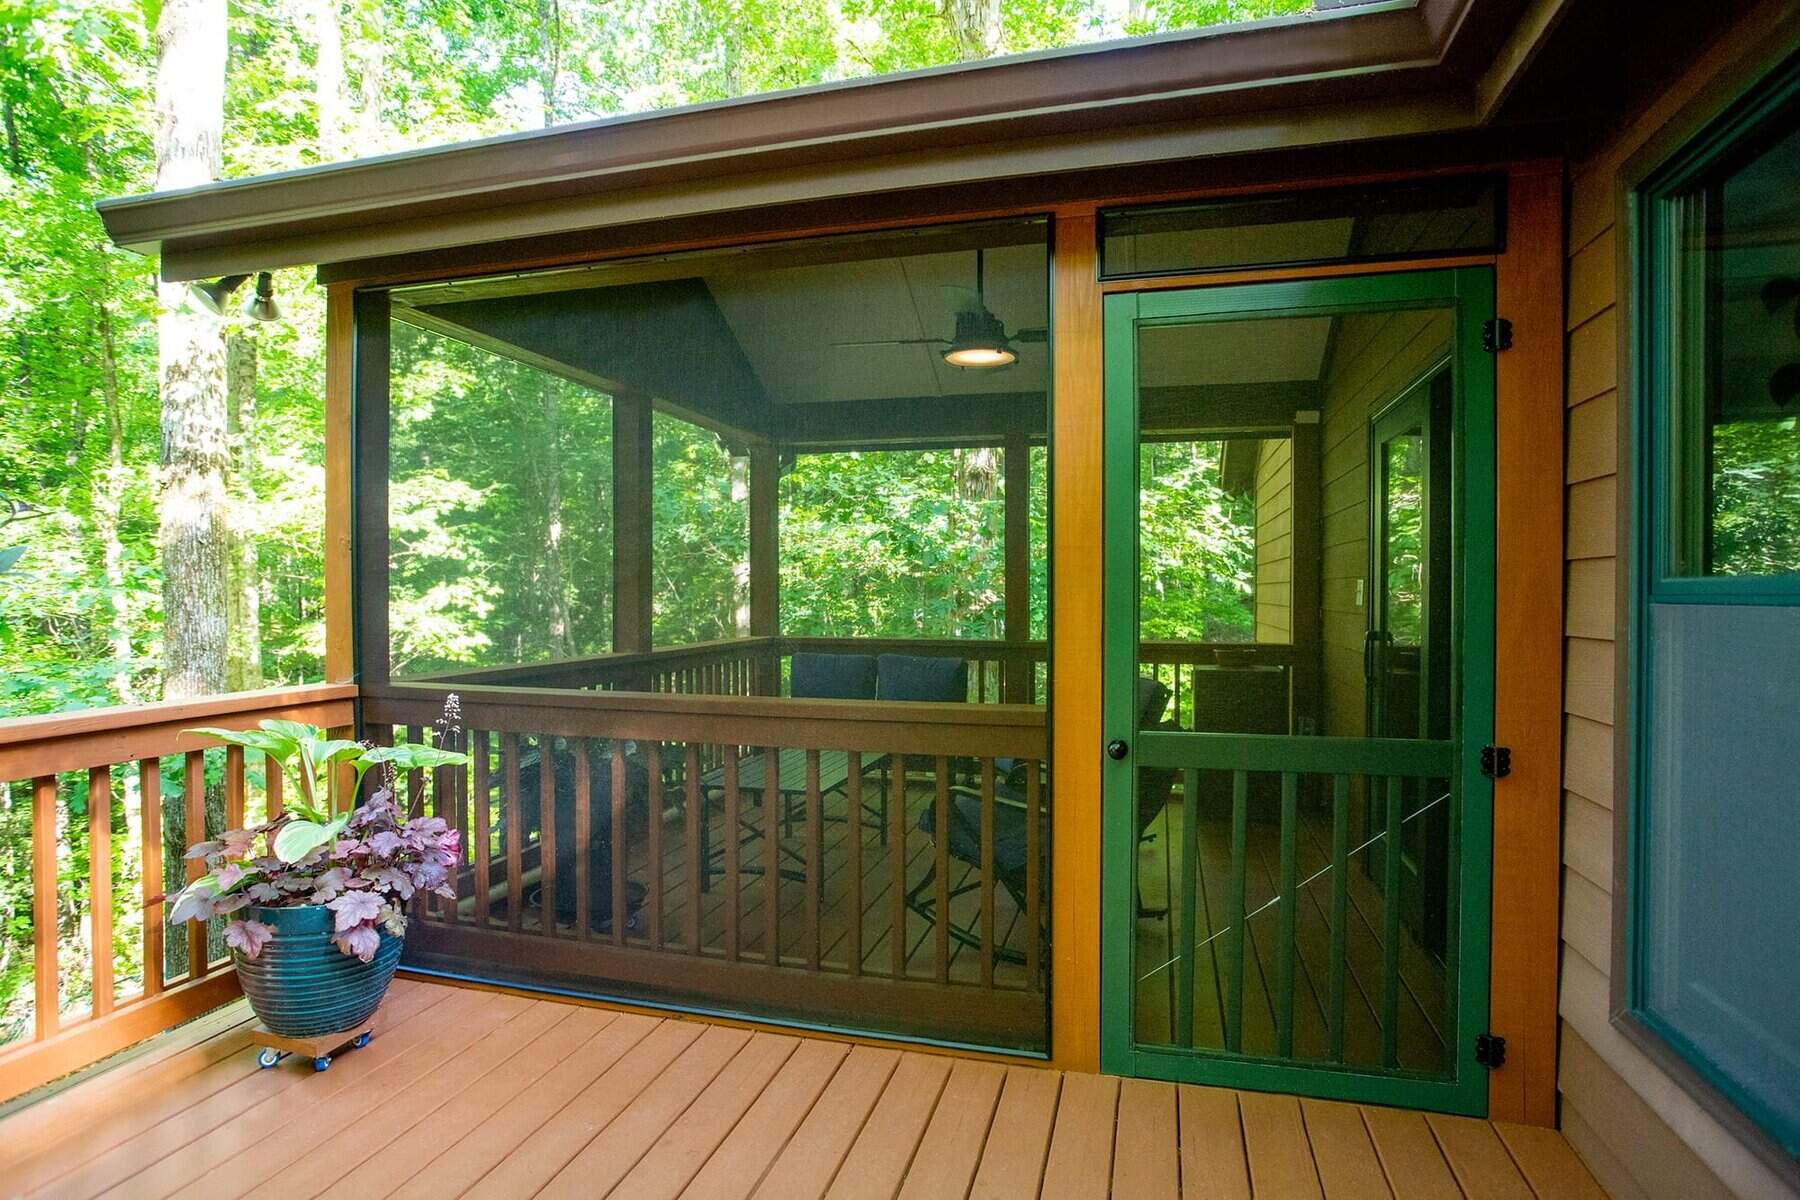
Step 4: Install the Screen Panels
Now that you have built the frame for your screen porch, it’s time to install the screen panels. These panels will keep out insects while allowing fresh air to flow through your porch. Follow these steps to properly install the screen panels:
- Measure and cut the screen panels: Measure the dimensions of each section of the frame where the screen panels will be installed. Use these measurements to cut the screen panels to the appropriate size. Be sure to leave some excess material to allow for a snug fit.
- Secure the screen panels: Starting at one corner of the frame, position the screen panel on the inside of the frame, ensuring that it covers the entire section. Use a staple gun or screen installation tool to attach the screen to the frame. Work your way around the frame, pulling the screen taut as you go and securing it in place. Trim any excess screen material.
- Repeat for the remaining sections: Move on to the next section of the frame and repeat the process of measuring, cutting, and attaching the screen panels. Take care to align the panels properly and ensure a snug and secure fit.
- Install a screen door (if desired): If you plan to have a screen door for your porch, follow the manufacturer’s instructions for installation. Ensure that the door aligns properly with the frame and opens and closes smoothly.
Installing the screen panels is an important step to transform your porch into a bug-free oasis. Take your time to measure, cut, and secure the screen panels properly to achieve a professional and seamless look. Once you have installed the screen panels, your porch will be well on its way to becoming a functional and enjoyable space.
Read more: What Is A Screened Porch
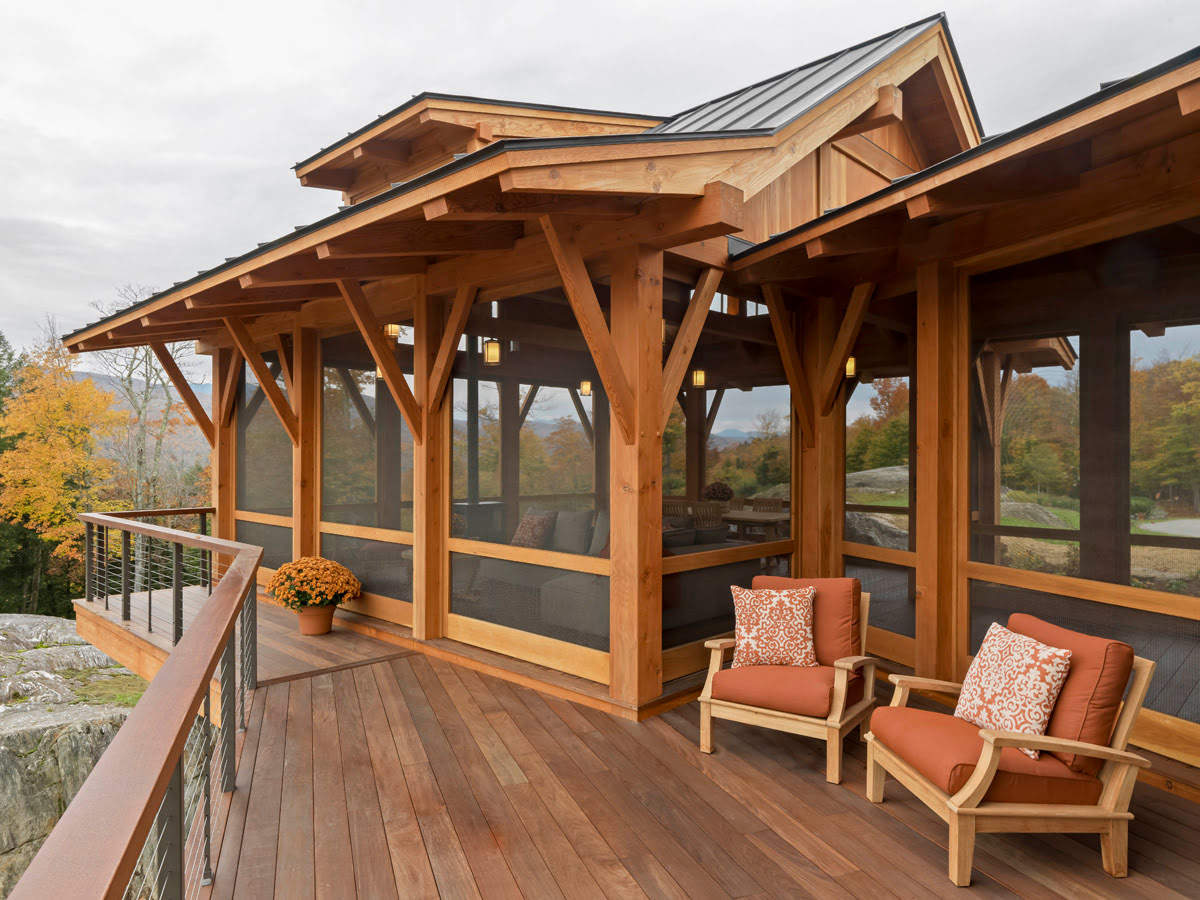
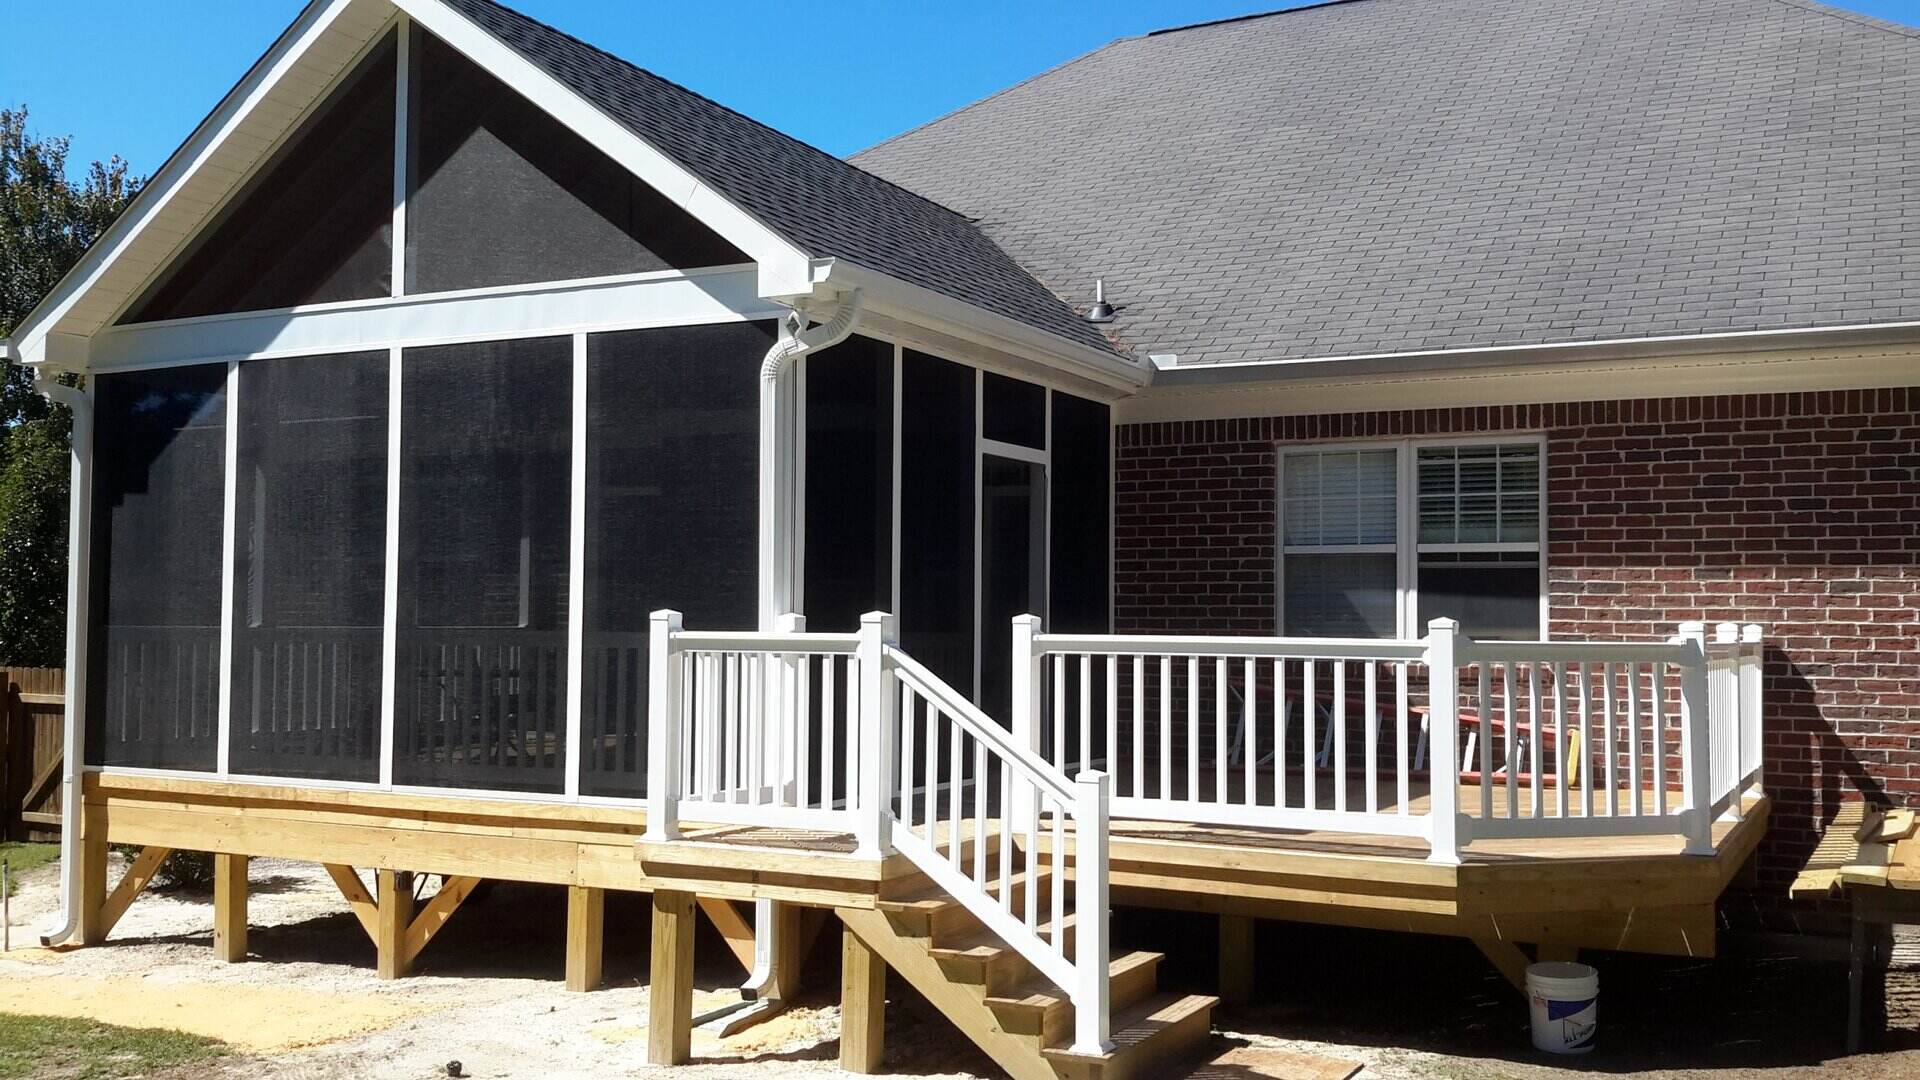
Step 5: Install the Roof
With the screen panels in place, the next step is to install the roof for your screen porch. Adding a roof provides shelter from the elements, allowing you to use your porch in various weather conditions. Here’s how you can install the roof:
- Determine the roof style: Choose the roof style that best suits your design preferences and complements your home. Popular options include gable, hip, and shed roofs. Consider factors such as drainage, aesthetics, and compatibility with your existing roof.
- Measure and cut the roof materials: Measure the dimensions of your porch and calculate the required amount of roofing material. Common options include asphalt shingles, metal sheets, or polycarbonate panels. Cut the materials to fit the dimensions of your porch, following the manufacturer’s instructions.
- Prep the roof frame: Ensure that the frame is sturdy and stable before installing the roof. Make any necessary repairs or reinforcements if needed. Install additional framing if your chosen roof style requires it.
- Apply underlayment: Before installing the roofing material, lay down an underlayment to provide an additional moisture barrier and prevent leaks. Follow the manufacturer’s instructions for proper installation.
- Install the roofing material: Starting from one edge of the roof, begin installing the roofing material according to the manufacturer’s instructions. Secure each piece in place using appropriate fasteners. Ensure that the material is aligned correctly and overlaps properly to prevent water leakage.
- Seal and finish the roof: Once the roofing material is installed, apply any necessary sealant to gaps or joints to ensure a watertight roof. Install any necessary flashing to protect vulnerable areas. Finally, inspect the roof for any potential issues or areas that may require further attention.
Installing the roof for your screen porch adds the final touch and transforms it into a fully functional and comfortable outdoor space. Be sure to select high-quality roofing materials that are suitable for your climate and follow all safety guidelines during installation. Once the roof is in place, you’re almost ready to enjoy your beautifully enclosed screen porch!
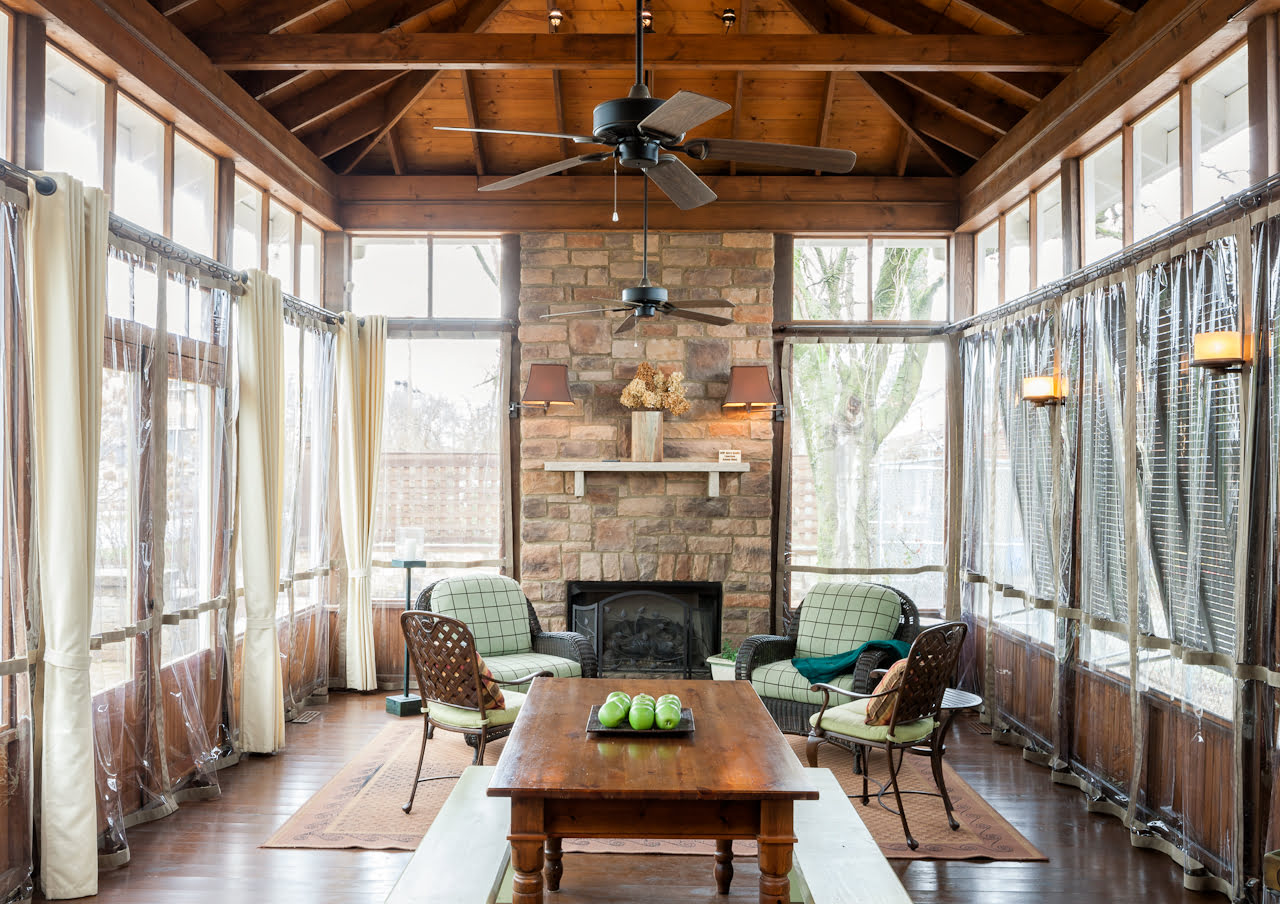
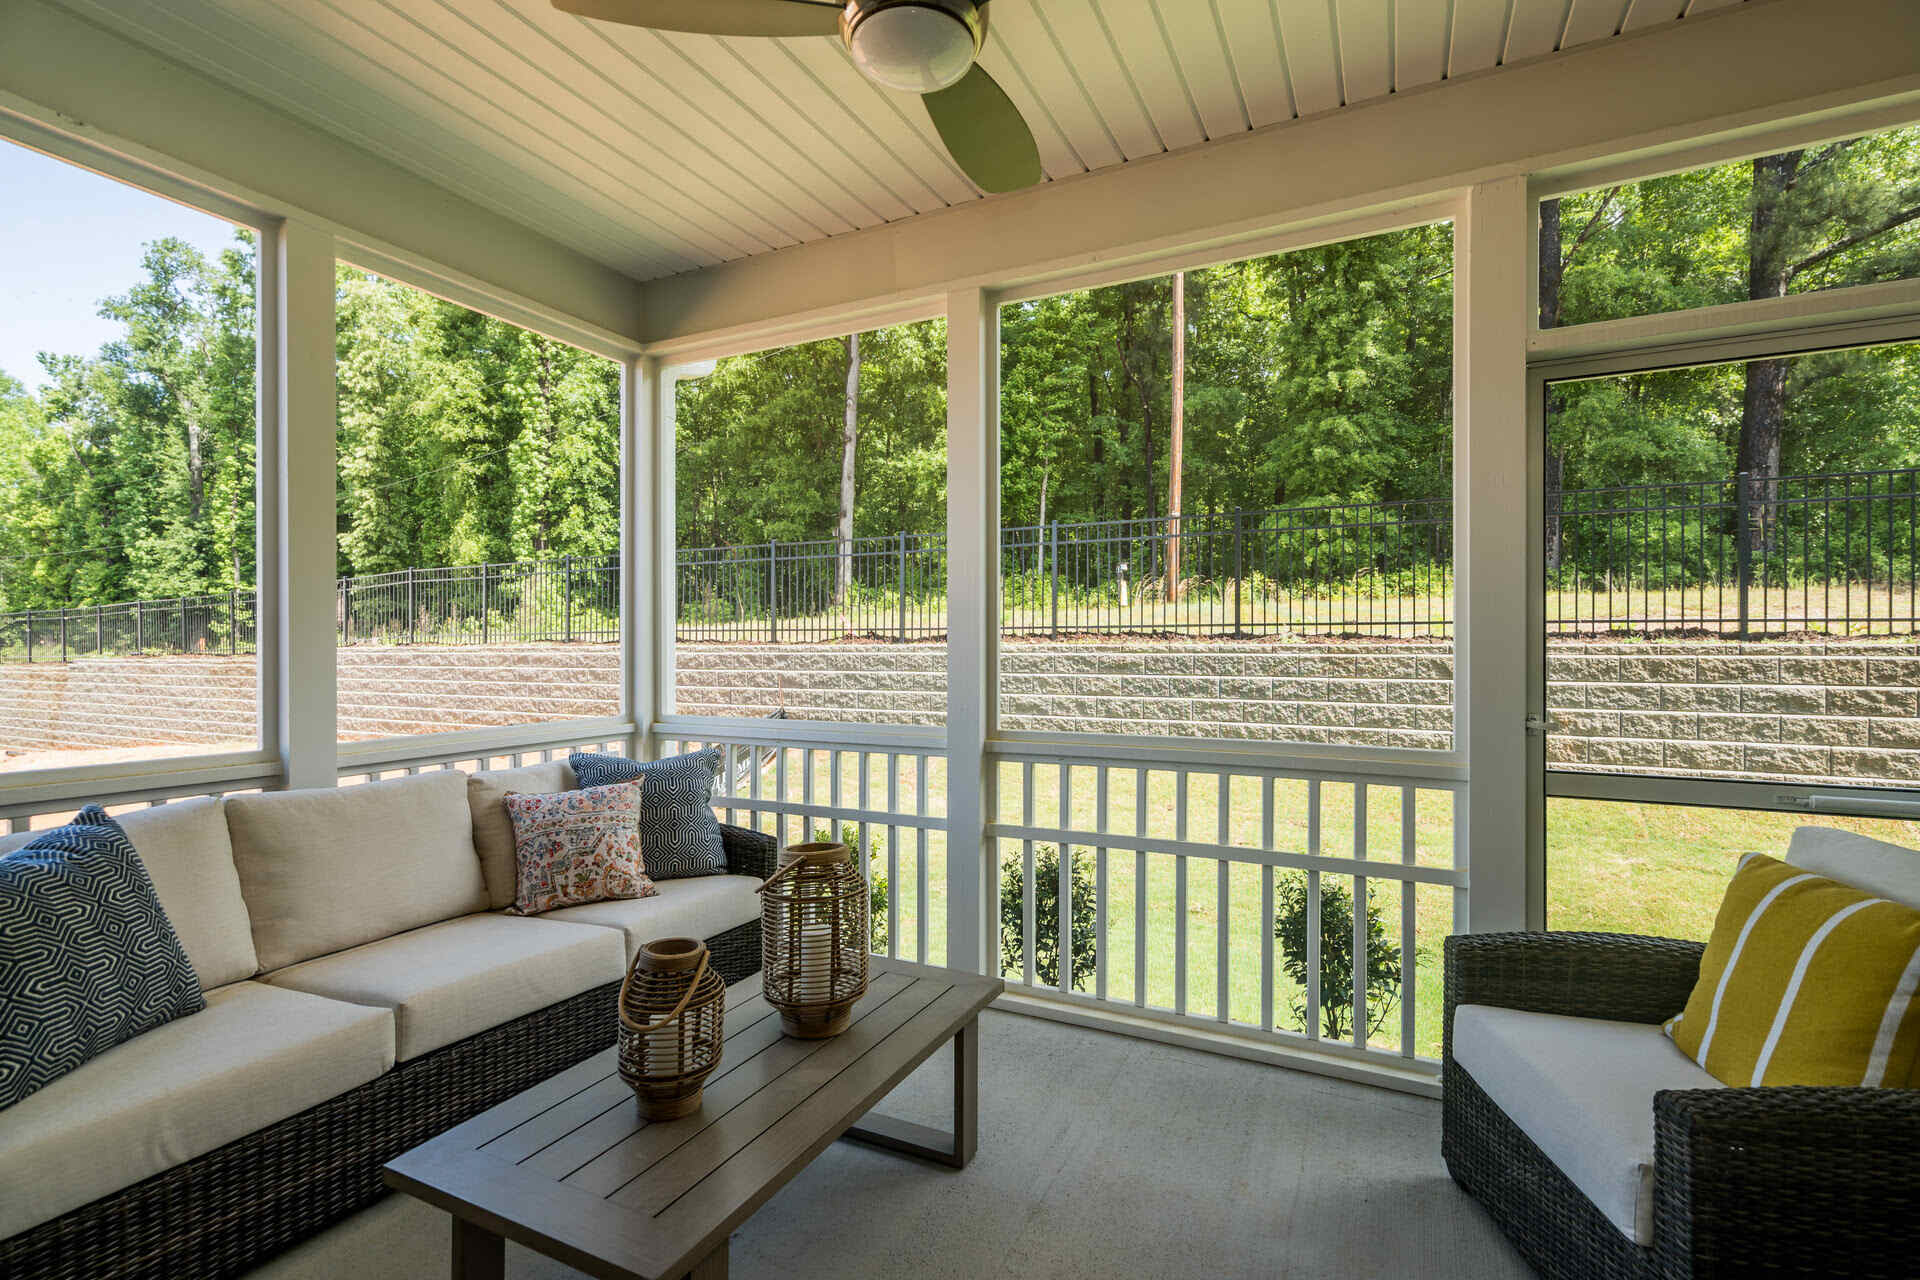
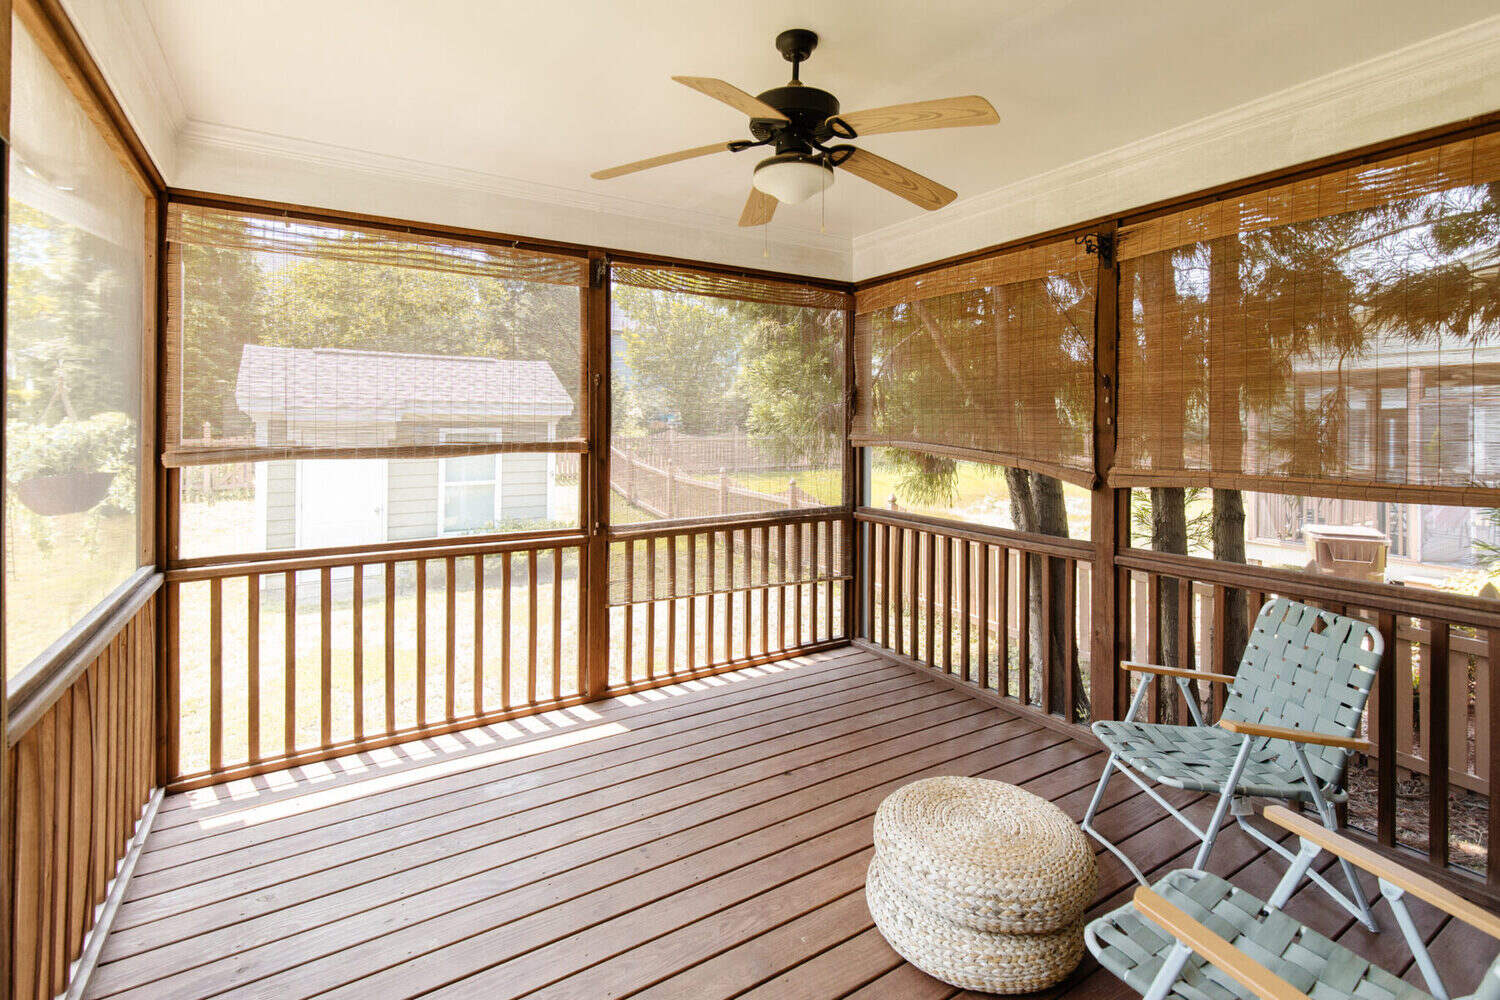
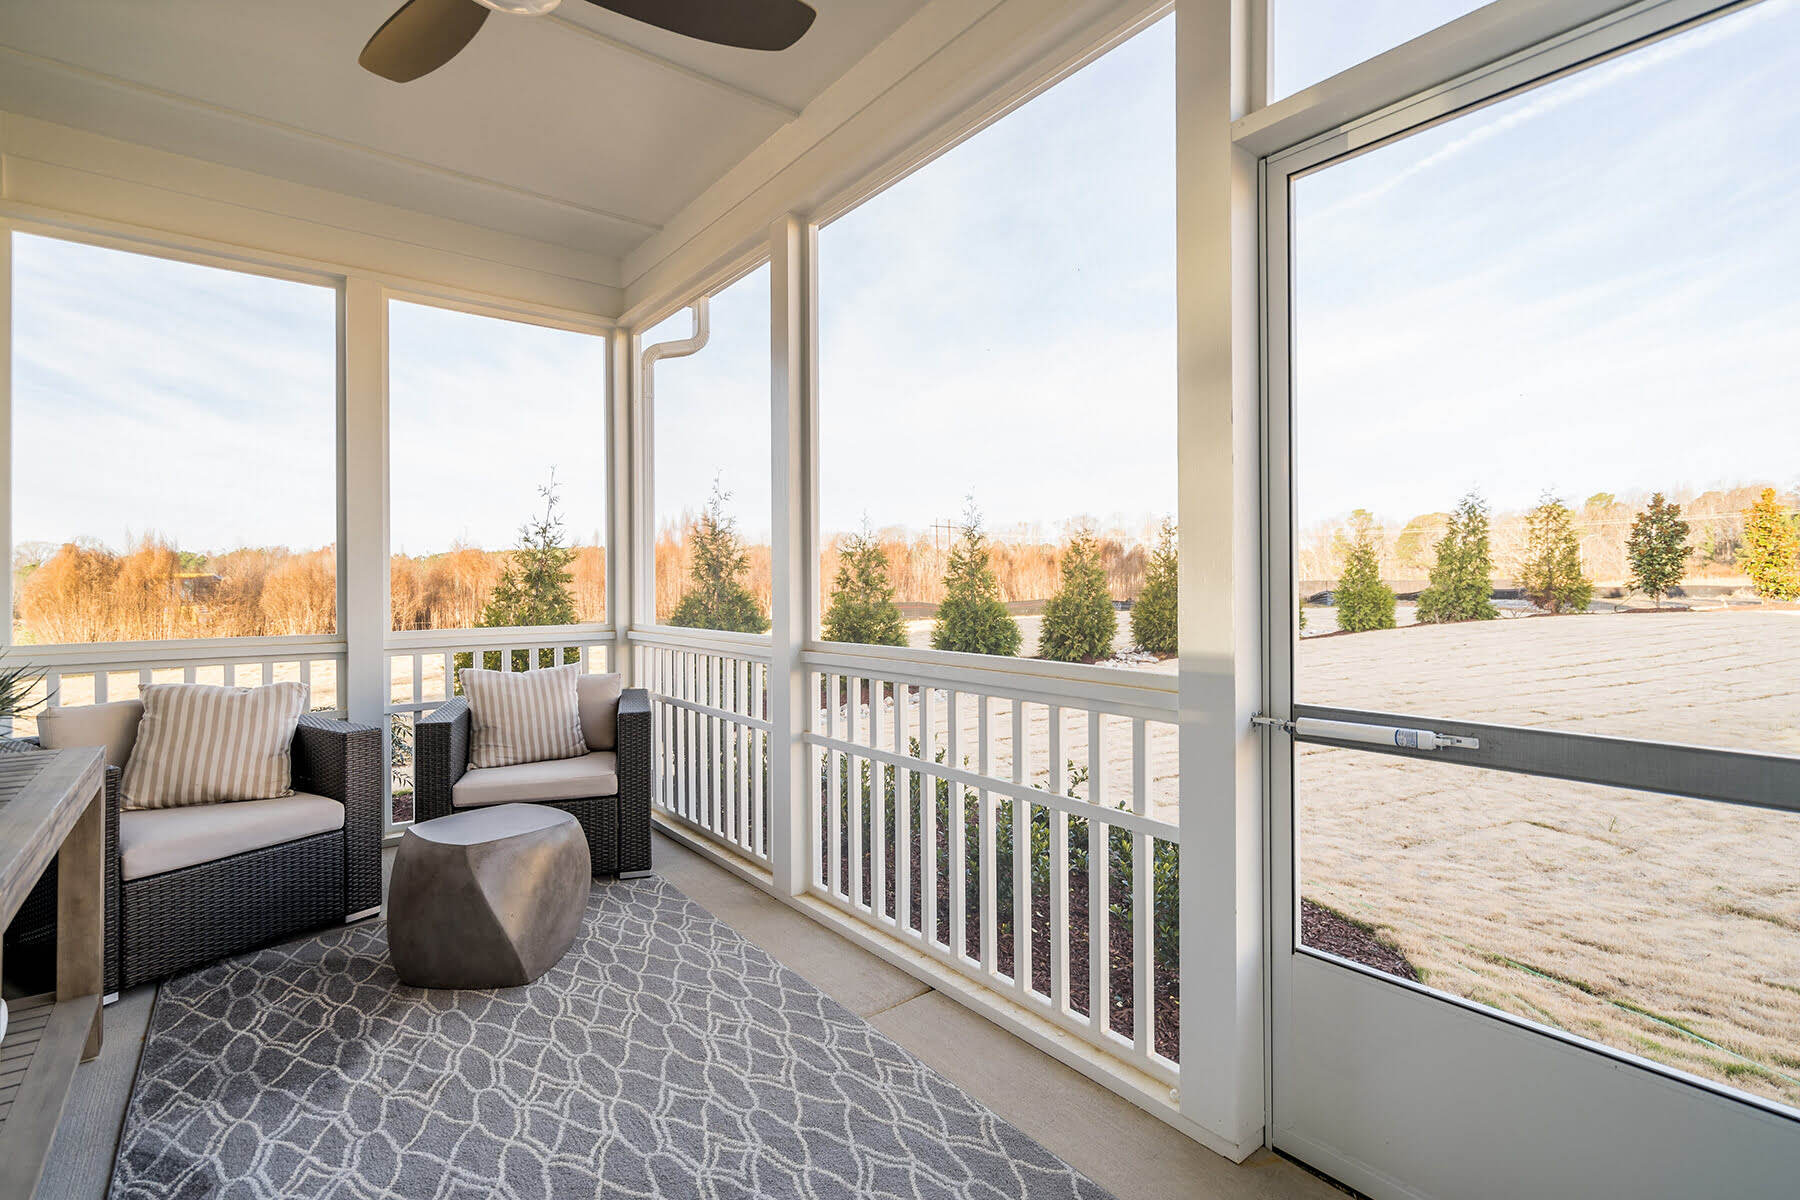
Step 6: Finish and Decorate the Porch
Congratulations on reaching the final step of framing your screen porch! Now it’s time to add the finishing touches and bring your porch to life. This step involves decorating and personalizing the space to create a welcoming and enjoyable atmosphere. Follow these steps to finish and decorate your porch:
- Paint or stain the frame: If desired, apply a coat of paint or stain to the frame. This will not only enhance the aesthetic appeal but also protect the wood from weather elements.
- Add flooring: Choose a flooring material that suits your style and needs. Options include wood, tile, stone, or outdoor carpeting. Install the flooring according to the manufacturer’s instructions.
- Furnish the porch: Select appropriate furniture pieces that provide comfort and functionality. Consider the size of your porch and the activities you plan to enjoy there. Arrange the furniture in a way that promotes conversation and relaxation.
- Create a focal point: Add a focal point to draw attention and create visual interest. This could be a fireplace, a captivating piece of artwork, a water feature, or a stunning plant arrangement.
- Install lighting: Illuminate your porch for both practicality and ambiance. Install overhead lighting, wall sconces, or string lights to create a warm and inviting atmosphere in the evening.
- Accessorize and personalize: Add decorative elements such as throw pillows, outdoor rugs, potted plants, and other accessories that reflect your personal style. Incorporate colors and textures that complement the overall design of your porch.
- Consider privacy: Depending on your surroundings, you may want to add additional privacy elements such as curtains, blinds, or screens to create a more intimate and secluded space.
By finishing and decorating your porch, you create a visually appealing and comfortable outdoor oasis that reflects your personal taste and lifestyle. Experiment with different elements until you achieve the desired look and feel. Remember, the goal is to create a space where you can relax, entertain, and enjoy the beauty of the outdoors year-round.
With the completion of step 6, your screen porch framing project is now finished! Take a step back and admire your hard work. Now, sit back, relax, and embrace the joy of spending time in your new screen porch sanctuary.
Conclusion
Congratulations! You have successfully learned how to frame a screen porch from start to finish. By following the steps outlined in this guide, you have transformed an ordinary porch into a functional and inviting space where you can relax and enjoy the outdoors without being bothered by bugs.
Throughout this process, you have gathered the necessary tools and materials, prepared the porch area, built a sturdy frame, installed screen panels to keep insects out, added a roof for shelter, and finished and decorated the porch to make it your own. Each step was essential in creating a comfortable and functional screen porch that seamlessly blends with your home and lifestyle.
Remember to adhere to local building codes and consult with professionals or obtain permits as required. Safety should always be a top priority when undertaking any construction projects.
Now that your screen porch is complete, you can begin to enjoy the numerous benefits it offers. Whether it’s spending quiet mornings sipping coffee, hosting gatherings with friends and family, or simply enjoying the fresh air and nature, your screen porch provides a versatile and comfortable space.
Feel free to experiment with various furnishings, decorations, and landscaping to further personalize your porch. Make it a reflection of your style and create an ambiance that suits your preferences.
A screen porch is a valuable addition to any home, providing a space to relax, entertain, and enjoy the beauty of the outdoors. Make the most of your new screen porch and create lasting memories in this versatile and functional outdoor living area.
Thank you for joining us on this journey of framing a screen porch. We hope that this guide has been informative and helpful in your project. Enjoy your newly framed screen porch!
Ready to elevate your outdoor space further? After mastering screen porch framing, why not dive into vibrant deck designs or deepen your understanding of porch types? Our articles on transforming decks for lively outdoor gatherings and the essentials of porch designs provide all the info needed. Whether you're sprucing up for serene evenings or curious about different porch styles, we've got insights that'll suit every homeowner's taste.
Frequently Asked Questions about How To Frame A Screen Porch
Was this page helpful?
At Storables.com, we guarantee accurate and reliable information. Our content, validated by Expert Board Contributors, is crafted following stringent Editorial Policies. We're committed to providing you with well-researched, expert-backed insights for all your informational needs.


0 thoughts on “How To Frame A Screen Porch”