Articles
How To Put Plexiglass On Screened-In Porch
Modified: October 18, 2024
Learn how to easily put Plexiglass on your screened-in porch with these helpful articles. Protect your porch from the elements while still enjoying the view.
(Many of the links in this article redirect to a specific reviewed product. Your purchase of these products through affiliate links helps to generate commission for Storables.com, at no extra cost. Learn more)
Introduction
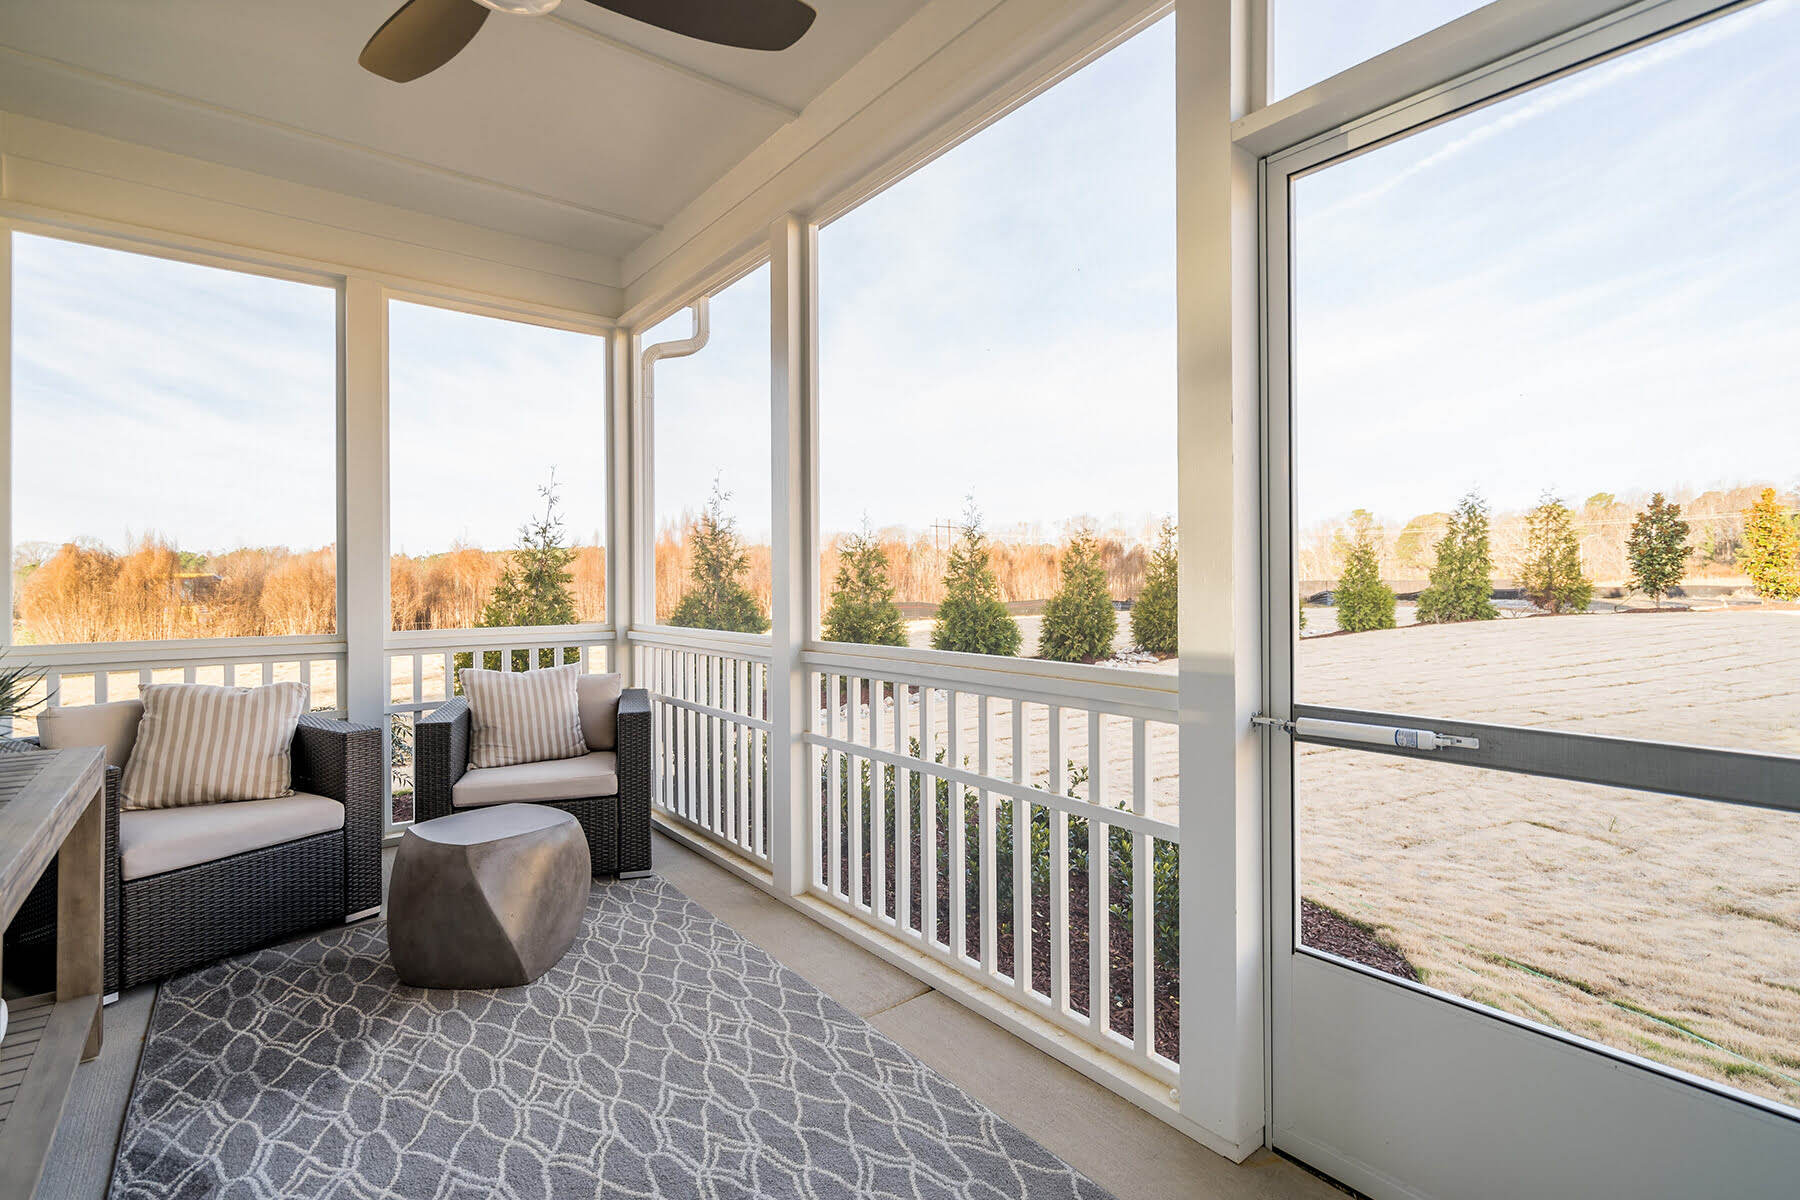
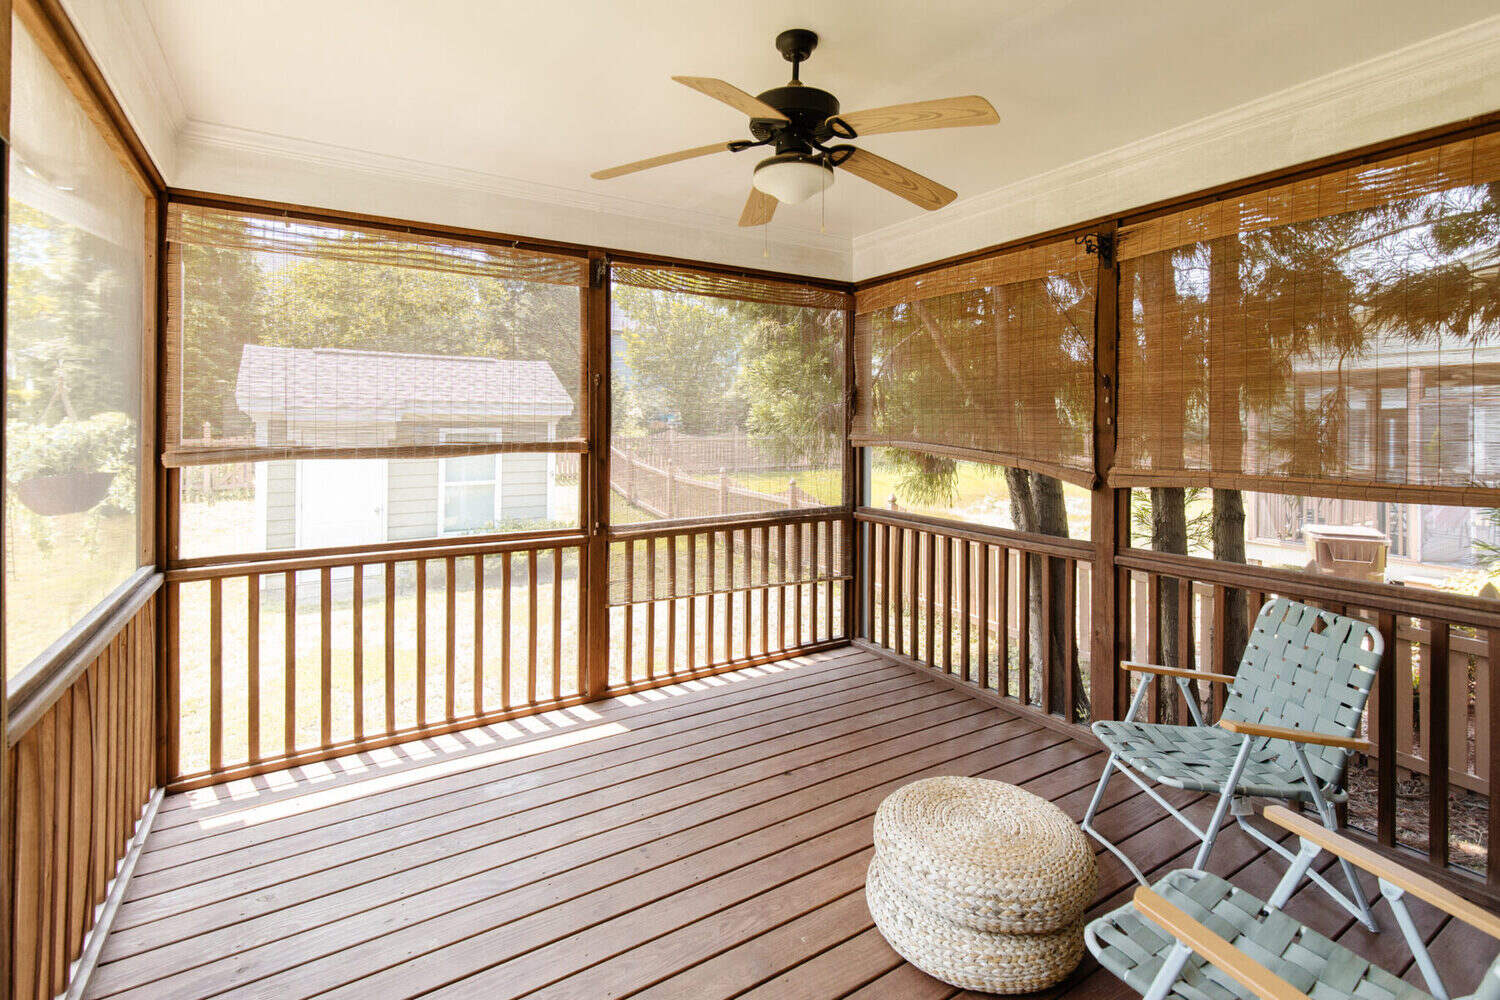
Adding plexiglass to your screened-in porch is a great way to extend the usability of your outdoor space. Plexiglass, also known as acrylic glass, is a durable and transparent material that provides protection from the elements while still allowing you to enjoy the view.
Whether you want to protect your porch from rain, wind, or pests, adding plexiglass panels can help create a barrier without obstructing your view. Installing plexiglass on a screened-in porch is a relatively simple DIY project that can be completed with just a few tools and materials.
In this article, we will guide you through the process of putting plexiglass on a screened-in porch, step by step. From measuring and cutting the plexiglass sheets to securing them to the porch frame, we’ll provide you with all the information you need to successfully complete this project.
Before we get started, let’s go over the materials and tools you’ll need for this project:
Key Takeaways:
- Transform your screened-in porch with plexiglass to create a weather-resistant barrier without sacrificing the view. Follow the step-by-step guide for a DIY installation and enjoy an extended outdoor space.
- Prioritize safety, precision, and regular maintenance when installing plexiglass on your screened-in porch. Create a durable and visually appealing barrier that protects your porch for years to come.
Read more: How To Screen In A Porch
Materials and Tools Needed
To install plexiglass on your screened-in porch, you will need the following materials and tools:
Materials:
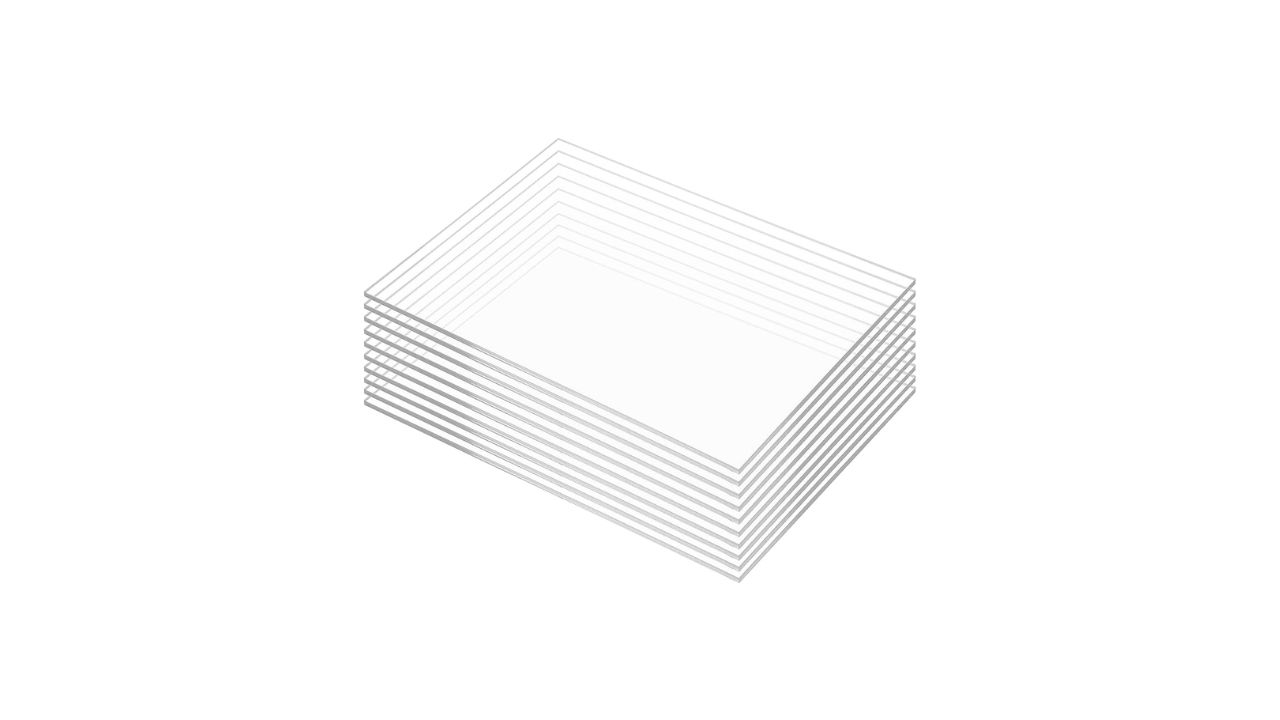
- Plexiglass sheets: Choose sheets that are the appropriate size for your porch and are designed for outdoor use. Opt for UV-resistant plexiglass to prevent yellowing and damage from sunlight.
- Aluminum or vinyl frames: These frames will be used to secure the plexiglass sheets to the porch walls or existing screens.
- Screws: Use corrosion-resistant screws that are appropriate for outdoor use.
- Weatherstripping: This will help seal the edges of the plexiglass panels and prevent drafts.
- Caulk or silicone sealant: This is used to seal any gaps or joints to ensure a watertight seal.
- Drill and drill bits: You’ll need a drill to create pilot holes and secure the frames and plexiglass to the porch.
- Tape measure: Use a tape measure to accurately measure the dimensions of your porch and the plexiglass panels.
- Pencil or marker: This will be used to mark the plexiglass for cutting and drilling.
- Safety glasses and gloves: Plexiglass can be sharp when cut, so it’s important to protect your eyes and hands.
Tools:
- Power saw or circular saw: Use a power saw to cut the plexiglass sheets to the required dimensions. Ensure that the saw blade is suitable for cutting acrylic or plastic materials.
- Clamps: These will help hold the plexiglass in place while you work.
- Screwdriver: A screwdriver will be needed to tighten the screws when attaching the frames.
- Sandpaper or file: Use sandpaper or a file to smooth the edges of the plexiglass after cutting.
- Clean cloth and window cleaner: Prepare the plexiglass surface by cleaning it thoroughly before installation.
Gather all the necessary materials and tools before starting the project to ensure a smooth and efficient installation process.
Step 1: Measure and Cut Plexiglass Sheets
The first step in installing plexiglass on your screened-in porch is to measure and cut the plexiglass sheets to fit the dimensions of your porch. Follow these steps:
- Measure the dimensions: Use a tape measure to determine the width, height, and any other relevant dimensions of your porch openings where you will install the plexiglass panels. Take accurate measurements to ensure a proper fit.
- Mark the plexiglass: Place the plexiglass sheets on a flat surface and use a pencil or marker to mark the measurements based on the dimensions of your porch.
- Cut the plexiglass: Using a power saw or circular saw with a blade specifically designed for cutting acrylic or plastic, carefully cut along the marked lines to create the desired plexiglass panels. Take safety precautions by wearing protective eyewear and gloves during the cutting process.
- Smooth the edges: After cutting, use sandpaper or a file to smooth any rough edges or sharp corners on the plexiglass panels. This will ensure a clean and polished finish.
Remember to measure twice and cut once to avoid errors. If you’re unsure about cutting the plexiglass yourself, you can also take the measurements to a local home improvement store or glass supplier, and they can custom cut the plexiglass sheets for you.
Once you have completed this step, you are ready to move on to preparing the porch frame for installation.
Read more: What Is A Screened Porch
Step 2: Prepare the Porch Frame
Before you can secure the plexiglass sheets to your porch, it’s important to properly prepare the porch frame. Follow these steps:
- Clean the frame: Thoroughly clean the porch frame where the plexiglass panels will be installed. Remove any dirt, debris, or old weatherstripping to ensure a clean surface.
- Inspect for damage: Check the frame for any signs of damage, such as rotting wood or loose screws. Repair or replace any damaged components to ensure a sturdy frame for the plexiglass panels.
- Measure the frame openings: Use a tape measure to measure the width and height of each opening in the porch frame where the plexiglass will be installed. Take precise measurements to ensure a proper fit.
- Install frames if necessary: If your porch does not already have frames in place, you will need to install aluminum or vinyl frames. Cut the frames to the measured dimensions and attach them securely to the porch frame using screws. Ensure that the frames are level and plumb.
- Apply weatherstripping: To create a seal between the frame and the plexiglass panels, apply weatherstripping along the inner edges of the frame. This will help to prevent drafts and provide a snug fit for the plexiglass.
By properly preparing the porch frame, you will ensure a secure and weather-resistant installation of the plexiglass panels. Once the frame is ready, you can move on to step 3: securing the plexiglass sheets to the frame.
Step 3: Secure the Plexiglass Sheets to the Frame
Now that you have prepared the porch frame, it’s time to secure the plexiglass sheets in place. Follow these steps:
- Position the plexiglass panels: Carefully place the cut plexiglass panels into the frame openings. Make sure they are positioned correctly and align with the frames.
- Pre-drill pilot holes: Using a drill and an appropriate drill bit, pre-drill pilot holes through the plexiglass and into the frame. These holes will make it easier to attach the panels securely without cracking the plexiglass.
- Secure the panels: Place screws through the pre-drilled holes and into the frame. Be cautious not to overtighten the screws, as this can cause damage to the plexiglass. Use just enough pressure to secure the panels in place.
- Repeat for all panels: Repeat the process for each plexiglass panel, ensuring that they are all securely fastened to the porch frame. Double-check the alignment and fit of each panel as you go along.
It’s recommended to start with the bottom panel and work your way up to ensure a proper alignment as you install the plexiglass sheets. Take your time to ensure all panels are properly secured and aligned before moving on to the next step.
Once you have secured all the plexiglass sheets to the porch frame, you can proceed to step 4: sealing and finishing the edges to create a watertight seal.
When putting plexiglass on a screened-in porch, make sure to measure the dimensions accurately and use a drill to secure the plexiglass to the frame. Use weatherproofing sealant to prevent water damage.
Step 4: Seal and Finish the Edges
After securing the plexiglass sheets to the porch frame, it’s important to seal and finish the edges to create a watertight seal and enhance the appearance of the installation. Follow these steps:
- Apply caulk or silicone sealant: Using a caulk gun, apply a generous bead of caulk or silicone sealant along the outer edges of the plexiglass panels where they meet the porch frame. This will create a barrier against water and drafts.
- Smooth the caulk: Use a caulk smoothing tool or a damp finger to smooth the caulk and create a neat finish. Wipe away any excess caulk to ensure a clean appearance.
- Clean up any spills or smudges: If any caulk or sealant spills onto the plexiglass surface, quickly clean it up with a clean cloth or sponge. This will prevent the caulk from drying and hardening on the plexiglass.
- Let the sealant dry: Allow the caulk or sealant to dry completely according to the manufacturer’s instructions. This will ensure that the sealant forms a strong and durable bond.
Sealing and finishing the edges will help prevent water leakage and drafts from entering your screened-in porch. It’s important to use a high-quality sealant that is specifically designed for outdoor use and suitable for bonding with plexiglass.
Once the sealant is dry, you can proceed to the final step: cleaning and maintaining the plexiglass panels to keep them in optimal condition.
Step 5: Clean and Maintain Plexiglass Panels
To ensure the longevity and clarity of your newly installed plexiglass panels on your screened-in porch, it’s important to clean and properly maintain them. Follow these steps:
- Remove dirt and debris: Regularly remove any dirt, dust, or debris that may accumulate on the plexiglass panels. Use a soft cloth or sponge to gently wipe away the surface contaminants.
- Prepare a cleaning solution: Mix a mild detergent or dish soap with warm water to create a cleaning solution. Avoid using harsh chemicals or abrasive cleaners that can scratch or damage the plexiglass.
- Clean the plexiglass: Dip a clean, lint-free cloth or sponge into the cleaning solution and gently wipe the plexiglass panels in a circular motion. Be sure to cover the entire surface area, including the edges.
- Rinse with clean water: After cleaning, rinse off the plexiglass panels with clean water to remove any residue from the cleaning solution.
- Dry with a soft cloth: Use a soft, microfiber cloth to dry the plexiglass panels completely. Avoid using paper towels or rough materials that can leave scratches.
- Apply a plexiglass cleaner or polish: For added protection and shine, you can apply a specialized plexiglass cleaner or polish. Follow the manufacturer’s instructions for application.
- Maintain regular cleaning schedule: Establish a regular cleaning schedule to keep your plexiglass panels looking their best. How often you clean them will depend on the level of dirt and exposure to the elements.
By regularly cleaning and maintaining your plexiglass panels, you can keep them clear, free from streaks, and in pristine condition. This will improve the visibility and overall appearance of your screened-in porch.
With the completion of step 5, you have successfully installed and maintained plexiglass panels on your screened-in porch. Enjoy the benefits of a protected outdoor space that still allows you to enjoy the view!
Read more: How To Frame A Screen Porch
Conclusion
Adding plexiglass to your screened-in porch is a fantastic way to enhance its functionality and enjoyment. By following the step-by-step guide outlined in this article, you can easily install plexiglass sheets that provide protection from the elements while still allowing you to enjoy the view.
Throughout the installation process, it’s essential to measure and cut the plexiglass sheets accurately, prepare the porch frame properly, secure the panels in place, seal and finish the edges, and clean and maintain the plexiglass regularly. By doing so, you’ll create a durable and visually appealing barrier that will protect your porch for years to come.
Remember to gather all the necessary materials and tools before starting the project and work carefully to ensure precise measurements and cuts. Additionally, prioritize safety by using protective eyewear and gloves when handling plexiglass and power tools.
Once the plexiglass panels are installed, take the time to clean them regularly and apply a plexiglass cleaner or polish to maintain their clarity and shine. This will keep your screened-in porch looking its best and extend the lifespan of the plexiglass.
Now that you have learned how to put plexiglass on a screened-in porch, go ahead and get started on transforming your outdoor space. Enjoy the benefits of added protection, extended usability, and a beautiful view from the comfort of your porch!
Now that you've mastered installing Plexiglass on your screened-in porch, why not delve deeper into its foundational concept with our guide on what a screened porch entails? Understanding this can enhance your appreciation and utilization of such spaces. Ready for more? If sprucing up your outdoor area sounds appealing, our article on transforming your deck offers creative decor tips and practical add-ons to transform your deck into a perfect retreat for relaxation and entertainment.
Frequently Asked Questions about How To Put Plexiglass On Screened-In Porch
Was this page helpful?
At Storables.com, we guarantee accurate and reliable information. Our content, validated by Expert Board Contributors, is crafted following stringent Editorial Policies. We're committed to providing you with well-researched, expert-backed insights for all your informational needs.


0 thoughts on “How To Put Plexiglass On Screened-In Porch”