
Articles
How To Build Screens For A Porch
Modified: August 31, 2024
Learn how to build screens for your porch with our informative articles. Discover useful tips and step-by-step guides to complete your project successfully.
(Many of the links in this article redirect to a specific reviewed product. Your purchase of these products through affiliate links helps to generate commission for Storables.com, at no extra cost. Learn more)
Introduction
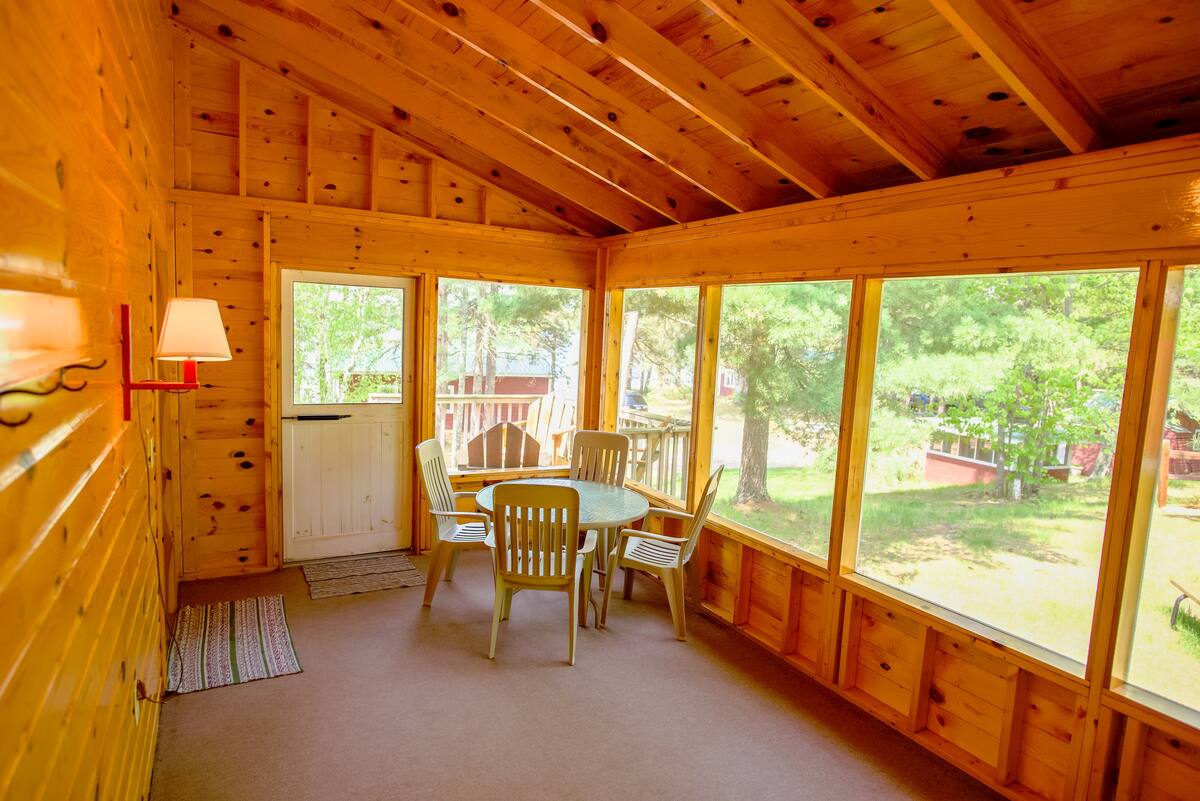
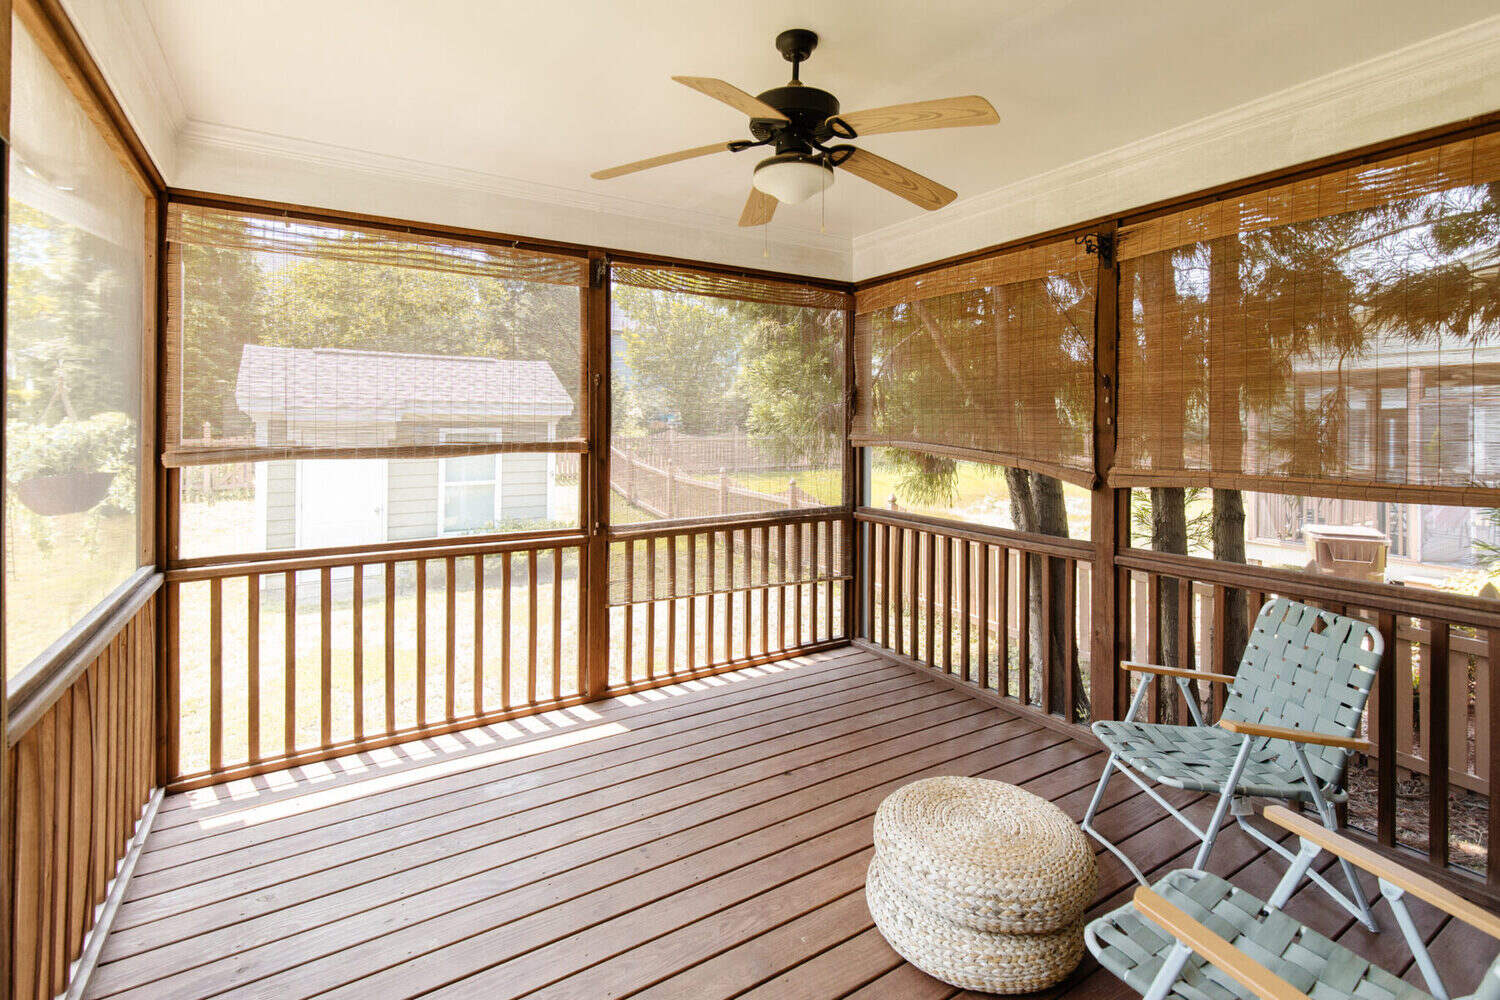
Welcome to our comprehensive guide on how to build screens for a porch. If you’re looking to enjoy the great outdoors without the hassle of bugs and pests, adding screens to your porch is a fantastic solution. Screened porches provide a comfortable and inviting space to relax, entertain, and enjoy the beauty of nature.
In this article, we will walk you through the step-by-step process of building screens for your porch. We will cover everything from measuring and planning, to gathering the necessary tools, and finally installing and securing the screens. Whether you’re a seasoned DIY enthusiast or a beginner, our guide will provide you with all the information you need to successfully complete this project.
Before we dive into the details, let’s briefly highlight the benefits of having a screened porch. First and foremost, screens offer protection against annoying insects such as mosquitoes, flies, and gnats. This allows you to enjoy the fresh air without the constant buzzing and biting. Additionally, screened porches provide some level of privacy, shielding you from prying eyes while still allowing you to feel connected to the outdoors.
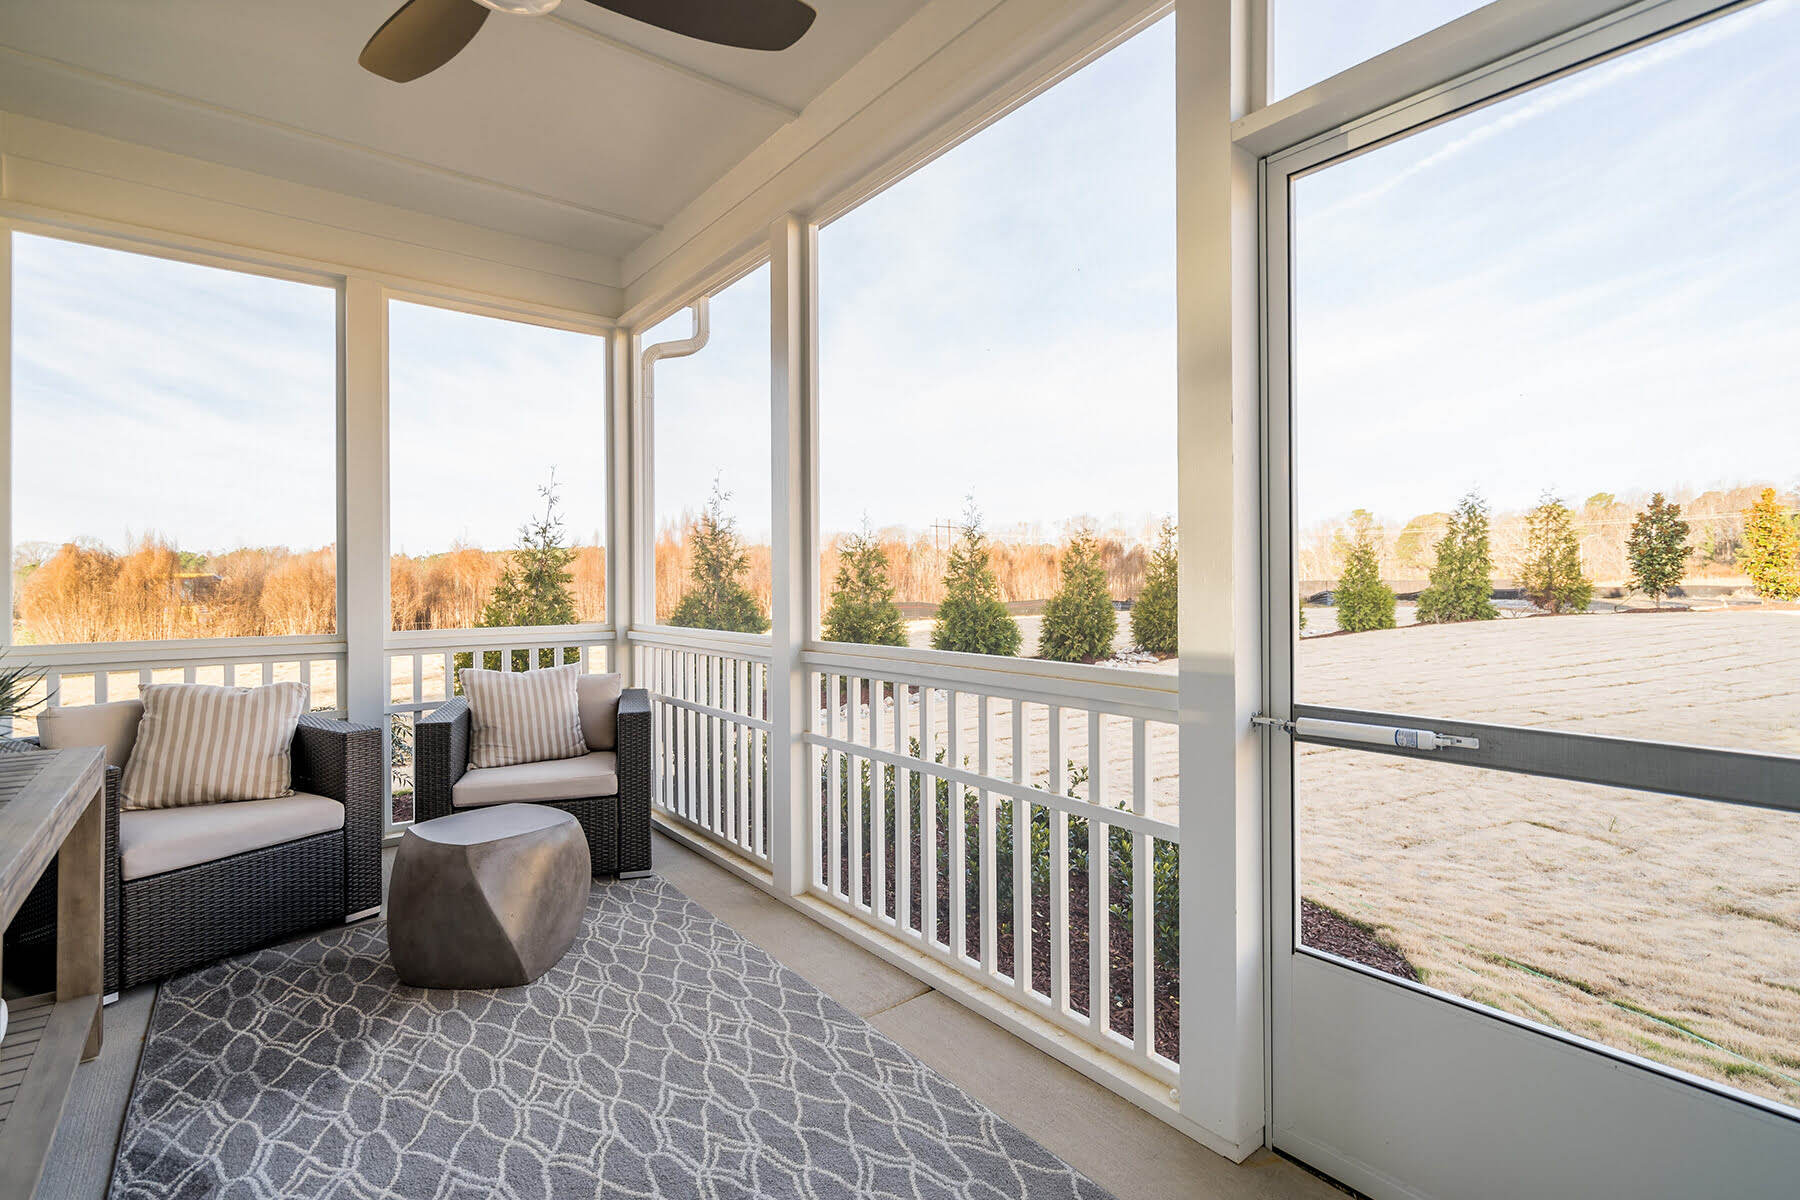
Furthermore, a screened porch can serve as an extension of your living space. It provides a sheltered area that allows you to enjoy outdoor activities such as reading, dining, or even watching movies. It is a perfect spot for gatherings and entertaining guests, providing a comfortable and bug-free environment.
Now that you understand the benefits of a screened porch, it’s time to gather the materials and tools you’ll need for the project. Let’s move on to the next section to learn more!
Key Takeaways:
- Building screens for your porch provides a bug-free and inviting outdoor space for relaxation and entertainment. Follow our comprehensive guide for a successful DIY project.
- Regular maintenance, including cleaning, inspections, and repairs, will ensure the longevity and optimal performance of your porch screens. Enjoy your bug-free and comfortable outdoor space!
Read more: How To Build A Screened-In Porch On A Deck
Materials Needed
Before you begin building screens for your porch, it’s essential to gather all the necessary materials. Having everything on hand will help streamline the construction process and ensure an efficient and successful project. Here are the materials you’ll need:
- Screening material: Choose a durable and weather-resistant material such as fiberglass or aluminum. Measure the dimensions of your porch to determine the amount of screening material needed.
- Screen frames: You can either purchase pre-made screen frames or build your own using aluminum or wood. Make sure the frames are the appropriate size for your porch and screens.
- Splines and spline tool: Splines are the rubber cords used to secure the screening material to the frame. Ensure you have the correct size spline for your chosen screening material and a spline tool to install it.
- Corner connectors and frame connectors: These are necessary if you’re building your own screen frames. Corner connectors are used to connect the frame corners, while frame connectors are used to join multiple frame sections together.
- Screen door (optional): If you want to add a screen door to your porch, consider choosing one that complements your overall design aesthetic and matches the dimensions of your porch entrance.
- Trim strips: These strips are used to cover the edges of the screening material and provide a finished look. You can choose plastic or metal trim strips in a color that matches your porch.
- Screws, nails, or fasteners: Depending on the type of screen frames you’re using, you may need screws, nails, or other fasteners to securely attach them to the porch structure.
- Basic hand tools: Make sure you have a measuring tape, level, square, screwdriver, hammer, drill (if necessary), and any other tools specific to your project.
It’s always a good idea to double-check your materials list before starting the project to ensure you have everything you need. This will save you time and prevent any unnecessary interruptions.
Now that you have all your materials ready, the next step is to measure and plan for your porch screens. Let’s move on to the next section to learn more!
Step 1: Measure and Plan
Before you start building screens for your porch, it’s crucial to accurately measure and plan the project. This will ensure that your screens fit properly and provide maximum functionality and aesthetic appeal. Follow these steps to measure and plan for your porch screens:
- Measure the dimensions: Begin by measuring the length and height of each opening where the screens will be installed. Take precise measurements, accounting for any existing frames or trim that may affect the screen size.
- Determine the screen type: Decide if you want full screens that cover the entire opening or half screens that only cover the lower portion. Consider your needs and preferences, keeping in mind factors such as airflow, visibility, and maintenance.
- Consider screen materials: Choose the type of screening material that best suits your requirements. Fiberglass screens are lightweight and commonly used for their durability, while aluminum screens are stronger but may have a more noticeable appearance.
- Ensure structural integrity: Assess the condition of your porch structure. Make any necessary repairs or reinforcements to ensure it can support the weight of the screens and function properly.
- Plan for door installation (if applicable): If you’re adding a screen door to your porch, determine the location and dimensions required. Consider the swing direction and clearance needed for smooth operation.
- Check local building codes: Research your local building codes and regulations to ensure compliance. Some areas may have specific requirements for screen installation, particularly for structural considerations.
By taking the time to measure and plan before starting the construction process, you will set yourself up for a successful project. Accurate measurements and thoughtful planning will help you avoid potential issues and ensure a smooth installation process.
With your measurements and plans in hand, it’s time to gather the necessary tools for the project. In the next section, we’ll discuss the tools you’ll need to complete the construction of your porch screens.
Step 2: Gather Tools
Now that you have measured and planned for your porch screens, it’s time to gather the necessary tools to complete the project. Having the right tools on hand will make the construction process easier and more efficient. Here are the tools you’ll need:
- Measuring tape: A reliable measuring tape is essential for accurately measuring the dimensions of your porch and screens.
- Level: Use a level to ensure that your screens are installed straight and level, providing a professional-looking finish.
- Square: A square is useful for ensuring that your screen frames are properly assembled and aligned.
- Screwdriver: Depending on your screen frame design, you may need a screwdriver to secure the frame components together.
- Hammer: A hammer will come in handy for attaching screen frames to your porch structure or installing trim.
- Spline tool: This specialized tool is used to install the splines that hold the screening material in place within the screen frames.
- Utility knife: A sharp utility knife will be necessary for cutting and trimming the screening material and spline.
- Drill (if applicable): If you’re using screws or other types of fasteners to secure your screen frames, a drill will be necessary for pre-drilling holes and driving the screws.
- Safety equipment: Safety goggles and gloves are essential to protect your eyes and hands during the construction process.
Having these tools readily available will save you time and ensure that you can work efficiently. Before proceeding to the next step, confirm that you have all the necessary tools in good working condition. It’s also a good idea to gather any additional materials such as screws or nails that may be required, based on your specific screen frame design.
Now that you’re equipped with the right tools, you’re ready to move on to preparing the porch frame for the installation of your screens. In the next step, we’ll guide you through the necessary preparations to ensure a solid foundation for your porch screens.
Step 3: Prepare the Porch Frame
Before you can install the screens on your porch, it’s important to properly prepare the porch frame. This step involves assessing the condition of the frame, making any necessary repairs or adjustments, and ensuring it is ready to support the screens. Follow these steps to prepare the porch frame:
- Inspect the frame: Carefully examine the existing porch frame for any signs of damage or deterioration. Look for loose or rotted wood, rusted metal, or any other issues that may affect the stability and longevity of the screens. Address any structural problems before proceeding.
- Remove any existing screens: If your porch has old screens or remnants of previous screening material, remove them and clean the frame thoroughly. This will provide a clean surface for the installation of the new screens.
- Repair or reinforce the frame: If you notice any damage or weak areas, repair or reinforce them accordingly. Replace rotted wood or damaged sections with new materials, and secure loose joints or connections to ensure a sturdy frame.
- Sand and paint the frame (optional): If desired, sand down the surface of the porch frame and apply a fresh coat of paint or stain. This step will not only enhance the aesthetic appeal of your porch but also protect the wood from weathering and prolong its lifespan.
- Install flashing (if necessary): Depending on your porch’s design and the specific screening material you’re using, you may need to install flashing to ensure a water-tight seal between the frame and the screens. Consult the manufacturer’s instructions for guidance.
By taking the time to properly prepare the porch frame, you will ensure a solid and secure foundation for the installation of your screens. This will contribute to the longevity and durability of the overall structure.
Next, we will move on to the process of installing the screen frames, which is a significant step in building screens for your porch. In the following section, we’ll guide you through the necessary steps to install the frames effectively.
Read more: How To Build A Screened-In Porch On Concrete
Step 4: Install Screen Frames
With the porch frame properly prepared, it’s time to move on to installing the screen frames. These frames will provide the structure and support for the screens. Follow these steps to install the screen frames on your porch:
- Position the frames: Begin by aligning the screen frames within the openings of your porch. Ensure that each frame is level and centered within the opening.
- Secure the frames: Using screws, nails, or other fasteners appropriate for your porch material, attach the corners of the frames to the porch structure. Ensure a tight and secure fit, but be careful not to overtighten and damage the frames.
- Check for level and square: Use a level and square to ensure that each screen frame is plumb (vertically level) and square (all corners forming right angles). Adjust as needed before proceeding.
- Secure additional frame sections (if applicable): If the size of your porch opening requires multiple frame sections, use frame connectors or additional fasteners to secure the sections together. Make sure they are aligned and joined securely.
- Double-check the fit: Confirm that the screen frames fit snugly within the porch openings and that they are securely attached to the porch structure. Reinforce any loose areas if necessary.
As you install the screen frames, take your time to ensure their proper alignment and secure attachment to the porch structure. Properly installed frames will provide the foundation for well-fitted screens and a professional-looking finish.
Now that you have successfully installed the screen frames, it’s time to move on to the next step: attaching the screens to the frames. This step will bring you closer to having screens that provide protection while enjoying your porch. Continue reading to learn how to attach the screens effectively.
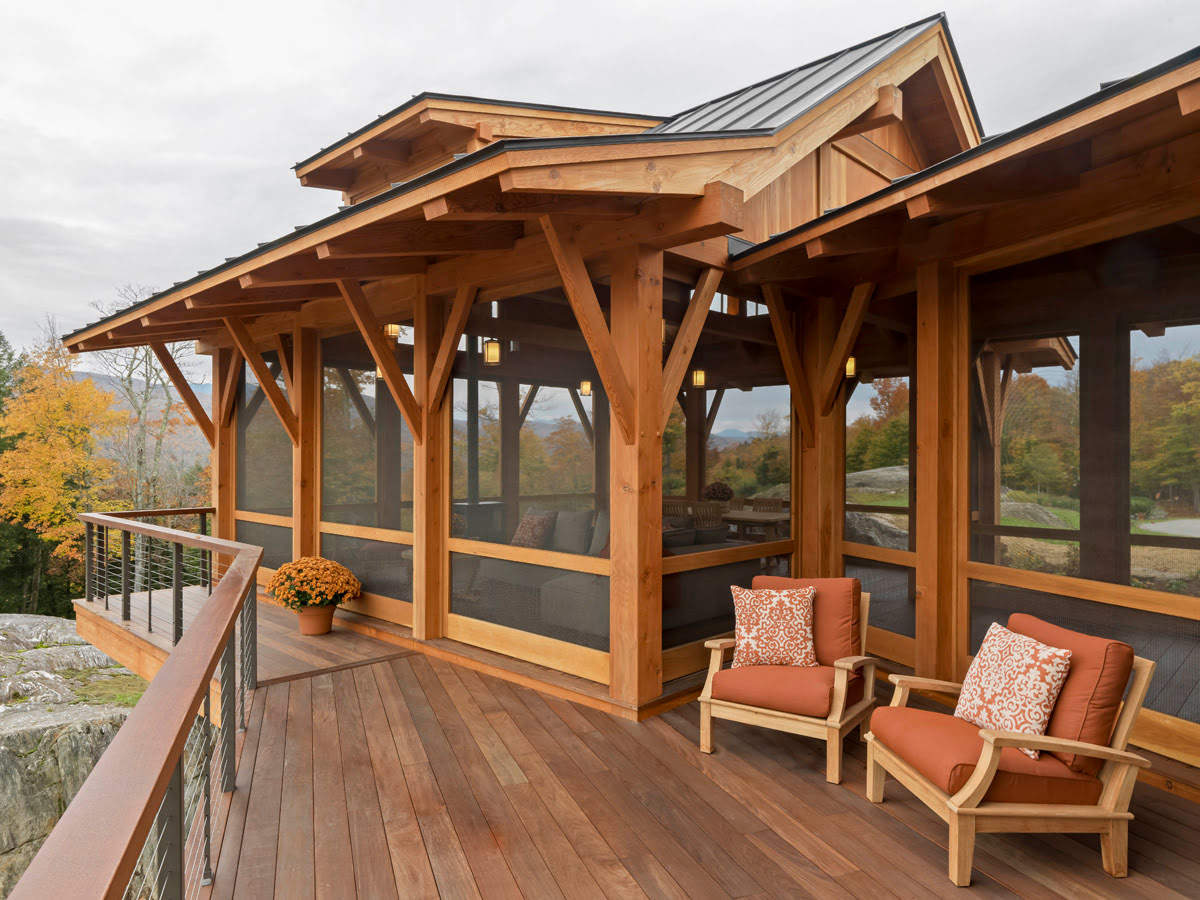
When building screens for a porch, make sure to use durable materials such as aluminum or fiberglass to withstand outdoor elements. Properly measure and secure the screens to ensure a tight and secure fit.
Step 5: Attach Screens to Frames
Now that your screen frames are securely installed, it’s time to attach the screening material to the frames. This step will transform the frames into functional screens that keep out insects and provide a barrier between the porch and the outdoors. Follow these steps to effectively attach the screens to the frames:
- Prepare the screening material: Cut the screening material to the appropriate size, leaving a few inches of excess on each side to ensure a proper fit within the frame. Trim any excess or uneven edges.
- Place the screening material: Lay the cut piece of screening material over the frame, ensuring that it covers the entire opening. Make sure the screen is taut but not stretched excessively, as this can cause the material to sag or tear over time.
- Secure the screening material to the frame: Starting at one corner, use a spline tool to press the spline (rubber cord) into the groove of the screen frame, securing the screening material in place. Work your way along each side, pressing the spline firmly but without causing damage to the screen or frame. Trim the excess spline as needed.
- Check for any wrinkles or loose areas: As you attach the screening material, periodically check for any wrinkles or areas that are not securely fastened. Smooth out any wrinkles and adjust the screen tension as necessary to ensure a smooth and even surface.
- Trim the excess screening material: Once the screening material is secured, use a utility knife to carefully trim the excess material, following the outer edge of the screen frame. Take your time to achieve clean and precise cuts.
Make sure to follow the instructions provided with your specific screening material and spline tool for best results. Taking care during this step will ensure a neat and professional appearance for your porch screens.
With the screens securely attached to the frames, we’re almost finished. In the next step, we’ll guide you through the process of securing the screens to the porch structure, adding stability and longevity to your project. Read on to learn more!
Step 6: Secure Screens to Porch
Now that the screens are attached to the frames, it’s time to secure them to the porch structure. This step will provide added stability and prevent the screens from coming loose or shifting over time. Follow these steps to effectively secure the screens to your porch:
- Check for any loose areas: Before securing the screens, inspect them for any areas that may be loose or need reinforcement. This may include any corners or edges that require extra attention.
- Use screws, nails, or staples: Depending on your porch design and the material of your porch structure, choose the appropriate fasteners to secure the screens. Place them strategically along the frame, ensuring they penetrate into the porch structure for a secure hold.
- Space the fasteners adequately: Space the fasteners evenly along each side of the screen frame, ensuring there are no large gaps between them. This will distribute the tension and provide a secure attachment. Be careful not to overdrive the fasteners and damage the screens or frame.
- Secure additional frame sections (if applicable): If your porch opening requires multiple frame sections, use screws or other fasteners to secure the sections together, ensuring they are aligned and joined tightly.
- Test the screen’s stability: Once all the screens are secured, gently press on them to test their stability. They should feel firm and not shift or move significantly. Reinforce any weak areas or tighten any loose fasteners if necessary.
Securing the screens to the porch structure will provide peace of mind and ensure that they remain in place, even in windy conditions or with regular use. Take your time to properly fasten the screens, and periodically check for any areas that may need reinforcement as the screens age.
With the screens securely in place, we’re nearing the final stages of building screens for your porch. In the next step, we’ll discuss adding trim to give your screens a polished and finished appearance. Keep reading to learn more!
Step 7: Install Trim
To add a final touch of polish and enhance the appearance of your porch screens, it’s time to install trim. Trim not only provides a finished look but also helps to protect the edges of the screening material and frames. Follow these steps to effectively install trim:
- Select the appropriate trim material: Choose trim strips that are suitable for outdoor use and complement the overall design of your porch. Options include plastic, metal, or wood trim strips.
- Measure and cut the trim: Using a measuring tape, carefully measure the length of each screen frame edge and trim strip. Mark the measurements on the trim strips and cut them to size using a saw or utility knife.
- Attach the trim to the frames: Starting at one corner, place the trim strip over the edge of the screen frame. Use screws, nails, or other appropriate fasteners to secure the trim strip into place. Space the fasteners evenly along the length to ensure a secure fit. Repeat the process for each edge of the frame.
- Ensure a snug and even fit: As you attach the trim, make sure it fits snugly against the frame and screens. Adjust as necessary to ensure a tight and even fit, with no gaps or loose sections.
- Trim any excess material: Once all the trim is attached, use a saw or utility knife to carefully trim any excess material, ensuring clean and precise cuts.
Installing trim not only gives your porch screens a professional and polished appearance but also helps protect the edges of the screening material from damage and fraying. It’s a final step that adds a finishing touch to your project.
With the trim in place, we’re reaching the end of the construction process for your porch screens. In the final step, we’ll cover some important considerations for finishing touches and ongoing maintenance. Keep reading to complete your porch screens project!
Read more: How To Screen In A Porch
Step 8: Final Touches and Maintenance
Congratulations! You’re almost done with building screens for your porch. In this final step, we’ll cover some essential final touches and ongoing maintenance to ensure the longevity and functionality of your porch screens:
- Clean the screens: Give your newly installed screens a thorough cleaning to remove any debris, dust, or fingerprints. Use a mild soap and water solution along with a soft brush or cloth to gently scrub the screens. Rinse with clean water and allow them to dry completely before using or closing the porch.
- Add weather-stripping (optional): To further enhance the energy efficiency of your porch and reduce drafts, consider adding weather-stripping along the edges where the screens meet the frame. This will provide an additional barrier against air infiltration.
- Regularly inspect and maintain: Periodically inspect the screens for any signs of damage, such as tears or loose fasteners. Repair or replace any damaged components promptly to maintain the integrity of the screens and prevent further issues.
- Trim vegetation near the screens: Keep an eye on any plants or trees that may come in contact with the screens. Trim back vegetation regularly to prevent it from causing damage or obstructing the screens.
- Clean screens and frames regularly: As part of your regular maintenance routine, clean the screens and frames to remove dirt, pollen, and other debris that may accumulate over time. This will help maintain their appearance and functionality.
- Consider seasonal removal (optional): Depending on your climate and personal preferences, you may choose to remove the screens during certain seasons. If you opt for this, carefully remove and store the screens in a clean and dry area. Make sure to label or keep track of their proper placement for easy reinstallation.
By following these final touches and adopting a regular maintenance routine, you’ll be able to enjoy your porch screens for years to come. Remember to keep an eye out for any signs of wear or damage and address them promptly to ensure the screens remain in excellent condition.
Now that you have completed all the steps in building screens for your porch, it’s time to sit back, relax, and enjoy your bug-free and comfortable outdoor space. Congratulations on a job well done!
Thank you for following our comprehensive guide. We hope it has been informative and helpful in your porch screen construction project. If you have any further questions or need additional assistance, don’t hesitate to reach out.
Conclusion
Congratulations on successfully building screens for your porch! You have created a comfortable and bug-free outdoor space where you can relax, entertain, and enjoy the beauty of nature. By following our comprehensive guide, you have learned the step-by-step process of measuring, planning, gathering materials, and constructing your porch screens.
Screened porches offer a multitude of benefits, including protection against insects, added privacy, and an extension of your living space. They create a welcoming environment where you can connect with nature without the annoyance of pests. Your porch screens not only enhance the functionality of your outdoor space but also add beauty and charm to your home.
Remember to perform regular maintenance on your porch screens, including cleaning, inspections, and necessary repairs. By taking care of your screens, you can ensure their longevity and optimal performance. Consider adding weather-stripping for energy efficiency and trimming vegetation near the screens to prevent damage.
We hope this guide has provided you with all the information you need to successfully build screens for your porch. If you have any further questions or need assistance, don’t hesitate to reach out. Enjoy your bug-free and comfortable porch, and make the most of your outdoor living space!
Thank you for choosing our guide as your resource for building porch screens. We hope it has been informative and helpful in your DIY journey. Best of luck in all your future projects!
Ready to elevate your space even more? If you've enjoyed learning about building porch screens, you'll find our guide on outdoor living just as handy. Filled with colorful decor tips and simple add-ons, it transforms any deck into a perfect setting for relaxation. And if you're someone who loves crafting things from scratch, our insights on DIY projects will surely spark your interest. Dive into these articles for more creative ideas and practical advice to enhance your home and lifestyle.
Frequently Asked Questions about How To Build Screens For A Porch
Was this page helpful?
At Storables.com, we guarantee accurate and reliable information. Our content, validated by Expert Board Contributors, is crafted following stringent Editorial Policies. We're committed to providing you with well-researched, expert-backed insights for all your informational needs.


0 thoughts on “How To Build Screens For A Porch”