
Articles
How To Fix A Screen Porch
Modified: October 20, 2024
Learn how to fix a screen porch with our informative articles. Find step-by-step guides and expert tips to easily repair your screen porch.
(Many of the links in this article redirect to a specific reviewed product. Your purchase of these products through affiliate links helps to generate commission for Storables.com, at no extra cost. Learn more)
Introduction
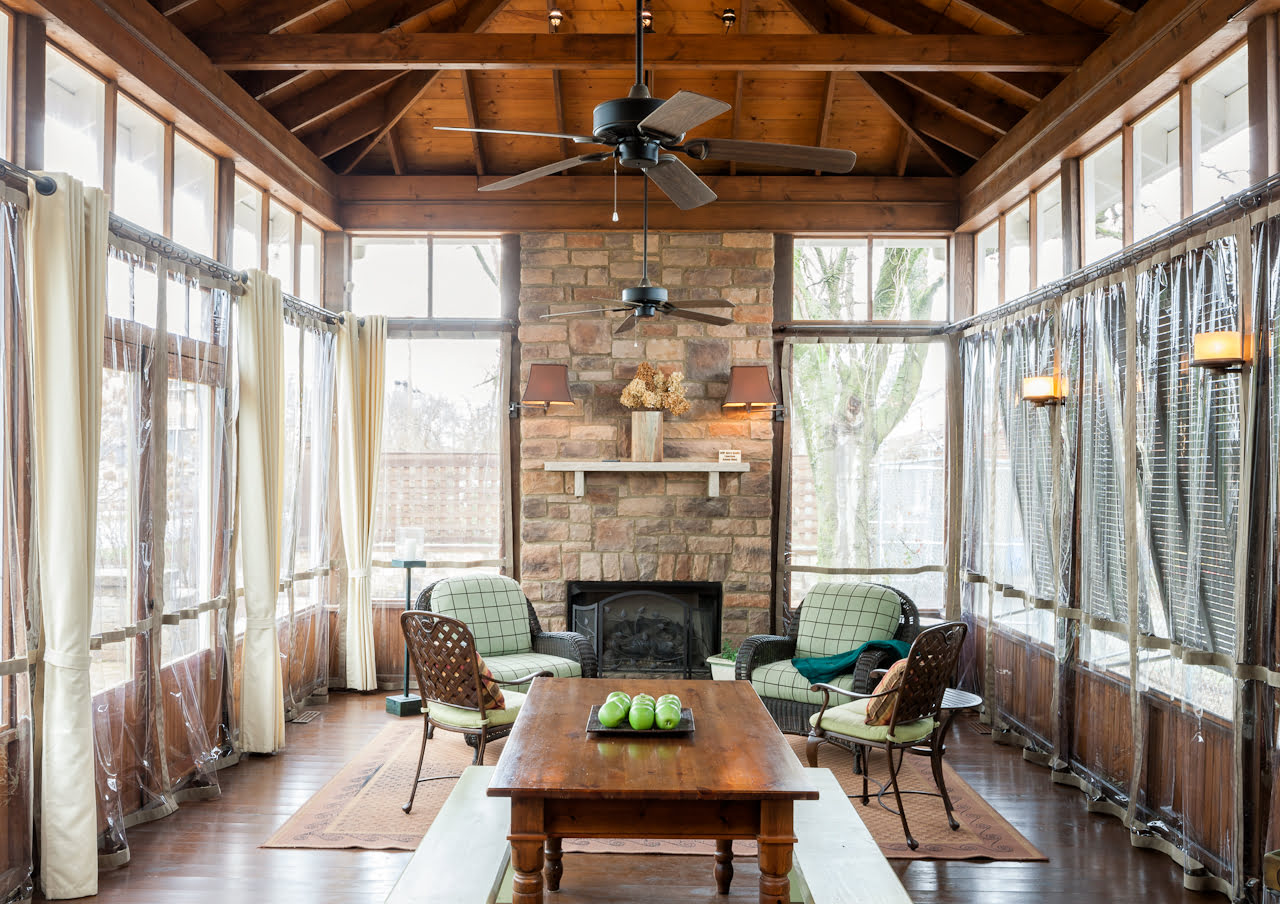
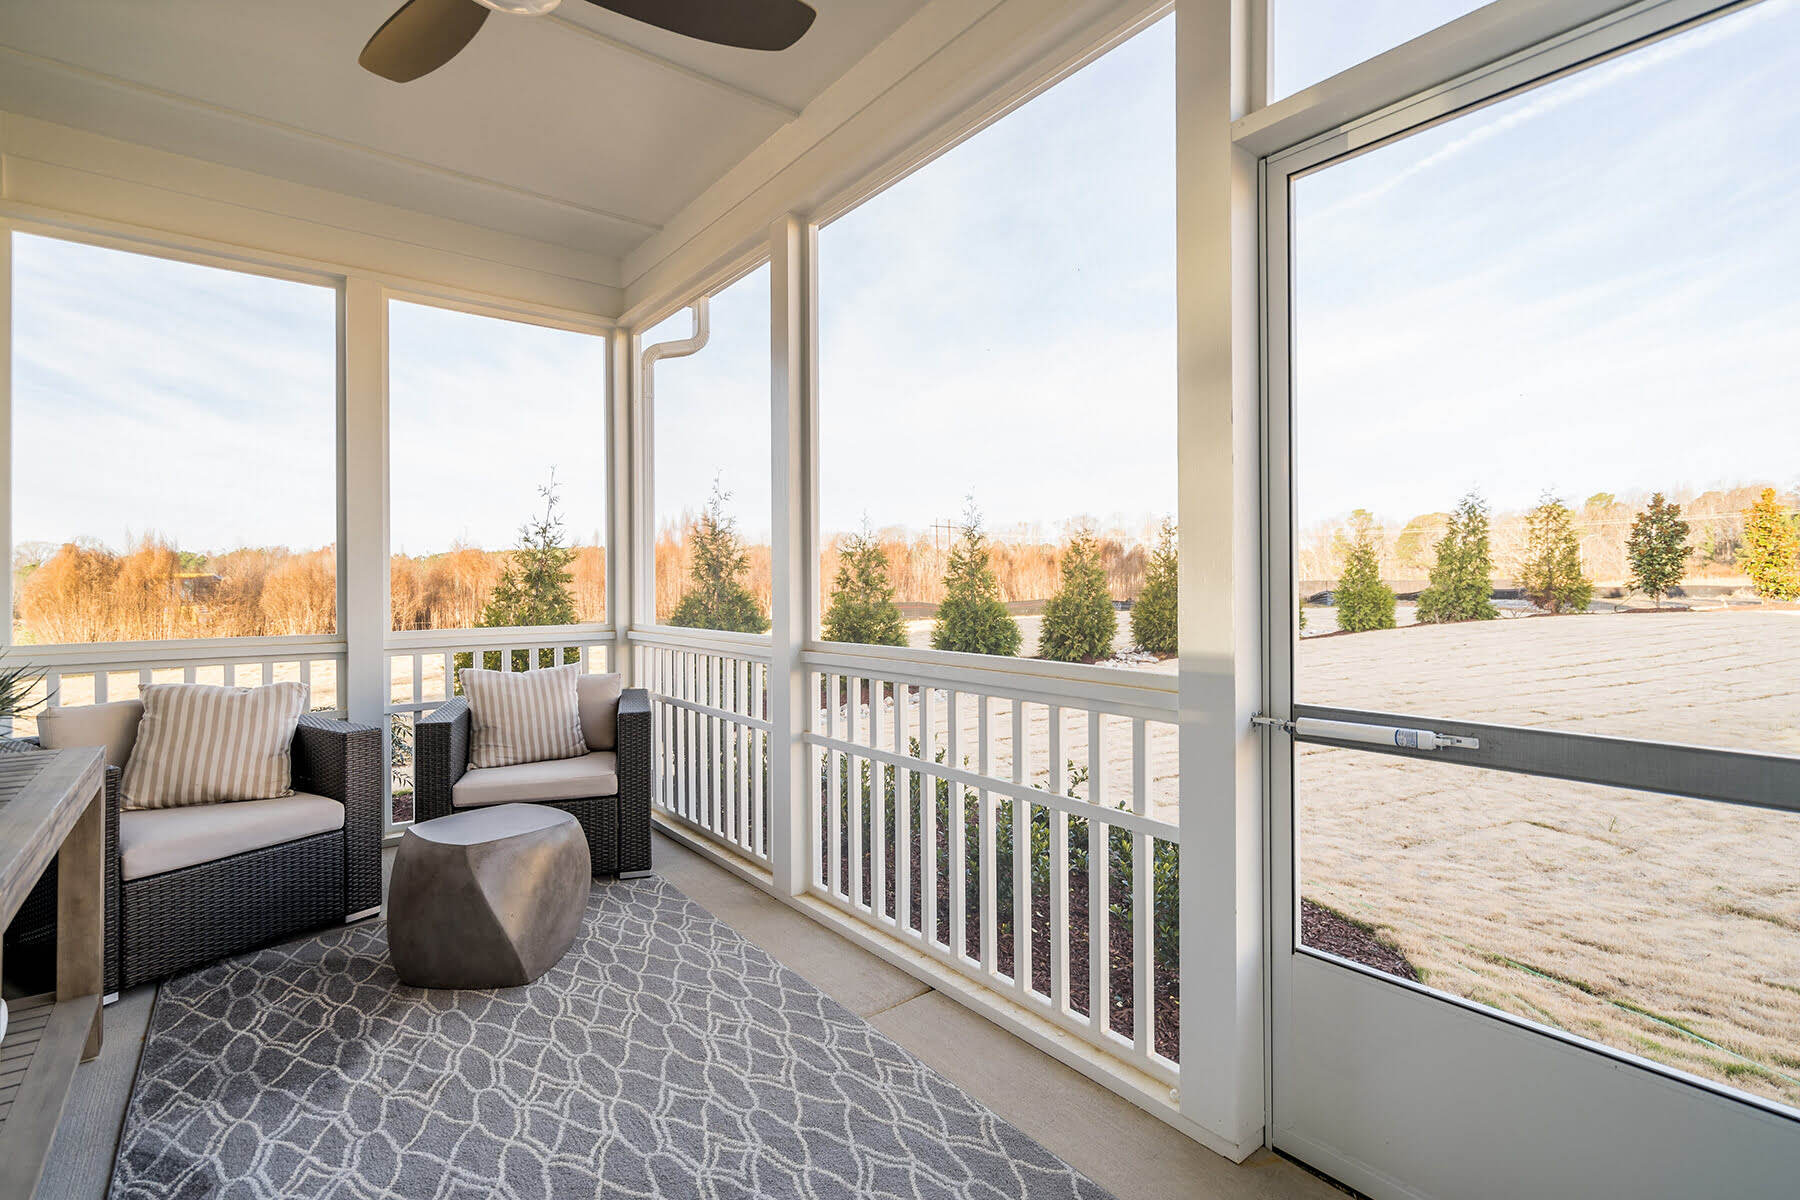
Welcome to the ultimate guide on how to fix a screen porch! As the weather gets warmer, there’s nothing better than enjoying the outdoors from the comfort of your own porch. However, a damaged or broken screen can quickly put a damper on your relaxation time. Thankfully, repairing a screen porch is a manageable task that you can tackle with the right tools and some guidance.
A screen porch serves as a barrier against insects and pests while allowing fresh air to flow through. Over time, the screens may become torn, loose, or completely worn out. In this article, we’ll take you through a step-by-step process of assessing the damage, gathering the necessary tools and materials, removing the damaged screens, repairing or replacing the frame, measuring and cutting new screens, installing the new screens, securing them in place, and adding finishing touches to make your screen porch good as new.
Before we dive into the details, it’s important to note that the complexity of the repairs will depend on the extent of the damage and the materials used in your screen porch. For minor issues, you may only need to replace a few screens. However, if the frame is damaged, you may need to address that as well. Don’t worry, we’ll cover everything you need to know to tackle any repair project!
So, grab your tools and let’s get started on transforming your damaged screen porch into a delightful and functional space once again! But first, let’s take a closer look at how to assess the damage.
Key Takeaways:
- Transform your damaged screen porch into a delightful and functional space by following a step-by-step process of assessing the damage, gathering tools, removing damaged screens, and adding finishing touches.
- Regular maintenance, such as inspecting, cleaning, and reinforcing the frame, will ensure your screen porch remains in optimal condition for years to come.
Read more: How To Screen In A Porch
Step 1: Assessing the Damage
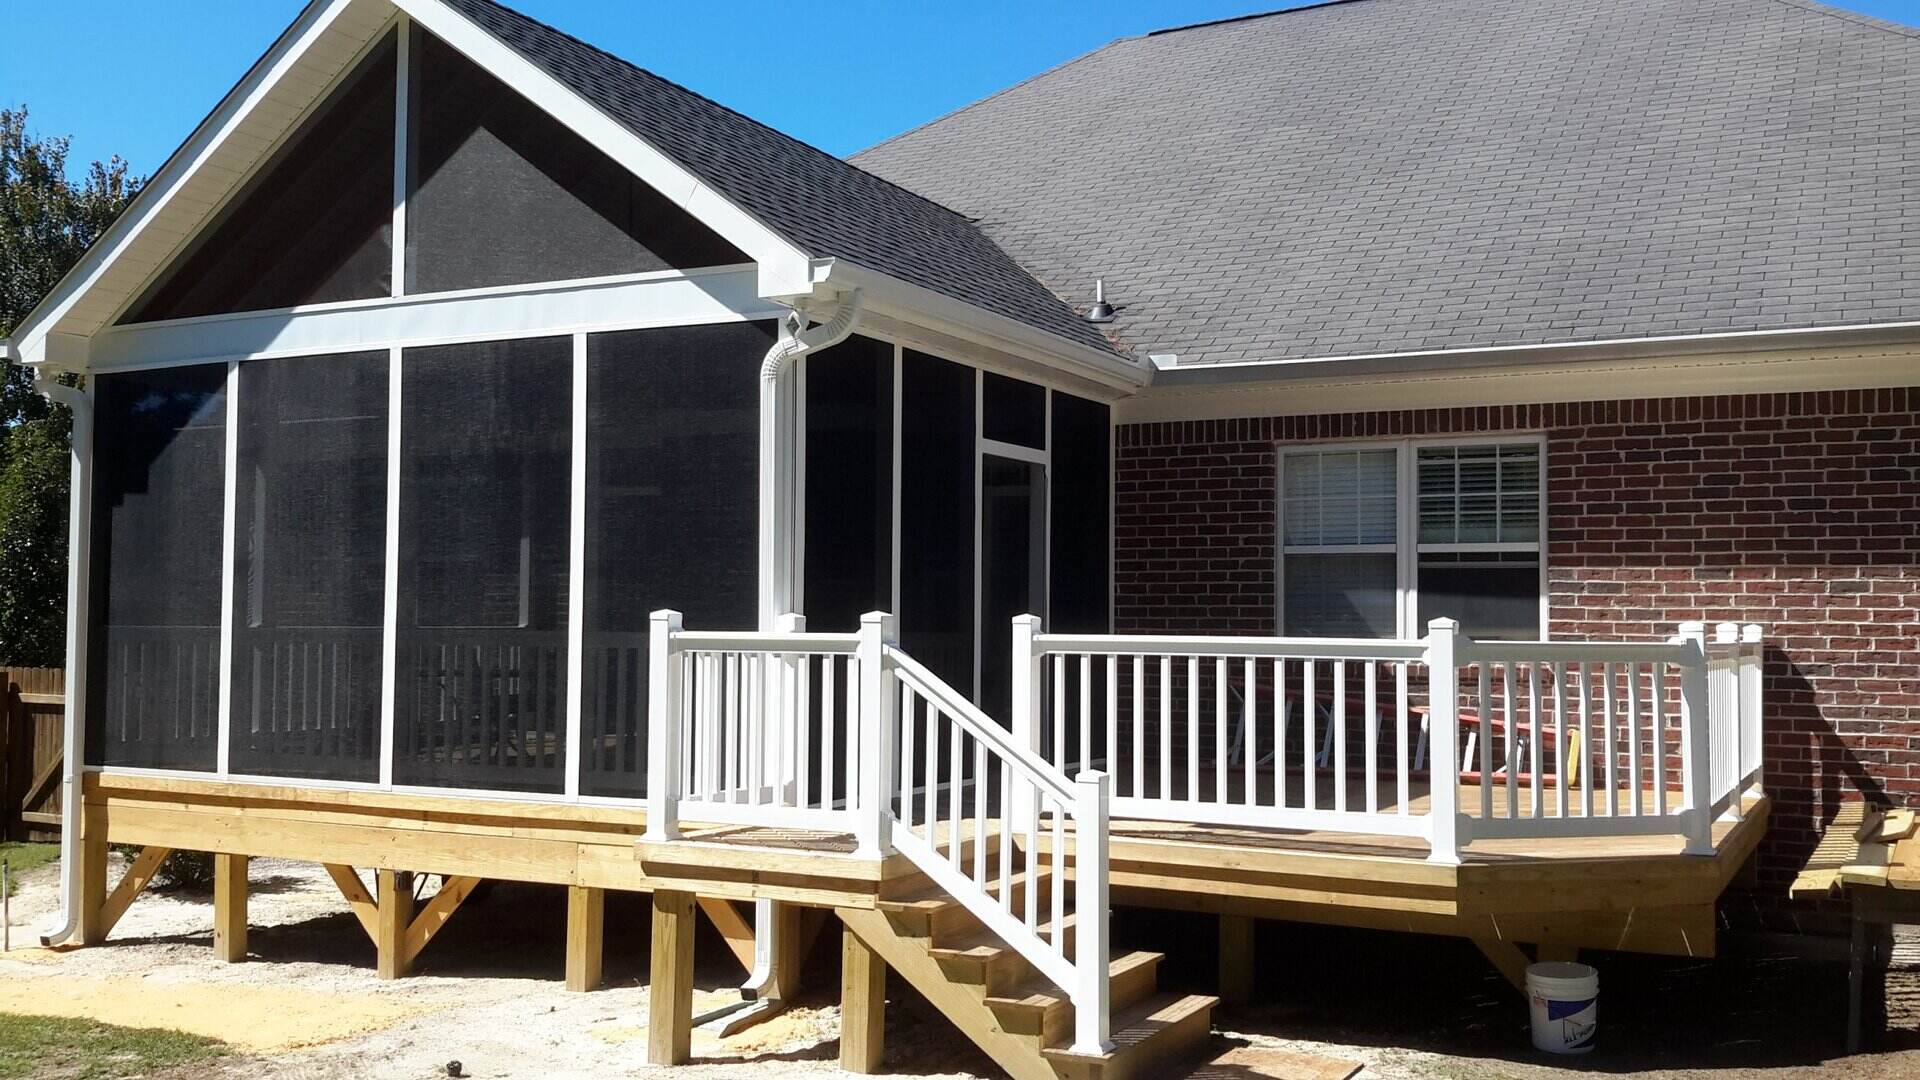
Before you begin the repair process, it’s crucial to assess the extent of the damage to your screen porch. Take a thorough look at each screen panel and frame to identify any issues that need attention. Here’s how you can assess the damage:
- Inspect the screens: Carefully examine each screen panel for any tears, holes, or loose edges. Note down the number of screens that require repair or replacement.
- Check the frame: Look for any signs of damage to the frame, such as rot, warping, or loose joints. Pay close attention to the corners, where damage is more likely to occur.
- Assess the overall condition: Evaluate the overall condition of the screen porch. Are there any structural concerns or safety hazards that need addressing? Take note of any major issues that may require professional assistance.
By thoroughly assessing the damage, you’ll have a clear understanding of the scope of the repair project. This will help you determine the necessary tools and materials and plan out the subsequent steps. Now that you’ve assessed the damage, let’s move on to step two: gathering the required tools and materials.
Step 2: Gathering the Required Tools and Materials
Now that you have assessed the damage to your screen porch, it’s time to gather the necessary tools and materials for the repair process. Here’s a list of the essential items you’ll need:
- Screen material: Measure the dimensions of the damaged screens and purchase enough screen material to replace them. Choose a material that is suitable for outdoor use and resistant to tearing and weathering.
- Screen spline: Spline is a flexible rubber or vinyl strip that holds the screen material in place. Make sure to get the correct size spline that matches the width of your frame grooves.
- Spline roller: A spline roller is a specialized tool used to secure the spline into the frame grooves. Look for a roller with a convex and concave end for efficient installation.
- Scissors or utility knife: You’ll need a sharp pair of scissors or a utility knife to cut the screen material to the appropriate size.
- Screwdriver: If your screen porch has a frame that can be disassembled, you may need a screwdriver to remove screws and detach the frame sections.
- Miter saw or hacksaw: Depending on the extent of the damage, you may need a miter saw or a hacksaw to trim and cut new frame pieces.
- Measuring tape: A measuring tape is essential for accurately measuring the dimensions of the screens and frame sections.
- Clamps: Clamps can be useful for holding the frame together during repairs or for securing the screen material in place while you work.
- Safety equipment: Don’t forget to prioritize safety! Wear gloves, safety glasses, and appropriate clothing to protect yourself during the repair process.
Having these tools and materials ready before you start the repair project will save you time and ensure a smoother process. Once you have everything prepared, you’re ready to move on to step three: removing the damaged screens.
Step 3: Removing the Damaged Screens
With your tools and materials at the ready, it’s time to remove the damaged screens from your porch. Follow these steps to safely and efficiently remove the screens:
- Start by locating the screen panels that need to be replaced. Use your tape measure to measure the size of each panel for accurate replacement later on.
- If your screen porch has a removable frame, use a screwdriver to remove any screws or fasteners holding the frame sections together. Set aside the screws and keep track of them to reassemble the frame later.
- For screens attached directly to the porch frames, carefully use a flathead screwdriver or a pry bar to gently lift the screen spline out of the frame groove. Be cautious not to damage the frame or the surrounding screens.
- Once the screen spline is loose, you can easily remove the damaged screen. Gently pull it out of the frame and set it aside for disposal or repair, depending on the extent of the damage.
- Repeat this process for each damaged screen panel until all the screens requiring replacement have been removed.
As you remove the damaged screens, take note of the condition of the frame. If you notice any significant damage or rot, you may need to address it in the next step. Now that the damaged screens are out, it’s time to move on to step four: repairing or replacing the frame, if necessary.
Step 4: Repairing or Replacing the Frame
After removing the damaged screens, it’s important to assess the condition of the frame. Depending on the extent of the damage, you may need to repair or replace sections of the frame. Here’s how you can proceed:
- Thoroughly examine the frame for any signs of damage, such as rot, warping, or loose joints. Pay close attention to the corners, as they are particularly vulnerable.
- If you notice minor damage, such as loose joints or small cracks, you can often repair the frame using wood glue or epoxy. Apply the adhesive according to the manufacturer’s instructions and allow it to dry completely before moving on to the next step.
- For more extensive damage, such as rot or severe warping, you may need to replace affected sections of the frame. Use a miter saw or a hacksaw to carefully trim and cut new pieces of frame material to the appropriate size.
- Remove the damaged frame sections and replace them with the newly cut pieces. Secure the new frame sections in place using screws or nails, depending on the type of frame and the materials used.
- If necessary, use clamps to hold the frame together while the adhesive dries or while you secure the new frame sections. This will ensure a tight and stable fit.
Repairing or replacing the frame is crucial to ensure the stability and functionality of your screen porch. Take your time to carefully address any frame issues before proceeding to the next steps. With the frame in proper condition, you’re ready to move on to step five: measuring and cutting the new screens.
Read more: What Is A Screened Porch
Step 5: Measuring and Cutting the New Screens
Now that you’ve repaired or replaced the frame, it’s time to measure and cut the new screens that will replace the damaged ones. Follow these steps to ensure accurate measurements and clean cuts:
- Start by measuring the dimensions of the screen openings. Use a measuring tape to determine the width and height of each opening that requires a new screen.
- Add a few inches of extra length and width to each measurement to provide enough material to secure the screen in place. This extra material will be trimmed later.
- Place the screen material on a flat surface and use your measurements to mark the dimensions. Ensure that the screen material is taut and free of wrinkles or creases.
- Using sharp scissors or a utility knife, carefully cut along the marked dimensions of the screen material. Take care to maintain straight, clean cuts for a professional finish.
- Repeat this process for each screen that needs replacement, ensuring that you cut the appropriate size for each opening.
When cutting the screen material, it’s important to be precise to achieve a proper fit. Take your time and double-check your measurements before making any cuts. Once you’ve cut the new screens, you’re ready to move on to step six: installing the new screens.
Inspect the screen for tears or holes and patch them using a screen repair kit. Tighten any loose screws or hardware and replace any damaged or missing components. Regular maintenance will help keep your screen porch in good condition.
Step 6: Installing the New Screens
With the new screens cut and ready, it’s time to install them in your screen porch. Follow these steps to ensure a secure and professional installation:
- Start by selecting one of the newly cut screens and position it over the corresponding opening in the frame. Ensure that the screen is aligned properly, covering the entire opening.
- Using the convex end of a spline roller, press the screen material into the frame groove, starting from one corner. Apply gentle pressure to secure the screen in place.
- As you progress along the edge of the screen, continue pressing the screen material into the groove using the spline roller. This will help ensure a tight and secure fit.
- Once you’ve installed the screen along one edge, continue the process for the remaining sides of the screen, stretching it taut as you go.
- When you reach the corner, cut the excess screen material at a 45-degree angle to create a clean and neat finish.
- Repeat this process for each screen, ensuring that they are installed securely and evenly across the entire screen porch.
During the installation, it’s essential to keep the screen material taut without stretching it too tightly. This will help prevent sagging and ensure a professional look. Take your time and be careful not to damage the screen material while pressing it into the groove. With the new screens installed, you’re ready to move on to step seven: securing the screens in place.
Step 7: Securing the Screens in Place
Now that you have installed the new screens in your screen porch, it’s important to secure them in place to ensure their longevity and stability. Follow these steps to properly secure the screens:
- Starting at one corner of each screen, use the concave end of a spline roller to press the screen spline into the groove, covering the screen material. Apply firm and even pressure to ensure a tight fit.
- Continue working along each side of the screen, using the spline roller to press the spline securely into the groove. Be sure to adjust the tension of the screen material as you go to maintain an even and taut surface.
- When you reach a corner, carefully trim the excess spline using scissors or a utility knife for a clean finish.
- After securing the screens with the spline, use a utility knife or a screen tool to trim off any excess screen material protruding from the frame groove.
Securing the screens with the spline is essential to prevent the screens from coming loose or shifting over time. Take your time during this step to ensure a secure and professional installation. Once the screens are secured in place, you’re ready to move on to step eight: adding finishing touches.
Step 8: Adding Finishing Touches
With your new screens securely installed, it’s time to add some finishing touches to complete the repair process and enhance the overall look of your screen porch. Follow these steps to give your screen porch a polished and inviting appearance:
- Clean the screens: Use a soft brush or a vacuum cleaner with a brush attachment to remove any dust, dirt, or debris from the screens. This will improve the visibility and functionality of your newly repaired porch.
- Touch up the frame: If you repaired or replaced sections of the frame, consider giving it a fresh coat of paint or stain to match the existing color. This will help create a cohesive and visually appealing look.
- Inspect for any remaining damage: Take a final look at your screen porch to ensure that all repairs have been completed and no additional damage is present. Address any remaining issues before considering the project finished.
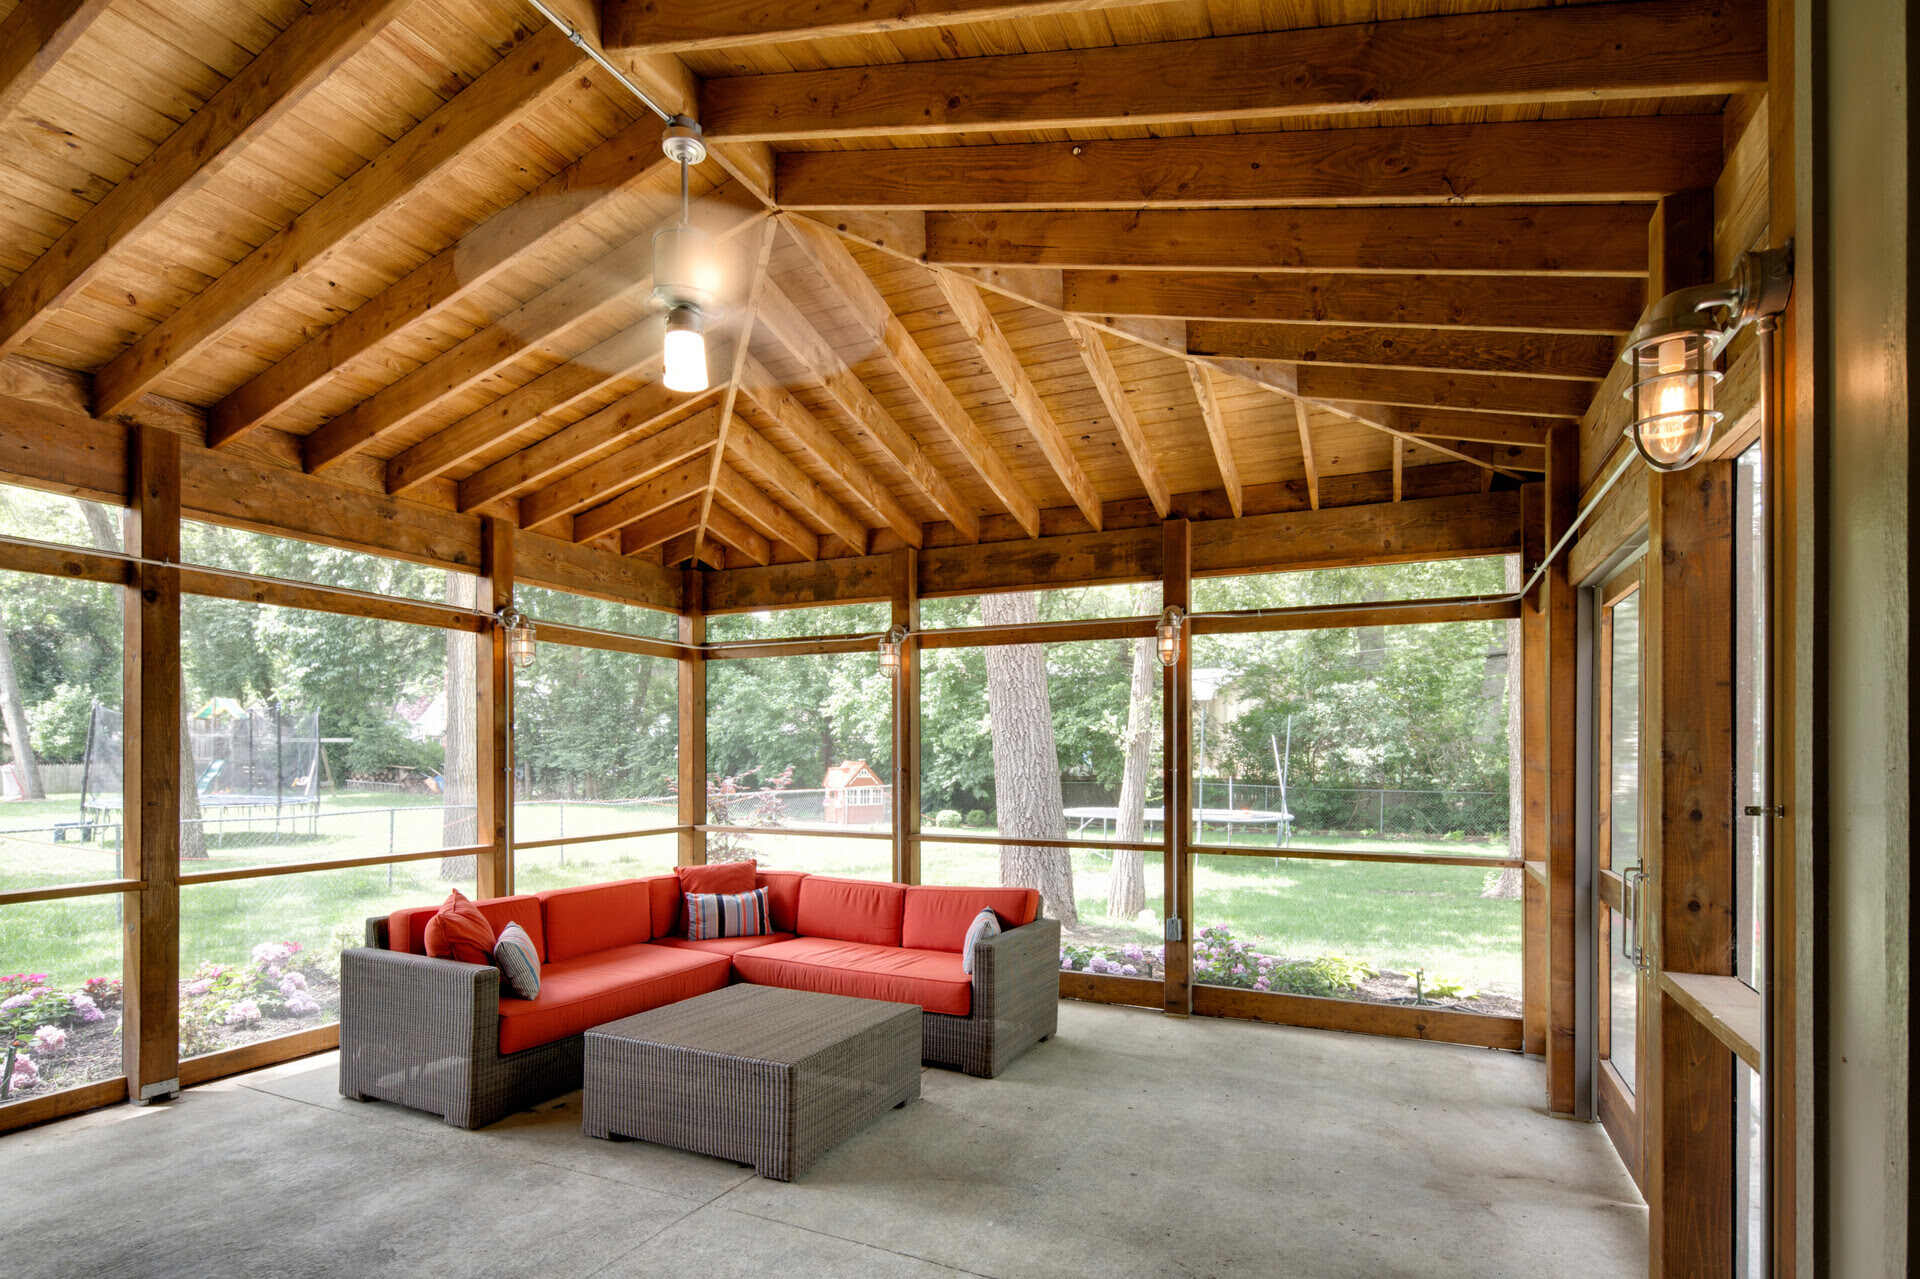
- Arrange furniture and decorate: Once your screen porch is repaired and looking fantastic, take the opportunity to arrange your outdoor furniture and add some personal touches. Consider adding potted plants, hanging baskets, or decorative lighting to create a cozy and inviting atmosphere.
Adding these finishing touches will not only enhance the functionality of your screen porch but also make it an enjoyable space to relax and unwind. Take some time to enjoy the fruits of your labor and appreciate your newly repaired screen porch!
Now that you’ve completed the repair process and added those finishing touches, your screen porch is ready for you to enjoy. However, to ensure a long-lasting and well-maintained screen porch, let’s move on to step nine: maintenance tips.
Read more: How To Frame A Screen Porch
Step 9: Maintenance Tips for a Long-lasting Screen Porch
Now that you’ve successfully repaired your screen porch, it’s important to take proper care of it to ensure its longevity and continued functionality. Here are some maintenance tips to keep your screen porch in excellent condition:
- Regularly inspect the screens: Periodically check the screens for any signs of wear, tear, or damage. Repair or replace any damaged screens promptly to prevent further issues.
- Clean the screens and frame: Regularly clean the screens and frame using a mild soap and water solution. Gently scrub away any dirt or debris to maintain a clean and inviting porch space.
- Trim vegetation: Keep plants, vines, and shrubs near the screen porch trimmed regularly. This will prevent them from scratching or damaging the screens and frame.
- Reinforce the frame: Check the frame periodically for any loose joints or screws. Tighten or replace any hardware as necessary to keep the frame sturdy and secure.
- Apply protective coatings: Consider applying a protective sealant or coating to the frame and screens. This can help enhance their resistance to moisture, UV rays, and other outdoor elements.
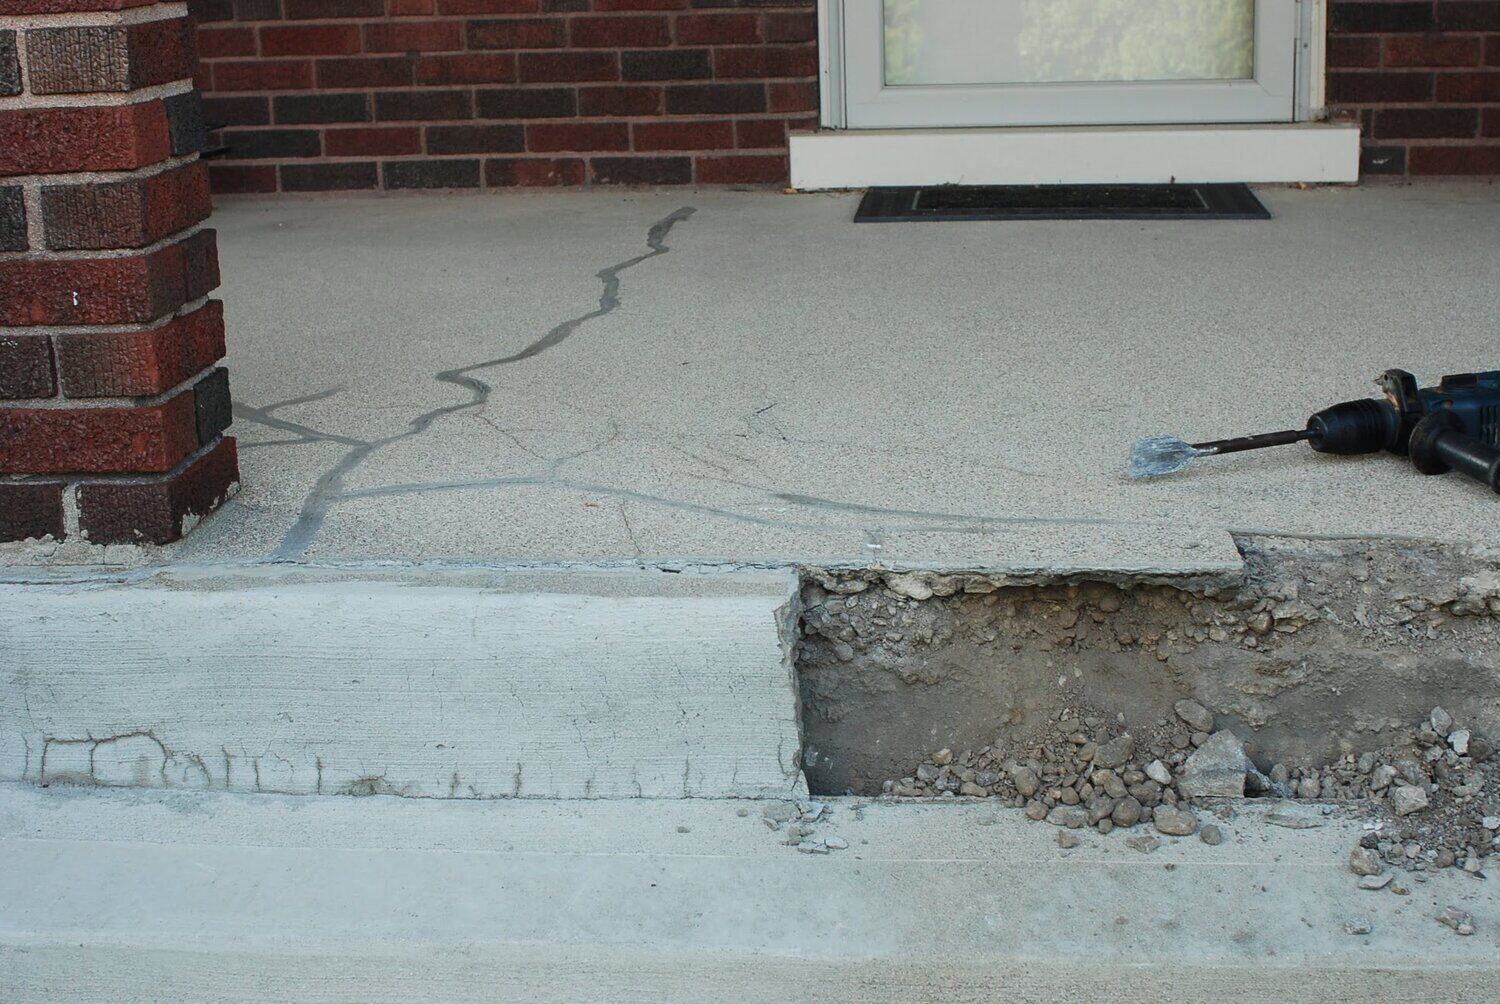
- Address any structural concerns: If you notice any structural issues, such as sagging or warping, address them promptly. Consult a professional if needed to ensure proper repairs and maintenance.
- Store furniture and accessories: During inclement weather or when the screen porch is not in use, consider storing furniture and accessories indoors. This will help prolong their lifespan and protect them from the elements.
- Regularly inspect the porch surroundings: Check the area around the screen porch for any potential issues that could impact its integrity, such as damaged roof shingles, loose siding, or drainage problems. Address these issues promptly to maintain the integrity of your porch.
By following these maintenance tips, you can keep your screen porch in optimal condition for years to come. Regular inspections and preventive maintenance will ensure that you can enjoy your screen porch without worry.+
Congratulations on successfully completing the repair and maintenance of your screen porch! With these steps, you have transformed your damaged screen porch into a functional and inviting outdoor space. Now, sit back, relax, and enjoy the serenity of your newly repaired screen porch!
Conclusion
Repairing a screen porch may seem like a daunting task, but with the right guidance and tools, it’s a manageable project that can breathe new life into your outdoor space. By following the step-by-step process outlined in this guide, you can successfully assess the damage, gather the necessary tools and materials, remove the damaged screens, repair or replace the frame, measure and cut new screens, install them securely, and add the finishing touches.
Regular maintenance, such as inspecting the screens and frame, cleaning, and addressing any issues promptly, will help extend the lifespan of your screen porch and ensure its continued functionality. By taking care of your screen porch, you’ll be able to enjoy the outdoors free from bugs and pests, while still benefiting from fresh air and natural light.
Remember, don’t hesitate to seek professional assistance for extensive damage or if you feel unsure about any repair or maintenance aspect. Safety should always be a priority, so wear the necessary protective gear and take your time to complete each step with precision.
Now that you have the knowledge and confidence, it’s time to get started on fixing your screen porch. Transform that damaged and worn-out space into a haven of relaxation and enjoyment. You’ll soon be able to enjoy the great outdoors from the comfort of your newly revitalized screen porch!
Frequently Asked Questions about How To Fix A Screen Porch
Was this page helpful?
At Storables.com, we guarantee accurate and reliable information. Our content, validated by Expert Board Contributors, is crafted following stringent Editorial Policies. We're committed to providing you with well-researched, expert-backed insights for all your informational needs.


0 thoughts on “How To Fix A Screen Porch”