Articles
How To Sew The Burrito Method Pillowcase
Modified: August 20, 2024
Learn how to sew a pillowcase using the burrito method with this step-by-step tutorial. Discover helpful tips and techniques in this articles focused on sewing projects.
(Many of the links in this article redirect to a specific reviewed product. Your purchase of these products through affiliate links helps to generate commission for Storables.com, at no extra cost. Learn more)
Introduction
Welcome to the wonderful world of sewing! If you’re a beginner looking to expand your sewing skills or an experienced sewer wanting to try something new, you’ve come to the right place. In this article, we will walk you through the process of sewing a pillowcase using the Burrito Method.
The Burrito Method is a clever technique that creates clean, hidden seams and a professional finish. It’s a fun and satisfying sewing project that can be completed in just a few simple steps. So, grab your sewing machine, gather your materials, and let’s get started!
Before we dive into the process, let’s take a moment to go over the materials you’ll need for this project.
Key Takeaways:
- Master the Burrito Method to create professional-looking pillowcases with hidden seams and a polished finish, enhancing your sewing skills and adding charm to your home decor.
- Embrace creativity and personalize your pillowcases by experimenting with different fabric patterns, colors, and textures, infusing your unique style into your handmade creations.
Read more: How To Sew A Cuffed Pillowcase
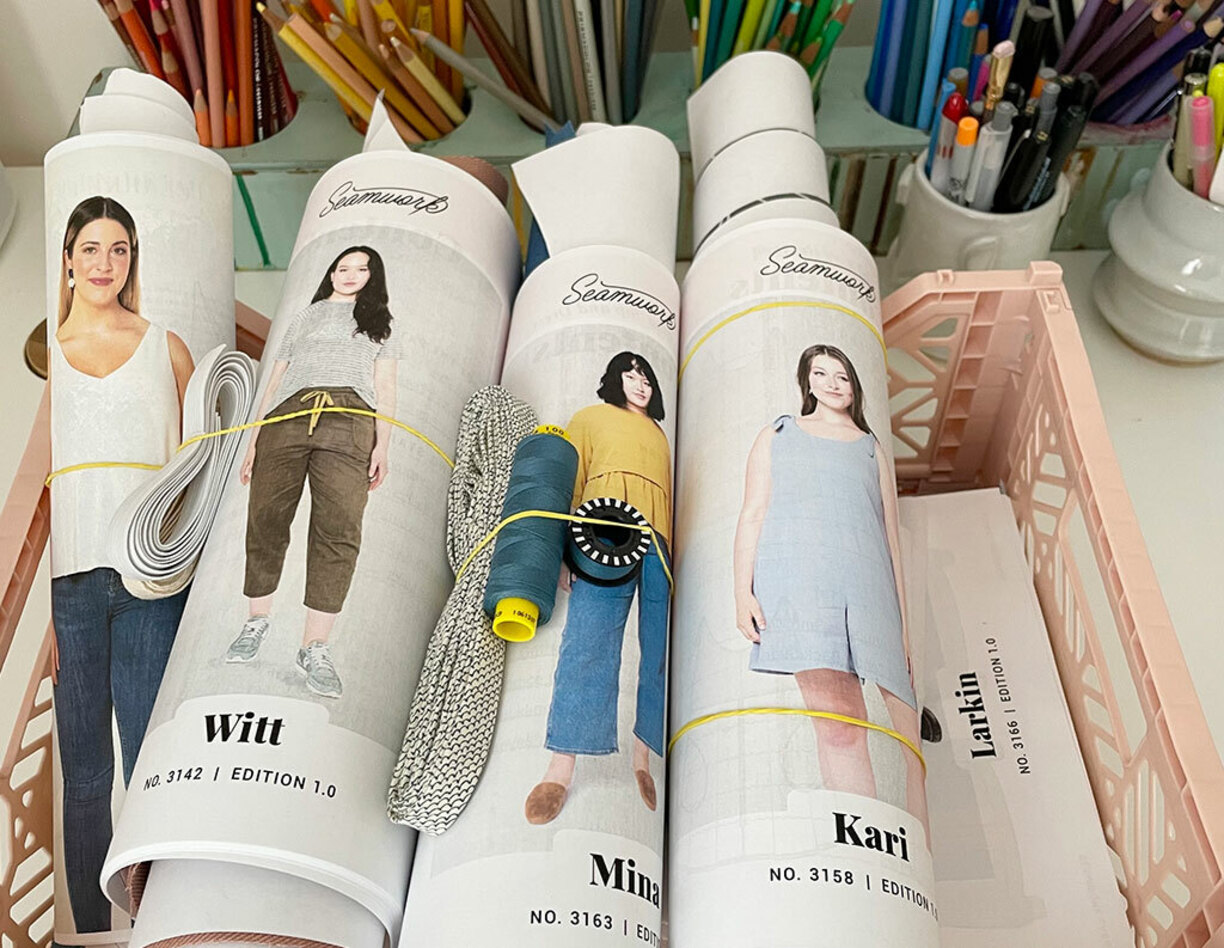
Materials Needed
Before you start sewing the Burrito Method pillowcase, gather the following materials:
- Fabric: Choose a soft and durable fabric, such as cotton, that suits your preferences and complements your decor. You’ll need one piece for the main body of the pillowcase and another piece for the cuff. The measurements will depend on the size of the pillow you’re making the case for.
- Thread: Select a thread color that matches or complements your fabric choice.
- Pins: Use straight pins to hold your fabric in place while sewing.
- Scissors: Have a pair of fabric scissors handy for cutting your fabric to size.
- Sewing Machine: You’ll need a sewing machine to sew the seams. Make sure it’s in good working condition and threaded correctly.
- Iron: An iron is essential for pressing your fabric and achieving crisp seams.
- Ironing Board or Pressing Surface: You’ll need a flat surface to iron your fabric on.
- Ruler or Measuring Tape: Use a ruler or measuring tape to ensure accurate cutting and sewing.
Ensure you have all these materials before you begin, so you can enjoy a smooth sewing process. Now, let’s move on to the step-by-step instructions for sewing the Burrito Method pillowcase!
Step 1: Preparing the Fabric
Before you start sewing the pillowcase using the Burrito Method, it’s essential to prepare your fabric. Follow these steps:
- Pre-wash and iron your fabric: This helps eliminate any shrinkage and ensures a smooth, wrinkle-free finish. Follow the fabric care instructions for washing and drying.
- Cut the fabric to size: Measure and cut the main body fabric according to the size of your pillow, adding a seam allowance of about ¼ inch on all sides.
- Repeat the previous step for the cuff fabric: Measure and cut the cuff fabric, making sure it’s wide enough to fold over the main fabric and reach the desired length.
Once you’ve prepared your fabric, it’s time to move on to the next step: folding the fabric in preparation for sewing.
Step 2: Folding the Fabric
Now that your fabric is cut to size, it’s time to fold it in preparation for sewing. Follow these steps:
- Place the main body fabric right side up on your work surface.
- Take the cuff fabric and fold it in half lengthwise, with the right sides together. This will create a long strip of fabric.
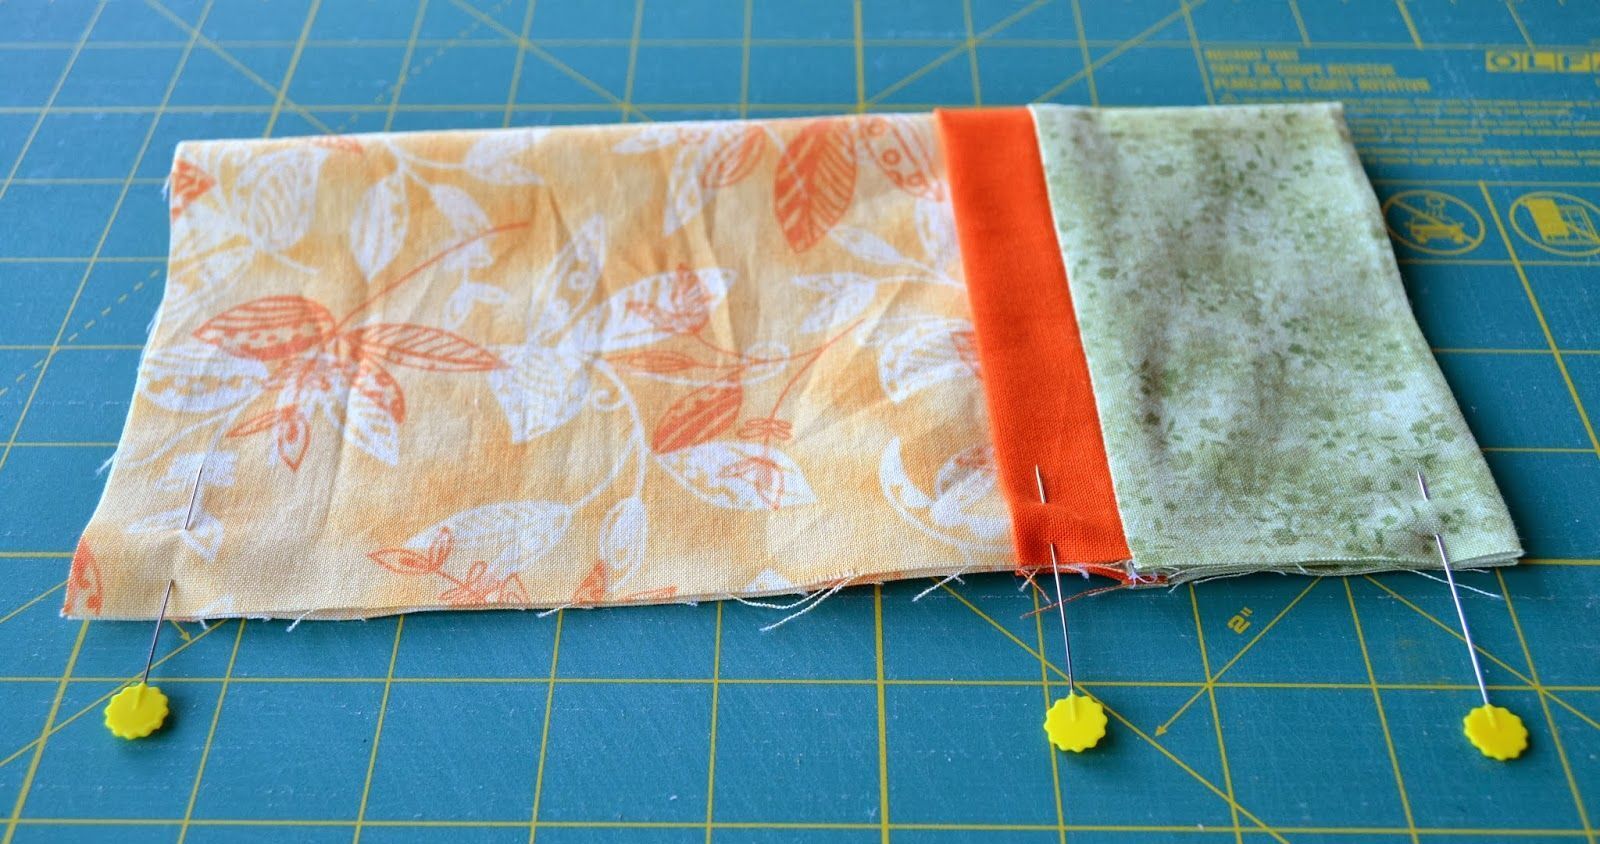
- Align the raw edges of the cuff fabric with the raw edges of the main fabric, making sure the folded edge of the cuff is facing towards the main fabric.
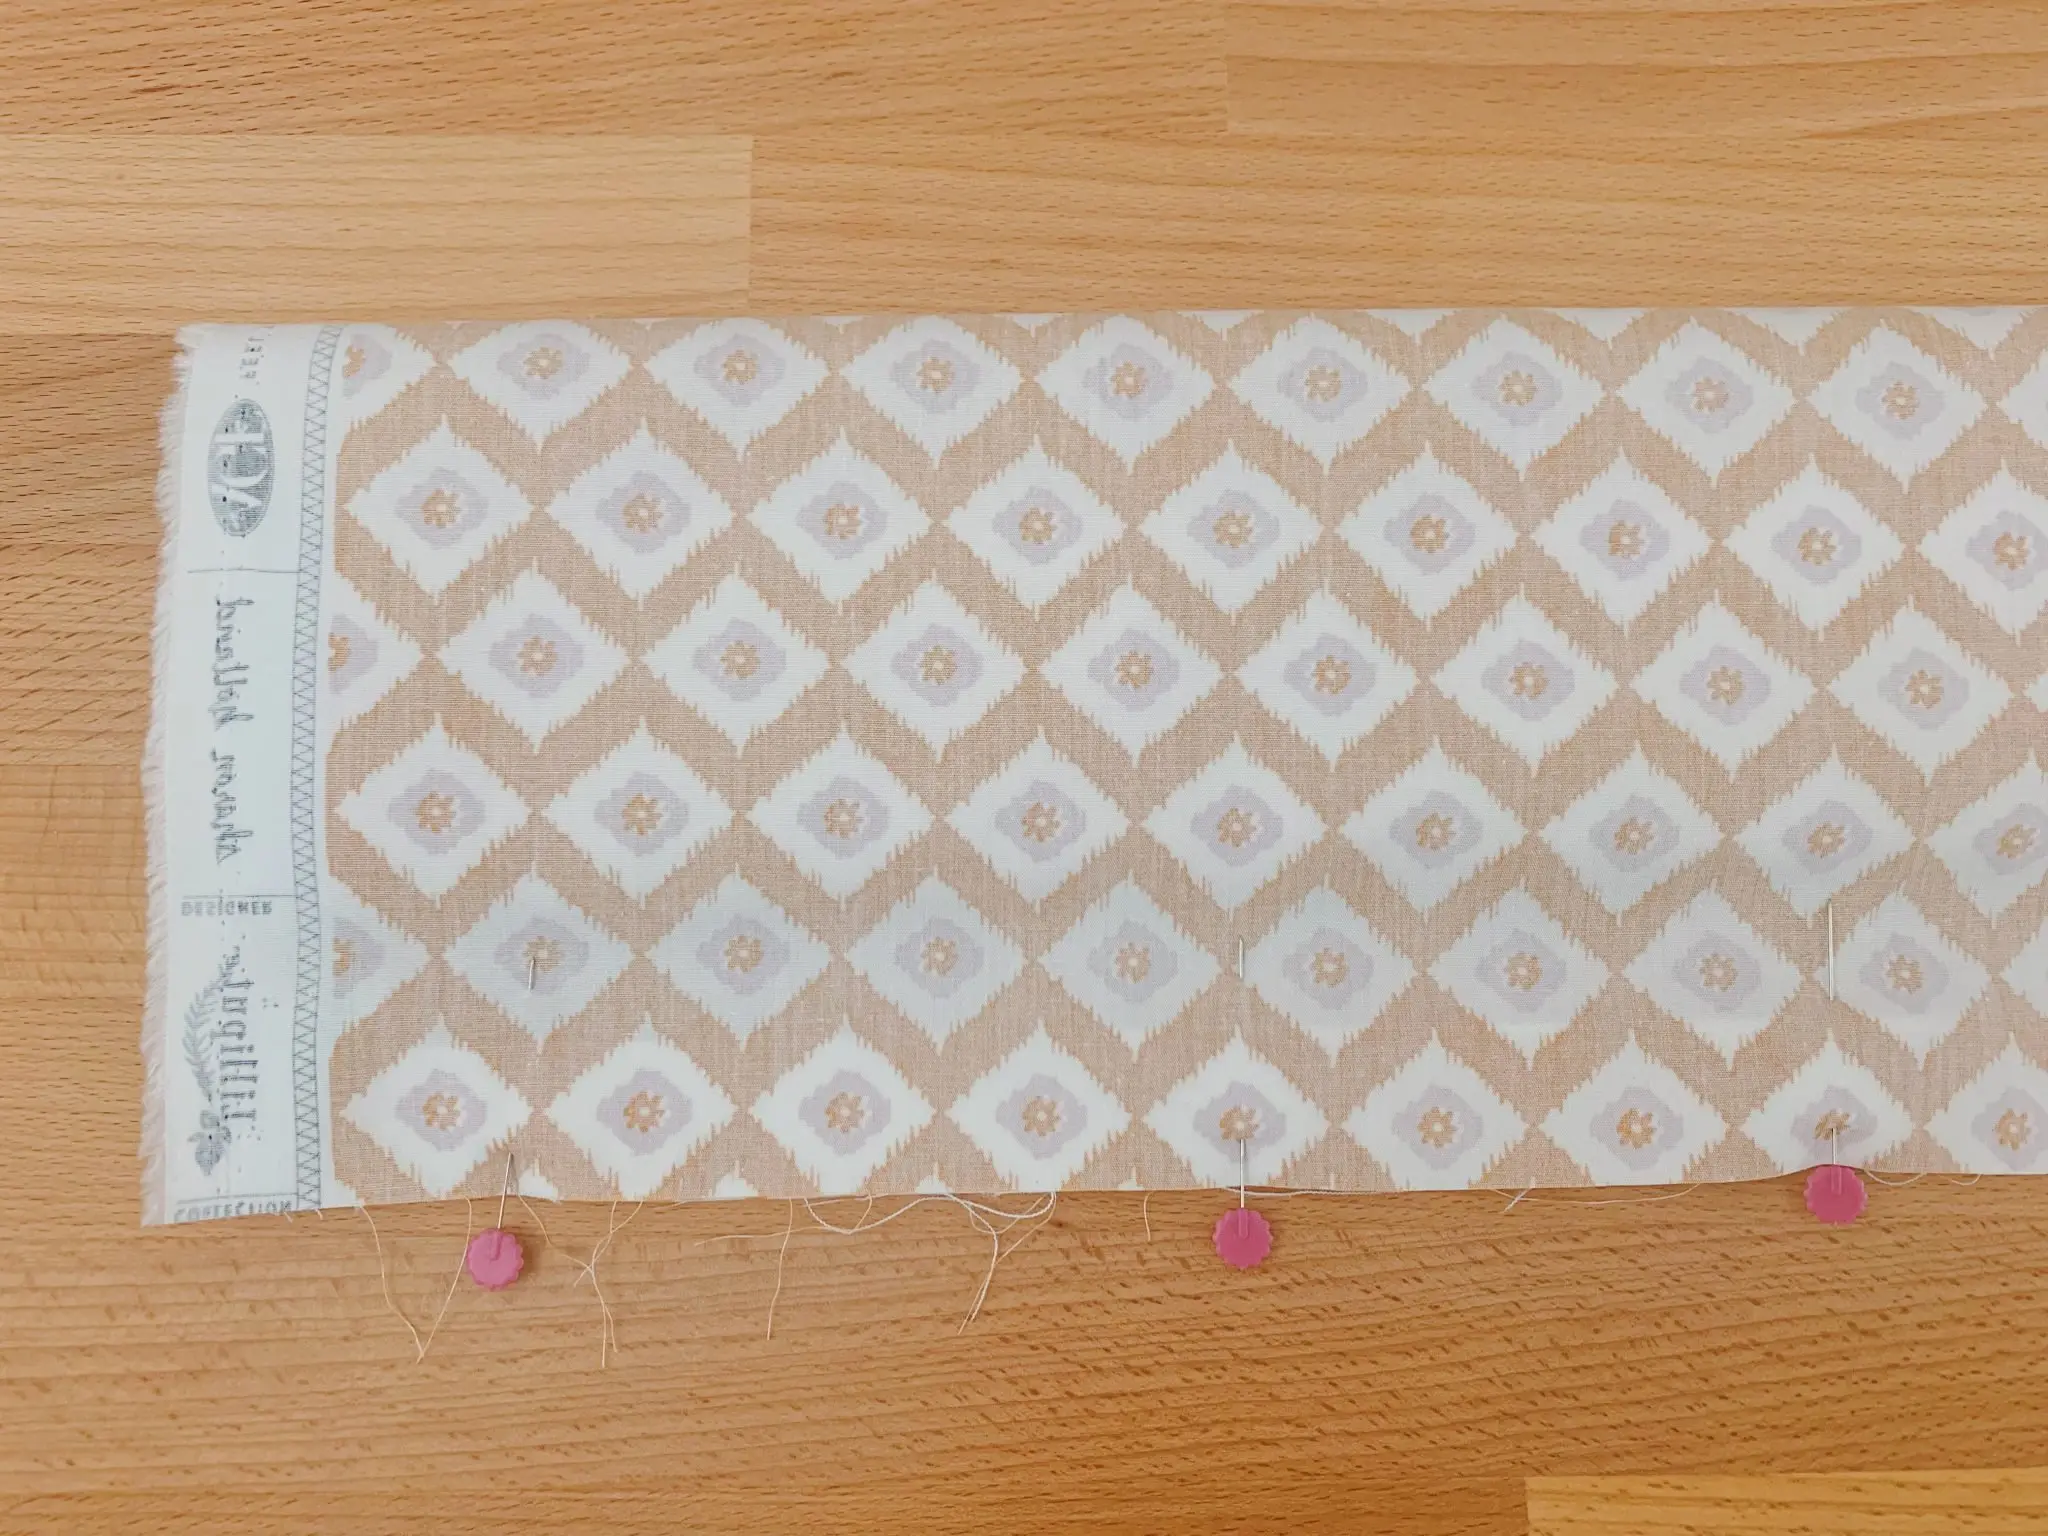
- Pin the raw edges of the fabric layers together, ensuring that they are securely held in place.
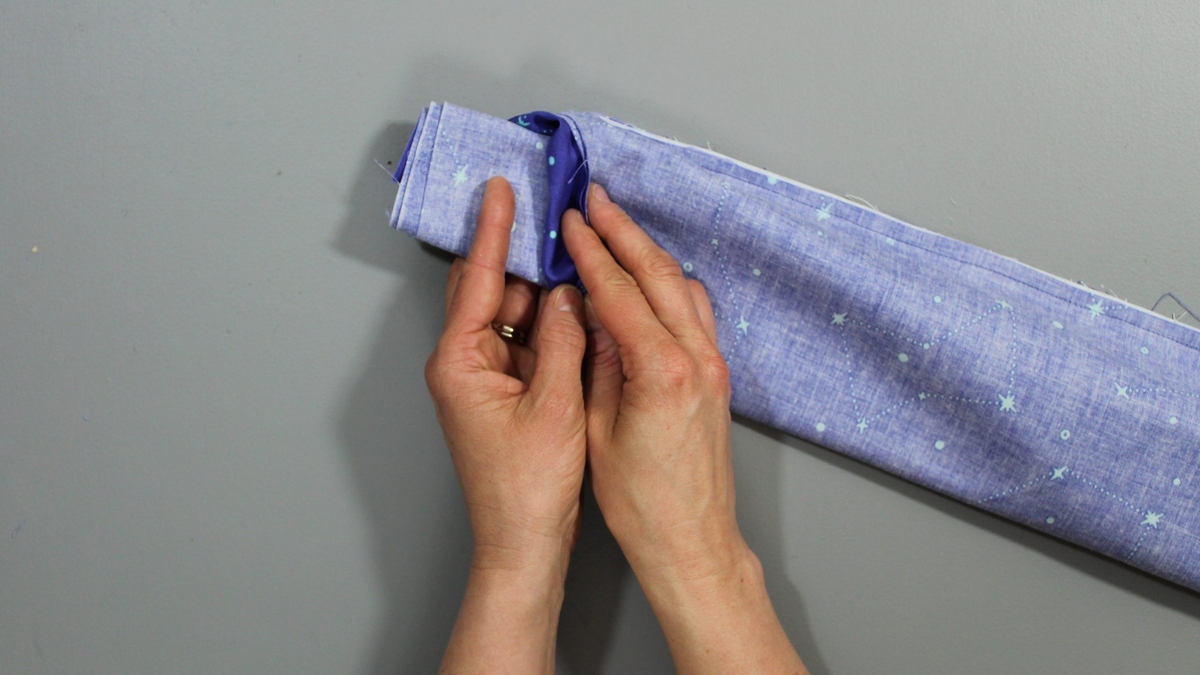
- Starting at one end, roll the main fabric towards the cuff fabric, encasing the cuff within the roll. Keep rolling until you reach the other end, creating a fabric “burrito”.
- Secure the rolled fabric with a few pins to prevent it from unraveling during the sewing process.
Once you have successfully folded your fabric, it’s time to move on to the next step: sewing the long edge of the pillowcase.
When sewing the burrito method pillowcase, make sure to roll the fabric tightly and secure it with pins to prevent shifting while sewing. This will help ensure clean and straight seams.
Step 3: Sewing the Long Edge
With the fabric neatly folded and pinned, it’s time to sew the long edge of the pillowcase. The following steps will guide you through the process:
- Take your fabric “burrito” to your sewing machine and ensure that you have the correct thread and needle in place.
- Position the fabric under the sewing machine foot, starting at the top edge.
- Secure the beginning of the seam by backstitching a few stitches.
- Using a straight stitch, begin sewing along the long edge of the pillowcase, removing the pins as you go.
- Continue sewing until you reach the other end, making sure to maintain a consistent seam allowance. Backstitch at the end to secure the seam.
- Remove the fabric from the sewing machine and trim any loose threads.
- Gently unfold and unroll the fabric, revealing the sewn long edge.
- Press the seam open using an iron, making sure to get a crisp and flat result.
With the long edge sewn and pressed, it’s time to move on to the next step: sewing the short edges of the pillowcase.
Read more: How To Sew A Pillowcase With A Flap
Step 4: Sewing the Short Edges
Now that the long edge of the pillowcase is sewn, it’s time to focus on sewing the short edges. Follow these steps:
- With the fabric unfolded, fold the pillowcase in half lengthwise, right sides together.
- Align the raw short edges of the fabric layers and pin them in place.
- Starting at one end, sew along the short edge using a straight stitch. Be sure to backstitch at the beginning and end to secure the seam.
- Repeat the previous step for the other short edge of the pillowcase.
- Trim any loose threads and press the two short seams open using an iron.
- Turn the pillowcase right side out by gently pulling it through the “burrito” opening created earlier.
- Use your fingers or a blunt tool to push out the corners, ensuring they are nice and sharp.
With the short edges sewn and the corners pushed out, it’s time for the final step: finishing the pillowcase.
Step 5: Finishing the Pillowcase
Now that you’re in the final step of sewing the pillowcase using the Burrito Method, follow these steps to complete the project:
- Gently press the whole pillowcase with an iron to give it a polished look.
- Take the cuff fabric that was rolled inside the burrito and pull it out through the “burrito” opening.
- Smooth out the cuff fabric and make sure it is positioned neatly around the opening of the pillowcase.
- Fold the cuff fabric over the main body fabric, creating a clean and polished cuff edge.
- Pin the cuff fabric in place, ensuring that it is secured to the main body fabric.
- Using a straight stitch, sew along the edge of the cuff fabric to secure it to the main body fabric. Remove the pins as you sew.
- Trim any loose threads and give the pillowcase one last press with the iron.
And there you have it – your finished pillowcase using the Burrito Method! You can now enjoy your handmade creation and add a touch of charm to your home decor. Feel free to experiment with different fabric patterns and colors to create unique and personalized pillowcases.
Congratulations on completing this sewing project! With time and practice, you’ll be able to sew more pillowcases and even venture into more complex sewing projects. Happy sewing!
Conclusion
Learning how to sew the Burrito Method pillowcase not only enhances your sewing skills but also allows you to create beautiful and personalized home decor. This clever sewing technique provides clean, hidden seams and a professional finish, giving your pillowcase a polished and professional look.
Throughout this article, we’ve guided you through the step-by-step process of sewing a pillowcase using the Burrito Method. From preparing the fabric to folding, sewing the long and short edges, and finishing the pillowcase, each step has been carefully explained to ensure your success.
By following these instructions and infusing your creativity, you can tailor your pillowcases to suit your personal style and home decor. Experiment with different fabric patterns, colors, and textures to create pillowcases that perfectly complement your living space.
Remember, practice makes perfect. The more you sew and familiarize yourself with this technique, the easier it will become. Don’t be afraid to make mistakes and learn from them. Sewing is a rewarding skill that allows you to unleash your creativity and create functional and beautiful items for your home.
So, gather your materials, set up your sewing machine, and embark on the journey of sewing beautiful pillowcases using the Burrito Method. Get ready to impress your friends and family with your sewing prowess and enjoy the satisfaction and joy of creating something with your own hands.
Happy sewing!
Frequently Asked Questions about How To Sew The Burrito Method Pillowcase
Was this page helpful?
At Storables.com, we guarantee accurate and reliable information. Our content, validated by Expert Board Contributors, is crafted following stringent Editorial Policies. We're committed to providing you with well-researched, expert-backed insights for all your informational needs.


0 thoughts on “How To Sew The Burrito Method Pillowcase”